Home>Home Security and Surveillance>How To Connect To Cameras Wireless Security
Home Security and Surveillance
How To Connect To Cameras Wireless Security
Modified: March 6, 2024
Learn how to easily connect wireless cameras to your home security system for effective home security and surveillance.
(Many of the links in this article redirect to a specific reviewed product. Your purchase of these products through affiliate links helps to generate commission for Storables.com, at no extra cost. Learn more)
Introduction
Welcome to the world of wireless security cameras! With advancements in technology, home security and surveillance systems have become more accessible and sophisticated than ever before. Gone are the days of complicated wiring and limited coverage. Now, you can easily connect to cameras wirelessly, allowing you to monitor your property and loved ones from anywhere at any time.
In this article, we will guide you through the process of connecting to wireless security cameras. Whether you’re a newbie looking to secure your home or a tech-savvy individual wanting to upgrade your surveillance system, this comprehensive guide will help you navigate the world of wireless security cameras with ease.
Before we dive into the steps, let’s gain a basic understanding of wireless security cameras and how they work.
Key Takeaways:
- Embrace the convenience of wireless security cameras by understanding the basics, choosing the right system, and setting up remote access for seamless monitoring from anywhere.
- Ensure a stable and reliable connection to your wireless security cameras by following proper installation techniques, adjusting camera settings, and implementing troubleshooting tips for optimal performance.
Read more: How To Connect Wireless Security Cameras?
Step 1: Understand the Basics of Wireless Security Cameras
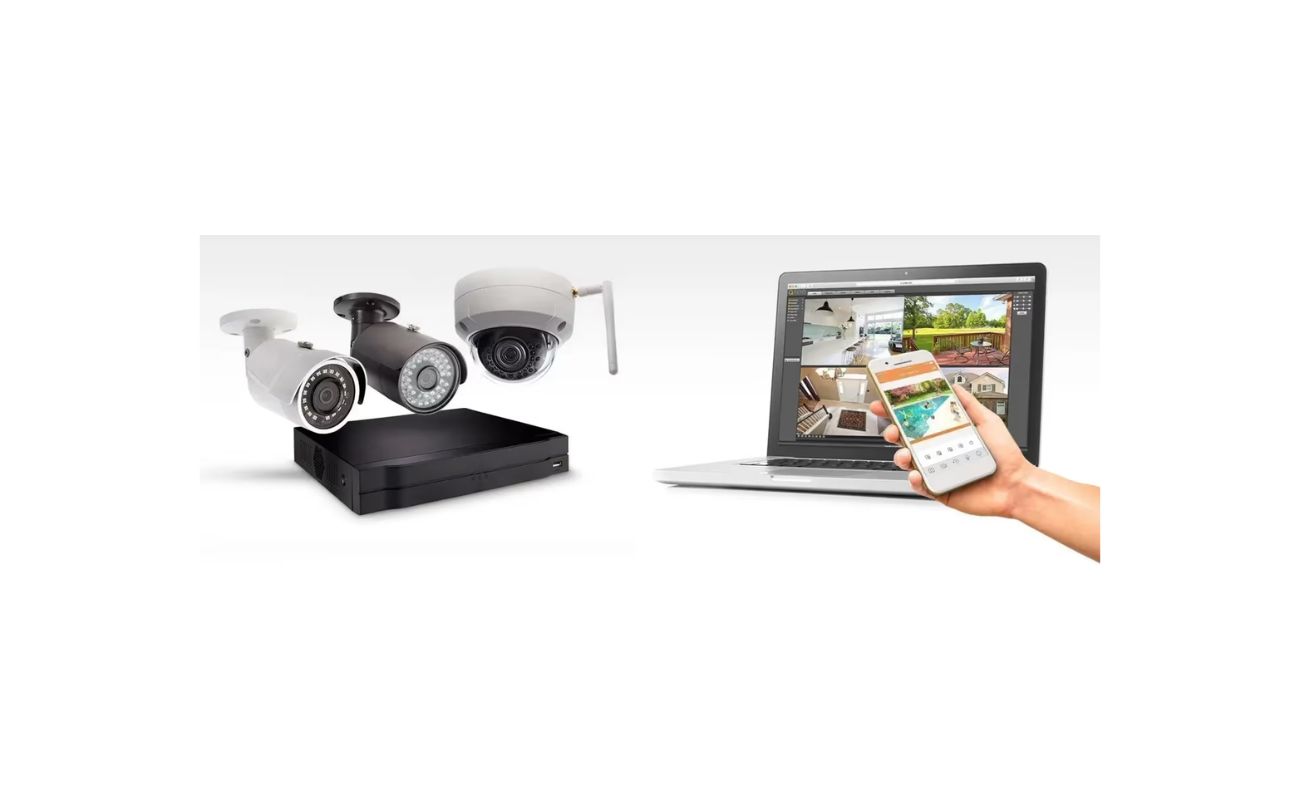
Before you begin setting up your wireless security cameras, it’s important to have a good grasp of the basics. Wireless security cameras, as the name suggests, use wireless technology to transmit video and audio signals to a receiver or a designated device such as a smartphone or tablet.
These cameras typically rely on Wi-Fi connectivity to establish a network connection and are powered either through batteries or a power source. Wireless security cameras offer great flexibility in terms of placement and installation, as they don’t require extensive wiring like their wired counterparts.
When selecting a wireless security camera system, it’s essential to consider the following factors:
- Camera Resolution: Look for cameras with high-resolution capabilities, preferably 1080p or higher, to ensure clear and detailed footage.
- Night Vision: Opt for cameras equipped with infrared technology for clear surveillance even in low-light or no-light conditions.
- Field of View: Consider the camera’s field of view to determine how much area it can cover. A wider field of view is preferable for larger spaces.
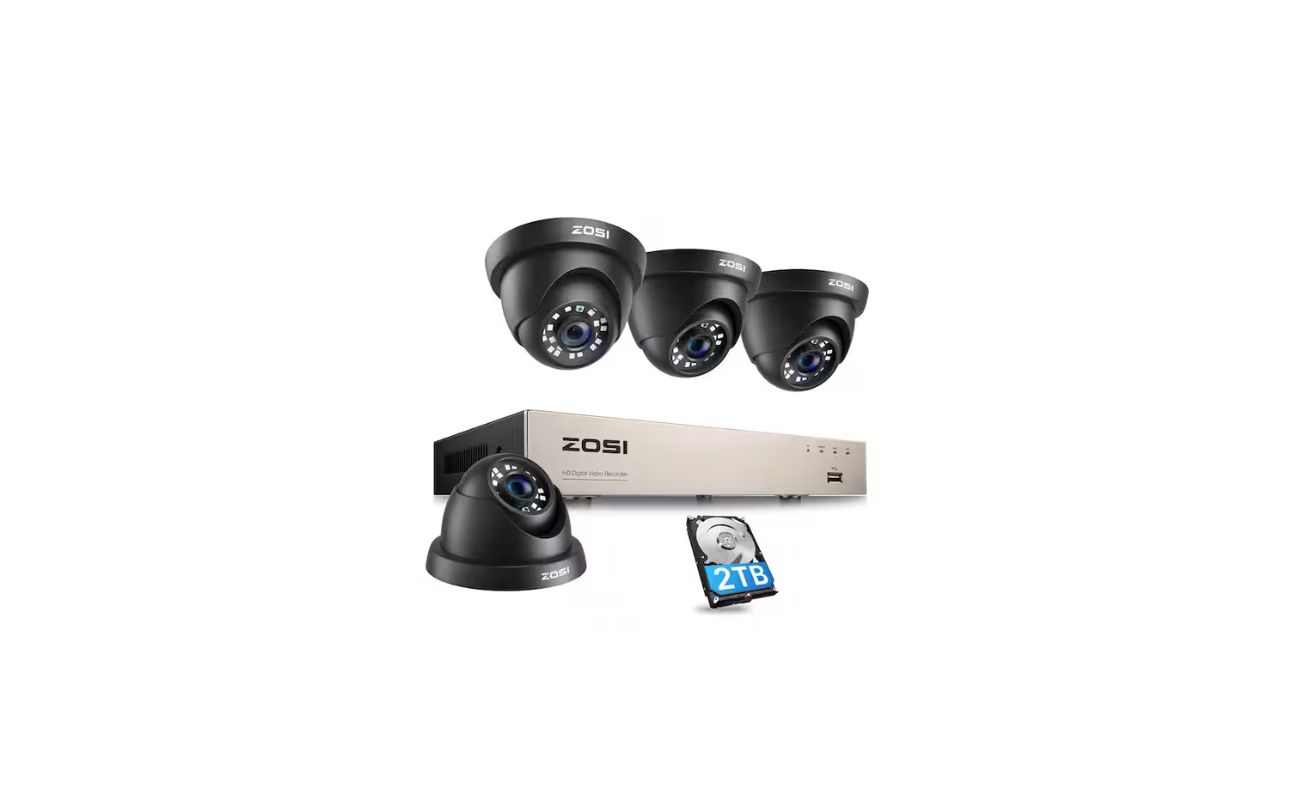
- Storage Options: Decide whether you want local storage through a built-in SD card slot or cloud storage for accessing footage remotely.
- Two-Way Audio: If you want the ability to communicate with people on the other end, choose cameras with built-in microphones and speakers for two-way audio functionality.
- Mobile App Integration: Ensure the cameras are compatible with a mobile app that allows you to monitor and control your security system from anywhere.
Understanding these basics will help you make an informed decision when choosing your wireless security camera system.
Step 2: Choose a Wireless Security Camera System
Now that you have an understanding of the basics, it’s time to choose the right wireless security camera system for your needs. With a wide range of options available in the market, it’s important to consider several factors before making a decision.
Here are some key factors to keep in mind:
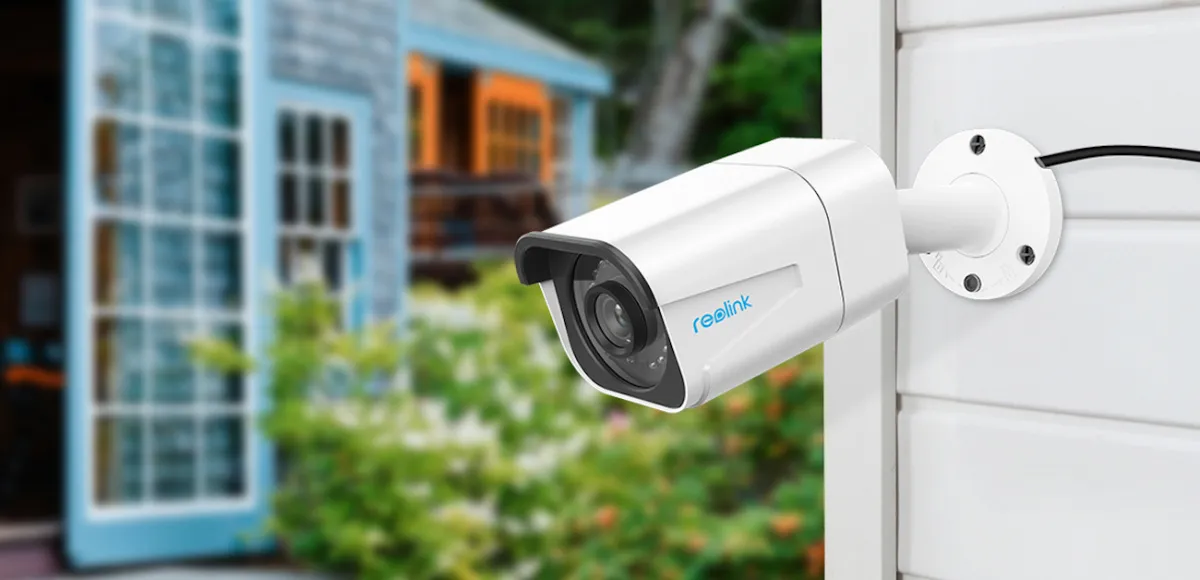
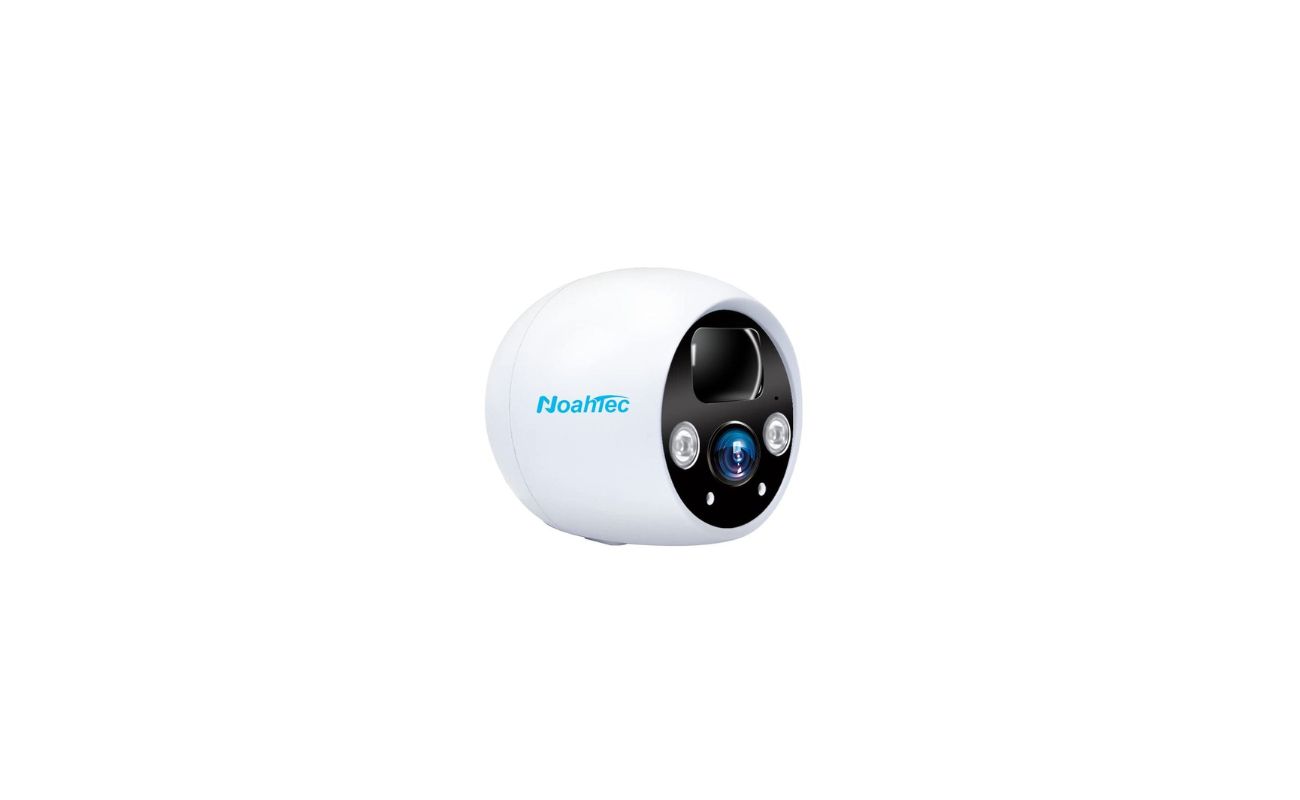
- Camera Type: Determine whether you need indoor cameras, outdoor cameras, or a combination of both. Outdoor cameras should be weatherproof and designed to withstand different environmental conditions.
- Number of Cameras: Consider the size of your property and the areas you want to cover. This will help you determine the number of cameras you need for comprehensive coverage.
- Budget: Set a budget and stick to it. Wireless security camera systems come at various price points, so make sure to choose something that fits your budget without compromising on quality.
- Brand and Reputation: Research different brands and read customer reviews to ensure you choose a reputable brand known for producing reliable and high-quality products.
- Additional Features: Assess if you require any additional features such as motion detection, facial recognition, pan-tilt-zoom capabilities, or integration with smart home devices.
It’s also essential to consider the compatibility of the wireless security camera system with your existing devices. Ensure that the system can integrate with your smartphone, tablet, or computer for seamless monitoring and remote access.
Take your time in researching and comparing different options before making a final decision. Once you have chosen a wireless security camera system that meets your requirements, it’s time to move on to the installation process.
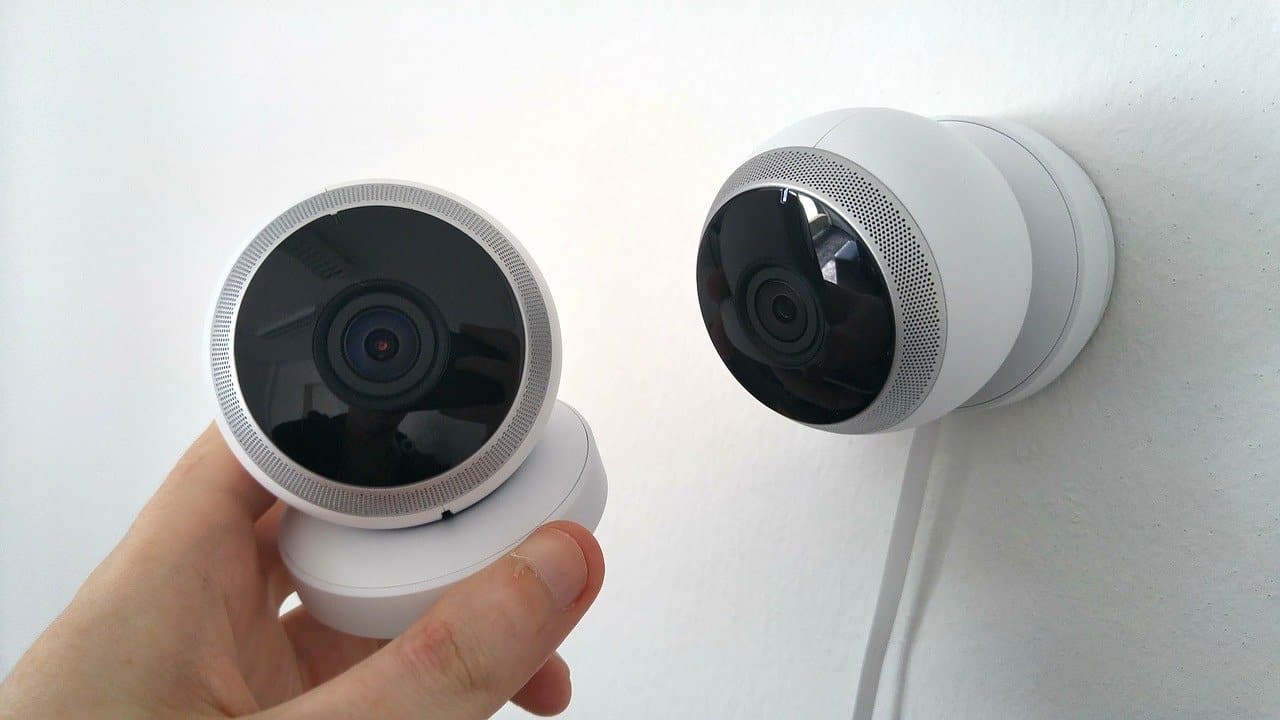
Step 3: Install the Cameras Properly
Once you have selected the wireless security camera system that best suits your needs, it’s time to install the cameras properly. Proper installation ensures optimal performance and coverage of your surveillance system. Here are the key steps to follow:
- Determine Camera Placement: Before installation, strategically plan where to place the cameras for maximum coverage. Consider areas such as entry points, windows, and high-traffic areas.
- Mounting Options: Depending on the type of cameras you have chosen, you may have different mounting options available. Some cameras can be wall-mounted, while others can be placed on flat surfaces or attached to poles or ceilings.
- Secure the Mounting Bracket: If your cameras come with mounting brackets, securely attach them to the desired locations using screws or other provided hardware.
- Adjust Camera Angle: Ensure that the camera angles are optimized to capture the desired area properly. Adjust the tilt and rotation angles as necessary.
- Proper Cable Management: If your cameras require power cables or Ethernet cables for initial setup, plan the cable routes to avoid tangling and ensure a neat installation.
During the installation process, it’s important to consider the following factors:
- Power Source: If your cameras are powered through batteries, make sure they are charged or have backup batteries readily available. If your cameras require a power source, ensure that it’s easily accessible.
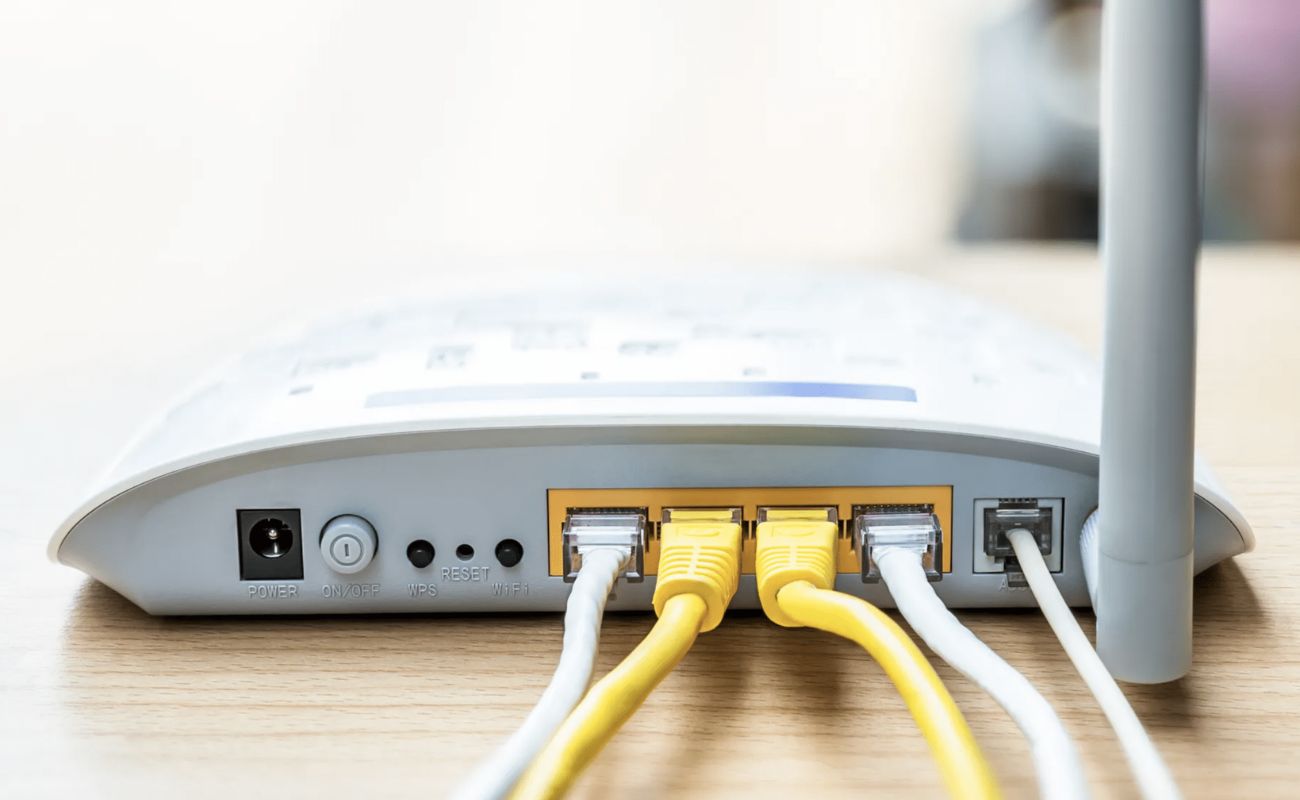
- Wi-Fi Signal Strength: Test the Wi-Fi signal strength in the areas where you plan to install the cameras. If the signal is weak, consider using Wi-Fi extenders or relocating the wireless router for better coverage.
- Weatherproofing (For Outdoor Cameras): If you’re installing outdoor cameras, make sure they are properly weatherproofed and positioned to withstand adverse weather conditions.
Once you have completed the installation process, it’s time to connect the cameras to your wireless network for remote access and monitoring.
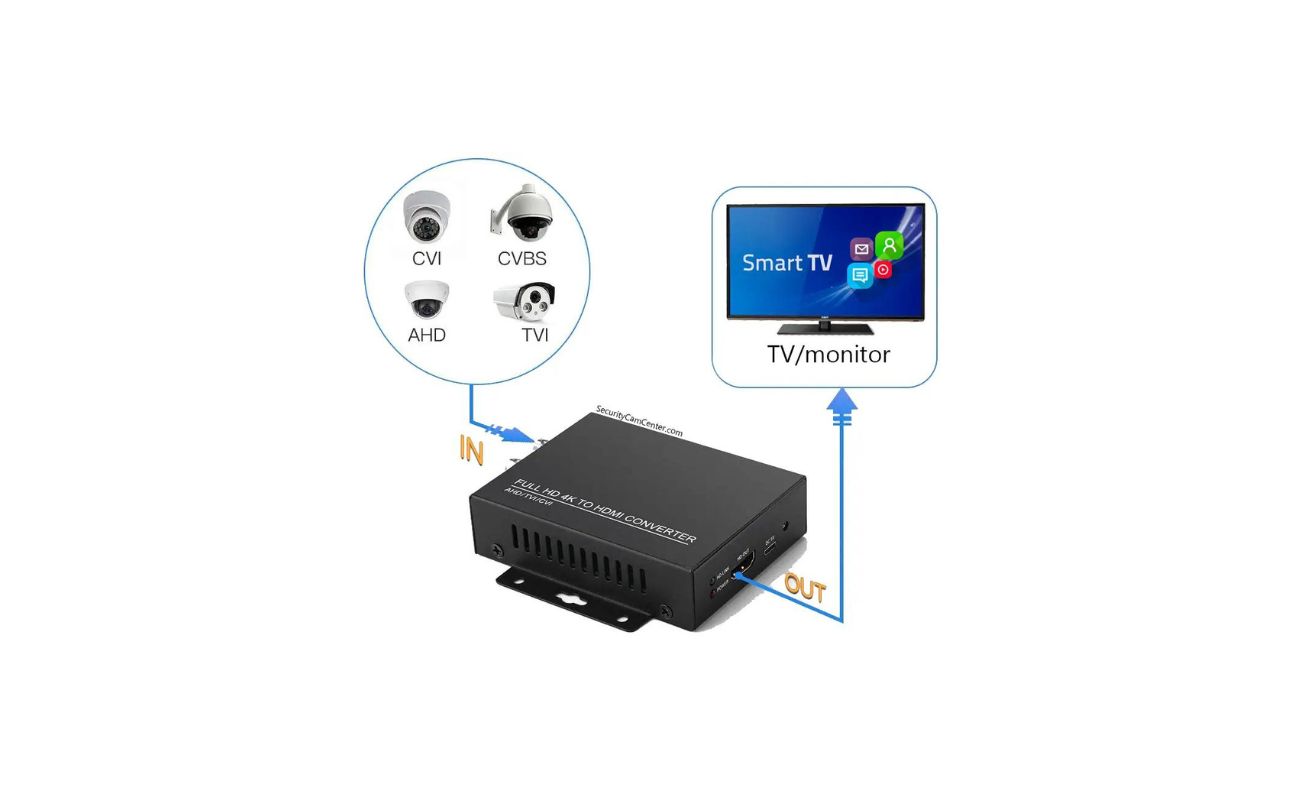
Step 4: Connect the Cameras to Your Wireless Network
Now that you have installed the cameras properly, it’s time to connect them to your wireless network. This step is crucial as it enables you to access the cameras remotely and view the live feed or recorded footage. Here’s how to connect your wireless security cameras to your network:
- Access Camera Settings: Open the camera settings interface either through a web browser or a dedicated mobile app, depending on the brand and model of your cameras.
- Locate Wi-Fi Settings: Within the camera settings, locate the Wi-Fi settings or network settings option.
- Select Your Network: From the available Wi-Fi networks, select your home network from the list.
- Enter Network Credentials: If prompted, enter the network password or credentials. Make sure to enter them correctly to establish a secure connection.
- Confirm Connection: Once you have entered the network details, the camera will attempt to connect to the network. Wait for a few moments to ensure a successful connection.
- Repeat for Each Camera: If you have multiple cameras, repeat the above steps for each camera, connecting them to the same wireless network.
During the connection process, it’s important to ensure that the cameras are within range of your wireless router. If the signal strength is weak, consider installing Wi-Fi range extenders to improve coverage.
After successfully connecting the cameras to your wireless network, it’s time to move on to the next step of setting up remote access for convenient monitoring and control.
When connecting to wireless security cameras, make sure to use a strong and unique password for your network to prevent unauthorized access. Regularly update the camera’s firmware to protect against security vulnerabilities.
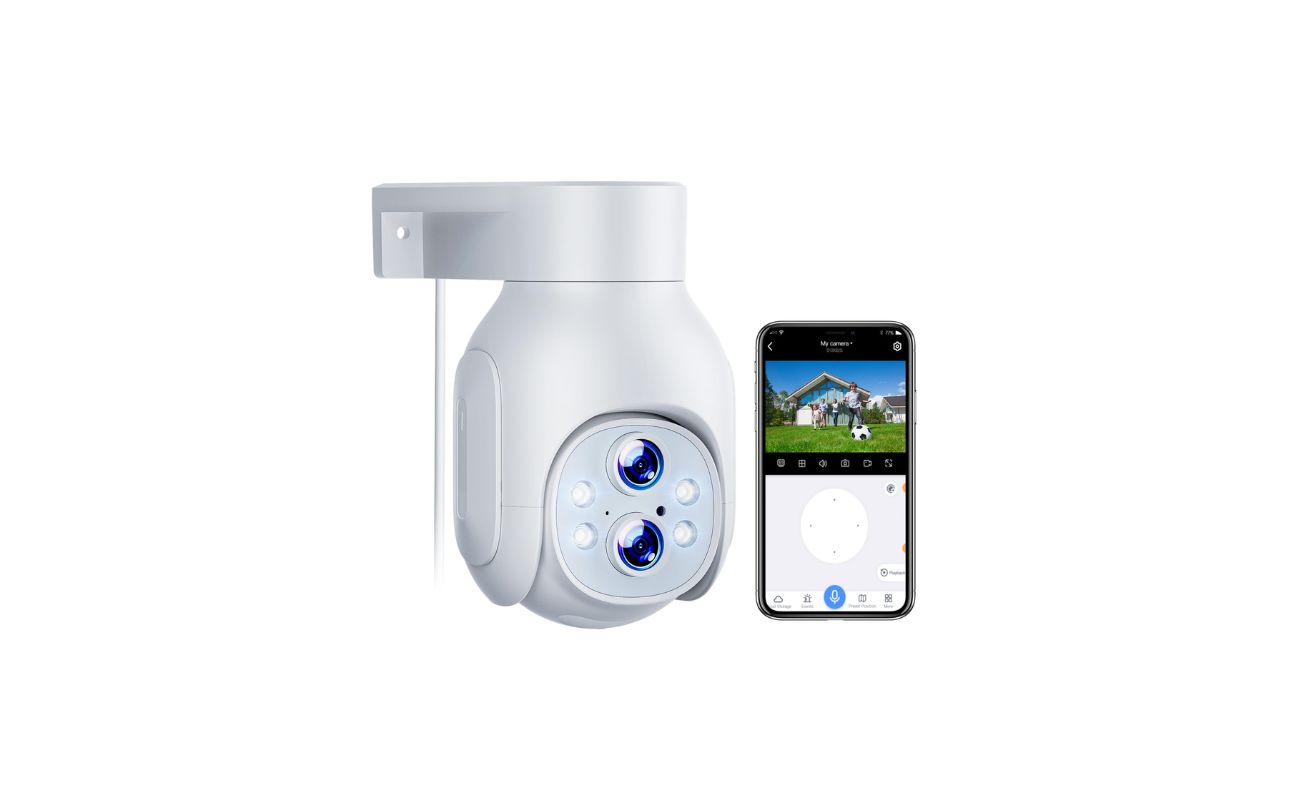
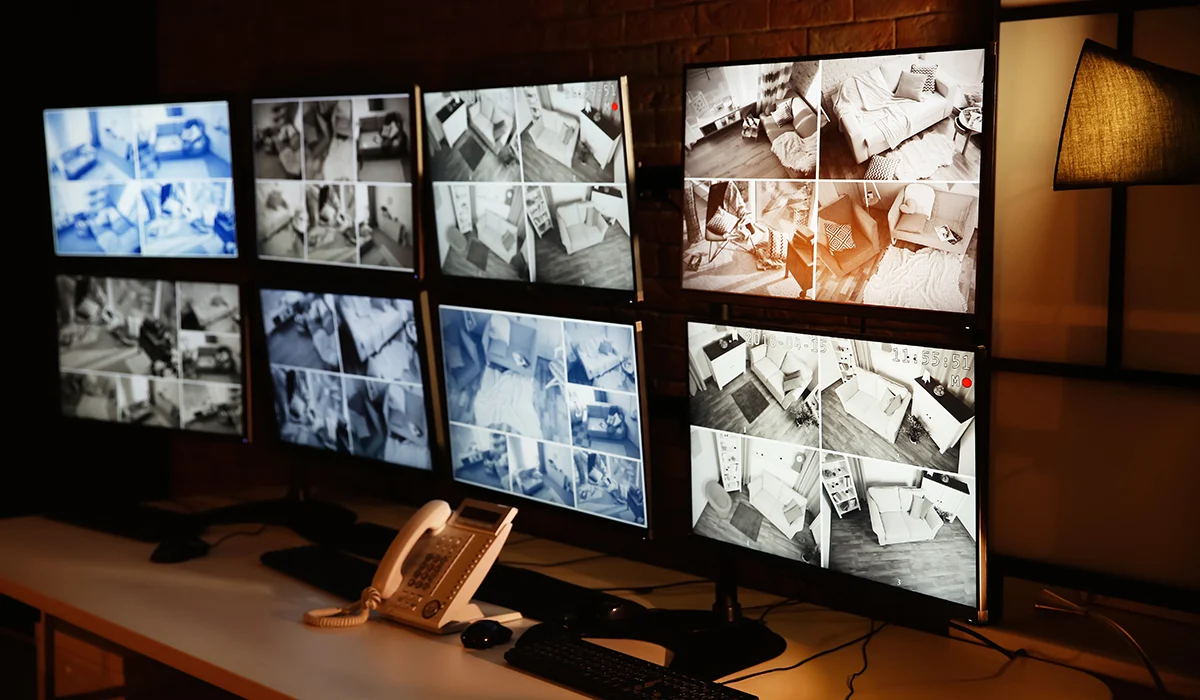
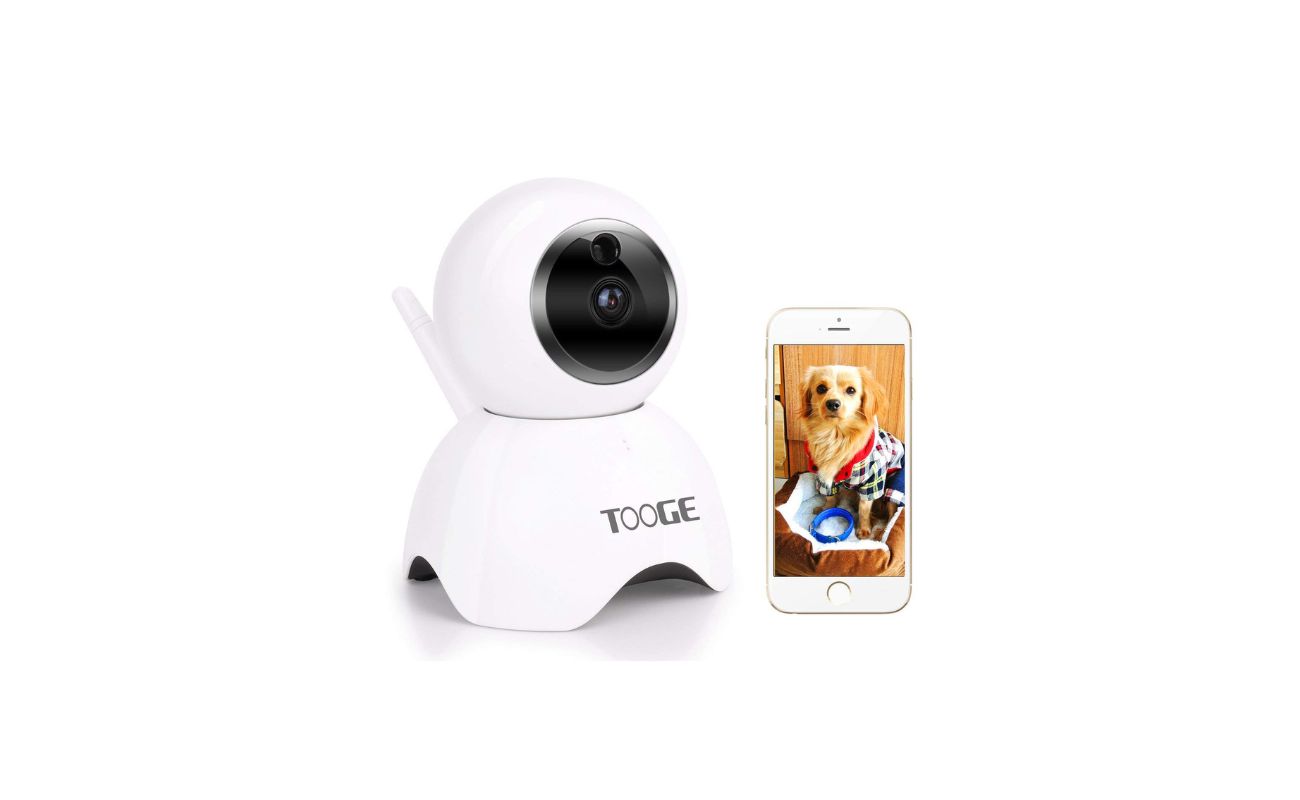
Step 5: Set Up Remote Access to the Cameras
Setting up remote access to your wireless security cameras allows you to monitor and control them from anywhere using your smartphone, tablet, or computer. This step is crucial for convenience and peace of mind. Here’s how to set up remote access:
- Install the App: Download and install the mobile app or software provided by the camera manufacturer onto your device.
- Create an Account: Open the app or software and create an account if required. This account will serve as your access point for all the cameras connected to your system.
- Add Cameras: Once your account is set up, add the cameras you have connected to your wireless network. You may need to enter the camera’s unique identification code or scan a QR code to add them to your account.
- Configure Remote Access: Within the app or software settings, find the remote access or remote viewing option. Follow the prompts to enable remote access by providing your account credentials and configuring any necessary network settings.
- Test Remote Access: Once the remote access is configured, test it by accessing the cameras from a different network or using mobile data to ensure that you can view the live feed or recorded footage remotely.
During the setup process, make sure to follow any additional instructions provided by the camera manufacturer. They may offer specific guidelines or features to enhance the remote access experience.
By setting up remote access, you can monitor your property, receive real-time alerts, and even playback recorded footage from anywhere, providing you with peace of mind and increased security.
Now that you have successfully set up remote access, it’s time to fine-tune your camera settings for optimal performance.
Step 6: Adjust Camera Settings for Optimal Performance
After connecting and setting up remote access for your wireless security cameras, it’s important to adjust the camera settings to ensure optimal performance. By fine-tuning these settings, you can enhance the quality of the captured footage and improve the overall functionality of your surveillance system. Here’s how to adjust the camera settings:
- Video Quality: Check the video quality settings and adjust them to your desired level. Higher video quality settings will consume more bandwidth and storage space, so find the right balance that suits your needs.
- Motion Detection: Enable motion detection and configure the sensitivity levels to receive notifications only for relevant events. This will help minimize false alerts and ensure you are alerted when there is actual activity in the monitored area.
- Recording and Storage: Determine the recording schedule and storage options for your cameras. You can choose continuous recording or set specific timeframes for recording. Decide whether you want to save the footage locally using an SD card or utilize cloud storage for remote access and backup.
- Notifications and Alerts: Customize the notification settings to receive alerts via email, push notifications, or SMS for specific events such as motion detection or camera tampering. This will keep you informed of any suspicious activities in real-time.
- Privacy and Security: Review the privacy and security settings to ensure your footage is protected. Set up password protection, enable encryption, and configure user access rights for added security.
- Camera Position and Angle: If necessary, make minor adjustments to the camera position or angle to ensure optimal coverage and eliminate blind spots.
By adjusting these settings, you can customize your wireless security camera system to suit your specific needs and preferences. Regularly review and update these settings as needed to adapt to changing security requirements.
Lastly, let’s address some common troubleshooting issues and provide additional tips for maintaining a stable and reliable connection to your wireless security cameras.
Step 7: Troubleshooting and Tips for Wireless Camera Connectivity
While wireless security cameras offer great flexibility and convenience, there can be occasional challenges when it comes to connectivity. Understanding troubleshooting techniques and implementing some helpful tips can ensure a stable and reliable connection to your cameras. Here are some troubleshooting and tips to enhance wireless camera connectivity:
- Check Wi-Fi Signal Strength: Poor Wi-Fi signal can cause connection issues. Ensure that your cameras are within range of your wireless router or consider using Wi-Fi extenders to improve coverage.
- Reduce Wireless Interference: Other wireless devices or neighboring networks can interfere with your camera’s signal. Keep your cameras away from sources of interference such as cordless phones, microwave ovens, or wireless baby monitors.
- Ensure Sufficient Bandwidth: High-quality video streaming requires adequate bandwidth. Make sure your internet plan meets the requirements of your camera’s video resolution and the number of cameras connected.
- Update Firmware: Regularly check for firmware updates for your cameras and apply them to benefit from performance improvements, bug fixes, and security enhancements.
- Optimize Camera Placement: Experiment with camera placement to find the best position that maximizes signal strength and minimizes obstacles or obstructions.
- Secure Your Network: Protect your wireless network with a strong password and encryption. This will prevent unauthorized access to your cameras and ensure the security of your footage.
- Restart Your Cameras and Router: Sometimes a simple restart can resolve connectivity issues. Turn off your cameras and wireless router, wait for a few minutes, and then power them back on.
- Upgrade Your Network Equipment: If you consistently experience connectivity issues, consider upgrading your wireless router to a more powerful and modern model.
- Consult Customer Support: If you’re facing persistent connectivity problems, reach out to the manufacturer’s customer support for technical assistance and guidance.
By implementing these troubleshooting techniques and following the tips provided, you can ensure a stable and reliable connection to your wireless security cameras, allowing you to enjoy seamless monitoring and enhanced security.
Now that you have mastered the steps and tips for connecting to wireless security cameras, you’re well-equipped to safeguard your property and loved ones with a comprehensive surveillance system. Keep in mind that these steps may vary depending on the specific camera brand and model, so always refer to the manufacturer’s instructions for detailed guidance.
Take the time to research and choose a reliable wireless security camera system, invest in proper installation, and adjust the settings to suit your needs. With a little effort and the right equipment, you can have peace of mind knowing you have an effective and convenient surveillance solution in place.
Stay safe and enjoy the benefits of wireless security cameras!
Conclusion
Wireless security cameras have revolutionized the way we protect our homes and loved ones. With their convenience and accessibility, connecting to wireless security cameras has become easier than ever. By following the steps outlined in this guide, you can successfully set up and connect your cameras to your wireless network, ensuring seamless remote access and monitoring.
Throughout this article, we’ve covered the basics of wireless security cameras, the importance of choosing the right system, proper installation techniques, connecting to your wireless network, setting up remote access, adjusting camera settings, troubleshooting connectivity issues, and implementing tips for optimal performance.
Remember, when choosing a wireless security camera system, consider factors such as camera resolution, night vision capabilities, field of view, storage options, and mobile app integration. Proper installation involves strategically placing the cameras, securing mounting brackets, and adjusting camera angles for optimal coverage. Connecting the cameras to your wireless network allows for remote access, enabling you to monitor and control the cameras from anywhere.
Adjusting camera settings, such as video quality, motion detection, recording schedules, and notifications, ensures the cameras perform optimally for your specific needs. Troubleshooting common connectivity issues and implementing tips, such as optimizing Wi-Fi signal strength, reducing wireless interference, and securing your network, can help maintain a stable and reliable connection.
As you embark on the journey of connecting to wireless security cameras, always refer to the manufacturer’s instructions for detailed guidance tailored to your specific camera model. Keep in mind that technology continues to evolve, so stay updated with firmware updates and consider upgrading your equipment as needed for improved performance.
By following the steps and tips provided in this guide, you can create a comprehensive and reliable surveillance system that offers peace of mind and enhanced security for your home and loved ones. Embrace the power of wireless security cameras and enjoy the convenience of remote monitoring, knowing that your property is well-protected.
Stay vigilant, stay safe, and enjoy the benefits of wireless security cameras!
Frequently Asked Questions about How To Connect To Cameras Wireless Security
Was this page helpful?
At Storables.com, we guarantee accurate and reliable information. Our content, validated by Expert Board Contributors, is crafted following stringent Editorial Policies. We're committed to providing you with well-researched, expert-backed insights for all your informational needs.