Home>Home Security and Surveillance>How To Turn A Peep Hole Into Motion Detector Camera
Home Security and Surveillance
How To Turn A Peep Hole Into Motion Detector Camera
Modified: October 20, 2024
Learn how to transform a standard peephole into a motion detector camera for enhanced home security and surveillance. Safeguard your property with this DIY project.
(Many of the links in this article redirect to a specific reviewed product. Your purchase of these products through affiliate links helps to generate commission for Storables.com, at no extra cost. Learn more)
Introduction
Welcome to our guide on turning a standard peephole into a motion detector camera for enhanced home security and surveillance. With the increasing need to protect our homes and loved ones, it’s crucial to stay one step ahead of potential threats. By converting a simple peephole into a motion detection camera, you can gain peace of mind knowing that your home is secure even when you’re away.
In this comprehensive tutorial, we will provide step-by-step instructions on how to transform a peephole into a motion detector camera. You don’t need advanced technical skills or expensive equipment to accomplish this project. By using simple materials and following our guidelines, you’ll have a fully-functional motion detector camera in no time.
Before we dive into the process, let’s take a moment to discuss the benefits of having a motion detector camera. Traditional peepholes allow you to see who is at your door when someone knocks or rings the bell. While this is a useful feature, it has its limitations. A motion detector camera, on the other hand, goes a step further by capturing any movement or activity happening outside your door, even when you’re not there to physically look through the peephole. This added layer of surveillance gives you real-time visibility and helps to deter potential burglars or intruders.
Additionally, a motion detector camera can also be valuable for monitoring package deliveries, keeping an eye on children or pets playing outside, or capturing any suspicious activity in your neighborhood. With the integration of modern technology, you can conveniently access the camera’s footage through your smartphone or computer, ensuring that you’re always connected to your home’s security.
Now that we understand the advantages of a motion detector camera, let’s move on to the materials needed for this DIY project.
Key Takeaways:
- Transform your peephole into a motion detector camera for enhanced home security. Follow simple steps to install and customize your DIY surveillance system.
- Gain peace of mind by creating a personalized motion detector camera to monitor your home. Simulate motion, adjust settings, and stay connected to your home’s security.
Materials Needed
Before embarking on the process of turning your peephole into a motion detector camera, it’s essential to gather the necessary materials. Fortunately, you won’t require any specialized or expensive equipment for this project. Here’s a list of the items you’ll need:
- A standard peephole: Make sure you have a functioning peephole installed in your door. This will serve as the base for your motion detector camera.
- A camera module: Look for a compact camera module that is compatible with your peephole’s dimensions. Opt for a high-resolution camera to capture clear and detailed footage.
- A motion detector sensor: This sensor will detect any movement or activity outside your door and trigger the camera to start recording. Choose a reliable motion detector sensor that can accurately detect motion within a specified range.
- Wires and connectors: You’ll need wires to connect the camera module, motion detector sensor, and power source. Ensure you have the appropriate connectors to securely join the different components together.
- A power source: Depending on your preference, you can use either batteries or a power adapter to provide electricity to the camera module and motion detector sensor.
- Mounting hardware: To secure the camera module and motion detector sensor in place, you’ll need screws, brackets, or other mounting hardware that are compatible with your door’s material.
- A microSD card: If your camera module supports it, purchase a microSD card to store the recorded footage. Make sure it has sufficient storage capacity to meet your needs.
It’s important to note that the specific materials required may vary depending on the camera module and motion detector sensor you choose. Always refer to the manufacturer’s instructions and guidelines to ensure compatibility and proper installation.
Now that you have all the necessary materials, let’s move on to the step-by-step process of transforming your peephole into a motion detector camera.
Step 1: Disassembling the Peephole
The first step in transforming your peephole into a motion detector camera is to disassemble the existing peephole from your door. Here’s how to do it:
- Inspect the peephole: Take a close look at the peephole on your door. Most peepholes consist of two main parts – the exterior barrel and the interior viewer. Determine how your peephole is constructed and identify the necessary components that need to be removed.
- Remove the exterior barrel: Carefully unscrew the exterior barrel of the peephole from the outside of your door. You may need to use a screwdriver or a wrench to loosen the screws or brackets that are holding it in place. Keep the screws or brackets in a safe place as you may need them later.
- Remove the interior viewer: Once the exterior barrel is removed, you can access the interior viewer. Unscrew or detach the interior viewer from the inside of your door. Again, make sure to keep any screws or brackets in a secure location.
- Disconnect any wires (if applicable): In some cases, peepholes may be connected to a doorbell or intercom system with wires. If your peephole has any wires connected to it, carefully disconnect them by unscrewing or unclipping the connectors. Take note of how the wires were connected to ensure proper reassembly later on.
By disassembling the peephole, you’re creating a space that can accommodate the camera module and motion detector sensor. Remember to handle all components with care to avoid any damage.
Now that you have successfully dismantled the peephole, let’s move on to the next step of installing the camera module.
Step 2: Installing the Camera Module
Now that you have disassembled the peephole, it’s time to install the camera module. This module will be the key component that captures the video footage for your motion detection camera. Follow these instructions to install the camera module:
- Prepare the camera module: Make sure the camera module is compatible with the dimensions of your peephole’s interior viewer area. Remove any protective coverings or packaging from the camera module.
- Secure the camera module: Position the camera module in the center of the interior viewer space. Use screws or brackets to securely mount the camera module into place. If necessary, refer to the manufacturer’s instructions for specific mounting guidelines.
- Connect the camera module: Depending on the type of camera module you have, you may need to connect it to other components such as the motion detector sensor or power source. Follow the manufacturer’s instructions to properly connect the camera module, ensuring the wires are securely attached.
- Reassemble the peephole: Once the camera module is securely installed, it’s time to reassemble the peephole. Attach the interior viewer back onto the door, aligning it with the camera module. Use the screws or brackets you previously removed to firmly fix the interior viewer into place.
Make sure that the camera lens of the module is facing outward, allowing it to capture an unobstructed view of the area outside your door. Take your time to ensure all connections are properly secured and the camera module is firmly in place.
Now that the camera module is installed, we can proceed to the next step, which involves connecting the necessary wires and power source.
Step 3: Connecting Wires and Power
Now that you have installed the camera module, it’s time to connect the necessary wires and power source. This step is crucial as it allows the camera module and motion detector sensor to function properly. Follow these instructions to connect the wires and power:
- Identify the wires: Depending on your camera module and motion detector sensor, you will have different wires that need to be connected. The most common wires include those for power, video output, and motion detection.
- Connect the power wires: Determine how you will power your motion detection camera – either through batteries or a power adapter. If using batteries, connect the positive and negative terminals to the corresponding power wires on the camera module. If using a power adapter, connect it to an electrical outlet and then connect the power wires to the appropriate terminals on the camera module.
- Connect the video output wires: If your camera module has a video output feature, you can connect it to a monitor or DVR for real-time viewing or recording of the footage. Refer to the manufacturer’s instructions to identify the correct video output wires and connect them accordingly.
- Connect the motion detection wires: If your camera module comes with a separate motion detector sensor, you will need to connect the wires from the sensor to the camera module. Follow the manufacturer’s instructions to determine which wires correspond to the motion detection functionality and connect them accordingly.
Ensure that all connections are secure and properly tightened. Take note of which wire is connected to which terminal to avoid confusion during the next steps. It’s also a good idea to double-check the manufacturer’s instructions for any additional wiring details specific to your camera module and motion detector sensor.
With the wires and power properly connected, we can now move on to the next step, which involves mounting the motion detector camera on your door.
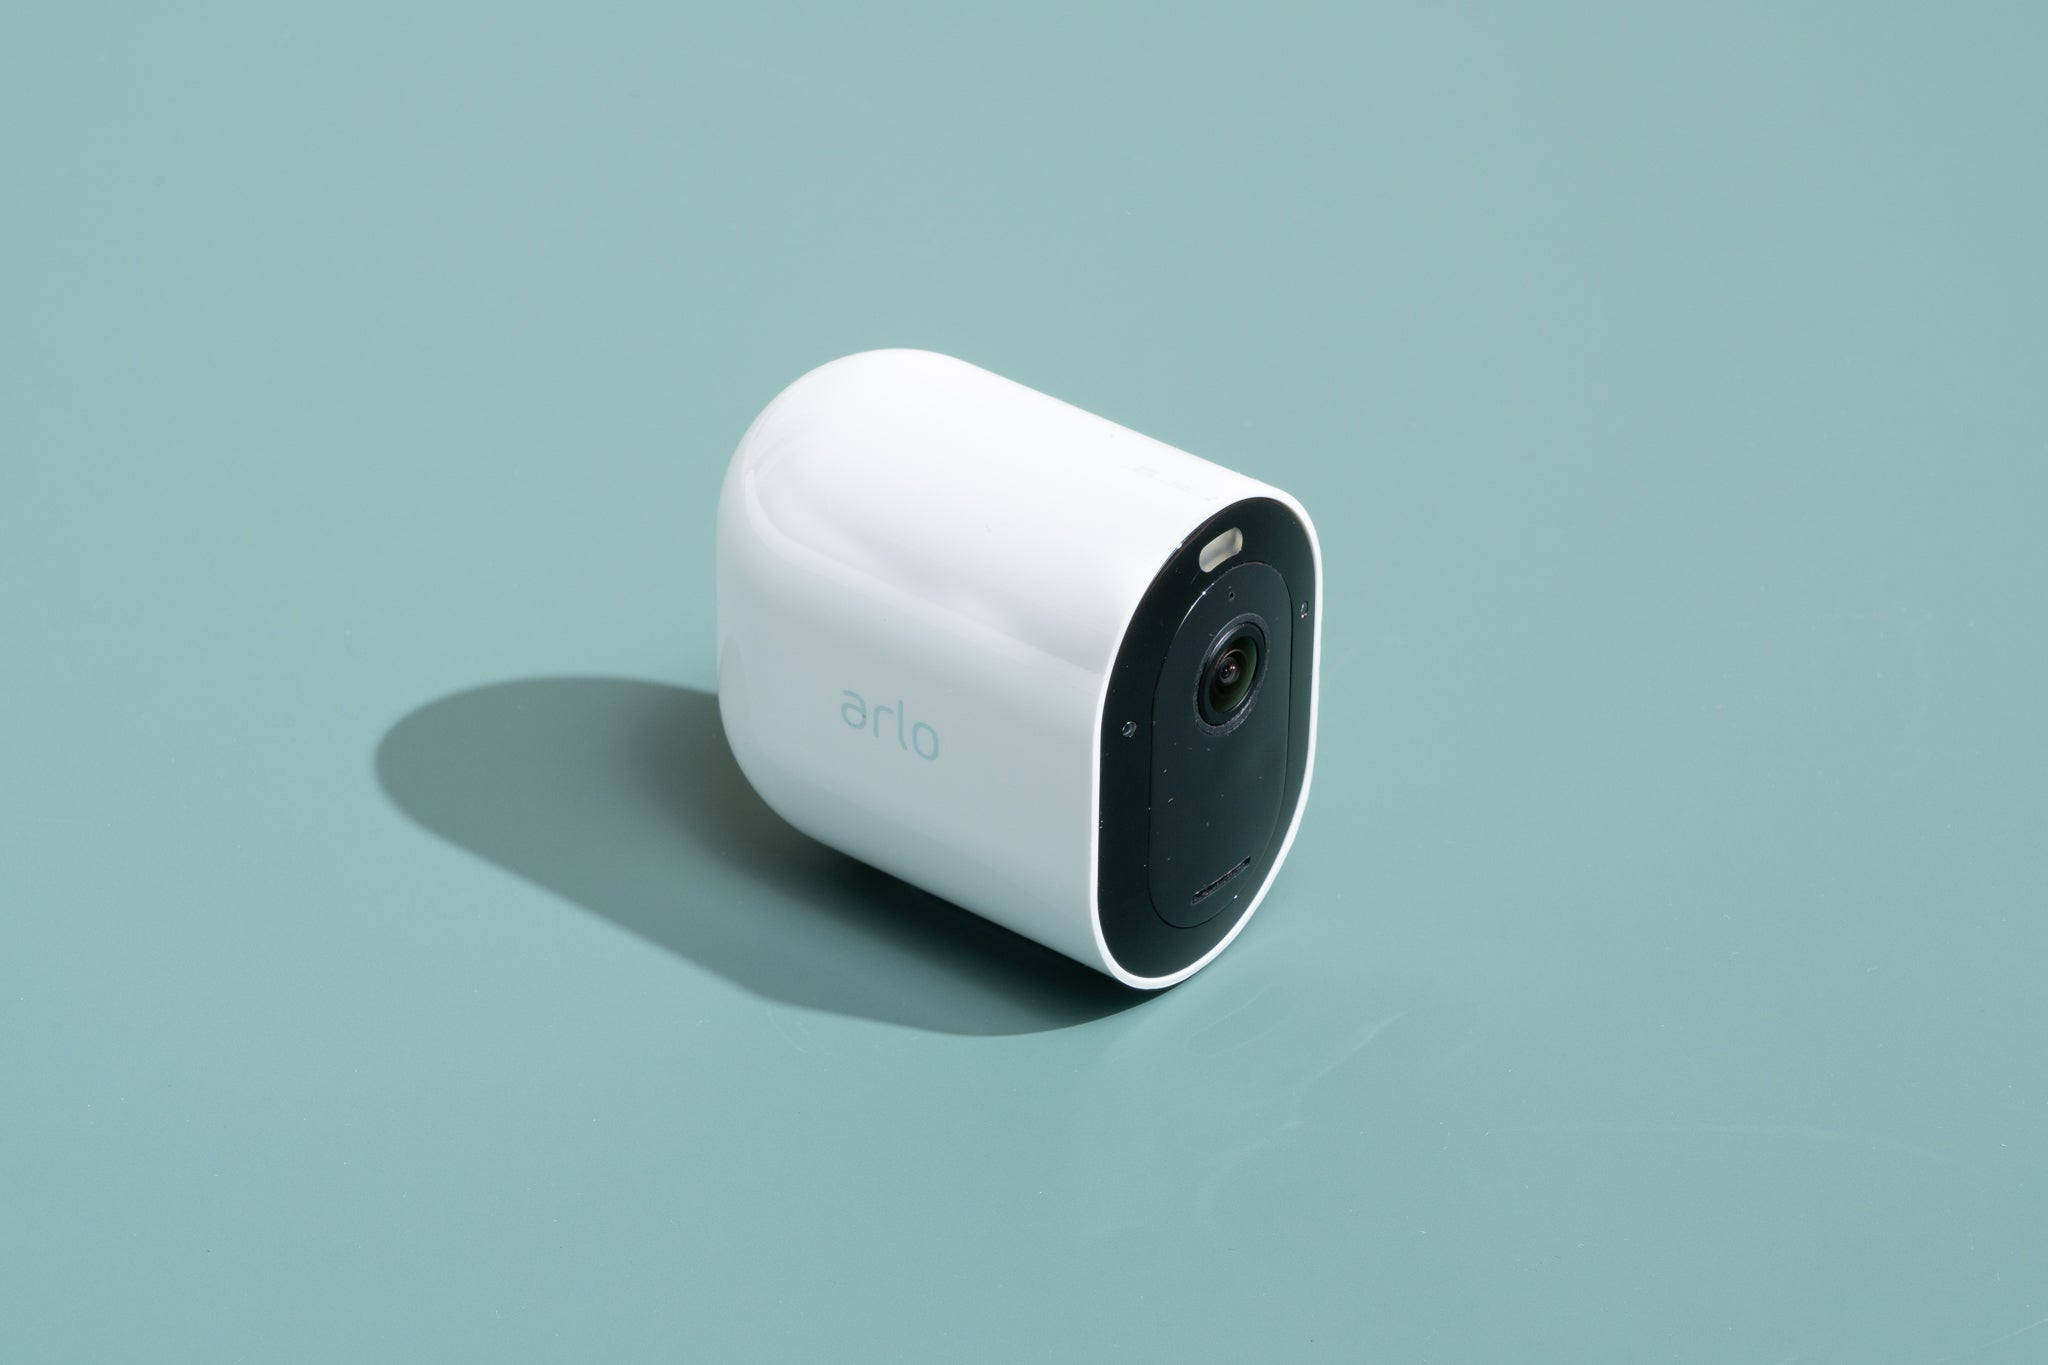
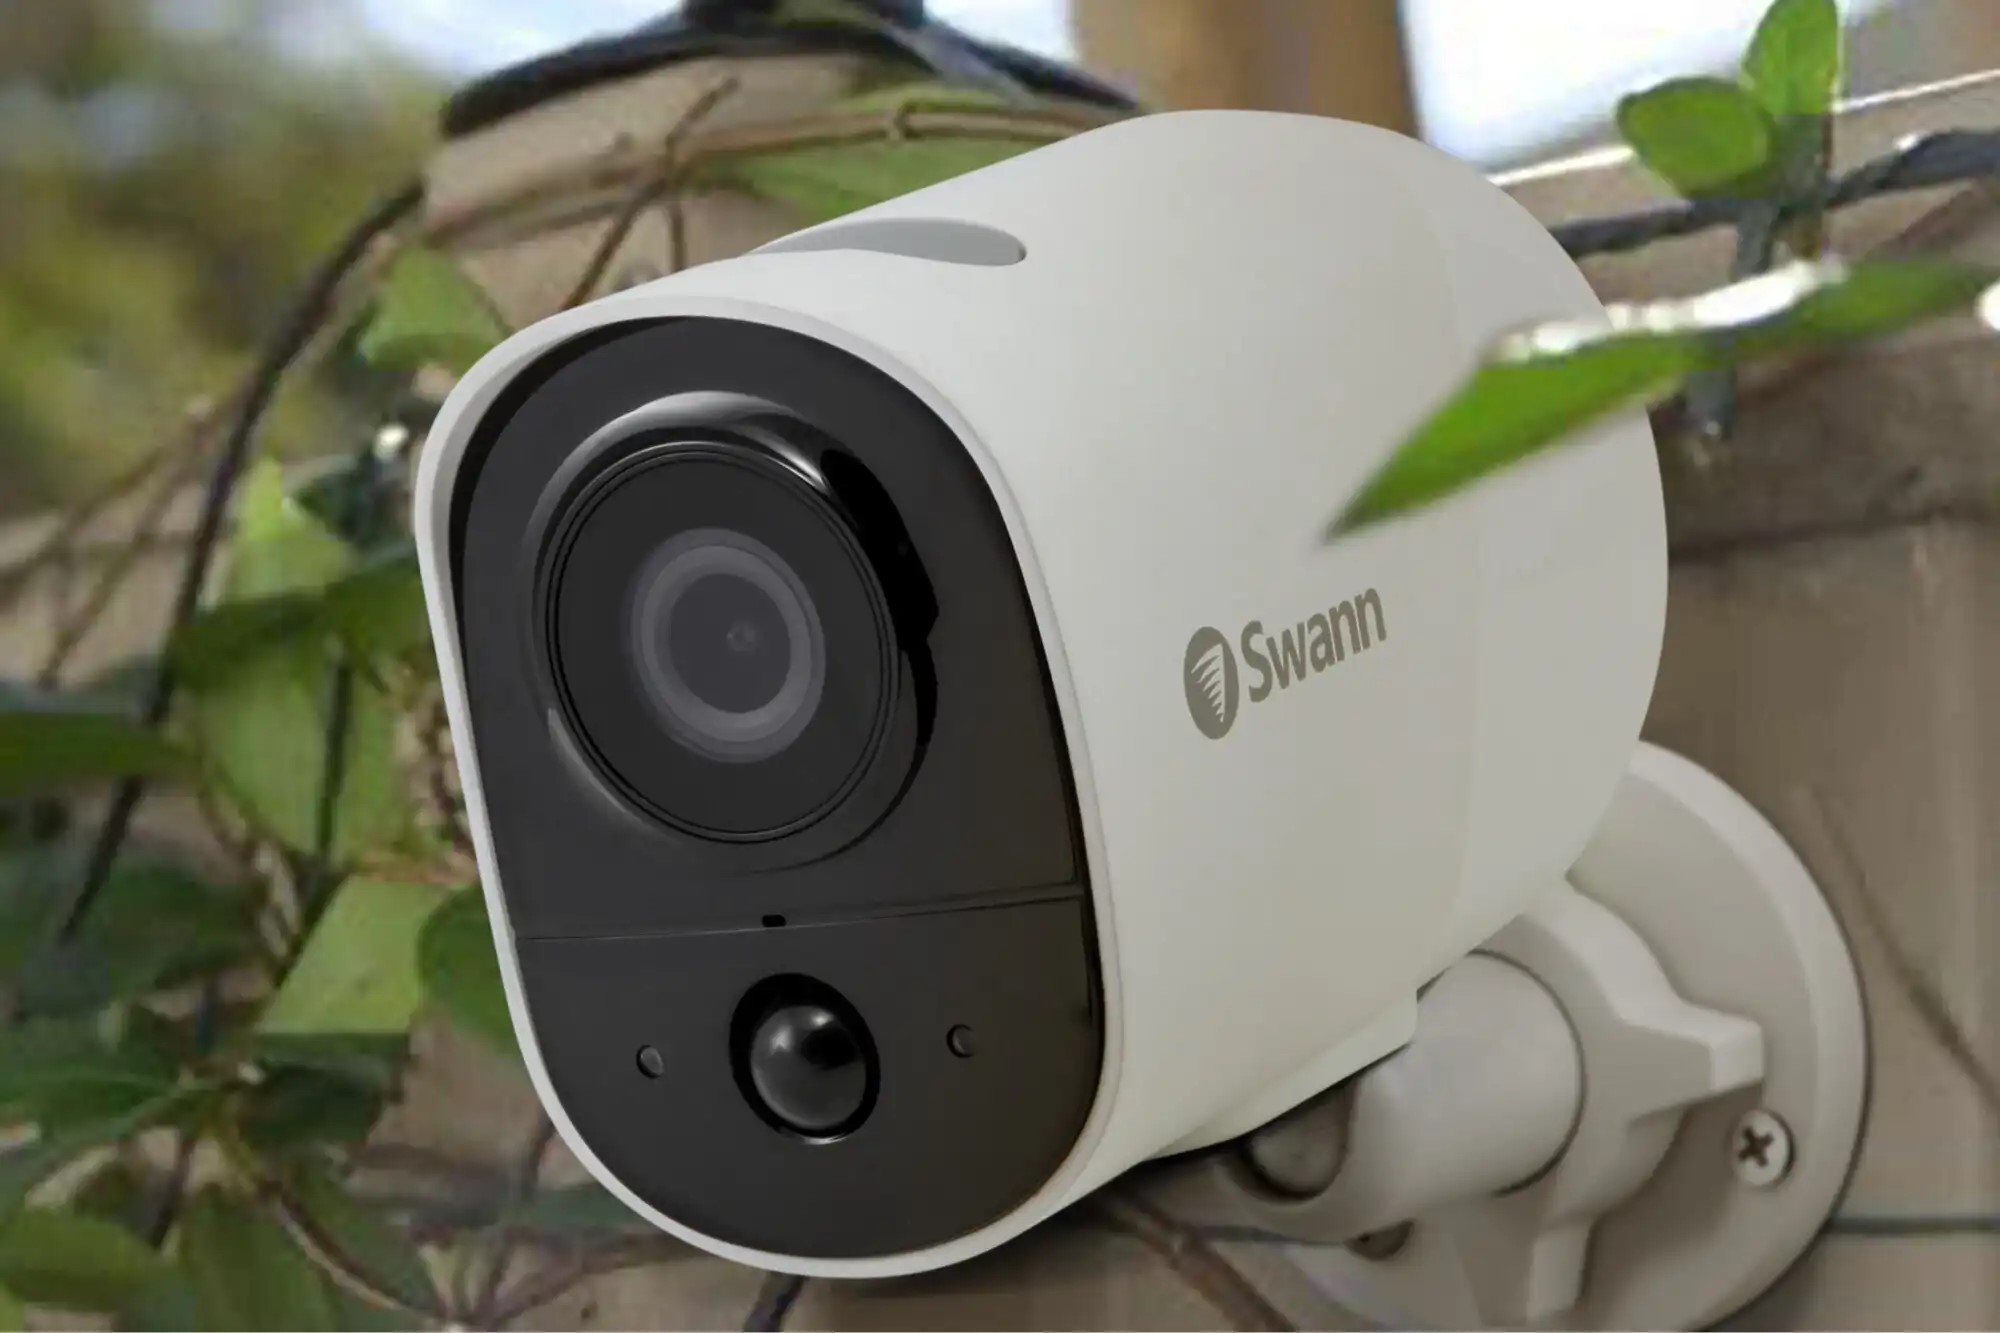
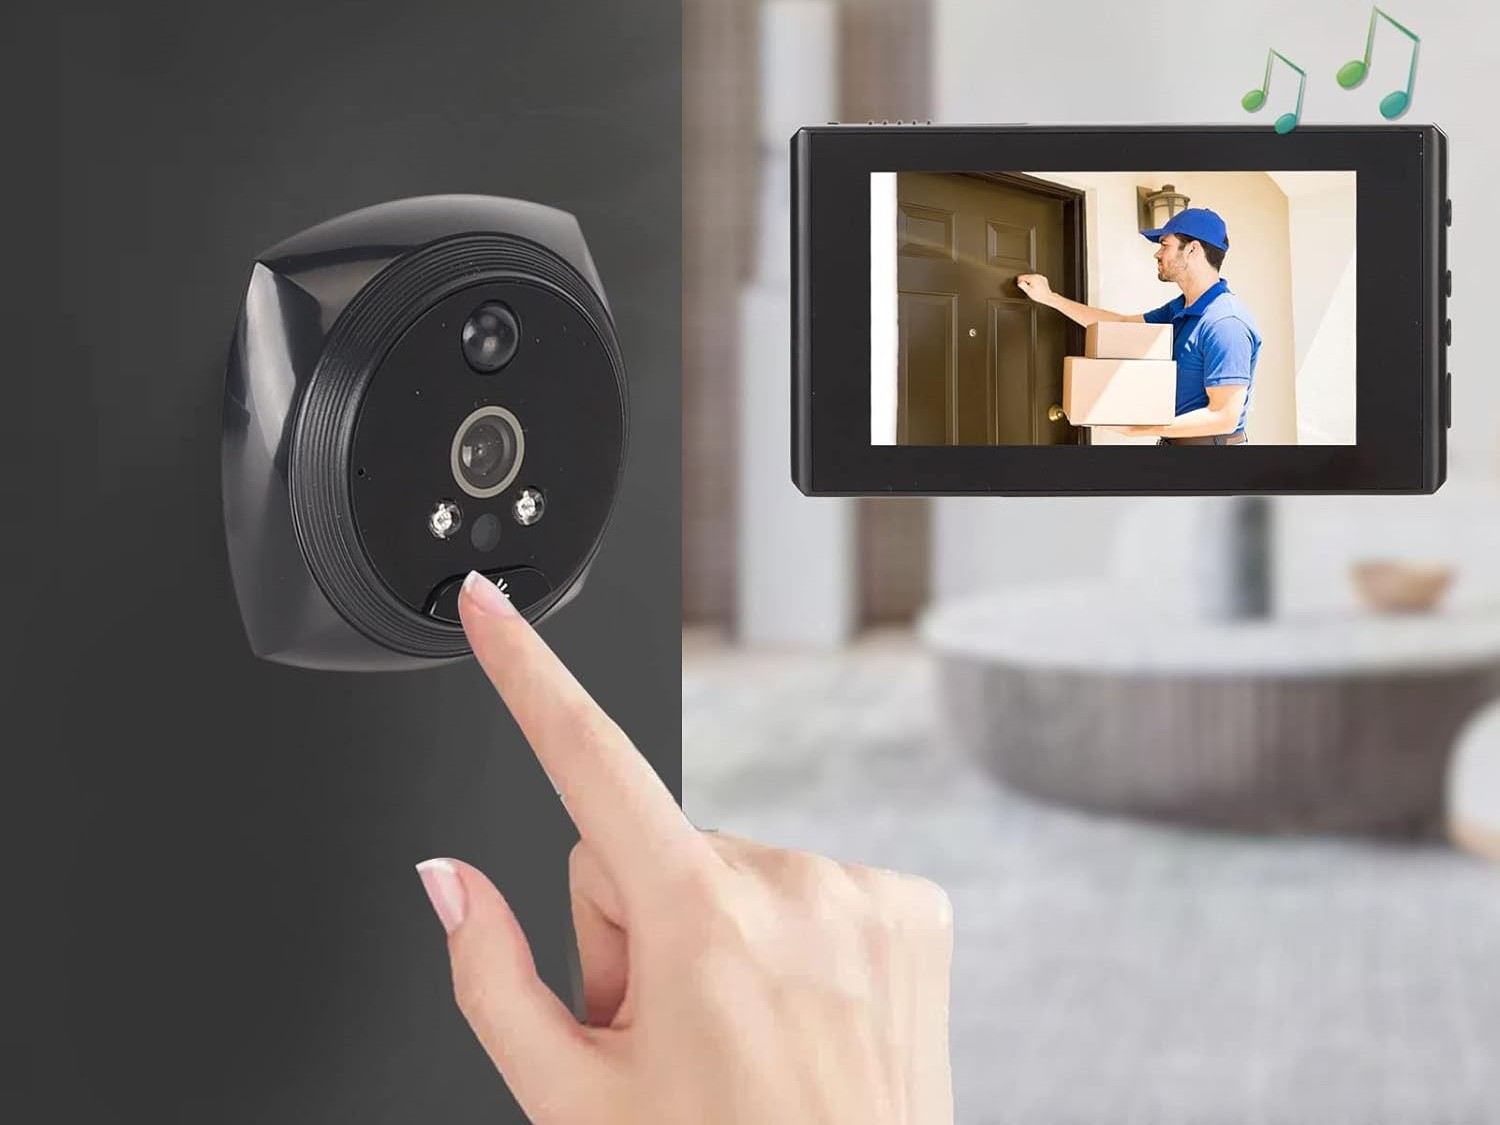
Consider using a small, high-quality motion-activated camera that can fit into the existing peep hole. Make sure it has night vision and can connect to your smartphone for easy monitoring.
Step 4: Mounting the Motion Detector Camera
Now that you have connected the wires and power, it’s time to mount the motion detector camera onto your door. The proper placement and installation of the camera and motion detector sensor are crucial for optimal performance. Follow these instructions to mount the motion detector camera:
- Choose the mounting location: Carefully select a suitable location on your door to mount the motion detector camera. Ideally, the camera should have a clear view of the area you want to monitor, such as your front porch or driveway.
- Secure the camera module: Use the appropriate mounting hardware, such as screws or brackets, to securely attach the camera module to the chosen location. Ensure that the camera lens is not obstructed and has a clear view of the surrounding area.
- Mount the motion detector sensor: If your motion detector sensor is separate from the camera module, find a suitable location near the camera to mount it. The sensor should have a clear line of sight to detect movement effectively.
- Secure the motion detector sensor: Similar to the camera module, use the appropriate mounting hardware to securely attach the motion detector sensor to its designated location. Make sure the sensor is aligned with the camera module to ensure accurate motion detection.
Remember to consider the height and angle at which you mount the camera and motion detector sensor to achieve the best coverage. It’s important to double-check the stability and security of the mounting to avoid any accidental detachment or misalignment.
With the motion detector camera properly mounted, we can proceed to the next step, which involves testing the motion detection functionality.
Step 5: Testing the Motion Detection
After mounting the motion detector camera, it’s essential to test the motion detection functionality to ensure that it is working properly. This step will help you verify that the camera module and motion detector sensor are accurately detecting and recording any movement outside your door. Here’s how to test the motion detection:
- Activate the motion detection mode: Consult the camera module’s instructions to activate the motion detection mode. This mode enables the camera to start recording whenever it detects motion.
- Simulate motion: To test the motion detection, simulate motion by walking or moving in the monitored area outside your door. Make sure to move within the specified range of the motion detector sensor.
- Observe the camera’s response: Check the camera or monitor connected to the camera module to see if it starts recording when motion is detected. Verify that the motion detection feature is working correctly by reviewing the recorded footage or observing the live video feed.
- Adjust motion detection settings: If needed, fine-tune the motion detection settings on your camera module. This may include adjusting the sensitivity level or the detection range to ensure accurate motion detection without false alarms.
Repeat this testing process from different angles and distances to thoroughly evaluate the motion detection capabilities of your newly transformed camera. It’s important to conduct these tests during different times of the day to account for variations in lighting conditions.
If the motion detection is functioning as expected and capturing the desired areas, congratulations! You have successfully completed the testing phase. However, if you encounter any issues or are unsatisfied with the results, consider reviewing the setup, adjusting the positioning, or consulting the camera module’s documentation for troubleshooting assistance.
Now that the motion detection has been tested, we can move on to the final step – adjusting the settings and preferences to personalize your motion detector camera.
Step 6: Adjusting Settings and Preferences
Now that your motion detector camera is installed and tested, it’s time to fine-tune the settings and preferences to customize your surveillance system according to your specific needs. Here are some key adjustments you can make:
- Camera angle and field of view: Assess the camera’s angle and field of view to ensure it captures the desired area. Adjust the camera module if needed to optimize the viewing angle and eliminate any blind spots.
- Motion detection sensitivity: Depending on your environment, you may need to adjust the motion detection sensitivity. If you’re experiencing too many false alarms, lower the sensitivity level. Conversely, if the camera is not capturing all relevant motion events, increase the sensitivity.
- Recording duration: Determine the duration of the recorded clips when motion is detected. You may opt for shorter clips to save storage space or longer clips for more comprehensive monitoring.
- Storage options: Depending on your camera module, you may have various storage options. Connect a microSD card to store the recorded footage locally, or explore cloud storage options for remote access and backup.
- Alert notifications: Set up alert notifications to receive instant notifications on your smartphone or computer when motion is detected. This allows you to respond promptly to any potential security concerns.
- Scheduling: Some camera modules offer scheduling features, allowing you to specify when the motion detection should be active. This is useful if you want to disable monitoring during specific times, such as when you’re at home or during certain hours of the day.
Take the time to explore the settings and preferences available on your camera module. Refer to the manufacturer’s instructions and user manual for detailed information on how to make these adjustments. By customizing the settings, you can tailor your motion detector camera to meet your specific security requirements.
Congratulations! You have successfully transformed your peephole into a motion detector camera. With the proper adjustments, your motion detector camera will enhance the security and surveillance of your home, providing you with peace of mind.
Remember to periodically review and update the settings as necessary to ensure your motion detector camera continues to function optimally. Regular maintenance, such as cleaning the lens and checking the power source, will also contribute to the longevity and reliability of your surveillance system.
Thank you for following this comprehensive guide. Stay vigilant and enjoy the added security and peace of mind provided by your newly created motion detector camera.
Conclusion
Home security and surveillance are essential in today’s world, and having a motion detector camera can greatly enhance your ability to protect your home and loved ones. By following the steps outlined in this guide, you have successfully transformed a standard peephole into a motion detector camera, creating a personalized and effective home security solution.
We started by disassembling the peephole and installing the camera module, ensuring that it is securely mounted. Then, we connected the necessary wires and power source to enable the camera module and motion detector sensor to function properly. With everything in place, we mounted the motion detector camera on the door and tested its motion detection capabilities.
During the testing phase, you had the opportunity to simulate motion and observe how the camera responded. Adjustments could be made to the motion detection sensitivity, recording duration, storage options, and more to personalize the system according to your needs and preferences.
By transforming your peephole into a motion detector camera, you’ve added an extra layer of security to your home. You can now monitor the surroundings even when you’re away, receive prompt alert notifications on your smartphone or computer, and have the peace of mind that comes from knowing your home is protected.
Remember to periodically review and update the settings, perform regular maintenance, and ensure that the system is functioning optimally. With proper care, your motion detector camera will continue to serve as a reliable guardian of your home’s security.
Thank you for following this comprehensive guide on turning a peephole into a motion detector camera. Stay vigilant, and may your newly transformed security system provide you with the peace of mind and protection you deserve.
Frequently Asked Questions about How To Turn A Peep Hole Into Motion Detector Camera
Was this page helpful?
At Storables.com, we guarantee accurate and reliable information. Our content, validated by Expert Board Contributors, is crafted following stringent Editorial Policies. We're committed to providing you with well-researched, expert-backed insights for all your informational needs.