Home>Home Security and Surveillance>How To Turn On Motion Detector On Logitech C910
Home Security and Surveillance
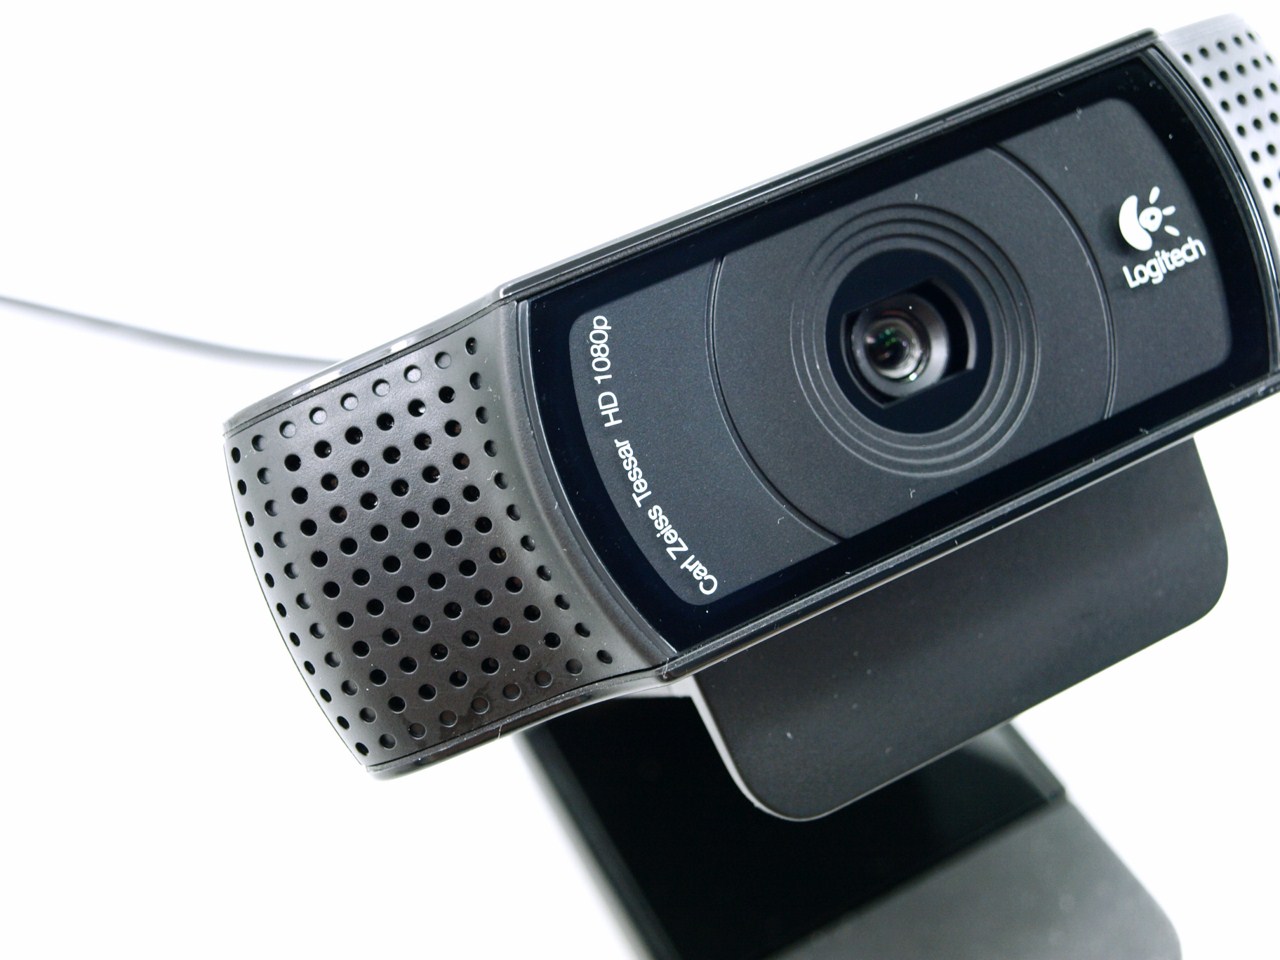
How To Turn On Motion Detector On Logitech C910
Modified: March 6, 2024
Learn how to activate the motion detector on the Logitech C910 webcam for enhanced home security and surveillance. Follow our step-by-step guide to ensure your property is protected.
(Many of the links in this article redirect to a specific reviewed product. Your purchase of these products through affiliate links helps to generate commission for Storables.com, at no extra cost. Learn more)
Introduction
Welcome to our comprehensive guide on how to turn on the motion detector on the Logitech C910. If you’re looking to enhance the security of your home or premises, the Logitech C910 is a fantastic option. This high-quality webcam not only offers superior video and audio capabilities, but it also comes equipped with a motion detection feature.
Having a motion detector allows you to monitor your surroundings and receive alerts whenever any movement is detected. This is particularly beneficial in safeguarding your property from potential intruders or keeping an eye on your loved ones when you’re away.
In this article, we will walk you through the process of enabling the motion detector on your Logitech C910. Whether you’re a seasoned tech enthusiast or just starting, we’ve got you covered. So, let’s dive right in!
Before we proceed, it’s essential to ensure that your computer setup is compatible with the Logitech C910 and that you have installed the necessary software. Let’s quickly go over these requirements.
Key Takeaways:
- You can enhance your home security with the Logitech C910 webcam’s motion detection feature. Just follow the simple steps to enable and customize it to keep your surroundings safe from potential intruders.
- Regularly test and adjust the motion detection settings to ensure optimal performance. Troubleshooting tips are available to help you overcome any common issues and maintain a reliable security system.
Checking Compatibility
Before you begin, it’s crucial to check if your computer meets the minimum system requirements for the Logitech C910 and its supporting software. This will help ensure a smooth installation process and optimal performance.
Here are the basic requirements:
- Operating System: The Logitech C910 is compatible with Windows XP, Windows Vista, Windows 7, and Windows 8. It may also work with Mac OS X 10.5 or later, but the functionality may be limited.
- Processor: Your computer should have a compatible processor speed, typically 1.6 GHz or higher.
- RAM: A minimum of 1 GB RAM is recommended for optimal performance.
- USB Port: The Logitech C910 connects to your computer via a USB 2.0 port. Ensure that your computer has an available USB port for the webcam.
- Internet Connection: While not mandatory, an internet connection is beneficial for accessing additional features and software updates.
With these requirements in mind, double-check your computer’s specifications to ensure compatibility. If your computer falls short of any of these requirements, you may need to consider upgrading your system or looking for alternative webcam options that are compatible with your setup.
Once you’ve confirmed compatibility, you’re ready to install the Logitech Webcam Software, which will allow you to access and configure the motion detection feature on the Logitech C910.
Installing the Logitech Webcam Software
In order to enable the motion detection feature on your Logitech C910, you will need to install the Logitech Webcam Software on your computer. This software provides the necessary drivers and tools for your webcam to function properly.
Here’s a step-by-step guide on how to install the Logitech Webcam Software:
- Start by visiting the official Logitech website (www.logitech.com) and navigate to the Support section. Look for the Downloads or Drivers page.
- Select your Logitech C910 webcam from the list of available products. Make sure to choose the correct operating system version.
- Once you’ve selected your webcam model, you should see a list of available software and drivers. Locate the Logitech Webcam Software and click on the download link.
- Once the download is complete, locate the installation file in your download folder and double-click on it to initiate the installation process.
- Follow the on-screen instructions to complete the installation. You may be prompted to agree to the terms and conditions, select the installation location, and choose any additional components or settings.
- Once the installation is finished, restart your computer to ensure that the Logitech Webcam Software is properly installed and ready to use.
After the software installation is complete, you can proceed to connect your Logitech C910 webcam to your computer.
Note: If you already have the Logitech Webcam Software installed, make sure it is up to date. Visit the Logitech website and check for any available software updates for your specific webcam model.
Connecting the Logitech C910 to Your Computer
Once you have installed the Logitech Webcam Software, it’s time to connect your Logitech C910 webcam to your computer. Follow these steps to ensure a successful connection:
- Locate the USB cable that came with your Logitech C910 webcam. It should have a standard USB connector on one end and a smaller, rectangular connector on the other end.
- Plug the USB connector into an available USB 2.0 port on your computer. Make sure to use a port that provides sufficient power and data transfer capabilities.
- Take the rectangular connector and plug it into the corresponding port on the back of the Logitech C910 webcam. Ensure that the connector is inserted securely and snugly.
- Once the webcam is connected, your computer should detect the new hardware and automatically install the necessary drivers. If prompted, follow the on-screen instructions to complete the driver installation.
- After the drivers are installed, wait for your computer to recognize the webcam. This may take a few moments.
- Once the webcam is recognized, you may see a notification or pop-up indicating that the Logitech C910 is ready to use. At this point, you can proceed to access the camera settings to enable the motion detection feature.
It’s important to note that if you encounter any issues during the connection process, ensure that the USB cable is securely connected and try different USB ports on your computer. You may also need to update the drivers for your USB ports or restart your computer before attempting the connection again.
Once your Logitech C910 webcam is successfully connected, you’re ready to dive into the camera settings and enable the motion detection feature. Let’s find out how to access these settings in the next section.
Accessing the Camera Settings
Before you can enable the motion detection feature on your Logitech C910, you need to access the camera settings. These settings allow you to customize various aspects of your webcam’s functionality, including the motion detection feature.
- Start by launching the Logitech Webcam Software on your computer. You can typically find it in your list of installed programs or by searching for “Logitech Webcam Software” in the Start menu.
- Once the software is open, you should see a window displaying the live view from your Logitech C910 webcam, along with various control options.
- Look for a settings icon or menu within the software interface. This is usually represented by a gear or a wrench icon. Click on it to access the camera settings.
- A new window or tab will open, displaying the different settings available for your Logitech C910 webcam. Take a moment to familiarize yourself with the options and controls.
- Within the camera settings, you should be able to locate the motion detection feature. It may be listed as “Motion Detection,” “Security,” or a similar term.
- Click on the motion detection option to access the specific settings related to this feature.
It’s worth noting that the exact location and terminology of the motion detection settings may vary slightly depending on the version of the Logitech Webcam Software you are using. If you’re having trouble locating these settings, refer to the software documentation or the Logitech support website for assistance.
Great! Now that you’ve found the motion detection settings, it’s time to enable and customize this feature according to your preferences. We’ll explore how to do that in the next section.
Read more: What Does NC And C Mean In Motion Detector?
Locating the Motion Detection Feature
Now that you’ve accessed the camera settings in the Logitech Webcam Software, it’s time to locate the motion detection feature. This feature allows your Logitech C910 webcam to detect any movement within its field of view and trigger actions accordingly.
The motion detection feature may be located within the camera settings or in a separate section specifically dedicated to security or surveillance options. Here’s how you can locate it:
- Within the camera settings window or tab, carefully review the available options and tabs. Look for any mentions of motion detection, security, or surveillance functionality.
- If there is a separate section for security or surveillance, navigate to that section to find the motion detection settings.
- If motion detection is not readily visible, check for submenus or expandable sections within the camera settings. Sometimes, the motion detection feature is nested under additional options.
- Utilize search or filter functions if available within the camera settings window. This can help you quickly locate the specific motion detection settings.
- Read the software documentation or consult the Logitech support website for guidance on finding the motion detection feature in your specific version of the Logitech Webcam Software.
Remember, the location and terminology of the motion detection feature may vary slightly depending on the software version you are using. Take your time to explore the available options and ensure that you have located the motion detection settings before proceeding to the next steps.
Once you have successfully located the motion detection feature, it’s time to enable it and customize the settings to best suit your security needs. We will delve into the process of enabling and adjusting the motion detection settings in the following sections.
To turn on the motion detector on the Logitech C910, open the Logitech Webcam Software, go to the Settings tab, select the Motion Detection option, and then toggle the switch to turn it on.
Enabling Motion Detection
Now that you’ve located the motion detection feature in the Logitech Webcam Software, it’s time to enable it. Enabling motion detection will allow your Logitech C910 webcam to detect any movement within its field of view and trigger actions in response.
To enable motion detection, follow these steps:
- Within the motion detection settings, check for an “Enable” or “Activate” option. This option may be a toggle switch or a checkbox.
- If the motion detection feature has a toggle switch, simply click on it to enable it. If it has a checkbox, click on the checkbox to enable the feature.
- Once you have enabled motion detection, you may have the option to set additional parameters, such as sensitivity levels or customized detection zones. These settings allow you to fine-tune the motion detection feature to your specific needs.
- Take some time to explore these additional settings and adjust them according to your preferences. Higher sensitivity levels may result in more frequent alerts, while lower levels may make the detection more selective.
- Consider defining specific detection zones if your Logitech C910 webcam supports this feature. This allows you to focus the motion detection on specific areas within the camera’s field of view, such as entryways or windows.
- Check for any other available settings, such as notification preferences or recording options, that can enhance the functionality of the motion detection feature.
Once you have enabled motion detection and customized the settings to your liking, you’re one step closer to enhancing the security of your home or premises with the Logitech C910 webcam. However, it’s equally important to test the motion detection feature to ensure that it’s functioning as intended. We’ll guide you through the testing process in the following section.
Adjusting Motion Detection Settings
After enabling the motion detection feature on your Logitech C910 webcam, you have the option to adjust the settings to fine-tune its performance. These settings allow you to customize the sensitivity levels, define detection zones, and set notification preferences according to your specific security needs.
Here’s how you can adjust the motion detection settings:
- Sensitivity Levels: Most Logitech webcams offer adjustable sensitivity levels for motion detection. Higher sensitivity levels will detect even the slightest movements, while lower levels will be more selective. Adjust the sensitivity level based on the desired level of motion detection for your particular scenario.
- Detection Zones: If your Logitech C910 webcam supports it, consider defining specific detection zones. This allows you to focus the motion detection on certain areas within the camera’s field of view. For example, you may want to monitor the front door or specific windows. Draw or outline the desired detection zones by clicking and dragging on the camera view in the software.
- Notification Preferences: Explore the options for notification preferences within the motion detection settings. You may have the choice to receive email alerts, push notifications to your mobile device, or trigger an audible alarm when motion is detected. Select the notification method that works best for you.
- Recording Options: Check if your Logitech C910 webcam offers recording options along with motion detection. You may have the ability to automatically start recording when motion is detected. Adjust the recording settings to specify the duration and quality of recorded videos.
Take your time to experiment with these settings and find the optimal configuration for your needs. It’s important to strike a balance between sensitivity levels and the frequency of false alerts. Regularly review and adjust the settings as necessary to ensure the motion detection feature is working effectively.
Now that you have adjusted the motion detection settings, it’s essential to test the feature to ensure its functionality. The next section will guide you through the testing process.
Testing the Motion Detection Feature
After enabling and adjusting the motion detection settings on your Logitech C910 webcam, it’s crucial to test the feature to ensure it is functioning correctly and meeting your security requirements. By conducting a thorough motion detection test, you can verify that the webcam detects and triggers actions appropriately in response to movement.
To test the motion detection feature, follow these steps:
- Position the Logitech C910 webcam in the desired location, ensuring that it covers the areas you want to monitor for movement.
- Make sure the lighting conditions in the environment are suitable. Adequate lighting is essential for accurate motion detection.
- Leave the camera’s field of view and initiate movement within the monitored area. This can include walking, waving hands, or other actions that would trigger motion detection.
- Observe the webcam’s response. It should detect the movement and trigger the designated actions, such as sending notifications, starting recording, or activating an audible alarm.
- Repeat the test several times from different angles and areas within the camera’s view to ensure consistent performance.
- Review the recorded footage or notifications to determine if the motion detection feature is detecting the movement accurately and triggering the desired actions.
During the testing process, pay attention to any false alerts or missed detections. Adjust the motion detection settings as needed to minimize false alarms or improve the accuracy of detection. Remember that achieving the optimal balance between sensitivity and selectivity is crucial for effective motion detection.
Regularly conduct motion detection tests to ensure the ongoing functionality of this feature. You may need to adjust the settings based on changes in lighting conditions, environmental factors, or specific monitoring requirements.
Congratulations! You have successfully tested the motion detection feature on your Logitech C910 webcam. Remember to regularly review and update your settings to ensure ongoing security and peace of mind.
Troubleshooting Tips
While the motion detection feature on the Logitech C910 webcam is designed to enhance your home security and surveillance, you may encounter some issues or challenges along the way. Here are some troubleshooting tips to help you overcome common problems:
- Ensure Proper Installation: Double-check that the Logitech Webcam Software is correctly installed and up to date. Verify that the webcam is securely connected to your computer’s USB port.
- Update Drivers: If you’re experiencing issues with the webcam, make sure you have the latest drivers installed. Visit the Logitech website and download any available driver updates for your specific webcam model and operating system.
- Adjust Lighting Conditions: Poor lighting can affect the accuracy of the motion detection feature. Make sure there is adequate lighting in the monitored area to improve detection sensitivity.
- Check Camera Positioning: Ensure that the Logitech C910 webcam is positioned correctly and covers the desired area. Adjust the angle and position of the camera if necessary for optimal motion detection.
- Reset Settings: If you’re encountering persistent issues, try resetting the camera settings to their default values. This can help resolve any potential software glitches or conflicts.
- Clear Obstructions: Remove any obstructions or objects that could interfere with the camera’s view. Make sure there are no obstacles blocking the lens or impairing the motion detection capabilities.
- Restart Computer: Sometimes, a simple restart of your computer can resolve minor software or connectivity issues. Restart your computer and relaunch the Logitech Webcam Software to see if the problems persist.
- Consult Logitech Support: If you have tried the above troubleshooting tips and are still experiencing difficulties, it may be helpful to contact Logitech support. They can provide personalized assistance and guide you through any specific issues you’re facing.
By following these troubleshooting tips, you can overcome common obstacles and ensure that your Logitech C910 webcam’s motion detection feature is functioning optimally.
Remember to regularly maintain and update your webcam’s software and settings to ensure continued performance and security. With proper troubleshooting and maintenance, your Logitech C910 webcam will provide you with reliable motion detection for your home security needs.
Conclusion
Congratulations on learning how to enable and customize the motion detection feature on your Logitech C910 webcam! By following the steps outlined in this guide, you can enhance the security of your home or premises and keep a watchful eye on your surroundings.
We started by checking the compatibility of your computer setup with the Logitech C910 webcam and ensuring that the necessary software was installed. Then, we guided you through the process of connecting the webcam to your computer and accessing the camera settings.
Locating the motion detection feature within the camera settings was the next step, followed by enabling and adjusting the motion detection settings to meet your specific security needs. We emphasized the importance of testing the functionality of the motion detection feature and provided troubleshooting tips to address any potential issues you may encounter.
Remember, monitoring and maintaining your Logitech C910 webcam’s motion detection feature is an ongoing process. Regularly review and update the settings, perform tests, and troubleshoot any problems that may arise. This ensures that you have a reliable and effective security system in place.
Now that you have the knowledge and skills to utilize the motion detection feature, you can rest assured knowing that your Logitech C910 webcam is actively monitoring your surroundings and alerting you to any detected movement.
Thank you for choosing Logitech and investing in your home security. Stay safe and enjoy the peace of mind that comes with having a reliable motion detection system with the Logitech C910 webcam!
Frequently Asked Questions about How To Turn On Motion Detector On Logitech C910
Was this page helpful?
At Storables.com, we guarantee accurate and reliable information. Our content, validated by Expert Board Contributors, is crafted following stringent Editorial Policies. We're committed to providing you with well-researched, expert-backed insights for all your informational needs.