Home>Home Security and Surveillance>How To Move The Motion Detector Zone Using IP Camera Tool

Home Security and Surveillance
How To Move The Motion Detector Zone Using IP Camera Tool
Modified: March 6, 2024
Learn how to easily move the motion detector zone of your IP camera using the user-friendly IP Camera Tool. Enhance your home security and surveillance with this helpful guide.
(Many of the links in this article redirect to a specific reviewed product. Your purchase of these products through affiliate links helps to generate commission for Storables.com, at no extra cost. Learn more)
Introduction
Welcome to our guide on how to move the motion detector zone using the IP Camera Tool! If you’re looking to enhance your home security and surveillance system, understanding how to adjust the motion detection zones is crucial. By customizing the motion detector zones, you can ensure optimal monitoring coverage and reduce the possibility of false alarms.
Whether you want to fine-tune the coverage area, avoid triggering alerts for specific areas, or adjust the sensitivity of motion detection, the IP Camera Tool is an invaluable tool to help you achieve these goals. In this article, we will provide you with a step-by-step guide on how to move the motion detector zone using the IP Camera Tool.
Before we delve into the details, let’s take a brief look at the concept of motion detector zones and understand their significance in a home security system.
Key Takeaways:
- Customize motion detection zones with the IP Camera Tool to focus on critical areas, reduce false alarms, and ensure accurate monitoring for enhanced home security.
- Easily adjust motion detector zones using the IP Camera Tool to tailor your surveillance system, protect your home, and have peace of mind with personalized monitoring.
Overview of Motion Detector Zones
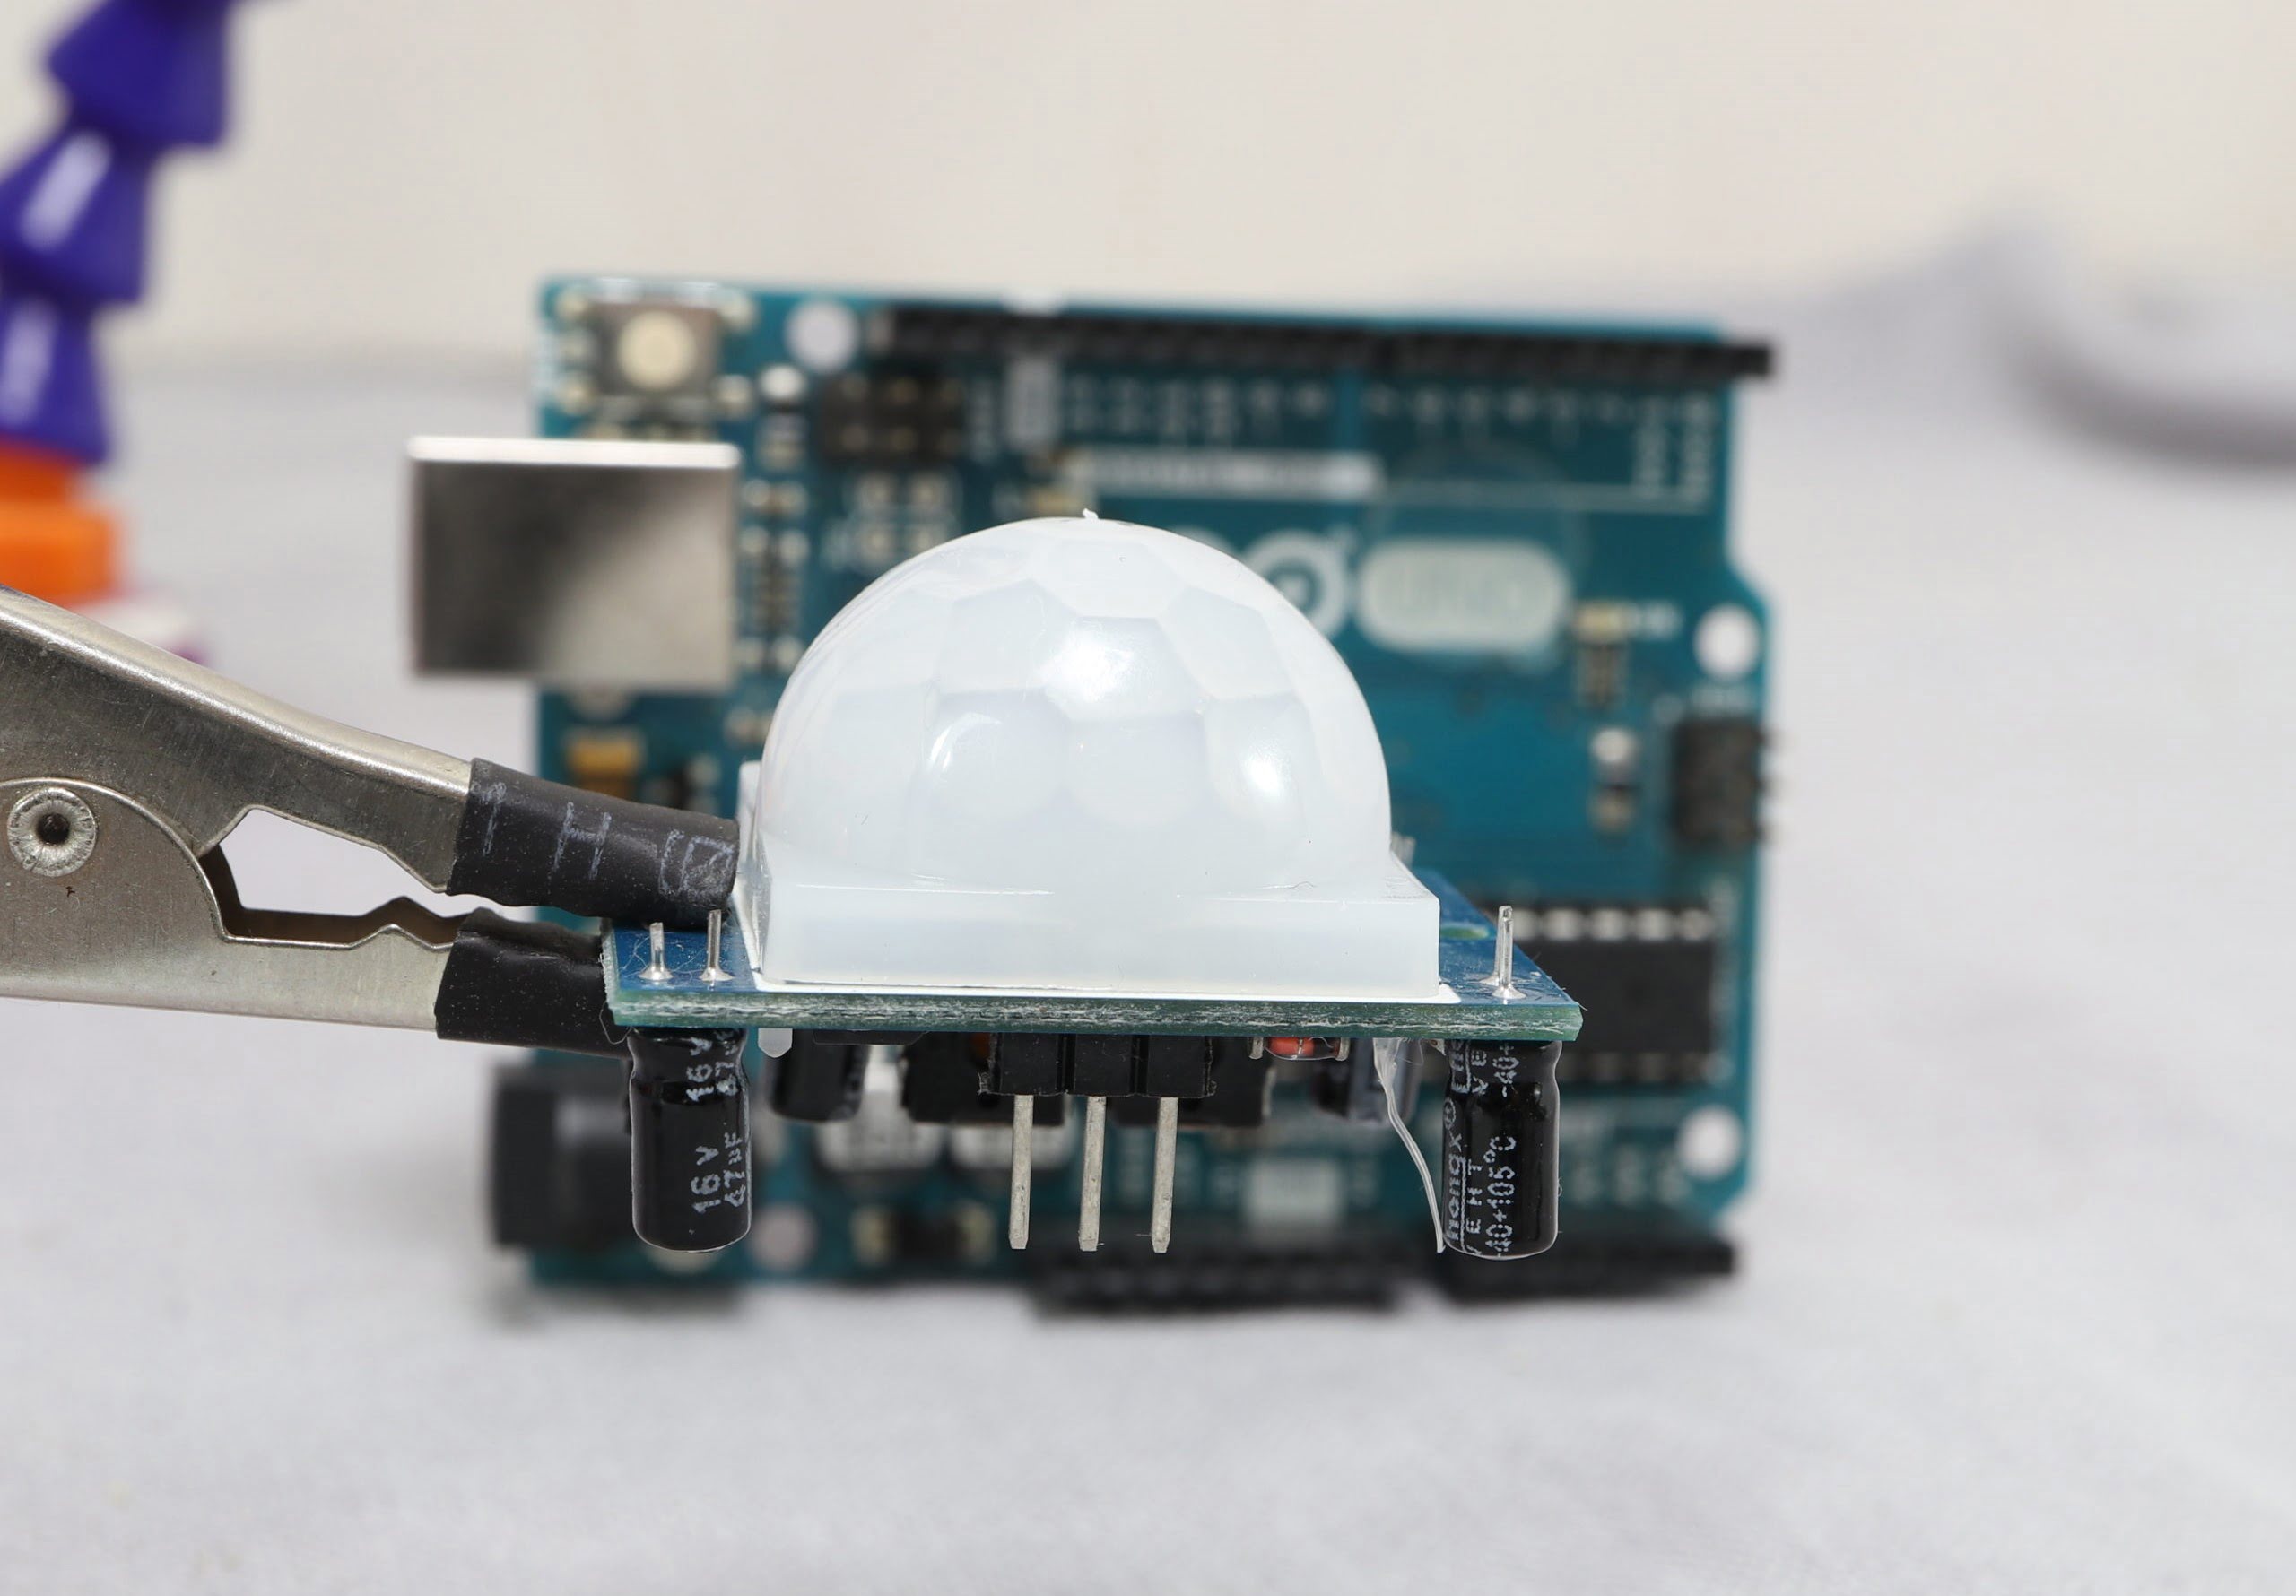
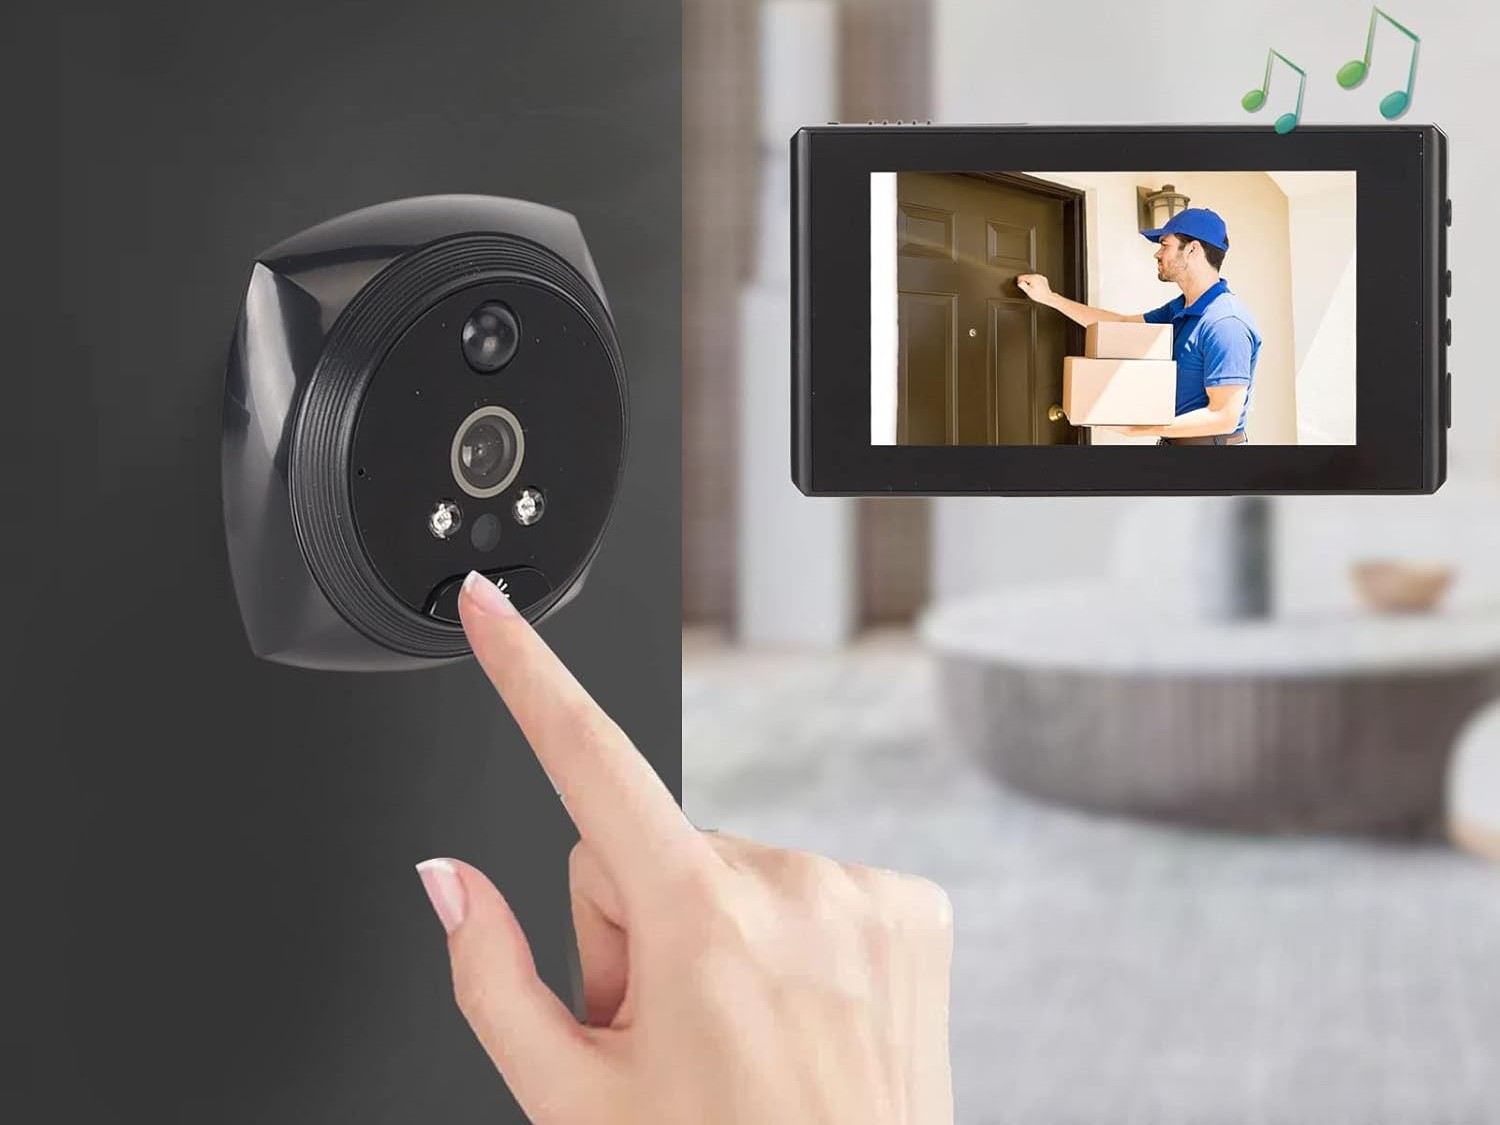
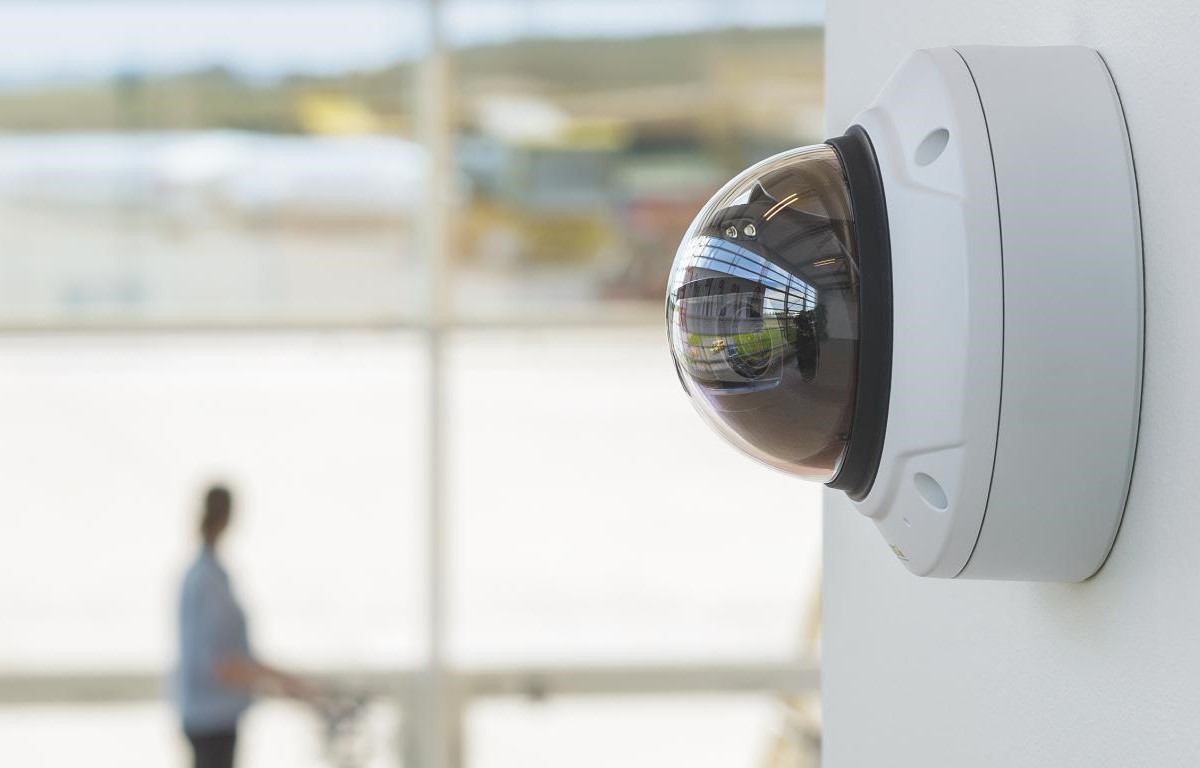
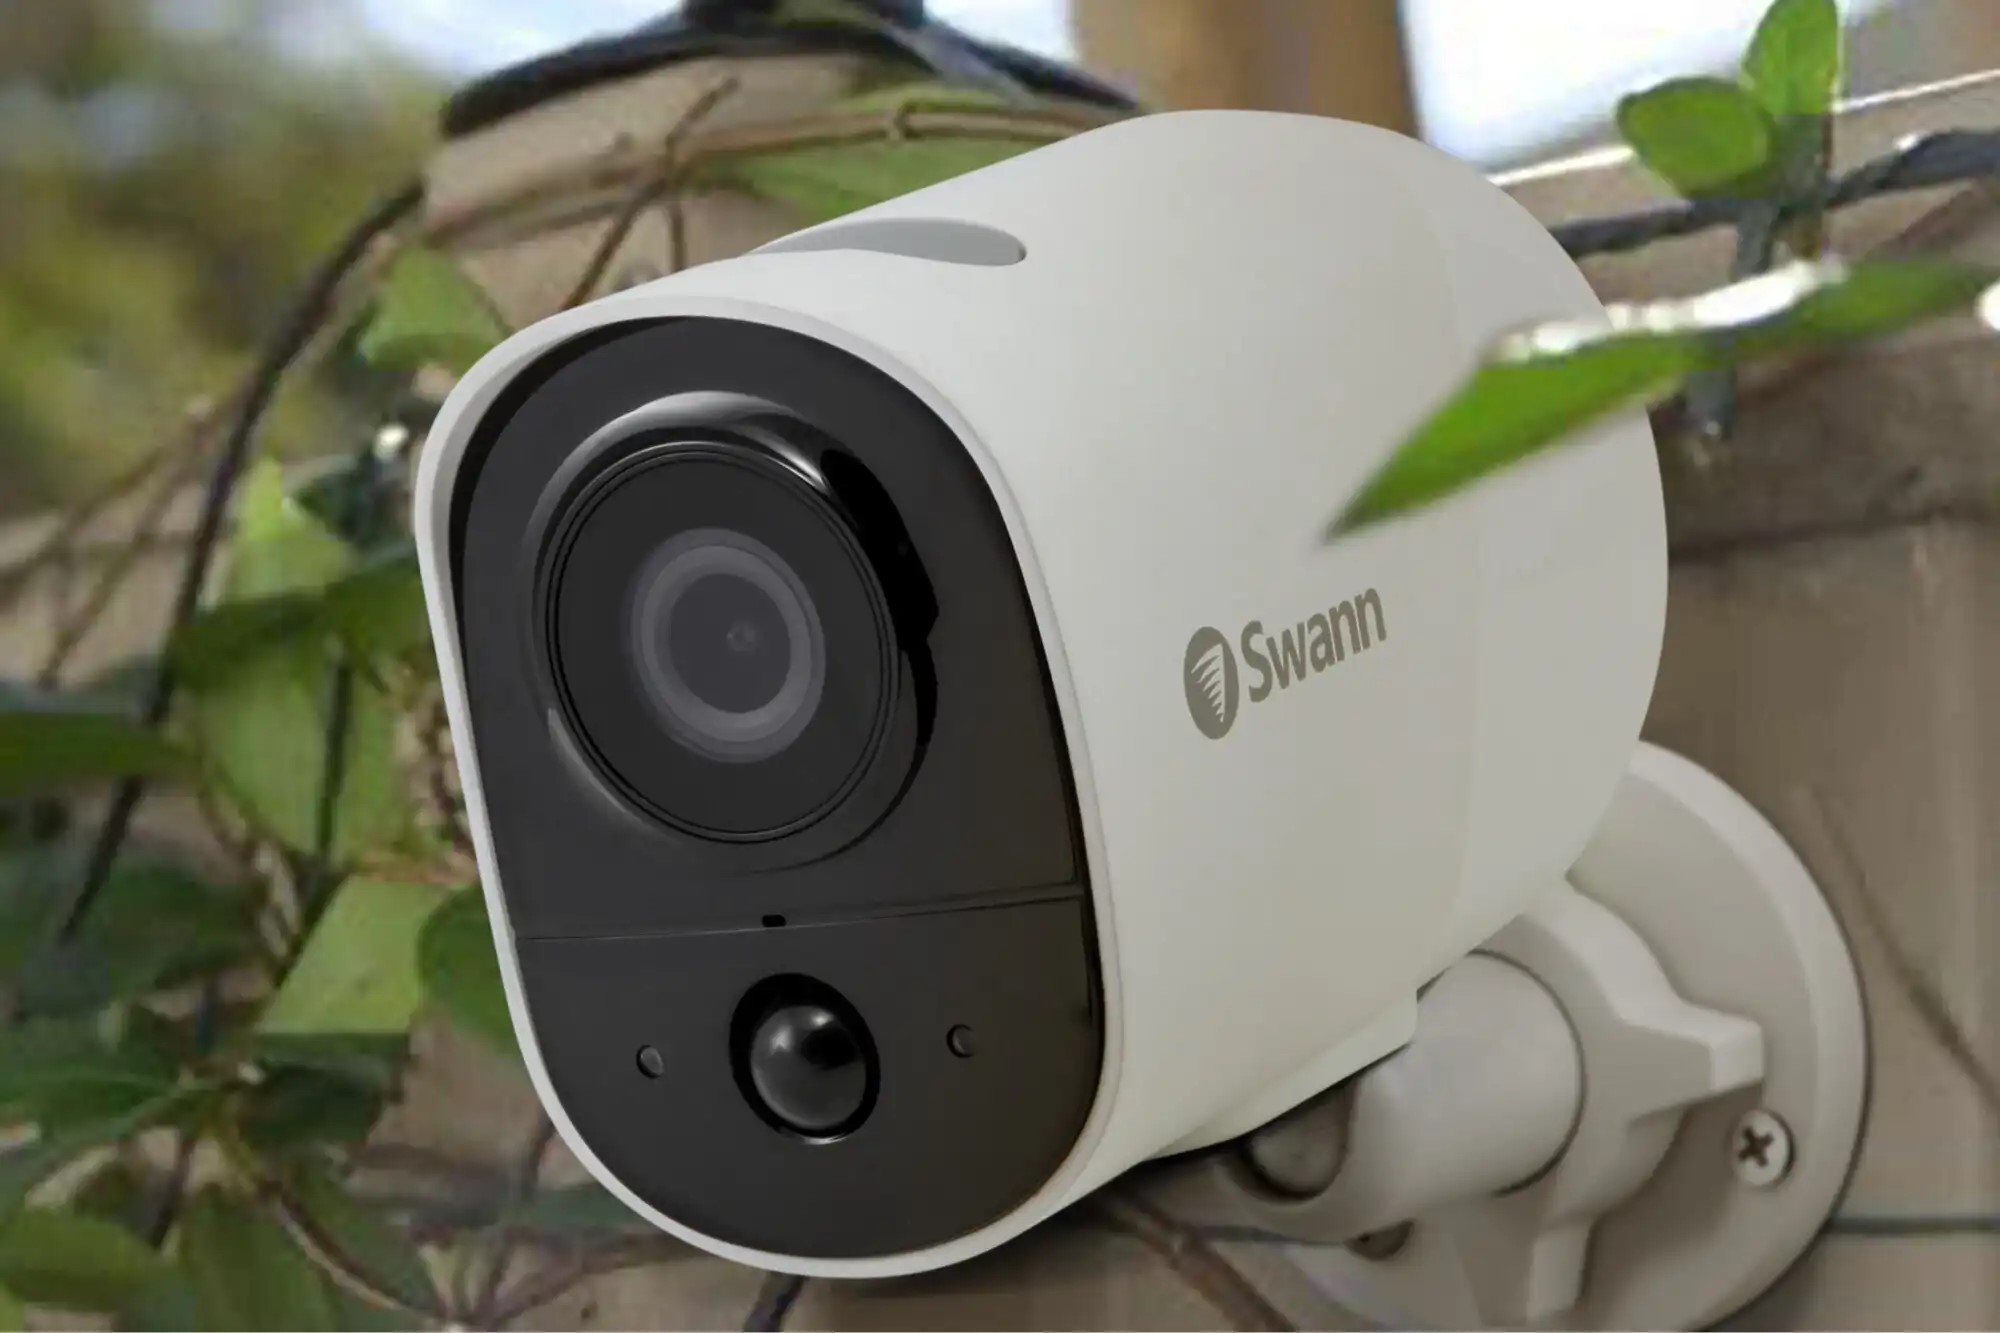
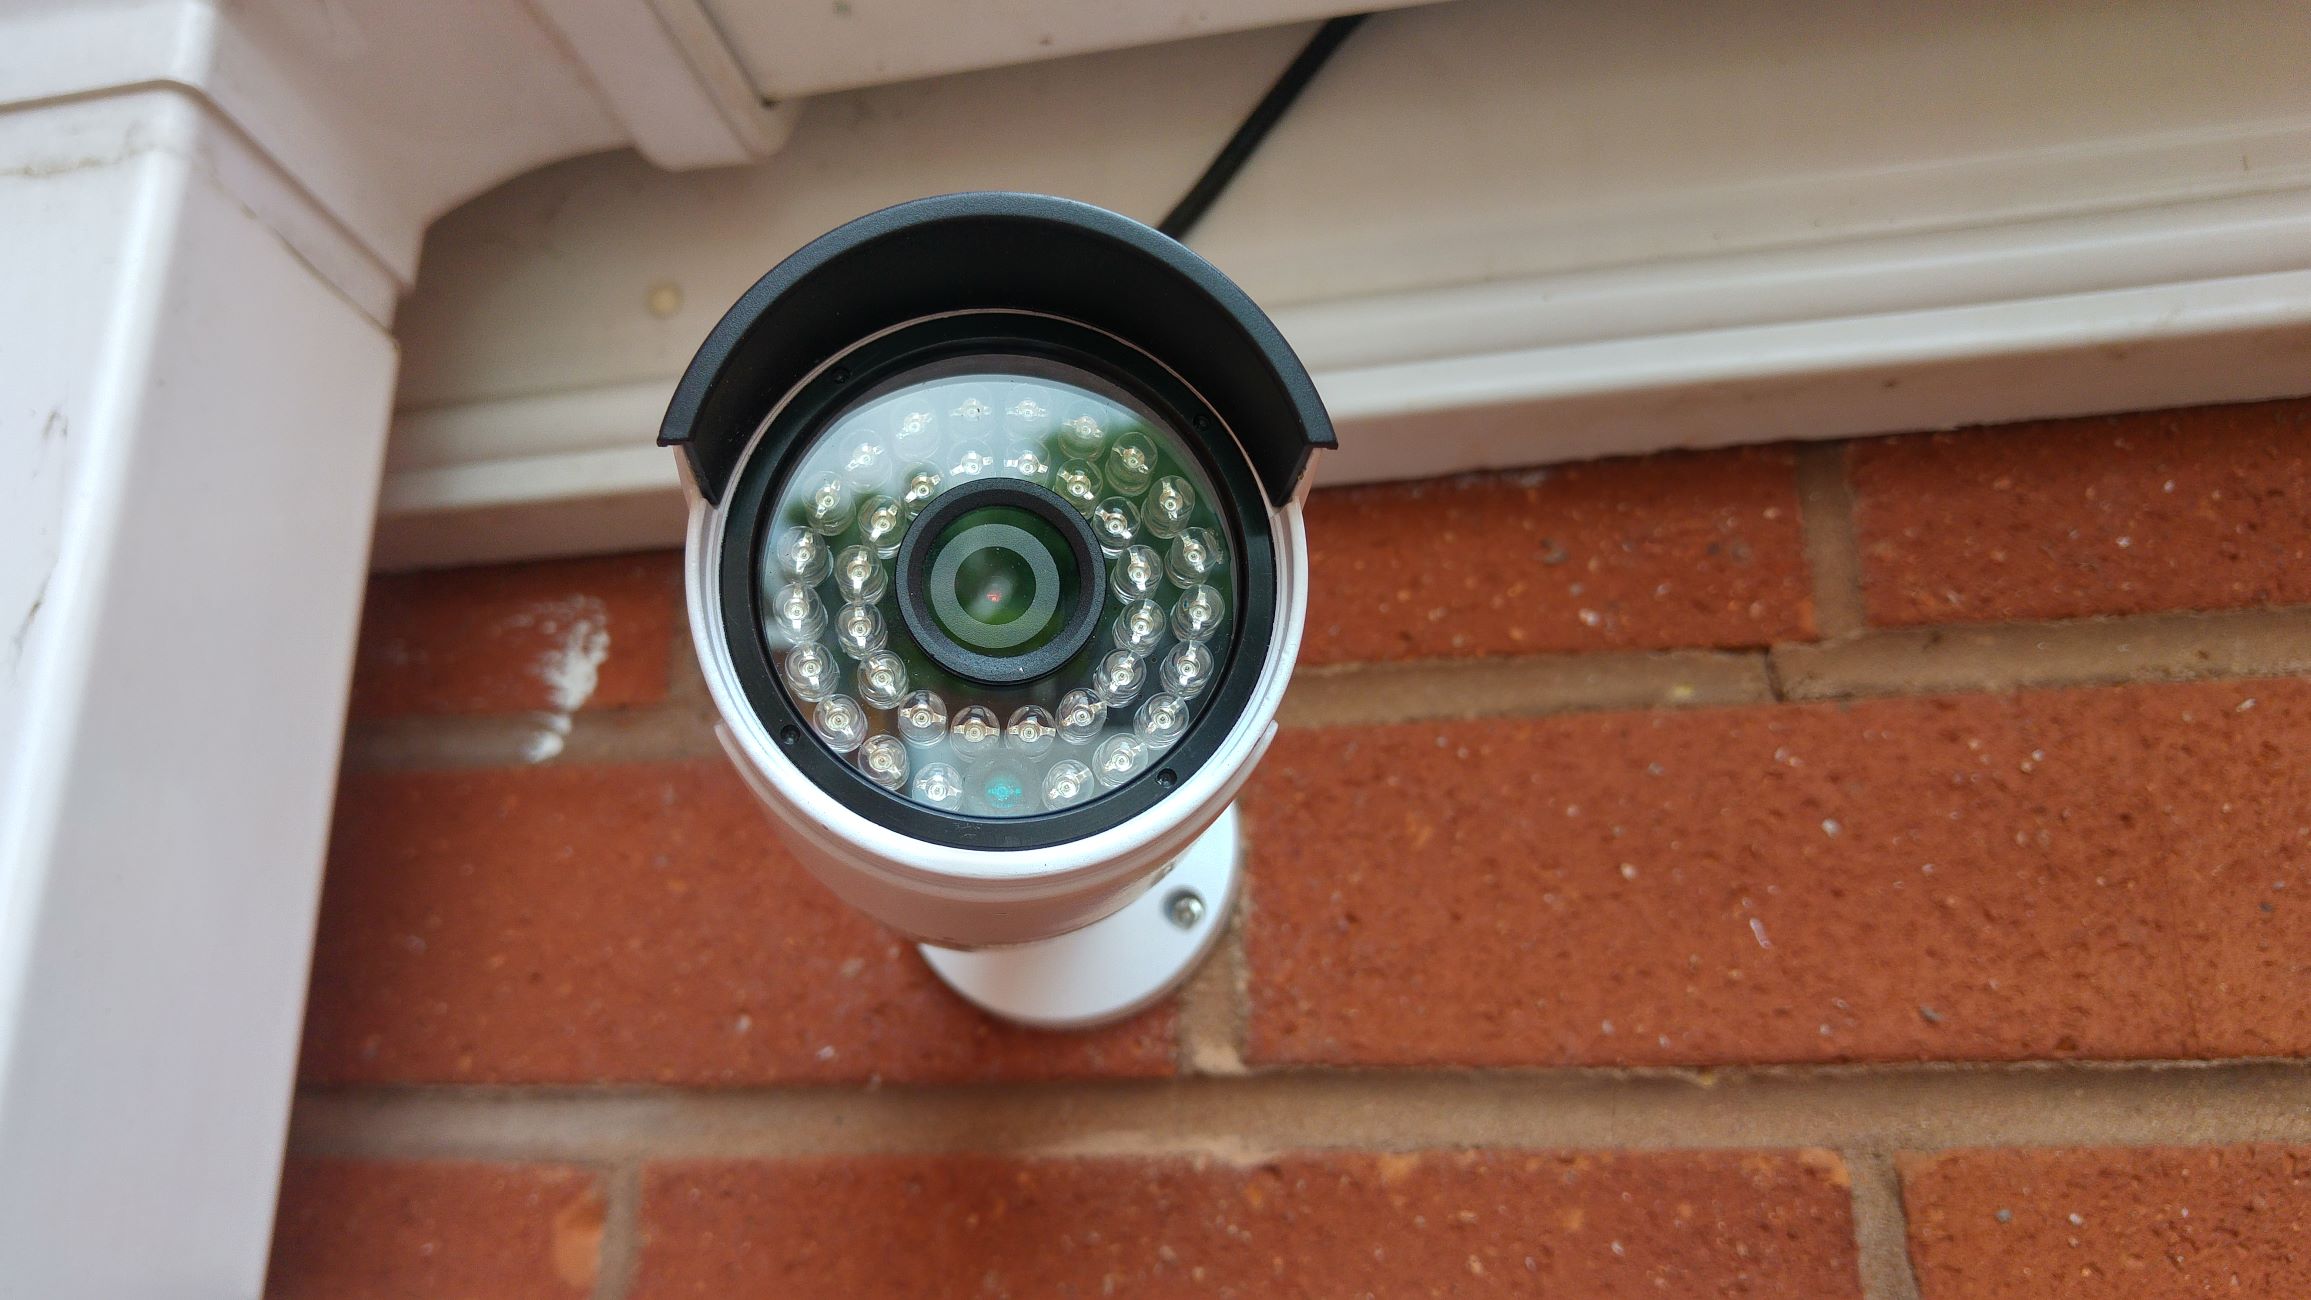
Motion detector zones play a vital role in home security systems and surveillance cameras. These zones are specific areas within the camera’s field of view where the motion detection feature is enabled. When motion is detected within these zones, the camera will trigger an alert, start recording, or perform other predefined actions.
The purpose of motion detector zones is to allow users to customize the sensitivity and coverage area of the camera’s motion detection feature. By defining specific zones, you can focus the camera’s attention on high-traffic areas or areas where security breaches are more likely to occur.
Motion detector zones can typically be adjusted through a software interface or an accompanying tool. The IP Camera Tool provides a user-friendly and efficient way to modify these zones and make necessary adjustments to enhance the functionality of your home security system.
By understanding the layout of your property and the areas you want to monitor, you can strategically set up the motion detector zones. For instance, you may want to create zones that cover your front door, back entrances, or any areas that are vulnerable to break-ins.
It’s important to note that not all motion detector zones need to be active at all times. There may be areas within the camera’s view where movement frequently occurs, such as a busy road or a tree that sways in the wind. In such cases, it may be beneficial to exclude these areas from the motion detection feature to prevent false alarms.
Now that we have a basic understanding of motion detector zones, let’s explore how the IP Camera Tool can assist in adjusting these zones effectively.
Understanding IP Camera Tool
The IP Camera Tool is a software tool designed to help users manage and configure IP cameras connected to their network. It provides a user-friendly interface that allows you to access various settings and features of your IP camera, including the ability to adjust the motion detector zone.
When you connect your IP camera to your network, it is assigned an IP address. The IP Camera Tool helps you easily locate and identify the IP address of your camera, making it simple to access and control its settings.
The tool typically provides a list of all the IP cameras detected on your network, along with their respective IP addresses. It allows you to select a specific camera and access its configuration options. From there, you can adjust various settings, such as motion detection, image quality, recording schedules, and more.
One of the key features of the IP Camera Tool is its ability to adjust the motion detector zone. With a few simple steps, you can define and modify the specific areas within the camera’s view that trigger motion detection alerts.
The IP Camera Tool interface typically provides a visual representation of the camera’s field of view, allowing you to create and manipulate motion detection zones using a graphical interface. By dragging and resizing rectangles or polygons, you can set the boundaries and size of the motion detection zones to suit your requirements.
Besides adjusting the motion detector zone, the IP Camera Tool also enables you to customize other settings to enhance your home security system. These may include configuring alerts, setting up recording schedules, adjusting image quality and resolution, and accessing other advanced features specific to your IP camera model.
The IP Camera Tool is generally compatible with a wide range of IP camera brands and models, making it a versatile and convenient tool for managing and configuring your surveillance system.
Now that we have a good understanding of the IP Camera Tool and its capabilities, let’s dive into the steps to move the motion detector zone using this tool.
Open the IP Camera Tool and navigate to the motion detection settings. Select the zone you want to move and adjust the position using the arrow keys. Save the changes to apply the new zone position.
Steps to Move the Motion Detector Zone using IP Camera Tool
Adjusting the motion detector zone using the IP Camera Tool is a straightforward process. Follow these steps to customize the motion detection areas on your IP camera:
- Install and launch the IP Camera Tool: Download and install the IP Camera Tool software on your computer. Once installed, launch the tool to begin the configuration process.
- Scan your network: Click on the “Scan” function within the IP Camera Tool interface. This will scan your network and detect all the IP cameras connected to it. The tool will display a list of detected cameras along with their respective IP addresses.
- Select your IP camera: Identify the IP camera you want to configure and select it from the list displayed by the IP Camera Tool. Click on the camera to highlight it.
- Access camera settings: Once you’ve selected your IP camera, click on the “Configuration” or “Settings” button within the IP Camera Tool interface. This will allow you to access the camera’s configuration options.
- Locate motion detection settings: Within the camera’s configuration options, navigate to the section related to motion detection or alarm settings. The name of this section may vary depending on the camera model and brand.
- Adjust motion detector zone: In the motion detection settings section, you will typically find a visual representation of the camera’s field of view. This may be a live view or a static image. Use your cursor to click and drag on the image to create and adjust the motion detection zones.
- Resize and position the zones: Resize the zones by dragging the corners or edges. You can also move the zones around by clicking and dragging them to different areas within the image. These adjustments will define the specific areas where motion detection will be active.
- Configure other motion detection settings: Along with adjusting the motion detector zone, you can also customize other settings such as sensitivity levels and detection delays. Explore the options available in the motion detection settings section to fine-tune the camera’s behavior.
- Save and apply the changes: Once you’re satisfied with the adjustments made to the motion detector zone and other settings, save the changes and apply them to the IP camera. This will ensure that the camera functions according to the new settings.
By following these steps, you can effectively move the motion detector zone using the IP Camera Tool. Remember to test the new settings and make further adjustments if necessary to ensure optimal performance of your home security system.
Now that you’re familiar with the steps involved, feel free to explore the functionalities of the IP Camera Tool and make the necessary adjustments to suit your specific monitoring needs.
Conclusion
Customizing the motion detector zone using the IP Camera Tool is a valuable skill for maximizing the effectiveness of your home security and surveillance system. By strategically setting up and adjusting the motion detection areas, you can ensure accurate monitoring, reduce false alarms, and focus your camera’s attention on the most critical areas.
In this article, we’ve provided an overview of motion detector zones and the significance they hold in a home security system. We’ve also explored the functionalities of the IP Camera Tool and its ability to assist in adjusting these zones efficiently.
By following the step-by-step guide outlined in this article, you can move the motion detector zone using the IP Camera Tool with ease. Remember to scan your network, select your camera, access the configuration options, and locate the motion detection settings. Then, adjust the motion detector zone by resizing and positioning the zones in the provided visual representation.
As you make these adjustments, keep in mind the specific areas you want to monitor and the areas you may want to exclude to prevent false alarms. Test and fine-tune the settings to ensure optimal performance and reliability of your surveillance system.
With the ability to customize motion detection settings, you can have peace of mind knowing that your home security system is tailored to your specific needs and requirements. Whether it’s monitoring the front door, the backyard, or any other area of concern, the IP Camera Tool allows you to have control over your surveillance system.
So go ahead, download and install the IP Camera Tool, and start optimizing your home security. With a few simple steps and adjustments, you can enhance the functionality and effectiveness of your IP camera’s motion detection feature.
Protect your home and loved ones with a personalized and highly efficient home security and surveillance system, thanks to the power of the IP Camera Tool and your knowledge of adjusting motion detector zones.
Frequently Asked Questions about How To Move The Motion Detector Zone Using IP Camera Tool
Was this page helpful?
At Storables.com, we guarantee accurate and reliable information. Our content, validated by Expert Board Contributors, is crafted following stringent Editorial Policies. We're committed to providing you with well-researched, expert-backed insights for all your informational needs.