Home>Home Security and Surveillance>How To Use IPhone As A Security Camera
Home Security and Surveillance
How To Use IPhone As A Security Camera
Modified: August 28, 2024
Learn how to convert your iPhone into a powerful security camera for your home. Enhance your home security and surveillance with this simple guide.
(Many of the links in this article redirect to a specific reviewed product. Your purchase of these products through affiliate links helps to generate commission for Storables.com, at no extra cost. Learn more)
Introduction
Home security is a top priority for many homeowners, and advancements in technology have made it easier than ever to keep an eye on your property. One device that you may already have in your pocket can serve as a powerful tool in your home security arsenal – your iPhone.
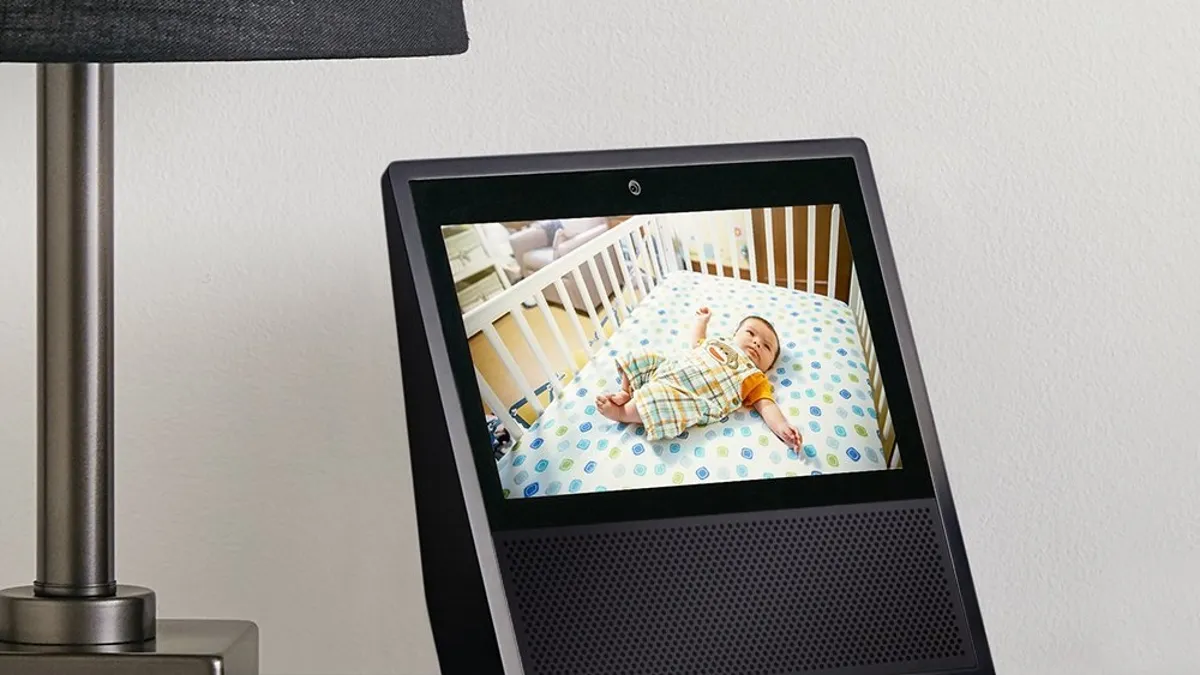
Using your iPhone as a security camera opens up a world of possibilities in terms of home surveillance. Whether you want to keep an eye on your front door, monitor your baby’s nursery, or simply have peace of mind when you’re away, the versatility of your iPhone allows you to turn it into a reliable and portable security camera.
In this article, we will guide you through the process of setting up your iPhone as a security camera, along with tips on choosing the right security camera app, configuring the camera, accessing the live feed, monitoring and recording footage, managing storage, and troubleshooting common issues.
Before we dive into the details, it’s important to note that using your iPhone as a security camera requires a stable internet connection and a dedicated device to view the live feed. Additionally, make sure to comply with local laws and regulations regarding surveillance and privacy.
So, let’s get started on transforming your iPhone into a powerful and efficient security camera. With the right app and proper setup, you’ll have peace of mind knowing that your home is under constant watchful eyes.
Key Takeaways:
- Transform your iPhone into a home security camera by choosing the right app, configuring settings, and monitoring footage. Enjoy peace of mind with convenient surveillance at your fingertips.
- Manage storage, access live feeds, and troubleshoot common issues to ensure your iPhone serves as a reliable security camera. Stay updated with evolving technology for enhanced home security.
Setting up your iPhone
To begin using your iPhone as a security camera, you’ll need to gather a few essentials and follow a few simple steps:
- Choose the location: Determine the area or areas you want to monitor and identify the best placement for your iPhone. Consider factors such as visibility, power outlets, and Wi-Fi coverage.
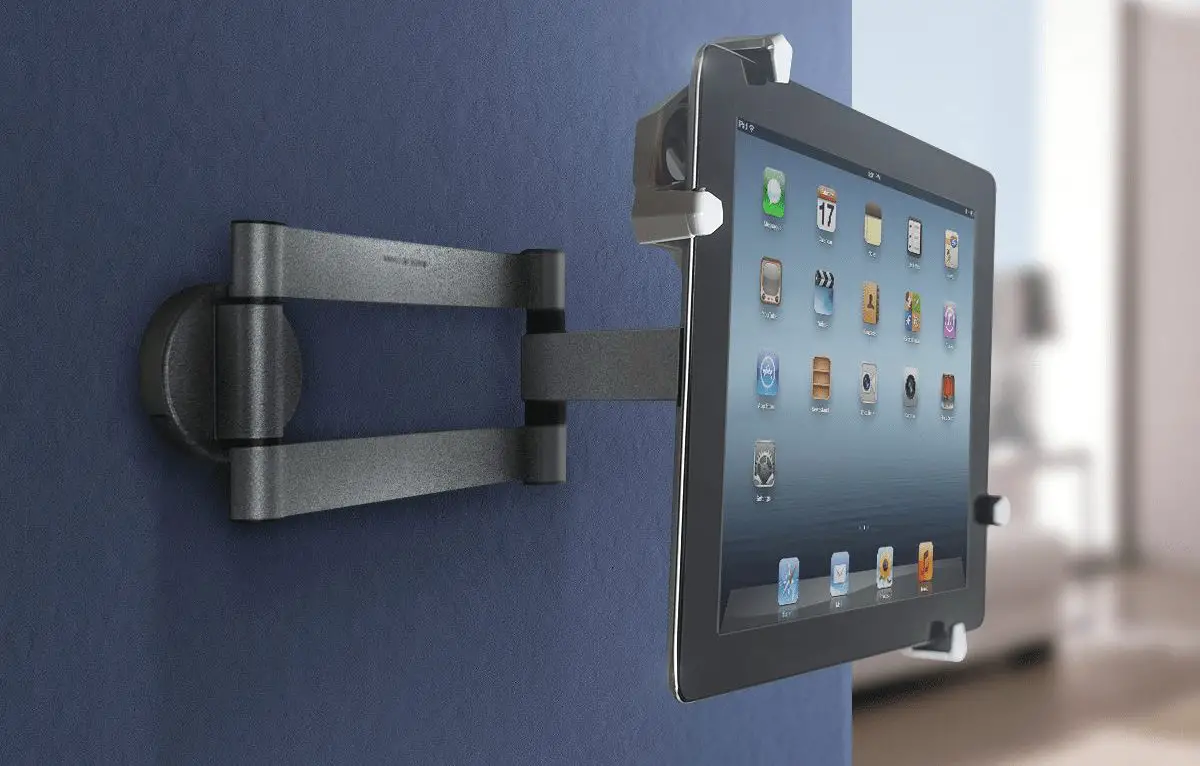
- Mount or position your iPhone: Depending on the location, you can mount your iPhone using a tripod or a wall mount. Alternatively, you can position it on a stable surface or use a stand.
- Ensure a stable internet connection: Connect your iPhone to a reliable Wi-Fi network to ensure a stable and uninterrupted live feed. It’s essential for the camera app to transmit the footage smoothly.
- Enable Do Not Disturb mode: To avoid interruptions during monitoring, enable Do Not Disturb mode on your iPhone. This will prevent incoming calls, messages, and notifications from disturbing the live feed.
- Connect the power source: For extended surveillance, it’s advisable to keep your iPhone connected to a power source. You can use a wall charger or a power bank to ensure that the battery doesn’t run out during monitoring.
Once you have set up your iPhone physically and ensured a stable internet connection, it’s time to choose the right security camera app that suits your needs. This will allow you to access the live feed and perform various functions for effective surveillance.
In the next section, we will explore some of the best security camera apps available for your iPhone, along with their features and capabilities.
Choosing the Right Security Camera App
With a plethora of security camera apps available for the iPhone, it can be overwhelming to choose the one that best fits your requirements. To simplify your decision-making process, consider the following factors when selecting a security camera app:
- Compatibility: Ensure that the app you choose is compatible with your iPhone model and operating system. Some apps may have specific requirements, so it’s essential to check the compatibility before downloading.
- Features: Look for features that align with your surveillance needs. Some common features to consider include motion detection, two-way audio, night vision, cloud storage, and remote access. Prioritize the features that are most important to you.
- User-Friendly Interface: A user-friendly interface is essential for easy navigation and configuration. Look for an app that offers a clean and intuitive interface, allowing you to quickly access the live feed and adjust settings with ease.
- Reliability and Stability: Opt for an app that has a reputation for reliability and stability. Read reviews and feedback from other users to ensure that the app performs consistently without frequent crashes or connectivity issues.
- Security: Since security is the primary concern, choose an app that prioritizes data encryption and secure remote access. Look for apps that offer end-to-end encryption and require strong passwords for access.
- Cost: Consider your budget and choose an app that provides good value for the features offered. While some apps are free, they may have limited functionalities or display ads. Paid apps often provide additional features and remove ads for a better user experience.
Based on these factors, here are some popular security camera apps for your iPhone:
- Manything: Manything is a feature-rich app that offers motion detection, cloud storage, and compatibility with various camera models. It allows you to access the live feed remotely and receive motion notifications.
- Alfred: Alfred is another popular app that offers live streaming, motion detection, and two-way audio. It also supports multiple camera views and has a user-friendly interface.
- Presence: Presence is a versatile app that provides real-time streaming, motion detection, and customizable alerts. It also offers additional features like face recognition.
Take your time to explore different apps, read reviews, and compare their features to make an informed decision. Once you’ve chosen the right security camera app, it’s time to configure it to work seamlessly with your iPhone.
Configuring the Camera App
After choosing the security camera app that suits your needs, it’s time to configure it to ensure optimal performance and functionality. Follow these steps to set up and configure the camera app on your iPhone:
- Download and install the app: Visit the App Store on your iPhone and search for the chosen security camera app. Tap on “Install” to download and install it on your device.
- Launch the app: Once the installation is complete, locate the app on your iPhone’s home screen and tap on it to launch it.
- Create an account: Most camera apps require you to create an account to access their features. Follow the app’s instructions to register and set up your account.
- Add the camera: Depending on the app, you may need to add your iPhone as a camera device. Follow the on-screen instructions to add the camera to the app.
- Configure camera settings: Access the settings menu within the app and customize the camera settings according to your preferences. Set the motion detection sensitivity, video quality, recording modes, and other parameters based on your surveillance needs.
- Set up notifications: Enable notifications within the app to receive alerts on your iPhone when motion is detected or specific events occur. This will allow you to stay informed of any unusual activity.
- Test the camera: Before you start using the camera app for surveillance, test it to ensure that the live feed is working correctly and that all settings are properly configured.
It’s important to note that different camera apps have varying configurations and setup processes. Refer to the app’s documentation or support resources for detailed instructions specific to the app you have chosen.
Once you have successfully configured the camera app, you can proceed to set up the camera view and adjust additional settings to meet your surveillance requirements. We will explore these steps further in the next sections.
Setting Up the Camera View
To effectively monitor your desired area, it is crucial to set up the camera view properly. The following steps will guide you on how to position and adjust the camera view for optimal surveillance:
- Position the camera: Determine the ideal location to place your iPhone for capturing the desired view. Consider factors such as the area you want to monitor, the angle of coverage, and any potential obstructions.
- Mount or position the iPhone securely: Use a tripod, wall mount, or stable surface to ensure that your iPhone remains in place and captures a steady view. This will minimize unwanted movements and maximize the clarity of the footage.
- Adjust the camera angle: Tilt and pan the iPhone to achieve the desired camera angle. Experiment with different angles to find the optimal position that covers the desired area effectively.
- Consider additional accessories: Depending on your specific needs, you may want to consider additional accessories such as wide-angle lenses or external microphones to enhance the camera’s capabilities.
It is also important to consider the lighting conditions in the area you are monitoring. Ensure that there is adequate lighting to capture clear footage during both day and night. If necessary, you can use external lighting sources or adjust the camera settings to optimize the image quality in different lighting conditions.
Remember to test the camera view after positioning and adjusting the camera. Verify that it provides the desired coverage and captures a clear image of the monitored area.
In the next section, we will explore the various camera settings that you can adjust to further enhance your home security surveillance.
Adjusting Camera Settings
Once you have set up the camera view, it’s time to fine-tune the camera settings to optimize your home security surveillance. The following are some key camera settings to consider adjusting:
- Video Quality: Check the video quality settings in the camera app and choose the appropriate level of resolution. Higher resolution provides a clearer image but may consume more storage space.
- Motion Detection Sensitivity: Adjust the motion detection sensitivity to ensure that the camera responds accurately to movement. Fine-tune this setting to avoid false alarms triggered by minor movements, such as shifting shadows or small animals.
- Recording Modes: Explore the recording modes available in the camera app. You may have options such as continuous recording, scheduled recording, or triggered recording based on motion detection. Choose the mode that suits your monitoring needs.
- Audio Settings: If your camera app supports audio, configure the audio settings accordingly. Adjust the microphone sensitivity to capture clear audio and enable two-way audio if you want to listen and speak through the camera.
- Night Vision: If monitoring during nighttime is essential, ensure that the camera app’s night vision capabilities are properly configured. Enable or adjust night vision settings to capture clear footage in low-light or completely dark conditions.
- Privacy Settings: Consider the privacy settings available in the camera app. You may want to mask specific areas to ensure the privacy of your family members or neighbors. Use privacy zones or motion exclusion settings to prevent capturing sensitive areas or personal spaces.
- Cloud Storage: If your camera app offers cloud storage capabilities, configure the storage settings accordingly. Determine the duration of footage you want to store in the cloud and set up automatic backups for added convenience and security.
Remember to test the camera settings after making adjustments to ensure that they meet your surveillance requirements. Regularly review and fine-tune these settings as needed to maintain optimal camera performance.
In the next section, we will explore how to access the live feed from your iPhone and monitor and record footage for enhanced home security.
Tip: To use your iPhone as a security camera, download a reliable security camera app from the App Store, set up the app to monitor the area you want to cover, and ensure your iPhone is plugged in and connected to Wi-Fi for continuous monitoring.
Accessing the Live Feed
Once you have set up and adjusted the camera settings, you can now access the live feed from your iPhone and monitor your home in real-time. Here are the steps to access the live feed:
- Launch the camera app: Locate the camera app on your iPhone and tap on it to launch it.
- Login to your account: If required, enter your login credentials to access your camera account.
- Select the camera: If you have multiple cameras connected to the app, select the camera you want to view from the camera list.
- Tap on the live feed: Once you have selected the camera, tap on the live feed option to start streaming the real-time video footage.
- Maximize the viewing experience: Rotate your iPhone to landscape mode for a wider and more immersive view. You can also pinch and zoom on the live feed to get a closer look at specific areas.
Depending on the camera app you are using, you may have access to additional features while viewing the live feed. These features may include options to take snapshots, initiate recordings, enable two-way audio, or adjust camera settings on the fly. Familiarize yourself with these features to make the most out of your home security surveillance.
Now that you can access the live feed, it’s time to learn how to monitor and record footage for future reference and analysis. In the next section, we will explore these important aspects in detail.
Monitoring and Recording Footage
With your iPhone serving as a security camera, you have the ability to monitor and record footage for enhanced home security. Here’s how you can effectively monitor and record footage using your iPhone:
- Live Monitoring: Use your iPhone to monitor the live feed from your security camera app. Regularly check in to ensure the safety and security of your home. You can view the live feed from anywhere with an internet connection, providing you peace of mind even when you’re away.
- Motion Alerts: Take advantage of motion detection capabilities in the camera app. Enable push notifications or emails to receive alerts whenever motion is detected in the monitored area. This allows you to be quickly notified of any potential security breaches or suspicious activity.
- Remote Access: Some camera apps offer the ability to remotely access the live feed and camera settings. This means that you can make adjustments, initiate recordings, or communicate through the camera’s audio features, all from the convenience of your iPhone.
- Recordings: Most camera apps allow you to record video footage. Depending on the app, you may have options for continuous recording, scheduled recording, or triggered recording based on motion detection. Review the recording settings within the app and set it up according to your preferences.
- Playback and Review: In case of any incidents or suspicious events, you can review the recorded footage using the camera app’s playback feature. This allows you to analyze the footage and gather evidence, if necessary.
- Cloud Storage: If your camera app supports cloud storage, consider utilizing this feature. It provides a secure and convenient way to store your recorded footage off-site, ensuring that it is safe even if your iPhone gets lost or damaged.
Regularly monitor and review the recorded footage to stay informed about any security-related issues and take appropriate action as needed. Remember to adhere to legal and ethical guidelines when recording and reviewing footage to respect the privacy of others.
In the next section, we will discuss the importance of managing storage and backups to ensure a seamless and efficient home security surveillance system.
Managing Storage and Backups
As you record and store video footage from your iPhone security camera, it’s important to effectively manage storage and backups to ensure the smooth operation of your home security surveillance system. Follow these tips to manage storage and backups efficiently:
- Check available storage: Regularly monitor the available storage space on your iPhone. Large video files can quickly consume storage, so it’s important to free up space to avoid running out of storage capacity. Delete unnecessary files or transfer them to another storage device.
- Optimize video settings: Adjust the video quality settings within your camera app to optimize storage usage. Lower video quality settings can reduce file sizes and extend storage capacity. Strike a balance between video quality and storage space based on your surveillance needs.
- Utilize cloud storage: If your camera app offers cloud storage options, consider utilizing it for storing your video footage. Cloud storage provides a secure and off-site backup solution, protecting your footage even in the event of theft or damage to your iPhone.
- Regularly backup to a computer or external storage: Connect your iPhone to a computer or use external storage devices to regularly backup your video footage. This provides an additional layer of protection and ensures that you have multiple copies of your recordings.
- Set up automatic backups: Explore options within your camera app or utilize third-party backup apps that offer automatic backups of your video footage. This saves you from manually transferring files and ensures that your footage is consistently backed up without any effort.
- Delete old and irrelevant footage: Regularly review your recorded footage and delete old or irrelevant files. This helps to free up storage space and ensures that you have only the most recent and pertinent footage available for review.
By effectively managing storage and implementing regular backups, you can ensure that your home security surveillance system operates smoothly and that your valuable footage is secure and accessible when needed.
In the final section, we will discuss some common troubleshooting tips to resolve any issues that may arise while using your iPhone as a security camera.
Read more: How To Record Using Security Camera
Troubleshooting Common Issues
While using your iPhone as a security camera, you may encounter some common issues that can disrupt the surveillance process. Here are a few troubleshooting tips to help you resolve these issues and ensure smooth operation:
- No internet connection: If you’re unable to access the live feed or receive alerts, check your internet connection. Ensure that your iPhone is connected to a stable Wi-Fi network or has a reliable cellular data connection.
- Poor video quality: If you’re experiencing poor video quality, adjust the video settings within your camera app. Lowering the video resolution can improve performance in situations with limited bandwidth or slower internet connections. Additionally, ensure that the camera lens is clean and free from any smudges or dirt that may affect the image quality.
- Interference with other apps or devices: Close any unnecessary apps running in the background on your iPhone. Sometimes, other apps or processes can interfere with the camera app’s performance, resulting in lag or disruptions. Restarting your iPhone may also help resolve any conflicts with other apps or processes.
- False motion alerts: If you’re receiving frequent false motion alerts, check the motion detection settings within your camera app. Adjust the sensitivity level to reduce false alarms triggered by minor movements like changing light conditions or small insects. Fine-tuning this setting can help minimize unnecessary notifications.
- Battery drain: If you’re using your iPhone as a security camera for extended periods, it may drain the battery quickly. To resolve this, keep your iPhone connected to a power source during surveillance. Additionally, close any unnecessary background apps and lower the screen brightness to conserve battery life.
- Poor night vision: If the night vision feature of your camera app is not performing well in low-light conditions, ensure that the area you’re monitoring has adequate lighting. Consider adding external lights or adjusting the camera’s night vision settings. Additionally, check for any obstructions that may be affecting the camera’s ability to capture clear footage in the dark.
If you continue to experience issues with your iPhone as a security camera, refer to the camera app’s documentation or support resources for specific troubleshooting steps. It’s also beneficial to stay updated with the latest app and iOS updates, as these often include bug fixes and performance improvements.
With these troubleshooting tips, you can overcome common challenges and ensure that your iPhone serves as a reliable and effective security camera for your home.
Conclusion
Using your iPhone as a security camera is a convenient and cost-effective way to enhance your home security. With the right camera app, proper configuration, and careful monitoring, you can keep a watchful eye on your property from anywhere at any time. The versatility and portability of your iPhone offer unparalleled convenience and peace of mind.
Throughout this article, we discussed the process of setting up your iPhone as a security camera, choosing the right camera app, configuring camera settings, accessing the live feed, monitoring and recording footage, managing storage and backups, and troubleshooting common issues. By following these steps, you can create an efficient and reliable home surveillance system tailored to your specific needs.
Remember to comply with local laws and regulations regarding privacy and surveillance when using your iPhone as a security camera. Respect the privacy of others and use the information you capture responsibly.
As technology continues to advance, the capabilities of your iPhone as a security camera will only improve. Stay updated with the latest camera apps and features to ensure that your home security system evolves with you.
Transforming your iPhone into a security camera not only enhances the safety of your home but also provides you with a sense of control and peace of mind. Whether you’re at work, on vacation, or simply in another room, you can keep an eye on your property and loved ones with just a tap on your iPhone.
Investing the time and effort into setting up and utilizing your iPhone as a security camera is a worthwhile endeavor. So, take the first steps today and turn your iPhone into a reliable home security surveillance tool.
Frequently Asked Questions about How To Use IPhone As A Security Camera
Was this page helpful?
At Storables.com, we guarantee accurate and reliable information. Our content, validated by Expert Board Contributors, is crafted following stringent Editorial Policies. We're committed to providing you with well-researched, expert-backed insights for all your informational needs.