Home>Home Security and Surveillance>How To Use Laptop As A Security Camera

Home Security and Surveillance
How To Use Laptop As A Security Camera
Modified: March 6, 2024
Learn how to use your laptop as a security camera for home security and surveillance. Set up your laptop to monitor your home and keep it safe with these easy steps.
(Many of the links in this article redirect to a specific reviewed product. Your purchase of these products through affiliate links helps to generate commission for Storables.com, at no extra cost. Learn more)
Introduction
Welcome to the era of advanced technology, where you can transform your trusty laptop into a powerful security camera. With the right software and setup, you can utilize your laptop’s webcam to monitor and protect your home or office. This DIY approach offers a cost-effective alternative to traditional security systems while leveraging the capabilities of your existing equipment.
In this article, we will guide you through the process of turning your laptop into a security camera. We will cover the hardware and software requirements, software installation, camera configuration, optimal positioning, camera settings, remote access, and additional tips to enhance your setup.
Before we begin, it’s essential to mention that using your laptop as a security camera might affect its regular usage. So, if you plan to use your laptop for other purposes while it’s acting as a security camera, it’s recommended to have a secondary device or dedicated laptop for surveillance to avoid disruptions.
Now, let’s delve into the necessary steps and explore how you can harness your laptop’s potential to safeguard your premises.
Key Takeaways:
- Transform your laptop into a security camera with the right software and setup. Enjoy cost-effective surveillance and remote monitoring, leveraging your existing equipment for peace of mind.
- Ensure your laptop meets hardware and software requirements, position it strategically, and set up remote access for efficient and reliable security monitoring.
Read more: How To Record Using Security Camera
Step 1: Checking your laptop’s hardware and software requirements
Before you begin the process of setting up your laptop as a security camera, it’s crucial to ensure that your laptop meets specific hardware and software requirements. Checking these requirements will help guarantee smooth functioning and optimal performance of your security camera setup.
Hardware Requirements:
- Webcam: Your laptop should have a built-in webcam or an external webcam connected via USB.
- Processing power and RAM: It’s recommended to have a laptop with a reasonably fast processor (Intel Core i5 or higher) and adequate RAM (at least 4GB) to handle the camera software and processing requirements without causing significant slowdowns.
- Storage: Ensure that you have enough free storage space on your laptop’s hard drive to store the recorded footage. Consider investing in external storage options if necessary.
- Power supply: Since your laptop will be acting as a security camera continuously, connect it to a power source to avoid battery drain and potential interruptions in surveillance.
Software Requirements:
- Security camera software: There are numerous security camera software options available. Research and choose a reliable and user-friendly software that is compatible with your laptop’s operating system (Windows, macOS, or Linux).
- Operating system compatibility: Ensure that the security camera software is compatible with your laptop’s operating system. Check compatibility details before proceeding, as certain software may have limitations based on the operating system.
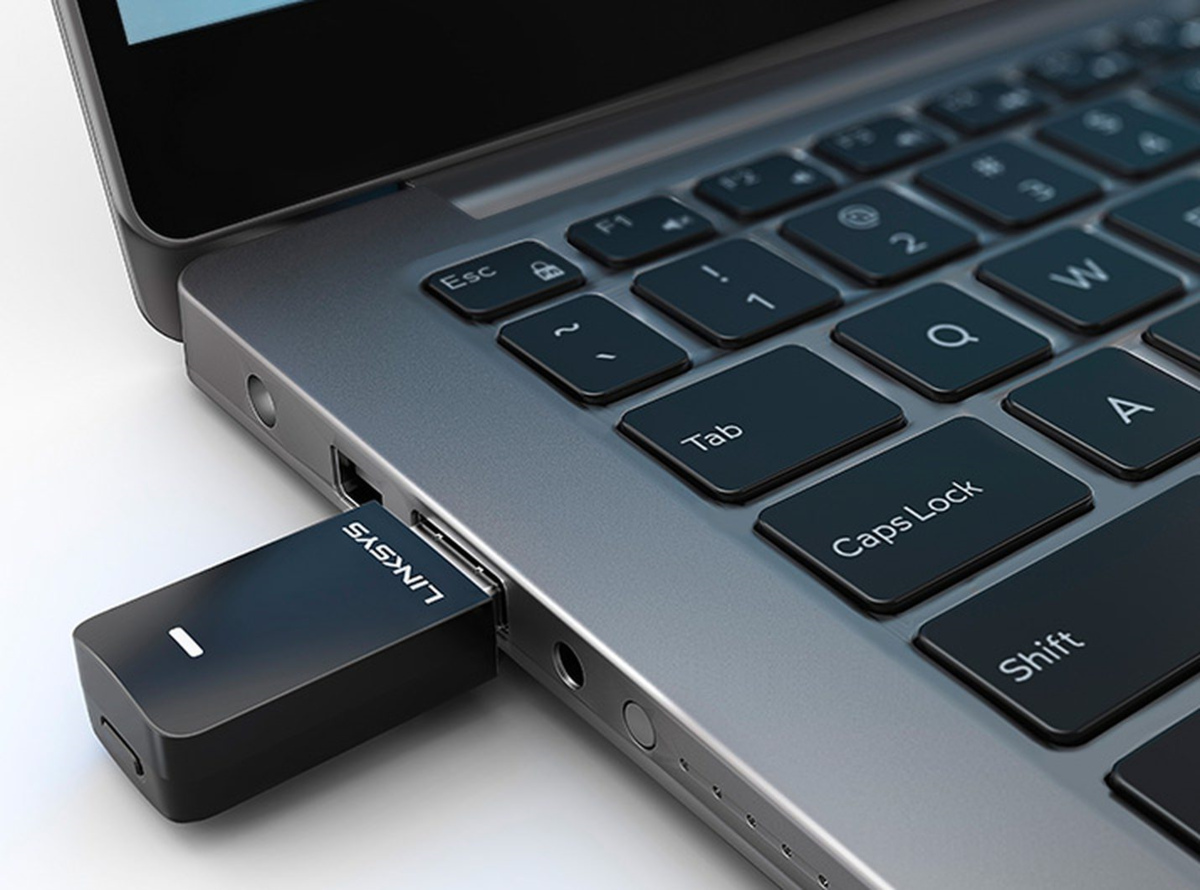
- Internet connection: A stable and reliable internet connection is essential for remote access and monitoring. Make sure your laptop is connected to the internet either via Wi-Fi or an Ethernet cable.
By verifying that your laptop meets these hardware and software requirements, you can proceed with confidence, knowing that you have the necessary components for a successful security camera setup.
Step 2: Installing the necessary software
Now that you have confirmed that your laptop meets the hardware and software requirements, it’s time to install the necessary software to transform your laptop into a security camera.
1. Research and choose the right software: There are several security camera software options available for different operating systems. Look for software that offers the features you need, such as motion detection, scheduled recording, and remote access. Popular options include iSpy, Blue Iris, and ZoneMinder.
2. Download and install the software: Visit the official website of the chosen software and navigate to the download section. Choose the version compatible with your laptop’s operating system and initiate the download. Once the download is complete, run the installer and follow the on-screen instructions to install the software.
3. Configure the software: After the software installation is complete, launch the application. You will be prompted to configure the camera settings. Provide the necessary details such as the camera name, resolution, frame rate, and storage location for the recorded footage. Additionally, set up any desired motion detection settings or alerts if supported by the software.
4. Test the camera functionality: Once the software is configured, test the camera functionality to verify that the software is correctly detecting and capturing video from your laptop’s webcam. Ensure that the live feed is displaying correctly, and the recording is functioning as intended.
5. Set up automatic startup: To ensure your laptop’s security camera software starts automatically when you boot up your laptop, check the software settings or refer to the help documentation on how to enable automatic startup. This way, you can have continuous surveillance without the need to manually launch the software every time.
6. Update the software: It’s crucial to keep your security camera software up to date to benefit from the latest features, bug fixes, and security patches. Regularly check for updates on the software’s official website or enable automatic updates if available.
By following these steps, you can install and set up the necessary software on your laptop, allowing it to function as a capable security camera. In the next step, we will guide you through the process of configuring the camera for optimal usage.
Step 3: Configuring the security camera software
Now that you have installed the security camera software on your laptop, it’s time to configure it to ensure optimal performance and functionality.
1. Camera settings:
Access the camera settings within the software and adjust the following parameters according to your preferences:
- Resolution: Choose your desired resolution based on your needs. Higher resolutions offer better image quality but may require more processing power and storage space.
- Frame rate: Set the frame rate for the camera feed. Higher frame rates result in smoother video playback but may increase CPU usage and reduce recording duration.
- Video compression: Select the appropriate video compression settings to strike a balance between file size and video quality. Popular options include H.264 and MJPEG.
2. Motion detection and alerts:
If your chosen software supports motion detection, configure this feature to receive alerts when motion is detected. Adjust the sensitivity levels to avoid false positives due to irrelevant movement, such as passing cars outside a window. Set up email or push notifications to receive alerts on your smartphone or computer when motion is detected.
3. Scheduled recording:
Configure scheduled recording to capture video footage during specific time intervals when you anticipate activity or potential security concerns. This feature allows you to conserve storage space and focus on crucial moments.
4. Network settings:
If you plan to access and monitor the security camera remotely, configure the network settings within the security camera software. Set up port forwarding on your router to enable access from outside your local network. Ensure you follow proper security practices and use secure passwords to protect your camera feed from unauthorized access.
5. Storage management:
Optimize storage management by setting retention policies for recorded footage. Determine how long the software should retain the recordings before deleting them or overwriting them with new footage. This ensures that your storage space is utilized efficiently.
By configuring the security camera software with these settings, you can tailor the surveillance experience to your specific requirements and preferences. Next, we’ll guide you on positioning your laptop for optimal security camera usage.
Step 4: Positioning your laptop for optimal security camera usage
The positioning of your laptop as a security camera plays a crucial role in capturing clear and comprehensive footage. Proper placement ensures that the camera covers the desired area and minimizes blind spots. Consider the following factors when positioning your laptop:
1. Location:
Select the location for your laptop security camera based on the area you want to monitor. It could be a room, entrance, hallway, or any other area of concern. Choose a spot where the camera can capture the entire area and provide a clear view without any obstructions.
2. Angle and height:
Position the laptop at an appropriate height and angle to get the best possible view. Experiment with different heights and angles to find the optimal position. Mounting the laptop on a tripod or using a laptop stand can help achieve the desired height and angle.
3. Lighting conditions:
Consider the lighting conditions in the area you are monitoring. Ensure that there is sufficient lighting for the camera to capture clear footage. If the area is poorly lit, consider using additional lighting sources such as desk lamps or infrared lights to improve visibility.
4. Concealment:
Depending on your requirements, you may want to discreetly position the laptop security camera. Consider using camouflage techniques or creative concealment methods to make the camera blend in with the surroundings. However, ensure that the camera’s visibility is not compromised, as it serves as a deterrent to potential intruders.
5. Wi-Fi signal strength:
If you are relying on a Wi-Fi connection, ensure that your laptop is positioned within range of a strong and stable Wi-Fi signal. This will help maintain uninterrupted connectivity and seamless remote access to the security camera feed.
6. Cable management:
If you are using an external webcam, manage the cables properly to avoid any tripping hazards or clutter. Use cable clips or cable management solutions to keep the cables organized and out of sight.
By considering these factors and finding the optimal position for your laptop security camera, you can ensure that it captures high-quality footage and effectively monitors the desired area. In the next step, we will discuss adjusting camera settings and performing testing to fine-tune the setup.
You can use your laptop as a security camera by downloading a webcam security software, such as iSpy or ContaCam, and setting it up to monitor your desired area. Make sure to position the laptop in a way that captures the entire area you want to monitor.
Read more: How To Use IPad As Security Camera
Step 5: Adjusting camera settings and testing
Once you have positioned your laptop security camera, it’s time to fine-tune the camera settings and perform testing to ensure optimal performance. Follow these steps to adjust the camera settings and test your setup:
1. Camera angle and focus:
Check the camera angle and focus to ensure that the captured footage is clear and in focus. If necessary, adjust the camera position and focus settings to achieve the desired clarity.
2. Motion detection sensitivity:
If your security camera software supports motion detection, adjust the sensitivity levels to avoid false alerts or missed events. Fine-tune the sensitivity settings to capture only relevant motion and reduce false positives.
3. Test recording and playback:
Initiate a test recording to ensure that the software is capturing the video feed and saving it correctly. Verify that the recorded footage is playable and of the desired quality. Check the playback functionality within the software to ensure smooth playback.
4. Test remote access:
If you plan to access and monitor the security camera remotely, test the remote access functionality. Connect to the camera feed from a different device using the designated software or app. Ensure that you can view the live feed and access the recorded footage without any issues. Troubleshoot any connectivity or configuration problems that arise during the testing process.
5. Fine-tune settings based on test results:
After conducting the tests, review the recorded footage and assess the overall performance of your setup. Depending on the results, make any necessary adjustments to the camera settings, such as resolution, frame rate, or motion detection sensitivity. Continuously fine-tuning the settings ensures that your laptop security camera delivers the desired results.
By adjusting the camera settings and conducting thorough testing, you can ensure that your laptop security camera is optimized for performance and effectively monitors the designated area. In the next step, we will discuss setting up remote access and monitoring for added convenience and flexibility.
Step 6: Setting up remote access and monitoring
With your laptop security camera up and running, setting up remote access and monitoring allows you to conveniently view the camera feed and manage your security system from anywhere. Follow these steps to enable remote access:
1. Use a dynamic DNS service:
If you don’t have a static IP address, consider using a dynamic DNS service. These services assign a domain name to your changing IP address, allowing you to access your camera remotely using a consistent URL. Popular dynamic DNS services include No-IP, Dyn, and DuckDNS.
2. Port forwarding:
Configure port forwarding on your router to direct incoming requests to your laptop’s IP address. This allows you to connect to your laptop’s security camera software from outside your local network. Refer to your router’s documentation or online resources for guidance on how to set up port forwarding.
3. Firewall and security settings:
Ensure that your laptop’s security software and firewall settings allow external connections to access the security camera software. Configure any necessary exceptions to allow remote access without compromising the overall security of your system.
4. Mobile apps and remote management:
Consider installing mobile apps provided by the security camera software or using third-party apps that are compatible with your setup. These apps allow you to access the camera feed and manage your security system conveniently from your smartphone or tablet. Configure the apps with the necessary credentials and settings to establish a remote connection.
5. Secure remote access:
Ensure that your remote access is secure by following best practices such as using strong, unique passwords for both the security camera software and your remote access accounts. Enable encryption and two-factor authentication if available to add an extra layer of security.
6. Test remote access:
Once you have completed the remote access setup, test the connectivity from a device outside your local network. Use the designated software or app to connect to your laptop’s security camera and verify that you can view the live feed and access the recorded footage successfully.
By setting up remote access and monitoring, you can conveniently keep an eye on your property or office from anywhere, enhancing the flexibility and convenience of your security system. In the final step, we will discuss additional tips and considerations to take into account for an optimized laptop security camera setup.
Step 7: Additional tips and considerations
As you finalize your laptop security camera setup, here are some additional tips and considerations to keep in mind:
1. Regularly update your software:
Stay proactive about software updates and security patches for both your laptop’s operating system and security camera software. Keeping everything up to date helps ensure that you have the latest features, bug fixes, and security enhancements.
2. Secure your laptop:
Protect your laptop from unauthorized access by using strong, unique passwords and enabling full disk encryption. Regularly scan your laptop for malware and ensure that your security software is active and updated.
3. Consider backup solutions:
Implement a backup solution for your recorded footage to avoid data loss in case of laptop failure or theft. You can use external hard drives, cloud storage, or network-attached storage (NAS) devices to backup your recordings.
4. Test the camera periodically:
Perform regular checks and tests to make sure that your laptop security camera is functioning correctly. Verify that the camera is capturing clear footage, motion detection features are working, and remote access is still operational.
5. Be mindful of legal regulations:
Before recording and monitoring public areas or spaces outside your property, familiarize yourself with the local laws and regulations regarding privacy and surveillance. Respect the privacy of others and ensure that you are in compliance with applicable rules.
6. Expand your setup:
Consider expanding your security camera setup by connecting multiple laptops or webcams to enhance the coverage of your property or office. Many security camera software solutions allow for multiple camera management and monitoring.
7. Seek professional advice if needed:
If you have specific security requirements or complex setup needs, don’t hesitate to consult with a professional in the field. They can guide you through the process and suggest the best solutions based on your unique situation.
By keeping these additional tips and considerations in mind, you can ensure that your laptop security camera setup remains optimized, secure, and reliable. Enjoy the peace of mind that comes with being able to monitor your premises effectively.
With these steps and considerations, you are now equipped to transform your laptop into a powerful security camera. Enjoy the benefits of cost-effective surveillance and remote monitoring, all while leveraging the capabilities of your existing equipment. Stay vigilant and secure with your personalized laptop security camera setup.
Conclusion
Congratulations! You have successfully learned how to use your laptop as a security camera. By following the steps outlined in this guide, you have transformed your existing equipment into a cost-effective and efficient surveillance solution. With the right software, proper positioning, and remote access setup, you can now monitor and protect your home or office with ease.
Using your laptop as a security camera provides numerous advantages. It allows you to leverage your built-in or external webcam, eliminating the need for additional hardware. It also enables you to customize and fine-tune your security camera settings, tailoring them to your specific needs and preferences.
Remember to regularly update your software, maintain the security of your laptop, and adhere to legal regulations regarding privacy and surveillance. Conduct periodic checks and tests to ensure the proper functioning of your laptop security camera setup.
Whether you’re using it for home security, monitoring pets, or keeping an eye on your office space, your laptop security camera proves to be a versatile solution, offering convenience and peace of mind.
If you have any concerns or require further assistance, don’t hesitate to seek professional advice. They can provide guidance and recommendations based on your unique situation, ensuring that your laptop security camera setup meets your specific needs.
Now that you have unlocked the potential of your laptop as a security camera, you can enjoy the benefits of cost-effective surveillance and remote monitoring. Take control of your security with this DIY approach, harnessing the power of technology to safeguard your premises.
Remember, a secure and protected environment starts with vigilance and a reliable security system. By utilizing your laptop as a security camera, you have taken an important step towards creating a safer environment for yourself and those around you.
Frequently Asked Questions about How To Use Laptop As A Security Camera
Was this page helpful?
At Storables.com, we guarantee accurate and reliable information. Our content, validated by Expert Board Contributors, is crafted following stringent Editorial Policies. We're committed to providing you with well-researched, expert-backed insights for all your informational needs.