Home>Home Security and Surveillance>How To Set Up A Webcam As A Security Camera
Home Security and Surveillance
How To Set Up A Webcam As A Security Camera
Modified: October 29, 2024
Learn how to turn your webcam into a reliable home security and surveillance camera. Find step-by-step instructions and tips to protect your home with this DIY solution.
(Many of the links in this article redirect to a specific reviewed product. Your purchase of these products through affiliate links helps to generate commission for Storables.com, at no extra cost. Learn more)
Introduction
Welcome to the world of home security and surveillance! With increasing concerns about the safety of our homes and loved ones, it’s important to explore effective and affordable solutions. One such solution is setting up a webcam as a security camera. Not only can this save you money compared to buying a dedicated security camera system, but it also allows you to repurpose existing technology to meet your needs.
In this comprehensive guide, we will walk you through the step-by-step process of setting up a webcam as a security camera. From choosing the right webcam to configuring security features and setting up remote access, we’ll cover everything you need to know to get started.
Before we delve into the technical aspects, it’s worth mentioning that using a webcam as a security camera has its limitations. While it can provide basic surveillance capabilities, it may not offer the same level of functionality as a dedicated security camera system. However, if you’re on a budget or simply want to repurpose your webcam, this DIY approach can still be an effective solution.
So, let’s roll up our sleeves and get started with the first step: choosing the right webcam for your needs.
Key Takeaways:
- Transform your webcam into a security camera by choosing the right one, ensuring compatibility, and setting up remote access for cost-effective home surveillance.
- Prioritize security by configuring webcam settings, implementing user access control, and regularly testing and maintaining your DIY security system.
Read more: How To Make A Wireless Security USB Webcam
Step 1: Choosing the Right Webcam
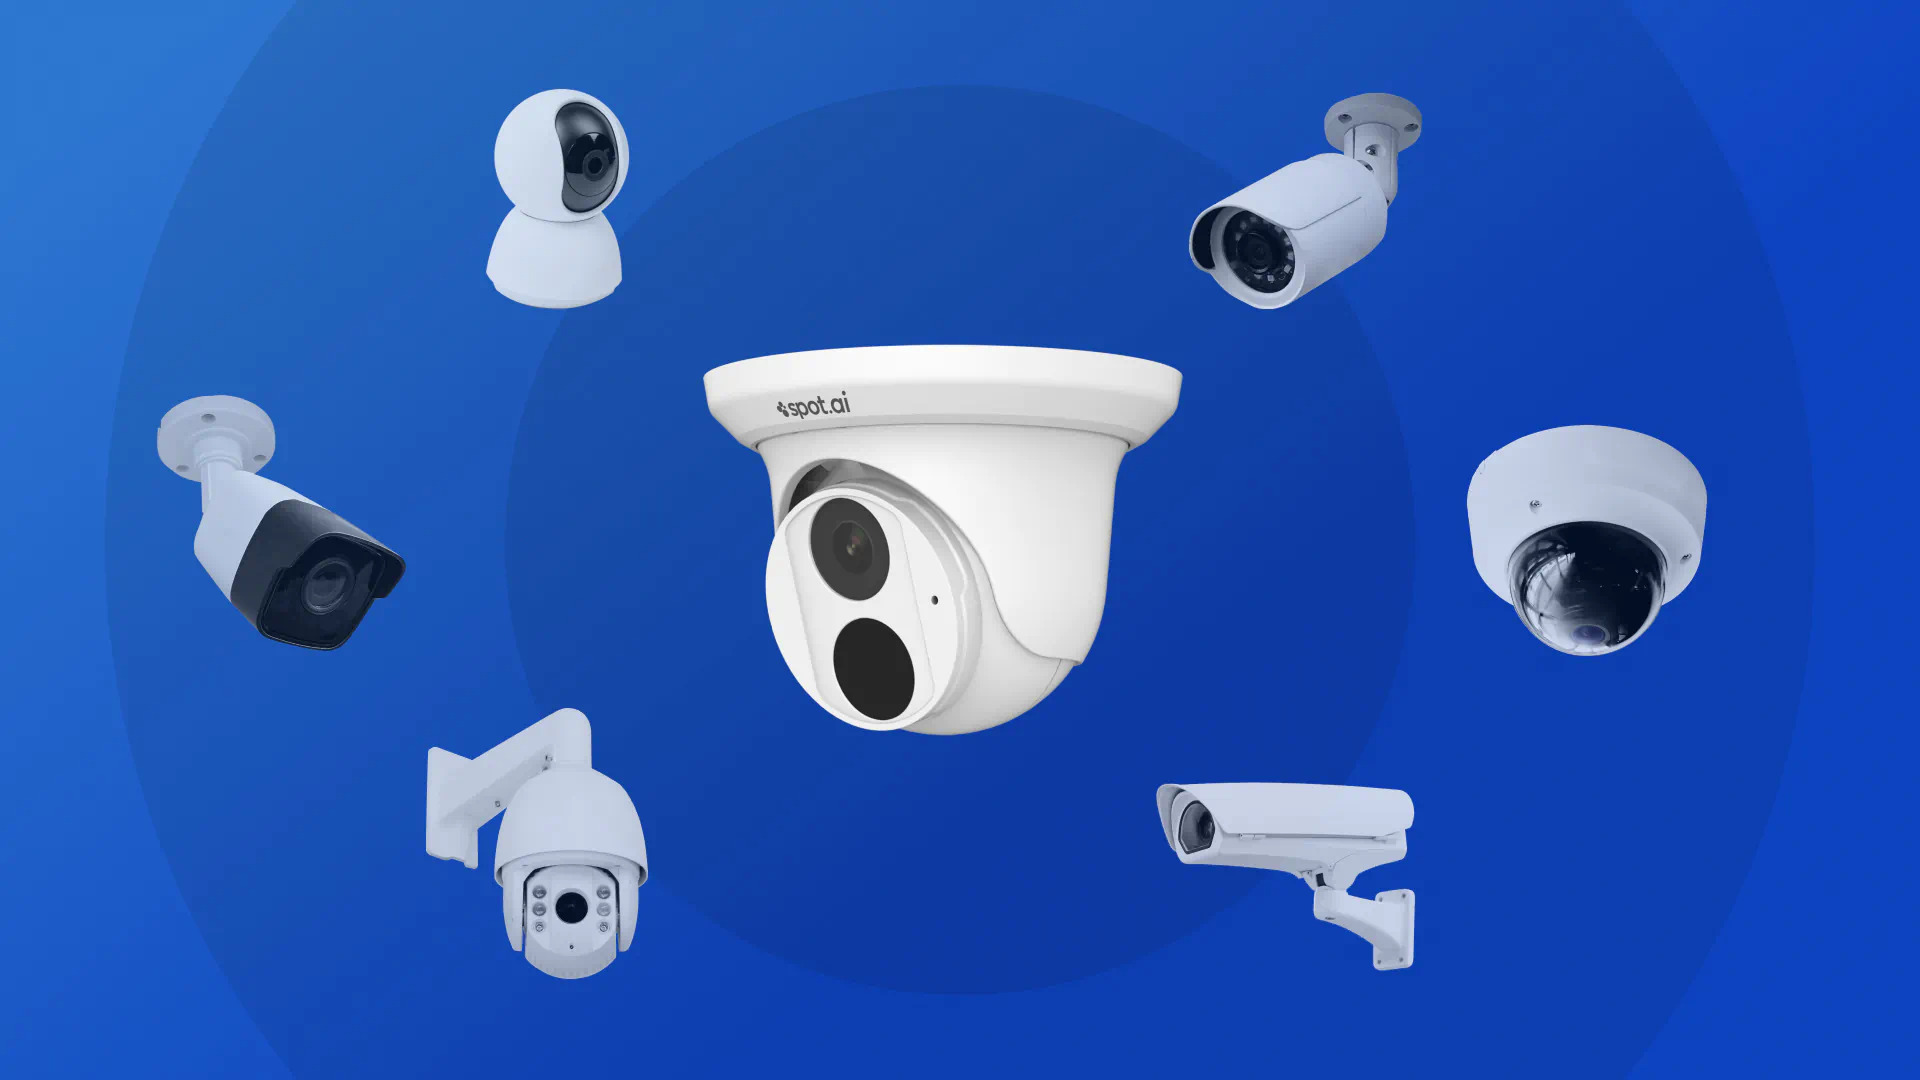
The first step in setting up a webcam as a security camera is selecting the right webcam for your specific requirements. With a plethora of options available in the market, it’s important to consider a few key factors to ensure you make the best choice.
Resolution: The resolution of the webcam determines the quality of the footage it captures. Look for a webcam with at least 720p or higher resolution to ensure clear and detailed images.
Field of View: The field of view (FOV) determines how much area the webcam can cover. Choose a webcam with a wide FOV to ensure maximum coverage, especially if you want to monitor a larger space.
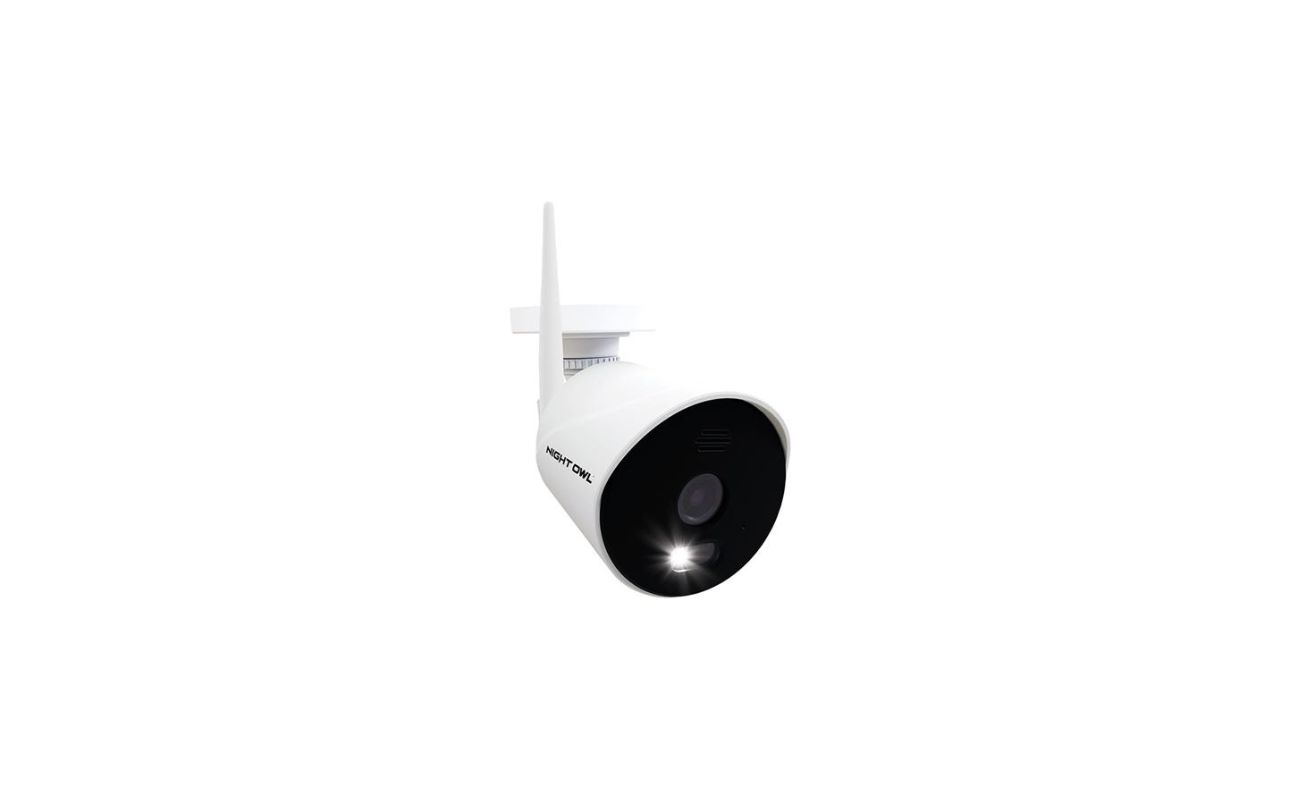
Low Light Performance: Consider a webcam with good low light performance if you plan to use it for nighttime surveillance. Look for features like infrared (IR) lighting or low-light optimization to ensure clear footage in challenging lighting conditions.
Audio: Some webcams come with built-in microphones, which can be useful if you want to capture audio along with the video. Consider whether audio recording is a priority for your surveillance needs.
Connectivity: Check the connectivity options of the webcam. USB webcams are the most common, but wireless or network-enabled webcams may offer more flexibility in terms of placement and remote access.
Budget: Set a budget for your webcam purchase. While webcams come in a wide range of prices, be sure to strike a balance between the features you need and your budget constraints.
Compatibility: Ensure the webcam you choose is compatible with your computer or the device you plan to use for monitoring. Check if the webcam supports your operating system and has the necessary software available for installation.
By considering these factors and doing some research, you can choose a webcam that meets your specific needs and budget. Once you have selected the right webcam, it’s time to move on to the next step: checking compatibility.
Step 2: Checking Compatibility
After selecting the right webcam for your security camera setup, it’s important to ensure that it is compatible with your system. This step will help you avoid any potential issues during the installation process and ensure a smooth experience.
Here are a few key points to consider when checking compatibility:
- Operating System: Make sure that the webcam supports your operating system. Whether you are using Windows, macOS, or Linux, check the webcam’s specifications or consult the manufacturer’s website to verify compatibility.
- USB Port: Most webcams connect to your computer or device via USB. Verify that your system has an available USB port that is compatible with the webcam’s connection type (USB 2.0 or USB 3.0).
- Driver Installation: Some webcams may require specific drivers to be installed on your system. Check if the webcam comes with a driver CD or if the drivers can be downloaded from the manufacturer’s website. Ensure that your system meets the minimum requirements for the drivers to work.
- Software Compatibility: Depending on the webcam and its features, it may come with software that allows you to access and control the camera settings. Ensure that the software is compatible with your operating system and that it provides the necessary features for your security camera needs.
- Additional Requirements: Some webcams have additional requirements, such as a minimum amount of RAM or a certain processor speed. Check the specifications of the webcam and ensure that your system meets these requirements to avoid any performance issues.
If you encounter any compatibility issues, it’s advisable to contact the manufacturer or consult their support resources for guidance. They may provide solutions or suggest alternative webcams that are compatible with your system.
Once you have confirmed compatibility, you can proceed to the next step: installing the webcam software.
Step 3: Installing Webcam Software
Once you have ensured compatibility with your system, it’s time to install the necessary webcam software. This software allows you to control and access the webcam’s features, adjust settings, and view the footage it captures.
Follow these steps to install the webcam software:
- Check for Included Drivers: Some webcams come with an installation CD that includes the necessary drivers and software. If you have an installation CD, insert it into your computer and follow the on-screen instructions to install the drivers and software. Be sure to read any documentation or accompanying guides to ensure a successful installation.
- Download from the Manufacturer’s Website: If your webcam doesn’t come with an installation CD or you prefer to download the latest software version, visit the manufacturer’s website. Look for the “Support” or “Downloads” section and search for your webcam model. Download the appropriate software for your operating system and follow the instructions provided to install it.
- Run the Installer: Once the software has been downloaded, locate the installer file (usually a .exe or .dmg file) and run it. Follow the on-screen instructions to install the webcam software on your system. Pay attention to any prompts or options that allow you to customize the installation, such as choosing the installation location or selecting additional features.
- Connect the Webcam: After the software installation is complete, connect your webcam to your computer using the appropriate USB cable. Ensure that the webcam is securely connected and powered on.
- Launch the Webcam Software: Once the webcam is connected, locate the webcam software on your system (usually accessible through the Start Menu on Windows or the Applications folder on macOS). Launch the software and explore its features and settings.
During the software installation, you may be prompted to create an account or provide some basic information. Follow the prompts and input the necessary details to complete the setup process.
It’s important to keep your webcam software up to date to benefit from bug fixes, security patches, and new features. Check the manufacturer’s website or the software itself for any available updates and install them accordingly.
With the webcam software successfully installed, you can now move on to the next step: mounting the webcam.
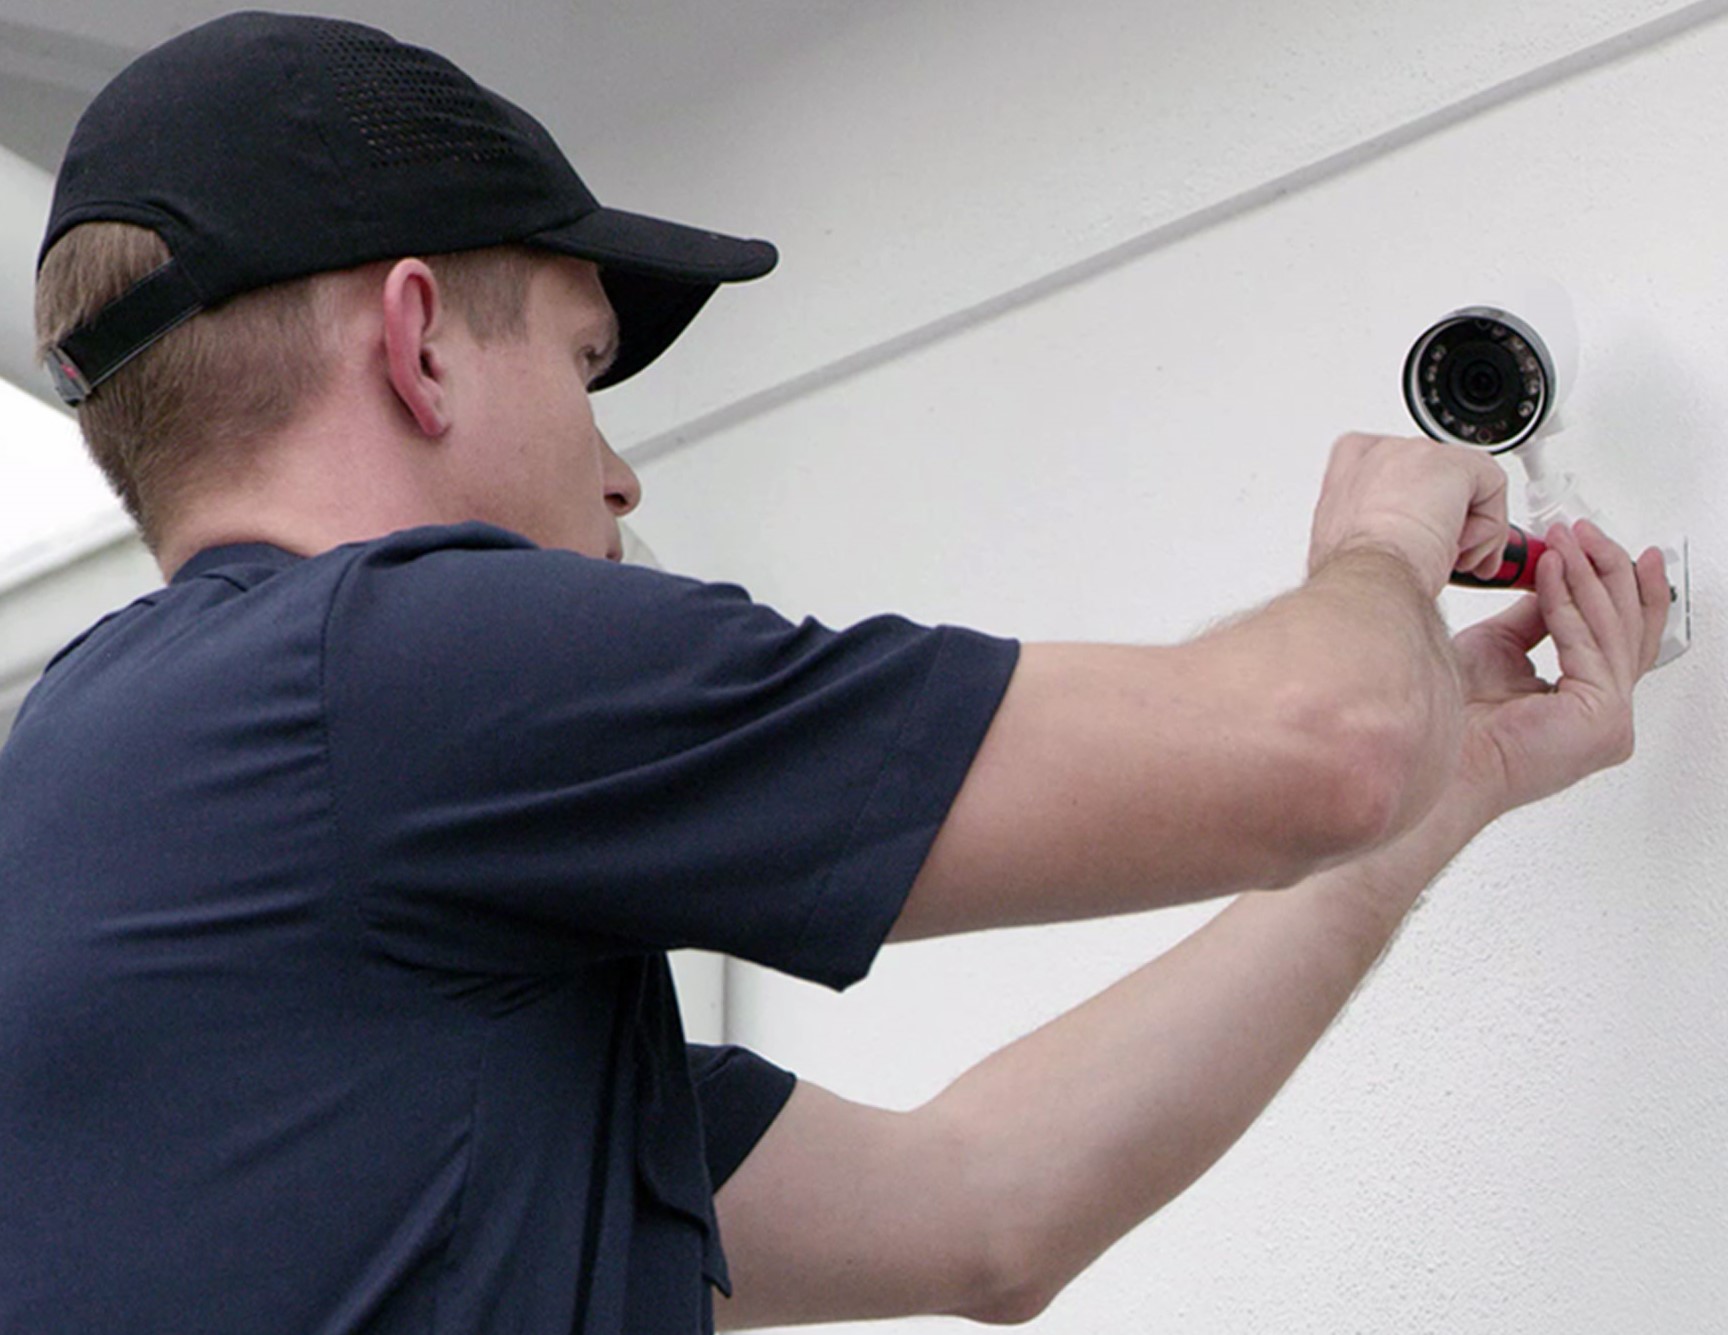
Step 4: Mounting the Webcam
Now that you have installed the webcam software, it’s time to mount the webcam in the desired location. Proper positioning and placement is crucial to ensure optimal surveillance coverage and capture clear footage.
Follow these guidelines when mounting your webcam:
- Choose the Location: Assess the area you want to monitor and determine the best location for your webcam. Consider factors such as the area’s visibility, accessibility to power outlets, and the angle required to cover the desired area.
- Positioning: Mount the webcam at a suitable height and angle to capture the desired field of view. Ensure that it is securely fixed and stable to prevent any movement or tampering.
- Mounting Options: There are various mounting options available for webcams, including clip-on mounts, tripod mounts, and wall mounts. Choose the mounting option that suits your needs and ensures a secure and stable installation.
- Cable Management: Consider cable management to keep the webcam’s cable neatly organized and hidden from view. This prevents any potential tripping hazards and maintains a clean installation.
- Test the View: Before finalizing the mounting, connect the webcam to your computer and launch the webcam software. Ensure that the view captured by the webcam covers the desired area and provides a clear image. Make any necessary adjustments to the positioning or angle of the webcam.
It’s worth noting that some webcams come with adjustable mounts or swivel bases, allowing you to easily adjust the angle and direction of the camera. This flexibility can be beneficial when you need to change the surveillance area or reposition the webcam.
Remember, the optimal placement and positioning of the webcam may require some experimentation and fine-tuning. Take the time to ensure that the webcam covers the desired area effectively and provides the best possible surveillance coverage.
With the webcam successfully mounted and positioned, you are ready to move on to the next step: adjusting camera settings.
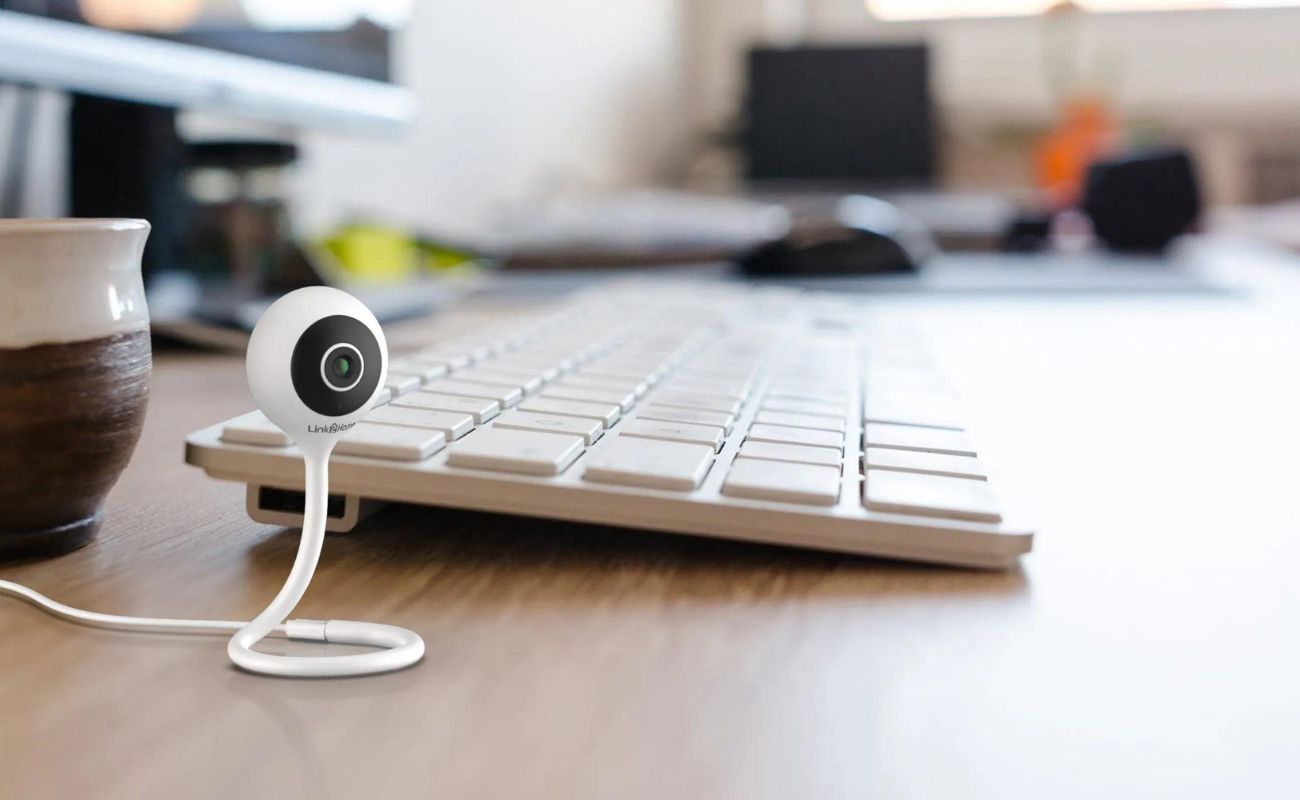
Make sure to position your webcam in a way that covers the area you want to monitor. Set up motion detection software to receive alerts when there is activity. Keep the camera plugged in and ensure a stable internet connection for continuous monitoring.
Read more: How To Set Up Home Security Camera
Step 5: Adjusting Camera Settings
Now that your webcam is properly mounted, it’s time to adjust the camera settings to optimize its performance and meet your specific security requirements. By fine-tuning these settings, you can ensure that the captured footage is of the highest quality and tailored to your surveillance needs.
Here are some key camera settings to consider:
- Resolution: Adjust the resolution settings to the desired level, keeping in mind that higher resolutions will result in larger file sizes. Higher resolutions provide clearer and more detailed footage, but they may also require more storage space.
- Frame Rate: Set the frame rate to determine how many frames per second (FPS) the webcam captures. Higher frame rates result in smoother video playback, but they can also increase the file size and require more processing power.
- Exposure: Adjust the exposure settings to control how the webcam handles different lighting conditions. Experiment with different exposure levels to achieve optimal brightness and contrast in your footage.
- Focus: If your webcam has manual focus capabilities, ensure that the camera is focused correctly on the desired surveillance area. Adjust the focus settings to achieve clear and sharp images.
- White Balance: White balance settings help correct the color temperature of the footage. You can choose automatic white balance or manually adjust it to ensure accurate colors in your video.
- Audio Settings: If your webcam is equipped with a microphone, adjust the audio settings to ensure clear and balanced sound capture. You may need to adjust the microphone sensitivity or enable noise reduction features.
- Alerts and Notifications: Some webcam software allows you to set up alerts and notifications for motion detection or other events. Explore these features and configure them according to your preference to stay informed of any suspicious activity.
It’s crucial to strike a balance between capturing high-quality footage and managing storage space. Consider the available storage capacity on your system and adjust the camera settings accordingly to optimize both quality and storage efficiency.
Take the time to experiment with different settings and test the results to ensure that the webcam is capturing footage as desired. By adjusting the camera settings to your specific needs, you’ll be able to maximize the effectiveness and efficiency of your security camera setup.
Once you are satisfied with the camera settings, it’s time to move on to the next step: configuring security features.
Step 6: Configuring Security Features
Configuring security features is a crucial step in setting up your webcam as a security camera. These features help enhance the overall security of your surveillance system and protect your footage from unauthorized access or tampering.
Here are some important security features to consider:
- Password Protection: Set a strong password for your webcam software or any web-based interface that allows access to the camera. Choose a unique and complex password that includes a combination of letters, numbers, and symbols. Avoid using common passwords or easily guessable information.
- User Access Control: If you plan to provide access to multiple users, consider implementing user access control. Set different permission levels for each user, allowing them to view, control, or modify specific settings. This ensures that only authorized individuals can access and manage the webcam.
- Encryption: If your webcam supports encryption, enable it to protect the communication between the webcam and your computer or any other devices. Encryption adds an extra layer of security and prevents unauthorized interception of the footage.
- Network Security: If you are accessing your webcam remotely or connecting it to a network, ensure that your network is secure. Change the default password for your router, enable a firewall, and use a strong encryption method (such as WPA2) to secure your network connection.
- Firmware Updates: Regularly check for firmware updates for your webcam. Firmware updates often include security patches and bug fixes that address vulnerabilities. Keep your webcam’s firmware up to date to ensure that it is protected against potential threats.
- Activity Logging: Some webcam software allows you to enable activity logging, which records any changes made to the camera settings or any suspicious activities. This can be useful for monitoring and troubleshooting any issues.
- Privacy Considerations: Ensure that you are aware of the legal and privacy implications of using a surveillance camera. Familiarize yourself with the applicable laws in your area regarding privacy and consider posting visible notifications about the camera’s presence in the monitored area.
By configuring these security features, you can ensure that your webcam-based security camera is protected against unauthorized access and your valuable footage remains secure.
Once you have configured the necessary security features, it’s time to proceed to the next step: setting up remote access.
Step 7: Setting Up Remote Access
Setting up remote access allows you to monitor your webcam-based security camera from anywhere, giving you the flexibility to keep an eye on your home or property even when you’re not physically present. This step enables you to view the camera feed and manage its settings remotely.
Follow these steps to set up remote access:
- Dynamic DNS (DDNS): If you don’t have a static IP address, consider setting up Dynamic DNS (DDNS) to assign a domain name to your home network. DDNS allows you to access your webcam remotely using a memorable URL, even if your IP address changes. Some routers have built-in DDNS settings that you can configure.
- Port Forwarding: In order to access your webcam remotely, you need to configure port forwarding on your router. Access your router’s settings and forward the necessary ports (usually port 80 for HTTP) to the local IP address of your webcam. Refer to your router’s documentation or manufacturer’s website for specific instructions.
- Secure Remote Access: If you want to ensure secure remote access, consider using Virtual Private Network (VPN) technology. A VPN creates a secure and encrypted connection between your remote device and your home network, keeping your surveillance data safe from prying eyes.
- Mobile Apps and Software: Install the necessary mobile apps or software on your remote device to access the webcam feed remotely. These apps or software, provided by the webcam manufacturer, allow you to connect to the camera and view the live feed from anywhere with an internet connection.
- Authentication: Enable authentication or login credentials for remote access. This adds an extra layer of security and prevents unauthorized access to your webcam feed. Use strong passwords and consider using two-factor authentication for added protection.
Remember to consult your webcam’s user manual or the manufacturer’s website for specific instructions on setting up remote access. They may provide step-by-step guides or dedicated software for remote viewing and management.
Setting up remote access allows you to monitor your webcam-based security camera from your smartphone, tablet, or any internet-connected device. It provides peace of mind and ensures that you can stay connected to your home or property at all times.
With remote access successfully set up, it’s time to move on to the final step: testing the webcam.
Step 8: Testing the Webcam
After completing the setup process, it’s crucial to test your webcam to ensure that it is functioning properly and capturing footage as expected. Testing will help you identify any potential issues or fine-tune the settings to achieve the best performance from your webcam-based security camera.
Here are some steps to effectively test your webcam:
- Live View: Launch the webcam software or access the remote viewing interface to live view the camera feed. Check if the footage is clear, the colors are accurate, and the field of view covers the desired area. Make any necessary adjustments to the positioning or camera settings if needed.
- Motion Detection: Test the motion detection feature, if supported by your webcam software or settings. Move in front of the camera and verify if it detects the motion and triggers any alerts or notifications. Adjust the motion detection sensitivity as necessary to prevent false alarms.
- Audio: If your webcam has a built-in microphone, test the audio recording capabilities. Speak or create noise near the camera and check if the audio is captured clearly. Adjust the microphone sensitivity or noise reduction settings to optimize the audio quality.
- Remote Access: Ensure that you can successfully access the webcam remotely from your smartphone, tablet, or other internet-connected device. Connect to the camera’s feed and test if the remote viewing and management functions work as expected. Make sure to test from different network connections to ensure compatibility.
- Recording and Playback: Test the recording and playback capabilities of your webcam. Start recording and review the footage to ensure that it is being saved properly and can be played back without any issues. Check if you can easily access and manage the recorded footage.
- Notifications and Alerts: If you have set up alerts and notifications for your webcam, trigger events such as motion detection and test if you receive the expected notifications through email, text message, or the designated alert channels. Verify if the notifications contain the necessary details.
By thoroughly testing your webcam, you can identify any potential issues or areas for improvement. Fine-tune the settings, adjust the camera position if necessary, and make any necessary changes to optimize the performance of your webcam-based security camera.
Regular testing and maintenance are important to ensure that your webcam continues to function properly. Stay vigilant, check for software updates, and revisit the settings periodically to meet your evolving security needs.
Congratulations! You have successfully set up and tested your webcam as a security camera. With the necessary steps completed, you can now enjoy the benefits of having a cost-effective and DIY surveillance solution for your home or property.
Remember to consult your webcam’s user manual or the manufacturer’s website for specific troubleshooting tips or additional features that may be available.
Stay safe and secure!
Read more: How To Set Up Cobra Security Cameras
Conclusion
Setting up a webcam as a security camera is an excellent way to repurpose existing technology and create a cost-effective surveillance solution for your home or property. By following the step-by-step process outlined in this guide, you can successfully transform your webcam into a reliable security camera.
From choosing the right webcam to configuring security features and setting up remote access, each step is essential in creating a robust security system. Take the time to research and select a webcam that meets your requirements, ensuring compatibility with your system. Install the necessary software and adjust the camera settings for optimal performance.
Remember to prioritize security by implementing measures such as password protection, user access control, and encryption to safeguard your webcam-based security camera. Regularly update firmware and monitor potential vulnerabilities to stay ahead of any potential threats.
Testing your webcam is a critical step to ensure that it is functioning properly and meeting your surveillance needs. Monitor the live feed, test motion detection, check audio capabilities, and verify remote access to ensure everything is working as expected. Regular maintenance and testing will help you maintain the effectiveness of your webcam-based security camera.
While setting up a webcam as a security camera has its limitations compared to dedicated systems, this DIY approach provides a budget-friendly option without compromising on basic surveillance needs. It allows you to keep an eye on your home or property and enjoy peace of mind.
We hope that this comprehensive guide has been helpful in getting you started on your journey to transform your webcam into a reliable security camera. Remember to consult the user manual or the manufacturer’s website for specific instructions and additional resources.
Stay proactive, stay secure, and protect what matters most!
Frequently Asked Questions about How To Set Up A Webcam As A Security Camera
Was this page helpful?
At Storables.com, we guarantee accurate and reliable information. Our content, validated by Expert Board Contributors, is crafted following stringent Editorial Policies. We're committed to providing you with well-researched, expert-backed insights for all your informational needs.