Home>Home Security and Surveillance>How To Attach A Security Camera To Brick
Home Security and Surveillance
How To Attach A Security Camera To Brick
Modified: August 28, 2024
Learn how to securely attach a security camera to brick for your home security and surveillance needs. Step-by-step instructions and tips to ensure a successful installation.
(Many of the links in this article redirect to a specific reviewed product. Your purchase of these products through affiliate links helps to generate commission for Storables.com, at no extra cost. Learn more)
Introduction
Welcome to the world of home security and surveillance! In today’s age, it’s more important than ever to ensure the safety of our homes and loved ones. One of the most effective ways to achieve this is by installing security cameras.
Security cameras provide a layer of protection, acting as a deterrent to potential burglars and allowing homeowners to monitor their property remotely. Whether you want to keep an eye on your front door, backyard, or driveway, attaching a security camera to your brick exterior can be a challenging yet essential task.
In this step-by-step guide, we will walk you through the process of attaching a security camera to brick. We will cover everything from gathering the necessary equipment to connecting the camera to its power and network source. By the end of this article, you will have all the knowledge and confidence you need to successfully mount your security camera.
Remember, the specific steps may vary depending on the type of camera and mounting system you choose. It’s always recommended to consult the manufacturer’s instructions for your specific model. Without further ado, let’s get started!
Key Takeaways:
- Attaching a security camera to brick requires gathering the right equipment, choosing the best placement, and carefully securing the camera to the mounting bracket. It’s a detailed process that ensures a reliable home security system.
- After attaching the camera, it’s essential to connect it to power and network sources, adjust the camera angle for optimal coverage, and regularly maintain and monitor its performance. This ensures ongoing effectiveness in safeguarding your home.
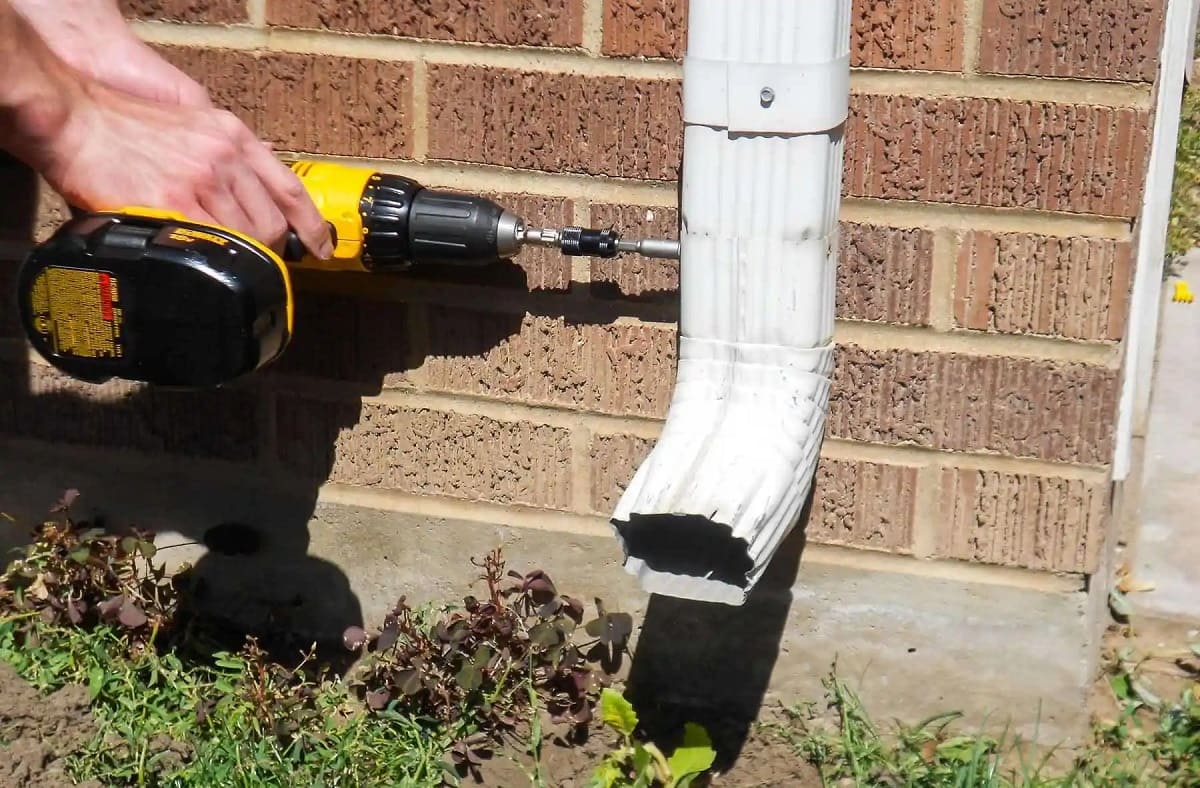
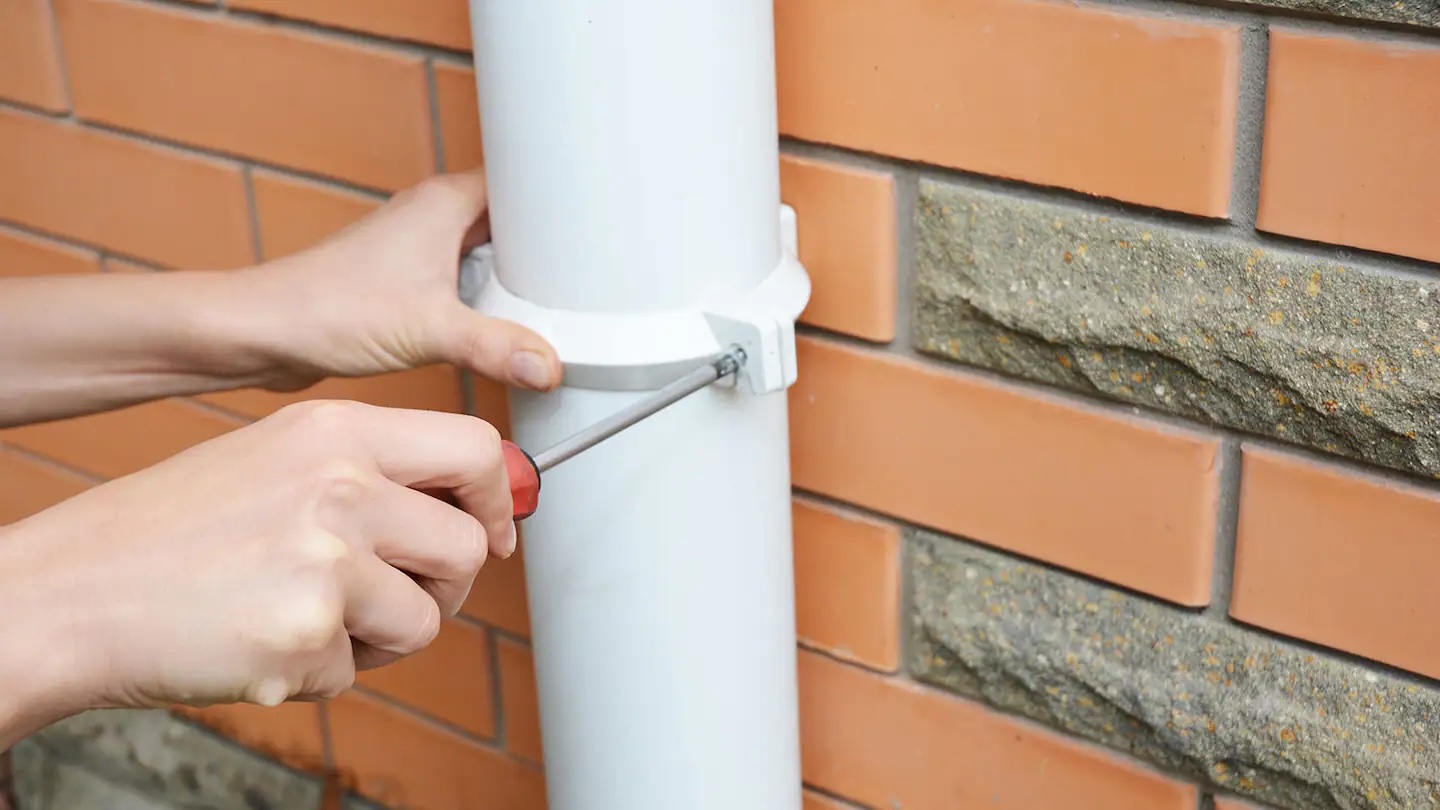
Read more: How To Attach Downspout To Brick
Step 1: Gather the necessary equipment
Before you begin the process of attaching a security camera to brick, it’s crucial to gather all the necessary equipment. Ensuring you have everything you need will save you time and frustration during the installation process. Here are the essential items you will need:
- Security Camera: Choose a camera that suits your needs and preferences. Look for features such as high-resolution video, night vision capabilities, and motion detection.
- Mounting Bracket: A sturdy mounting bracket is essential for securely attaching the camera to the brick. Make sure it is compatible with your camera model.
- Drill: You will need a drill with a masonry drill bit to make holes in the brick for the mounting bracket and anchor sleeves.
- Masonry Anchor Sleeves: Anchor sleeves will provide stability and ensure that the camera remains securely attached to the brick.
- Screws and Anchors: These will be used to fasten the mounting bracket to the brick.
- Pencil or Marker: You will need a pencil or marker to mark the drilling points on the brick.
- Screwdriver or Power Drill: A screwdriver or power drill will be used to screw in the screws and anchors.
- Power and Network Cables: Depending on your camera’s power source and connectivity options, you may need cables to connect the camera to its power and network sources.
- Ladder or Scaffolding: If the camera placement requires reaching high areas, a ladder or scaffolding will be necessary.
- Protective Gear: It’s important to prioritize safety during the installation process. Wear safety goggles, gloves, and any other necessary protective gear.
Take the time to ensure you have all the required equipment before starting the installation. This will help you avoid potential delays and ensure a smoother setup process.
Step 2: Choose the camera placement
Choosing the right placement for your security camera is crucial to maximize its effectiveness. The camera should cover the desired area while having a clear and unobstructed view. Here are a few factors to consider when deciding on the camera placement:
- Area to be monitored: Assess the areas you want to monitor and prioritize the most vulnerable entry points, such as doors, windows, or driveways. Identify the specific angles and coverage required to capture any potential threats.
- Line of sight: Ensure that the camera will have a clear line of sight to capture the intended area. Avoid obstructions such as trees, bushes, or structures that could block the camera’s view.
- Height and angle: Determine the ideal height and angle for the camera. Higher placements can provide a wider view, while lower placements can offer more details. It’s important to strike a balance and achieve the optimal position for your specific surveillance needs.
- Accessibility: Consider the accessibility of the camera for maintenance and adjustments. Ensure that the chosen placement allows for easy access to the camera and its wiring.
- Weather protection: If the camera will be exposed to the elements, consider weatherproof options or additional accessories to protect it from rain, sun, and other adverse weather conditions.
Take your time to assess and plan the camera placement. Consider different angles and test the view using your smartphone or a temporary mount before drilling into the brick. Once you have determined the ideal location, you can proceed to the next steps of the installation process.
Step 3: Prepare the camera mounting bracket
Now that you have chosen the ideal placement for your security camera, it’s time to prepare the camera mounting bracket. The mounting bracket serves as the foundation for securely attaching the camera to the brick surface. Here’s how to prepare the bracket:
- Read the instructions: Review the manufacturer’s instructions for your specific camera and mounting bracket. Familiarize yourself with the steps and guidelines provided to ensure correct installation.
- Assemble the bracket: Follow the instructions to assemble the camera mounting bracket. This may involve attaching various components, such as the base plate, mounting arm, or tilt/swivel mechanism. Ensure that all parts are securely connected.
- Adjust the angle: Most camera mounting brackets offer adjustable angles. Determine the desired angle for your camera based on the specific area you want to monitor and make the necessary adjustments accordingly.
- Tighten all screws: Use a screwdriver or the appropriate tool to securely tighten all screws and fasteners on the mounting bracket. This will ensure the bracket remains stable once attached to the brick.
- Double-check stability: Give the mounting bracket a gentle shake to ensure it is secure and stable. If there is any looseness, tighten the screws further or re-check the assembly steps.
By properly preparing the camera mounting bracket, you will lay the foundation for a sturdy and reliable installation. Double-checking the stability of the bracket will give you confidence that your camera is securely attached to the brick surface.
Step 4: Mark the drilling points on the brick
With the camera mounting bracket prepared, it’s time to mark the drilling points on the brick surface. Properly marking the locations will ensure accurate and precise drilling, making the installation process smoother. Here’s how to mark the drilling points:
- Position the mounting bracket: Hold the mounting bracket against the desired spot on the brick where you want to attach the camera. Ensure that the bracket is level and aligned correctly with the intended angle and coverage.
- Mark the holes: Using the bracket as a guide, use a pencil or marker to carefully mark the center of each hole in the bracket. These marks will serve as your drilling points.
- Measure and double-check: Take precise measurements to ensure that your drilling points are accurately marked. Use a measuring tape or ruler to verify that the distances between the holes are in line with the bracket’s specifications.
- Multiple brackets: If you’re installing multiple cameras or using a multi-camera bracket, repeat the same process for each camera. Make sure to mark the drilling points for each bracket individually.
It’s crucial to take your time and be precise when marking the drilling points. Double-checking your measurements and alignment will help ensure that the camera is mounted securely and provides the desired coverage. Once you have marked the drilling points, you can move on to the next step: drilling pilot holes in the brick.
Read more: How To Attach Brick Molding
Step 5: Drill pilot holes
Now that you have marked the drilling points on the brick, it’s time to drill pilot holes. Pilot holes are small, shallow holes that serve as guides for the screws or anchors that will be inserted later to secure the camera mounting bracket. Here’s how to drill pilot holes in the brick:
- Choose the right drill bit: Select a masonry drill bit that matches the diameter of the anchor sleeves or screws you will be using. Masonry drill bits are specifically designed to drill into brick and other hard materials.
- Put on your safety gear: Before drilling, make sure to protect yourself by wearing safety goggles, gloves, and any other necessary protective gear.
- Set your drill to the appropriate speed: Adjust your drill to the recommended speed for drilling into brick. This will often be a low to medium speed setting to prevent overheating or damaging the drill bit.
- Drill the pilot holes: Place the tip of the drill bit on one of the marked drilling points and begin drilling. Apply steady but gentle pressure and let the drill bit do the work. Drill the holes to a depth that matches the length of the anchor sleeves or screws you will be using.
- Repeat for other drilling points: Move the drill to the remaining marked drilling points and repeat the drilling process, ensuring that the holes are consistent in depth and alignment.
- Clean up the debris: After drilling the pilot holes, use a brush or compressed air to remove any debris or dust from the holes. This will help ensure a clean and secure fit for the anchor sleeves or screws.
Drilling pilot holes is an important step in the installation process. It prevents the brick from cracking or chipping when the screws or anchor sleeves are inserted. Take your time and make sure the pilot holes are clean and correctly aligned before moving on to the next step.
Use a masonry drill bit to create pilot holes in the brick. Then, use masonry anchors and screws to securely attach the camera mount to the brick. Make sure to use a level to ensure the camera is properly aligned.
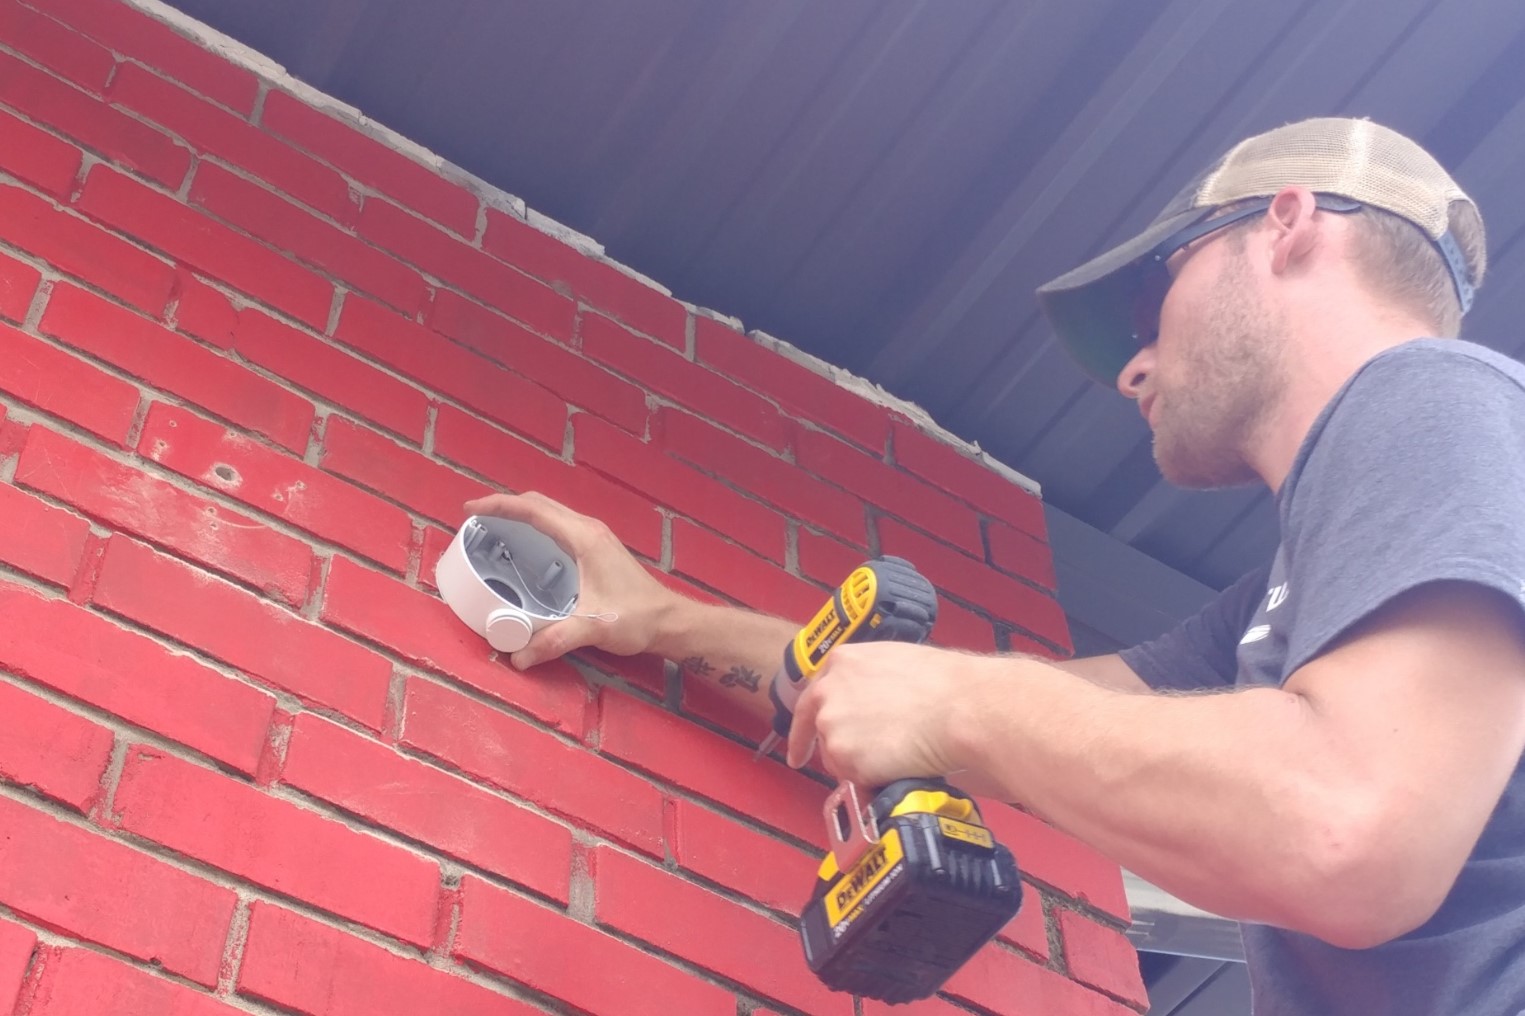
Step 6: Install anchor sleeves into the holes
Now that you have drilled the pilot holes in the brick, it’s time to install anchor sleeves. Anchor sleeves provide additional stability and strength when attaching the camera mounting bracket. Follow these steps to install the anchor sleeves:
- Choose the right anchor sleeves: Select anchor sleeves that match the diameter and length of the pilot holes you drilled. It’s important that the anchor sleeves fit snugly into the holes.
- Insert the anchor sleeves: Take one anchor sleeve at a time and insert it into a pilot hole. Use a hammer to gently tap the anchor sleeve until it sits flush with the surface of the brick. Repeat this process for all the pilot holes.
- Check the stability: Once all the anchor sleeves are inserted, give them a gentle tug to ensure they are securely in place. If any of the sleeves come loose, remove and replace them with new anchor sleeves.
Installing anchor sleeves provides a solid foundation for attaching the camera mounting bracket. The sleeves distribute the weight and tension evenly, preventing the screws or bolts from damaging the brick and ensuring a secure and long-lasting installation.
With the anchor sleeves in place, you are now ready to move on to the next step: attaching the camera mounting bracket to the brick.
Step 7: Attach the camera mounting bracket to the brick
With the anchor sleeves securely installed, it’s time to attach the camera mounting bracket to the brick surface. This step will require the use of screws or bolts to fasten the bracket in place. Follow these steps to properly attach the camera mounting bracket:
- Align the bracket with the anchor sleeves: Position the camera mounting bracket over the anchor sleeves, ensuring that the screw holes in the bracket align with the anchor sleeves. Double-check the alignment and make any necessary adjustments before proceeding.
- Insert screws or bolts: Take the appropriate screws or bolts and insert them through the holes in the mounting bracket and into the anchor sleeves. Use a screwdriver or power drill to tighten the screws or bolts, but be careful not to overtighten and risk damaging the bracket or the brick.
- Check for stability: Once the screws or bolts are tightened, give the camera mounting bracket a gentle shake to ensure it is securely attached to the brick surface. If there is any wobbling or movement, double-check the tightness of the screws or bolts and make adjustments as needed.
Attaching the camera mounting bracket properly is essential for the stability and security of the camera. Ensuring that the bracket is securely fastened will prevent any unwanted movement or instability. Take your time during this step to ensure a solid attachment to the brick.
Now that the camera mounting bracket is securely attached, you can move on to the next step: securing the camera to the mounting bracket.
Step 8: Secure the camera to the mounting bracket
With the camera mounting bracket securely attached to the brick, it’s time to secure the camera itself to the bracket. This step will vary depending on the specific camera and bracket you are using, so be sure to consult the manufacturer’s instructions for your particular model. Here are some general steps to follow:
- Align the camera with the bracket: Position the camera in line with the mounting bracket. Ensure that the camera aligns with any mounting screw holes or brackets on the bracket itself.
- Attach the camera to the bracket: Depending on your camera and bracket, you may need to use screws, bolts, or other fasteners provided by the manufacturer. Insert the screws or bolts through the appropriate holes on the camera and tighten them into the corresponding holes or brackets on the mounting bracket.
- Check for stability: Once the camera is attached to the mounting bracket, give it a gentle shake to ensure it is securely in place. Check for any movement or wobbling, and make any necessary adjustments to ensure a stable installation.
It’s crucial to follow the manufacturer’s instructions when securing the camera to the mounting bracket. Each camera may have specific mounting requirements, and using the correct screws or bolts is essential to ensure a secure attachment. Take your time during this step to ensure the camera is firmly and properly secured.
Now that the camera is securely attached to the mounting bracket, you can move on to the next step: connecting the camera to its power and network source.
Read more: How To Attach Flashing To Brick
Step 9: Connect the camera to the power and network source
Now that your camera is properly secured to the mounting bracket, it’s time to connect it to its power and network source. This step will ensure that your camera is powered and able to transmit footage to your desired location. Here’s how to connect your camera:
- Locate the power and network ports: Identify the power and network ports on your camera. These are usually located on the back or bottom of the camera.
- Connect the power cable: Plug one end of the power cable into the power port on the camera and the other end into a power outlet. Ensure that the connection is secure.
- Connect the network cable (if applicable): If your camera requires a wired internet connection, connect one end of the network cable to the network port on the camera and the other end to your router or network switch. If your camera supports Wi-Fi connectivity, refer to the manufacturer’s instructions to set up the wireless connection.
- Power on the camera: Once the camera is connected to its power and network source, turn it on using the designated power button or switch.
- Test the camera: Verify that the camera is functioning properly by accessing the camera feed through the designated software or app. Ensure that the footage is being captured and transmitted correctly to your desired location.
Properly connecting your camera to its power and network source is essential for its functionality and performance. Make sure all connections are secure and double-check the camera’s settings to ensure it is connected to the correct network if applicable.
With your camera connected and tested, you are now ready to move on to the final step: adjusting and testing the camera angle.
Step 10: Adjust and test the camera angle
With your camera now powered and connected, the final step is to adjust and test the camera angle to ensure optimal coverage and visibility. Properly adjusting the camera angle will help maximize its effectiveness in monitoring the desired area. Follow these steps to adjust and test the camera angle:
- Access the camera feed: Use the designated software or app to access and view the camera feed on your computer or mobile device.
- Assess the camera view: Take note of what is being captured by the camera. Verify that the camera is positioned correctly to monitor the desired area. Ensure that there are no blind spots or obstructions that may hinder its effectiveness.
- Make adjustments: If necessary, physically adjust the camera angle by loosening the screws or bolts on the mounting bracket and carefully repositioning the camera. Tighten the screws or bolts once the desired angle is achieved.
- Test the coverage: Test the camera’s coverage by simulating different scenarios, such as walking in front of the camera or testing the night vision capabilities in low-light conditions. Ensure that the camera captures the necessary details and provides the desired level of visibility.
- Review the recordings: Check the camera’s recorded footage to confirm that it is capturing and storing the necessary information. Review the footage for clarity and make any additional adjustments if needed.
Properly adjusting and testing the camera angle is crucial for ensuring that it performs optimally. Take the time to assess the camera’s view and make any necessary adjustments to achieve the desired coverage and visibility.
With the camera angle adjusted and tested, you have successfully completed the process of attaching a security camera to a brick surface. Enjoy the peace of mind that comes with having a reliable home security system in place!
Conclusion
Congratulations on successfully attaching a security camera to a brick surface! By following the step-by-step guide outlined in this article, you have taken a significant step towards enhancing the security and surveillance of your home. Let’s recap what we’ve covered:
You began by gathering all the necessary equipment, including the camera, mounting bracket, drill, anchor sleeves, and screws. Then, you chose the ideal camera placement, considering factors such as the area to be monitored, line of sight, height, and accessibility.
Next, you prepared the camera mounting bracket by assembling it, adjusting the angle, and tightening all the screws. You then marked and drilled pilot holes into the brick, ensuring precise placement and cleanliness.
With the anchor sleeves securely installed, you attached the camera mounting bracket to the brick surface, double-checking its stability and alignment. You then securely fastened the camera to the mounting bracket, following the manufacturer’s instructions and checking for any movement or instability.
Afterward, you connected the camera to its power and network source, ensuring a proper and secure connection. Finally, you adjusted and tested the camera angle, ensuring optimal coverage and visibility by accessing and reviewing the camera’s feed.
Attaching a security camera to brick requires careful planning, precise execution, and attention to detail. By following this guide, you have successfully completed a crucial step in improving the surveillance of your home or property.
Remember, home security is an ongoing endeavor, and it’s important to regularly maintain and check your camera’s performance. Keep the camera clean, update firmware when required, and make adjustments if necessary to ensure its continued effectiveness.
With your new security camera in place, you can enjoy the peace of mind that comes with having enhanced surveillance and protection for your home and loved ones. Stay vigilant, and prioritize the safety of your home by regularly monitoring the camera’s feed and reviewing the recorded footage when needed.
Thank you for choosing to improve your home security through the installation of a security camera. Stay safe and secure!
Frequently Asked Questions about How To Attach A Security Camera To Brick
Was this page helpful?
At Storables.com, we guarantee accurate and reliable information. Our content, validated by Expert Board Contributors, is crafted following stringent Editorial Policies. We're committed to providing you with well-researched, expert-backed insights for all your informational needs.