Home>Home Security and Surveillance>Why Won’t My Security Camera Connect To My Wi-Fi?
Home Security and Surveillance
Why Won’t My Security Camera Connect To My Wi-Fi?
Modified: August 28, 2024
Learn why your home security camera is not connecting to your Wi-Fi. Get expert tips and troubleshooting solutions for a seamless surveillance experience.
(Many of the links in this article redirect to a specific reviewed product. Your purchase of these products through affiliate links helps to generate commission for Storables.com, at no extra cost. Learn more)
Introduction
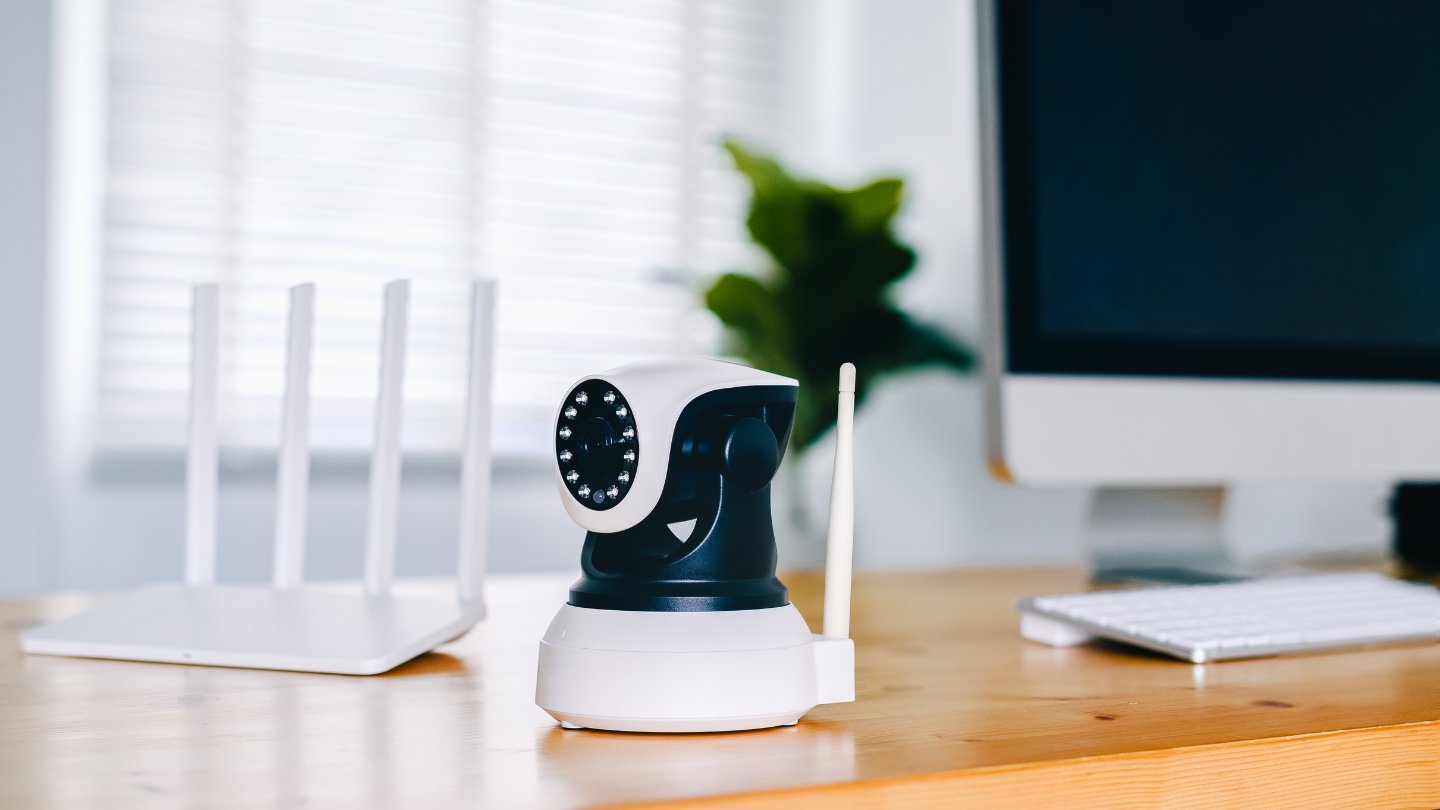
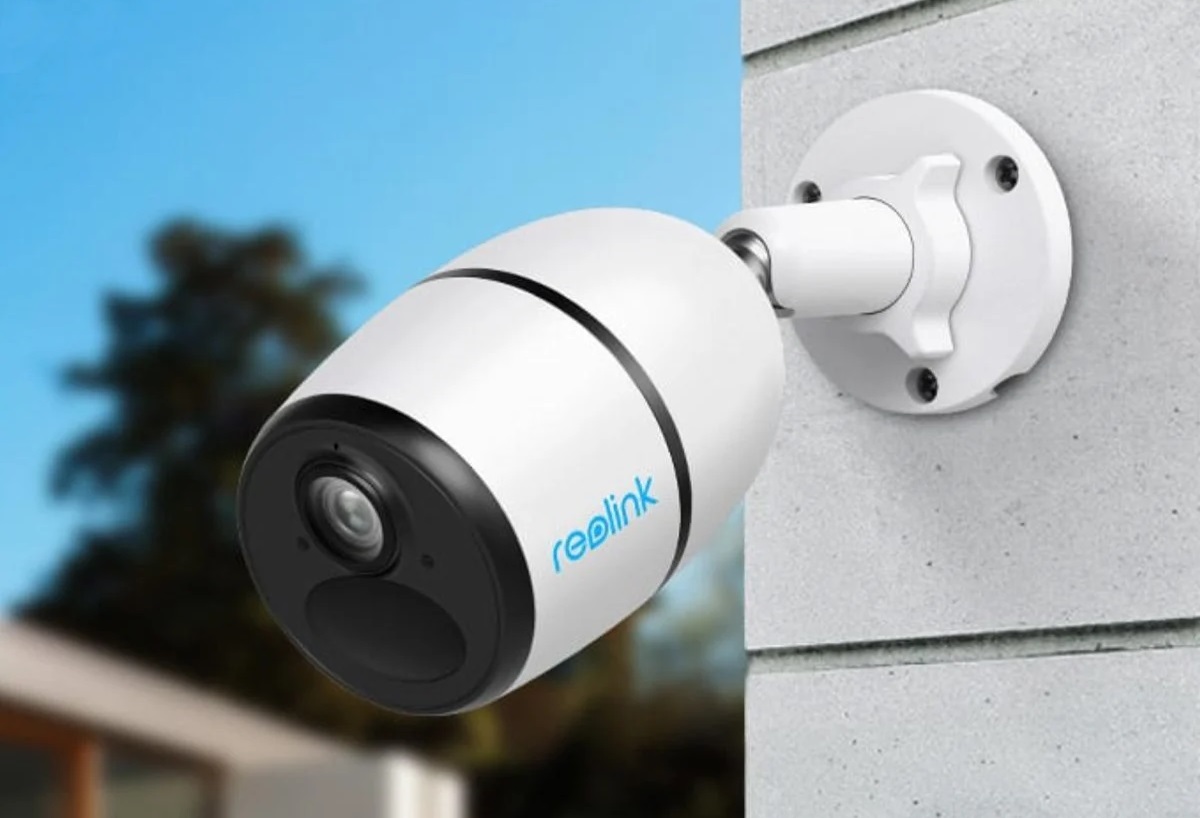
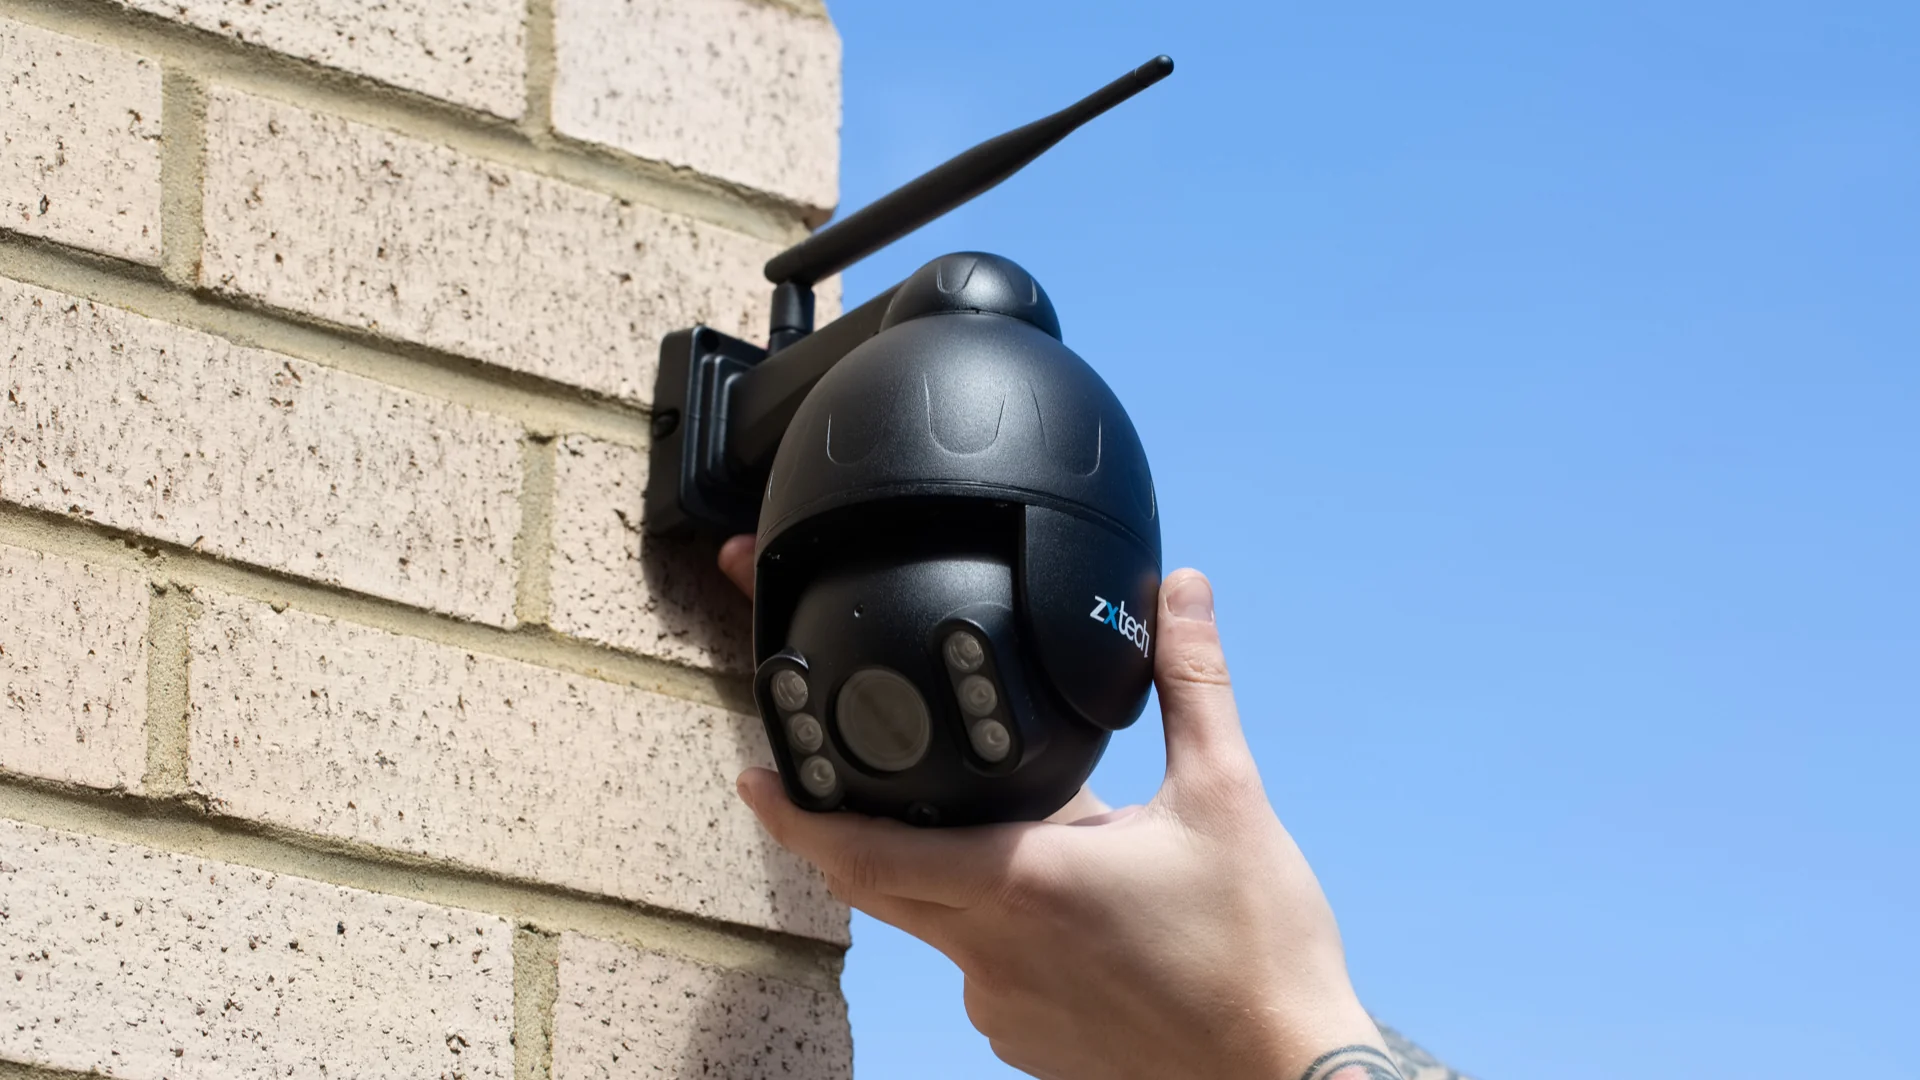
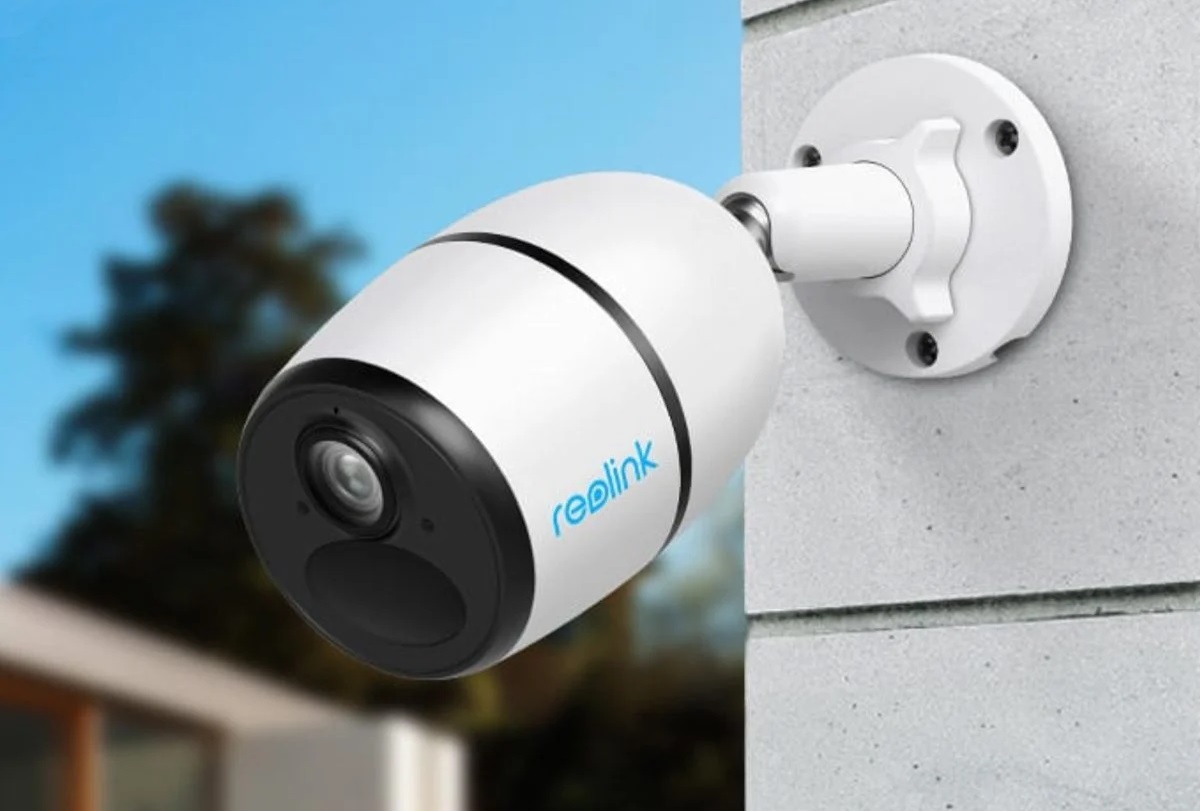
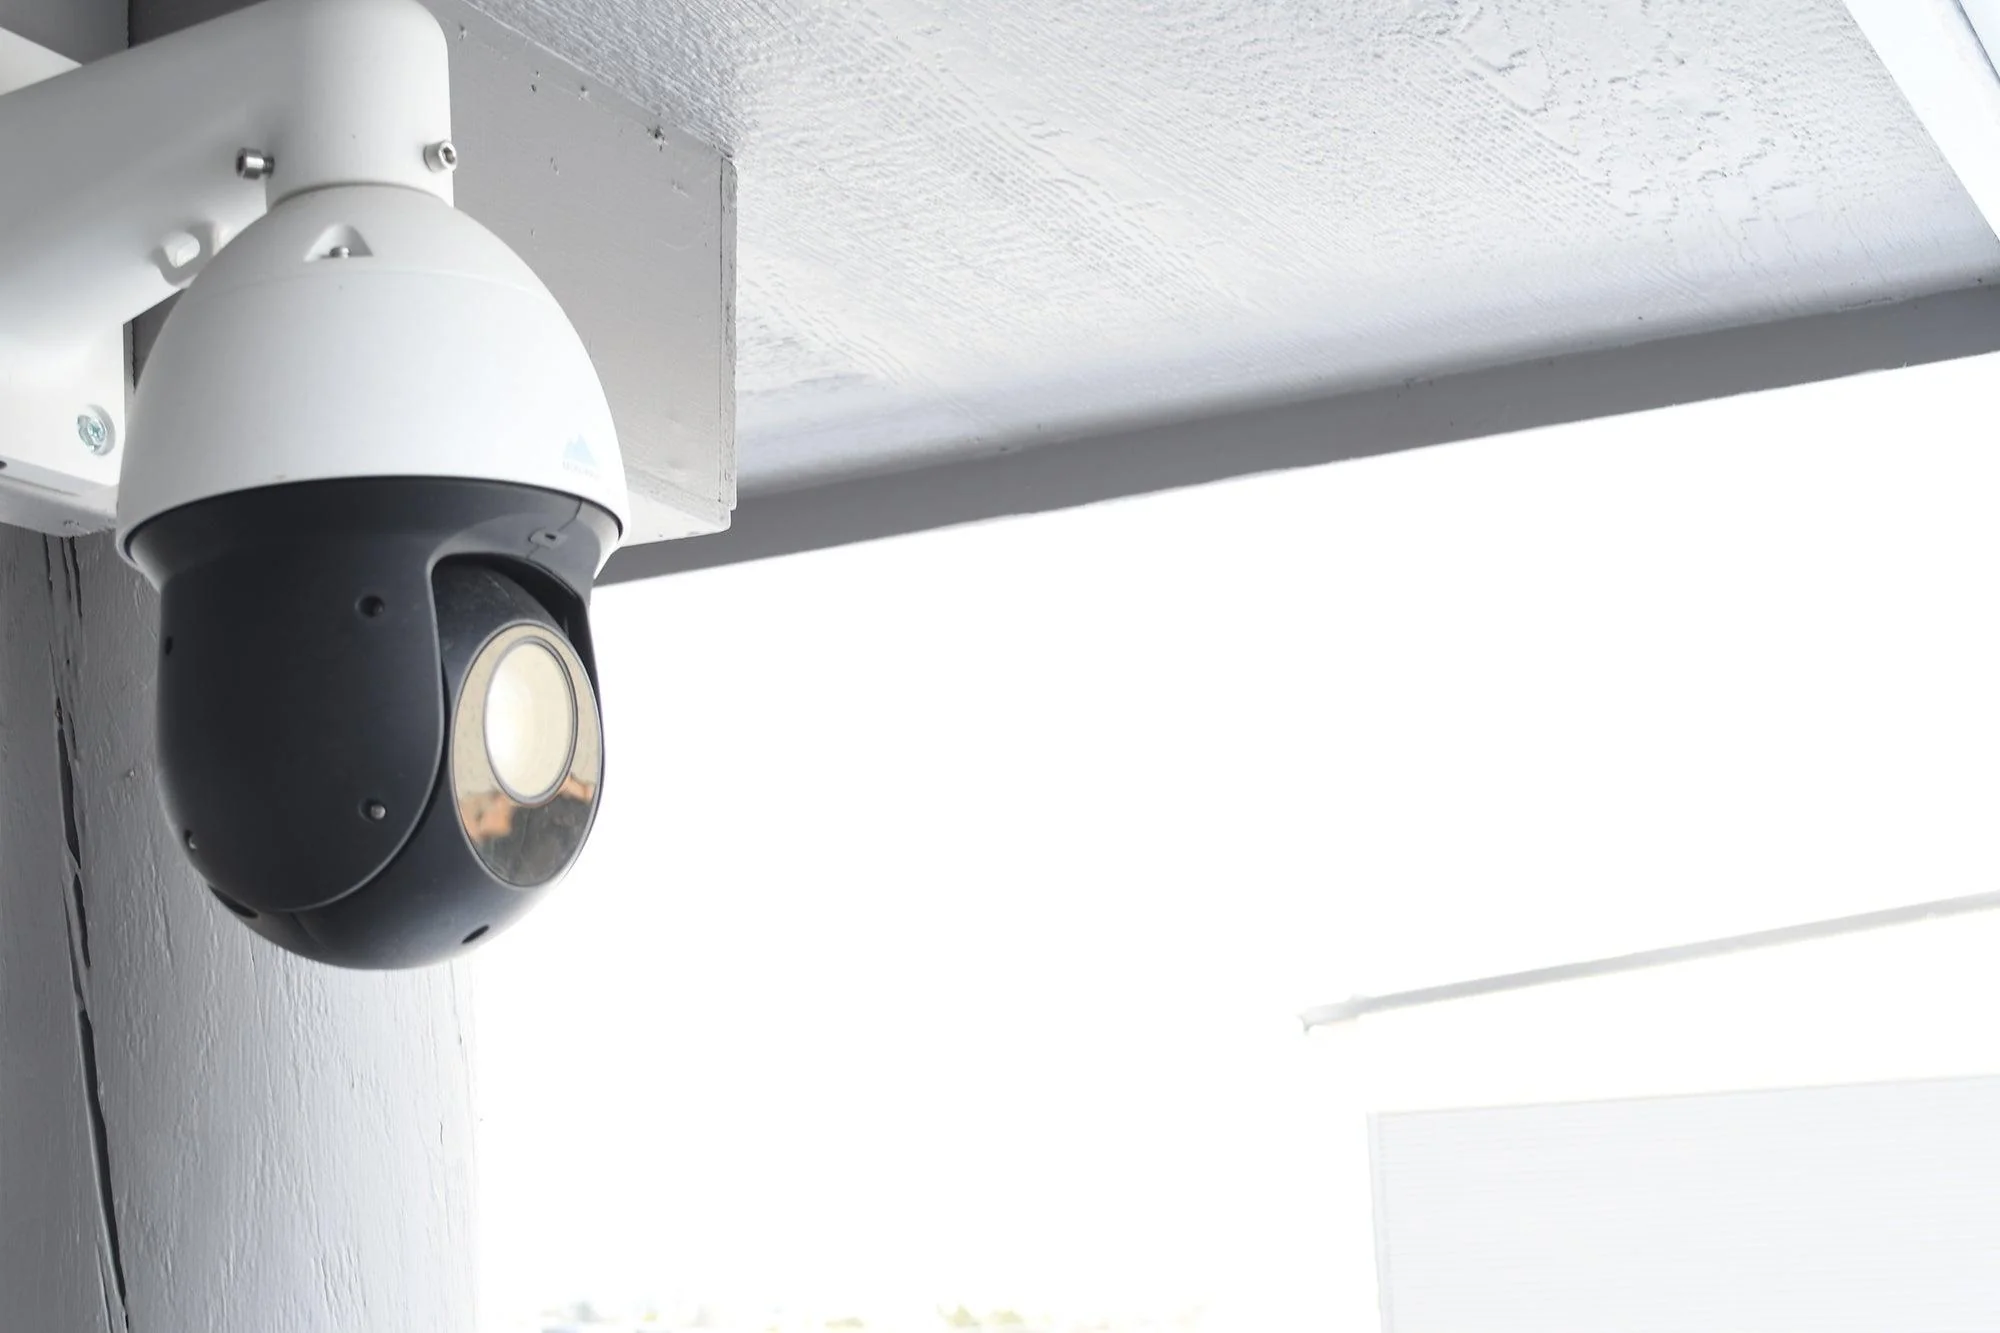
Home security cameras have become an essential component of protecting our homes and loved ones. They provide peace of mind by allowing us to monitor our property even when we are away. However, there may be instances when you encounter issues connecting your security camera to your Wi-Fi network. This can be quite frustrating, as it prevents you from accessing the live feed or recording capabilities of your camera.
In this article, we will explore the common reasons why your security camera won’t connect to your Wi-Fi network and provide troubleshooting steps to help you resolve the issue. By following these steps, you can ensure that your camera is up and running, providing you with the necessary surveillance and security you need.
Key Takeaways:
- Ensure your security camera and Wi-Fi network are compatible by checking the frequency and channel settings. Simplify your password if needed and optimize the signal strength for a successful connection.
- Eliminate interference from other devices, reboot your camera and router, and reset camera settings if necessary. Check and adjust router configuration to resolve connectivity issues.
Read more: Why Is My Alexa Not Connected To WiFi
Troubleshooting Steps
When your security camera is having trouble connecting to your Wi-Fi network, there are several steps you can take to troubleshoot the issue. Let’s take a closer look at these steps:
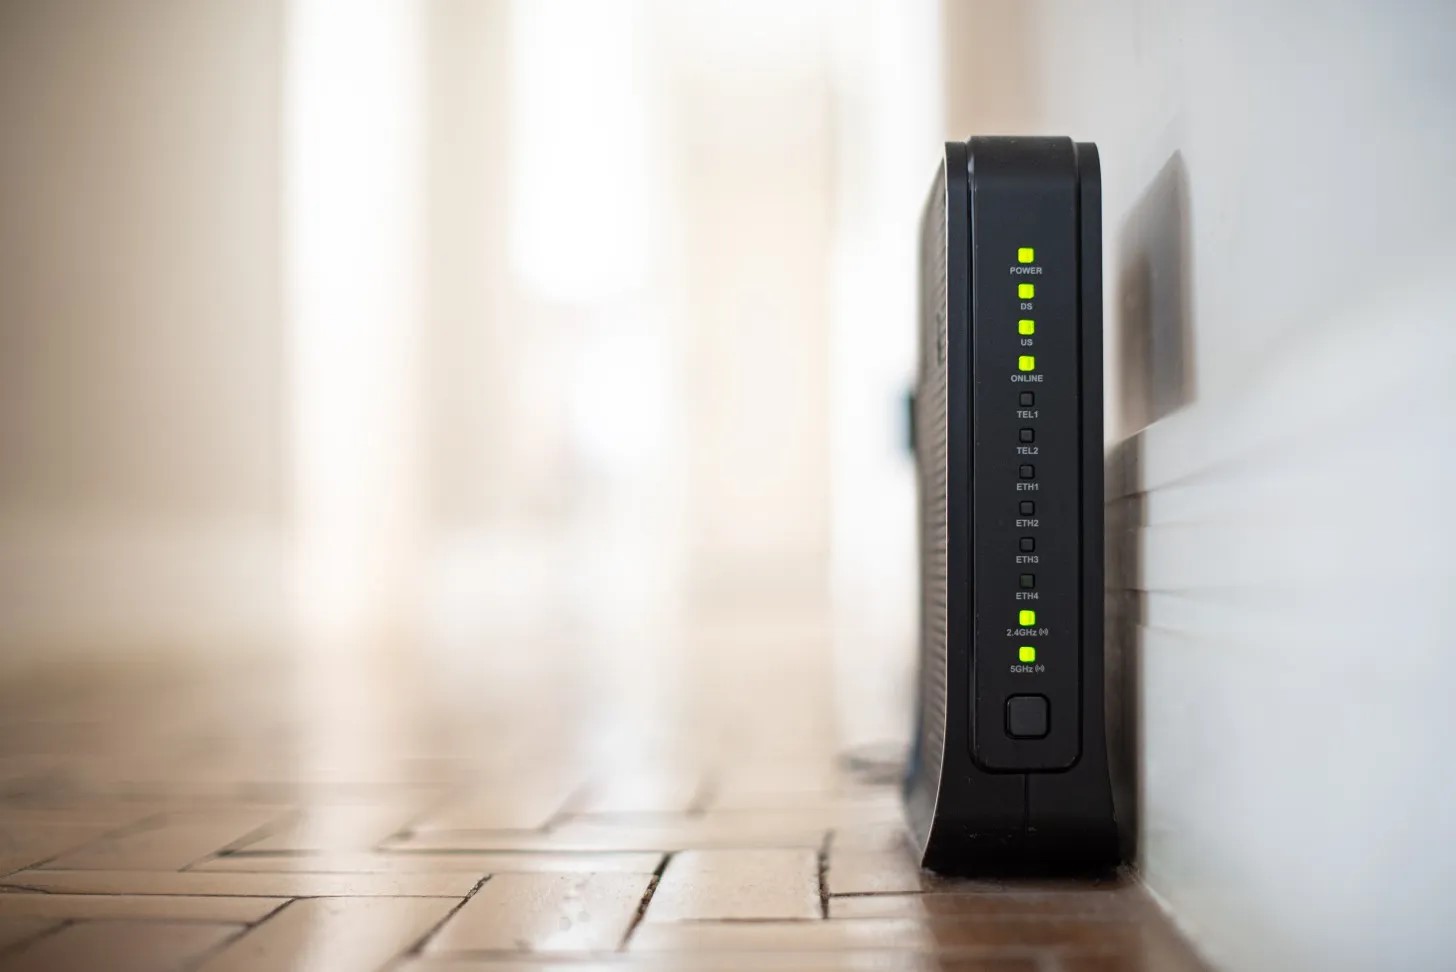
- Check Wi-Fi Network Compatibility: Ensure that your security camera is compatible with your Wi-Fi network. Some cameras only work with specific types of networks, such as 2.4GHz or 5GHz. Check the camera’s specifications or contact the manufacturer to verify compatibility.
- Verify Correct Password: Double-check that you are entering the correct Wi-Fi password for your network. Even a minor typo can prevent the camera from connecting. If you’re unsure about the password, you can try connecting another device, such as a smartphone or laptop, to confirm the password’s accuracy.
- Ensure Sufficient Wi-Fi Signal Strength: Make sure that the camera is within range of your Wi-Fi router and that the signal strength is strong enough. If the camera is too far away or obstructed by walls or other objects, it may have trouble connecting. Consider moving the camera closer to the router or installing a Wi-Fi extender to boost the signal strength.
- Remove Interference: Check for any potential sources of interference that may be affecting your Wi-Fi signal. Common culprits include other electronic devices, such as cordless phones or baby monitors, or even neighboring Wi-Fi networks. Try turning off or moving these devices away from your camera to see if it improves the connection.
- Reboot Devices: Sometimes, a simple reboot can resolve connectivity issues. Start by unplugging both your camera and Wi-Fi router from the power source for a few seconds, then plug them back in and allow them to restart. This can help clear any temporary glitches or conflicts that may be preventing the camera from connecting.
- Reset Camera Settings: If none of the previous steps work, you can try resetting the camera to its default settings. Look for a small reset button or hole on the camera and use a paperclip or pin to press and hold it for about 10 seconds. This will restore the camera to its factory settings, allowing you to set it up again as if it were brand new.
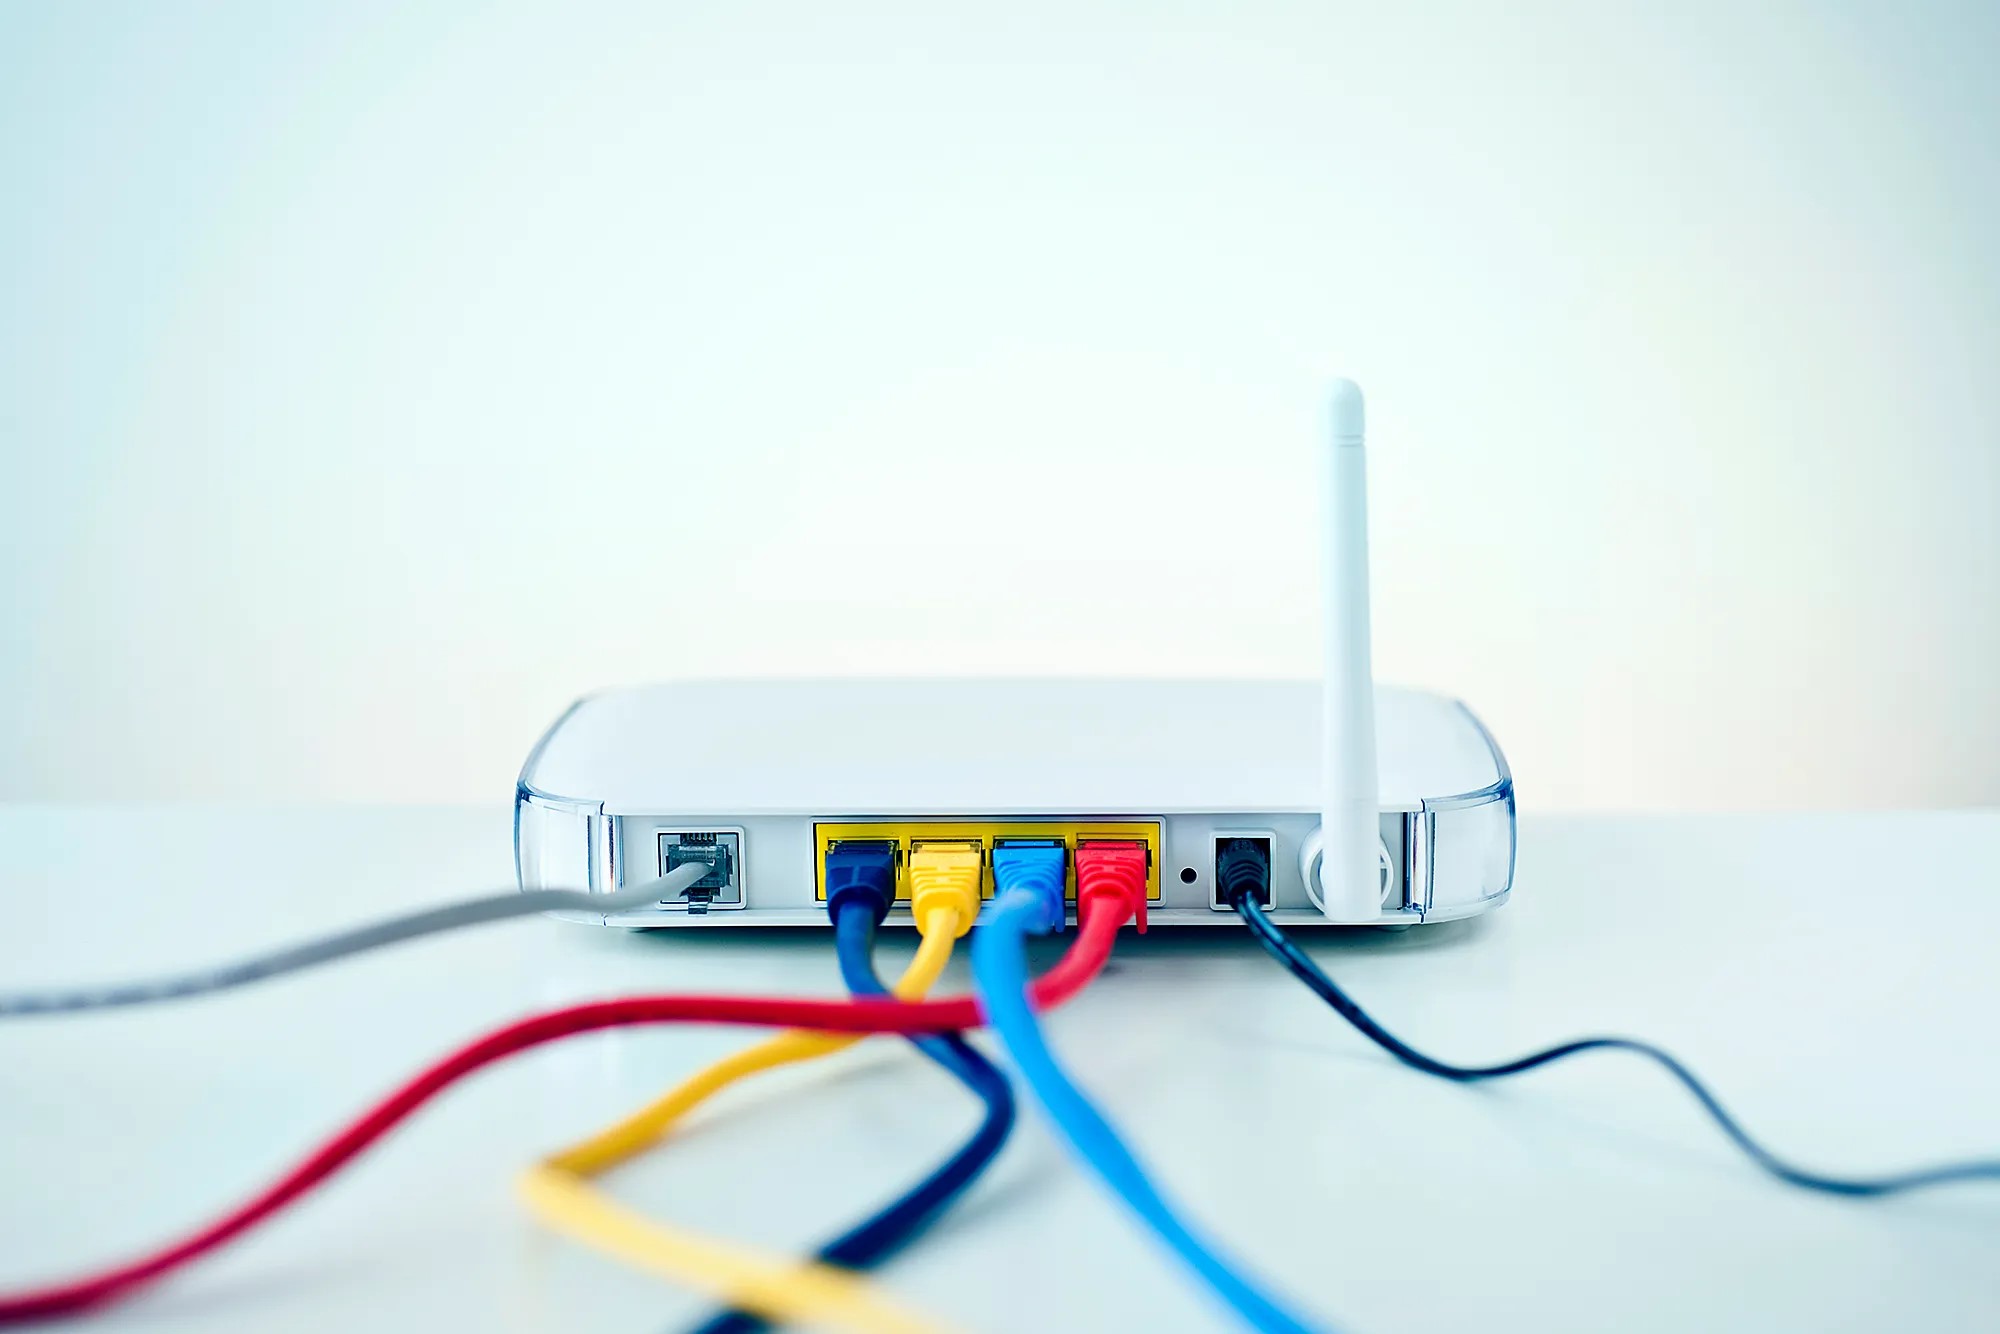
- Check Router Configuration: Ensure that your router is configured correctly for your security camera. Some cameras require specific settings, such as port forwarding or disabling certain security features. Refer to your camera’s manual or contact the manufacturer for guidance on the recommended router configuration.
By following these troubleshooting steps, you should be able to resolve most issues related to your security camera’s connectivity to your Wi-Fi network. Remember to take your time and be patient during the process. If the problem persists, don’t hesitate to reach out to the camera’s manufacturer or consult with a professional.
Check Wi-Fi Network Compatibility
When your security camera won’t connect to your Wi-Fi network, the first step is to ensure that the camera is compatible with your network. Different cameras operate on different Wi-Fi frequencies, such as 2.4GHz or 5GHz. It’s important to check the camera’s specifications or contact the manufacturer to confirm which frequency your camera supports.
Most routers nowadays offer both 2.4GHz and 5GHz frequencies, but some cameras might only be compatible with one of them. If your camera is not connecting, it’s possible that it is set to the wrong frequency or that your router is not broadcasting the correct frequency.
To resolve this issue, you can access your router’s settings by typing its IP address into a web browser. Once you’re in the router’s interface, look for the wireless settings and check if both frequencies are enabled. If only one is enabled, you may need to enable the other frequency to match your camera’s compatibility.
Another issue to consider is the Wi-Fi channel that your router is using. Routers can operate on different channels within the Wi-Fi frequency spectrum. If multiple routers in your area are using the same channel, it can cause interference and affect the connectivity of your security camera.
To check the Wi-Fi channel, you can use a Wi-Fi analyzer app on your smartphone or computer. This app will show you the Wi-Fi networks in your vicinity and the channels they are operating on. Look for a channel that is less crowded and manually change your router to that channel through the router’s settings.
If you’re not comfortable accessing your router’s settings or making changes, you can contact your internet service provider or the manufacturer of your router for assistance. They can guide you through the process of checking and adjusting the Wi-Fi compatibility settings for your security camera.
By ensuring that your security camera and Wi-Fi network are compatible, you can increase the chances of a successful connection. Once the compatibility is confirmed, you can proceed with the other troubleshooting steps to further address any potential connectivity issues.
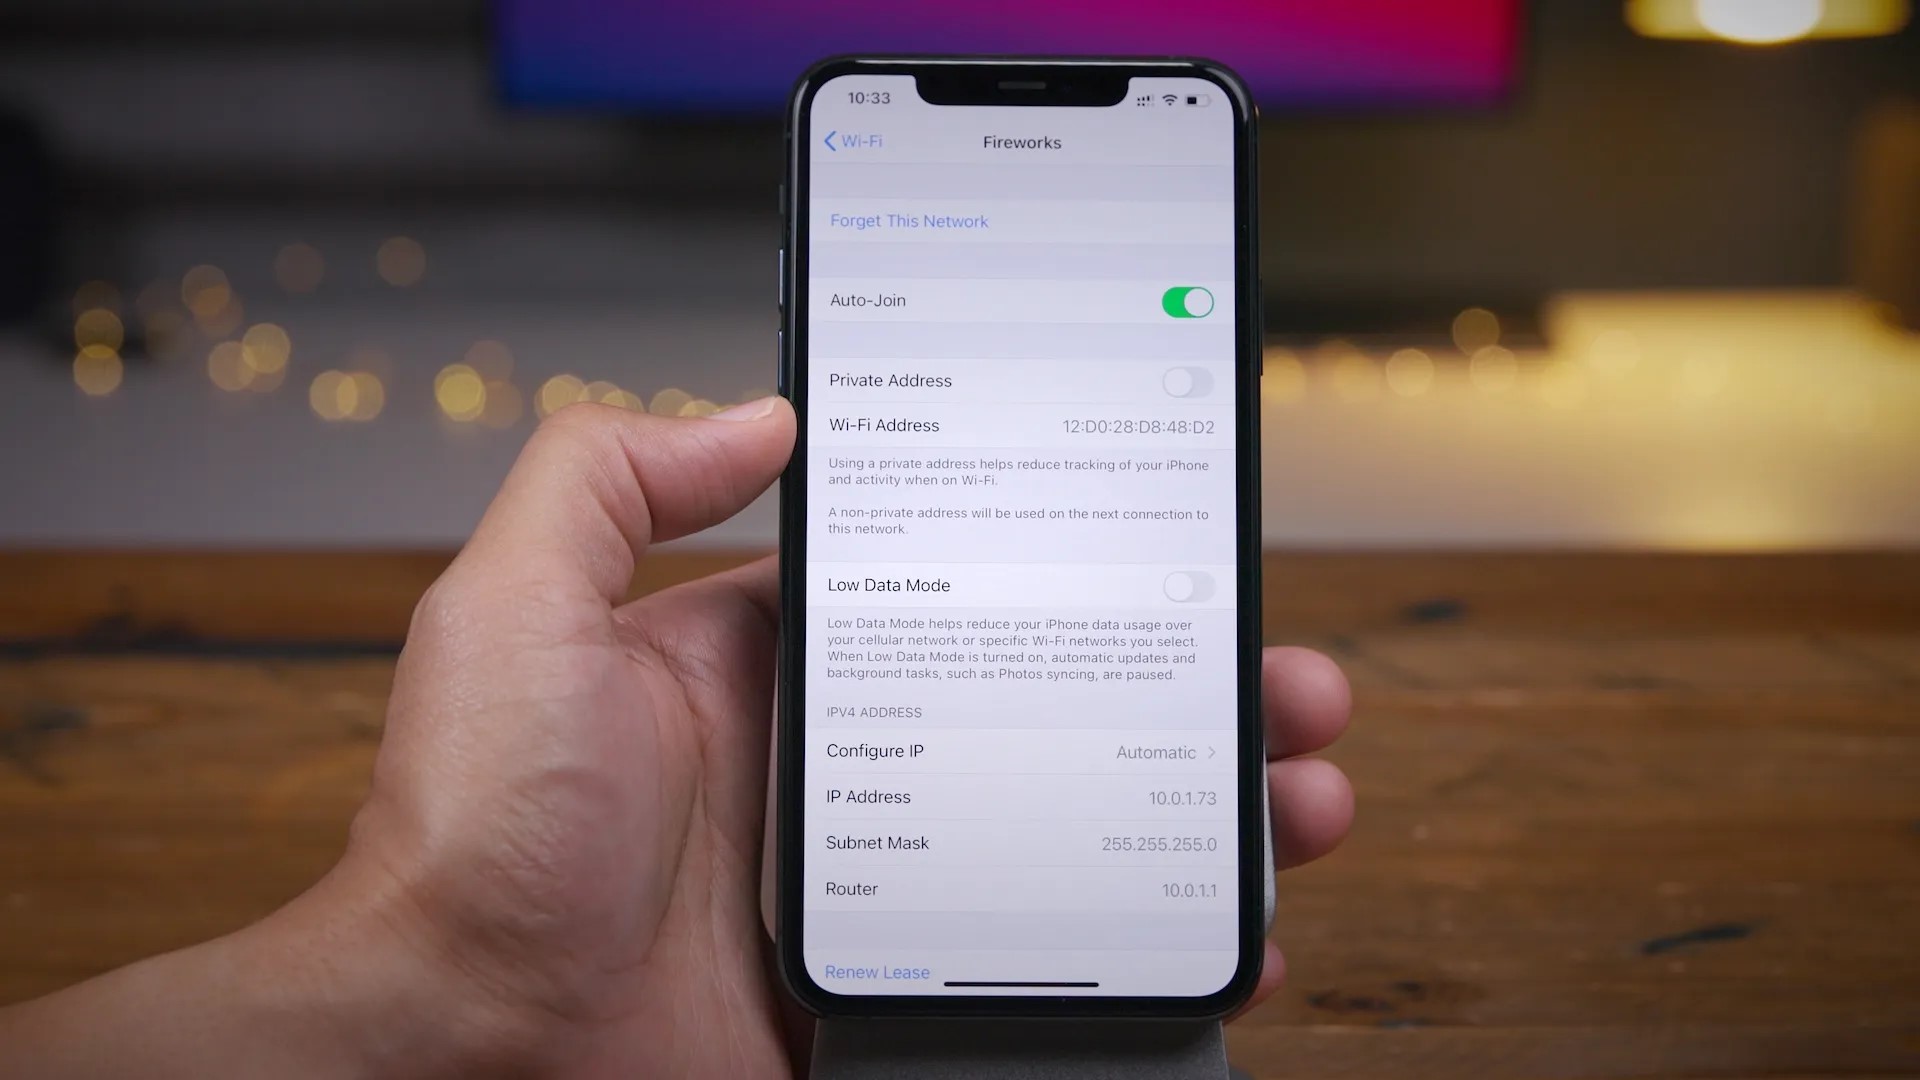
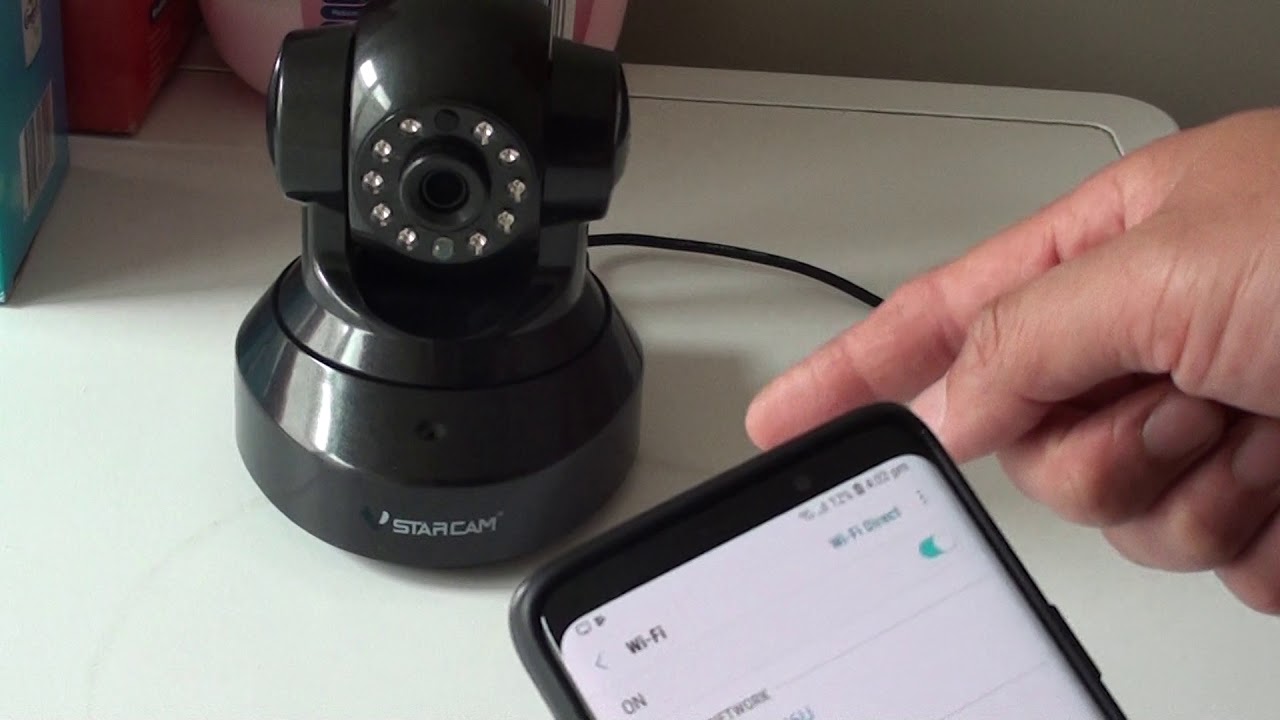
Verify Correct Password
One of the most common reasons why a security camera may fail to connect to a Wi-Fi network is an incorrect password. It’s crucial to double-check that you are entering the correct password for your network during the setup process for your camera.
Even a minor typo or mistake in the password entry can prevent the camera from establishing a connection. Make sure to pay close attention to uppercase and lowercase letters, special characters, and numbers. If you’re unsure about the password, you can try connecting another device, such as a smartphone or laptop, to confirm the accuracy of the password.
If you discover that you’ve been entering the wrong password, make sure to correct it during the camera’s setup process. Most security cameras allow you to modify the Wi-Fi credentials by accessing the camera’s settings through a mobile app or a web interface.
Additionally, it’s worth mentioning that some cameras have specific password requirements, such as a minimum length or a combination of letters and numbers. Ensure that your Wi-Fi password meets these requirements before attempting to connect the camera.
If you’ve confirmed that the password is correct, but the camera still won’t connect, it is worth considering the possibility of a password compatibility issue. Some security cameras may not support certain types of passwords, such as those with special characters or those generated by password managers. In such cases, try changing your Wi-Fi network password to a simpler one and see if the camera can establish a connection.
Keep in mind that changing your Wi-Fi network password will require you to update the password on all other connected devices. Make sure to record and update the new password on all your devices to maintain connectivity throughout your network.
By verifying and ensuring the correct password for your Wi-Fi network, you can eliminate one potential hurdle to your security camera’s connection. If the camera still won’t connect, move on to the next troubleshooting step to explore other potential issues.
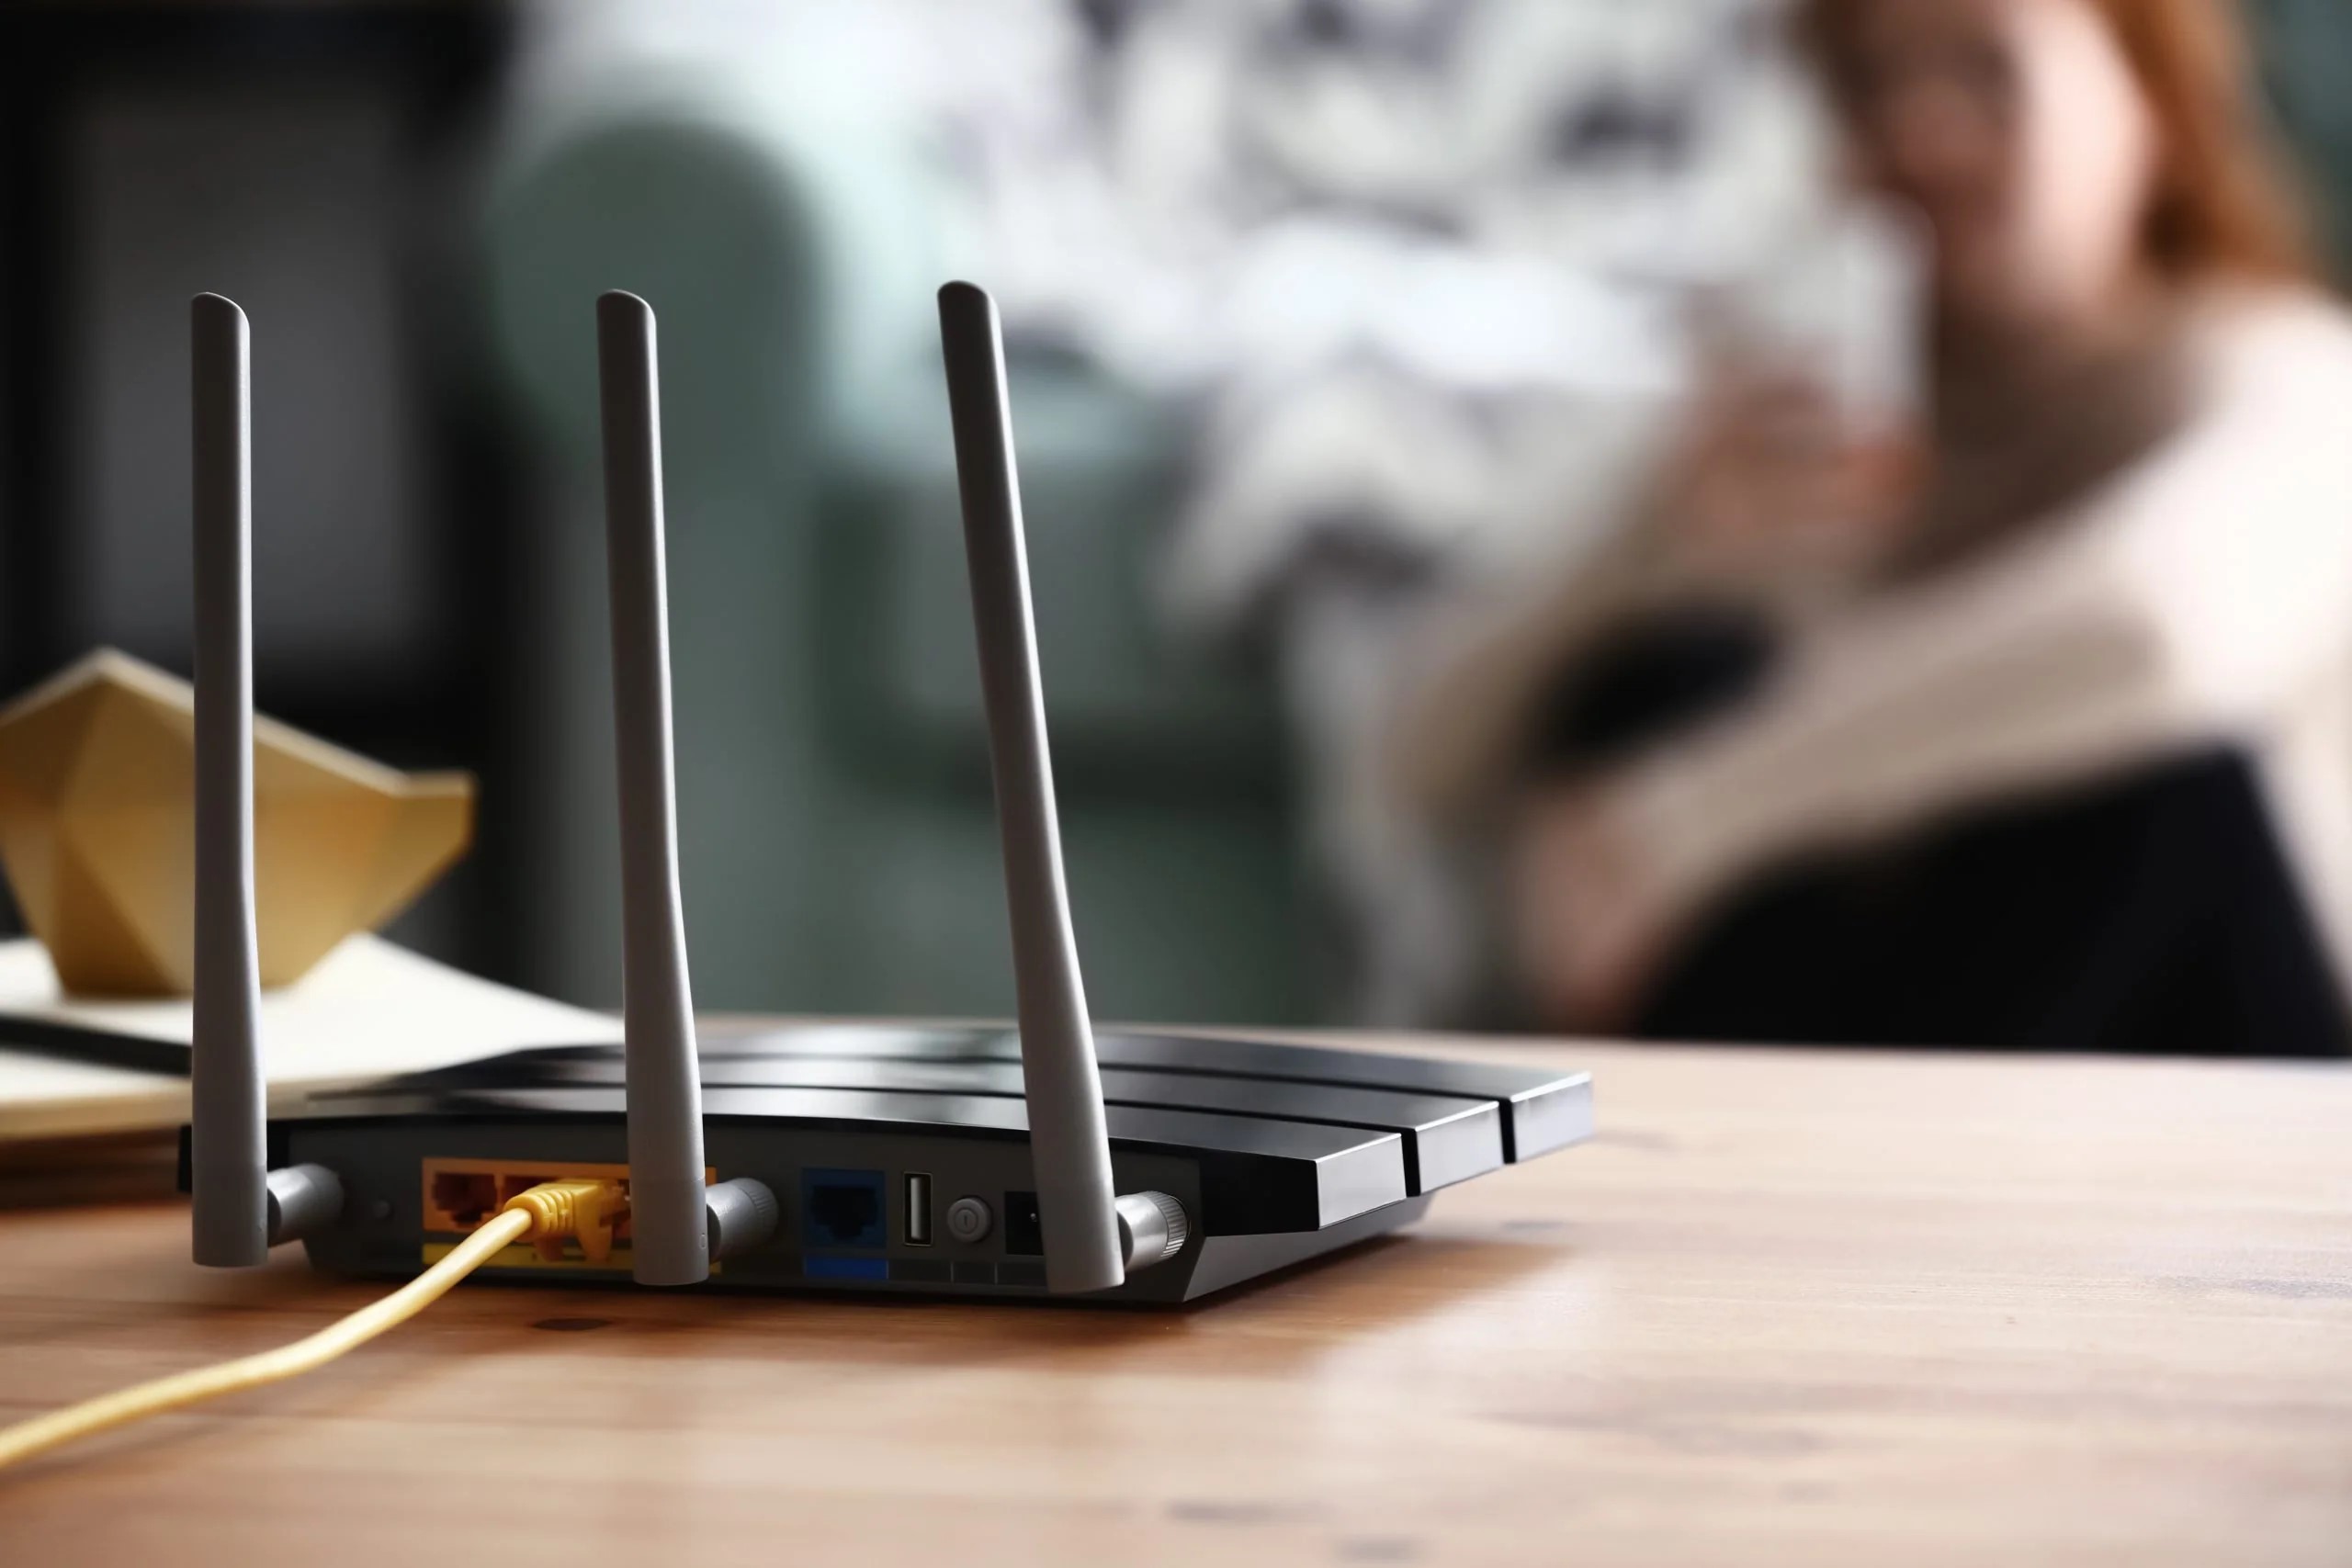
Ensure Sufficient Wi-Fi Signal Strength
Having a strong and stable Wi-Fi signal is crucial for your security camera to connect and function properly. If the camera is located too far from the Wi-Fi router or if there are physical obstacles hindering the signal, it may have trouble establishing a reliable connection.
To ensure sufficient Wi-Fi signal strength for your security camera, consider the following steps:
- Check the Distance: Determine the distance between your camera and the Wi-Fi router. Ideally, the camera should be within a reasonable range to receive a strong signal. If it is too far away, the signal strength may weaken, leading to connectivity issues. Consider moving the camera closer to the router if possible.
- Reduce Obstructions: Physical obstacles like walls, floors, and large objects can interfere with Wi-Fi signals. Try to minimize these obstructions between the camera and the router. If necessary, you can experiment with different camera placements or consider using Wi-Fi range extenders to amplify the signal in the camera’s area.
- Optimize Router Placement: Ensure that your Wi-Fi router is placed in a centralized location within your home. This allows for maximum coverage and minimizes signal loss due to distance or obstructions. Avoid placing the router in areas surrounded by metal objects or in corners of the house, as this can limit signal propagation.
- Consider Wi-Fi Boosters or Mesh Systems: If you consistently experience poor Wi-Fi coverage in your home, you may want to invest in Wi-Fi boosters or a mesh Wi-Fi system. These devices work by extending the coverage and eliminating dead zones, ensuring a strong and consistent signal throughout your property.
In addition to these steps, it’s worth mentioning that certain Wi-Fi routers offer features like beamforming or signal prioritization that can enhance the signal strength for specific devices. Check your router’s settings or consult the manufacturer’s documentation to see if these features are available and can be optimized for your security camera.
Remember that a strong and stable Wi-Fi signal is critical for proper camera operation. By ensuring sufficient signal strength, you can improve the chances of your security camera successfully connecting to your Wi-Fi network.
Make sure your security camera is within the range of your Wi-Fi signal and that there are no obstructions. Check that you are entering the correct Wi-Fi password and that your network is not overloaded with too many devices.
Read more: How To Connect Ring Security Camera To Wi-Fi
Remove Interference
Interference from other electronic devices or nearby Wi-Fi networks can disrupt the signal and hinder the connectivity of your security camera. It’s important to identify and eliminate any potential sources of interference to ensure a stable and reliable Wi-Fi connection.
Here are some steps you can take to remove interference:
- Identify Interfering Devices: Take note of any electronic devices located near your security camera or Wi-Fi router that could potentially interfere with the Wi-Fi signal. Common culprits include cordless phones, baby monitors, microwave ovens, and Bluetooth devices. If possible, try to move these devices away from the camera and router to minimize interference.
- Switch Wi-Fi Channels: Overlapping Wi-Fi channels can cause interference between different networks. Access your router’s settings and manually change the Wi-Fi channel to one that has less congestion. You can use Wi-Fi analyzer apps or tools to check which channels are less crowded and switch to the optimal channel.
- Update Firmware: Ensure that your router’s firmware is up to date. Manufacturers often release firmware updates that address common issues and improve connectivity. Check the manufacturer’s website or the router’s management interface for any available updates and follow the instructions to install them.
- Use 5GHz Frequency: If your router supports both 2.4GHz and 5GHz frequencies, try connecting your security camera to the 5GHz band. The 5GHz band is less congested than the 2.4GHz band and can provide a more stable and faster connection for your camera.
- Power Cycle Interfering Devices: If you suspect that a specific electronic device is causing interference, try powering it off and on again. Sometimes, a reset can eliminate temporary issues or conflicts that may be disrupting the Wi-Fi signal.
By taking these steps to remove interference, you can improve the overall quality and stability of your Wi-Fi signal, increasing the likelihood of your security camera successfully connecting to your network.
Reboot Devices
When your security camera is having trouble connecting to your Wi-Fi network, a simple yet effective troubleshooting step is to reboot both the camera and the Wi-Fi router. Rebooting can help clear any temporary glitches or conflicts that may be hindering the connection.
Here’s how you can reboot your devices:
- Camera: Locate the power source of your security camera and disconnect it from the power outlet. Wait for about 10 seconds, then plug it back in to power the camera on. Allow the camera to fully restart and attempt to connect to the Wi-Fi network again.
- Wi-Fi Router: Locate the power source of your Wi-Fi router and disconnect it from the power outlet. Wait for about 10 seconds, then plug it back in to power the router on. Wait for the router to fully restart and establish a stable connection.
Rebooting both the camera and the router can resolve various issues, including temporary software glitches, network conflicts, or memory leaks. It provides a fresh start for the devices to establish a stable connection.
During the reboot process, it’s essential to be patient and allow enough time for the devices to fully restart. Once they are up and running, try connecting the camera to the Wi-Fi network again and check if the issue has been resolved.
If the camera still won’t connect after rebooting, consider proceeding to the next troubleshooting step to further address any potential connectivity issues.
Reset Camera Settings
If your security camera is still experiencing connectivity issues after attempting the previous troubleshooting steps, it may be necessary to reset the camera settings. Resetting the settings will restore the camera to its factory defaults, allowing you to set it up again as if it were brand new.
Here’s how you can reset the camera settings:
- Locate the Reset Button: Look for a small reset button or hole on the camera. The location of the reset button may vary depending on the camera model, so consult the user manual or the manufacturer’s website for specific instructions on where to find it.
- Press and Hold the Reset Button: Use a paperclip, pin, or a similar tool to press and hold the reset button for about 10 seconds. Make sure to apply enough pressure to activate the reset process. Release the button once the reset process is initiated.
- Wait for the Camera to Reset: The camera will now reset to its factory default settings. This process may take a few minutes, so be patient and allow the camera enough time to complete the reset.
- Reconfigure the Camera: Once the camera has finished resetting, you will need to set it up again. Follow the camera’s user manual or the manufacturer’s instructions to connect the camera to your Wi-Fi network and configure any other necessary settings.
Resetting the camera settings can be a powerful troubleshooting step, as it eliminates any potential software or configuration issues that may be preventing the camera from connecting to your Wi-Fi network. However, keep in mind that performing a reset will also erase any custom settings or configurations you have previously made, so be prepared to set up the camera again from scratch.
If the camera still fails to connect after a reset, it’s advisable to contact the manufacturer’s support team for further assistance or consider consulting with a professional technician to investigate any potential hardware or compatibility issues.
Check Router Configuration
In some cases, the configuration of your Wi-Fi router may be causing the connectivity issues with your security camera. It’s important to ensure that your router is properly configured to work with your camera and that any necessary settings are correctly enabled.
Here are a few steps you can take to check the router configuration:
- Check Port Forwarding: Some security cameras require port forwarding to be set up on the router. Port forwarding allows external devices to access the camera’s live feed or recordings. Check the camera’s user manual or the manufacturer’s website for the specific ports that need to be forwarded and follow the instructions to configure port forwarding on your router.
- Disable Firewall or Security Features: In certain cases, the firewall or security features on your router may be blocking the camera’s connection. Temporarily disable the firewall or security features and try connecting the camera again. If the camera successfully connects, you may need to adjust the firewall settings to allow the camera’s traffic.
- Enable UPnP: Universal Plug and Play (UPnP) is a feature that allows devices on your network to automatically discover and configure themselves. Check if UPnP is enabled on your router and ensure that it is allowed to communicate with the camera. Enabling UPnP can simplify the connection process for some security cameras.
- Update Router Firmware: Make sure that your router is running the latest firmware version. Router manufacturers regularly release firmware updates that address security vulnerabilities and improve performance. Check your router’s manufacturer website or the router’s management interface for any available updates and follow the instructions to update the firmware.
If you are not familiar with router configuration or are unsure about making changes, it is recommended to seek assistance from your internet service provider or the router manufacturer’s support team. They can guide you through the configuration process and ensure the correct settings for your security camera.
By checking and adjusting the router’s configuration, you can resolve any potential network-level issues that may be preventing your security camera from connecting to the Wi-Fi network.
Conclusion
When facing connectivity issues with your security camera and Wi-Fi network, troubleshooting the problem can help you get back to monitoring and securing your home. By following the steps outlined in this article, you can effectively troubleshoot and resolve common issues that prevent your security camera from connecting to your Wi-Fi network.
Start by checking the Wi-Fi network compatibility of your camera and ensuring that it supports the same frequency as your router. Verify that you are entering the correct password for your network, and consider simplifying the password if compatibility issues arise. Make sure that the camera is within range of the Wi-Fi router and that there are no physical obstacles causing signal interference.
If necessary, remove any potential sources of interference, such as other electronic devices or neighboring Wi-Fi networks. Rebooting both the camera and the router can help clear temporary glitches and conflicts. If the problem persists, resetting the camera to its factory settings can eliminate any configuration issues.
Lastly, check the router configuration, including port forwarding, firewall settings, and enabling UPnP, if required by your camera. Keeping the firmware of your router up to date is also crucial for optimal performance.
If you have exhausted all troubleshooting steps and your security camera still won’t connect to your Wi-Fi network, don’t hesitate to seek assistance from the camera’s manufacturer or consult with a professional technician. They can provide you with further guidance and support.
By following these troubleshooting steps and addressing any potential issues, you can ensure that your security camera is successfully connected to your Wi-Fi network, providing you with the peace of mind and protection you seek for your home and loved ones.
Frequently Asked Questions about Why Won't My Security Camera Connect To My Wi-Fi?
Was this page helpful?
At Storables.com, we guarantee accurate and reliable information. Our content, validated by Expert Board Contributors, is crafted following stringent Editorial Policies. We're committed to providing you with well-researched, expert-backed insights for all your informational needs.