Home>Furniture & Design>Outdoor Furniture>How To Wire Outdoor Security Cameras
Outdoor Furniture
How To Wire Outdoor Security Cameras
Modified: September 1, 2024
Learn how to properly wire outdoor security cameras for your outdoor furniture and design. Follow our step-by-step guide for a secure and effective setup.
(Many of the links in this article redirect to a specific reviewed product. Your purchase of these products through affiliate links helps to generate commission for Storables.com, at no extra cost. Learn more)
Introduction
Welcome to the world of outdoor security cameras, where peace of mind meets modern technology. Whether you want to keep an eye on your property, deter potential intruders, or simply monitor wildlife in your backyard, installing outdoor security cameras can be a game-changer. With the advancement of technology, these cameras have become more affordable, easier to install, and packed with features that make them indispensable for homeowners and businesses alike.
In this comprehensive guide, we will walk you through the step-by-step process of wiring outdoor security cameras. From choosing the right camera to mounting and connecting it, we've got you covered. By the end of this guide, you'll have the knowledge and confidence to set up your outdoor security cameras like a pro.
So, grab your tools and get ready to embark on this rewarding journey of enhancing your property's security and surveillance. Let's dive in and learn how to wire outdoor security cameras effectively and efficiently.
Key Takeaways:
- Choose outdoor security cameras with weather resistance, high resolution, night vision, wide field of view, and advanced features for effective surveillance. Careful planning, proper installation, and thorough testing are key to a successful setup.
- Ensure reliable power and data connections for your outdoor security cameras. Thorough testing validates their operational readiness, providing peace of mind and safeguarding your property against potential security threats.
Read more: How To Hide Outdoor Security Camera Wires
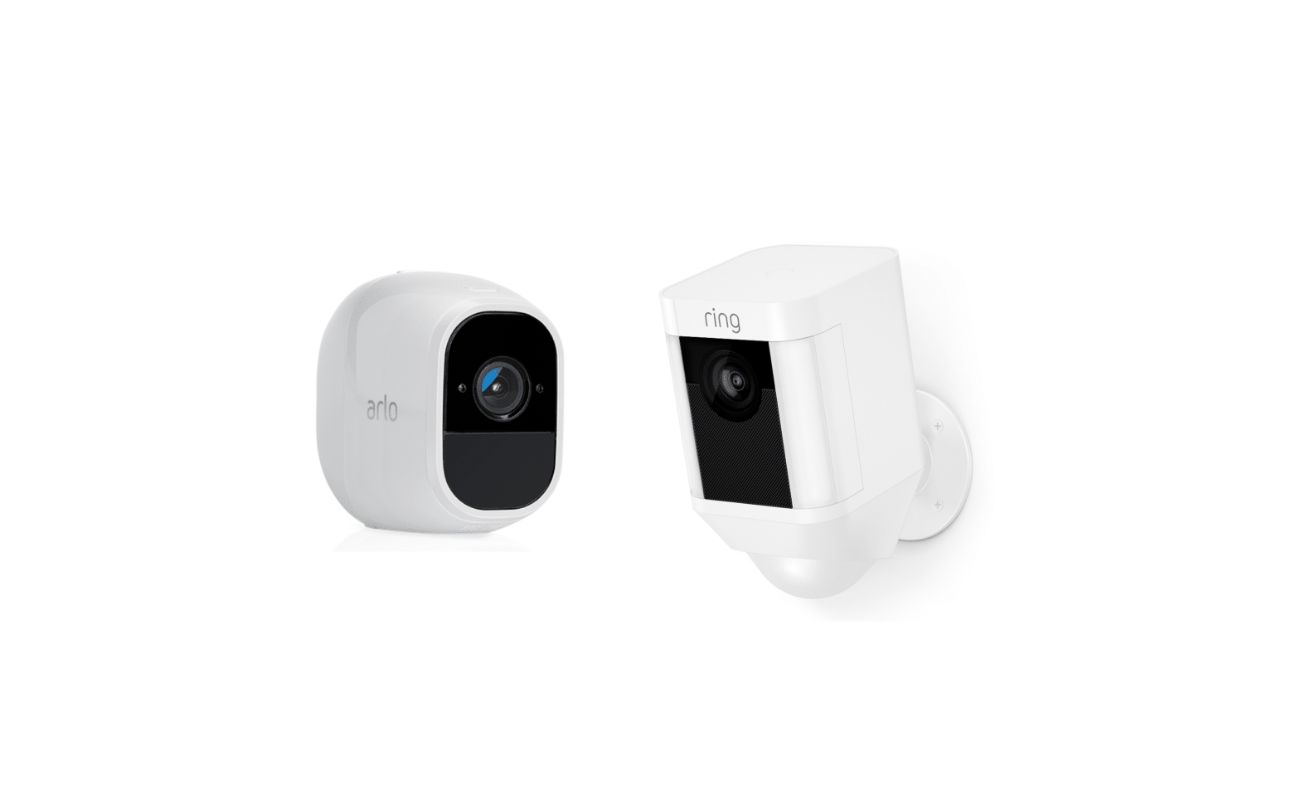
Step 1: Choose the Right Outdoor Security Camera
When it comes to selecting outdoor security cameras, you are presented with a plethora of options, each designed to cater to specific needs and preferences. Before making a purchase, consider the following factors to ensure you choose the right camera for your outdoor surveillance needs:
- Weather Resistance: Outdoor security cameras are exposed to the elements, so it's crucial to choose a camera that is weatherproof and built to withstand varying climatic conditions. Look for cameras with an IP65 or IP66 weatherproof rating to ensure durability.
- Resolution and Clarity: Opt for cameras with high-resolution capabilities, such as 1080p or 4K, to capture clear and detailed footage. High-quality video resolution is essential for identifying individuals and capturing important details.
- Night Vision: Since security threats can occur at any time, choose cameras equipped with infrared night vision to ensure visibility in low-light or nighttime conditions. This feature is essential for round-the-clock surveillance.
- Field of View: Consider the camera's field of view, which determines the area it can cover. Wide-angle lenses offer a broader field of view, allowing you to monitor larger outdoor spaces with a single camera.
- Power Source: Outdoor cameras can be powered by wired connections or wireless batteries. Evaluate your preference and the availability of power sources near the camera locations to determine the most suitable power option.
- Additional Features: Look for advanced features such as motion detection, two-way audio, and mobile app integration for remote viewing and control. These features enhance the functionality and convenience of your outdoor security system.
By carefully assessing these factors, you can narrow down your options and select outdoor security cameras that align with your specific security requirements and preferences. Once you've chosen the right cameras, you're ready to move on to the next step in the wiring process.
Step 2: Plan the Camera Placement
Strategic placement of outdoor security cameras is essential for maximizing their effectiveness in monitoring and safeguarding your property. Before proceeding with the installation, take the time to carefully plan the placement of each camera by considering the following factors:
- Key Surveillance Areas: Identify the critical areas of your outdoor space that require surveillance, such as entry points, driveways, walkways, and vulnerable spots where intruders may attempt unauthorized access.
- Optimal Viewing Angles: Determine the ideal angles and positions for each camera to ensure comprehensive coverage of the designated surveillance areas. Position the cameras to minimize blind spots and maximize visibility.
- Elevation and Mounting Height: Consider the optimal mounting height for the cameras to achieve an optimal vantage point. Mount the cameras high enough to prevent tampering while ensuring that they capture clear and unobstructed footage.
- Cable Routing: Plan the routing of cables from the cameras to the recording or monitoring system. Conceal the cables wherever possible to deter tampering and maintain a neat and uncluttered appearance.
- Accessibility for Maintenance: Ensure that the chosen camera locations are easily accessible for maintenance and adjustments. This includes cleaning lenses, replacing batteries (if applicable), and making any necessary modifications to the camera settings.
By meticulously planning the placement of your outdoor security cameras, you can optimize their surveillance capabilities and minimize potential blind spots or coverage gaps. Additionally, thoughtful planning contributes to the overall aesthetics of your security system, creating a discreet and professional installation that seamlessly integrates with your outdoor environment.
Once you’ve finalized the placement strategy for your cameras, you’re prepared to gather the necessary tools and materials for the installation process.
Step 3: Gather Necessary Tools and Materials
Before diving into the installation of outdoor security cameras, it’s essential to ensure that you have all the required tools and materials at your disposal. Gathering the following items will streamline the installation process and help you tackle any challenges that may arise:
- Outdoor Security Cameras: Ensure that you have the selected cameras on hand, complete with their mounting hardware and any included accessories.
- Power Supply: If your cameras require a wired power connection, gather the necessary power adapters, extension cords, and electrical outlets for each camera location.
- Network Video Recorder (NVR) or Digital Video Recorder (DVR): If you’re setting up a wired camera system with recording capabilities, have the NVR or DVR ready for the camera connections.
- Cables and Wiring: Depending on the camera type and power source, gather the appropriate cables, such as Ethernet cables for wired connections or power cables for electrical wiring.
- Mounting Tools: Equip yourself with essential tools for mounting the cameras, including a power drill, screwdriver, mounting brackets, and any specialized hardware required for your specific camera models.
- Weatherproof Enclosures (if applicable): For added protection, consider weatherproof enclosures for the cameras and cable connections, especially if they are exposed to harsh weather conditions.
- Cable Management Supplies: Organize cable ties, cable clips, conduit, or other cable management solutions to secure and conceal the wiring during the installation process.
- Ladder or Scaffolding: Depending on the camera placement height, ensure that you have a stable and appropriate means of reaching elevated mounting locations safely.
- Mobile Device or Monitor: If your cameras offer remote viewing capabilities, have your mobile device or monitor ready to configure and test the camera feeds during the installation.
By gathering these tools and materials in advance, you’ll be well-prepared to tackle the installation of your outdoor security cameras with confidence and efficiency. With everything in place, you’re ready to move on to the next step: mounting the cameras in their designated locations.
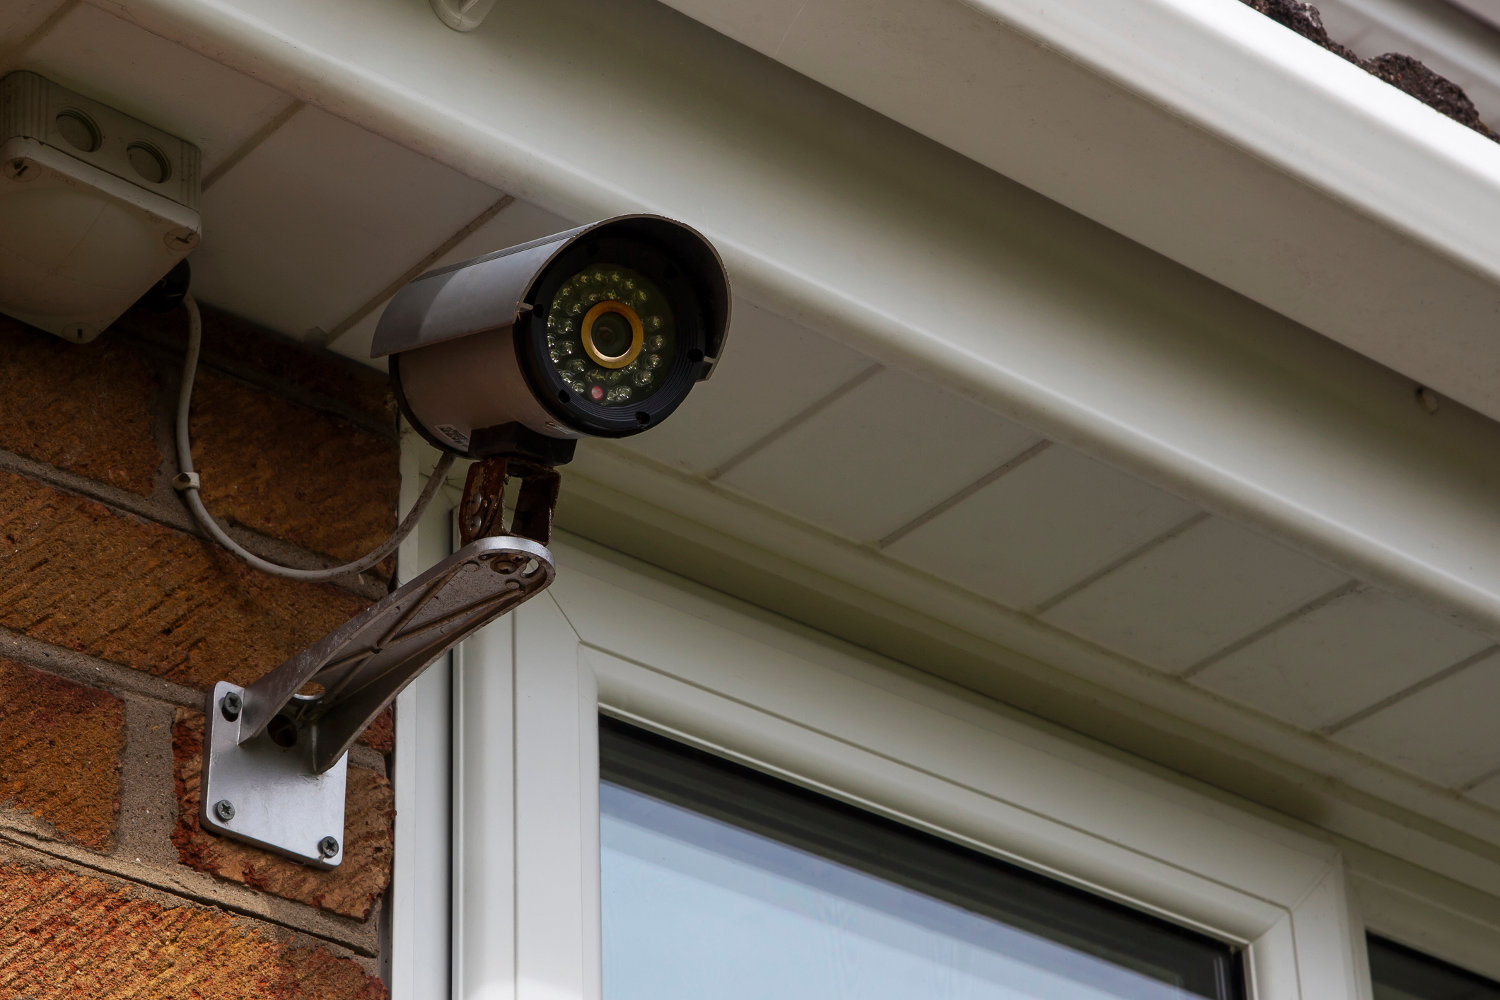
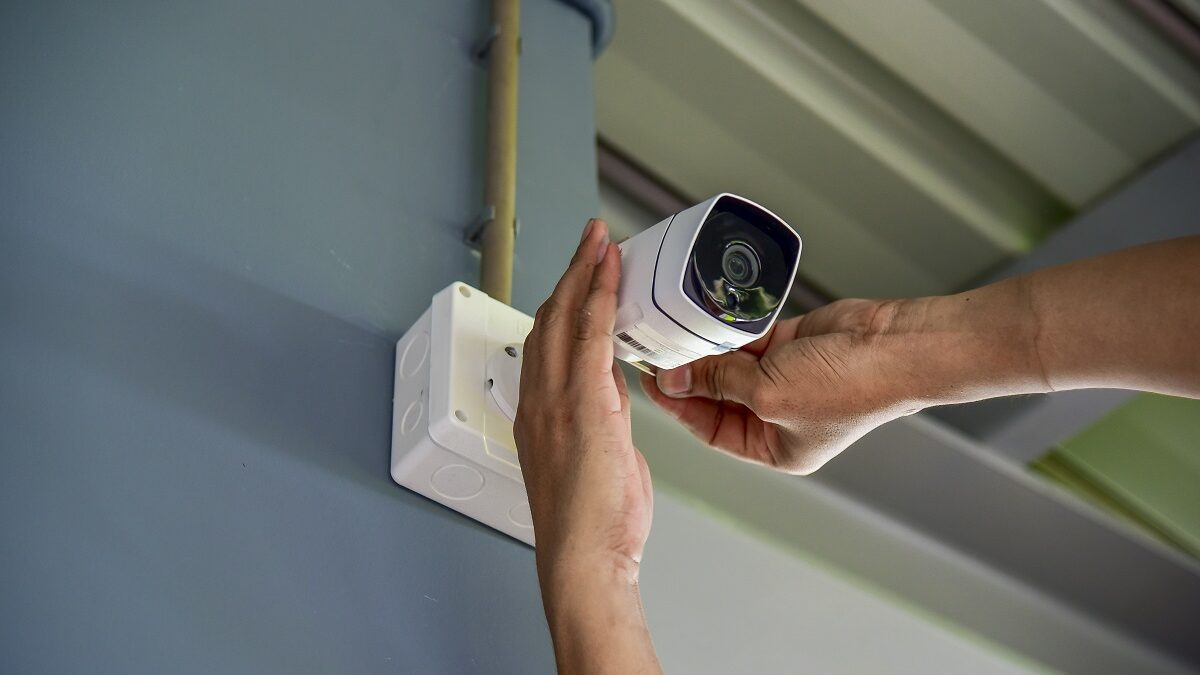
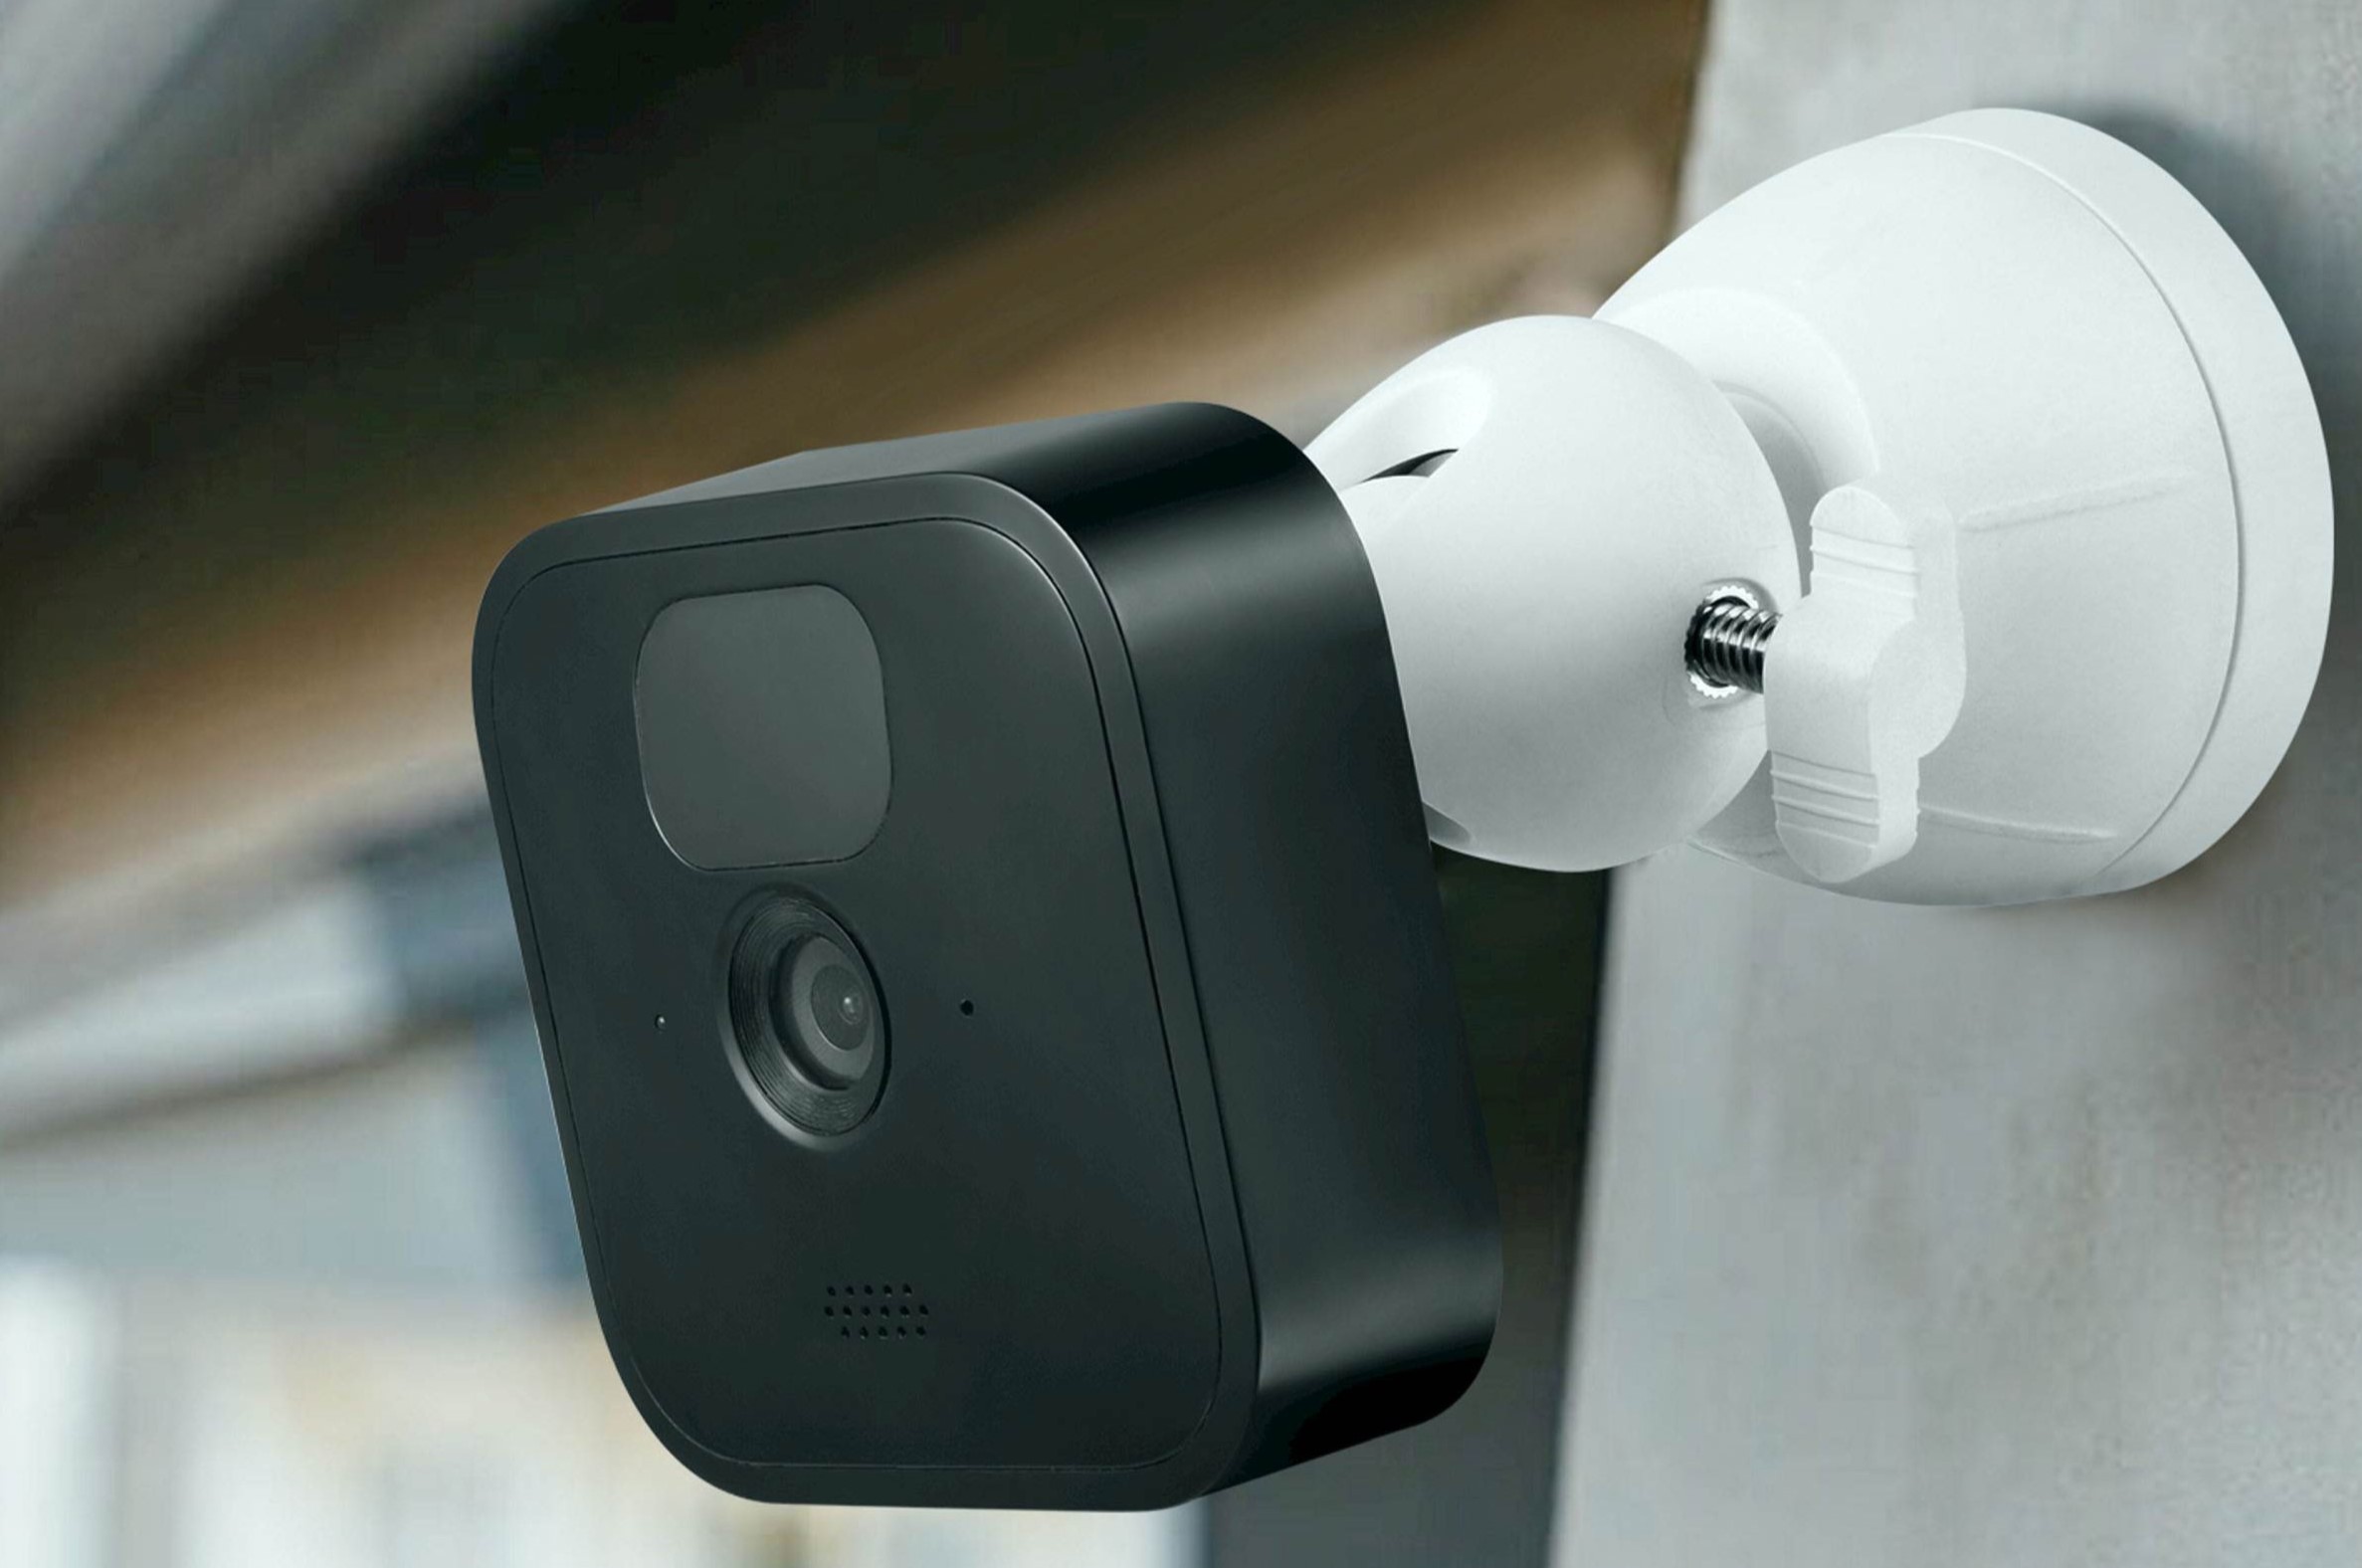
Step 4: Mount the Cameras
With the necessary tools and materials at your disposal, it’s time to embark on the installation process by mounting your outdoor security cameras in their designated positions. Follow these steps to ensure a secure and professional installation:
- Positioning and Alignment: Begin by positioning each camera at the predetermined mounting location, ensuring that it offers an optimal view of the targeted surveillance area. Use a level to align the camera horizontally and vertically for a balanced and straight orientation.
- Marking Mounting Points: Once you’re satisfied with the camera’s position, use a pencil or marker to mark the mounting points on the mounting surface. Ensure that the mounting surface is stable and capable of supporting the camera’s weight and any external mounting hardware.
- Drilling Pilot Holes: Depending on the mounting surface (e.g., exterior walls, wooden posts), use a power drill and the appropriate drill bit to create pilot holes at the marked mounting points. Exercise caution to avoid damaging any underlying structures or utilities within the walls.
- Securing Mounting Hardware: Install the mounting brackets or hardware provided with the cameras, securing them firmly in place using suitable fasteners. Follow the manufacturer’s guidelines for the recommended hardware and installation techniques.
- Attaching the Cameras: Once the mounting hardware is in place, carefully attach the outdoor security cameras to their respective mounting brackets or fixtures. Ensure that the cameras are securely fastened and positioned according to your planned placement strategy.
- Adjusting Camera Angles: Fine-tune the camera angles and orientation to achieve the desired field of view and coverage. Test the camera’s visibility and adjust its position if necessary to eliminate any obstructions or visual impediments.
- Securing Cables and Wiring: Neatly route and secure the camera’s cables, ensuring that they are protected from environmental elements and potential tampering. Use cable clips, conduit, or weatherproof enclosures as needed to safeguard the wiring.
By meticulously following these steps, you can ensure that your outdoor security cameras are securely mounted and positioned to deliver optimal surveillance coverage. With the cameras in place, you’re ready to proceed to the next phase of the installation process: running the cables to connect the cameras to power sources and recording devices.
When wiring outdoor security cameras, always use weatherproof cables and connectors to protect the wiring from the elements. This will ensure the longevity and reliability of your camera system.
Read more: How To Hack Into A Wired Security Camera
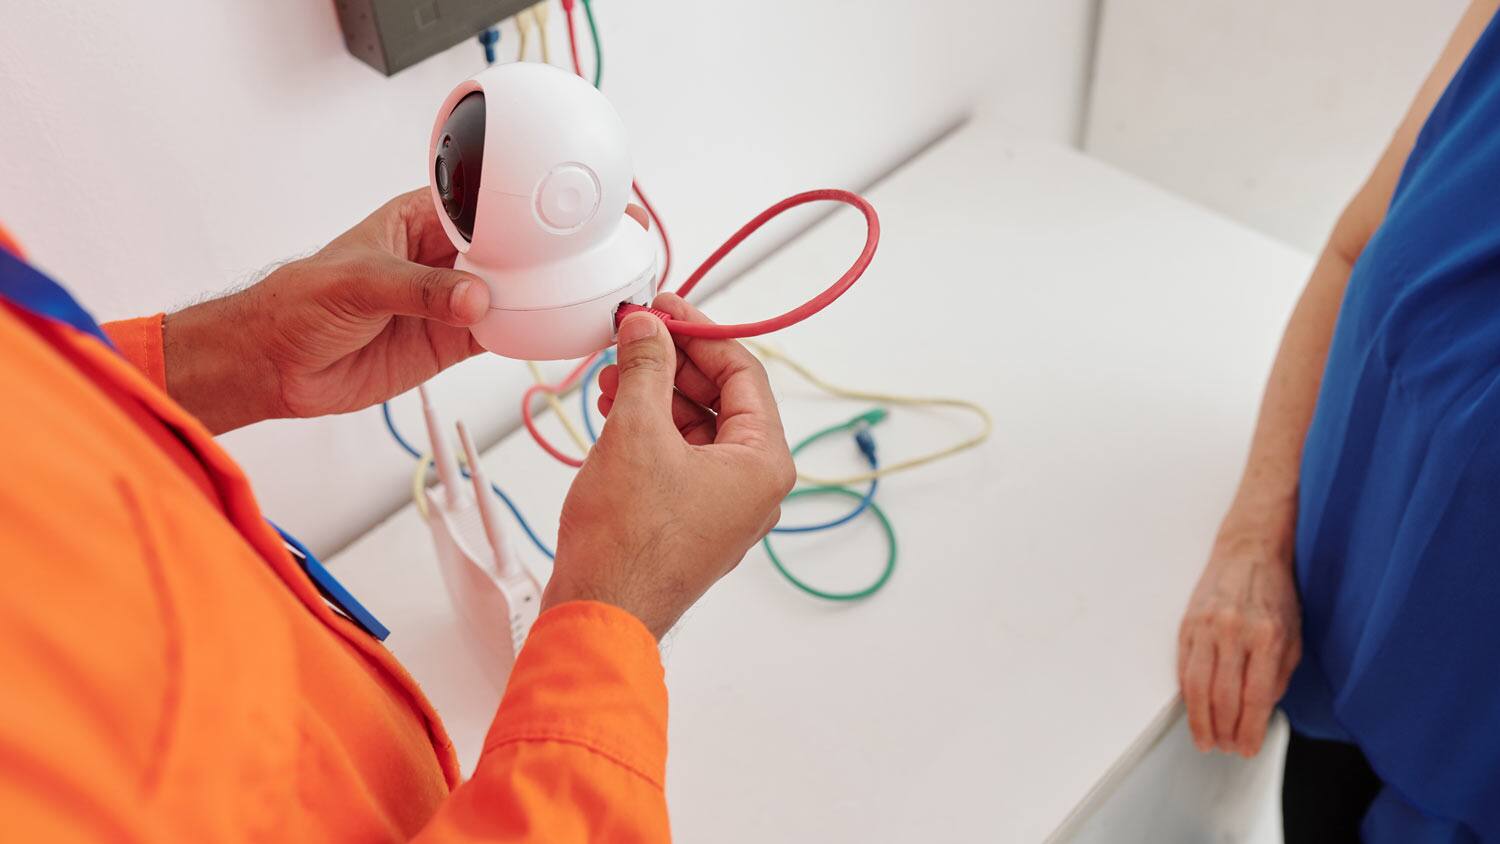
Step 5: Run the Cables
Running the cables for your outdoor security cameras is a crucial step in establishing the necessary connections for power and data transmission. Whether you’re utilizing wired power sources or Ethernet connections, the following guidelines will help you effectively manage the cabling process:
- Determining Cable Routes: Plan the routes for running the cables from each camera to the designated power sources and recording devices. Opt for concealed pathways whenever possible to safeguard the cables from potential damage and maintain a tidy installation.
- Measuring and Cutting Cables: Accurately measure the required cable lengths for each camera, ensuring that you have sufficient slack for adjustments and future maintenance. Use appropriate tools to cut the cables to the specified lengths, maintaining clean and precise cuts.
- Securing Cables Along Pathways: Utilize cable clips, conduit, or cable management solutions to secure the cables along their designated pathways. Ensure that the cables are protected from environmental hazards and potential interference while maintaining a professional and organized appearance.
- Weatherproofing Connections: If the cables are exposed to outdoor elements, employ weatherproof enclosures or protective fittings to shield the cable connections from moisture, dust, and other environmental factors. This is essential for preserving the integrity and functionality of the cables.
- Testing Cable Continuity: Prior to finalizing the cable connections, conduct continuity tests to verify the integrity of the cables and ensure that there are no faults or connectivity issues. This proactive measure helps identify and address any potential wiring problems before proceeding to the next installation phase.
- Connecting Power Cables: If your cameras require wired power connections, carefully connect the power cables to the designated power sources, such as electrical outlets or power distribution units. Exercise caution and adhere to electrical safety practices when handling power cables and connections.
- Establishing Data Connections (if applicable): For cameras that utilize Ethernet or network connections, establish the necessary data connections by routing the Ethernet cables to the network switch, router, or network video recorder (NVR). Ensure proper cable termination and secure connections to facilitate seamless data transmission.
By diligently running and managing the cables for your outdoor security cameras, you can ensure reliable power delivery and data connectivity essential for their functionality. With the cables in place, the subsequent steps will involve connecting the cameras to power sources and recording devices, bringing you closer to the completion of the installation process.
Step 6: Connect the Cameras to Power
As you progress through the installation of your outdoor security cameras, establishing reliable power connections is paramount to ensure their continuous operation. Whether you’re utilizing wired power sources or battery-powered options, the following steps will guide you through the process of connecting the cameras to power:
- Wired Power Connections: If your cameras require a direct wired power connection, carefully connect the power cables to the designated power sources. This typically involves plugging the power adapters into electrical outlets or connecting the cables to a power distribution unit.
- Adhering to Electrical Safety Practices: Exercise caution and adhere to electrical safety practices when handling power cables and connections. Ensure that the power sources are compatible with the camera’s voltage and power requirements to prevent damage or malfunctions.
- Battery-Powered Cameras: For cameras powered by batteries, follow the manufacturer’s guidelines to install or replace the batteries as per the camera’s specifications. Ensure that the batteries are fully charged or replaced with fresh batteries to sustain uninterrupted camera operation.
- Testing Power Delivery: After connecting the cameras to power sources, verify that the cameras receive adequate power and are operational. Check for indicator lights or status signals to confirm that the cameras are successfully powered and ready for the subsequent installation steps.
- Weatherproofing Power Connections: If the power connections are exposed to outdoor elements, employ weatherproof enclosures or protective fittings to shield the connections from moisture, dust, and other environmental factors. This safeguards the power connections and mitigates the risk of electrical hazards.
- Power Over Ethernet (PoE) Considerations: If your cameras support Power over Ethernet (PoE) technology, ensure that the PoE injectors or PoE-enabled network switches are properly configured and capable of delivering power to the cameras via Ethernet cables.
By diligently connecting your outdoor security cameras to reliable power sources, you ensure their sustained functionality and readiness for the subsequent stages of the installation process. With the cameras powered and operational, the next steps will involve establishing connections to recording devices or monitors to complete the setup.
Step 7: Connect the Cameras to the Recorder or Monitor
With your outdoor security cameras powered and in position, the next crucial step is to establish connections between the cameras and the recording or monitoring devices. Whether you’re utilizing a Network Video Recorder (NVR), Digital Video Recorder (DVR), or a dedicated monitor, the following steps will guide you through the process of connecting the cameras to the recording or display system:
- Identifying Camera Channels: If you’re using an NVR or DVR, identify the specific channels allocated for connecting the outdoor security cameras. This ensures that each camera is assigned to a distinct channel for individual monitoring and recording.
- Utilizing BNC or Ethernet Connections: Depending on the camera type and the recording device’s input interfaces, use BNC connectors for analog cameras or Ethernet cables for IP cameras to establish the necessary video and data connections.
- Configuring Network Settings (IP Cameras): If you’re connecting IP cameras to an NVR or a network switch, configure the network settings to ensure seamless communication between the cameras and the recording device. This includes assigning unique IP addresses and verifying network compatibility.
- Testing Video Feeds: Once the connections are established, test the video feeds from each camera to confirm that the recording or monitoring device receives clear and uninterrupted footage. Verify the camera channels on the display system to ensure that each camera’s feed is accurately displayed.
- Adjusting Display Settings: If you’re connecting the cameras to a dedicated monitor or display, adjust the display settings to accommodate the connected cameras. This may involve configuring screen layouts, resolution settings, and camera display sequences based on your surveillance preferences.
- Enabling Motion Detection and Recording (if applicable): If your recording device supports motion detection and scheduled recording, configure these features to optimize the surveillance capabilities of your outdoor security cameras. Customize recording settings based on your specific security requirements and operational preferences.
- Remote Viewing Configuration: If your recording device offers remote viewing capabilities, configure the necessary network settings and mobile app integration to enable remote access to the camera feeds. This allows you to monitor your outdoor surveillance system from anywhere with an internet connection.
By effectively connecting your outdoor security cameras to the recording or monitoring devices, you establish a comprehensive surveillance system that captures, stores, and displays crucial footage for security and monitoring purposes. With the cameras seamlessly integrated into the recording or display system, the final step involves testing the cameras to ensure their optimal functionality and performance.
Step 8: Test the Cameras
As you near the completion of the installation process for your outdoor security cameras, it’s essential to conduct thorough testing to verify their functionality and performance. Testing the cameras allows you to identify and address any potential issues, ensuring that your surveillance system operates reliably and delivers the intended security benefits. Follow these steps to effectively test your outdoor security cameras:
- Camera Activation: Begin by activating each camera and verifying that it successfully powers on. Check for indicator lights or display screens to confirm that the cameras are operational and ready for testing.
- Camera Coverage and Angles: Assess the camera angles and coverage areas to ensure that they align with your planned surveillance objectives. Verify that the cameras capture the intended areas with minimal blind spots or obstructions.
- Daytime and Nighttime Testing: Test the cameras’ performance in both daytime and nighttime conditions to evaluate their image quality and visibility. Assess the clarity of the footage, especially during low-light or nighttime scenarios, to ensure reliable surveillance round the clock.
- Motion Detection and Alerts: Activate the motion detection features, if available, and assess the cameras’ responsiveness to movement within their detection zones. Verify that the cameras trigger alerts and capture footage when motion is detected, validating their security-enhancing capabilities.
- Recording and Playback Verification: If you’re using a recording device, initiate test recordings and verify that the cameras’ footage is accurately captured and stored. Playback the recorded footage to confirm its clarity and the seamless operation of the recording system.
- Remote Viewing and Accessibility: If your surveillance system supports remote viewing, test the accessibility of the camera feeds from a remote location using a mobile device or computer. Verify that you can effectively monitor the cameras and access their live feeds remotely.
- System Integration and Synchronization: If you have multiple cameras and a centralized recording system, ensure that all cameras are synchronized and integrated seamlessly with the recording device. Verify that the cameras’ feeds are displayed accurately and in the designated channels or display layouts.
- Adjustments and Fine-Tuning: Based on the testing results, make any necessary adjustments to the camera angles, settings, or recording configurations to optimize their performance. Fine-tune the surveillance system to address any identified issues or areas for improvement.
By meticulously testing your outdoor security cameras, you can validate their operational readiness and address any potential concerns before finalizing the installation. Thorough testing ensures that your surveillance system meets your security expectations and delivers reliable performance for safeguarding your property and assets.
Conclusion
Congratulations on successfully navigating the intricate process of wiring outdoor security cameras! By following the comprehensive steps outlined in this guide, you’ve gained the knowledge and expertise to install and configure a robust surveillance system that enhances the security and monitoring capabilities of your outdoor spaces.
From selecting the right outdoor security cameras to meticulously planning their placement, gathering the necessary tools and materials, mounting the cameras, running the cables, connecting them to power sources and recording devices, and conducting thorough testing, you’ve demonstrated a commendable commitment to fortifying your property’s security.
As you bask in the satisfaction of a well-executed installation, take pride in the proactive measures you’ve taken to safeguard your surroundings and instill peace of mind. Your dedication to implementing a reliable surveillance system underscores your commitment to safety and vigilance, ensuring that your property remains protected against potential security threats.
Remember that maintaining and periodically evaluating your outdoor security cameras is paramount to their long-term effectiveness. Regular inspections, firmware updates, and adherence to best practices for surveillance system maintenance will further reinforce the resilience and performance of your security infrastructure.
Embrace the empowerment that comes with having a vigilant eye on your outdoor environment, knowing that your surveillance system stands as a stalwart guardian of your property, assets, and peace of mind. With your outdoor security cameras in place, you’ve elevated your security posture and readiness to face the evolving dynamics of the modern world.
As you embark on this journey of heightened security and vigilance, may your outdoor security cameras serve as steadfast sentinels, providing unwavering protection and a watchful gaze over your cherished outdoor spaces.
Frequently Asked Questions about How To Wire Outdoor Security Cameras
Was this page helpful?
At Storables.com, we guarantee accurate and reliable information. Our content, validated by Expert Board Contributors, is crafted following stringent Editorial Policies. We're committed to providing you with well-researched, expert-backed insights for all your informational needs.


0 thoughts on “How To Wire Outdoor Security Cameras”