Home>Home Security and Surveillance>Why Is My Security Camera Blurry
Home Security and Surveillance
Why Is My Security Camera Blurry
Modified: October 21, 2024
Discover why your security camera is blurry and learn how to fix it. Find helpful tips and advice for improving home security and surveillance.
(Many of the links in this article redirect to a specific reviewed product. Your purchase of these products through affiliate links helps to generate commission for Storables.com, at no extra cost. Learn more)
Introduction
When it comes to home security, installing surveillance cameras is a popular choice for many homeowners. These cameras act as a deterrent to potential intruders and provide homeowners with peace of mind by allowing them to monitor their property remotely. However, one common issue that can affect the effectiveness of security cameras is blurry footage. Blurry footage not only makes it difficult to identify individuals or objects, but it can also render the footage useless when trying to capture critical details.
In this article, we will explore the common causes behind blurry security camera footage and provide solutions to fix this problem. By understanding these causes and implementing the appropriate remedies, you can ensure that your security cameras capture clear and crisp footage to enhance the security of your home.
Key Takeaways:
- Keep your security camera lens clean to prevent blurry footage. Regularly wipe the lens with a soft cloth and gentle cleaning solution to remove dirt and smudges.
- Ensure proper lighting and stable camera setup to capture clear footage. Add lights, stabilize the camera, and upgrade to higher resolution cameras for sharper images.
Read more: Why Is My Security Camera Flickering
Common causes of blurry security camera footage
There are several factors that can contribute to blurry security camera footage. By identifying these common causes, you can begin troubleshooting and implementing the necessary solutions:
- Dirty camera lens: Over time, dust, dirt, and fingerprints can accumulate on the camera lens, obstructing the view and causing blurriness. Regularly cleaning the lens with a soft cloth can help maintain clarity.
- Incorrect focus settings: If the camera’s focus settings are misaligned, it can result in blurry footage. Ensuring that the focus is correctly adjusted can significantly improve the clarity of the camera’s output.
- Poor lighting conditions: Insufficient lighting can cause security camera images to appear blurry, especially during nighttime or low-light conditions. Adequate lighting, either through installing additional lights or opting for cameras with infrared capabilities, can greatly enhance image quality.
- Camera motion or vibrations: If the camera is not properly mounted or experiences external vibrations, such as wind or nearby machinery, it can result in fuzzy footage. Securing the camera mount and minimizing any potential sources of vibrations can help eliminate this issue.
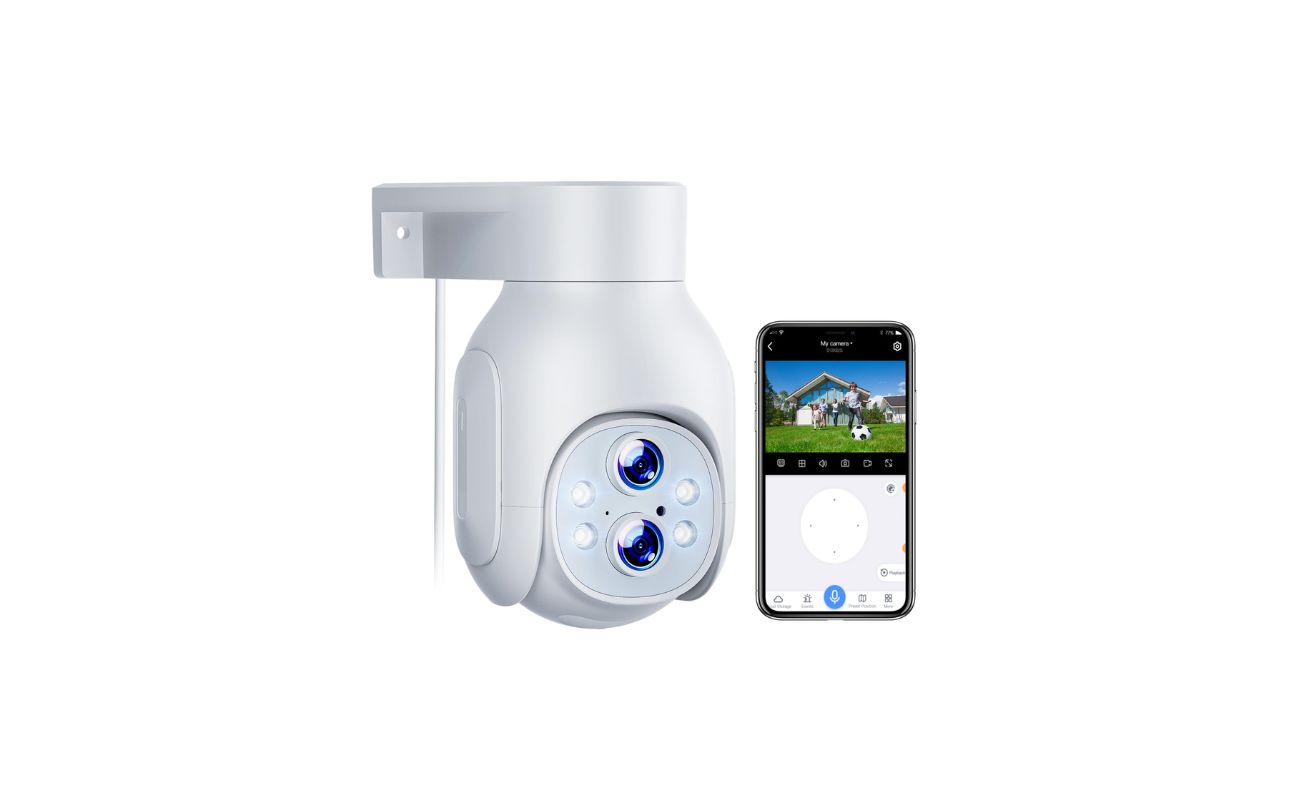
- Low camera resolution: Cameras with lower resolutions might produce blurry or pixelated images, as they have limited capabilities to capture fine details. Upgrading to a higher resolution camera can significantly enhance the image quality.
- Network or connectivity issues: Problems with the network or connectivity can lead to blurry surveillance footage. Checking the network settings, ensuring a stable internet connection, and addressing any issues with the network infrastructure can resolve these problems.
- Data compression and bandwidth limitations: Some surveillance systems may compress the video footage to conserve bandwidth. However, excessive compression can result in blurry images. Adjusting the compression settings or allocating more bandwidth to the cameras can help alleviate this issue.
By addressing these common causes, you can improve the image quality of your security camera footage and ensure that it remains clear and crisp. In the following sections, we will dive deeper into each cause and provide specific solutions to rectify the blurriness.
Dirty camera lens
One of the most common causes of blurry security camera footage is a dirty camera lens. Over time, dust, dirt, and fingerprints can accumulate on the lens surface, obstructing the view and causing blurriness in the captured images. Regularly cleaning the camera lens is essential to maintain clarity and ensure optimal performance.
To clean the camera lens:
- Start by turning off the camera or disconnecting the power source to prevent accidental damage.
- Gently remove any visible debris or dust from the lens surface using a soft brush or compressed air. Be careful not to apply too much pressure to avoid scratching the lens.
- Dampen a microfiber cloth or lens cleaning tissue with a gentle lens cleaning solution or isopropyl alcohol. Avoid using abrasive cleaners or rough materials that can damage the lens coating.
- Gently wipe the lens surface in a circular motion, starting from the center and moving outward. Ensure thorough coverage of the entire lens surface.
- If necessary, repeat the process with a dry microfiber cloth to remove any residue or streaks.
- Once the lens is clean, wait for it to dry completely before reconnecting the power source or turning the camera back on.
Regularly cleaning the camera lens, ideally on a monthly basis, can significantly improve image clarity and prevent blurry footage. If you notice persistent blurriness even after cleaning the lens, it may indicate other underlying issues that require further investigation.
Knowing how to properly clean the camera lens is essential to maintain the best image quality. It is crucial to exercise caution during the cleaning process to avoid damaging the lens or camera components. In cases where the camera lens is difficult to access or clean, it is advisable to consult the manufacturer’s instructions or seek professional assistance.
Incorrect focus settings
Another common cause of blurry security camera footage is incorrect focus settings. If the camera’s focus is misaligned, it can result in fuzzy or out-of-focus images, making it challenging to identify individuals or objects in the footage.
To ensure that your security camera is correctly focused, follow these steps:
- Access the camera’s settings or configuration menu, either through a connected monitor or a web-based interface.
- Locate the focus settings or autofocus option in the camera’s menu. This may vary depending on the camera model and manufacturer.
- If your camera supports autofocus, enable it and allow the camera to automatically adjust the focus. This may involve moving or zooming the camera’s lens to achieve a clear and sharp image.
- If your camera does not have autofocus capabilities, you may need to manually adjust the focus. Some cameras have a physical focus ring or buttons on the camera body, while others require using the camera’s software interface to make focus adjustments.
- If manually adjusting the focus, carefully observe the live feed or preview on the monitor and make incremental adjustments until the image appears clear and sharp.
- After making the necessary focus adjustments, monitor the camera footage to ensure that the focus remains accurate. Periodic checks and adjustments may be necessary over time, especially if there are changes to the camera’s position or environment.
Regularly reviewing and maintaining the focus settings of your security camera will help ensure that the captured footage is sharp and clear. It is important to note that factors such as changes in lighting conditions or camera movements can affect focus, requiring periodic adjustments.
If you are uncertain about how to adjust the focus settings or if the camera’s autofocus is not functioning properly, consult the camera’s user manual or seek assistance from the manufacturer’s support team. They can provide specific guidance for your camera model and help troubleshoot any focus-related issues.
Poor lighting conditions
Poor lighting conditions can significantly impact the clarity of security camera footage, resulting in blurry or grainy images. Whether it’s inadequate lighting during nighttime or low-light environments, ensuring proper illumination is essential to capture clear and detailed footage.
Here are some steps to improve lighting conditions for your security cameras:
- Upgrade to cameras with infrared capabilities: Infrared (IR) cameras are designed to capture footage in low-light conditions by using infrared LED lights. These cameras can illuminate the area without emitting visible light, allowing for clearer images without attracting attention.
- Add external lighting: Installing additional lighting around the camera’s field of view can greatly improve image quality. Consider using motion-activated lights or LED floodlights to ensure adequate illumination when needed.
- Clean or adjust existing lights: Make sure any existing lights near the camera are clean and positioned correctly. Dirt or misalignment can affect the quality of the lighting and subsequently impact the clarity of the footage.
- Consider using white light illuminators: White light illuminators emit visible light, providing excellent illumination for security cameras. These can be especially useful for outdoor surveillance or areas that require higher visibility.
- Remove obstructions: Identify and remove any objects or vegetation that may obstruct the camera’s view or cast unwanted shadows. Clearing the line of sight will ensure that the camera captures a clear and unobstructed image.
- Adjust camera settings: Some security cameras have settings that allow you to adjust exposure levels or set specific low-light modes. Experiment with these settings to find the optimal balance for capturing clear images in various lighting conditions.
By addressing poor lighting conditions and ensuring proper illumination, you can greatly enhance the image quality of your security camera footage. Clear and well-lit footage not only improves security but also provides valuable evidence in case of any incidents.
Keep in mind that lighting requirements may vary depending on the location, camera placement, and specific security needs. Regularly inspect and adjust the lighting setup to optimize the camera’s performance and ensure the best possible image quality.
Read more: Why Is My Security Camera Beeping
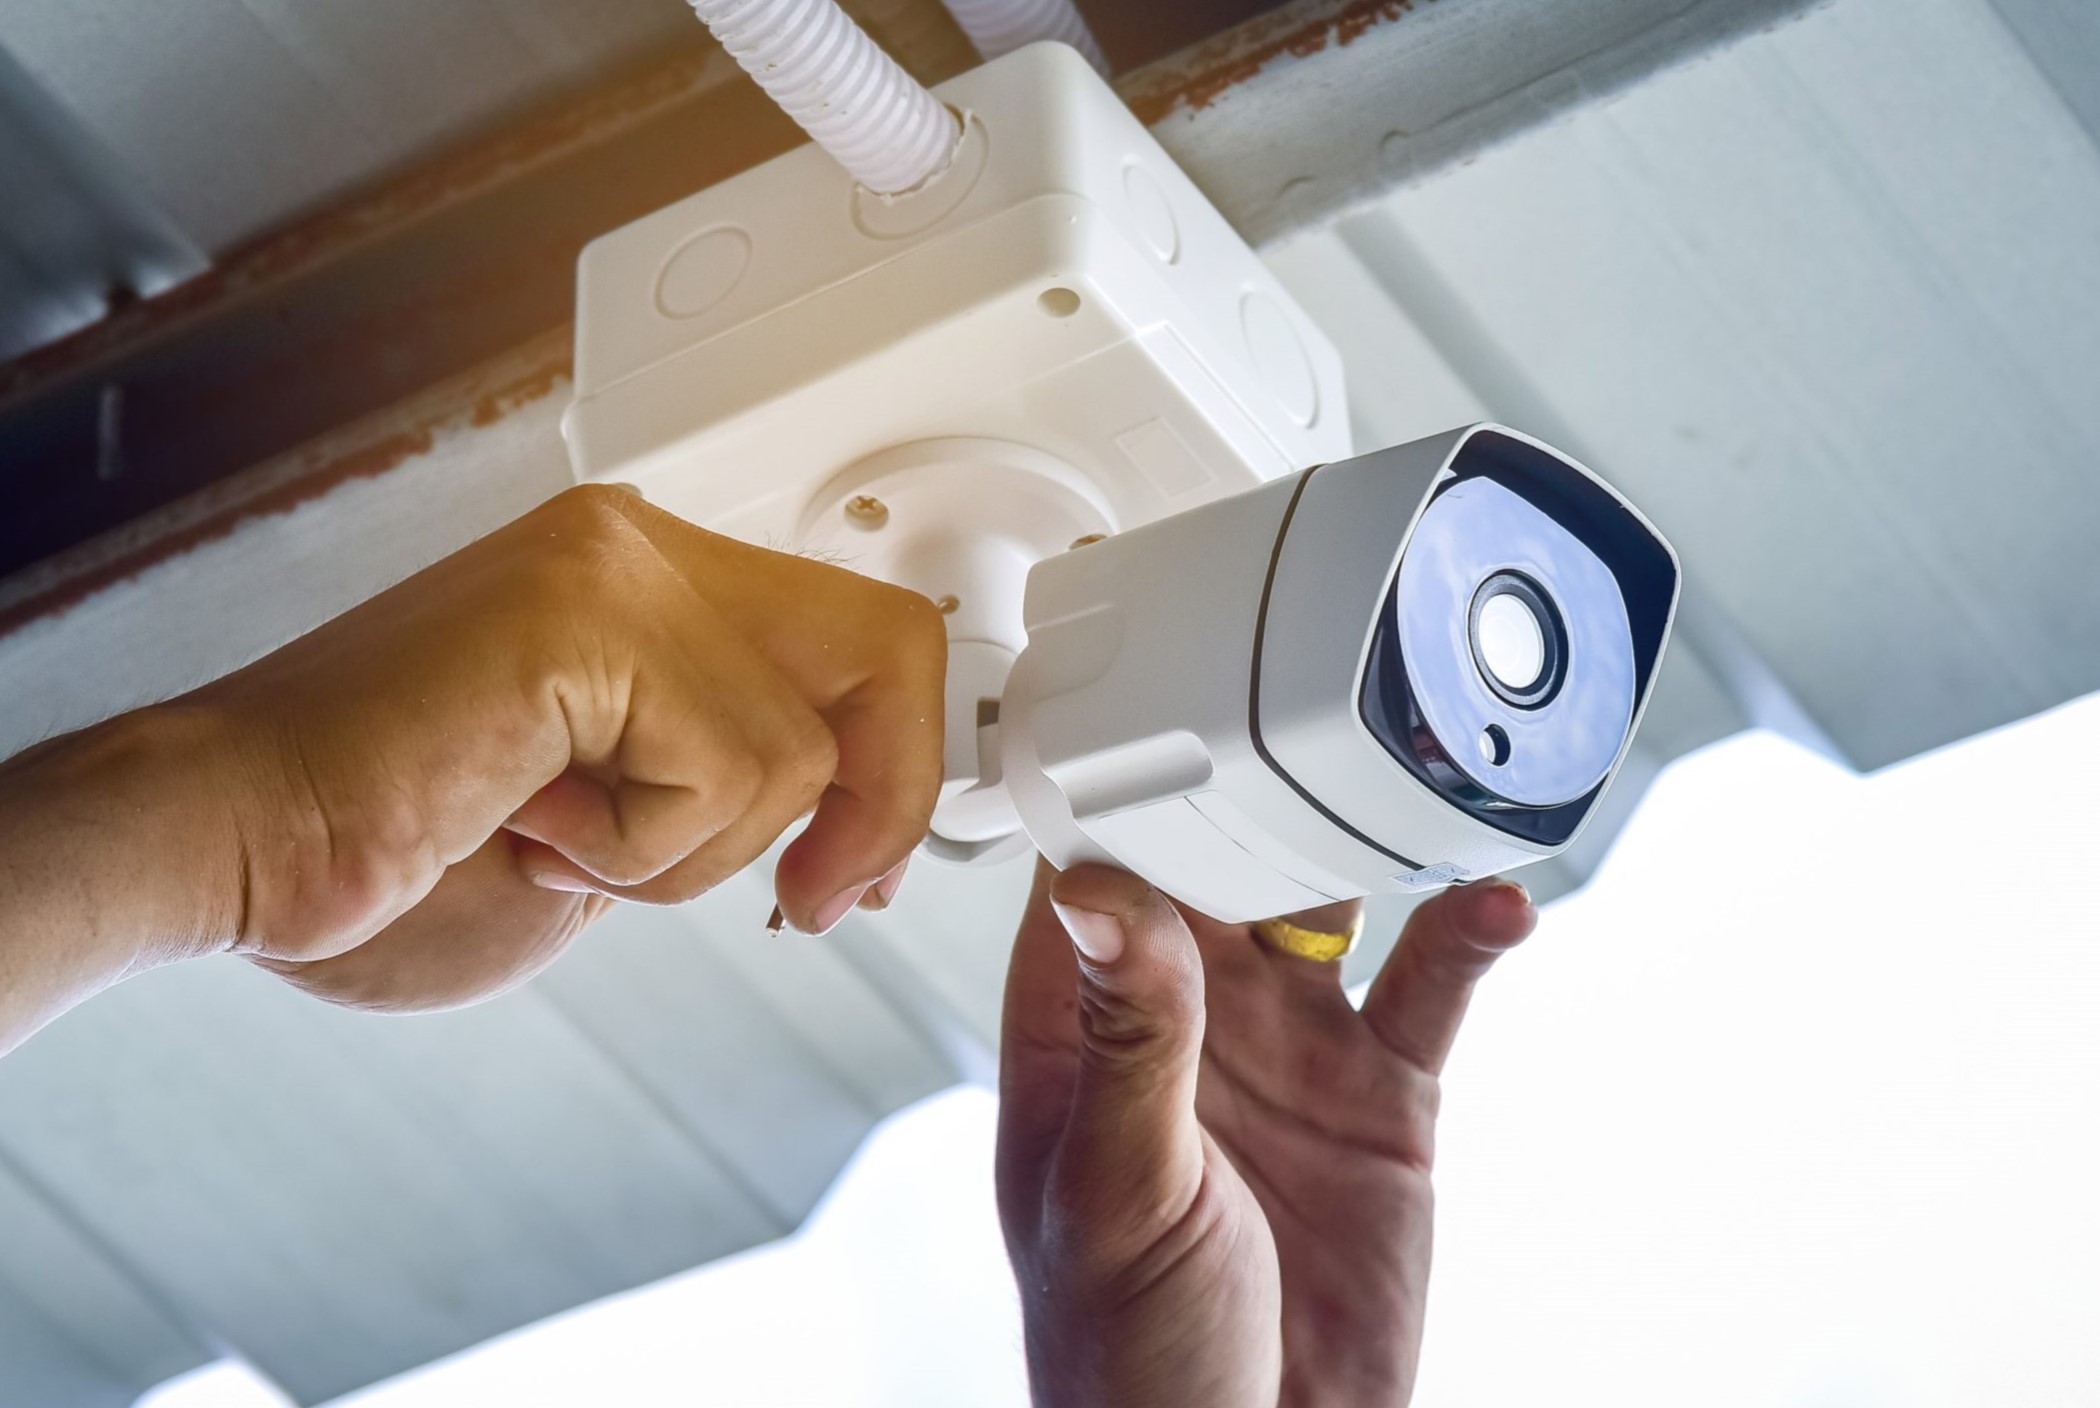
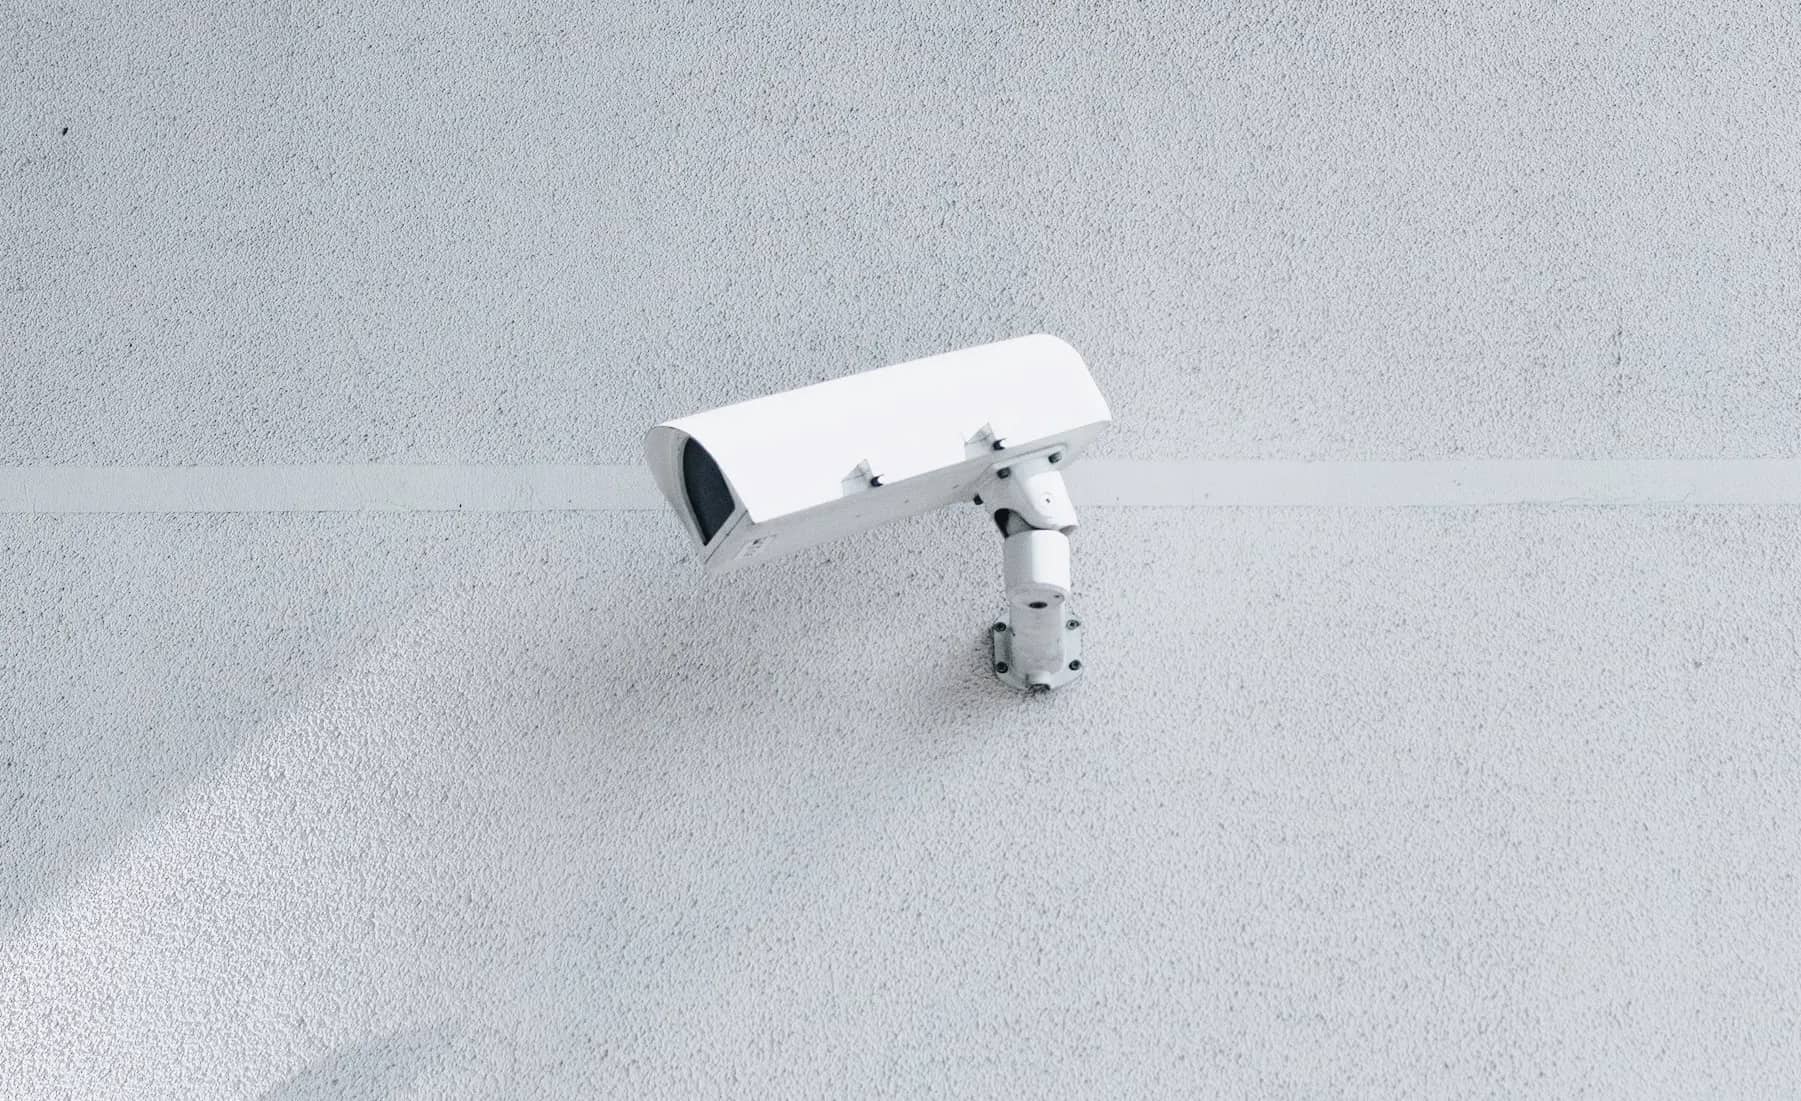
Camera motion or vibrations
If your security camera experiences motion or vibrations, it can result in blurry footage. Unwanted movements or vibrations can occur due to various factors such as wind, nearby machinery, or an unstable camera mount. Stabilizing the camera is crucial to ensure clear and sharp images.
Here are some steps to reduce camera motion and vibrations:
- Secure the camera mount: Ensure that the camera is securely mounted to prevent any unnecessary movement. Use sturdy mounting brackets and screws to secure the camera in place.
- Consider using vibration isolation mounts: Vibration isolation mounts can help reduce or eliminate the impact of external vibrations on the camera. These mounts absorb vibrations, providing a stable environment for the camera to capture clear footage.
- Maintain a solid camera base: If the camera is situated on a surface or platform, ensure that it is stable and not prone to movement. Use additional support or weight if necessary to minimize any vibrations.
- Protect against wind-induced movements: If your camera is located in an area with strong winds, install a wind buffer or shield around the camera to minimize the impact of wind-induced movements. This can help stabilize the camera and reduce blurriness in the footage.
- Inspect and tighten connections: Regularly inspect the camera’s connections, including cables and power sources. Loose connections can cause the camera to vibrate or move slightly, resulting in blurry footage. Ensure all connections are tight and secure.
- Consider utilizing image stabilization technology: Some advanced security cameras feature image stabilization technology, which reduces the impact of camera movements or vibrations. These cameras compensate for any motion or vibrations to maintain clear and stable footage.
By implementing these measures, you can minimize camera motion and vibrations, resulting in clearer surveillance footage. Regularly inspect the camera mount and connections to ensure they remain secure, especially in outdoor environments that are prone to wind or other external factors.
Remember, a stable camera setup is essential for capturing accurate and detailed footage. By addressing camera motion and vibrations, you can enhance the effectiveness of your security system and have clear visuals when you need them most.
Low camera resolution
Low camera resolution is another common cause of blurry security camera footage. Cameras with lower resolutions have limited capabilities to capture fine details, resulting in blurry or pixelated images. Upgrading to a higher resolution camera can significantly enhance the clarity and sharpness of the footage.
Here are some factors to consider when addressing low camera resolution:
- Understand the camera’s resolution capabilities: Determine the current resolution of your security camera. Common resolutions include 720p, 1080p (Full HD), or even higher resolutions like 4K. The higher the resolution, the greater the level of detail captured in the footage.
- Assess the specific needs of your surveillance system: Consider the area you want to monitor and the level of detail required. If you need clear facial recognition or the ability to identify small objects, a higher resolution camera would be ideal.
- Upgrade to a higher resolution camera: If your current camera has a low resolution, consider upgrading to a camera with a higher resolution that meets your specific needs. This will ensure that you capture clear and detailed footage.
- Ensure sufficient storage capacity: Higher resolution cameras produce larger file sizes. Make sure your storage capacity, whether it’s on-premises or in the cloud, can handle the increased data requirements of higher resolution footage.
- Adjust camera placement and field of view: When upgrading to a higher resolution camera, reassess the camera’s placement and field of view. A higher resolution camera may have a narrower field of view, so positioning it appropriately is crucial to capture the desired area with clarity.
- Consider other camera features: In addition to resolution, consider other camera features that can enhance image quality, such as lens quality, dynamic range, and low-light capabilities. These factors can further improve the clarity and detail in the footage.
By upgrading to a higher resolution camera and considering other image-enhancing features, you can ensure that your security camera captures clear and detailed footage. The improved resolution will enhance your ability to identify individuals, objects, and activities, providing a more effective surveillance solution.
Remember to consider any limitations or requirements, such as storage capacity, when upgrading to higher resolution cameras. A well-planned upgrade will provide you with enhanced image quality and improved security for your home or property.
Network or connectivity issues
Network or connectivity issues can have a significant impact on the quality of security camera footage, leading to blurriness and other video-related problems. These issues can arise from various factors, including network congestion, improper network configuration, or hardware malfunctions.
To address network or connectivity issues affecting your security camera footage, consider the following steps:
- Check network connectivity: Ensure that your security camera is properly connected to the network. Verify if the network cable is securely fitted into both the camera and the router or switch. If you are using wireless cameras, ensure a strong and stable Wi-Fi signal is available.
- Restart the camera and network devices: Sometimes, a simple restart can resolve connectivity issues. Power off the camera and any network devices, such as routers or switches, and then power them back on. This can help refresh the network connection and establish a stable connection.
- Review network settings: Check the network settings on both the camera and the connected devices. Make sure the camera is configured with the correct IP address, subnet mask, gateway, and DNS settings. Validate that the network settings match the requirements of your network infrastructure.
- Optimize bandwidth allocation: If you have multiple cameras sharing the same network, prioritize bandwidth allocation for your security cameras. This ensures that sufficient bandwidth is allocated to handle the streaming and transmission of video data, reducing the potential for blurriness or video lag.
- Address network congestion: If you experience network congestion or slow internet speeds, consider implementing Quality of Service (QoS) settings on your network devices. QoS allows you to prioritize video data over other network traffic, ensuring a smoother streaming experience and minimizing blurriness.
- Upgrade network equipment: Outdated or inadequate network equipment, such as routers or switches, may cause connectivity issues. Consider upgrading to newer, more reliable network devices that can handle the demands of your security camera system.
- Consult with a network specialist: If you have exhausted all troubleshooting steps and continue to experience network or connectivity issues, consult with a network specialist or the manufacturer’s support team. They can provide further guidance and assistance in resolving complex network-related problems.
By addressing network or connectivity issues, you can ensure a stable and reliable connection for your security cameras. A stable network connection is crucial for uninterrupted video streaming and clear, non-blurry footage.
Regularly monitor your network infrastructure and address any network-related problems promptly. This will help maintain the optimal performance of your security cameras and ensure that you capture clear and high-quality footage for effective home surveillance.
Data compression and bandwidth limitations
Data compression and bandwidth limitations can significantly impact the quality of security camera footage. Compression techniques are commonly used to reduce the size of video files, but excessive compression can result in blurry or pixelated images. Bandwidth limitations can also affect the transmission of video data, leading to degraded image quality.
To address data compression and bandwidth limitations and ensure clear security camera footage, consider the following steps:
- Adjust camera compression settings: Review the camera’s compression settings and adjust them to find the optimal balance between file size and image quality. Test different compression levels to determine the best compromise for your specific needs.
- Allocate sufficient bandwidth: If your security cameras share the network with other devices or services, ensure sufficient bandwidth allocation to accommodate the streaming and transmission of video data. Consider prioritizing video traffic to prevent congestion and degradation of image quality.
- Upgrade network infrastructure: If bandwidth limitations persist, assess your network infrastructure. Upgrading to a higher-speed internet connection or investing in more capable network equipment can provide the necessary bandwidth to support high-quality video streaming and reduce potential blurriness.
- Implement video management software: Consider utilizing video management software (VMS) that supports intelligent data compression. These systems use advanced algorithms to optimize data compression while maintaining video quality. They effectively reduce file sizes without sacrificing image clarity.
- Utilize local storage: If bandwidth limitations persist, consider storing video footage locally on network-attached storage (NAS) devices or digital video recorders (DVRs). This reduces the reliance on network bandwidth for real-time streaming and allows for higher-quality video recordings.
- Monitor camera activity and adjust settings: Regularly monitor your security cameras to identify periods of high activity or excessive data usage. Adjust camera settings or schedule recordings during off-peak hours to optimize bandwidth usage and minimize the potential for blurriness due to limited resources.
- Consult with security experts: If you have implemented the above steps and continue to experience issues, consult with security experts or the manufacturer’s support team. They can provide additional guidance and solutions tailored to your specific camera and network setup.
By addressing data compression and bandwidth limitations, you can improve the image quality of your security camera footage. Optimizing compression settings, allocating sufficient bandwidth, and upgrading network infrastructure are all effective strategies to reduce blurriness and ensure clear, detailed video recordings.
Keep in mind that the optimal settings and solutions may vary depending on your specific camera models, network configuration, and security requirements. Regular monitoring, testing, and adjustments will help maintain the best possible image quality for your security camera system.
Make sure the lens is clean and free of any dirt or smudges. Adjust the focus and resolution settings on the camera to improve the clarity of the image. If the issue persists, consider upgrading to a higher resolution camera.
Read more: Why Is My Security Camera Showing No Video?
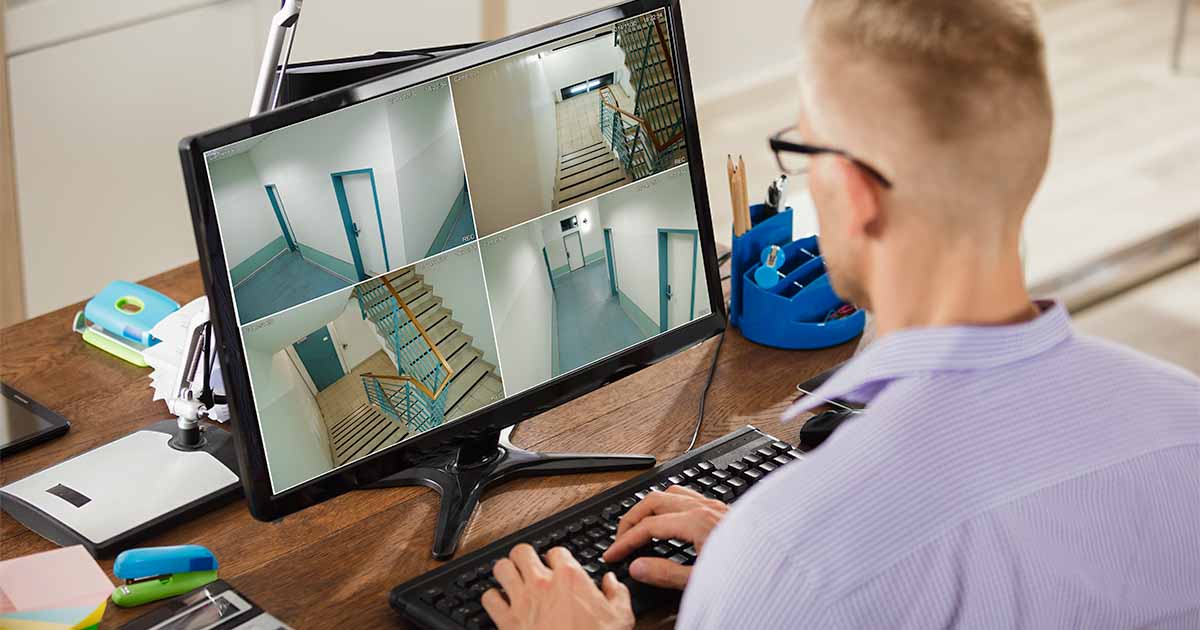
How to fix blurry security camera footage
Dealing with blurry security camera footage can be frustrating, but there are several steps you can take to fix the issue. By addressing the underlying causes and implementing the right solutions, you can improve the clarity and quality of your security camera footage. Here’s what you can do:
- Clean the camera lens: Start by ensuring that the camera lens is clean and free from dust, dirt, or smudges. Regularly clean the lens using a soft cloth and gentle cleaning solution to remove any debris that may obstruct the view and cause blurriness.
- Adjust the focus settings: Check the camera’s focus settings and make any necessary adjustments to ensure that the image is in sharp focus. This can be done through the camera’s settings menu or by manually adjusting the focus ring on the lens if applicable.
- Improve lighting conditions: Inadequate lighting can result in blurry footage, especially in low-light situations. Add additional lighting sources such as infrared illuminators or motion-activated lights to improve visibility and enhance image quality.
- Stabilize the camera: Camera motion or vibrations can cause blurriness. Ensure that the camera is securely mounted and free from any external factors that may cause movement or vibrations. Consider using vibration isolation mounts to reduce unwanted camera motion.
- Upgrade to a higher resolution camera: If your current camera has a low resolution, upgrading to a higher resolution camera can greatly improve the clarity and level of detail in the footage. Higher resolution cameras are better equipped to capture fine details and minimize blurriness.
- Check network and connectivity: Network or connectivity issues can affect the quality of your security camera footage. Ensure that the camera is properly connected to the network and check for any network or connectivity problems that may be causing blurriness. Adjust network settings, restart devices, or consult with a network specialist if needed.
- Optimize data compression and bandwidth usage: Excessive data compression or limited bandwidth can lead to blurry footage. Adjust the camera’s compression settings to find the right balance between file size and image quality. Prioritize bandwidth allocation for your security cameras to ensure smooth streaming and transmission of video data.
By following these steps, you can significantly improve the quality and clarity of your security camera footage. Regular maintenance, including cleaning the lens and adjusting settings as needed, is essential for optimal performance. Remember to tailor the solutions to match your specific camera model, network setup, and security requirements.
If you continue to experience blurry footage or need assistance with troubleshooting, consider consulting with a professional or reaching out to the camera manufacturer’s support team. They can provide further guidance and help identify any underlying issues that may be causing blurriness in your security camera footage.
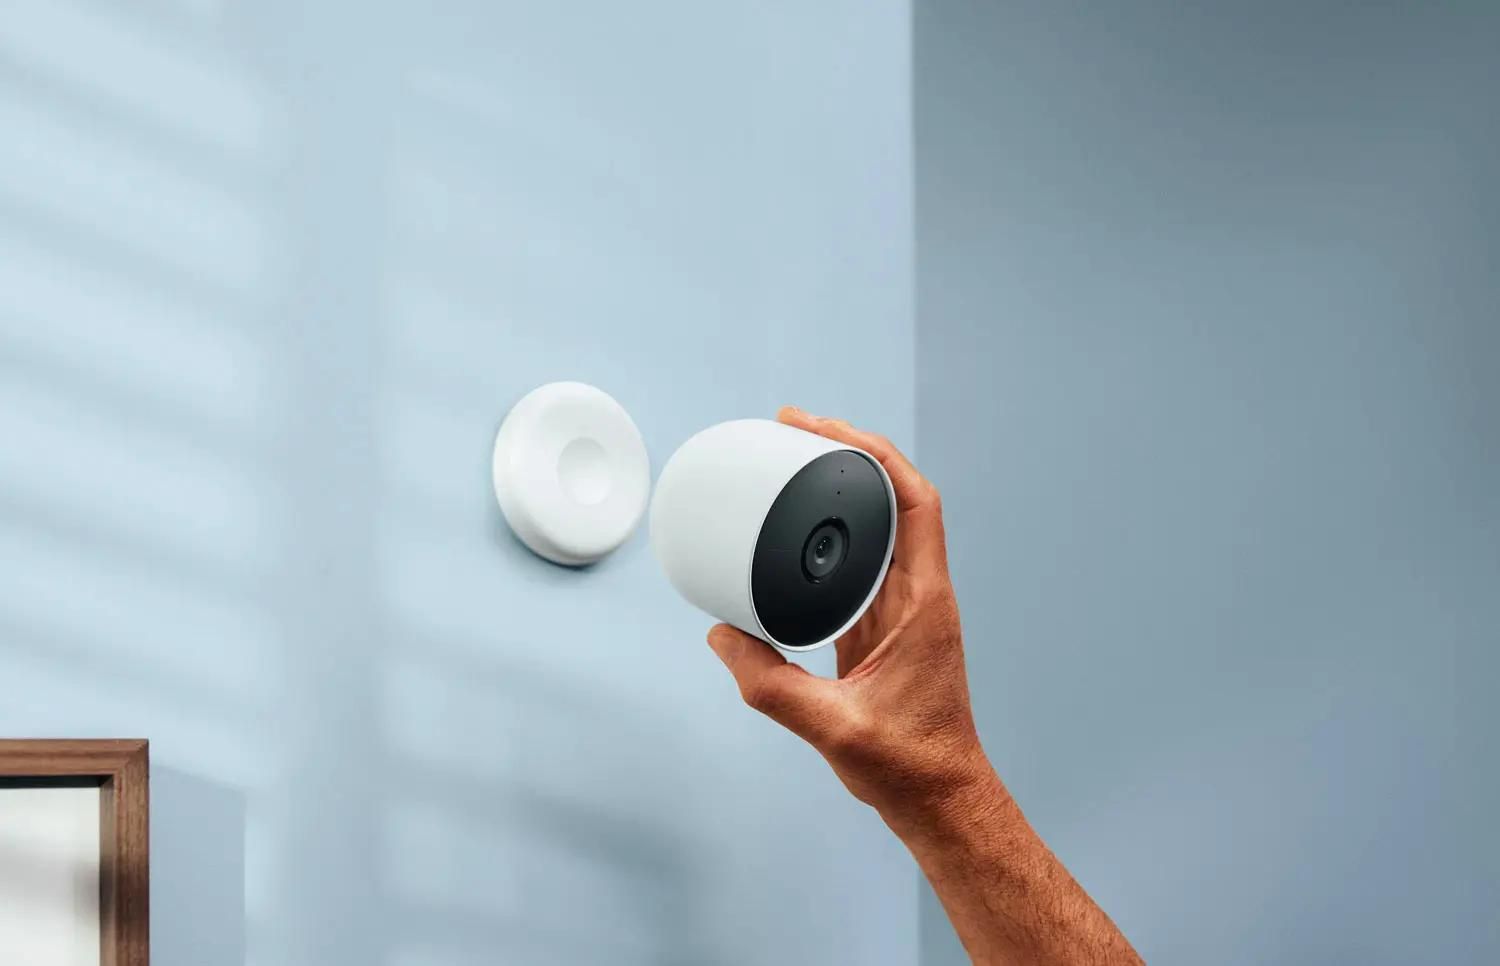
Clean the camera lens
One of the most common causes of blurry security camera footage is a dirty camera lens. Over time, dust, dirt, and smudges can accumulate on the lens surface, obstructing the view and resulting in blurred or hazy images. Regularly cleaning the camera lens is essential for maintaining clear and sharp footage.
To clean the camera lens effectively, follow these steps:
- Turn off the camera: Before cleaning the lens, it is important to turn off the camera or disconnect the power source to avoid any accidental damage.
- Gently remove loose debris: Use a soft brush or compressed air to remove any loose debris or dust particles from the lens surface. Be careful not to apply too much pressure, as this could scratch the lens.
- Dampen a microfiber cloth: Take a clean microfiber cloth and dampen it slightly with a small amount of lens cleaning solution or isopropyl alcohol. Avoid using rough materials or harsh cleaners, as they can damage the lens.
- Wipe the lens in a circular motion: Gently wipe the lens in a circular motion from the center outward. This helps to remove stubborn dirt or smudges while ensuring even coverage of the entire lens surface.
- Dry the lens: If there are any streaks or moisture left on the lens after cleaning, use a dry portion of the microfiber cloth to gently wipe away any residue. Ensure that the lens is completely dry before turning the camera back on.
Regularly cleaning the camera lens, ideally once a month or as needed, helps to maintain optimal image quality and prevent blurriness in security camera footage. It is especially important to clean the lens if you notice a significant decrease in image clarity or if the camera is exposed to dusty or dirty environments.
Remember, when cleaning the camera lens, it is crucial to handle it with care and avoid applying excessive force or using abrasive materials that can scratch the lens surface. If you are unsure about the cleaning process or if the lens is difficult to access, refer to the camera’s user manual or consult the manufacturer’s guidelines for specific instructions.
By keeping the camera lens clean and free from dirt or smudges, you can ensure that your security camera captures clear and sharp footage, allowing you to monitor and protect your property effectively.
Adjust the focus settings
If your security camera footage appears blurry, another common cause could be incorrect focus settings. The focus settings determine the sharpness and clarity of the image that the camera captures. By correctly adjusting the focus, you can improve the quality and sharpness of the footage.
To adjust the focus settings of your security camera, follow these steps:
- Access the camera’s configuration menu: Depending on the camera model, you can access the configuration menu through the camera’s physical buttons or via a web-based interface.
- Locate the focus adjustment settings: Look for the focus settings or autofocus option in the camera’s menu. The location of these settings may vary depending on the camera model and manufacturer.
- Enable autofocus or manual focus: Some cameras offer autofocus capabilities, allowing the camera to automatically adjust the focus. If this option is available, enable autofocus and let the camera focus automatically. If autofocus is not available or not desired, you can manually adjust the focus.
- Manual focus adjustment: If your camera does not support autofocus, you can adjust the focus manually. Begin by observing the live view or preview on a monitor connected to the camera.
- Make incremental adjustments: If focusing manually, slowly rotate the focus ring on the lens (if applicable) or use the camera’s software interface to make small, incremental adjustments. Continuously monitor the live view to see the effects of each adjustment.
- Aim for a sharp and clear image: As you make adjustments, aim for a clear and sharp image on the monitor. Avoid over-adjusting, as this can lead to a different set of focus issues. Take your time to fine-tune the focus until the image is sharp and details are well-defined.
- Periodically check and readjust: Monitor the camera footage regularly to ensure that the focus remains accurate over time. Factors like temperature changes or camera movements may require occasional readjustments to maintain optimal focus.
By adjusting the focus settings on your security camera, you can improve the clarity and sharpness of the footage. Clear focus is crucial for capturing important details and recognizing individuals or objects within the frame.
If you encounter difficulties adjusting the focus or if the camera consistently produces blurry images even after adjustments, consult the camera’s user manual or reach out to the manufacturer’s technical support for further assistance. They can provide specific guidance tailored to your camera model and help troubleshoot any focus-related issues.
Improve lighting conditions
Poor lighting conditions can greatly affect the quality of security camera footage, leading to blurry or unclear images. Adequate lighting is crucial for capturing crisp and detailed footage, both during the day and in low-light environments. Enhancing the lighting conditions around your security camera can significantly improve the clarity of the footage. Here are some steps to improve the lighting conditions:
- Add additional lighting sources: Installing additional lighting around the camera’s field of view can help improve image quality. Consider using outdoor-rated LED lights, floodlights, or infrared illuminators. Position the lights strategically to evenly illuminate the area and minimize shadows or dark spots.
- Adjust existing lights: Evaluate any existing lights near the camera and ensure they are clean, aligned properly, and providing sufficient illumination. Dirt or misalignment can hinder the effectiveness of the lights, resulting in blurrier footage. Clean the lights if necessary and make any adjustments to optimize their performance.
- Utilize motion-activated lights: Motion-activated lights can help conserve energy while providing instant illumination when motion is detected. These lights are especially useful for outdoor cameras, as they can alert you to activity and improve image quality during nighttime hours.
- Consider infrared (IR) lighting: Infrared lighting is ideal for low-light or completely dark environments. IR lights emit infrared radiation that is invisible to the human eye but can be detected by the camera’s image sensor, enabling it to capture clear images even in complete darkness. Install IR illuminators that match the camera’s infrared sensitivity for optimal results.
- Remove obstructions: Ensure that there are no physical obstructions between the camera and the subject you want to monitor. Overgrown vegetation, tree branches, or objects can cast unwanted shadows or block the camera’s view, resulting in blurry footage. Regularly trim plants or remove any hindrances to maintain a clear line of sight.
- Test and adjust lighting levels: Experiment with different lighting levels to find the optimal balance. Adjust the intensity of the lights based on your specific needs and the camera’s sensitivity. Test the footage under different lighting conditions to determine the best settings that provide clear and well-illuminated images.
By improving the lighting conditions around your security camera, you can greatly enhance the quality of the footage. Clear and well-lit images allow for better identification of individuals, objects, and activities, increasing the effectiveness of your security system.
Remember to regularly monitor the lighting setup and make any necessary adjustments as environmental conditions change, such as seasonal variations. By ensuring proper lighting, you can maximize the performance of your security camera and maintain clear visuals for effective monitoring and surveillance.
Stabilize the camera
Camera motion or vibrations can result in blurry security camera footage. Unwanted movements or vibrations can be caused by factors such as wind, nearby machinery, or an unstable camera mount. Stabilizing the camera is essential to ensure clear and sharp images. Here are some steps to stabilize your security camera:
- Secure the camera mount: Ensure that the camera mount is securely fastened and stable. Use appropriate mounting brackets and screws to secure the camera in place. Consider using heavy-duty mounts designed to withstand external forces or vibrations.
- Choose the right mounting location: Select a location for your camera that provides a solid structure for mounting. Avoid mounting on walls or surfaces that are prone to movement, such as areas affected by strong winds or vibrations from machinery.
- Use vibration isolation mounts: Vibration isolation mounts are designed to reduce or eliminate the impact of external vibrations on the camera. These mounts absorb and dampen vibrations, providing a stable environment for the camera to capture clear footage. Install vibration isolation mounts between the camera and the mounting surface.
- Consider the camera housing: Select a camera housing that is designed to minimize vibrations. Some camera housings have built-in shock-absorbing features or flexible mounts that help reduce the impact of external movements. These housings can greatly improve stability and image quality.
- Protect against wind-induced movements: Wind can cause camera movements and result in blurry footage. If your camera is exposed to windy conditions, consider installing wind buffers or shields to minimize the impact of wind-induced movements. These protective measures can help stabilize the camera and reduce blurriness in the footage.
- Regularly check the camera mount: Periodically inspect the camera mount for any signs of loosening or wear. Harsh weather conditions or frequent adjustments may affect the stability of the mount over time. Tighten any loose screws or brackets as needed to maintain a secure and stable camera mount.
By stabilizing your security camera, you can eliminate unwanted movements and vibrations, resulting in clear and sharp footage. A stable camera setup is crucial for capturing accurate details and enabling effective surveillance of your property.
Remember, each camera installation may have unique stabilization requirements. Factors such as camera weight, environmental conditions, and mount type should be considered. If you are unsure about the best stabilization methods for your camera, consult the camera manufacturer’s guidelines or seek assistance from a professional installer.
Upgrade to a higher resolution camera
If your security camera footage appears blurry, one of the potential culprits could be a low-resolution camera. Cameras with lower resolutions have limited capabilities to capture fine details, resulting in blurry or pixelated images. Upgrading to a higher resolution camera can significantly improve the clarity and sharpness of the footage. Here’s what you need to know:
- Evaluate the current camera resolution: Determine the resolution of your existing security camera. Common resolutions include 720p (HD), 1080p (Full HD), or even higher resolutions like 4K. The resolution refers to the number of pixels in the image, with higher resolutions offering more detailed and sharper footage.
- Assess your surveillance needs: Consider your specific surveillance requirements and the level of detail you need to capture. If you need to clearly identify individuals or objects from the recorded footage, a higher resolution camera is recommended. Assess factors such as the distance between the camera and the subject, the size of the area under surveillance, and any specific monitoring needs.
- Upgrade to a higher-resolution camera: If your current camera has a low resolution and is unable to meet your surveillance needs, it may be time to upgrade. Look for security cameras with higher resolutions that match your requirements. For example, a 1080p camera provides more details than a 720p camera, while a 4K camera offers even more superior image quality.
- Consider the field of view and camera placement: When upgrading to a higher resolution camera, re-evaluate the field of view and camera placement. Higher resolution cameras often have narrower fields of view, so it’s important to position the camera properly to cover the desired area with clarity. Adjust the camera angle and placement to maximize the benefits of the increased resolution.
- Ensure sufficient storage capacity: Higher resolution cameras produce larger video files due to the increased level of detail. Ensure that your storage capacity, whether it’s on-premises storage or cloud-based storage, can accommodate the larger file sizes. Consider upgrading your storage solutions if necessary.
- Test and optimize camera settings: Once you have upgraded to a higher resolution camera, optimize the camera settings to make the most of the improved image quality. Adjust settings such as exposure, white balance, and image enhancement features to achieve the clearest and sharpest footage possible.
By upgrading to a higher resolution camera, you can capture clearer and more detailed security camera footage. The increased resolution allows for better identification of individuals, objects, and activities, enhancing the effectiveness of your surveillance system. However, it’s important to remember that higher resolution cameras may require more bandwidth and storage capacity, so ensure that your network and storage capabilities can handle the increased demands.
When making the upgrade, consult with reputable security camera manufacturers or consult with a professional to select the right camera model for your specific needs. They can provide guidance on the best resolution and camera features that will meet your requirements and maximize the effectiveness of your surveillance system.
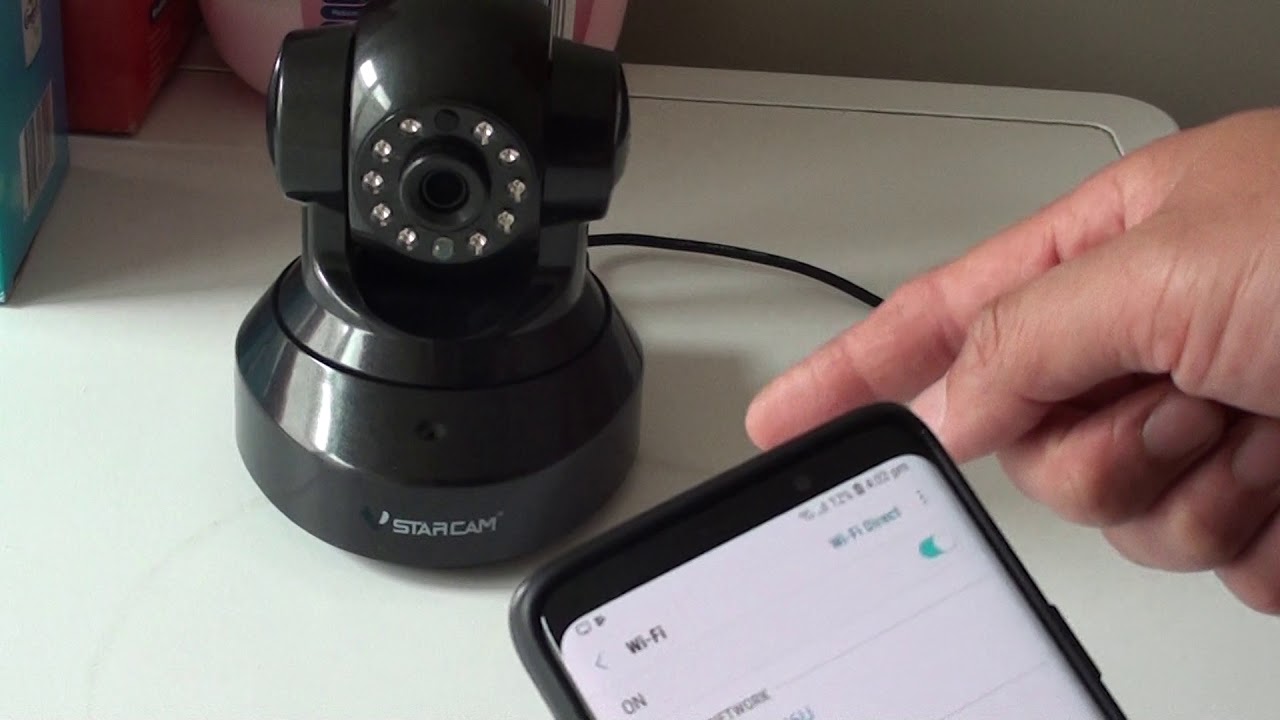
Check network and connectivity
Network and connectivity issues can greatly impact the quality of your security camera footage, resulting in blurriness or other video-related problems. It is important to ensure that your security camera is properly connected to the network and that the network itself is functioning correctly. Here are some steps to check your network and connectivity:
- Verify physical connections: Start by checking the physical connections between the camera, network cables, and network devices. Ensure that the network cable is securely connected to both the camera and the router or switch. If you are using a wireless camera, make sure it has a strong and stable Wi-Fi signal.
- Restart camera and network devices: Sometimes, a simple restart can resolve network or connectivity issues. Power off the camera, as well as any network devices such as routers or switches, and then power them back on. This can help refresh the network connection and establish a stable connection.
- Review network settings: Check the network settings on both the camera and the connected devices. Ensure that the camera is configured with the correct IP address, subnet mask, gateway, and DNS settings. Validate that the network settings match the requirements of your network infrastructure.
- Optimize bandwidth allocation: If you have multiple cameras sharing the network, prioritize bandwidth allocation for your security cameras. This ensures that sufficient bandwidth is available to handle the streaming and transmission of video data, reducing the potential for blurriness or video lag.
- Address network congestion: Network congestion or slow internet speeds can impact the quality of your security camera footage. Implement Quality of Service (QoS) settings on your network devices to prioritize video traffic over other network traffic. This ensures a smoother streaming experience and minimizes blurriness caused by network congestion.
- Upgrade network equipment: Outdated or inadequate network equipment, such as routers or switches, may cause connectivity issues. Consider upgrading to newer, more reliable network devices that can handle the demands of your security camera system.
- Perform network speed tests: Use online network speed testing tools to evaluate the bandwidth and performance of your network. Compare the results with the bandwidth requirements of your security cameras to identify any potential issues or bottlenecks.
- Consult with a network specialist: If you have performed the above steps and continue to experience network or connectivity issues, it may be beneficial to consult with a network specialist or reach out to the manufacturer’s support team. They can provide further guidance and assistance in resolving complex network-related problems.
By checking your network and connectivity, you can ensure a stable and reliable connection for your security cameras. A stable network connection is crucial for uninterrupted video streaming and clear, non-blurry footage.
Regularly monitor your network infrastructure, perform necessary updates, and address any network-related issues promptly. This will help maintain optimal performance of your security cameras and ensure that you capture clear and high-quality footage for effective home surveillance.
Optimize data compression and bandwidth usage
Data compression and bandwidth limitations can significantly impact the quality of your security camera footage, leading to blurry or pixelated images. Understanding and optimizing data compression methods, as well as effectively managing bandwidth usage, are key for improving the clarity and sharpness of your footage. Here’s what you can do:
- Adjust camera compression settings: Many security cameras offer options for adjusting data compression settings. Find the balance between file size and image quality that works best for your needs. Higher levels of compression reduce file sizes but may result in a loss of image details. Experiment with the settings to find a compression level that minimizes blurriness while still keeping file sizes manageable.
- Prioritize bandwidth allocation: If you have multiple cameras sharing the same network, it’s important to allocate sufficient bandwidth for smooth streaming and transmission of video data. Allocate more bandwidth to critical cameras or high-traffic areas to minimize blurriness and lag. Implement Quality of Service (QoS) settings on your network devices to prioritize video traffic over other network traffic.
- Upgrade network equipment: Outdated or inadequate network equipment can limit your camera’s ability to transmit high-quality footage. Consider upgrading to routers, switches, or network cables that support higher data transfer rates. This ensures that your cameras can achieve the necessary bandwidth for optimal image quality.
- Implement video management software (VMS): VMS systems often include features that optimize data compression while maintaining video quality. These systems use advanced algorithms to strike the right balance. Look for a VMS that offers intelligent data compression capabilities to reduce file sizes without sacrificing image clarity.
- Utilize local storage: Instead of relying solely on network transmission, consider storing footage locally on network-attached storage (NAS) devices or digital video recorders (DVRs). This reduces the strain on network bandwidth and allows for higher quality recording and playback.
- Monitor and optimize camera settings: Regularly review your camera settings to ensure that they are optimized for your network capabilities and storage capacity. Adjust frame rates, resolution, or any other settings that affect bandwidth usage and image quality. Striking the right balance is key for reducing blurriness and achieving optimal performance.
- Regularly monitor and test: Continuously monitor the network performance and the quality of your footage. Conduct periodic testing and analysis to identify any bottlenecks or areas for improvement. Use network monitoring tools to assess bandwidth usage and identify areas that require optimization.
By optimizing data compression and effectively managing bandwidth usage, you can improve the clarity and sharpness of your security camera footage. It is important to regularly assess and adjust your settings to ensure an optimal balance between image quality and data efficiency.
Remember, each security camera setup and network environment may have unique requirements. Regular monitoring, testing, and fine-tuning will help you achieve the best results and ensure that your footage remains clear and non-blurry.
Read more: Why Does My Phone Flash On Security Camera
Conclusion
Ensuring clear and high-quality security camera footage is essential for effective home surveillance. Blurry footage can hinder your ability to identify individuals, objects, or activities, compromising the overall security of your property. By understanding and addressing the common causes of blurry security camera footage, you can improve the clarity and sharpness of your recordings.
Throughout this article, we have explored various factors that can contribute to blurry footage, including dirty camera lenses, incorrect focus settings, poor lighting conditions, camera motion or vibrations, low camera resolution, network or connectivity issues, and data compression and bandwidth limitations.
To fix blurry security camera footage, we recommend the following steps:
- Clean the camera lens regularly to remove dust, dirt, and smudges that can obstruct the view.
- Adjust the focus settings to ensure the image is sharp and clear.
- Improve lighting conditions by adding additional lights or using infrared (IR) lighting for low-light environments.
- Stabilize the camera by securing the mounting, using vibration isolation mounts, and protecting against wind-induced movements.
- Upgrade to a higher resolution camera to capture more detailed and sharper footage.
- Check network and connectivity to ensure a stable and reliable connection for your security cameras.
- Optimize data compression and bandwidth usage to strike the right balance between image quality and data efficiency.
Regular maintenance, periodic checks, and adjustments are necessary to maintain optimal performance and image quality. It is important to understand the specific requirements of your security camera system and tailor solutions accordingly.
By implementing these steps, you can enhance the effectiveness of your security camera system and improve the overall surveillance capabilities of your home. Clear and non-blurry footage provides valuable evidence if any incidents occur and enables you to stay vigilant in protecting your property and loved ones.
Frequently Asked Questions about Why Is My Security Camera Blurry
Was this page helpful?
At Storables.com, we guarantee accurate and reliable information. Our content, validated by Expert Board Contributors, is crafted following stringent Editorial Policies. We're committed to providing you with well-researched, expert-backed insights for all your informational needs.