Home>Ideas and Tips>DIY Guide To Building Custom Shelving Units

Ideas and Tips
DIY Guide To Building Custom Shelving Units
Modified: August 30, 2024
Learn how to build custom shelving units with our step-by-step DIY guide. Enhance your home's storage and style with personalized shelving solutions.
(Many of the links in this article redirect to a specific reviewed product. Your purchase of these products through affiliate links helps to generate commission for Storables.com, at no extra cost. Learn more)
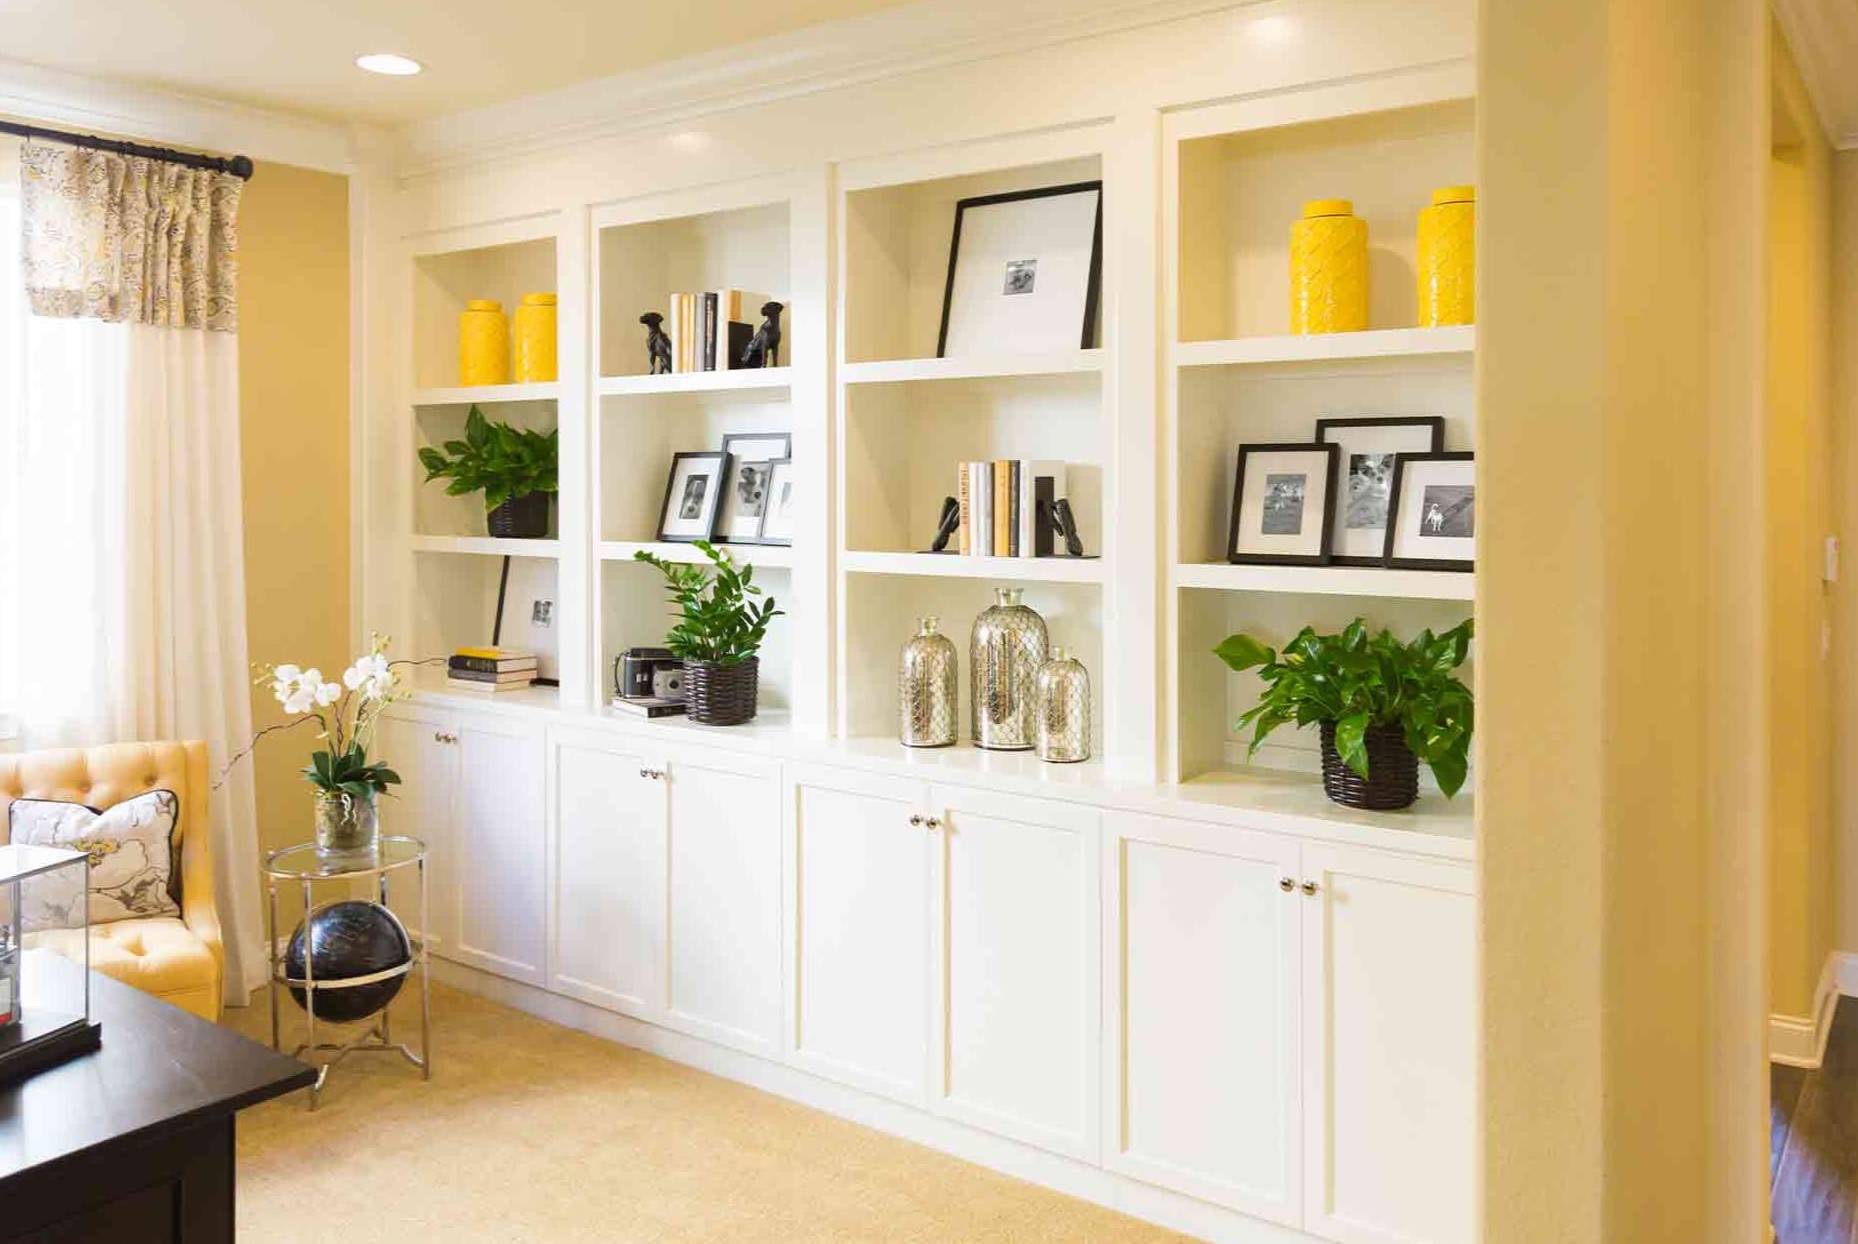
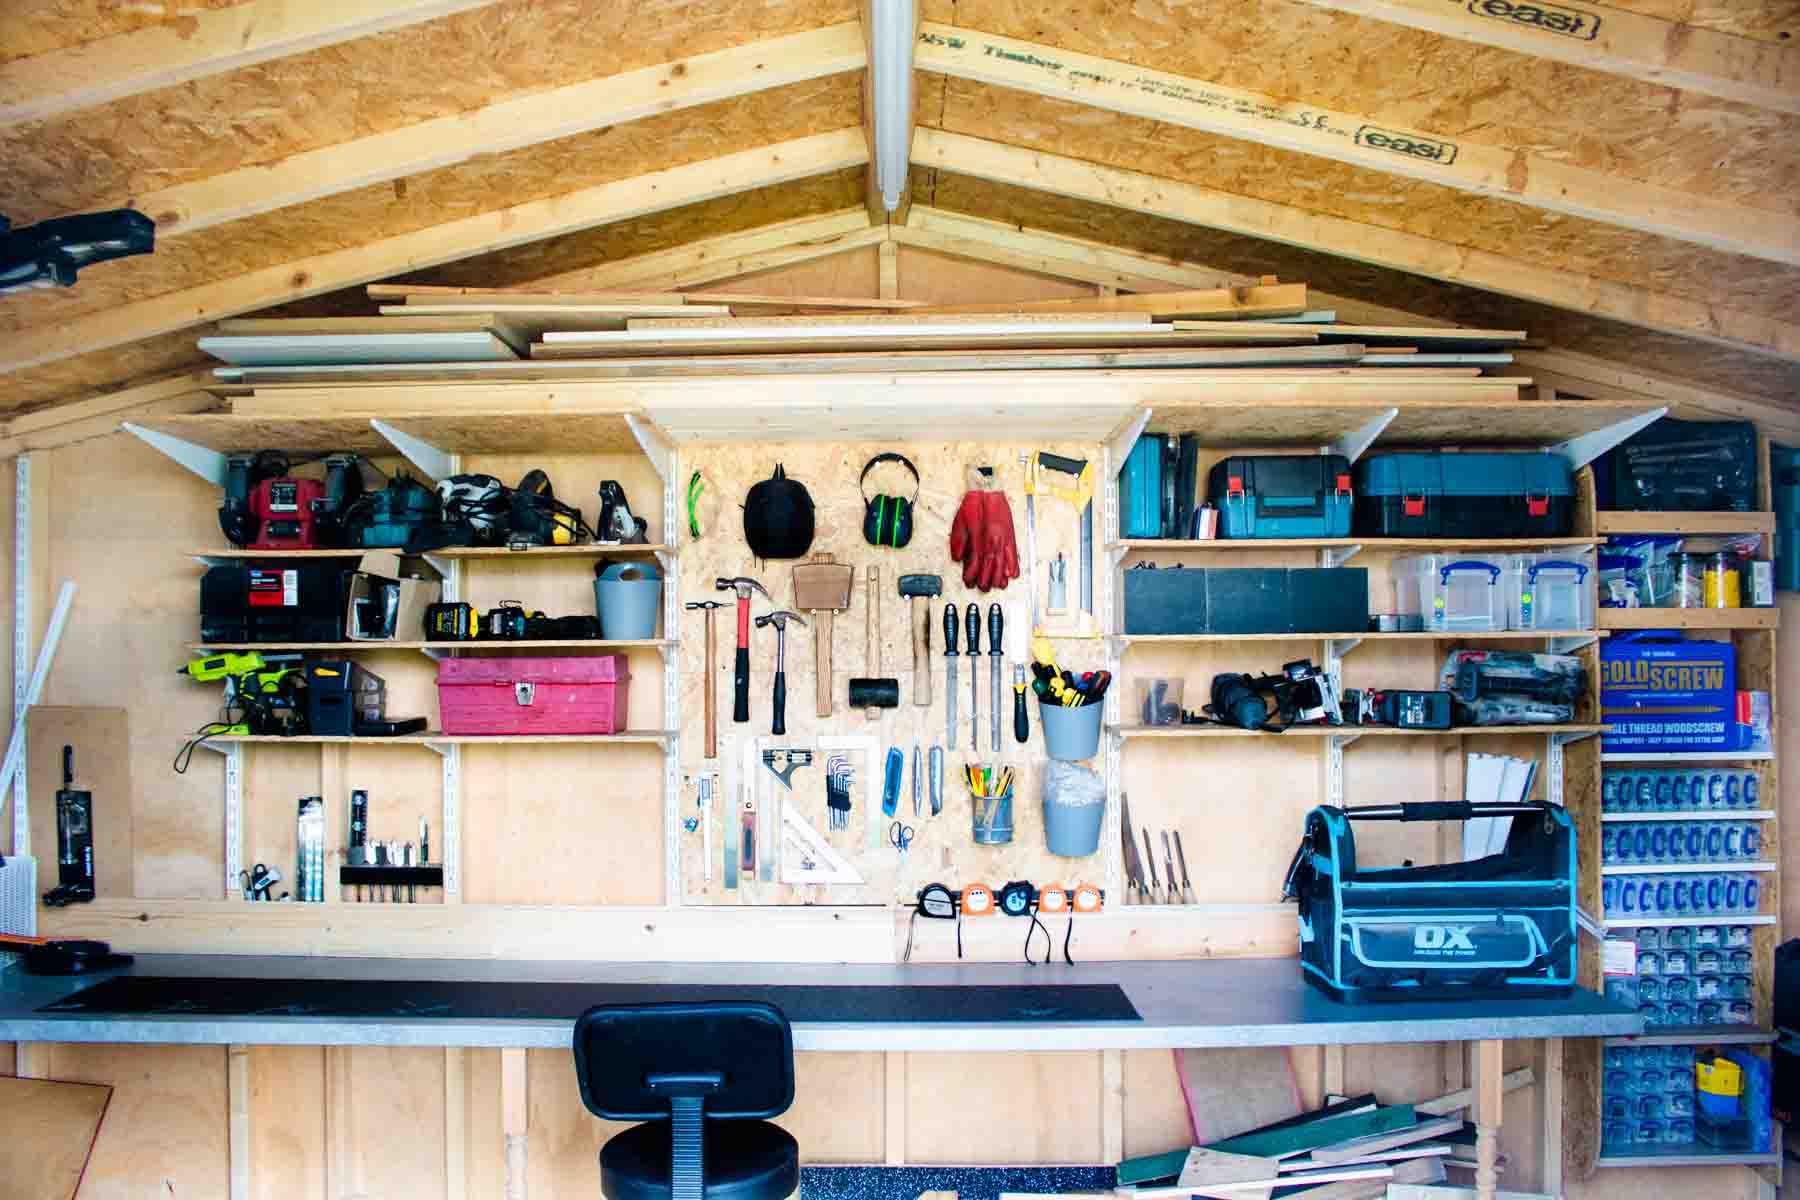
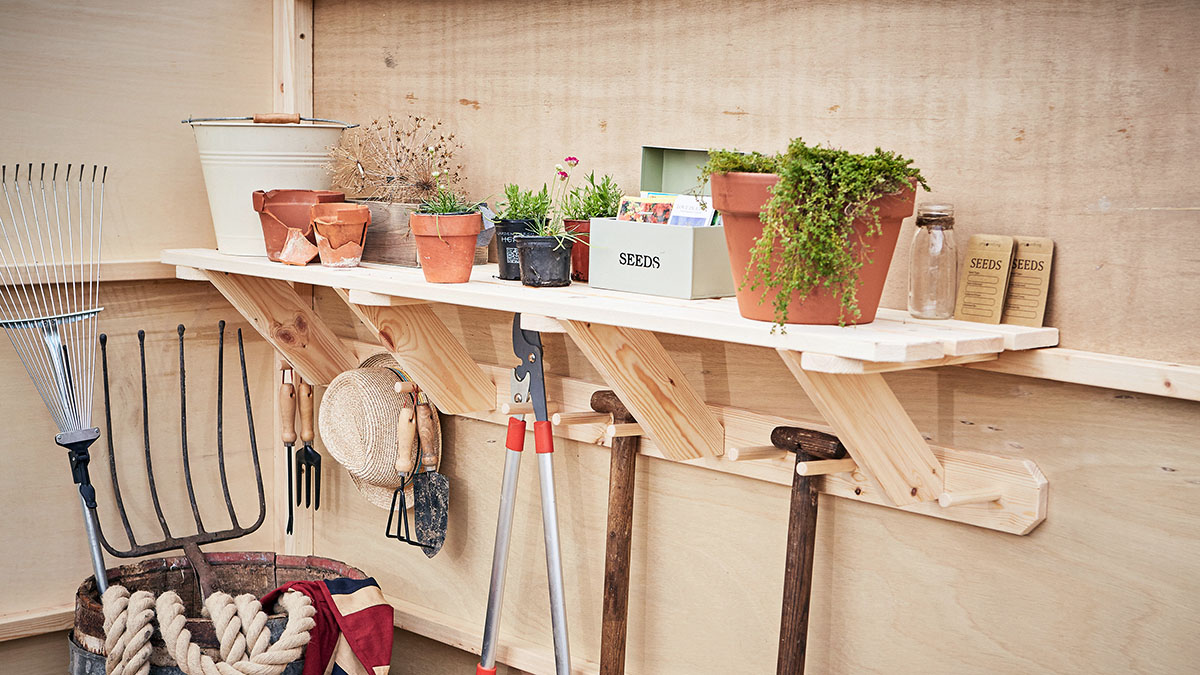
Creating custom shelving units can be a rewarding DIY project that not only enhances the aesthetic appeal of your home but also provides functional storage solutions. Whether you're looking to organize your living room, kitchen, or home office, building custom shelving units can be a cost-effective and personalized way to meet your storage needs. In this comprehensive guide, we'll walk you through the steps to design and build your own custom shelving units.
Introduction
Building custom shelving units is a fantastic way to add both style and storage to your home. You might be wondering if it's worth the effort. Absolutely, it is! Custom shelving units allow you to tailor the design to fit your specific needs and space. Plus, they can be a fun and satisfying project that gives you a sense of accomplishment. Imagine having a unique piece that you built yourself, perfectly fitting your space and holding all your favorite items. It's not just about storage; it's about creating something that's uniquely yours.
Planning Your Project
Before you start building, it's essential to plan your project carefully. Here are some steps to help you get started:
-
Assess Your Space: Measure the area where you plan to install the shelving unit. Consider the dimensions of the space, including any obstructions such as windows, doors, or heating vents.
-
Determine Your Needs: Think about what you want to store on the shelves. This will help you decide on the size and number of shelves you need. For example, if you're planning to store books, you might want deeper shelves with more space between them.
-
Choose Materials: Decide on the materials you want to use for your shelving unit. Common options include wood, MDF (Medium-Density Fiberboard), and metal. Each material has its own advantages and disadvantages, so choose one that fits your budget and desired look.
-
Sketch Your Design: Use graph paper or a design software to sketch out your shelving unit design. Consider the style and layout you want. You can find inspiration online or in home decor magazines.
-
Make a List of Tools and Materials: Once you have a clear idea of what you want to build, make a list of all the tools and materials you'll need. This will help you stay organized and ensure that you don't forget anything important.
Step-by-Step Guide
Step 1: Prepare Your Workspace
Before you start building, make sure your workspace is clean and organized. Cover your work surface with a drop cloth or old sheets to protect it from dust and debris.
-
Gather Tools: Collect all the necessary tools such as a saw, drill, sandpaper, measuring tape, level, and clamps.
-
Prepare Your Materials: Cut any wood or MDF pieces according to your design plan. Sand all surfaces to smooth them out.
Step 2: Build the Frame
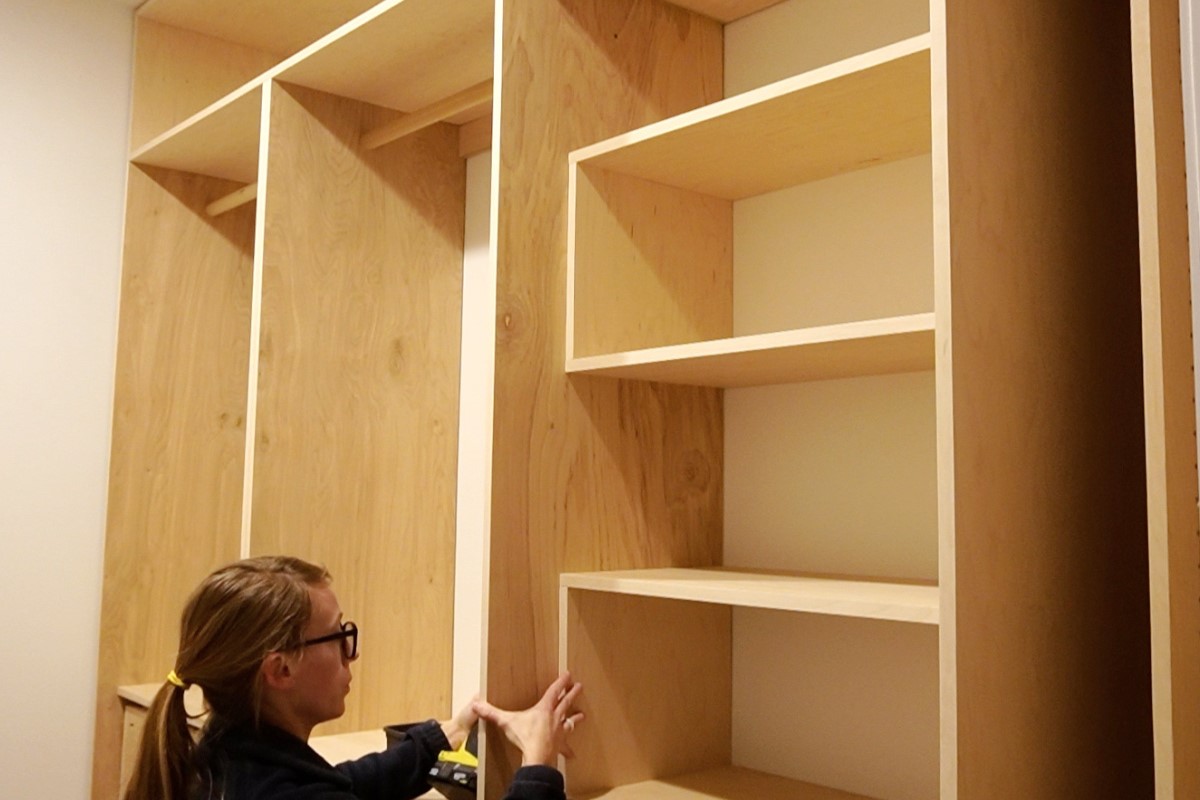
The frame is the backbone of your shelving unit. It provides support and structure for all the shelves.
-
Cut Frame Pieces: Cut four pieces of wood or MDF for the frame corners. These pieces should be slightly longer than the width of your shelving unit.
-
Assemble Frame Corners: Use wood glue and nails or screws to assemble the frame corners. Make sure they are square and sturdy.
-
Attach Frame Sides: Attach the frame sides to the corners using wood glue and nails or screws. Ensure that the sides are evenly spaced and aligned properly.
-
Add Back Panel: If you're building an enclosed shelving unit, attach a back panel to provide additional support and keep items from falling off the back.
Read more: How To Build Custom Cedar Shutters
Step 3: Add Shelves
Shelves are where you'll store your items, so it's crucial to get them right.
-
Cut Shelf Boards: Cut shelf boards according to your design plan. You can use wood or MDF for this purpose.
-
Assemble Shelf Boards: If you're using multiple shelf boards for each shelf, assemble them together using wood glue and nails or screws.
-
Attach Shelves: Attach shelves to the frame using screws or nails. Make sure they are evenly spaced and leveled properly.
-
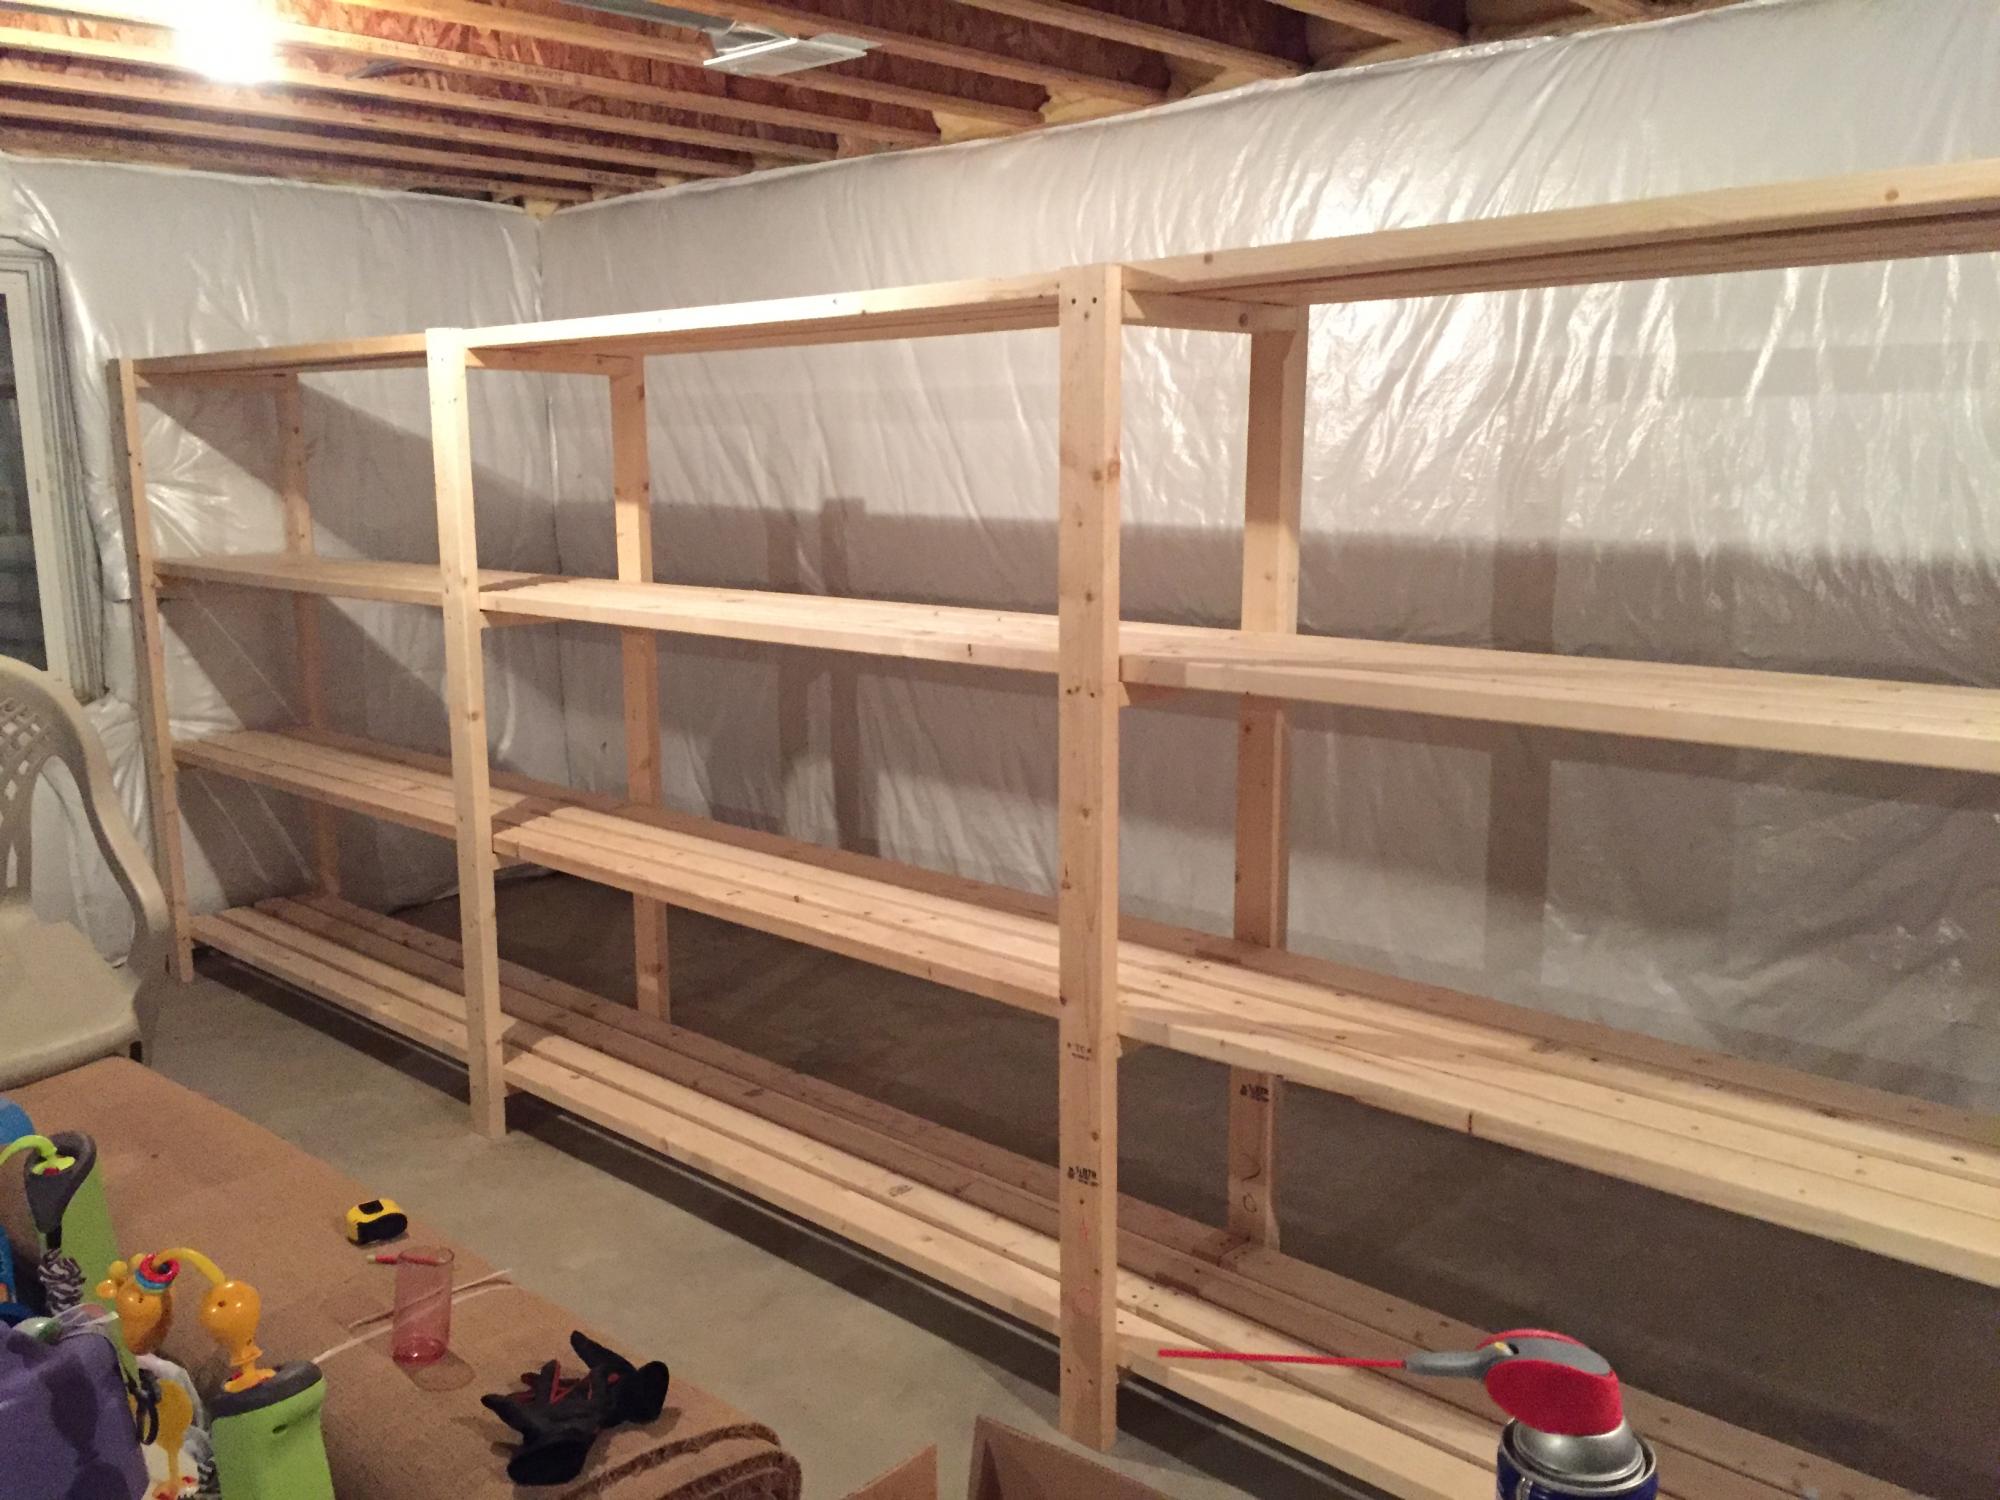
Add Supports (Optional): If you're building a tall shelving unit, consider adding supports between shelves for extra stability.
Step 4: Add Finishing Touches
Once you've built the frame and attached the shelves, it's time to add some finishing touches.
-
Sand Entire Unit: Sand all surfaces of your shelving unit to smooth them out and remove any splinters or rough edges.
-
Stain or Paint (Optional): If you want to add color or texture to your shelving unit, stain or paint it according to your preference.
-
Attach Hardware (Optional): If you're adding doors or drawers, attach hardware such as handles or hinges.
-
Install Shelving Unit: Finally, install your custom shelving unit in the designated area. Make sure it's leveled properly and securely attached to the wall if necessary.
Tips and Variations
Tips for Beginners
-
Measure Twice, Cut Once: Double-check all measurements before cutting any wood or MDF pieces to avoid mistakes.
-
Use Proper Safety Gear: Always wear safety gear like gloves and goggles when working with power tools or handling sharp objects.
-
Follow Instructions: Read instructions carefully before using any tool or material to ensure you're using it correctly.
Read more: DIY Guide To Installing Floating Shelves
Variations in Design
-
Modern Minimalist Look: Use sleek lines and minimal ornamentation for a modern minimalist look.
-
Rustic Charm: Add wooden planks or reclaimed wood for a rustic charm.
-
Industrial Style: Use metal brackets or pipes for an industrial-style shelving unit.
-
Custom Shapes: Create custom shapes like L-shelves or corner shelves to fit specific spaces in your home.
Conclusion
Building custom shelving units is a rewarding DIY project that can enhance both the aesthetic appeal and functionality of your home. By following these steps and tips, you can create a personalized shelving unit that meets all your storage needs while adding a touch of elegance to your space.
Remember to always measure carefully, use proper safety gear, and follow instructions when working with power tools or handling materials. With patience and practice, you'll be able to create beautiful and functional custom shelving units that make organizing your belongings a breeze.
Additional Resources
If you're new to DIY projects or need more detailed instructions, consider checking out these resources:
- YouTube Tutorials: Websites like YouTube offer numerous tutorials on building custom shelving units.
- Home Improvement Blogs: Websites like The Spruce or Home Depot's blog section often feature detailed guides on various DIY projects.
- Local Hardware Stores: Visit local hardware stores for advice from experienced staff who can guide you through the process.
By combining these resources with this guide, you'll be well-equipped to tackle any shelving project that comes your way
Was this page helpful?
At Storables.com, we guarantee accurate and reliable information. Our content, validated by Expert Board Contributors, is crafted following stringent Editorial Policies. We're committed to providing you with well-researched, expert-backed insights for all your informational needs.








0 thoughts on “DIY Guide To Building Custom Shelving Units”