Articles
How To Build Basement Shelves
Modified: January 18, 2024
Learn how to build sturdy and functional basement shelves with our detailed articles. Maximize your storage space with these easy DIY tips.
(Many of the links in this article redirect to a specific reviewed product. Your purchase of these products through affiliate links helps to generate commission for Storables.com, at no extra cost. Learn more)
Introduction
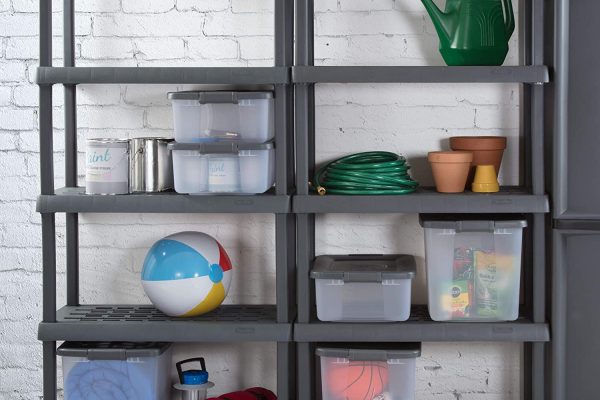
Having sufficient storage space is essential for maintaining an organized and clutter-free basement. One of the most effective ways to maximize storage in your basement is by building shelves. Basement shelves not only provide ample storage space for your belongings but also help to keep your basement neat and tidy.
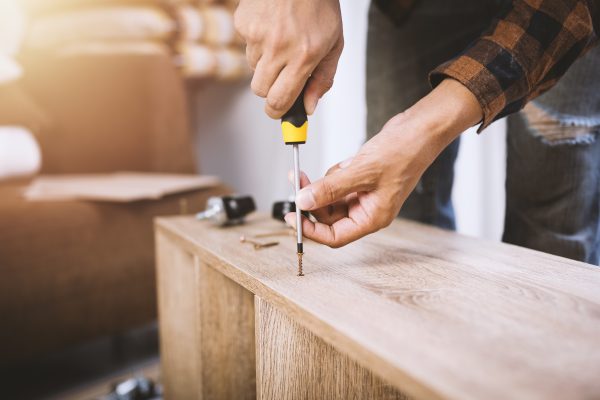
In this article, we will guide you through the step-by-step process of building basement shelves. Whether you are a DIY enthusiast or a novice, by following these instructions, you will be able to build sturdy and functional shelves that will optimize your basement storage.
Before diving into the construction process, you will need to gather a few materials. Let’s take a look at what you will need for this project.
Key Takeaways:
- Proper planning and measurements are crucial for building sturdy and functional basement shelves. By carefully considering the layout and purpose of your basement, you can create shelves that perfectly fit your storage needs.
- Adding finishing touches such as sanding, painting, and organizing can customize your basement shelves to enhance their appearance and functionality. With the right touches, your shelves can become a visually appealing and efficient storage solution.
Read more: How To Build Shelves For A Shed
Materials Needed
Before you start building basement shelves, make sure you have the following materials:
- 2×4 wooden boards
- Plywood sheets
- Screws
- Drill
- Saw
- Tape measure
- Level
- Pencil
- Safety goggles
- Work gloves
These materials are readily available at your local hardware store. Make sure to choose high-quality materials to ensure the durability and stability of your basement shelves.
Once you have gathered all the necessary materials, let’s move on to the step-by-step process of building basement shelves.
Step 1: Planning and Measurements
The first step in building basement shelves is proper planning and measurements. This crucial step will ensure that your shelves fit perfectly in your basement space and meet your storage needs.
Before you start taking measurements, consider the layout and purpose of your basement. Determine the height, width, and depth of the shelves according to the items you plan to store. Also, take into account the available space in your basement to ensure that the shelves will fit properly.
Next, gather your tape measure, pencil, and level. Measure the height and width of the area where you want to install the shelves. Mark these measurements on the basement walls, making sure to use the level to ensure straight lines.
After marking the dimensions, determine the desired spacing between the shelves. This will depend on the size of the items you plan to store. Mark the locations of the shelves using the level to ensure they are even.
Once you have completed the measurements and marked the locations, you can now move on to the next step of building the shelf frame.
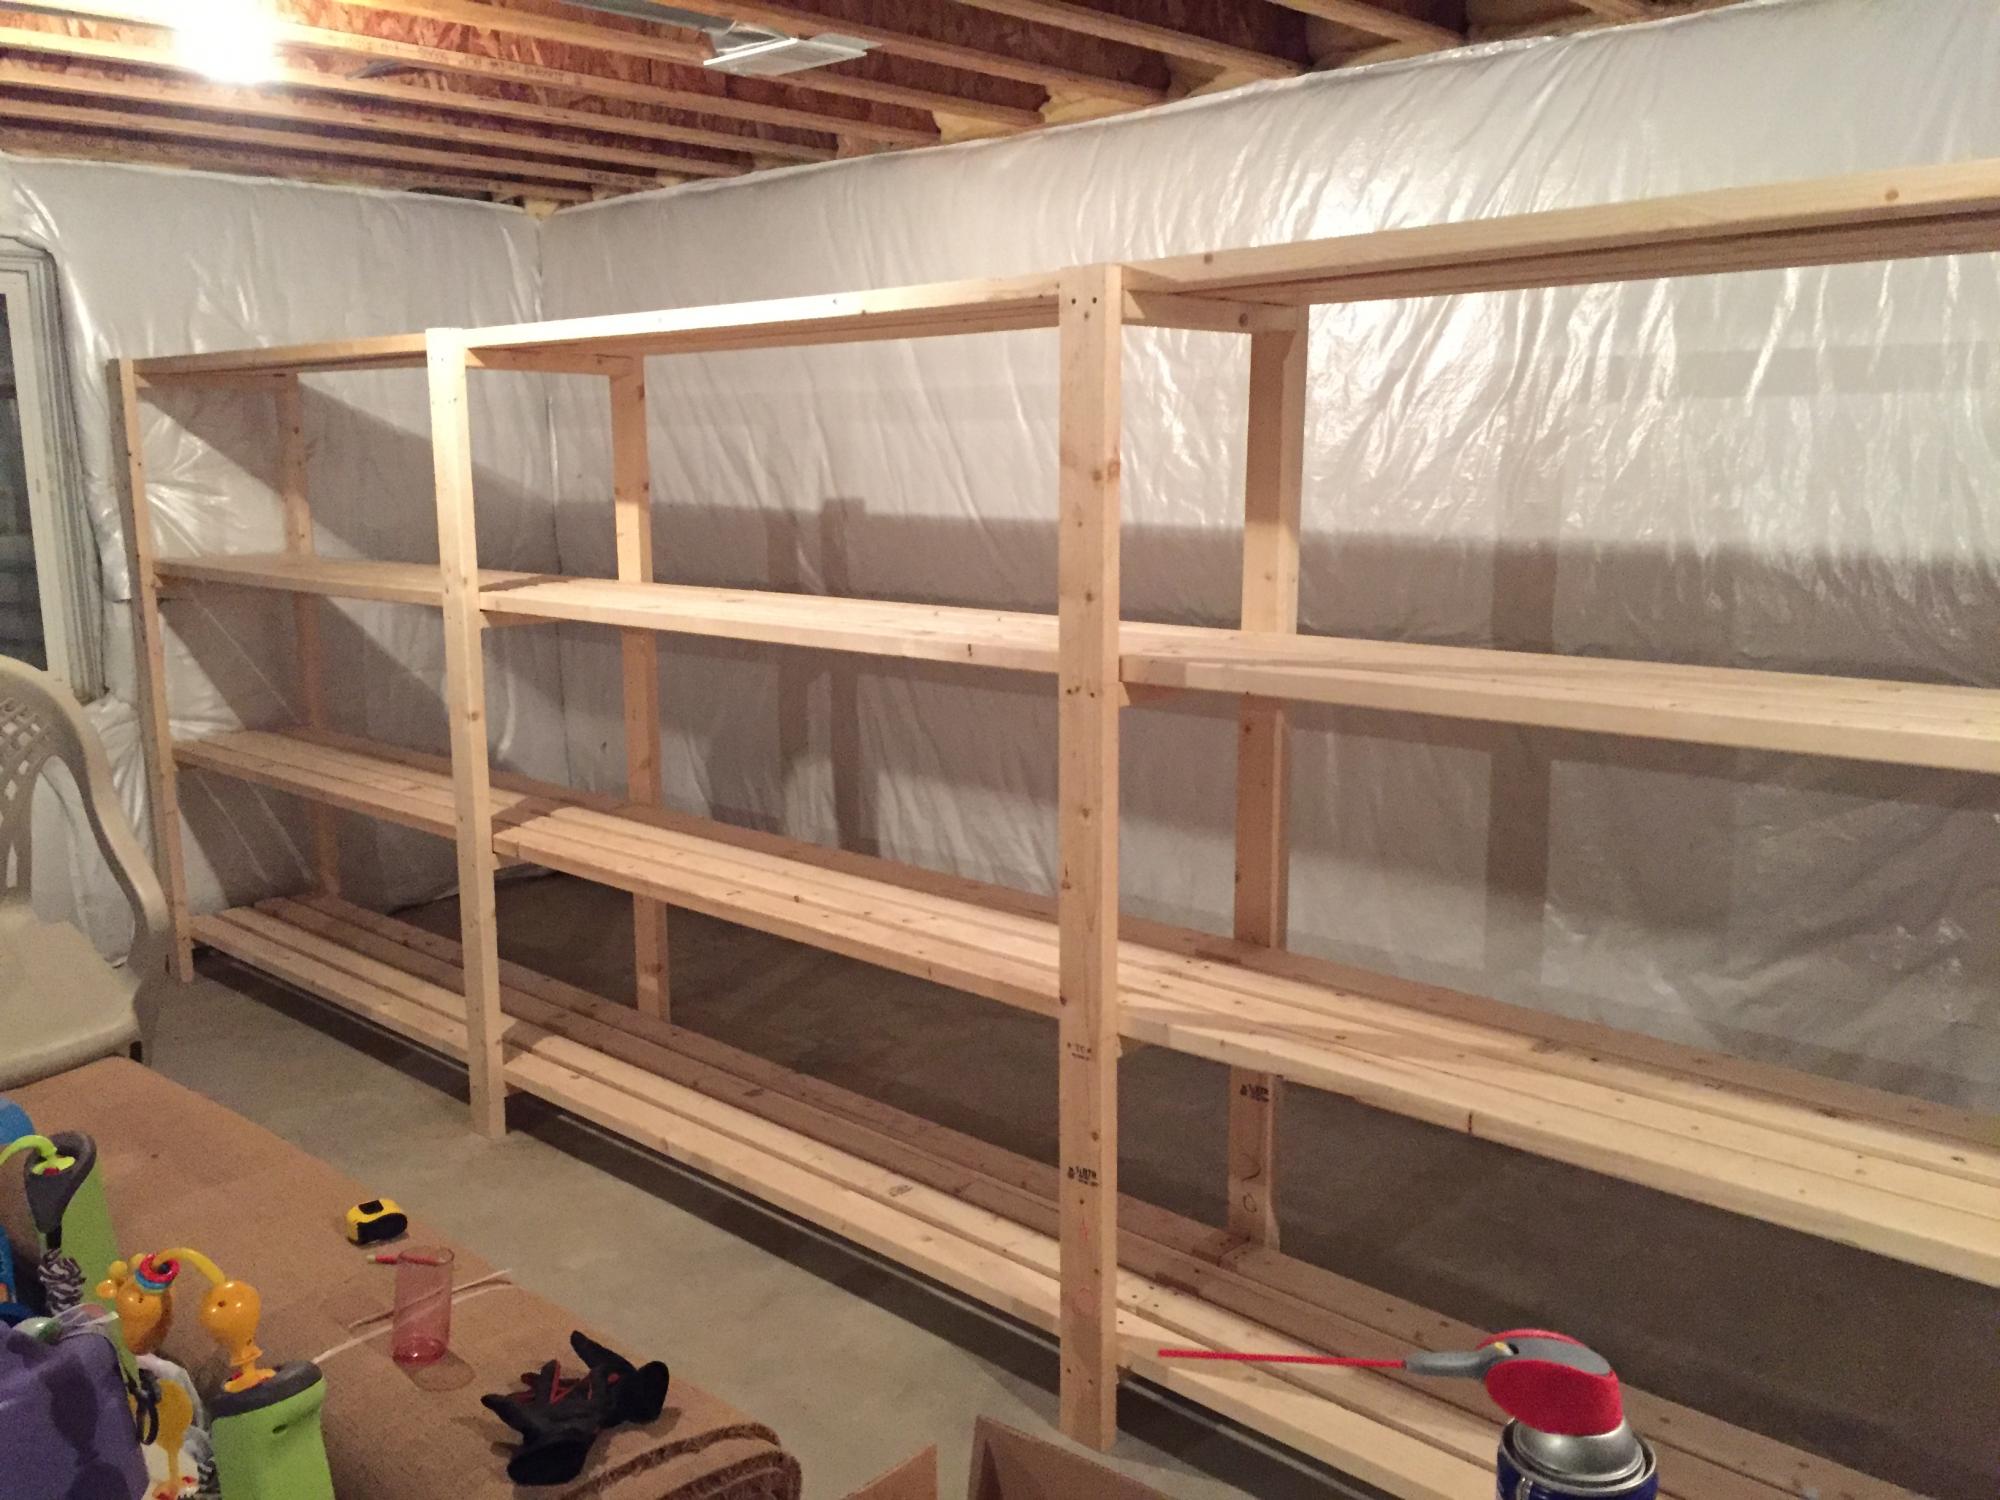
Step 2: Building the Shelf Frame
Now that you have completed the planning and measurements, it’s time to build the shelf frame. The frame will provide the structural support for your basement shelves.
Start by cutting the 2×4 wooden boards according to the measurements you marked on the walls. These boards will serve as the vertical supports for the shelves. Use a saw to make precise cuts, ensuring that the boards are straight.
Once you have cut the vertical supports, it’s time to secure them to the basement walls. Use a drill and screws to attach the boards to the wall studs. Make sure the boards are level and securely fastened.
Next, cut additional 2×4 boards to create the horizontal support beams for the shelves. These beams will connect the vertical supports and provide stability for the shelves. Measure and cut the boards according to the width of your shelves.
Attach the horizontal support beams to the vertical supports using screws. Make sure the beams are evenly spaced to support the weight of the shelves and the items you will be storing on them.
Once the shelf frame is complete, double-check that it is level and securely attached to the walls. This will ensure the stability and longevity of your basement shelves.
With the shelf frame in place, you are ready to move on to the next step of installing the shelf supports.
When building basement shelves, make sure to use pressure-treated lumber to prevent rot and decay in the damp environment. This will ensure the longevity of your shelves.
Step 3: Installing the Shelf Supports
After building the shelf frame, the next step is to install the shelf supports. The supports will provide a sturdy foundation for the shelves and help distribute the weight evenly.
Begin by measuring and cutting the plywood sheets to the desired size for your shelves. Make sure to cut them slightly smaller than the width and depth of the shelf frame to allow for a proper fit.
Place the plywood sheets on top of the horizontal support beams, ensuring they are flush with the frame. Use screws to secure the plywood sheets to the support beams. Place screws at regular intervals to ensure a strong connection.
Make sure to double-check that the plywood is level and securely attached to the support beams. This will prevent any sagging or instability of the shelves.
Repeat this process for each shelf level, ensuring that the plywood sheets are properly aligned and securely attached.
Once all the plywood sheets are installed, give the shelves a gentle shake to ensure they are stable and secure.
Now that the shelf supports are in place, you can move on to the next step of attaching the shelves.
Read more: How To Build A Basement
Step 4: Attaching the Shelves
With the shelf supports securely installed, it’s time to attach the shelves to the frame. This step will complete the construction of your basement shelves.
Start by measuring and marking the desired depth for your shelves on the vertical support beams. This will determine where the shelves will be positioned.
Using the measurements, cut additional pieces of plywood to the size of the shelves. Make sure to cut them slightly smaller than the depth of the shelf frame to allow for a proper fit.
Place the plywood shelves onto the marked positions on the vertical support beams. Ensure that they are level and flush with the frame.
Secure the shelves to the support beams by using screws. Place screws along the edges of the plywood, ensuring a strong and secure attachment.
Double-check that each shelf is level and securely attached to the support beams. This will ensure the stability and functionality of your basement shelves.
Repeat this process for each shelf level, attaching the plywood shelves to the respective positions.
Once all the shelves are attached, give them a gentle shake to ensure they are solid and will not move or wobble. If needed, tighten the screws for added stability.
Now that the shelves are securely attached, you can move on to the final step of adding finishing touches to your basement shelves.
Step 5: Adding Finishing Touches
After completing the construction of your basement shelves, it’s time to add the final touches to enhance their appearance and functionality.
Start by inspecting the shelves for any rough edges or splinters. Use sandpaper to smooth out any rough areas and create a clean surface.
If desired, you can paint or stain the shelves to match the decor of your basement. Choose a paint or stain that is suitable for the type of wood you used for the shelves. Apply multiple coats, allowing each coat to dry before applying the next.
To further customize your shelves, consider adding shelf liners or mats. These will not only protect the surface of the shelves but also provide a non-slip surface for your belongings.
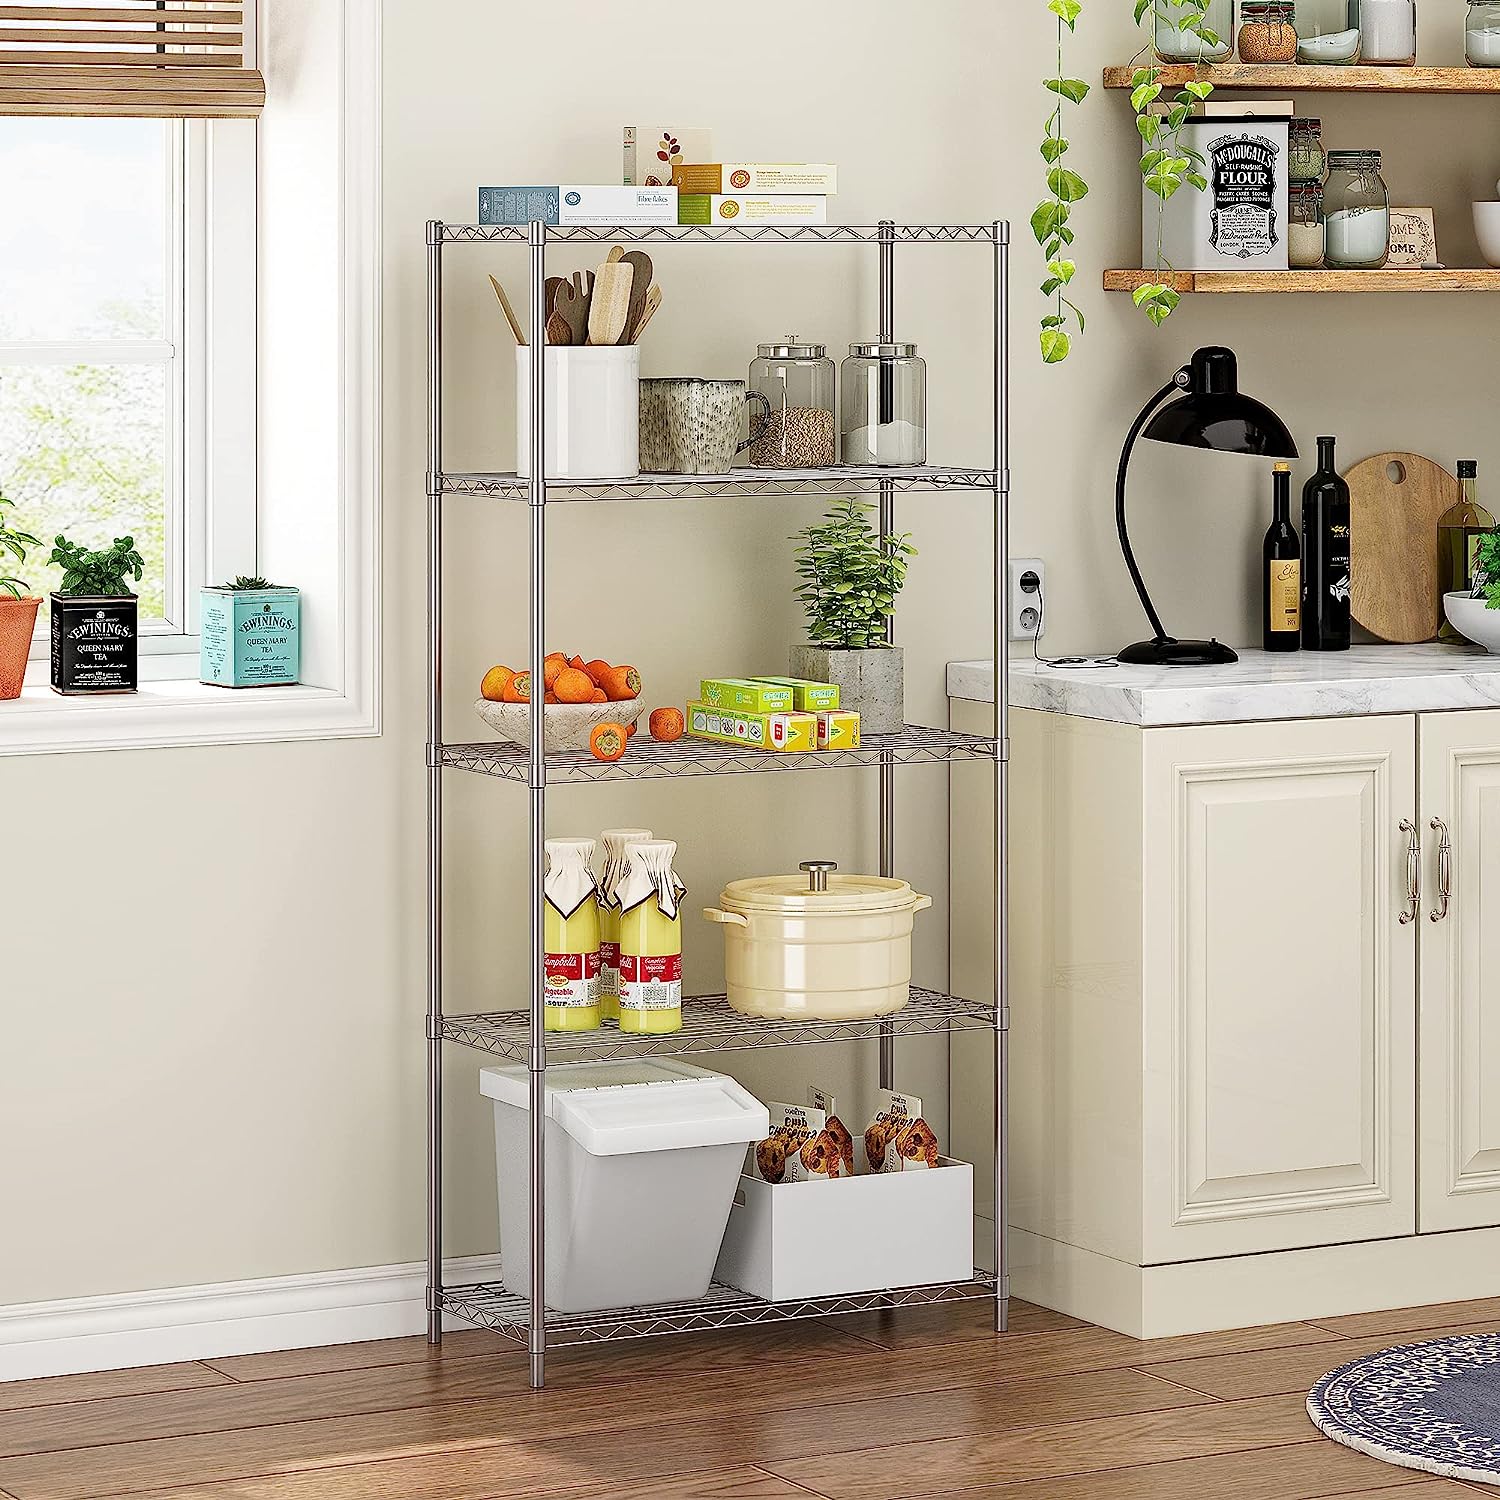
Organize your items on the shelves in a logical and efficient manner. Group similar items together and label them if needed. This will make it easier to locate items and maintain an organized basement space.
Consider adding lighting to your basement shelves to illuminate the contents and create a visually appealing display. LED strip lights or battery-powered puck lights can be easily installed to provide additional visibility.
Regularly maintain and clean your basement shelves to keep them in optimal condition. Dust and wipe down the shelves periodically to remove any dirt or debris.
By following these finishing touches, you can turn your basement shelves into a functional and aesthetically pleasing storage solution.
Congratulations! You have successfully completed the construction of your basement shelves. Not only will they provide ample storage space, but they will also help keep your basement organized and clutter-free.
Remember to enjoy the benefits of your newly built shelves and make the most of the additional storage they provide.
Happy organizing!
Conclusion
Building basement shelves is a rewarding DIY project that can greatly enhance the storage capabilities of your basement. By following the step-by-step process outlined in this article, you can create sturdy and functional shelves that will help you organize your belongings and maximize the available space.
Proper planning and measurements are key to ensuring that the shelves fit perfectly in your basement and meet your storage needs. Building the shelf frame and installing the supports provide the structural foundation that will ensure the stability and durability of the shelves.
Attaching the shelves to the frame completes the construction, and adding the finishing touches, such as sanding, painting, and organizing, allows you to customize the shelves to your preferences.
With your newly built basement shelves, you can now enjoy a clutter-free and well-organized basement. The additional storage space will make it easier to find and access your belongings, and it will also help create a visually appealing and functional space.
Remember to regularly maintain and clean your shelves to ensure their longevity and efficiency. A well-maintained storage system will continue to serve you well for years to come.
So, roll up your sleeves, gather the necessary materials, and embark on the journey of building your own basement shelves. You’ll be amazed at how much of a difference they can make in your basement organization and storage.
Happy building!
Frequently Asked Questions about How To Build Basement Shelves
Was this page helpful?
At Storables.com, we guarantee accurate and reliable information. Our content, validated by Expert Board Contributors, is crafted following stringent Editorial Policies. We're committed to providing you with well-researched, expert-backed insights for all your informational needs.


0 thoughts on “How To Build Basement Shelves”