Home>Ideas and Tips>DIY Guide to Installing a Kitchen Garbage Disposal with an Air Switch

Ideas and Tips
DIY Guide to Installing a Kitchen Garbage Disposal with an Air Switch
Published: August 31, 2024
Learn how to safely and easily install a kitchen garbage disposal air switch with our step-by-step DIY guide. Enhance your kitchen's convenience today!
(Many of the links in this article redirect to a specific reviewed product. Your purchase of these products through affiliate links helps to generate commission for Storables.com, at no extra cost. Learn more)
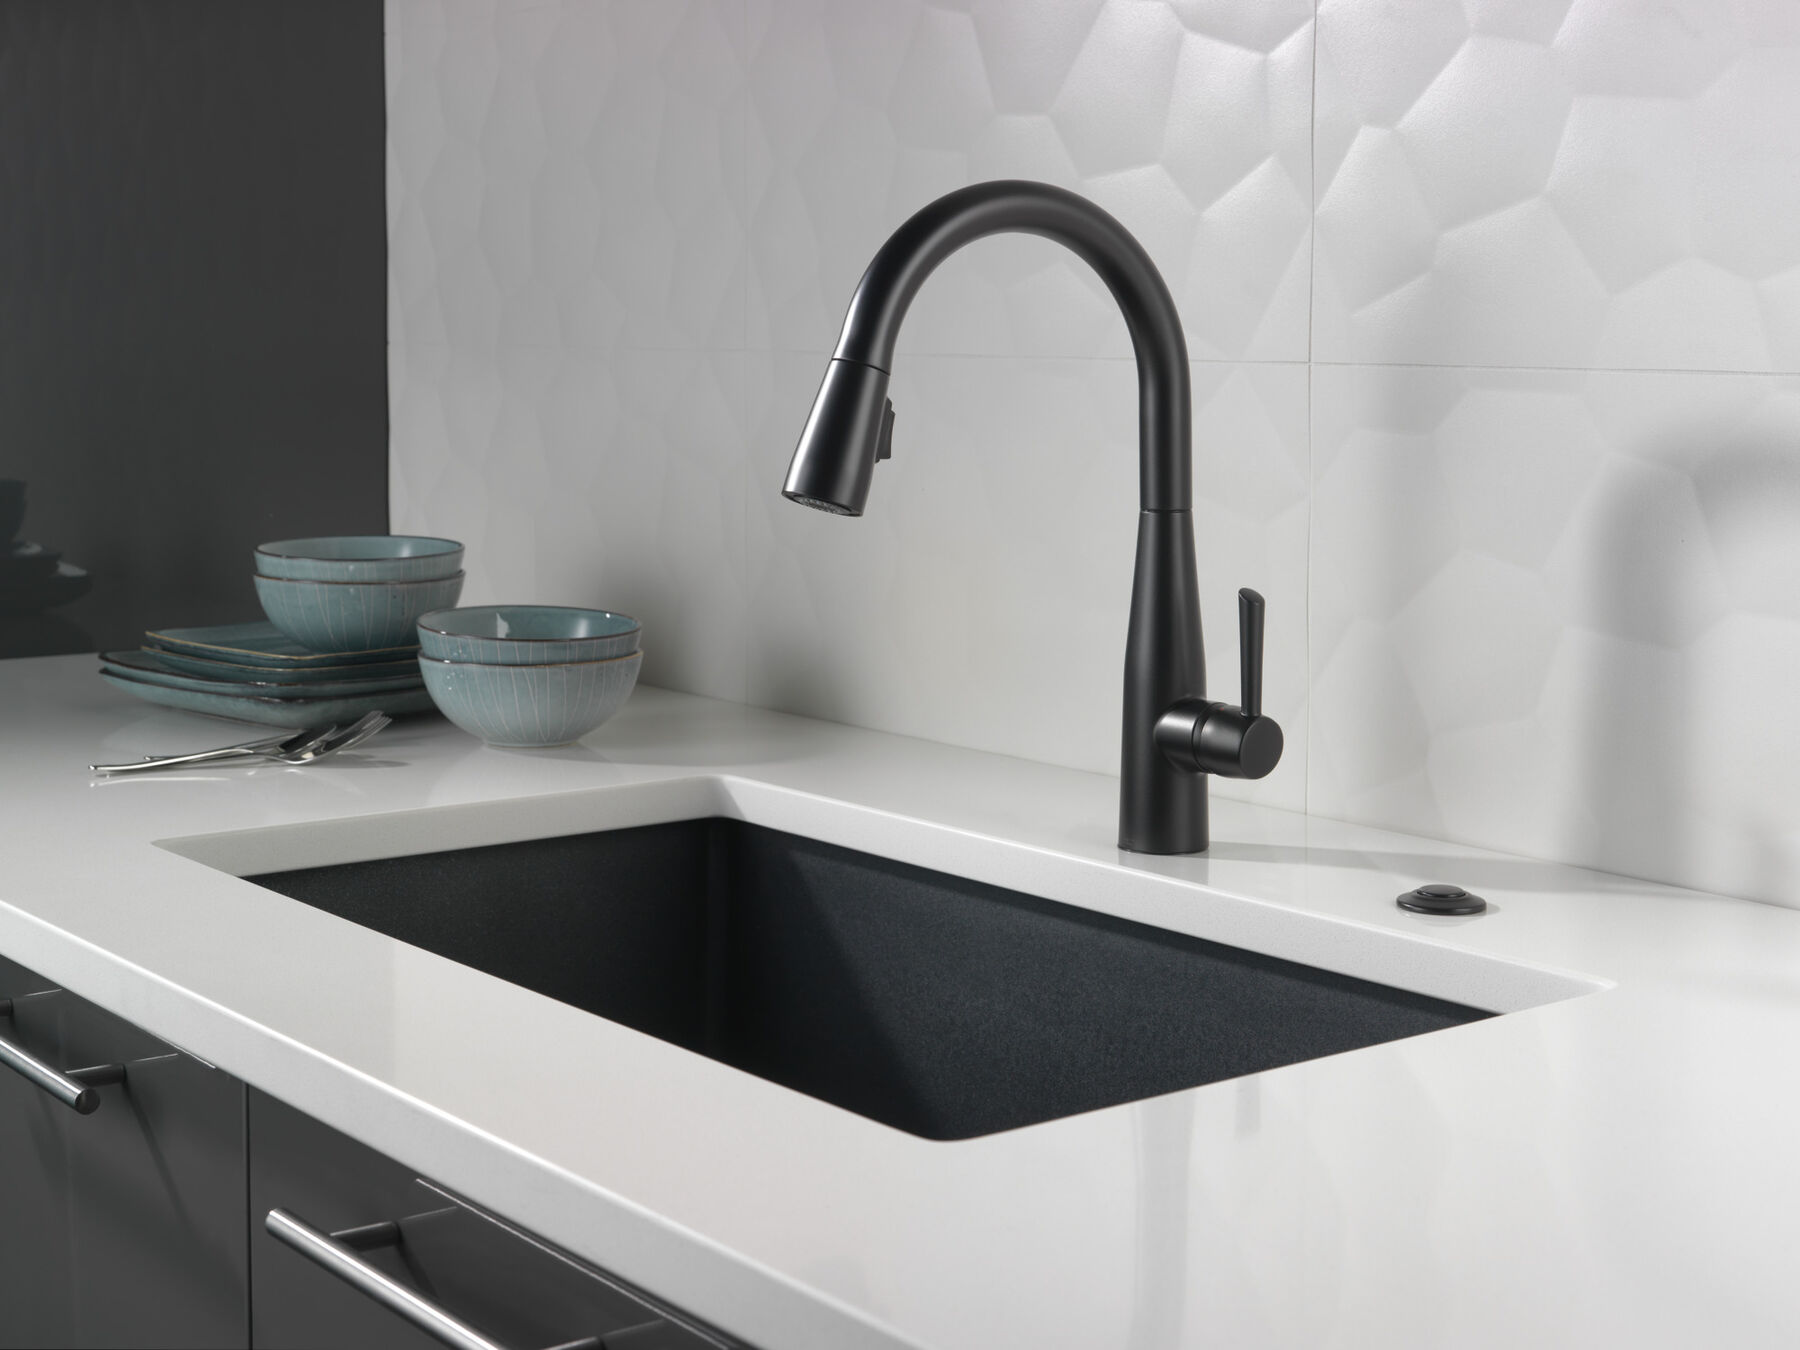
Installing a kitchen garbage disposal air switch is a relatively straightforward DIY project that can enhance the convenience and safety of your kitchen. This guide will walk you through the steps involved in installing an air switch, providing detailed instructions and tips to ensure a successful installation.
Why Choose an Air Switch?
Before diving into the installation process, it's important to understand why an air switch is a great option for controlling your garbage disposal. Unlike traditional electrical switches, air switches use compressed air to activate the disposal, eliminating the risk of electrical shock on a wet countertop. This makes them particularly useful in kitchens where water is frequently present.
Read more: DIY Guide: Installing A Garbage Disposal
Materials Needed
To complete this project, you'll need the following materials:
- Air Switch Kit: This kit typically includes the air switch, tubing, and necessary hardware for installation.
- Drill and Bits: A drill with a 1 ¼” hole saw or diamond hole saw for drilling into countertops.
- Rubber Gaskets: These gaskets are used to seal the air switch against the countertop.
- Metal Washers: These washers provide additional support and help secure the air switch.
- Plastic Nuts: These nuts are used to tighten the air switch in place.
- Tubing: The tubing connects the air switch to the disposal unit.
- Disposal Unit: Ensure your garbage disposal is compatible with the air switch kit.
- Wall Outlet: A standard wall outlet for powering the air switch control box.
Step-by-Step Installation Guide
Step 1: Prepare the Countertop
- Choose the Right Location: Decide where you want to install the air switch. Typically, it's placed near the sink where it's easily accessible.
- Drill the Hole: Use a drill with a 1 ¼” hole saw or diamond hole saw to create a hole in your countertop. If you have a stone countertop, be aware that you might need to use a diamond hole saw for better results.
- Clean the Area: Ensure the area around the hole is clean and free of debris.
Step 2: Unpack and Prepare the Air Switch Kit
- Unpack the Kit: Remove all components from the air switch kit, including the air switch, tubing, rubber gaskets, metal washers, and plastic nuts.
- Inspect Components: Check each component for any damage or defects before proceeding.
Step 3: Install the Air Switch
- Remove Gaskets and Washers: Remove the rubber gasket and metal washer from the air switch body.
- Seat the Switch Body: Place the air switch body into the hole you drilled in the countertop.
- Reinstall Gaskets and Washers: Reinstall the rubber gasket, metal washer, and large plastic nut onto the air switch body. Hand tighten these components to secure them in place.
Step 4: Connect Tubing
- Push Air Tubing Through Nuts: Push one end of the air tubing through one of the small plastic nuts provided in your kit.
- Secure Tubing: Firmly press one end of the air tubing into the air switch and secure it with a nut. Repeat this process for the other end of the tubing.
- Tighten Nuts: Hand tighten both nuts to secure both ends of the tubing.
Step 5: Connect Disposal Unit
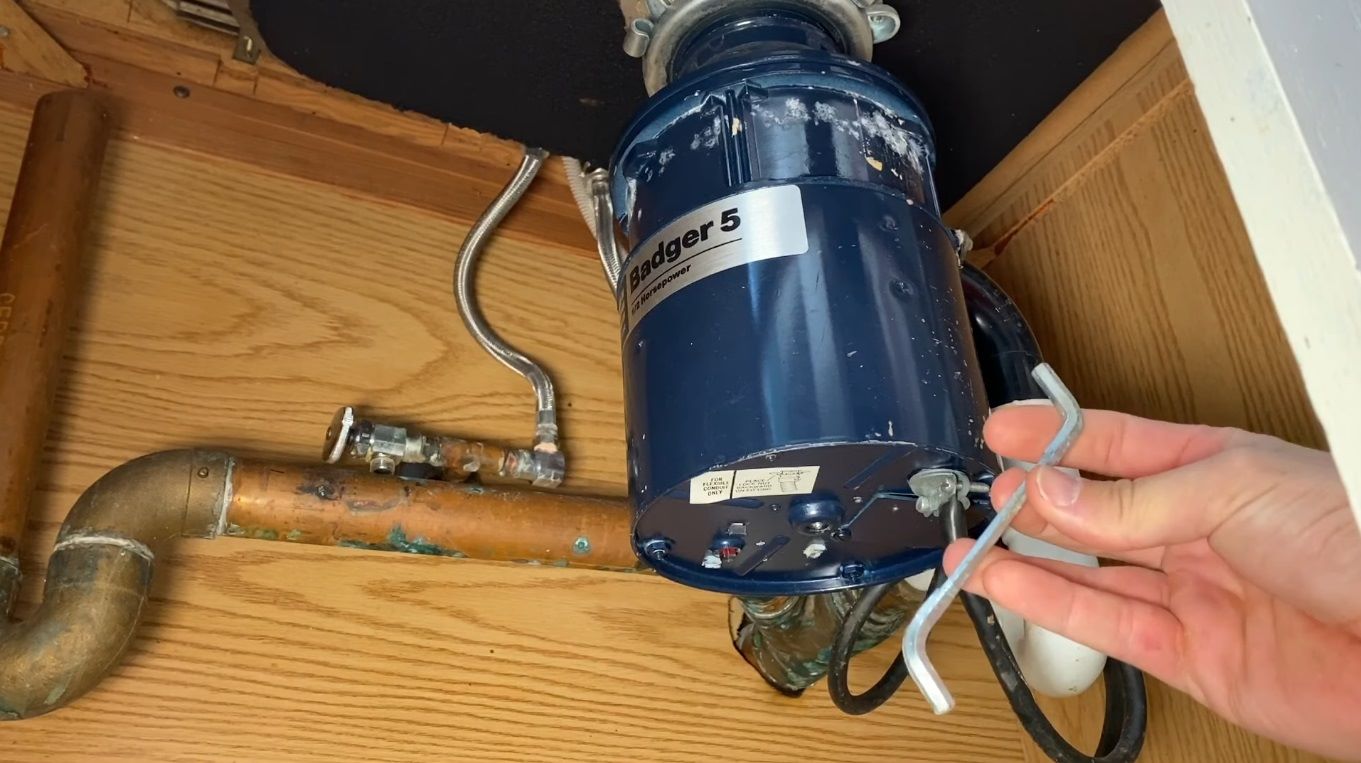
- Remove Conduit: Disconnect any conduit from your garbage disposal to the electrical box under your sink.
- Attach Disposal Cord: Attach a plug cord to your garbage disposal unit.
- Connect Air Switch Control Box: Plug the air switch control box into a wall outlet and ensure it is properly connected to power.
Step 6: Test Installation
- Use Outlet Tester: Use an outlet tester to ensure that all connections are properly wired and there are no electrical issues.
- Test Air Switch: Press the button on your air switch to activate it. If everything is connected correctly, you should hear a slight hiss as compressed air activates your garbage disposal.
- Check for Leaks: Inspect the tubing for any signs of leaks or damage.
Read more: DIY Guide To Installing Wainscoting
Additional Tips and Considerations
Safety Precautions
- Electrical Safety: Always turn off power to the circuit before starting your installation to avoid electrical shock.
- Moisture Protection: Ensure that the air switch control box is not exposed to liquid or moisture to prevent damage.
Troubleshooting Common Issues
- Air Switch Not Activating: Check if the air tubing is properly connected to both ends of the switch and disposal unit.
- Leaks in Tubing: Use plumbing putty to seal any leaks in the tubing if necessary.
Replacing an Existing Air Switch
If you need to replace an existing air switch, follow these steps:
- Uninstall Damaged Switch: Use a screwdriver to remove the damaged switch from its mounting location.
- Mount New Switch: Install a new air switch in the same manner as described above, ensuring proper sealing with rubber gaskets and tightening with plastic nuts.
- Attach New Tubing: Connect new tubing to both ends of the new switch and disposal unit.
- Test Installation: Use an outlet tester and press the button on your new air switch to ensure proper function.
Conclusion
Installing a kitchen garbage disposal air switch is a straightforward DIY project that enhances both safety and convenience in your kitchen. By following these steps and tips, you can successfully install an air switch without professional assistance. Remember to always follow safety precautions and troubleshoot common issues promptly to ensure a smooth operation of your new air switch system.
References
- Reddit Discussion: "How easy is it to convert this garbage disposal switch to a countertop button?"
- YouTube Tutorial: "How to install a Garbage Disposal Air Switch" by NateFixesIt
- Air Switch Installation Instructions: Provided by Akicon
- DIY Guide: "How to Replace a Garbage Disposal Air Switch" on DoItYourself.com
- YouTube Tutorial: "How to Install an Air Switch for a Kitchen Sink Disposal" by Berlin Builds
Was this page helpful?
At Storables.com, we guarantee accurate and reliable information. Our content, validated by Expert Board Contributors, is crafted following stringent Editorial Policies. We're committed to providing you with well-researched, expert-backed insights for all your informational needs.




0 thoughts on “DIY Guide to Installing a Kitchen Garbage Disposal with an Air Switch”