Home>Technology>Smart Home Devices>How To Set Up Google Nest Wi-Fi Router
Smart Home Devices
How To Set Up Google Nest Wi-Fi Router
Modified: January 14, 2024
Learn how to set up your Google Nest Wi-Fi router and connect it to your smart home devices for seamless and reliable internet coverage. Enhance your smart home experience with easy-to-follow setup instructions.
(Many of the links in this article redirect to a specific reviewed product. Your purchase of these products through affiliate links helps to generate commission for Storables.com, at no extra cost. Learn more)
Introduction
Setting up a Google Nest Wi-Fi router is a straightforward process that can significantly enhance your home network's performance and coverage. With its seamless integration with the Google Home app and advanced features, the Nest Wi-Fi router offers a reliable and user-friendly solution for managing your smart home devices and ensuring a stable internet connection throughout your living space.
In this guide, we will walk you through the step-by-step process of unboxing, connecting, and configuring your Google Nest Wi-Fi router. Whether you're a tech enthusiast or a novice user, this comprehensive tutorial will help you unleash the full potential of your home network.
By the end of this tutorial, you will have a robust Wi-Fi network that supports multiple devices, provides excellent coverage, and offers advanced customization options through the Google Home app. Let's dive into the exciting world of smart home networking and discover how to set up your Google Nest Wi-Fi router with ease and confidence.
Key Takeaways:
- Setting up Google Nest Wi-Fi is easy and enhances home network performance. Unbox, connect, and configure the router using the Google Home app for reliable and seamless smart home connectivity.
- Customize Wi-Fi settings and connect devices effortlessly. The Nest Wi-Fi router offers robust coverage, advanced features, and secure connectivity, making it a valuable addition to any modern household.
Read more: How To Reset Nest Wi-Fi Router
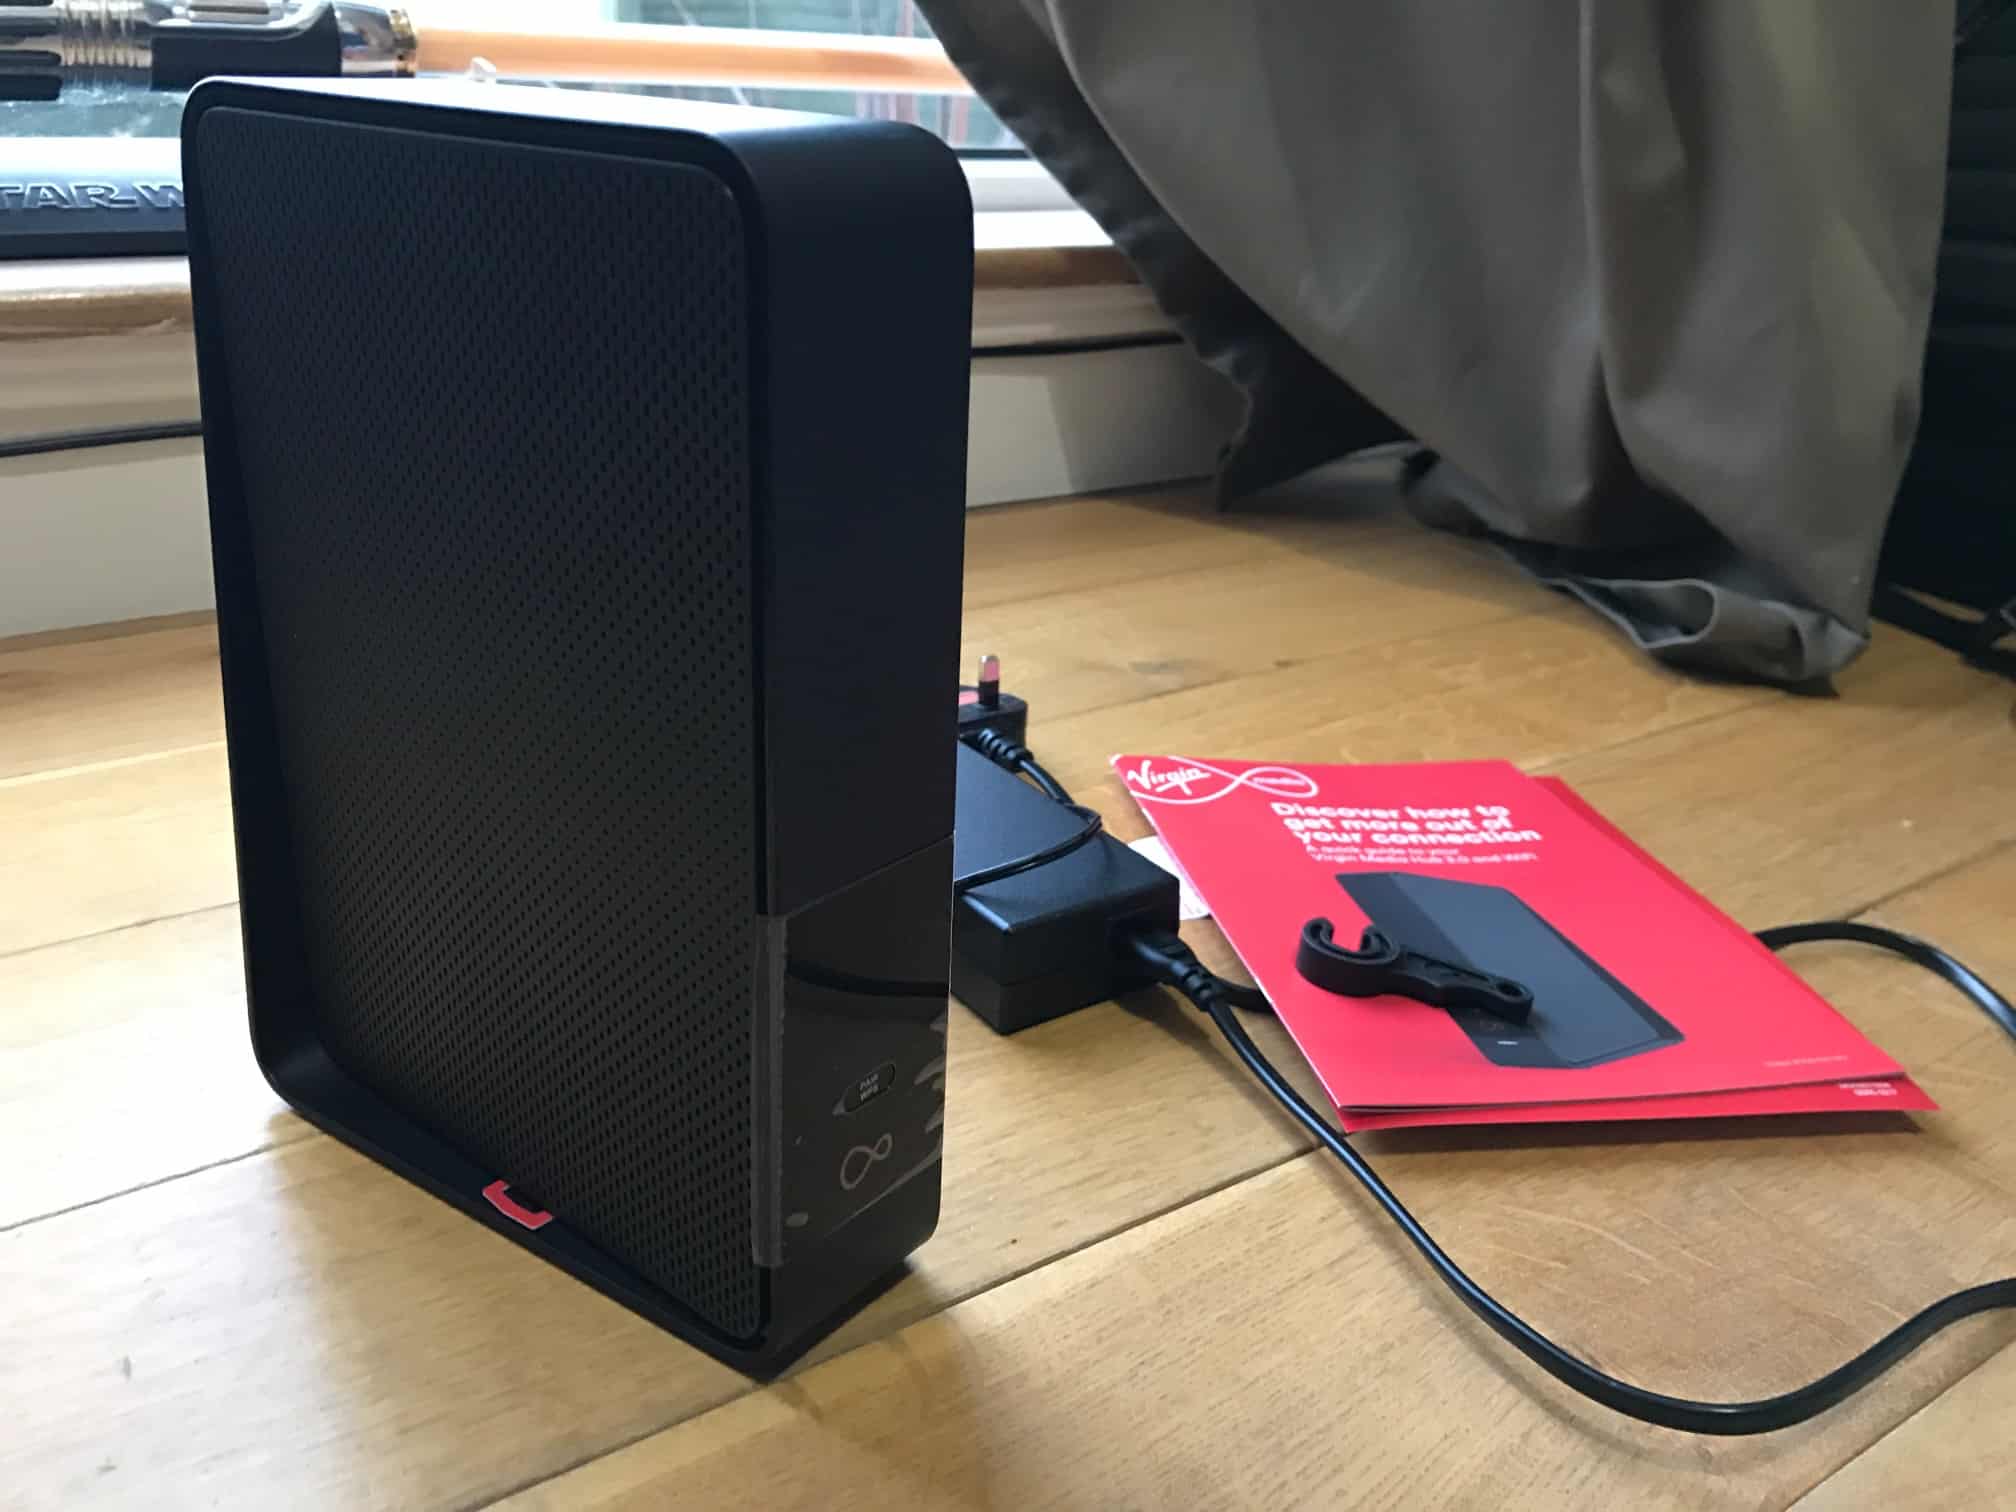
Step 1: Unboxing the Google Nest Wi-Fi Router
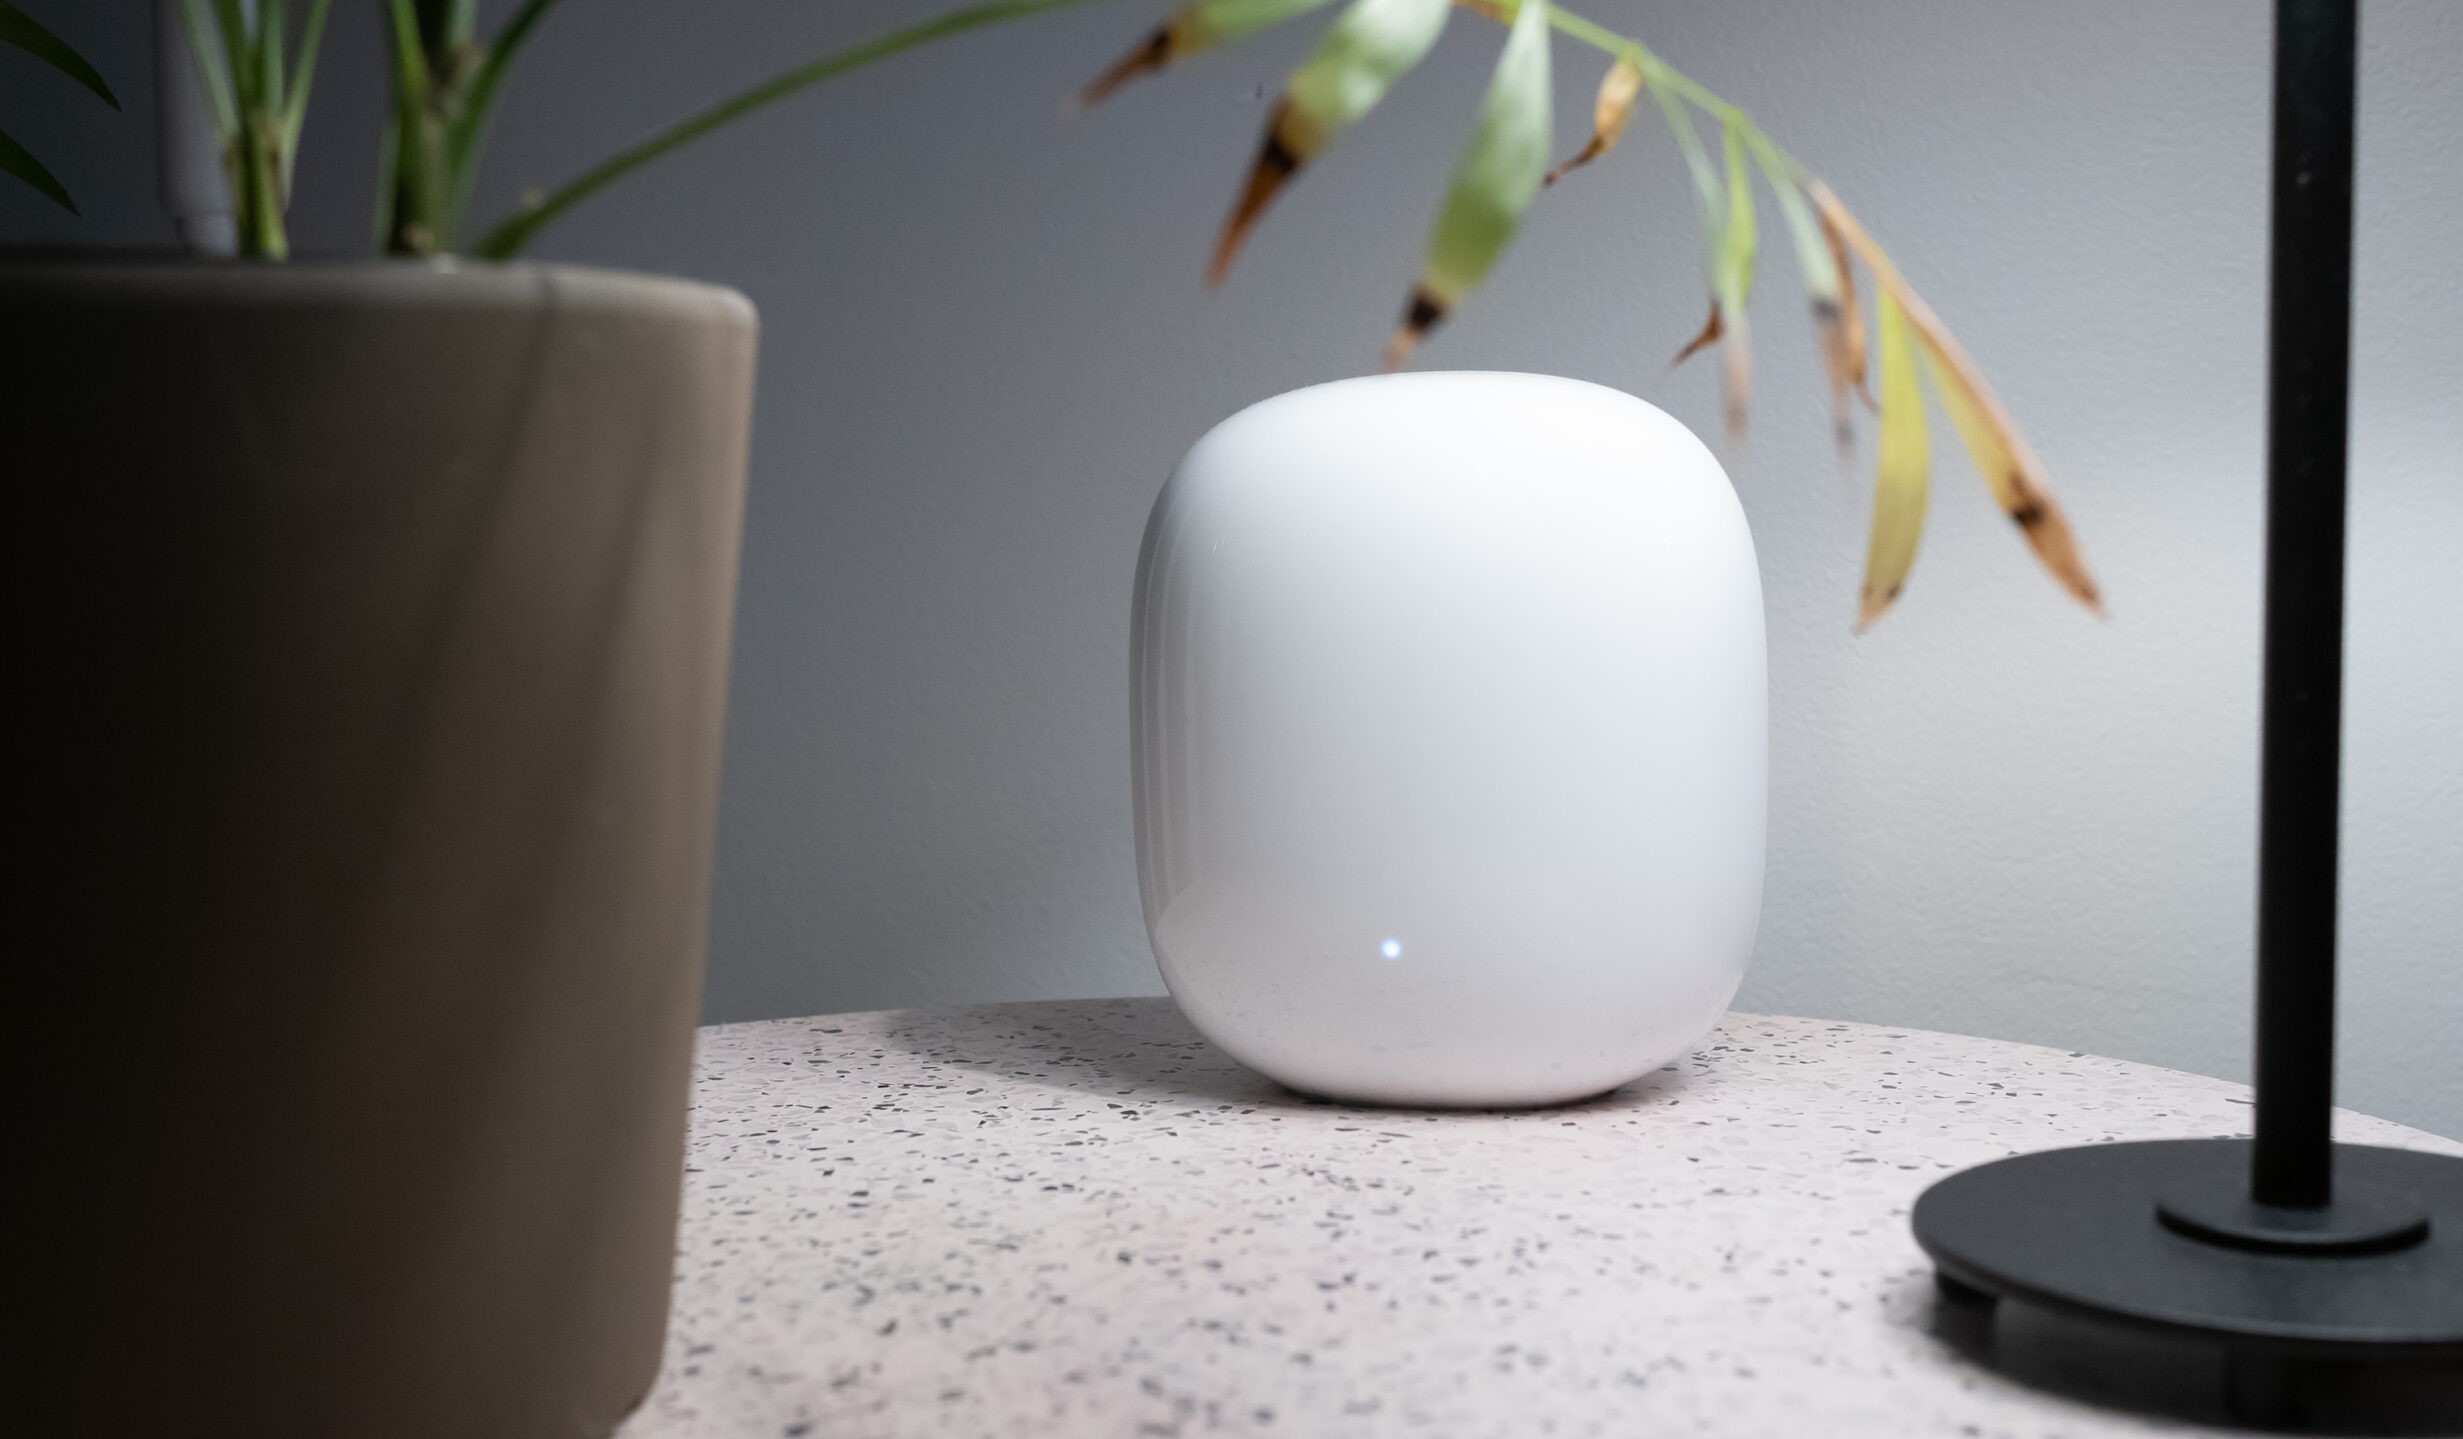
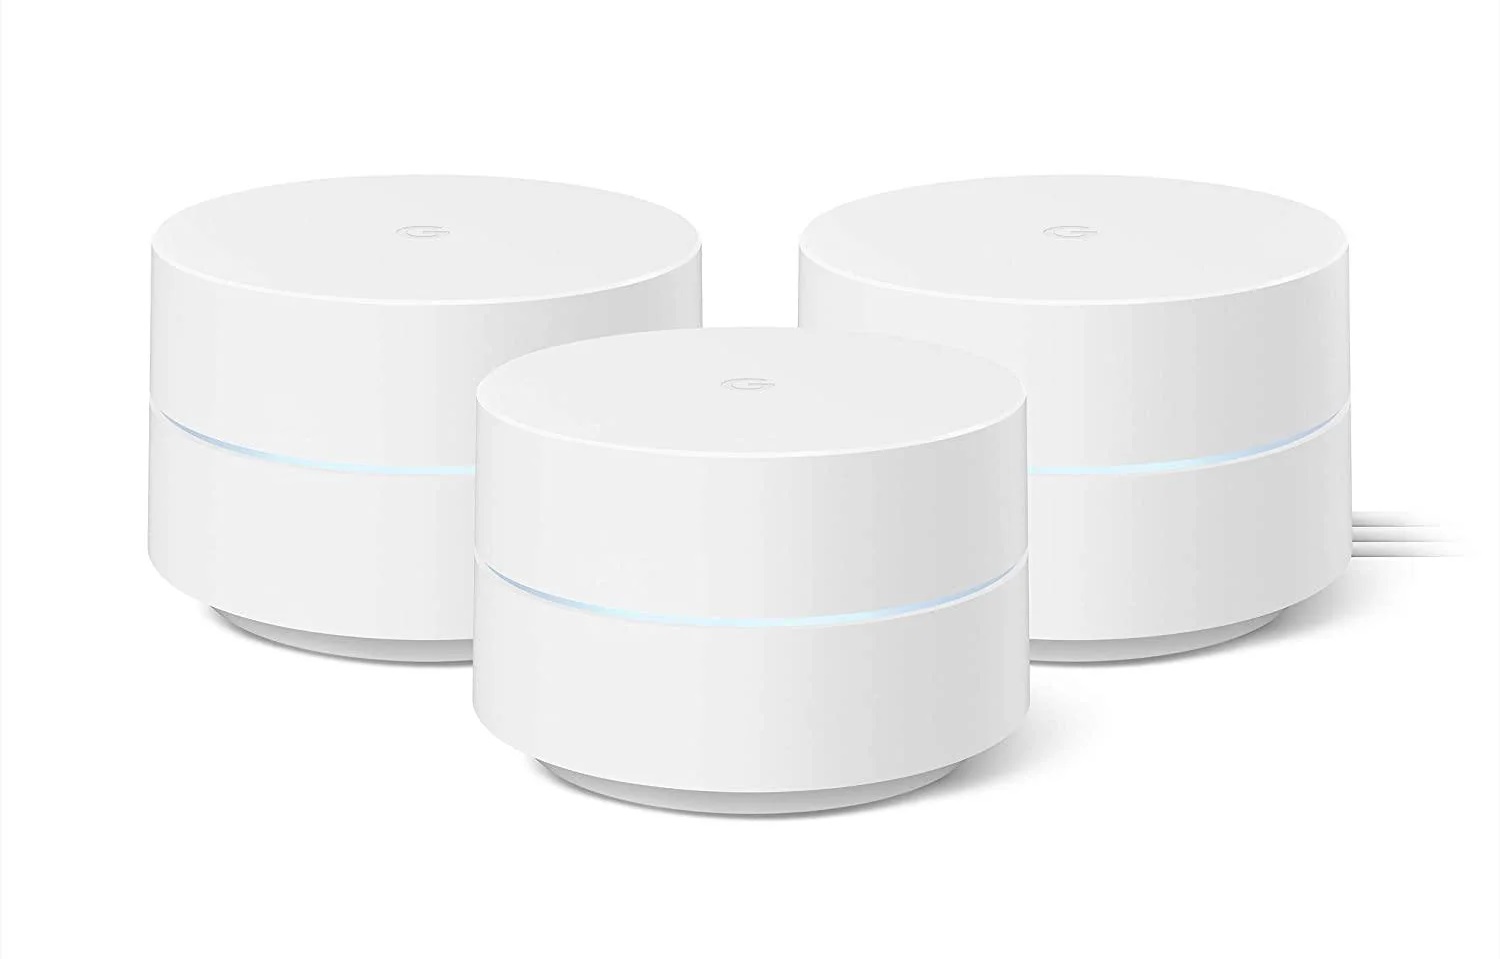
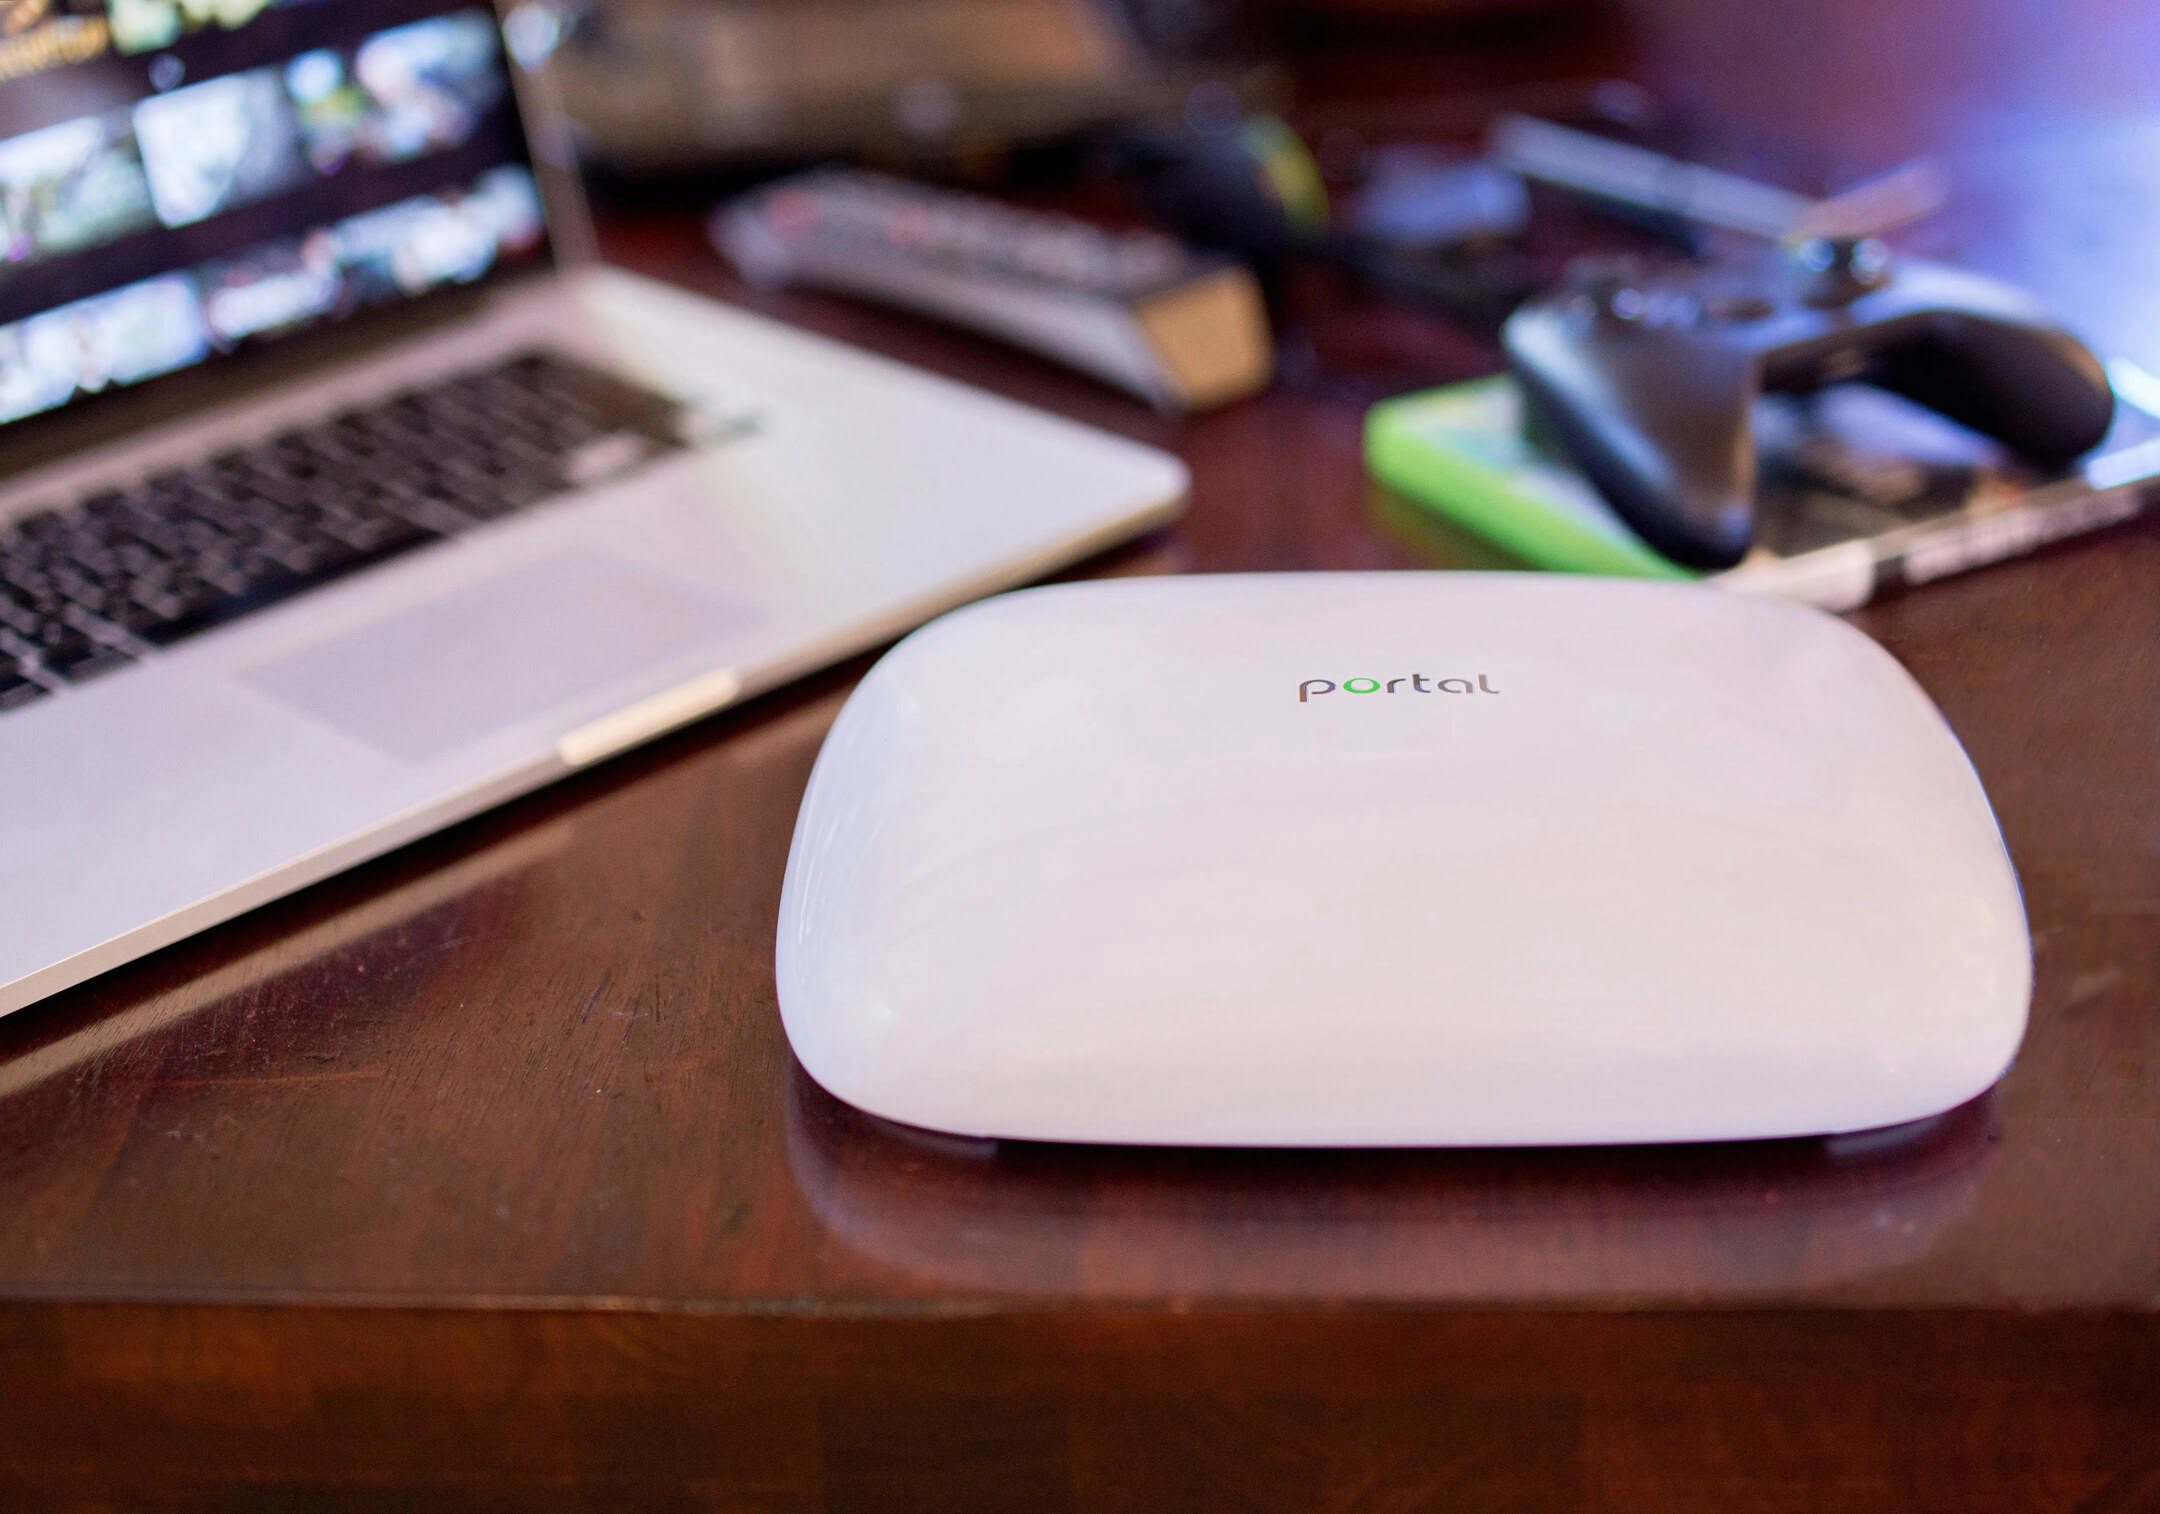
Unboxing the Google Nest Wi-Fi router is the first step in setting up your new home network. When you open the package, you will find the Nest Wi-Fi router, a power adapter, and an Ethernet cable. The router itself has a sleek and modern design, blending seamlessly with any home decor.
As you unbox the Nest Wi-Fi router, take a moment to inspect the device for any physical damage. Ensure that all the necessary components are included in the package and that there are no visible signs of mishandling during shipping.
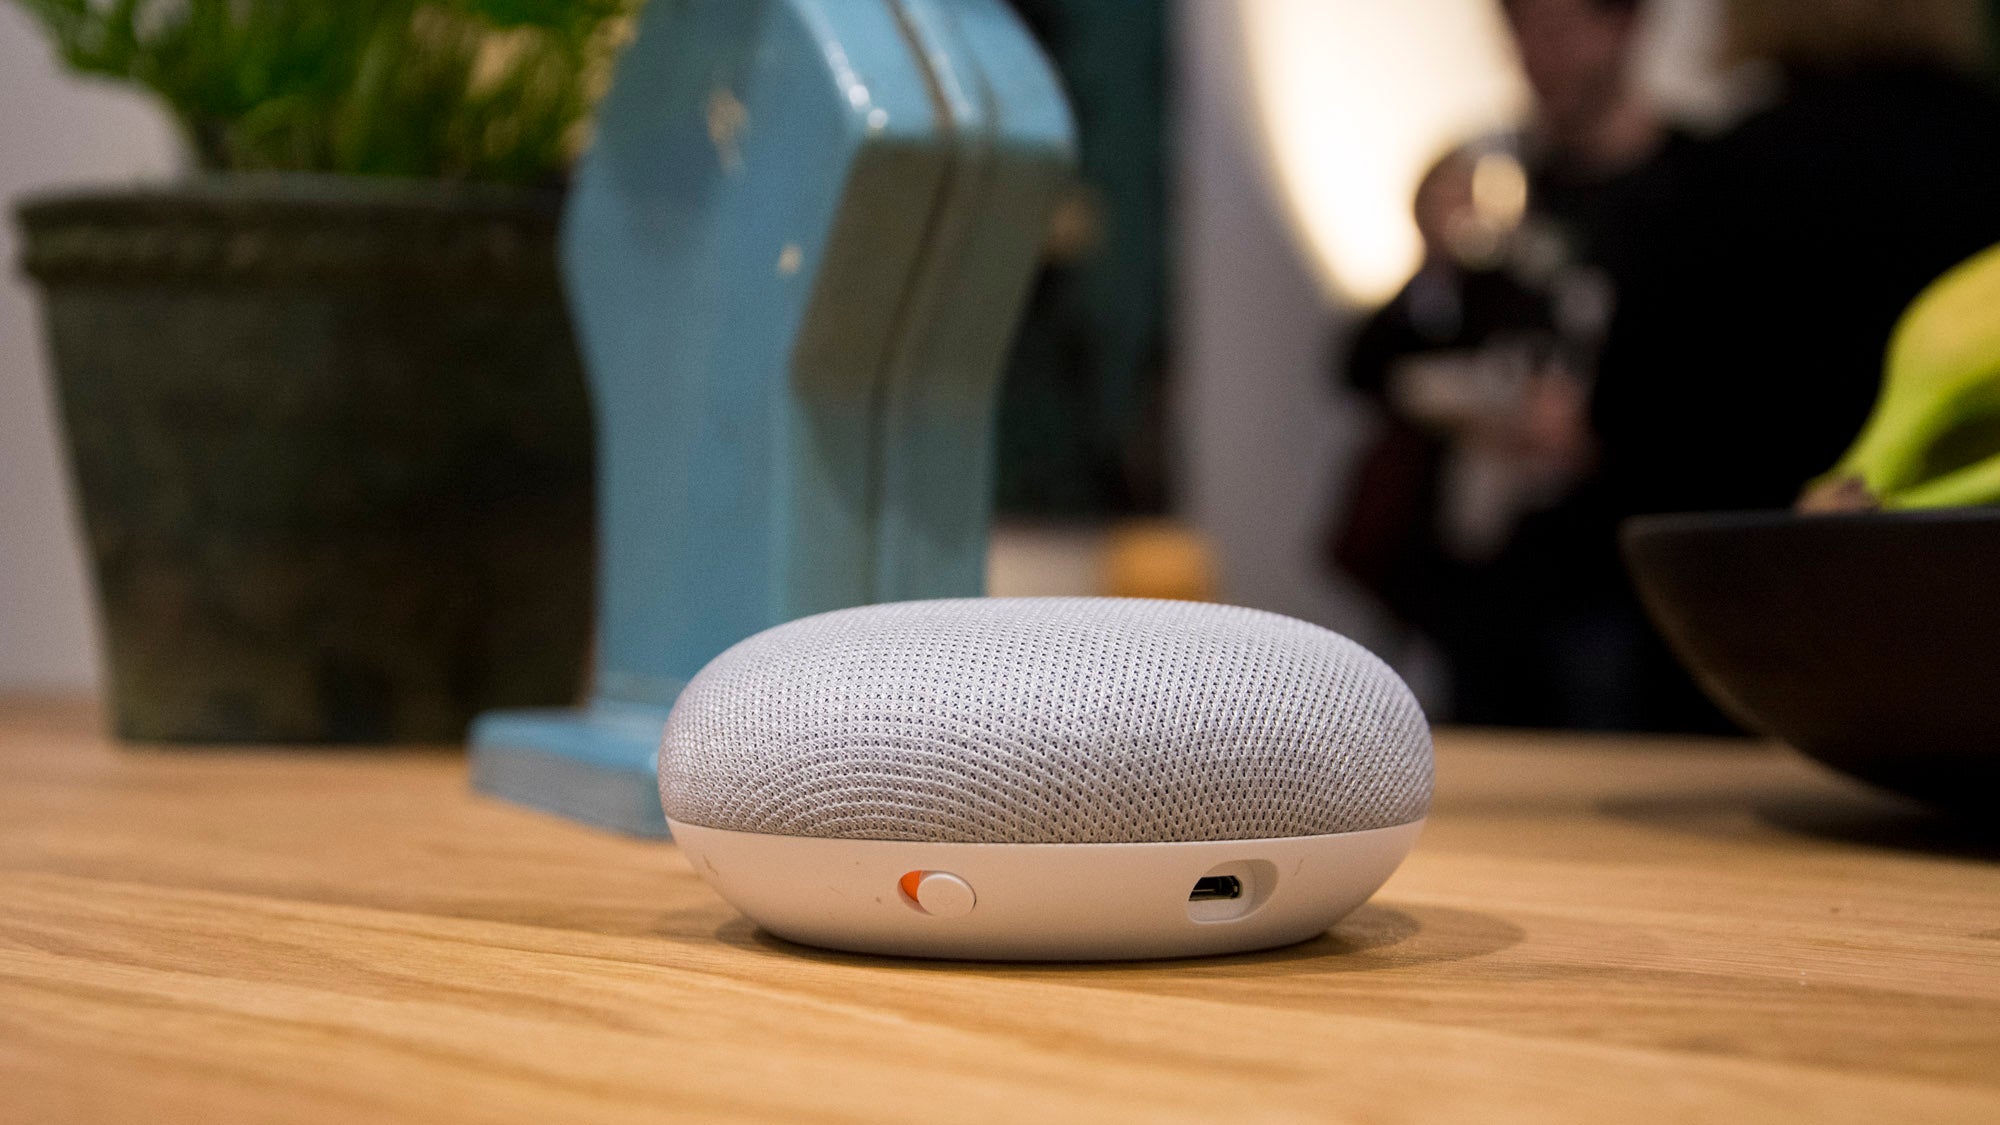
Once you have verified the contents and condition of the router, you can proceed to find an optimal location for its placement. Consider placing the router in a central area of your home to maximize Wi-Fi coverage. Keep in mind that the Nest Wi-Fi router also serves as a smart speaker with Google Assistant, so placing it in a frequently used area can enhance its functionality.
After identifying the ideal location, you can move on to the next step of connecting the Nest Wi-Fi router to power and initiating the setup process. With the unboxing complete, you are one step closer to enjoying a reliable and efficient Wi-Fi network powered by Google Nest.
Step 2: Connecting the Nest Wi-Fi Router to Power
Once you have unboxed the Google Nest Wi-Fi router and identified the optimal location for installation, it’s time to connect the router to power. This simple yet crucial step sets the stage for the initial setup and configuration of your home network.
Begin by locating a nearby power outlet where you can plug in the Nest Wi-Fi router. The power adapter included in the package is designed to provide the necessary voltage and current for the router’s operation. Ensure that the power outlet is easily accessible and can accommodate the adapter without obstruction.
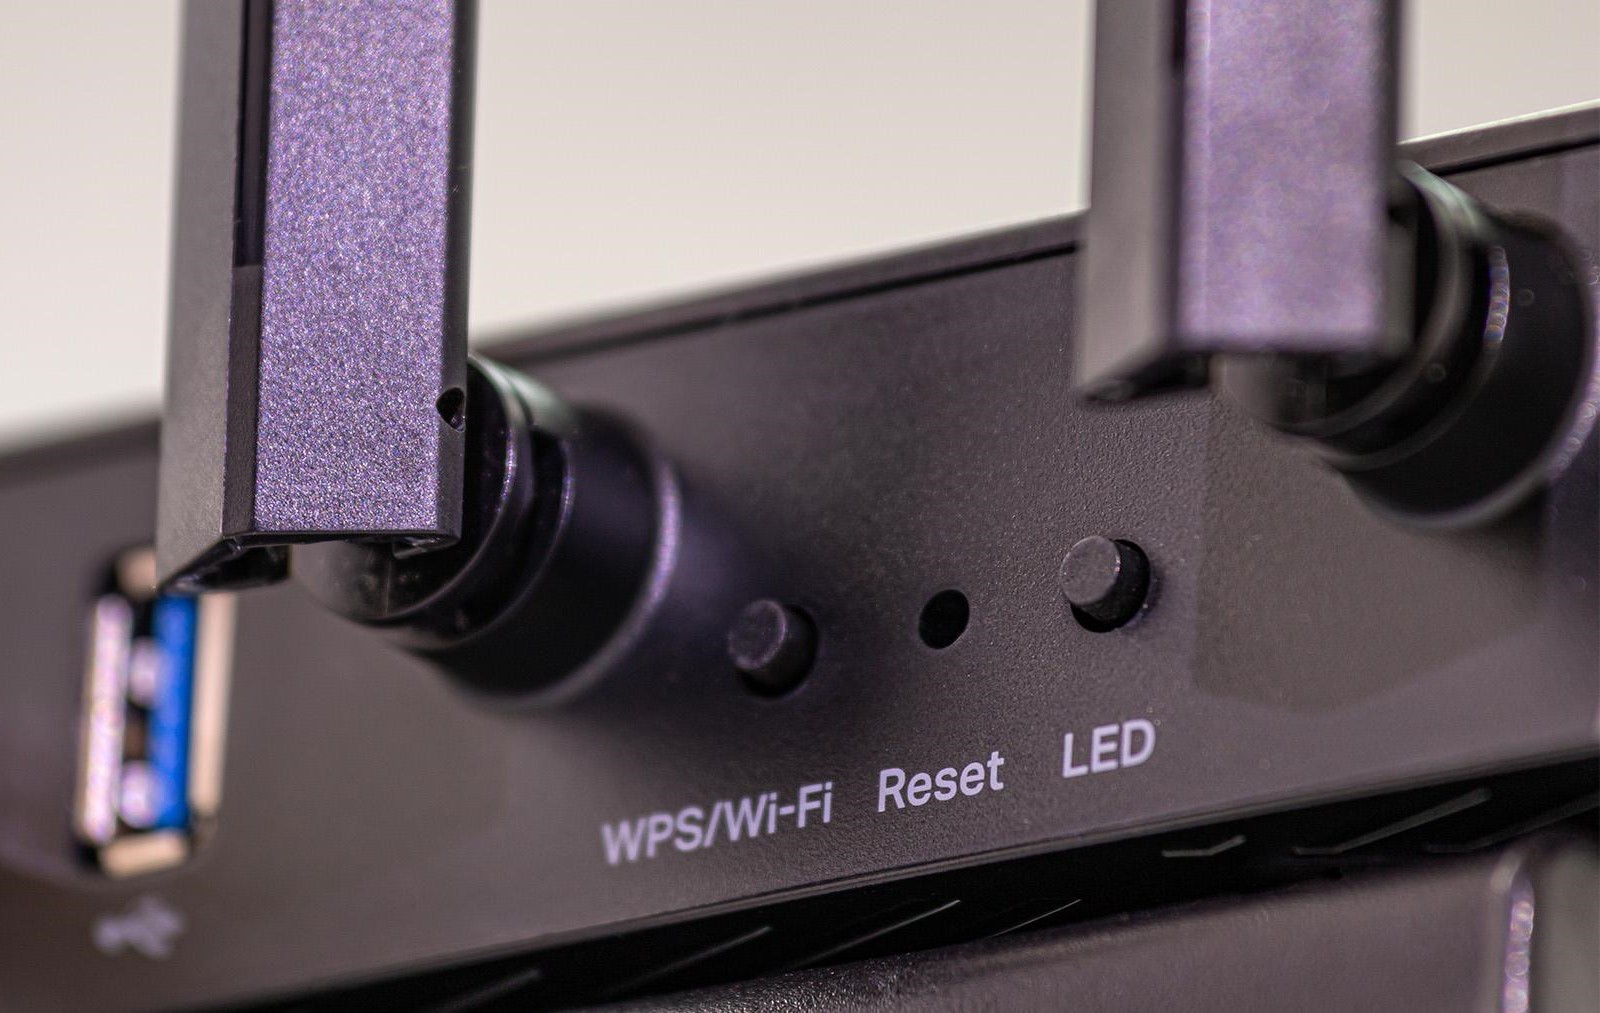
Next, connect one end of the provided power adapter to the Nest Wi-Fi router and the other end to the power outlet. Once the router is plugged in, you should see the indicator lights illuminate, indicating that the device is receiving power and initializing its startup sequence.
Allow the Nest Wi-Fi router a few moments to boot up and establish a stable connection to the power source. During this time, you can prepare for the next steps in the setup process, such as downloading the Google Home app on your mobile device.
By connecting the Nest Wi-Fi router to power, you are laying the foundation for a robust and reliable home network that will cater to your smart home devices, streaming needs, and online activities. With the router powered up and ready to go, you are poised to embark on the exciting journey of configuring and optimizing your Wi-Fi network with ease.
Step 3: Downloading the Google Home App
Before delving into the setup process for your Google Nest Wi-Fi router, it’s essential to download the Google Home app, which serves as the central hub for managing your smart home devices, including the Nest Wi-Fi router. The app is available for both iOS and Android devices, making it accessible to a wide range of users.
To begin, navigate to the App Store (for iOS devices) or the Google Play Store (for Android devices) on your smartphone or tablet. Search for “Google Home” in the store’s search bar to locate the official app developed by Google. Once you have found the app, initiate the download and installation process by tapping the “Install” or “Get” button, depending on your device’s platform.
After the installation is complete, open the Google Home app to start the setup process for your Nest Wi-Fi router. The app will guide you through the necessary steps to configure and customize your home network, ensuring a seamless and intuitive user experience.
Upon launching the Google Home app, you will be prompted to sign in with your Google account. If you don’t have a Google account, you can create one for free within the app. Signing in with your Google account enables you to access additional features and settings, as well as synchronize your smart home ecosystem across multiple devices.
With the Google Home app installed and ready to use, you are well-equipped to proceed to the next phase of setting up your Nest Wi-Fi router. The app’s user-friendly interface and comprehensive functionalities empower you to take full control of your home network and connected devices, making the setup process a breeze.
When setting up your Google Nest Wi-Fi router, make sure to place it in a central location for the best coverage throughout your home. Avoid placing it near large metal objects or other electronic devices that could interfere with the signal.
Step 4: Setting Up the Nest Wi-Fi Router in the Google Home App
With the Google Home app installed on your mobile device, you are now ready to initiate the setup process for your Nest Wi-Fi router. This step involves connecting the router to your Google account, customizing network settings, and personalizing the device to suit your specific preferences.
Open the Google Home app and tap the “+” icon or “Add” button to add a new device to your home network. Select “Set up device” and choose “New devices” from the options presented. The app will then prompt you to select the device category, where you should choose “Wi-Fi” or “Router” to proceed with setting up the Nest Wi-Fi router.
Follow the on-screen instructions to identify and connect to the Nest Wi-Fi router. The app will detect the router and guide you through the necessary steps to establish a secure connection between your mobile device and the router. This process may involve scanning a QR code or entering a unique code provided with the router.
Once the initial connection is established, you will be prompted to customize network settings, such as creating a Wi-Fi network name (SSID) and setting a secure password for your network. These details are essential for securing your home network and ensuring that only authorized users can access the Wi-Fi connection.
After configuring the network settings, the Google Home app will finalize the setup process and confirm the successful integration of the Nest Wi-Fi router into your home network. You will have the option to personalize the router’s settings further, including enabling guest network access, managing connected devices, and optimizing network performance.
Setting up the Nest Wi-Fi router in the Google Home app empowers you to take full control of your home network and tailor its settings to meet your specific requirements. With the setup process completed, you are now prepared to configure Wi-Fi settings and connect your devices to the newly established network, ushering in a seamless and reliable internet experience throughout your home.
Read more: How To Reset A Google Wi-Fi Router
Step 5: Configuring Wi-Fi Settings
Configuring the Wi-Fi settings for your Google Nest Wi-Fi router is a pivotal step in optimizing your home network for seamless connectivity and enhanced security. By customizing the network parameters, you can ensure reliable coverage, prioritize specific devices, and create a secure environment for all connected devices.
Within the Google Home app, navigate to the “Wi-Fi” or “Network & general” settings to access the configuration options for your Nest Wi-Fi router. Here, you can fine-tune various aspects of your Wi-Fi network, including the network name (SSID), password, and advanced settings such as channel selection and device prioritization.
Start by selecting a unique and easily identifiable network name (SSID) for your Wi-Fi network. This name will be visible to devices when they search for available Wi-Fi networks, so choose a name that resonates with your household or reflects your personal preferences. Avoid using default or generic names to differentiate your network from others in the vicinity.
Next, set a robust and secure password for your Wi-Fi network to prevent unauthorized access. A strong password should consist of a combination of uppercase and lowercase letters, numbers, and special characters. By creating a secure password, you can safeguard your network from potential intruders and protect the privacy of your online activities.
Consider exploring the advanced settings offered within the Google Home app to further optimize your Wi-Fi network. You may have the option to prioritize specific devices for enhanced performance, adjust channel settings to minimize interference, and configure guest network access for visitors to your home.
Upon finalizing the Wi-Fi settings, ensure that you save the changes and allow the Nest Wi-Fi router to apply the new configurations. The app will confirm the successful update of the network settings, and you can proceed to connect your devices to the newly configured Wi-Fi network.
By configuring the Wi-Fi settings for your Nest Wi-Fi router, you are taking proactive steps to create a robust and secure network environment that caters to your specific connectivity needs. With the network settings optimized, you are now poised to seamlessly connect your devices and enjoy a reliable internet experience throughout your home.
Step 6: Connecting Devices to the Nest Wi-Fi Network
With the Google Nest Wi-Fi router set up and its Wi-Fi settings configured, the final step involves connecting your devices to the newly established network. Whether you have smart home devices, computers, smartphones, or streaming devices, the Nest Wi-Fi network offers seamless connectivity and robust coverage to support a wide range of devices.
Begin by accessing the Wi-Fi settings on your individual devices, such as smartphones, tablets, and laptops. In the list of available Wi-Fi networks, locate and select the network name (SSID) that you configured for your Nest Wi-Fi router. You will be prompted to enter the password you set for the network during the configuration process.
After entering the password, your device will establish a secure connection to the Nest Wi-Fi network, enabling you to access the internet and communicate with other devices on the network. Once connected, you can verify the network status and signal strength to ensure optimal performance.
For smart home devices, such as smart speakers, smart displays, and connected appliances, refer to the device’s user manual or accompanying documentation for instructions on connecting it to a Wi-Fi network. Typically, the process involves accessing the device’s settings or companion app and selecting the Nest Wi-Fi network from the available options.
As you connect each device to the Nest Wi-Fi network, take note of the seamless connectivity and enhanced performance facilitated by the robust Wi-Fi coverage provided by the router. Whether you’re streaming high-definition content, conducting video calls, or controlling smart home devices, the Nest Wi-Fi network ensures a reliable and efficient connection for all your devices.
By connecting your devices to the Nest Wi-Fi network, you are leveraging the full capabilities of your home network and experiencing the benefits of a well-optimized and secure Wi-Fi environment. With all your devices seamlessly integrated into the network, you can enjoy a connected lifestyle with confidence and convenience.
Conclusion
Congratulations! You have successfully set up your Google Nest Wi-Fi router, transforming your home network into a robust and efficient platform for all your connected devices. By following the step-by-step process outlined in this guide, you have harnessed the full potential of the Nest Wi-Fi router, optimizing its performance and customizing its settings to suit your specific needs.
Through the unboxing, power connection, app installation, router setup, Wi-Fi configuration, and device connection phases, you have gained valuable insights into the seamless integration and user-friendly features offered by the Nest Wi-Fi system. The Google Home app has served as a central hub for managing your home network, providing intuitive controls and advanced customization options at your fingertips.
With the Nest Wi-Fi router in place, you can enjoy reliable Wi-Fi coverage throughout your home, supporting a myriad of smart home devices, streaming activities, and online interactions. The router’s dual functionality as a Wi-Fi router and a smart speaker with Google Assistant further enhances its value, adding a layer of convenience and versatility to your connected lifestyle.
As you continue to explore the capabilities of your Nest Wi-Fi router, consider delving into its advanced features, such as guest network management, device prioritization, and parental controls, to further tailor your home network to your preferences. The flexibility and scalability of the Nest Wi-Fi system make it a valuable addition to any modern household, empowering you to stay connected with ease and confidence.
By setting up your Google Nest Wi-Fi router, you have embarked on a journey towards a seamlessly connected home, where smart devices, entertainment, and productivity converge within a secure and efficient network environment. Embrace the possibilities that the Nest Wi-Fi router unlocks, and revel in the convenience of a well-optimized and reliable home network that adapts to your lifestyle.
Frequently Asked Questions about How To Set Up Google Nest Wi-Fi Router
Was this page helpful?
At Storables.com, we guarantee accurate and reliable information. Our content, validated by Expert Board Contributors, is crafted following stringent Editorial Policies. We're committed to providing you with well-researched, expert-backed insights for all your informational needs.
0 thoughts on “How To Set Up Google Nest Wi-Fi Router”