Home>Ideas and Tips>DIY Raised Beds For An Easy Start To Your Garden

Ideas and Tips
DIY Raised Beds For An Easy Start To Your Garden
Published: October 31, 2024
Learn how to build DIY raised garden beds with our step-by-step guide. Improve drainage, soil quality, and reduce weeding for a thriving garden.
(Many of the links in this article redirect to a specific reviewed product. Your purchase of these products through affiliate links helps to generate commission for Storables.com, at no extra cost. Learn more)
Introduction
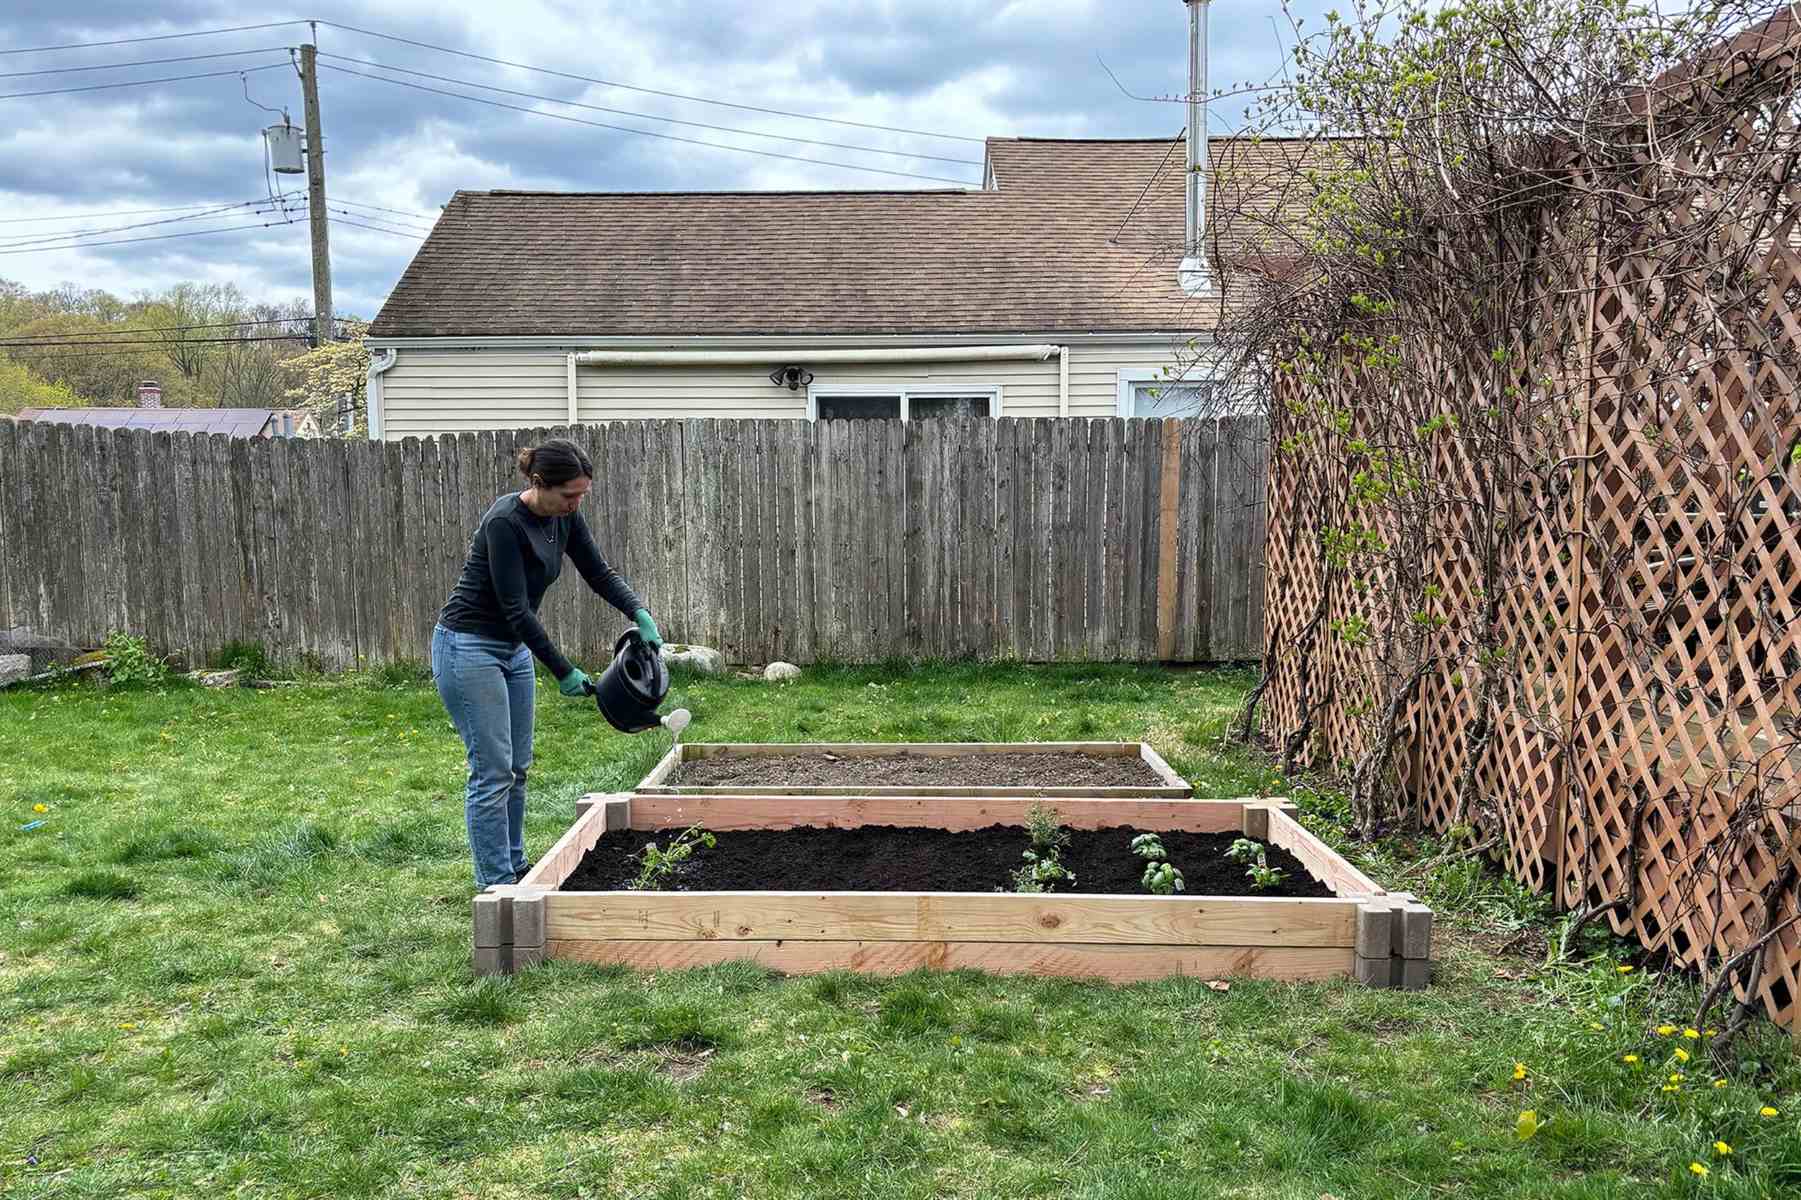
Starting a garden can be a daunting task, especially for beginners. However, with the right tools and a bit of creativity, you can create a beautiful and productive garden without breaking the bank. One of the most effective ways to begin your gardening journey is by building your own raised garden beds. These elevated planters offer numerous benefits, including better drainage, improved soil quality, and reduced weeding. In this article, we will guide you through the process of building your own DIY raised garden beds, providing you with the necessary materials, tools, and step-by-step instructions to get started.
Read more: How To Start A Raised Bed Garden
Why Choose Raised Garden Beds?
Raised garden beds are an excellent choice for several reasons:
- Improved Drainage: Raised beds allow water to drain more efficiently, reducing the risk of waterlogged soil and root rot.
- Better Soil Quality: By using a mix of organic matter and high-quality soil, you can create a nutrient-rich environment for your plants to thrive.
- Reduced Weeding: Raised beds are less prone to weeds, making it easier to maintain your garden.
- Easier Access: The elevated design makes it easier to plant, weed, and harvest without bending or straining.
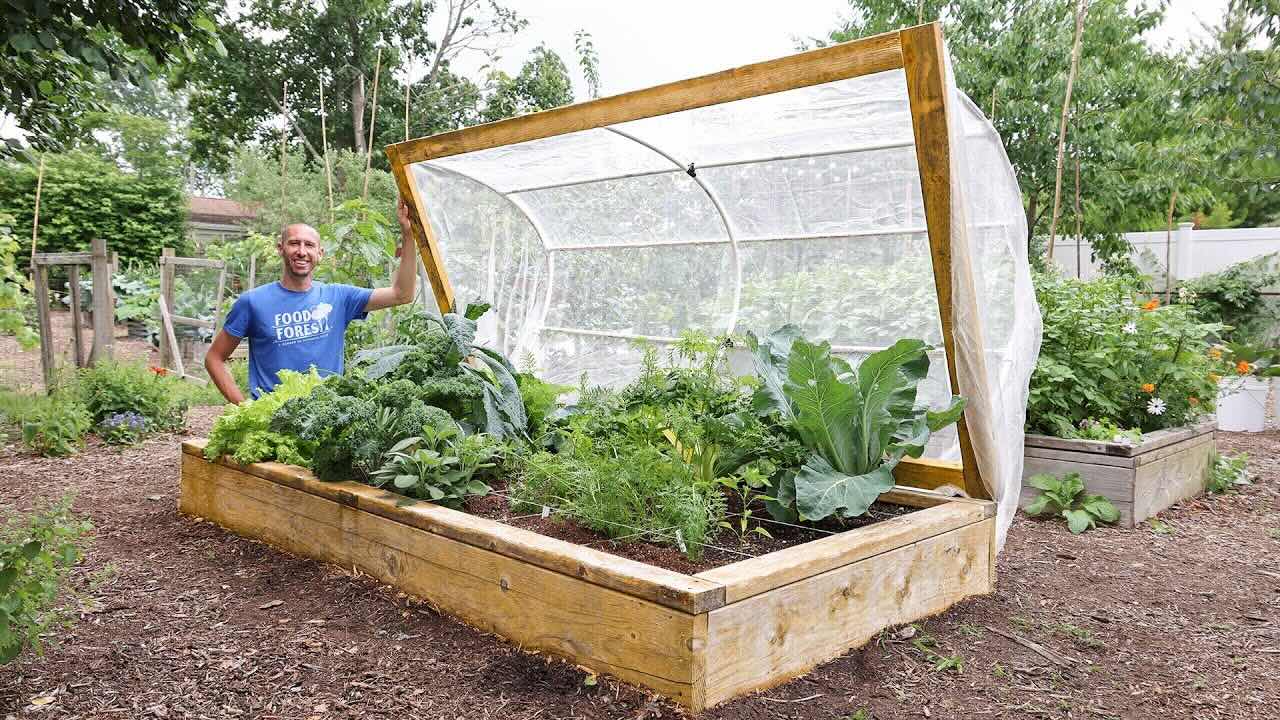
- Customization: Raised beds can be made in various sizes and shapes, making them perfect for small spaces or large gardens.
Materials Needed
To build a raised garden bed, you will need the following materials:
For a Basic 4x4x6 Raised Bed
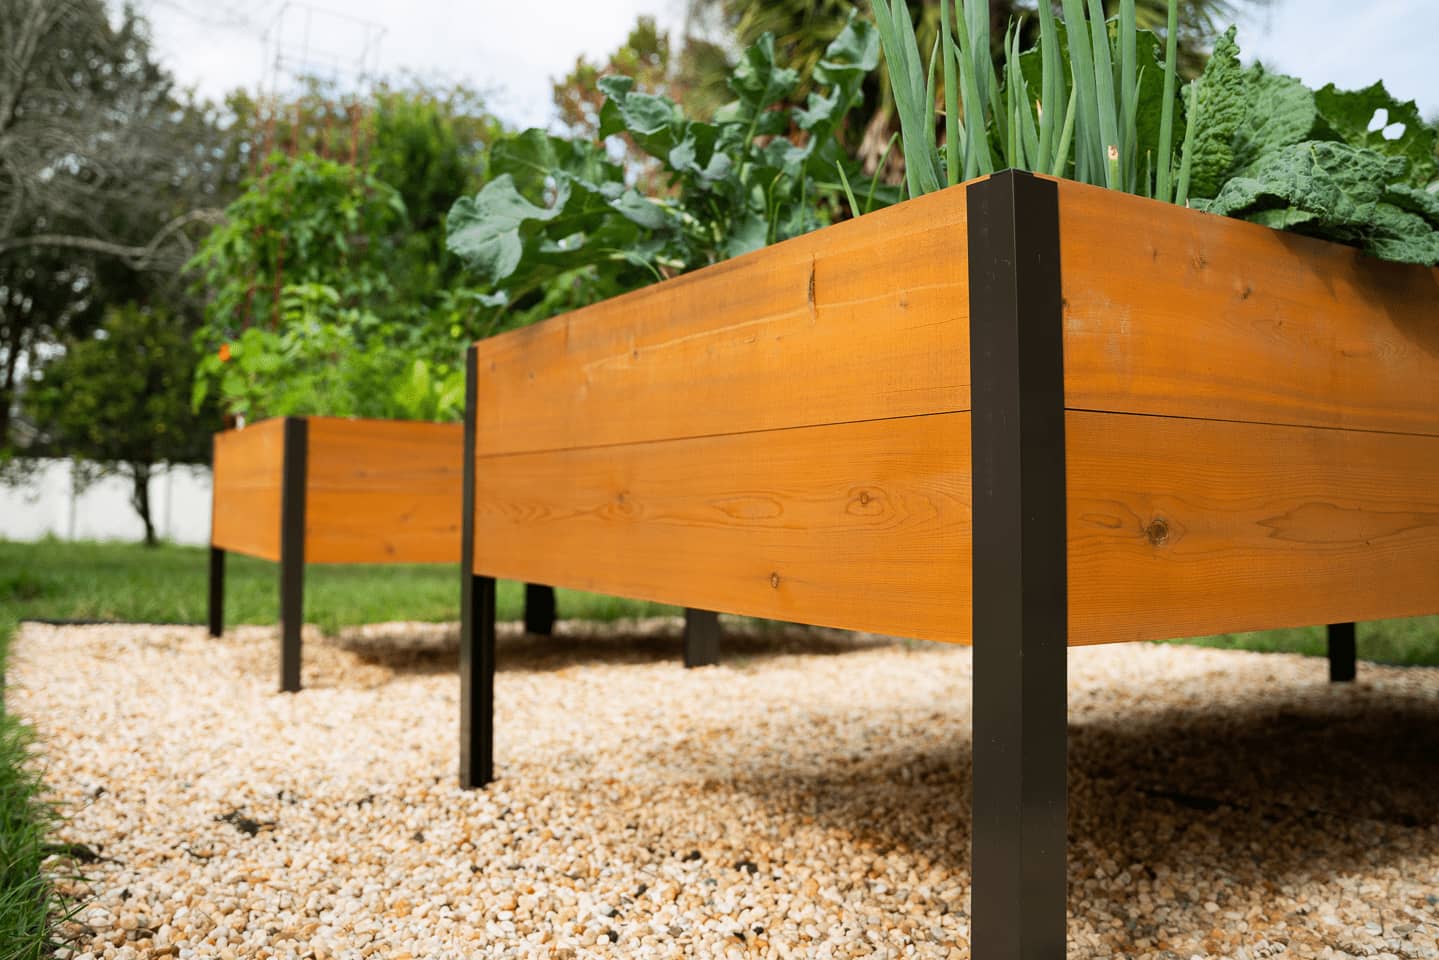
- Cedar Fence Pickets: These are naturally rot-resistant and affordable. You will need 7-8 pieces, each approximately 6 feet long.
- 2×4 Lumber: Cut into 11-inch pieces for framing. You will need 6-8 pieces.
- Screws: 46-50 screws (1 5/8 inches) for assembling the frame.
- Garden Soil: High-quality soil to fill the bed.
- Tools:
- Drill bit
- Tape measure
- Pencil
- Screwdriver
- Circular saw or chop saw
For a Fir Raised Bed (Similar to Handmade Farmhouse Example)
- 2×12 Fir Boards: Two 8-foot boards cut to 90 inches for long sides and one 10-foot board cut to 54 inches for short ends.
- Hardware: Screws and washers for assembling the frame.
Read more: Why A Raised Garden Bed
Optional Materials
- Weed Barrier: Landscape fabric or cardboard to line the bottom of the bed.
- Organic Matter: Wood chips, leaves, or grass clippings to add nutrients and improve drainage.
Step-by-Step Instructions
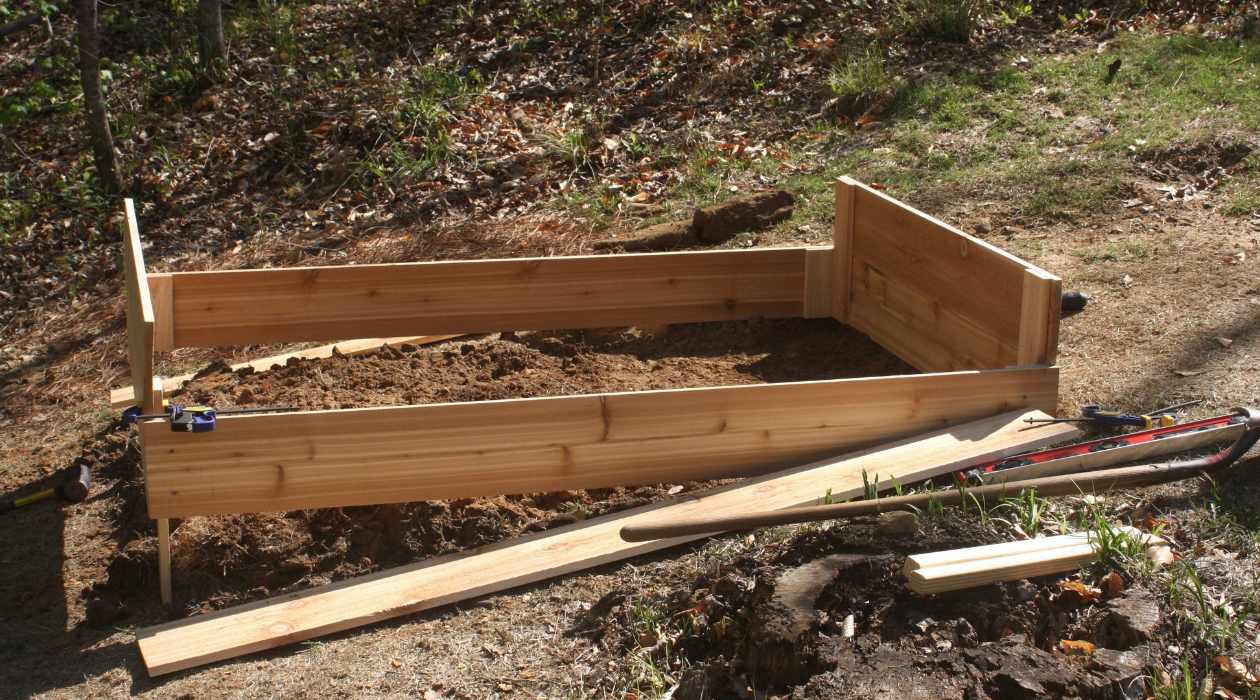
Step 1: Measure and Cut the Boards
Measure the exact thickness of your wooden boards. For cedar fence pickets, this is usually around 1 3/4 inches. Mark this thickness along both edges of your boards to ensure they fit together properly.
Cut your cedar fence pickets into the required lengths:
- Four 70-inch boards
- Four 35 1/2-inch boards
- One 71-inch board cut in half the long way
- Half of a cedar board cut in half the long way
For fir raised beds:
- Two 2×12 fir boards cut to 90 inches
- One 2×12 fir board cut to 54 inches
Step 2: Assemble the Frame
For Cedar Raised Beds
- Attach Framing Angles: Use hex screws on the outside and washers and nuts on the inside to attach framing angles to create panels.
- Prepare Other Sides: Line up two new boards along a framing angle that’s already attached to a panel and ensure the edges are flush and straight.
- Mark Holes: Mark holes on the two new boards for drilling.
- Drill Holes: Drill holes where marked.
- Attach Boards: Attach two boards to the framing angle with hex screws, washers, and nuts.
For Fir Raised Beds
- Attach Boards: Line up two new boards along a framing angle that’s already attached to a panel and ensure the edges are flush and straight.
- Mark Holes: Mark holes on the two new boards for drilling.
- Drill Holes: Drill holes where marked.
- Attach Boards: Attach two boards to the framing angle with screws and washers.
Read more: What Is A Raised Garden Bed
Step 3: Complete the Raised Bed Frame
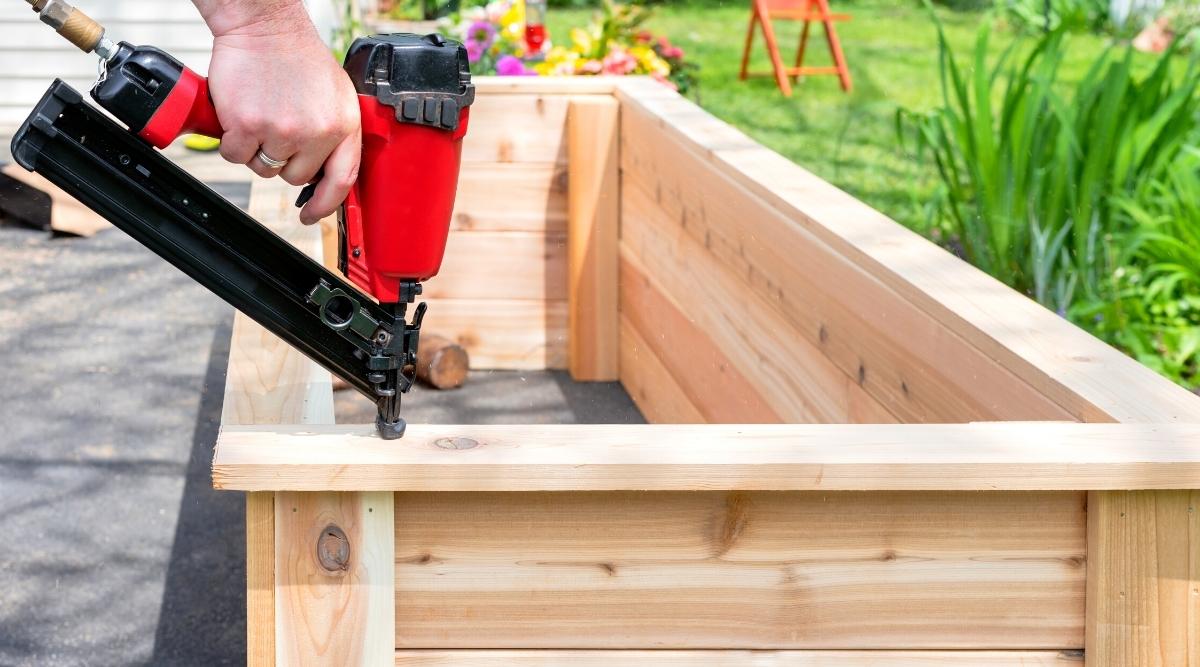
Continue assembling the frame by attaching all four sides together using screws and washers. Ensure each corner is secure with multiple screws.
Step 4: Add Support
In the center of the long side of your raised bed, screw in another ripped 2×4 for added support to prevent bowing once soil is added.
Step 5: Fill with Soil
Before adding garden soil, consider lining the bottom of your bed with weed barrier or organic matter like wood chips or leaves. These materials will provide good drainage and add nutrients to your soil over time.
Add 6 to 12 inches of high-quality garden soil depending on what you want to grow. For subsequent years, simply add a thin layer of compost and mulched leaves or grass clippings on top of the existing soil to maintain nutrient levels and suppress weeds.
Tips and Tricks
Read more: Best Raised Bed Soil For Your Pet Plants
Using Organic Matter
Adding organic matter like wood chips, leaves, or grass clippings at the bottom of your raised bed can save you money on expensive soil while providing good drainage and nutrient-rich soil over time. This method is often referred to as the "lasagna method."
Choosing Materials
When selecting materials for your raised bed, avoid pressure-treated lumber as it can leach chemicals into your soil. Instead opt for naturally rot-resistant materials like cedar or fir.
Customization
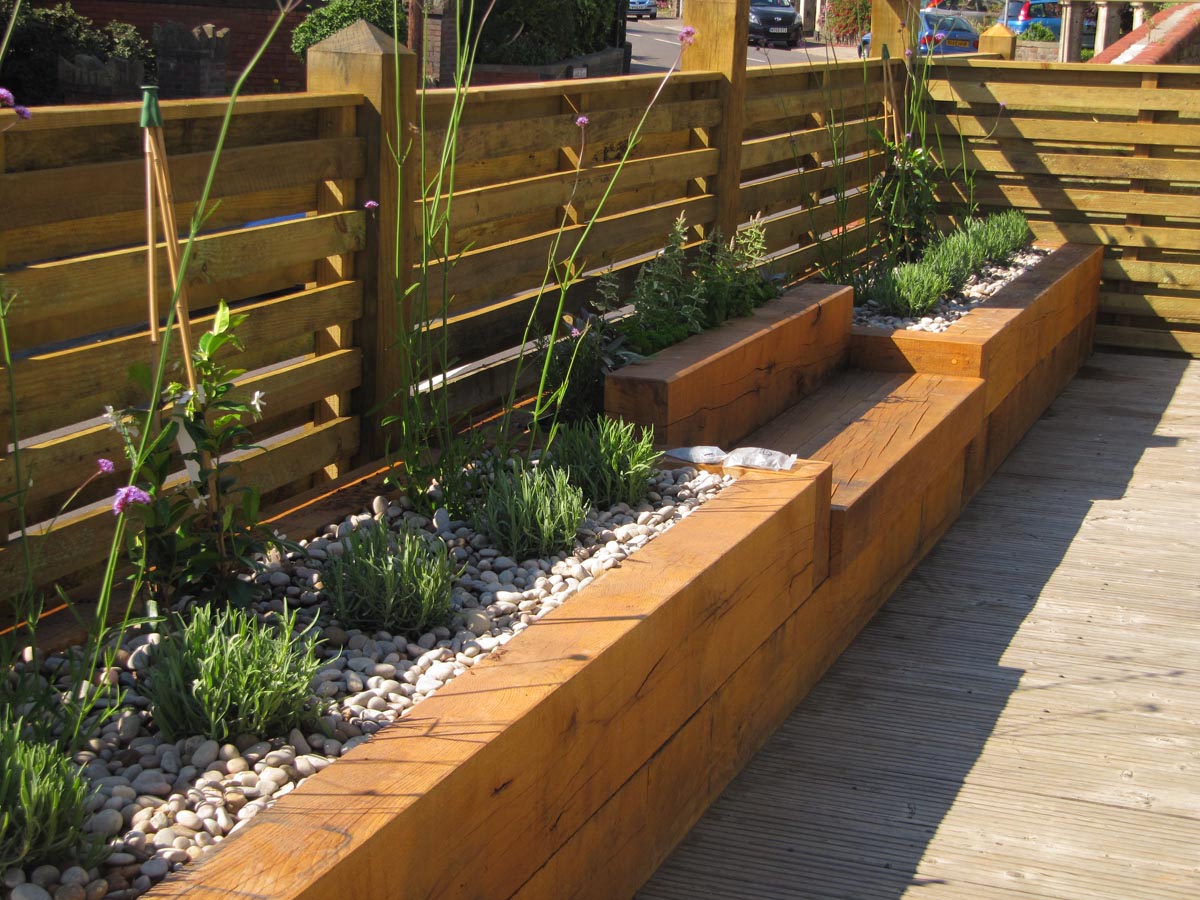
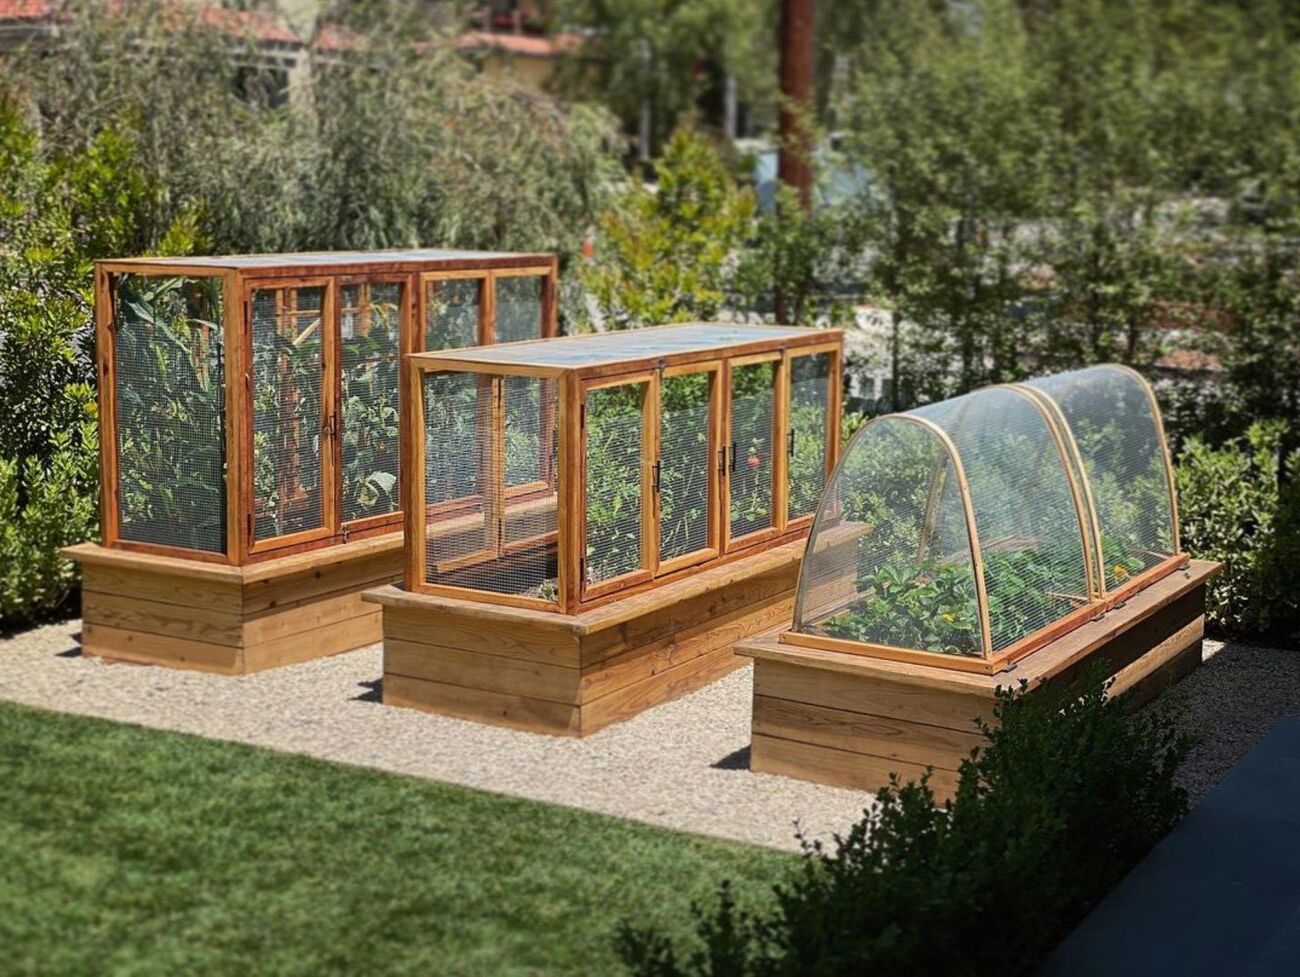
Raised beds can be made in various sizes and shapes to fit any space. Whether you have a small backyard or a large plot of land, raised beds offer flexibility in design.
Benefits of Raised Garden Beds
Read more: How To Seal A Raised Garden Bed
Aesthetics
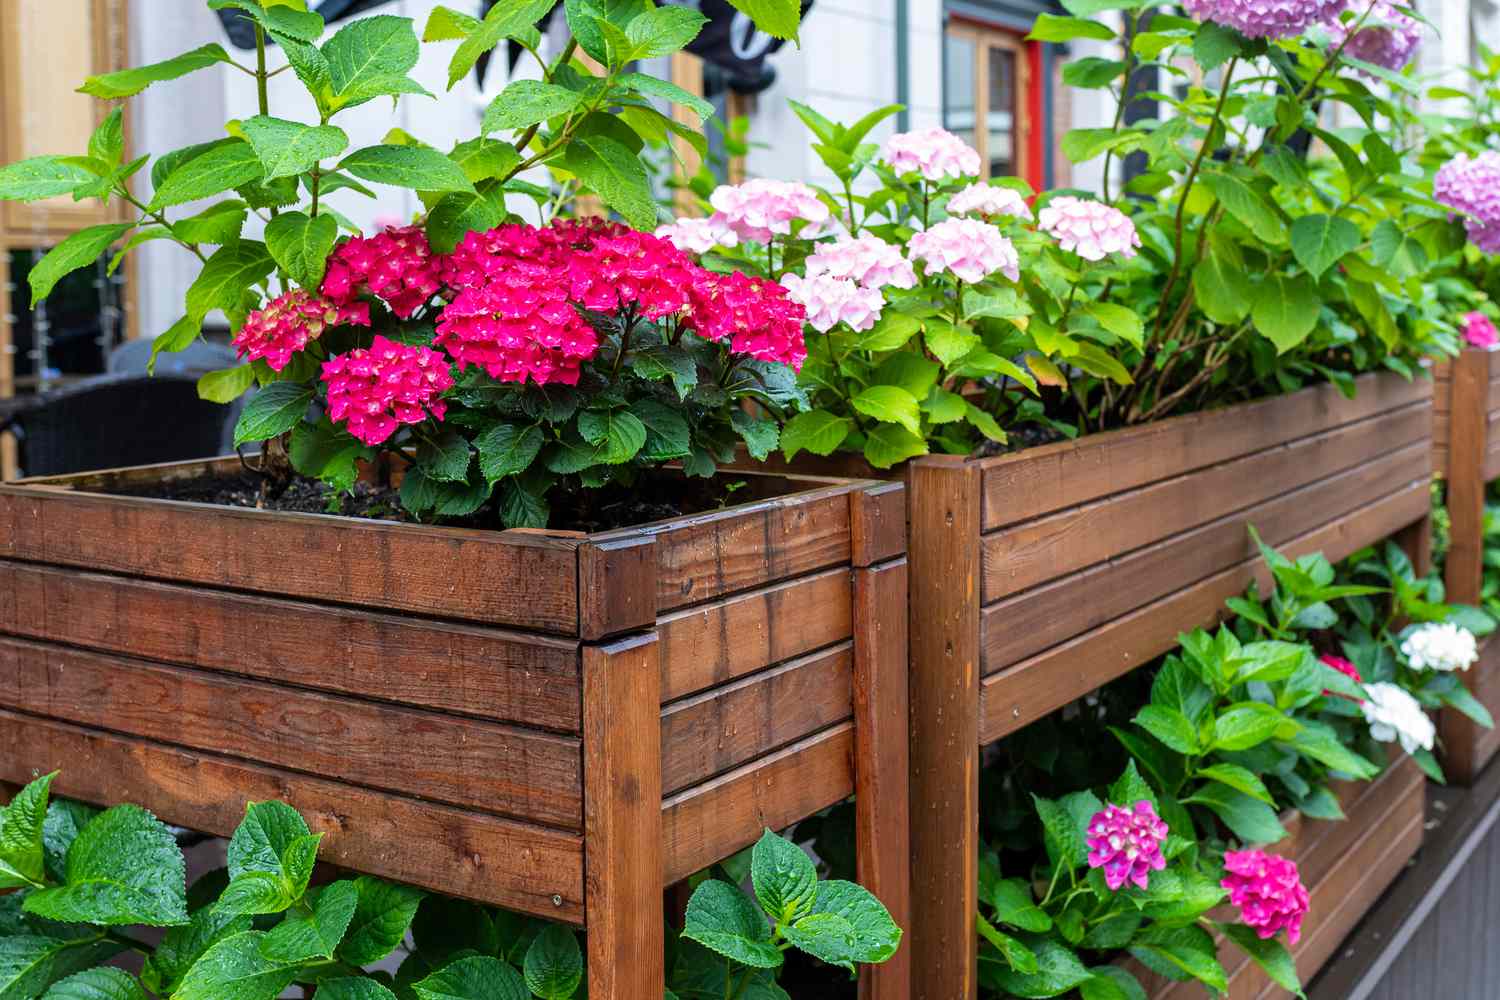
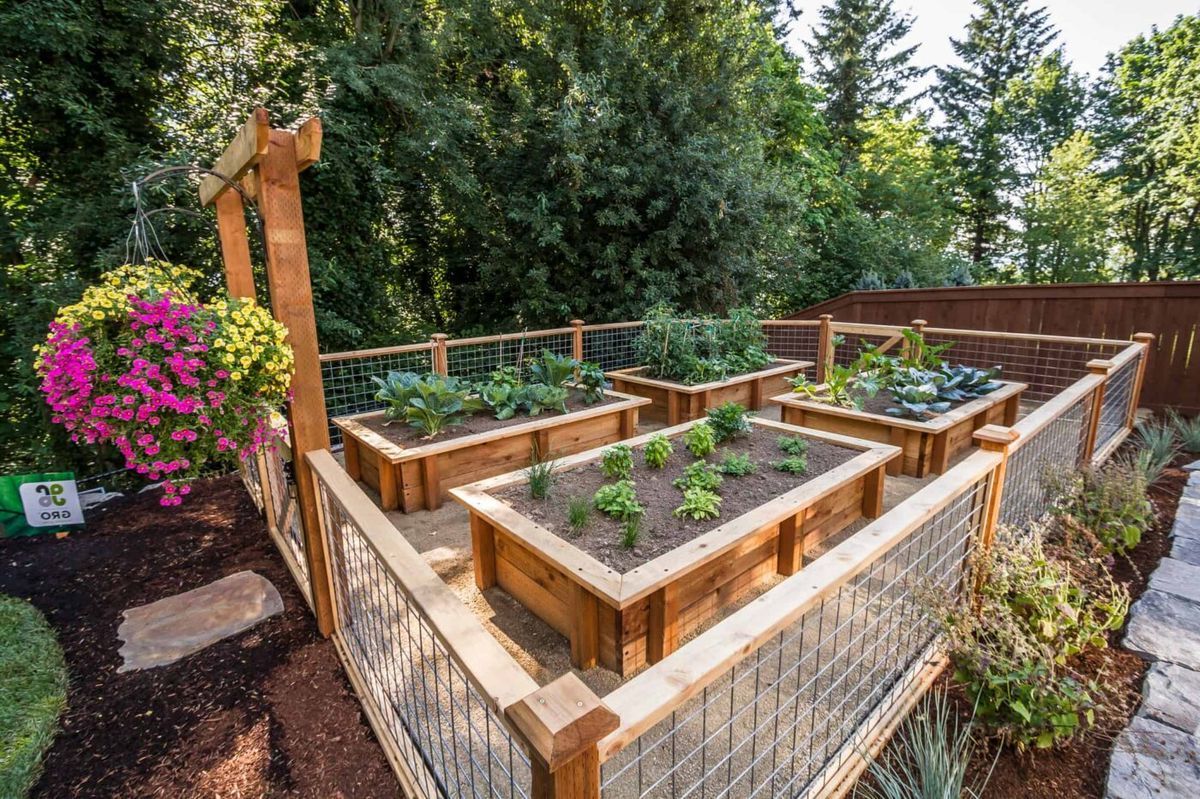
Raised garden beds are not only functional but also aesthetically pleasing. They can add a touch of elegance to your garden while providing an easy way to maintain your plants.
Lower Maintenance
Weeds are significantly reduced in raised beds due to better drainage and easier access for weeding. This means less time spent on maintenance tasks like pulling weeds.
Improved Soil Quality
By using high-quality soil mixed with organic matter, you can create a nutrient-rich environment for your plants to thrive. This results in healthier plants and higher yields.
Common Mistakes to Avoid
Read more: What To Line A Raised Garden Bed With
Insufficient Depth
Ensure your raised bed is at least 6 inches deep to allow for proper root growth. Deeper beds (up to 12 inches) are even better but may require additional support.
Poor Drainage
Avoid using large logs at the bottom of your raised bed as they take years to break down and can cause poor drainage issues.
Inadequate Support
Make sure to add support in the center of the long side of your raised bed to prevent bowing once soil is added.
Conclusion
Building your own DIY raised garden beds is an affordable and rewarding way to start your gardening journey. With these step-by-step instructions and tips, you can create beautiful and functional raised beds that will enhance your gardening experience. Whether you're a seasoned gardener or just starting out, raised beds offer numerous benefits that make them an ideal choice for any garden enthusiast.
By following these guidelines and using the right materials, you'll be well on your way to creating a thriving garden that brings joy and fresh produce right to your doorstep. Happy gardening
Was this page helpful?
At Storables.com, we guarantee accurate and reliable information. Our content, validated by Expert Board Contributors, is crafted following stringent Editorial Policies. We're committed to providing you with well-researched, expert-backed insights for all your informational needs.

0 thoughts on “DIY Raised Beds For An Easy Start To Your Garden”