Home>Gardening & Outdoor>Landscaping Ideas>How To Make A Raised Garden Bed With Pallets
Landscaping Ideas
How To Make A Raised Garden Bed With Pallets
Modified: August 30, 2024
Learn how to create a raised garden bed using pallets for a budget-friendly and sustainable landscaping solution. Discover step-by-step instructions and tips.
(Many of the links in this article redirect to a specific reviewed product. Your purchase of these products through affiliate links helps to generate commission for Storables.com, at no extra cost. Learn more)
Introduction
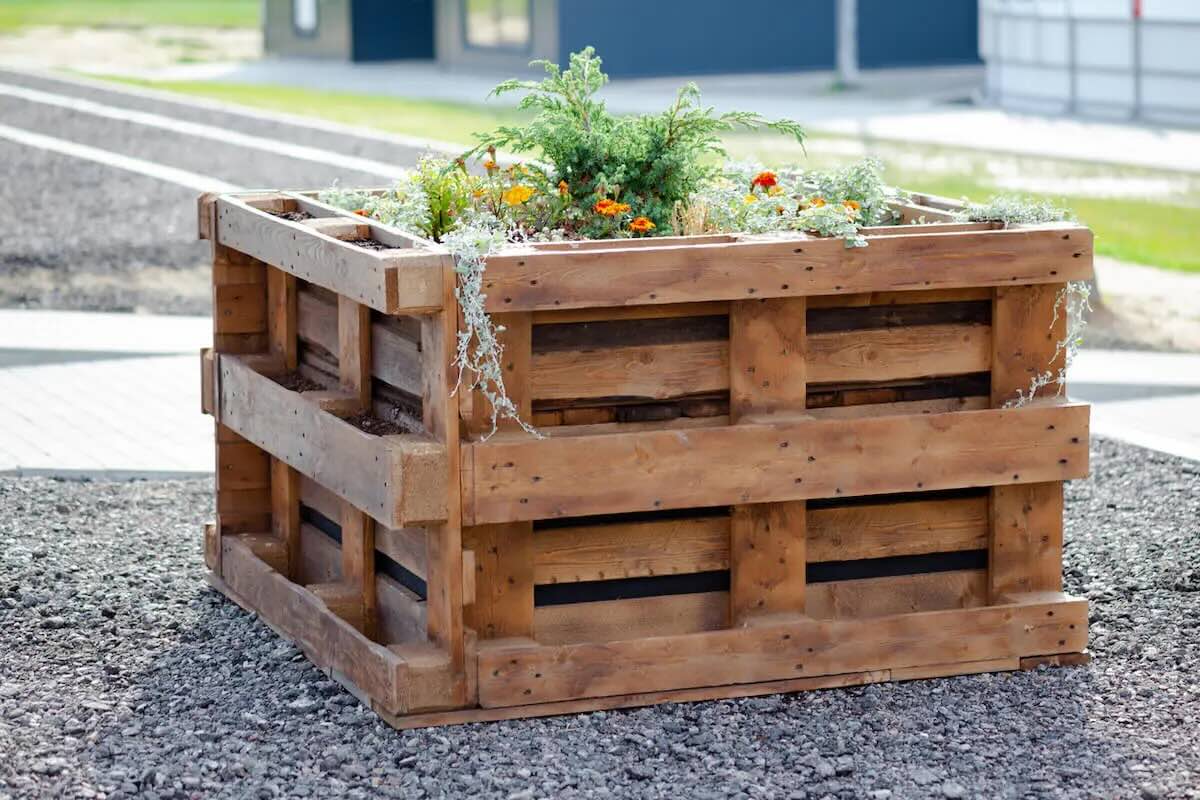
Are you looking to add a touch of rustic charm to your garden while also embracing sustainable and eco-friendly practices? Creating a raised garden bed using pallets is an excellent way to achieve both goals. This DIY project allows you to repurpose old pallets, reducing waste and giving them a new lease on life as functional and visually appealing garden structures.
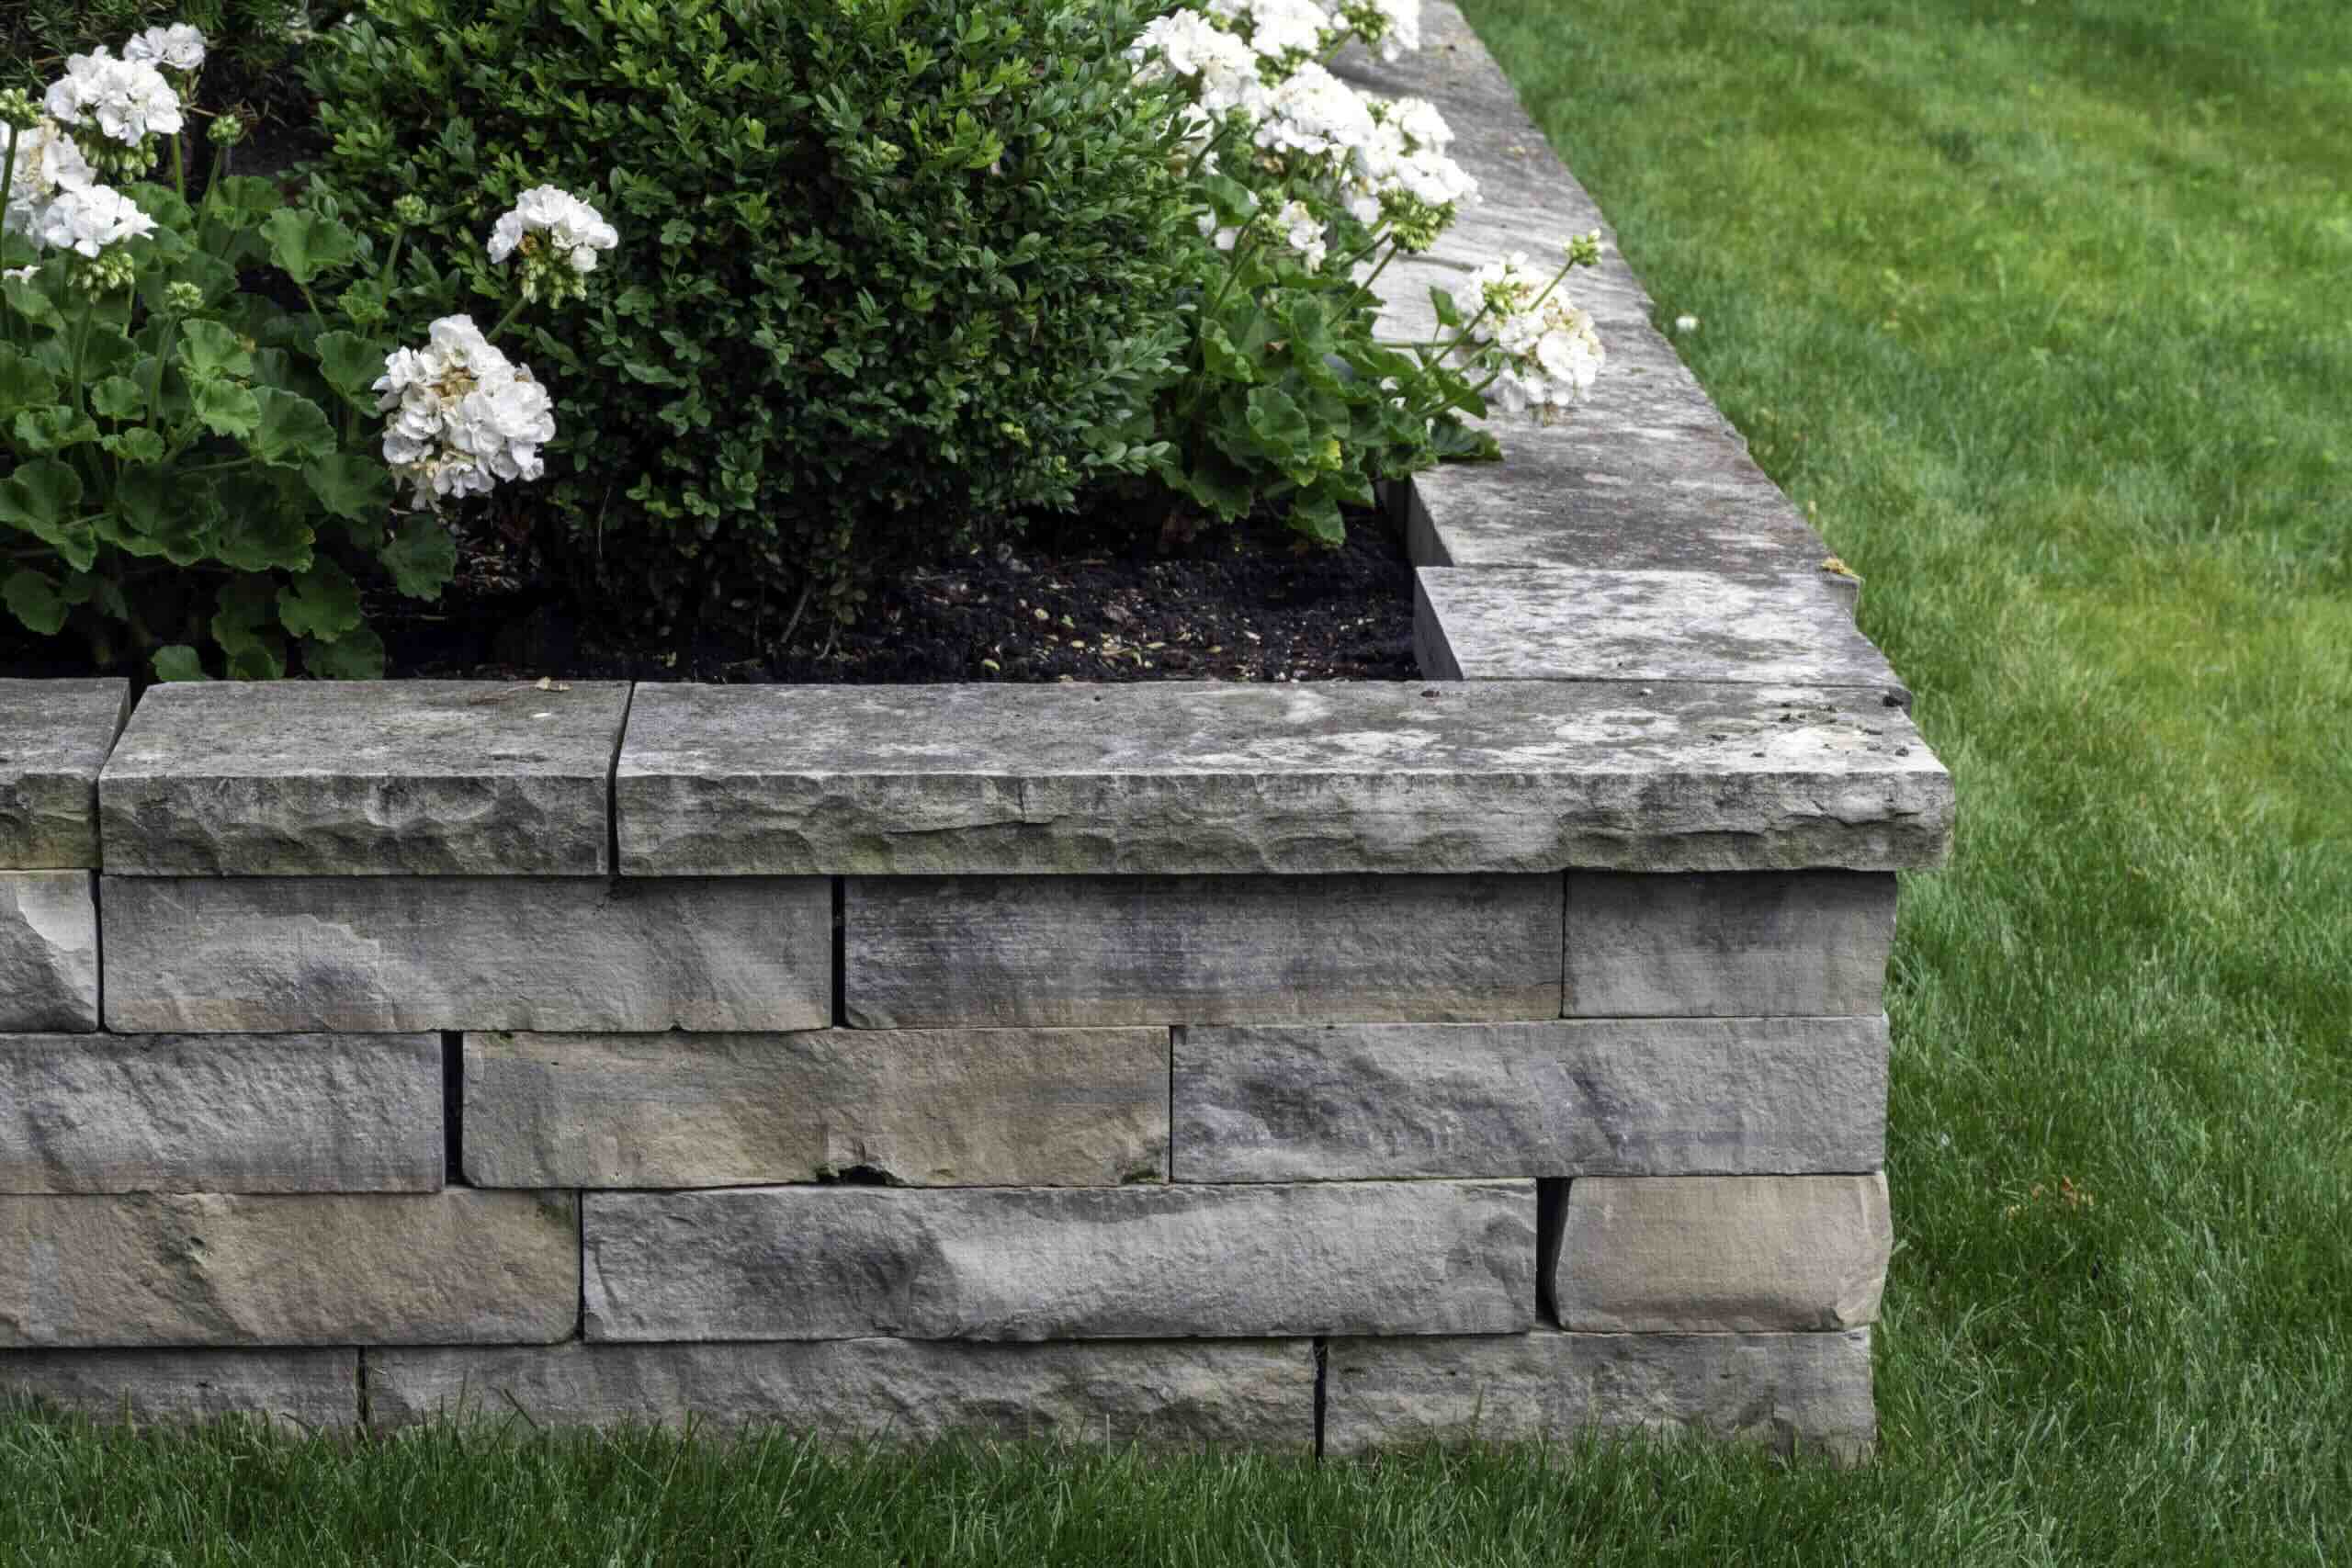
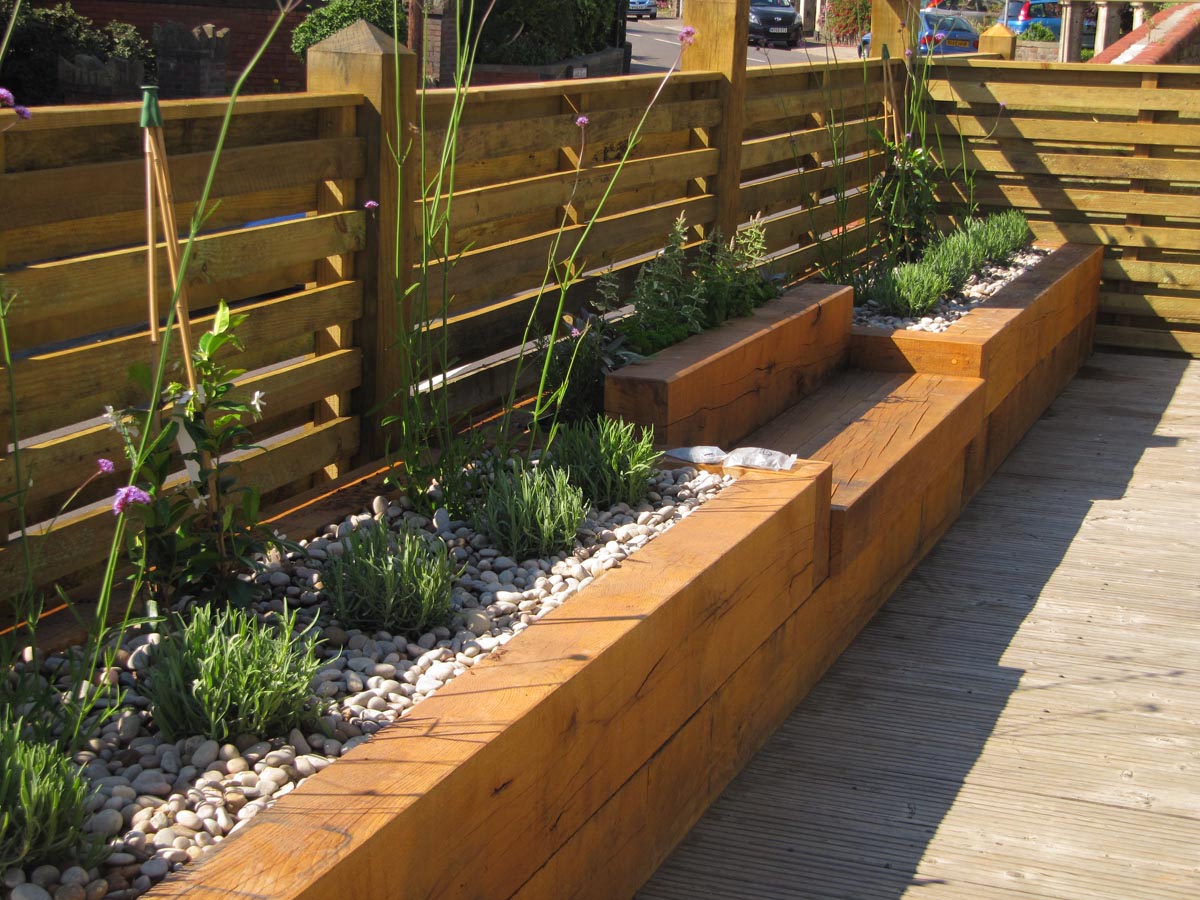
Raised garden beds offer numerous benefits for gardening enthusiasts. They provide better drainage, prevent soil compaction, and offer a more ergonomic gardening experience by reducing the need to bend or kneel. Additionally, they can extend the growing season by allowing for earlier planting in the spring and protecting delicate plants from late frosts in the fall.
By repurposing pallets for this project, you can contribute to sustainable living while also saving money on materials. Pallets are often readily available and can be acquired at little to no cost, making them an ideal resource for DIY garden projects. Furthermore, the rustic aesthetic of pallet wood adds a charming and natural element to your garden, creating a visually appealing space for growing flowers, herbs, or vegetables.
In this comprehensive guide, we will walk you through the step-by-step process of creating a raised garden bed using pallets. From gathering materials and tools to assembling the bed and filling it with nutrient-rich soil, you will learn how to transform reclaimed pallets into a functional and beautiful garden feature. Whether you are a seasoned gardener or a novice enthusiast, this project offers a rewarding opportunity to exercise your creativity and cultivate a thriving garden space.
Now, let's roll up our sleeves and embark on this DIY adventure to craft a raised garden bed that not only enhances the aesthetics of your outdoor space but also promotes sustainable and eco-conscious gardening practices. Get ready to unleash your creativity and bring new life to old pallets as we delve into the art of crafting a charming and practical raised garden bed.
Key Takeaways:
- Transform old pallets into a charming raised garden bed for a sustainable and visually appealing garden. Embrace DIY creativity and eco-friendly gardening while repurposing materials and nurturing plant life.
- Create a thriving garden ecosystem within a rustic pallet bed. From assembling to planting, embrace the art of sustainable living and gardening, fostering a deeper connection with nature.
Read more: How To Make A Small Raised Garden Bed
Step 1: Gather Materials and Tools
Before diving into the construction of your raised garden bed, it's essential to gather all the necessary materials and tools. By ensuring that you have everything on hand, you can streamline the building process and avoid interruptions. Here's a comprehensive list of items you'll need for this project:
Materials:
- Pallets: Look for sturdy, untreated pallets in good condition. Ensure that they are not chemically treated to prevent any harmful substances from leaching into the soil.
- Landscape Fabric: This will be used to line the interior of the bed, preventing soil from escaping while still allowing for proper drainage.
- Wood Screws: Opt for corrosion-resistant screws to secure the pallets together firmly.
- Cardboard or Newspaper: These materials will serve as an additional barrier to prevent weeds from growing up into the bed.
- Soil: Choose high-quality, nutrient-rich soil to fill the raised bed, providing an optimal environment for your plants to thrive.
Tools:
- Circular Saw or Reciprocating Saw: You'll need this to dismantle the pallets and cut them to the desired size.
- Drill: A drill with appropriate drill bits will be used to secure the pallets together with screws.
- Staple Gun: This will come in handy for attaching the landscape fabric to the interior of the bed.
- Work Gloves and Safety Glasses: Always prioritize safety when working with tools and materials.
- Measuring Tape and Pencil: These basic tools will help you accurately mark and measure the pallets for cutting and assembly.
By gathering these materials and tools, you'll be well-prepared to embark on the next steps of this DIY project. With everything in place, you can proceed with confidence, knowing that you have everything you need to transform reclaimed pallets into a charming and functional raised garden bed.
Step 2: Prepare the Pallets
Preparing the pallets is a crucial step in creating a sturdy and visually appealing raised garden bed. By repurposing pallets, you can infuse your garden with a rustic and eco-friendly aesthetic while minimizing waste. Here's a detailed guide on how to prepare the pallets for this DIY project:
Read more: How To Make A Raised Garden Bed With Bricks
Dismantle the Pallets
Using a circular saw or reciprocating saw, carefully dismantle the pallets to harvest the individual wooden planks. Start by removing the back and side panels of the pallet, leaving the bottom deck board intact. Exercise caution and wear appropriate safety gear, such as gloves and safety glasses, during this process to prevent any potential injuries.
Select and Inspect the Planks
After dismantling the pallets, carefully inspect the wooden planks to ensure they are in good condition and free from any damage or rot. Discard any planks that show signs of deterioration, as they may compromise the structural integrity of the raised bed.
Cut the Planks to Size
Using a measuring tape and pencil, mark the planks to the desired length for the raised bed. Ensure uniformity in the plank sizes to achieve a neat and symmetrical appearance. Use the saw to cut the planks to the marked dimensions, taking care to maintain straight and even cuts.
Sand the Edges
To create a smooth and splinter-free surface, lightly sand the cut edges of the planks. This step not only enhances the visual appeal of the raised bed but also minimizes the risk of splinters while handling the wood during assembly and maintenance.
Read more: How To Make A Raised Garden Bed Cheap
Optional: Stain or Seal the Wood
If you desire a more polished look or wish to prolong the lifespan of the wood, consider applying a wood stain or sealant to the planks. This optional step can add a touch of color to the raised bed while providing protection against the elements, particularly if the bed will be exposed to the outdoor elements.
By meticulously preparing the pallets, you can ensure that the resulting raised garden bed is not only structurally sound but also visually pleasing. This attention to detail sets the stage for the next phase of the project: assembling the pallets to create a functional and charming raised garden bed.
Step 3: Assemble the Raised Garden Bed
With the pallets prepared and the necessary tools at hand, it's time to bring your vision of a raised garden bed to life. Assembling the pallets requires precision and attention to detail to ensure a sturdy and visually appealing structure. Follow these steps to seamlessly construct your raised garden bed:
Arrange the Pallets
Begin by laying the prepared pallets in the desired location for your garden bed. Position them side by side, ensuring that the open ends face outward to create the interior space for soil and plants. Take a moment to visualize the layout and confirm that the pallets are aligned evenly, creating a cohesive and symmetrical structure.
Secure the Pallets
Using a drill and corrosion-resistant wood screws, fasten the pallets together at the corners and along the sides. Predrill pilot holes to prevent the wood from splitting, then drive the screws through the planks to securely connect the pallets. This step is crucial for reinforcing the stability of the raised bed, especially when filled with soil and plants.
Read more: What Is A Raised Garden Bed
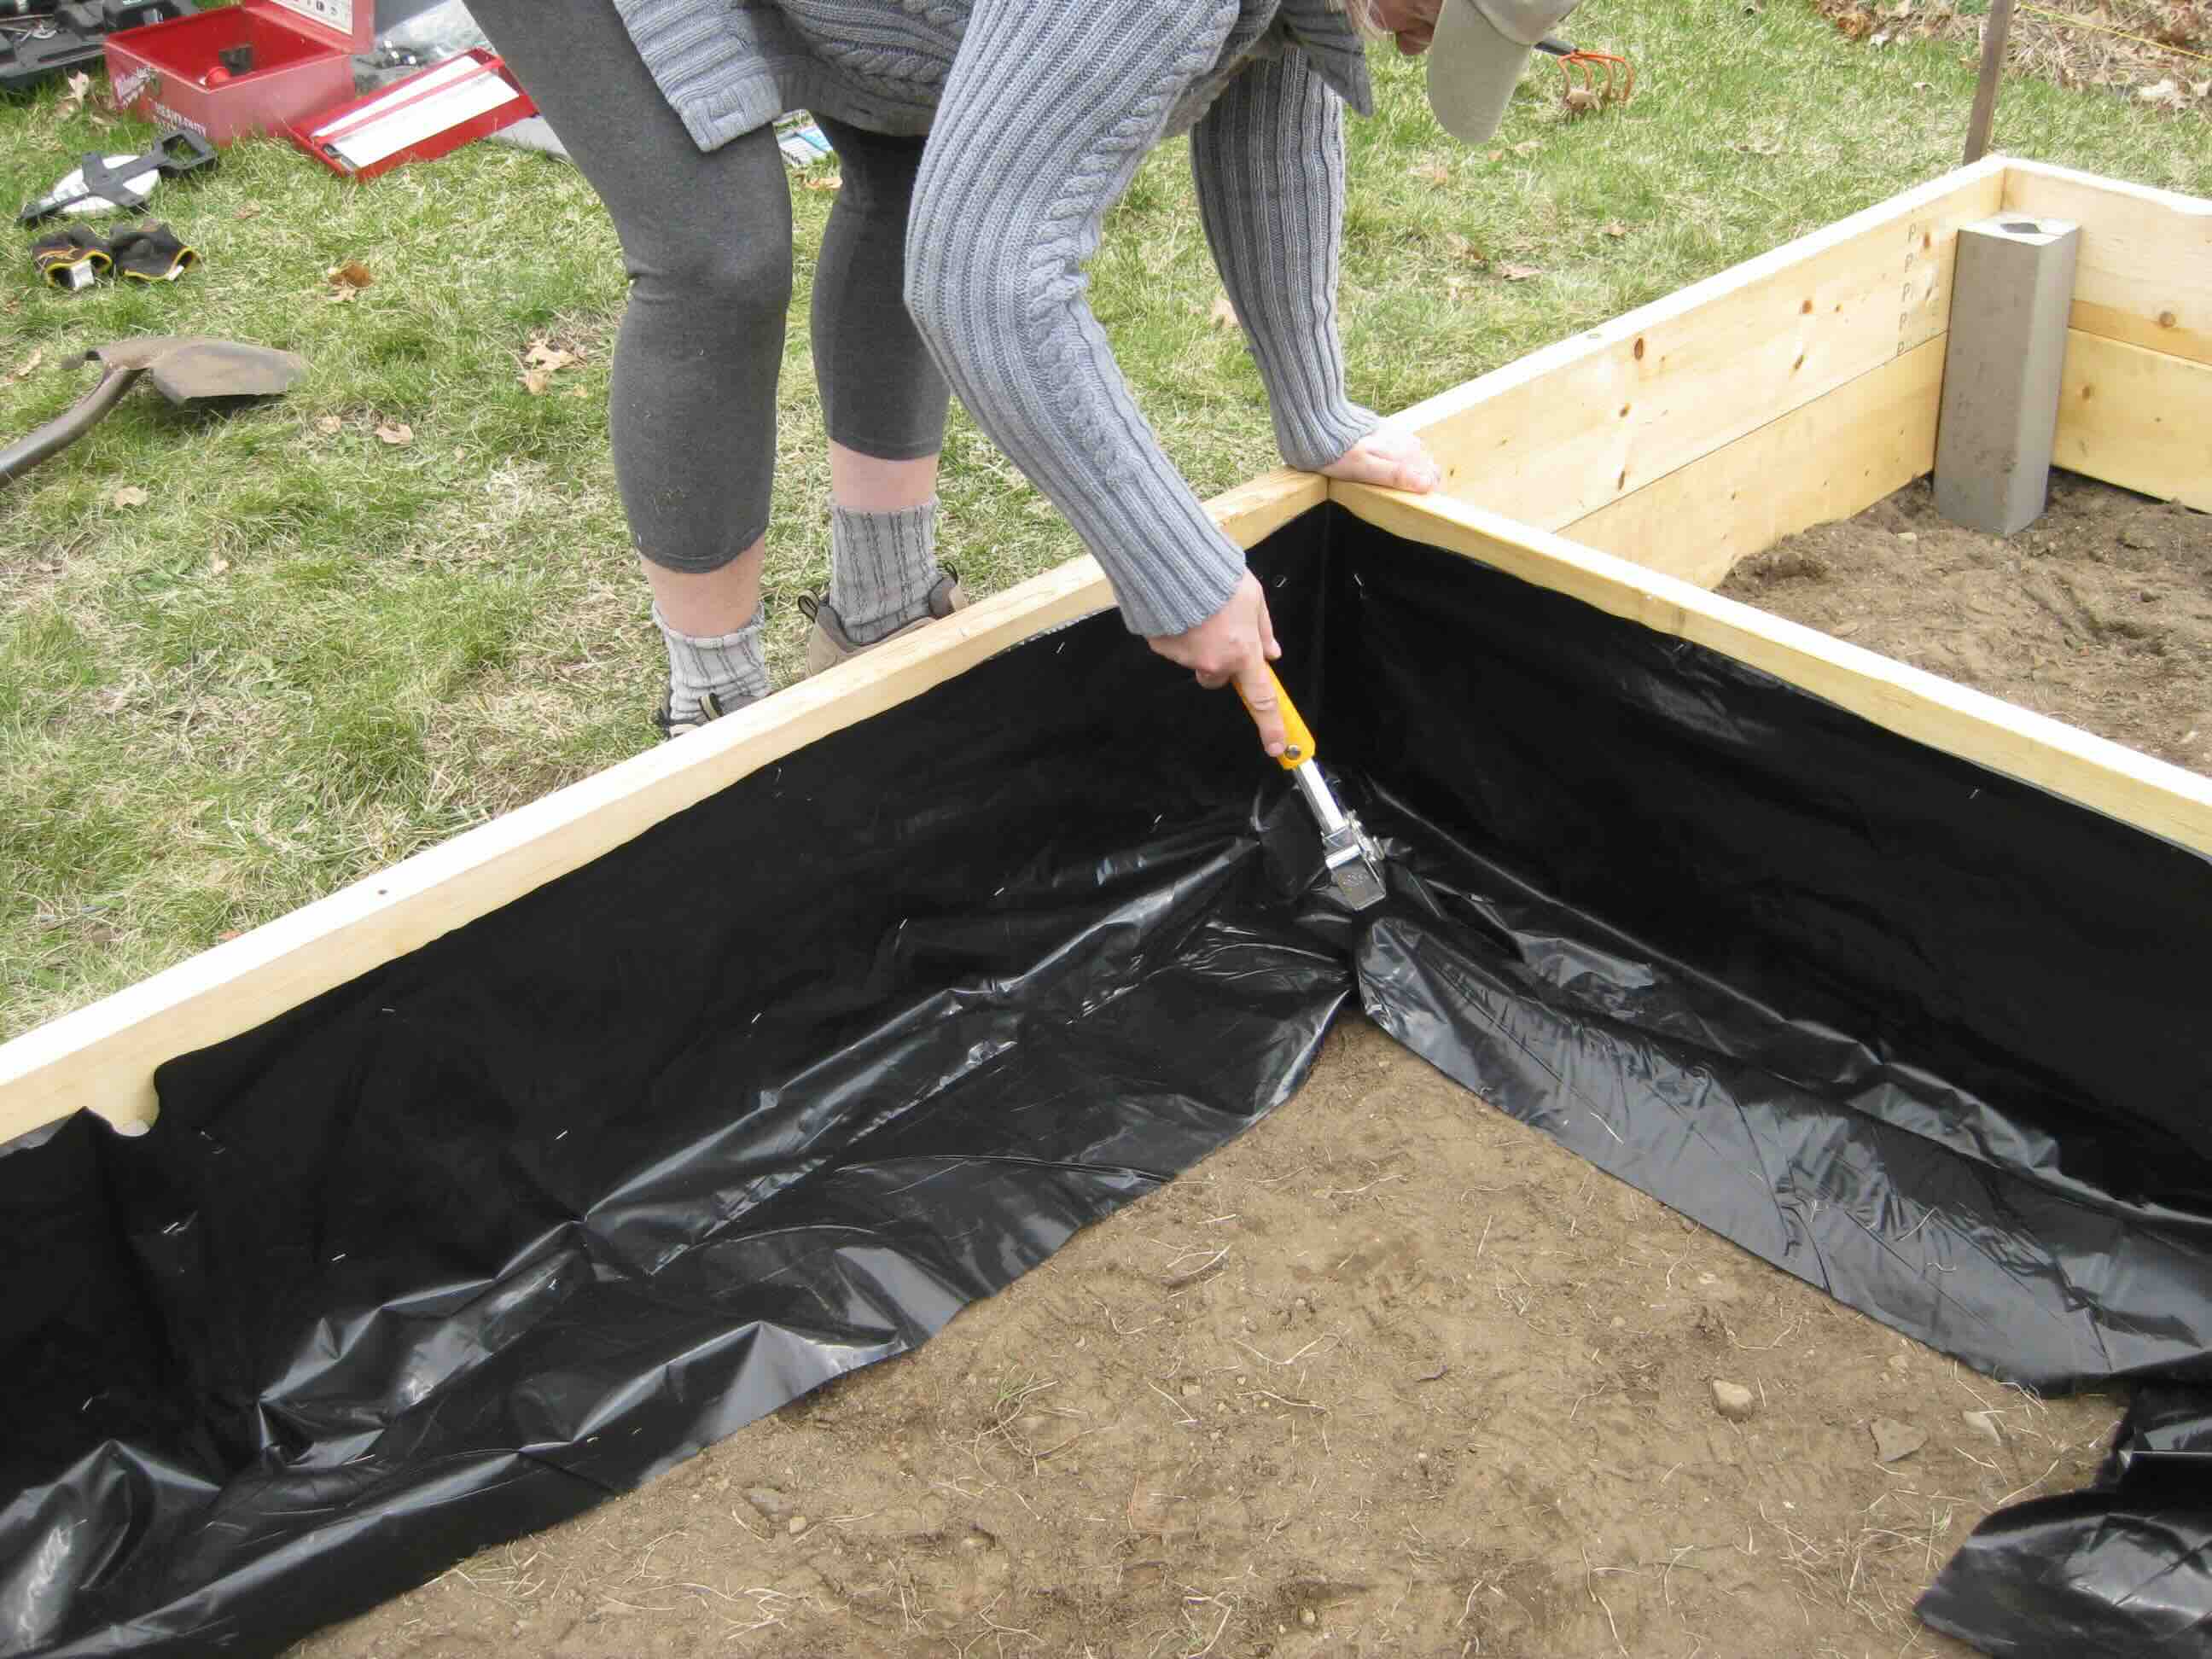
Line the Interior
Once the pallets are securely attached, line the interior of the bed with landscape fabric. This barrier serves as a protective layer, preventing the soil from escaping while still allowing for proper drainage. Use a staple gun to affix the fabric to the interior walls of the bed, ensuring a snug and secure fit.
Add Weed Barrier
For added protection against weeds, place a layer of cardboard or several sheets of newspaper over the landscape fabric. This additional barrier helps suppress weed growth, maintaining a tidy and low-maintenance garden bed.
Optional: Add Corner Braces
To further reinforce the structural integrity of the raised bed, consider installing metal corner braces at each corner of the pallets. These braces provide additional support, especially for larger or deeper beds, and contribute to the overall stability of the structure.
Final Checks
Before proceeding to the next phase of the project, take a moment to inspect the assembled raised garden bed. Ensure that all pallets are securely fastened, the interior lining is in place, and any optional reinforcements, such as corner braces, have been added as desired. This thorough inspection sets the stage for the final steps of this DIY endeavor.
By meticulously following these steps, you can transform a collection of repurposed pallets into a robust and visually appealing raised garden bed. The assembly process sets the stage for the culmination of your efforts: filling the bed with nutrient-rich soil and bringing your garden to life.
Read more: Why A Raised Garden Bed
Step 4: Fill the Bed with Soil
With the raised garden bed assembled and ready to be brought to life, the next crucial step is to fill it with nutrient-rich soil. The quality of the soil directly impacts the growth and vitality of the plants, making it essential to choose and fill the bed with the right type of soil. Here's a detailed guide on how to effectively fill the raised garden bed with soil:
Select High-Quality Soil
Opt for a high-quality soil mix that is well-draining and rich in organic matter. A blend of topsoil, compost, and other organic amendments can create an optimal growing environment for your plants. Consider using a mix specifically formulated for raised beds, as it provides the ideal balance of nutrients and aeration for healthy plant growth.
Layer the Soil
Begin filling the raised bed with the soil mix, layering it evenly to ensure uniform distribution. As you add the soil, periodically tamp it down gently to remove air pockets and create a firm foundation for planting. Aim to fill the bed to the top, allowing for slight settling once the soil is watered.
Consider Raised Bed Planting Techniques
When filling the bed, consider employing raised bed planting techniques such as square foot gardening or companion planting. These methods optimize space and promote synergistic plant growth, maximizing the yield and diversity of your garden.
Read more: How To Seal A Raised Garden Bed
Incorporate Soil Amendments
Depending on the specific needs of the plants you intend to grow, consider incorporating targeted soil amendments. This may include adding organic fertilizers, lime, or other soil conditioners to tailor the soil to the requirements of your chosen plants.
Mulch the Surface
After filling the bed with soil, consider applying a layer of organic mulch on the surface. Mulch helps retain moisture, suppresses weed growth, and moderates soil temperature, creating a favorable environment for plant roots.
Prepare for Planting
Once the bed is filled with soil and any desired amendments have been incorporated, it's ready for planting. Take the time to plan the layout of your garden, considering the spacing and arrangement of plants to optimize growth and aesthetics.
By meticulously following these steps, you can ensure that your raised garden bed is filled with the optimal soil for promoting healthy plant growth. This prepares the bed for the exciting phase of planting and nurturing a thriving garden in your beautifully crafted raised bed.
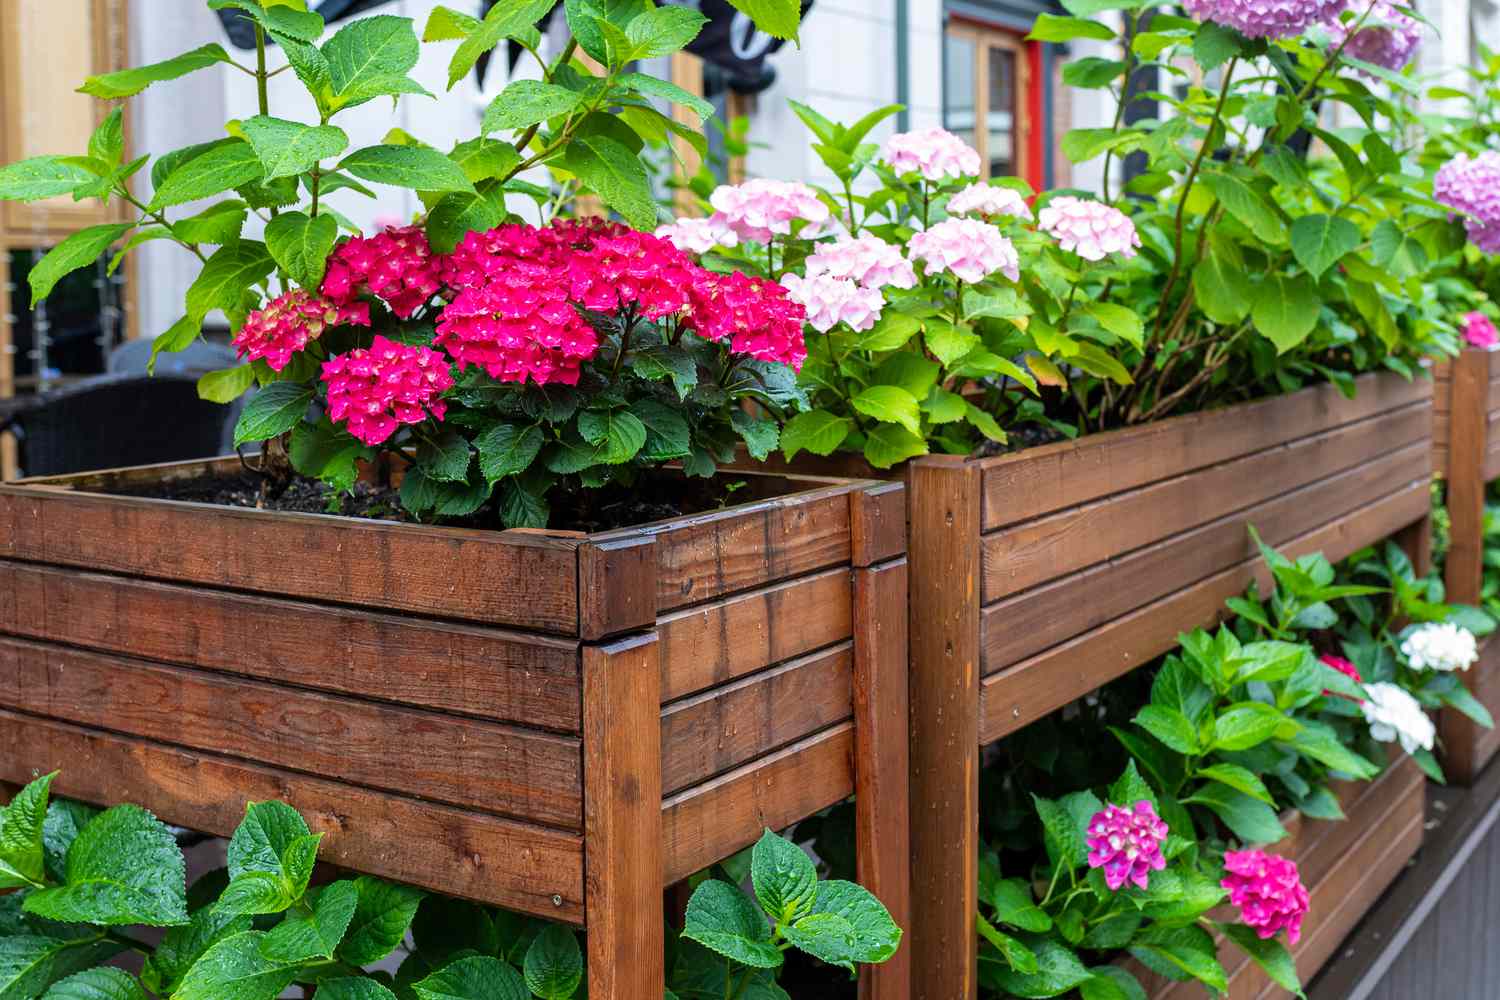
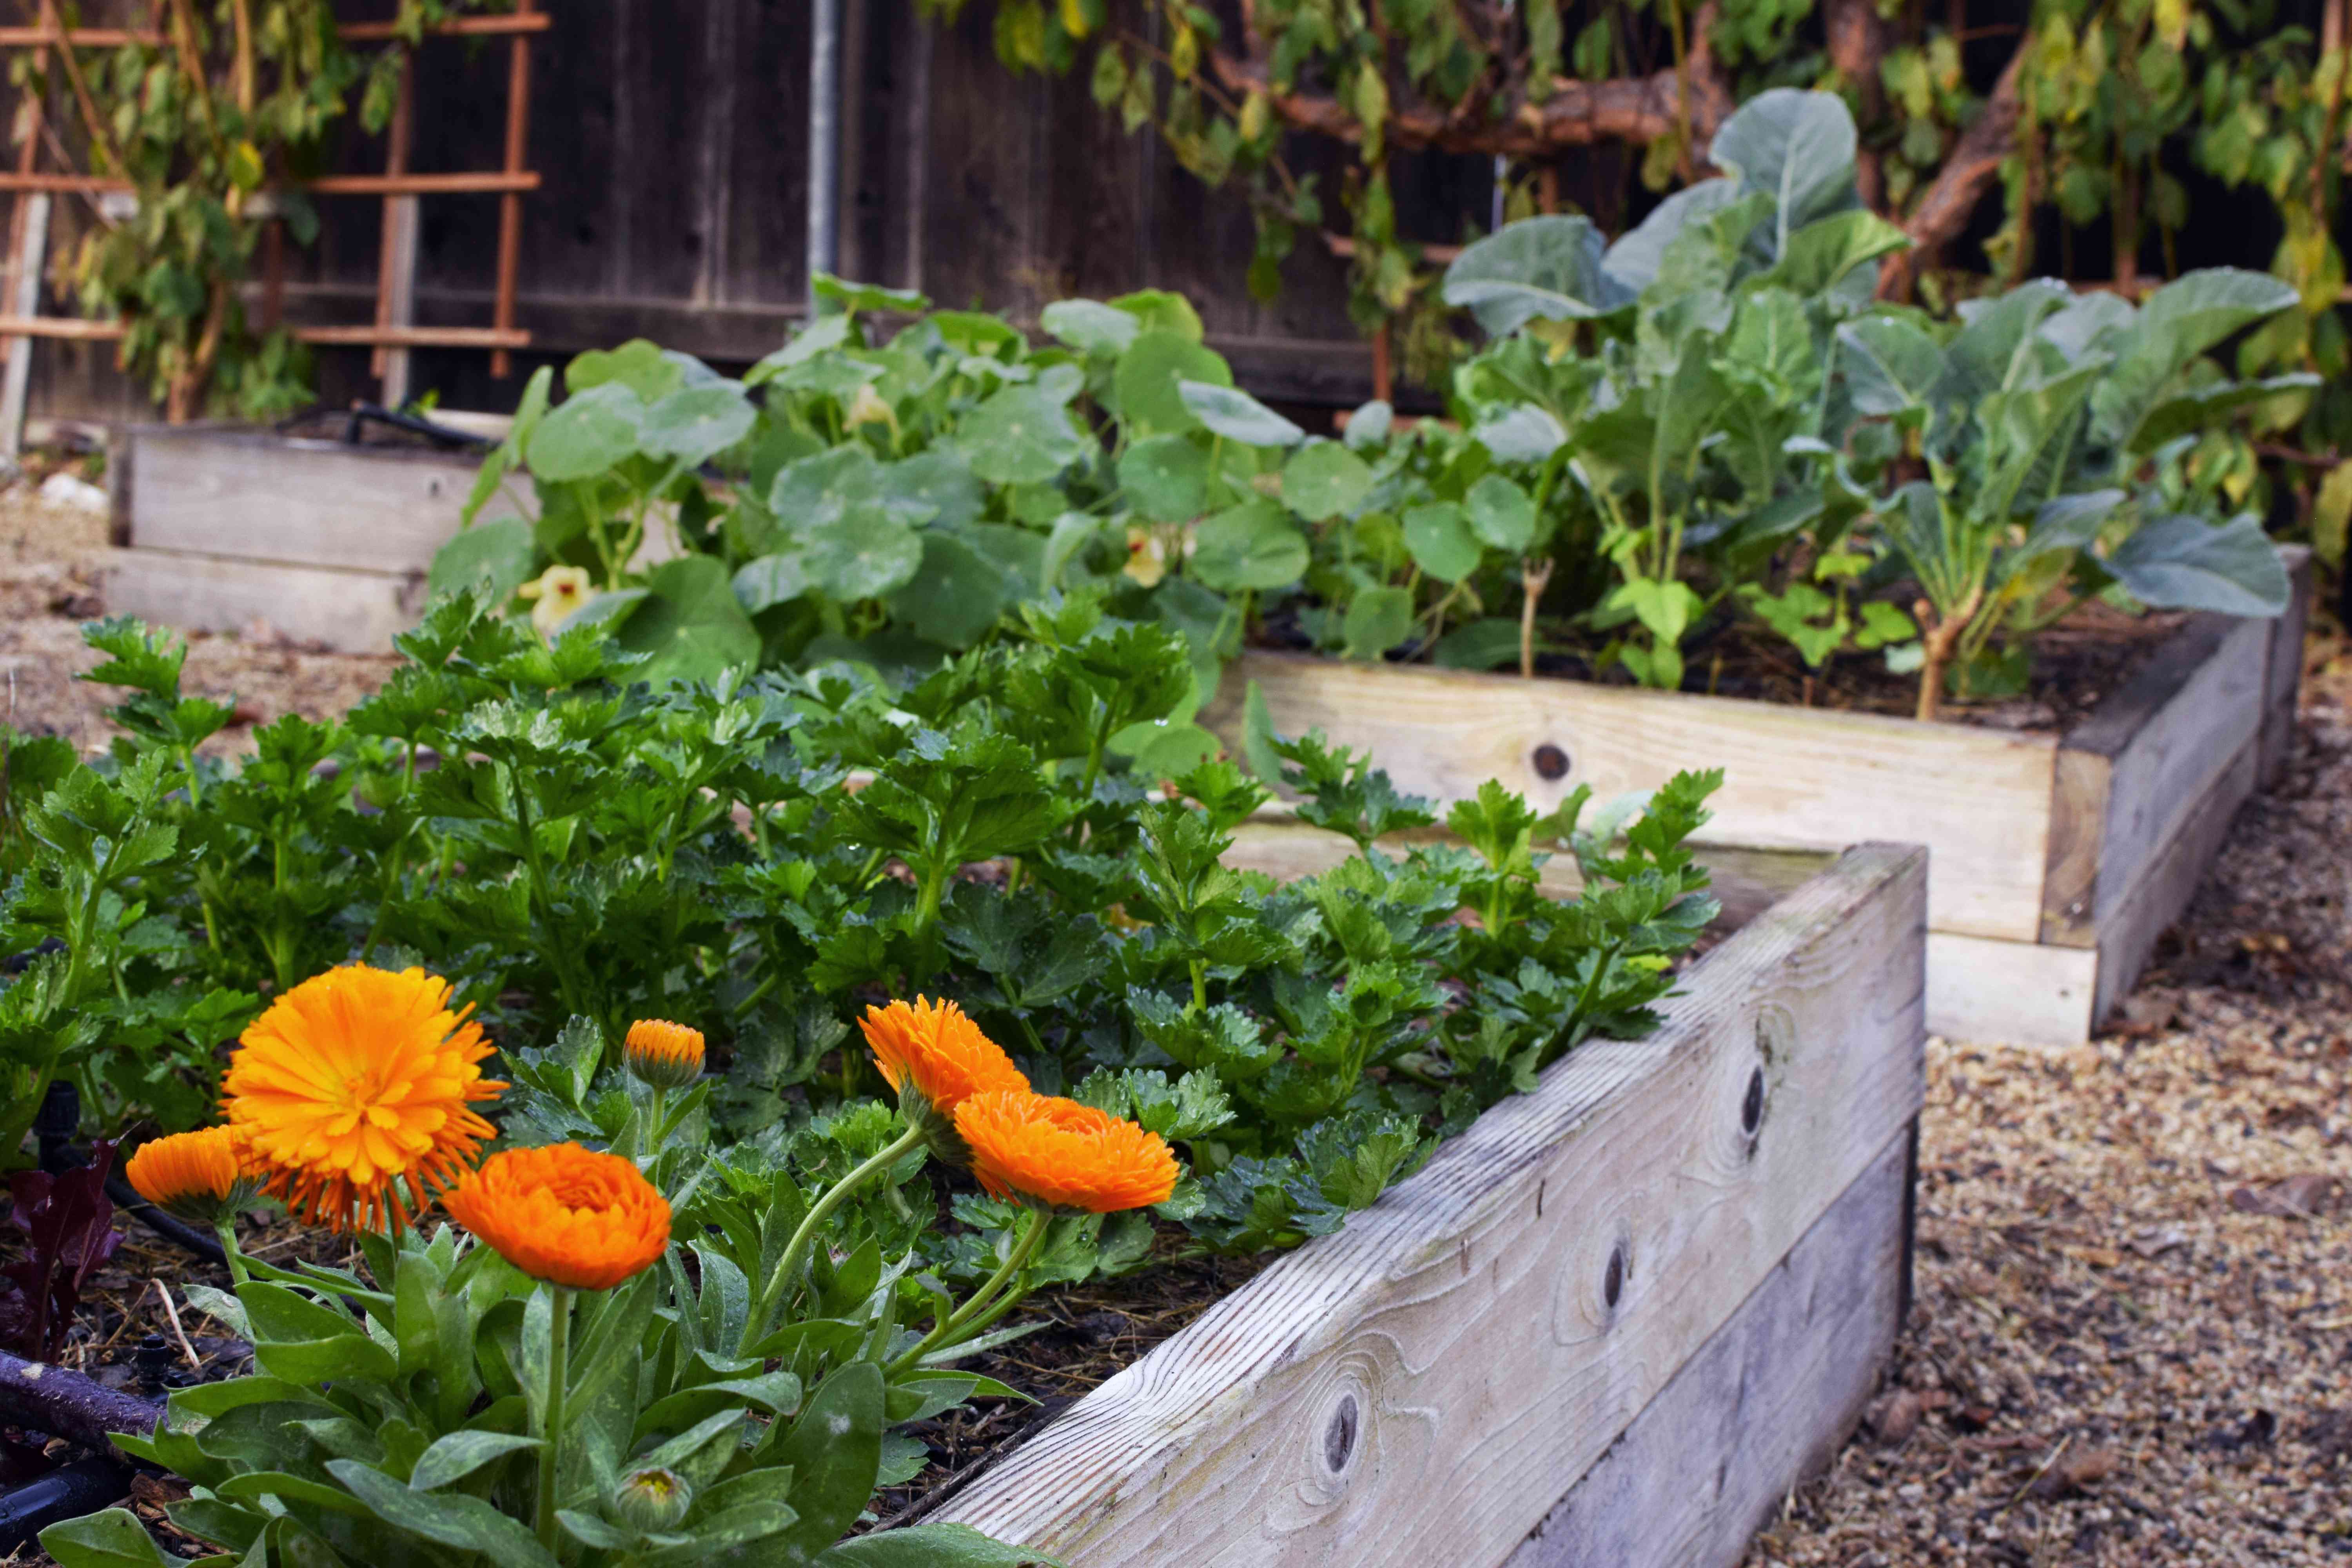
Step 5: Planting and Maintenance
With the raised garden bed assembled and filled with nutrient-rich soil, it's time to embark on the rewarding journey of planting and maintaining your flourishing garden. This step marks the transition from construction to cultivation, as you bring your vision of a vibrant and bountiful garden to life within the confines of the charming raised bed.
Read more: How To Cover A Raised Garden Bed
Plant Selection and Arrangement
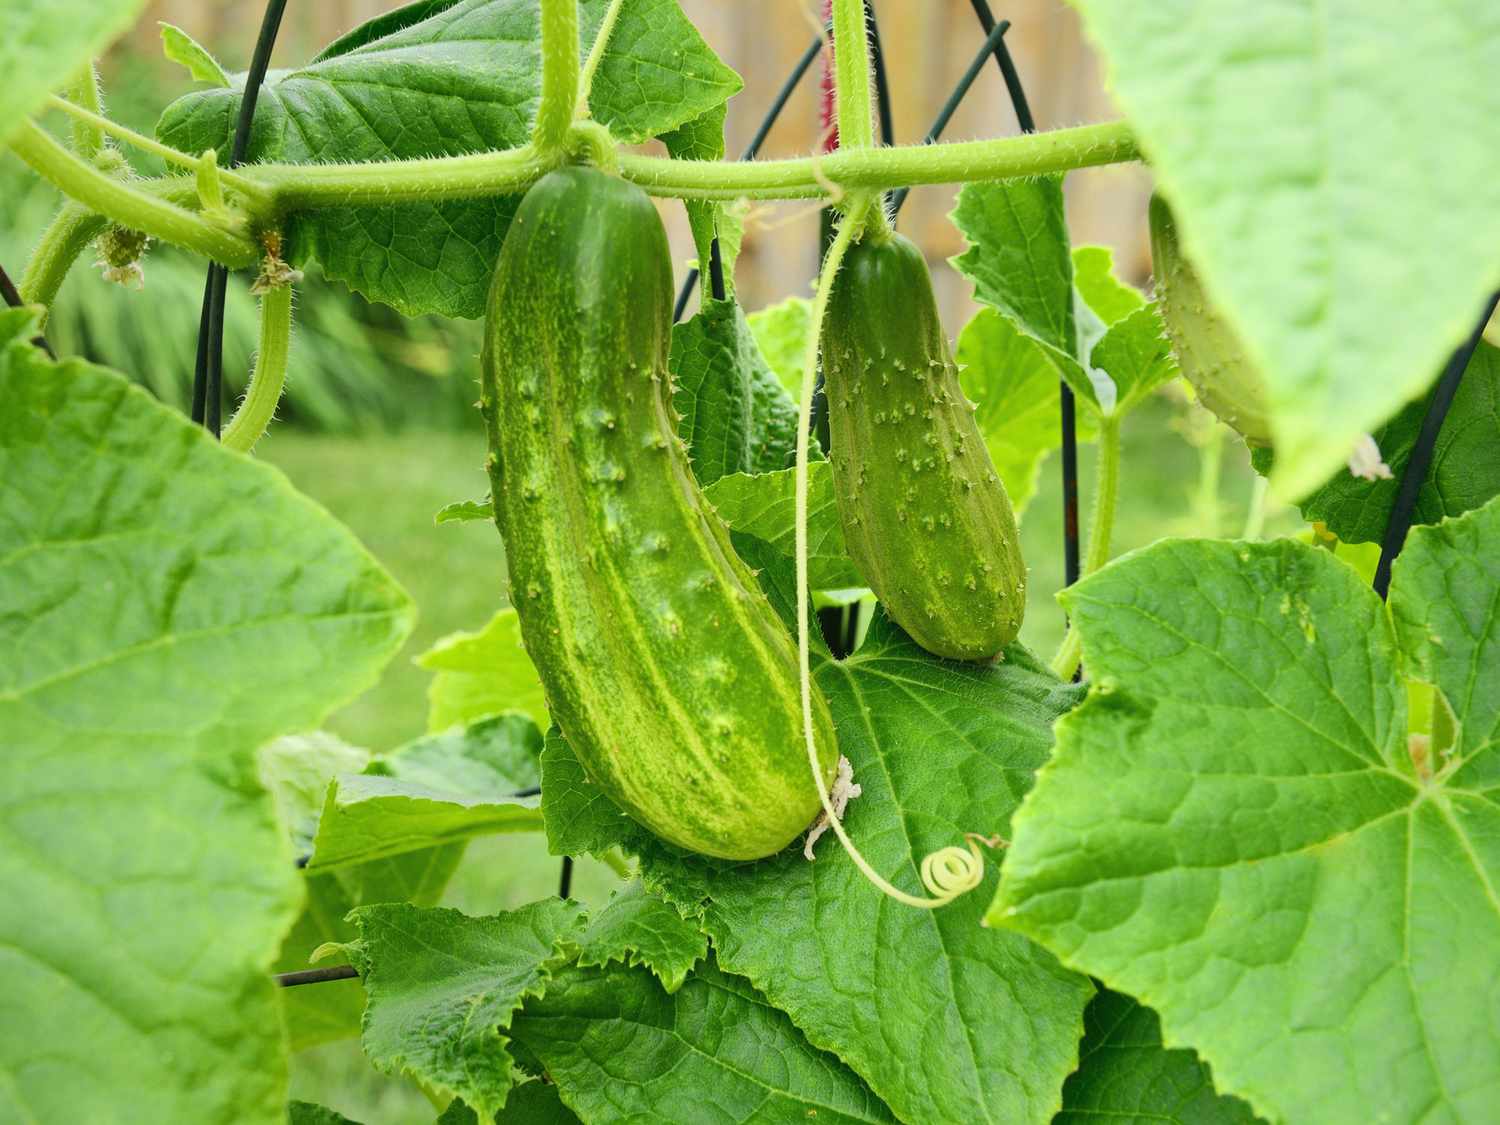
Begin by carefully selecting the plants that will thrive in the raised bed environment. Consider factors such as sunlight exposure, water requirements, and the mature size of the plants. Whether you envision a colorful array of flowers, a bountiful harvest of vegetables, or a fragrant herb garden, thoughtful plant selection sets the stage for a visually appealing and productive garden.
When arranging the plants within the raised bed, consider their growth habits and spacing requirements. Utilize planting techniques such as companion planting to maximize space and encourage beneficial interactions between different plant species. By strategically arranging your plants, you can create a harmonious and productive garden that makes the most of the raised bed's limited space.
Watering and Maintenance
Proper watering is essential for the health and vitality of your garden. Monitor the moisture levels in the raised bed, ensuring that the soil remains consistently moist but not waterlogged. Consider installing a drip irrigation system or utilizing soaker hoses to deliver water directly to the root zones of the plants, promoting efficient water usage and minimizing evaporation.
Regular maintenance tasks, such as weeding, pruning, and monitoring for pests and diseases, are integral to the long-term success of your garden. Embrace the opportunity to connect with your plants as you tend to their needs, fostering a deeper understanding of their growth patterns and requirements. By staying attuned to the evolving needs of your garden, you can address potential issues proactively and maintain a thriving and visually appealing outdoor space.
Seasonal Care and Crop Rotation
As the seasons change, adapt your garden to align with the unique requirements of each time of year. Embrace the beauty of seasonal blooms, adjust watering schedules to accommodate changing weather patterns, and prepare for the transition between different crops. Implementing crop rotation techniques can help maintain soil health and reduce the risk of pest and disease buildup, ensuring the long-term productivity of your raised bed garden.
By embracing the art of planting and maintenance, you can cultivate a vibrant and productive garden within your thoughtfully crafted raised bed. This ongoing process allows you to immerse yourself in the joys of gardening, nurturing your plants and witnessing the beauty of nature unfold within the confines of your sustainable and visually captivating garden space.
Conclusion
In conclusion, the journey of creating a raised garden bed using pallets is a testament to the fusion of sustainability, creativity, and horticultural artistry. This DIY project not only transforms reclaimed pallets into functional and visually appealing garden structures but also embodies the ethos of repurposing materials to minimize waste and contribute to eco-friendly practices.
As you stand back and admire the raised garden bed that has taken shape through your efforts, you are not merely witnessing the culmination of a construction project; you are witnessing the birth of a thriving ecosystem within the confines of the charming and sustainable structure. The rustic allure of the pallet wood, now repurposed and assembled into a raised bed, adds a touch of natural elegance to your outdoor space, creating an inviting environment for plant life to flourish.
The journey from gathering materials and tools to meticulously preparing the pallets, assembling the raised bed, and filling it with nutrient-rich soil is a testament to the transformative power of DIY craftsmanship. Each step represents a deliberate and purposeful act, a testament to your dedication to creating a sustainable and visually captivating garden feature.
As you embark on the journey of planting and maintaining your garden within the raised bed, you are not merely tending to plants; you are nurturing a thriving ecosystem. The careful selection and arrangement of plants, coupled with attentive maintenance and seasonal care, allow you to cultivate a vibrant and productive garden space that reflects your creativity and commitment to sustainable living.
The raised garden bed serves as a living canvas, inviting you to explore the art of gardening and fostering a deeper connection with nature. It becomes a sanctuary where you can escape the hustle and bustle of daily life, immersing yourself in the therapeutic rhythm of tending to your plants and witnessing the beauty of growth and renewal.
In essence, the journey of creating a raised garden bed using pallets transcends the realm of DIY construction; it embodies a harmonious blend of sustainability, creativity, and the timeless art of gardening. It stands as a testament to the transformative power of repurposing materials, nurturing life, and creating a sustainable and visually captivating outdoor space. As you revel in the beauty of your flourishing garden, you can take pride in the fact that you have not only crafted a raised bed but also cultivated a thriving ecosystem that embodies the spirit of sustainable living and natural beauty.
Frequently Asked Questions about How To Make A Raised Garden Bed With Pallets
Was this page helpful?
At Storables.com, we guarantee accurate and reliable information. Our content, validated by Expert Board Contributors, is crafted following stringent Editorial Policies. We're committed to providing you with well-researched, expert-backed insights for all your informational needs.


0 thoughts on “How To Make A Raised Garden Bed With Pallets”