Home>Gardening & Outdoor>Landscaping Ideas>How To Make A Small Raised Garden Bed
Landscaping Ideas
How To Make A Small Raised Garden Bed
Modified: August 30, 2024
Learn how to create a small raised garden bed with our landscaping ideas. Discover step-by-step instructions for a beautiful and functional garden. Start your gardening project today!
(Many of the links in this article redirect to a specific reviewed product. Your purchase of these products through affiliate links helps to generate commission for Storables.com, at no extra cost. Learn more)
Introduction
Creating a small raised garden bed is a fantastic way to bring life and vibrancy to your outdoor space. Whether you have a sprawling backyard or a cozy balcony, a raised garden bed offers a versatile and manageable solution for cultivating your favorite plants, flowers, or vegetables. This DIY project not only adds a touch of natural beauty to your surroundings but also provides a rewarding opportunity to nurture and witness the growth of your own green oasis.
By following a few simple steps, you can transform a small patch of land or a corner of your patio into a flourishing garden bed. This endeavor allows you to exercise your creativity and connect with nature, all while reaping the benefits of fresh produce or colorful blooms. Whether you're a seasoned gardener or a novice enthusiast, the process of building a small raised garden bed is both accessible and gratifying.
In the upcoming sections, we will guide you through the process of creating a small raised garden bed, from selecting the perfect location to planting your chosen greenery. With a bit of determination and a touch of creativity, you'll soon be on your way to enjoying the beauty and abundance of your very own raised garden bed. So, let's roll up our sleeves and embark on this fulfilling journey of gardening and creation.
Key Takeaways:
- Creating a small raised garden bed is a fun and rewarding DIY project that lets you bring nature to your outdoor space, whether it’s a backyard or a balcony. It’s a great way to grow your favorite plants and enjoy the beauty of your own green oasis.
- When building a small raised garden bed, choose a sunny spot, gather the right materials, build a sturdy frame, fill it with good soil, and plant your favorite greenery. It’s a fulfilling journey of creativity, nurturing, and natural beauty.
Read more: How To Make A Raised Garden Bed With Pallets
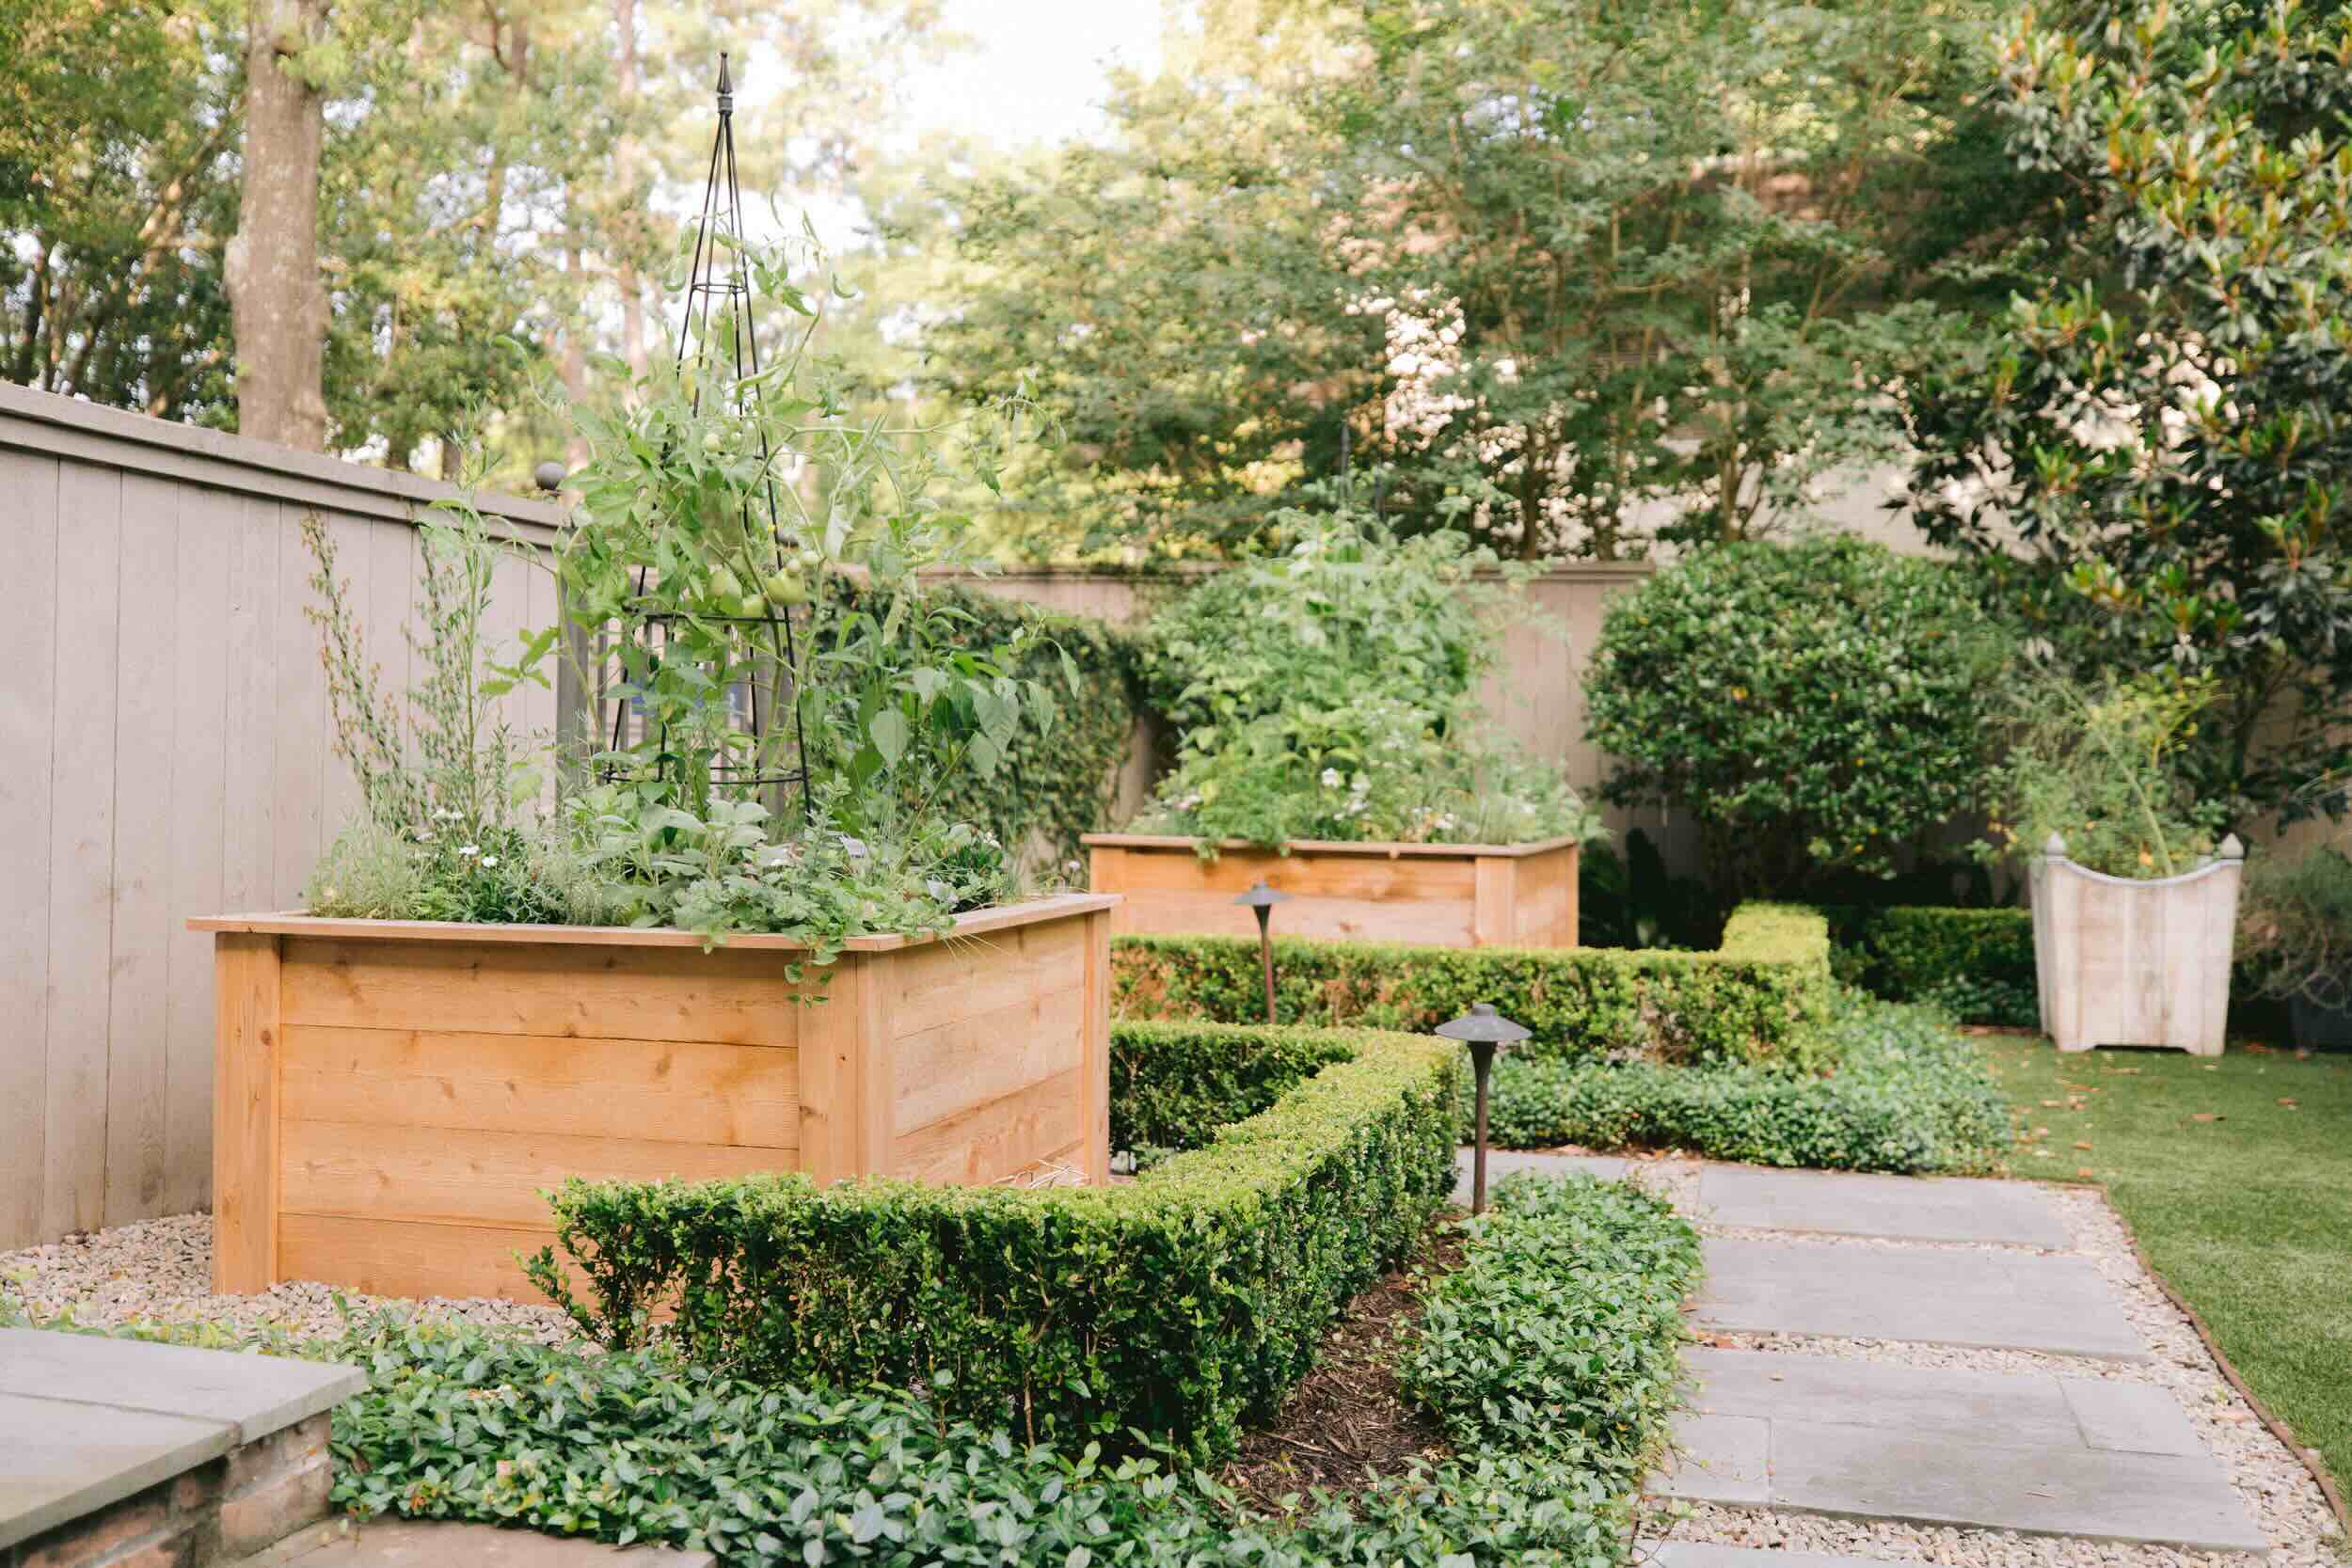
Step 1: Choose a Location
The first and foremost step in creating a small raised garden bed is to carefully select the ideal location for your green sanctuary. The location you choose will significantly impact the growth and overall success of your garden, so it's essential to consider several factors before breaking ground.
Factors to Consider
-
Sunlight Exposure: Assess the amount of sunlight the area receives throughout the day. Most plants thrive in full sun, which typically means a minimum of six hours of direct sunlight. However, if you're planning to grow shade-loving plants, such as certain herbs or leafy greens, a partially shaded area might be more suitable.
-
Accessibility: Consider the accessibility of the location. Ensure that it's convenient for you to tend to your garden bed, especially when it comes to watering, weeding, and harvesting. Additionally, if you're planning to grow edible plants, proximity to your kitchen can be a practical consideration.
-
Water Drainage: Evaluate the area's water drainage to prevent potential issues such as waterlogging. It's crucial to choose a spot that allows excess water to drain away efficiently, as poor drainage can lead to root rot and other water-related problems.
-
Aesthetics: While functionality is key, don't overlook the visual appeal of the location. A well-placed garden bed can enhance the overall aesthetics of your outdoor space, so consider how it will complement the existing landscape and contribute to the ambiance.
-
Space Constraints: Take into account the available space and the size of the garden bed you intend to build. Ensure that the chosen location can accommodate the dimensions of your raised bed while leaving ample room for pathways and future expansion.
Making the Decision
Once you've carefully evaluated these factors, you can confidently choose the perfect location for your small raised garden bed. Whether it's a sunny corner of your backyard, a balcony bathed in dappled light, or a compact courtyard, the chosen spot should align with the specific needs of the plants you intend to grow and seamlessly integrate with your lifestyle.
By thoughtfully considering these factors, you can lay the foundation for a thriving garden bed that's perfectly suited to its environment. With the location selected, you're now ready to move on to the next step in this fulfilling journey of creating your own small raised garden bed.
Step 2: Gather Materials
The next crucial step in creating a small raised garden bed is to gather the necessary materials and tools. By assembling the right components, you can ensure a smooth and efficient construction process, setting the stage for a sturdy and long-lasting garden bed. Here's a comprehensive list of materials and tools you'll need to bring your vision to life:
Read more: How To Make A Raised Garden Bed With Bricks
Materials
-
Lumber: Select high-quality, rot-resistant lumber for constructing the frame of your raised garden bed. Cedar and redwood are popular choices due to their durability and natural resistance to decay. The dimensions of the lumber will depend on the size of the garden bed you plan to build.
-
Hardware: Acquire corrosion-resistant screws or galvanized nails to assemble the frame securely. These fasteners will withstand outdoor conditions and provide structural integrity to the garden bed.
-
Landscape Fabric: Invest in landscape fabric to line the bottom of the raised bed. This will help prevent weeds from growing up into the bed while still allowing for proper drainage.
-
Soil: Depending on the depth of your raised garden bed, you'll need a sufficient amount of soil to fill it. Opt for high-quality, nutrient-rich soil to provide an optimal growing environment for your plants.
-
Compost and Organic Matter: Enhance the soil's fertility by incorporating compost and organic matter. These additions will contribute essential nutrients and improve the overall structure and moisture retention of the soil.
-
Mulch: Consider obtaining mulch to cover the soil surface once the garden bed is planted. Mulch helps conserve moisture, suppresses weed growth, and adds a polished look to the garden bed.
Tools
-
Measuring Tape: A measuring tape is essential for accurately determining the dimensions of the garden bed and ensuring precise cuts during construction.
-
Saw: Depending on the type of lumber you choose, a handsaw or a power saw will be necessary for cutting the boards to the required lengths.
-
Drill or Hammer: A drill with appropriate drill bits or a hammer will be needed to secure the lumber together using screws or nails.
-
Level: To ensure that the garden bed frame is even and well-aligned, a level is indispensable for achieving a professional finish.
-
Gloves and Safety Gear: It's important to prioritize safety. Wear gloves and appropriate safety gear, especially when handling lumber and using tools.
By gathering these materials and tools, you'll be well-prepared to embark on the construction phase of your small raised garden bed project. With everything in place, you're ready to move on to the next step and bring your garden bed to fruition.
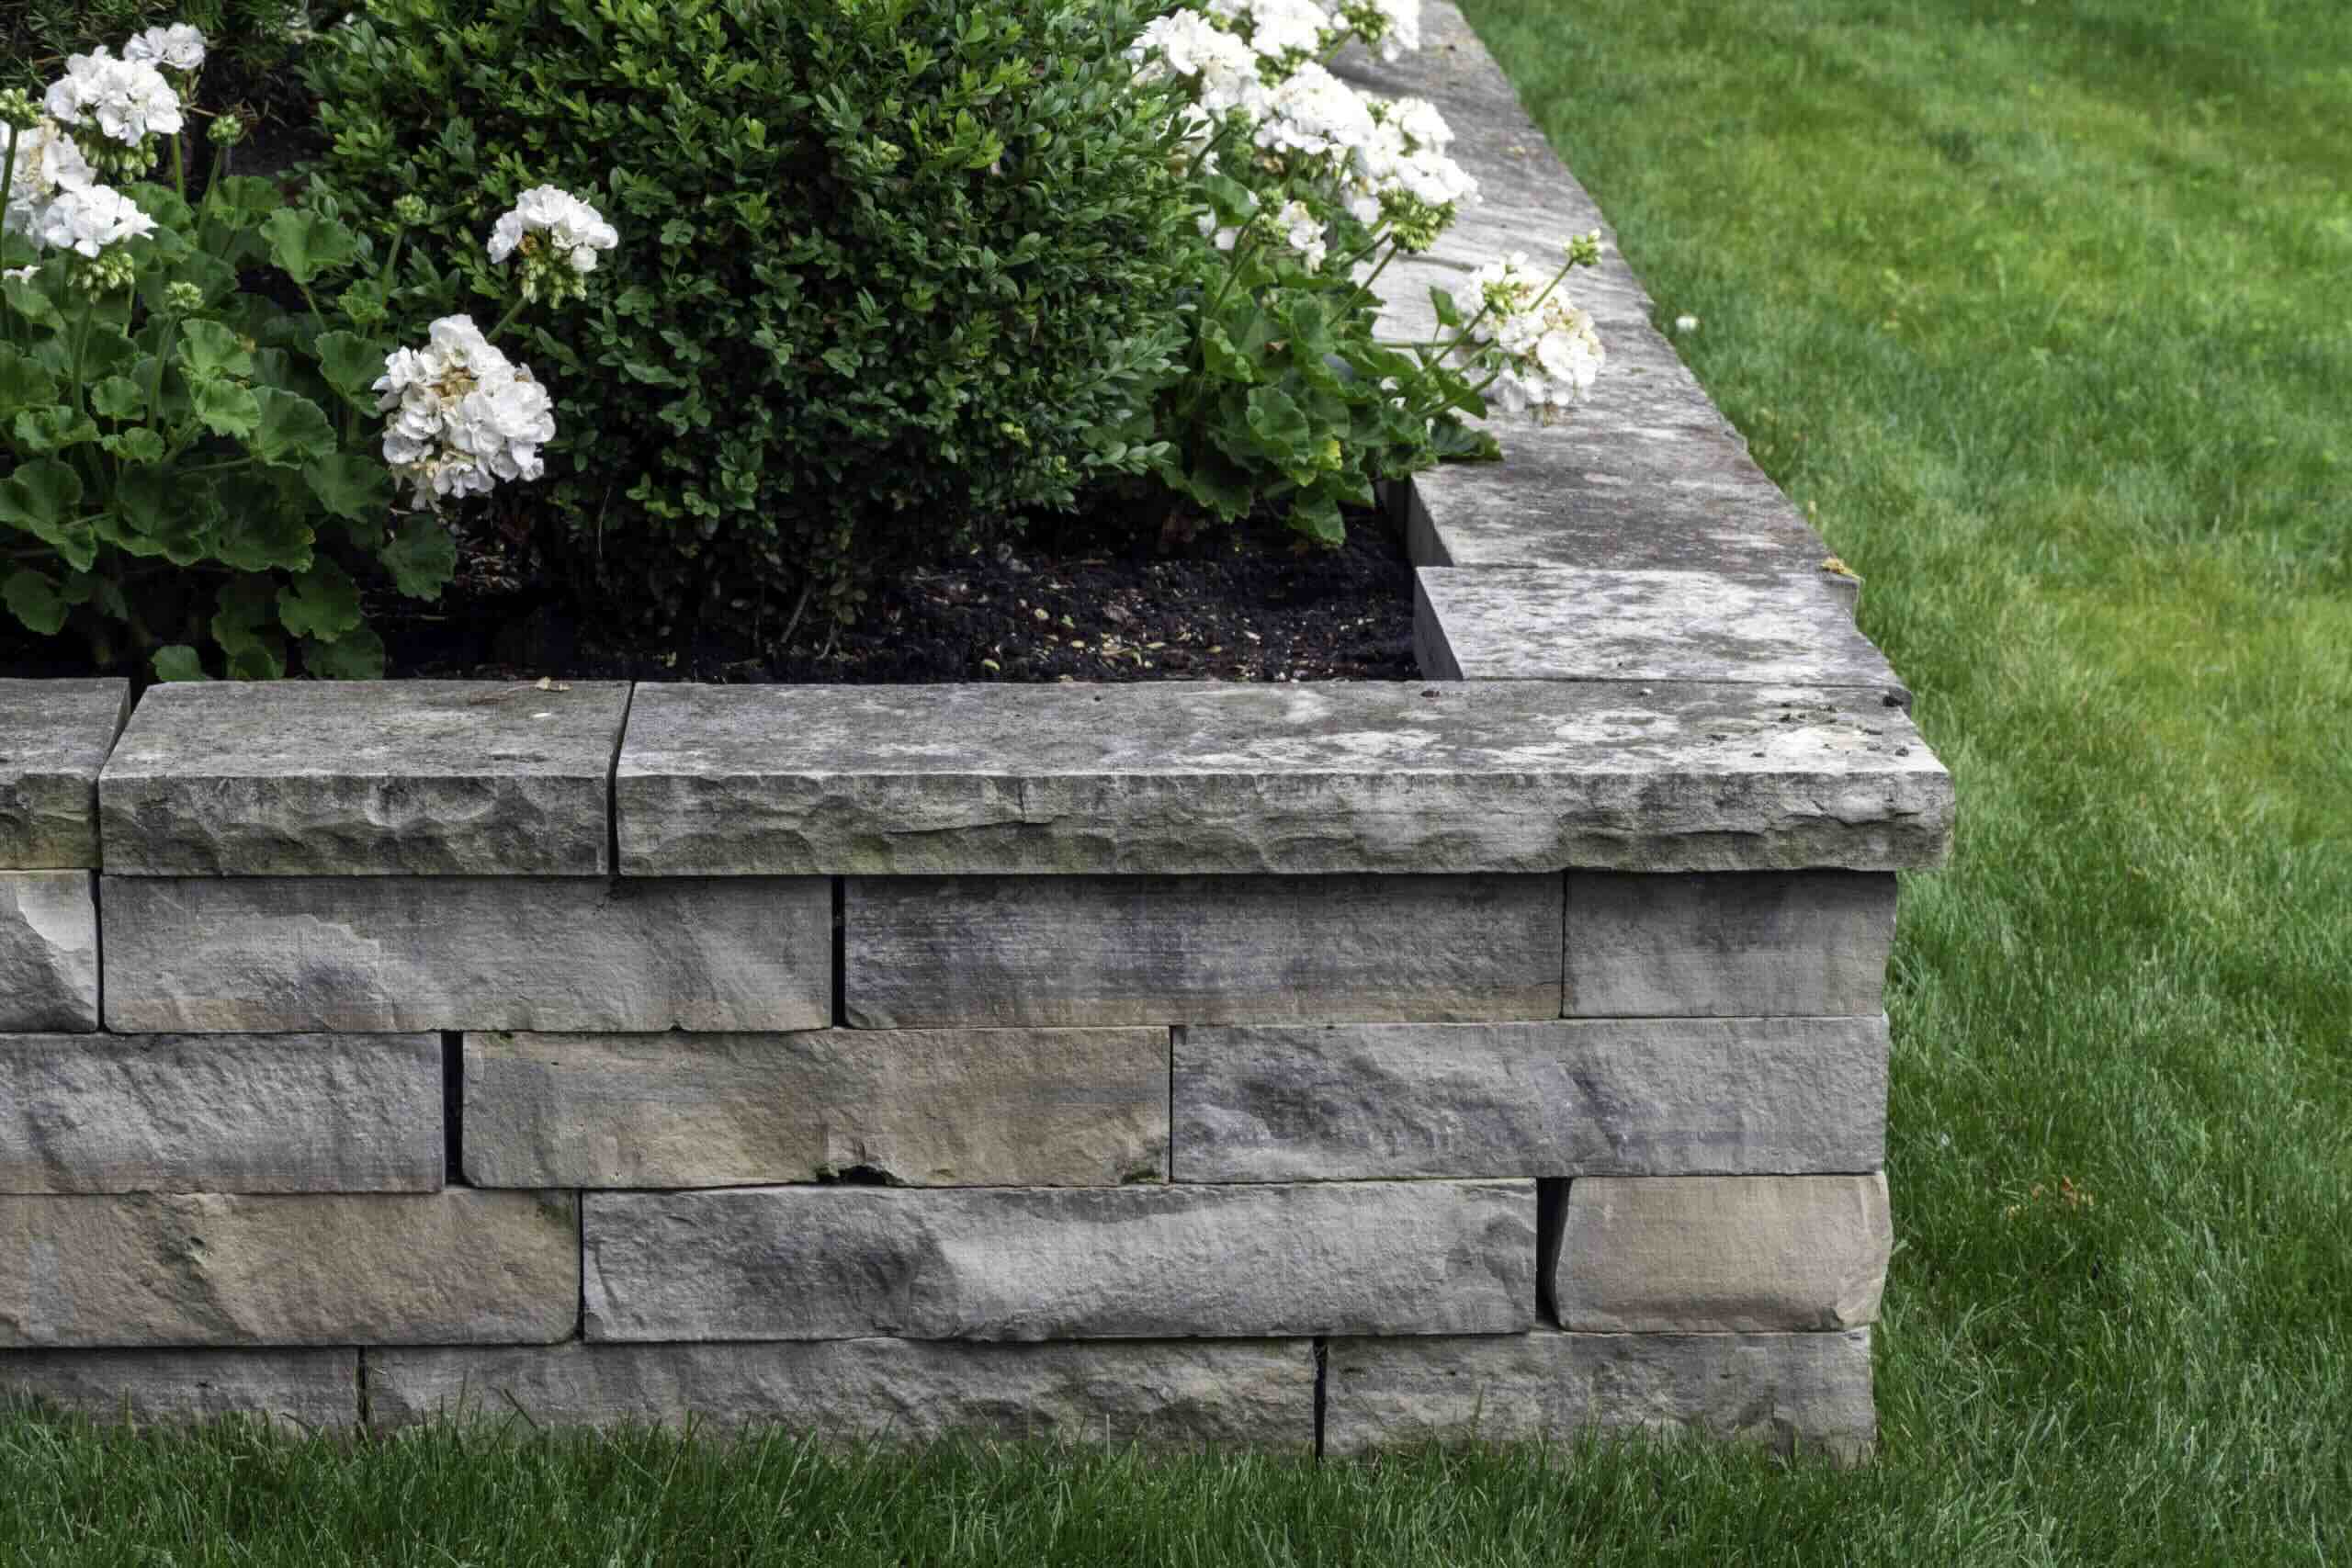
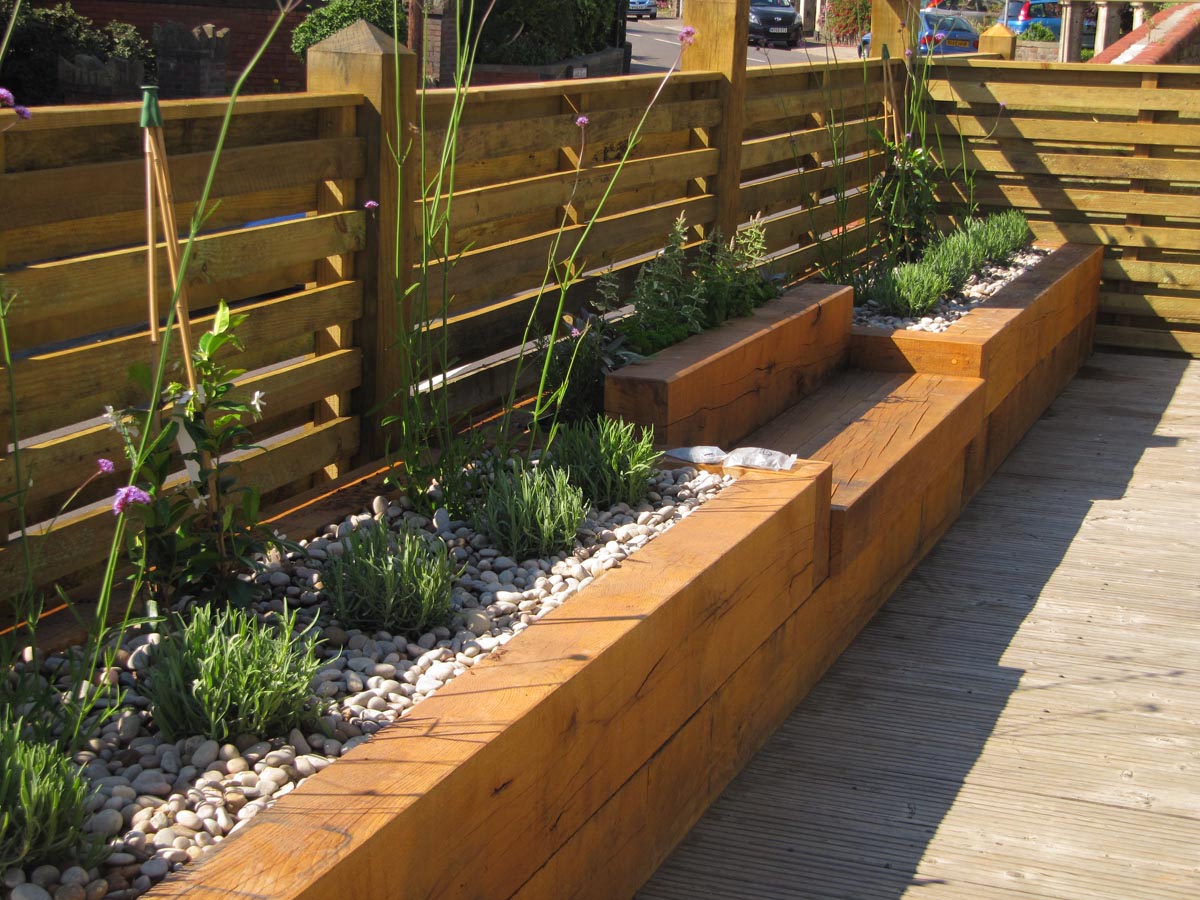
Step 3: Build the Frame
Building the frame is a pivotal stage in the creation of a small raised garden bed, as it forms the structural backbone that will support the soil and plants. This process involves assembling the lumber to create a sturdy and well-defined enclosure for the garden bed. Here's a detailed guide on how to construct the frame with precision and efficiency:
1. Cut the Lumber
Using the measurements determined during the planning phase, carefully cut the lumber to the required lengths. If you're using untreated lumber, it's essential to apply a non-toxic wood preservative to protect the wood from decay caused by exposure to moisture and soil.
Read more: How To Make A Raised Garden Bed Cheap
2. Assemble the Boards
Lay out the cut lumber in the designated location for the garden bed. Position the boards to form a rectangular or square shape, depending on your design preference. Ensure that the corners are square by measuring diagonally from corner to corner and adjusting the boards as needed.
3. Secure the Corners
Using corrosion-resistant screws or galvanized nails, fasten the boards together at the corners. Pre-drilling pilot holes can help prevent the wood from splitting and ensure a secure connection. It's crucial to maintain the squareness of the frame during this process to achieve a professional and visually appealing result.
4. Reinforce the Corners
To enhance the stability and longevity of the frame, consider reinforcing the corners with metal brackets or corner braces. These additional supports provide extra strength and structural integrity, particularly for larger garden beds.
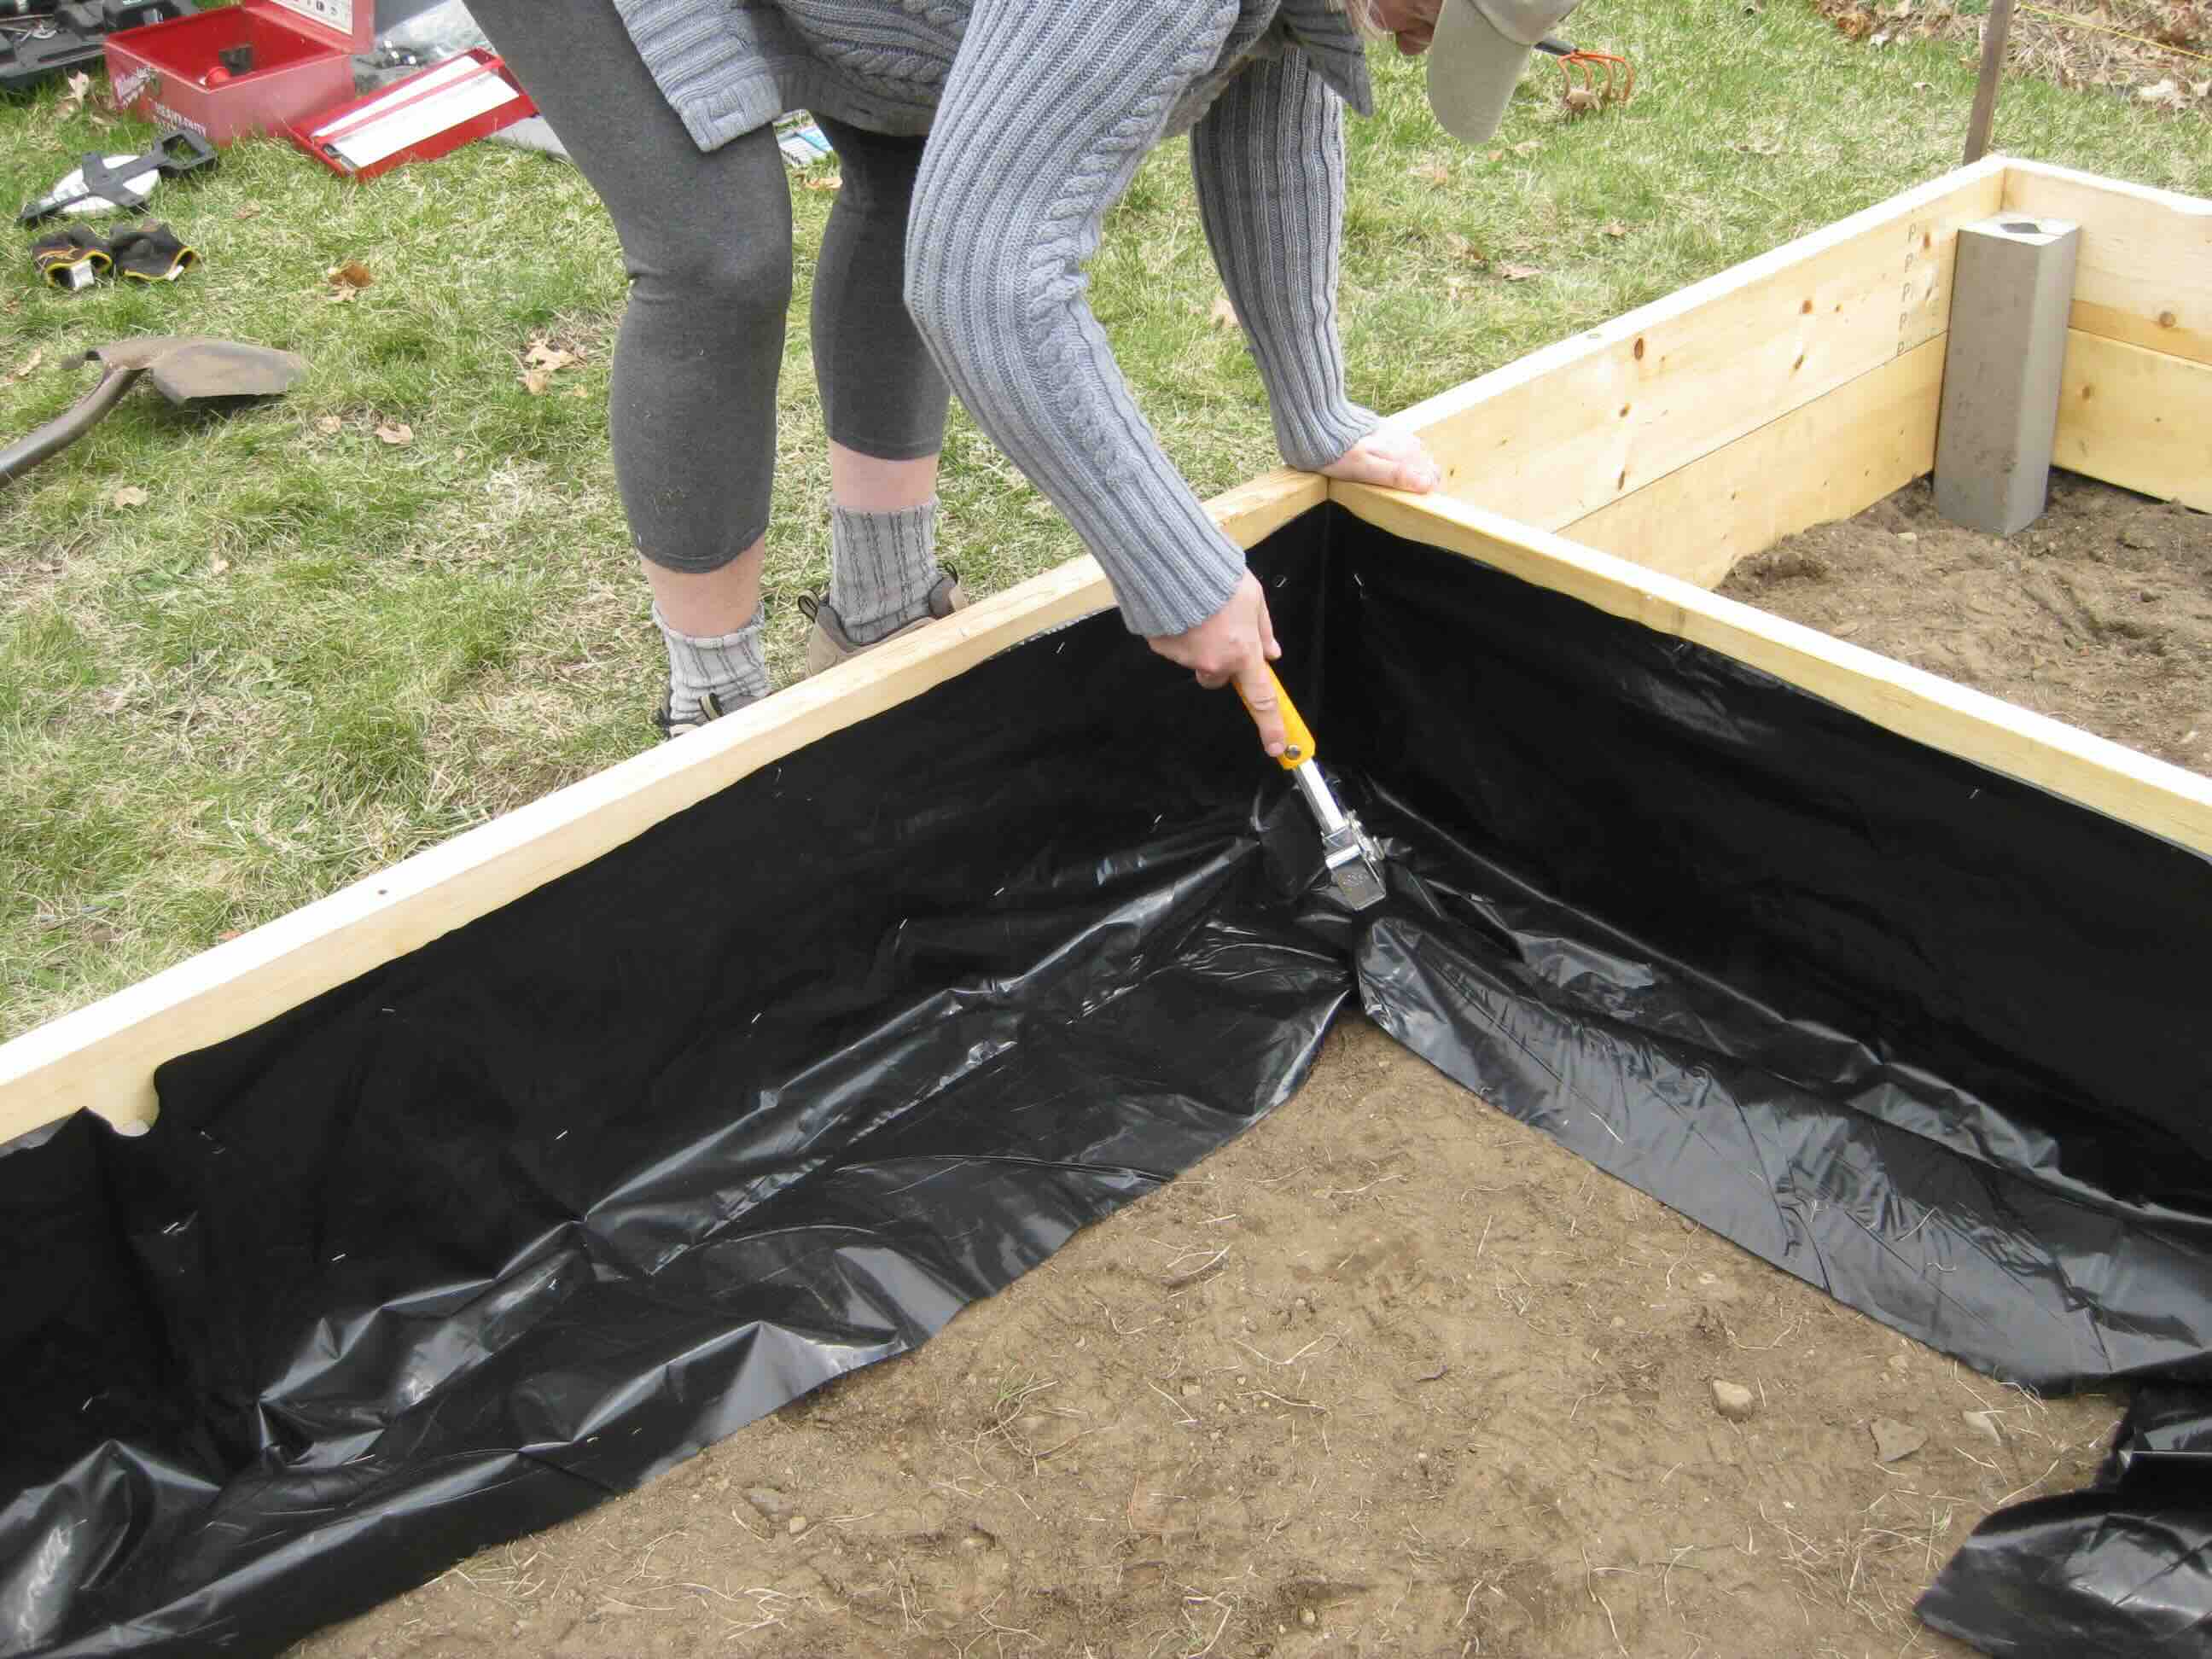
5. Line the Bottom
Once the frame is assembled, line the bottom with landscape fabric to prevent weeds from infiltrating the garden bed while still allowing for proper drainage. Trim any excess fabric to ensure a neat and tidy appearance.
Read more: What Is A Raised Garden Bed
6. Level the Frame
Use a level to ensure that the top of the frame is even and horizontal. Adjust the frame as necessary to achieve a level surface, which is essential for uniform soil distribution and optimal plant growth.
By meticulously following these steps, you can construct a robust and well-crafted frame for your small raised garden bed. With the frame in place, you're now ready to proceed to the next phase of this enriching endeavor: filling the garden bed with nutrient-rich soil and preparing it for the flourishing greenery that will soon grace its confines.
Step 4: Fill with Soil
Filling the raised garden bed with soil is a pivotal step that sets the stage for the growth and vitality of your plants. The quality and composition of the soil directly impact the health and productivity of your garden, making it essential to choose and fill the bed with nutrient-rich, well-prepared soil. Here's a detailed guide on how to effectively fill your small raised garden bed with soil:
1. Select High-Quality Soil
Opt for high-quality soil that is well-draining and rich in organic matter. A balanced mix of topsoil, compost, and other organic amendments can create an optimal growing medium for your plants. Avoid using dense or clay-heavy soil, as it can hinder root development and water penetration.
2. Layer the Soil
Begin by layering the soil components within the garden bed. Start with a base layer of topsoil, followed by a generous application of compost and organic matter. This layering technique promotes a healthy soil structure and provides essential nutrients for plant growth.
Read more: Why A Raised Garden Bed
3. Consider Soil Amendments
Depending on the specific needs of the plants you intend to grow, consider incorporating targeted soil amendments. This may include adding perlite for improved drainage, vermiculite for moisture retention, or specific organic fertilizers to address nutrient deficiencies.
4. Level and Smooth the Surface
After filling the bed with soil, use a rake or gardening tool to level and smooth the surface. Ensure that the soil is evenly distributed and gently compacted to create a uniform and stable planting environment.
5. Mulch the Surface
Consider applying a layer of organic mulch on the soil surface. Mulch helps conserve moisture, suppresses weed growth, and moderates soil temperature, creating a favorable environment for plant roots.
6. Prepare for Planting
Before proceeding with planting, take a moment to water the soil thoroughly. This ensures that the soil settles and eliminates any air pockets, providing a conducive environment for the roots of your plants.
By meticulously following these steps, you can fill your small raised garden bed with nutrient-rich soil, laying the groundwork for a thriving and bountiful garden. With the bed filled and prepared, you're now poised to embark on the exciting phase of planting your chosen greenery, bringing your garden to life in all its natural splendor.
Read more: How To Seal A Raised Garden Bed
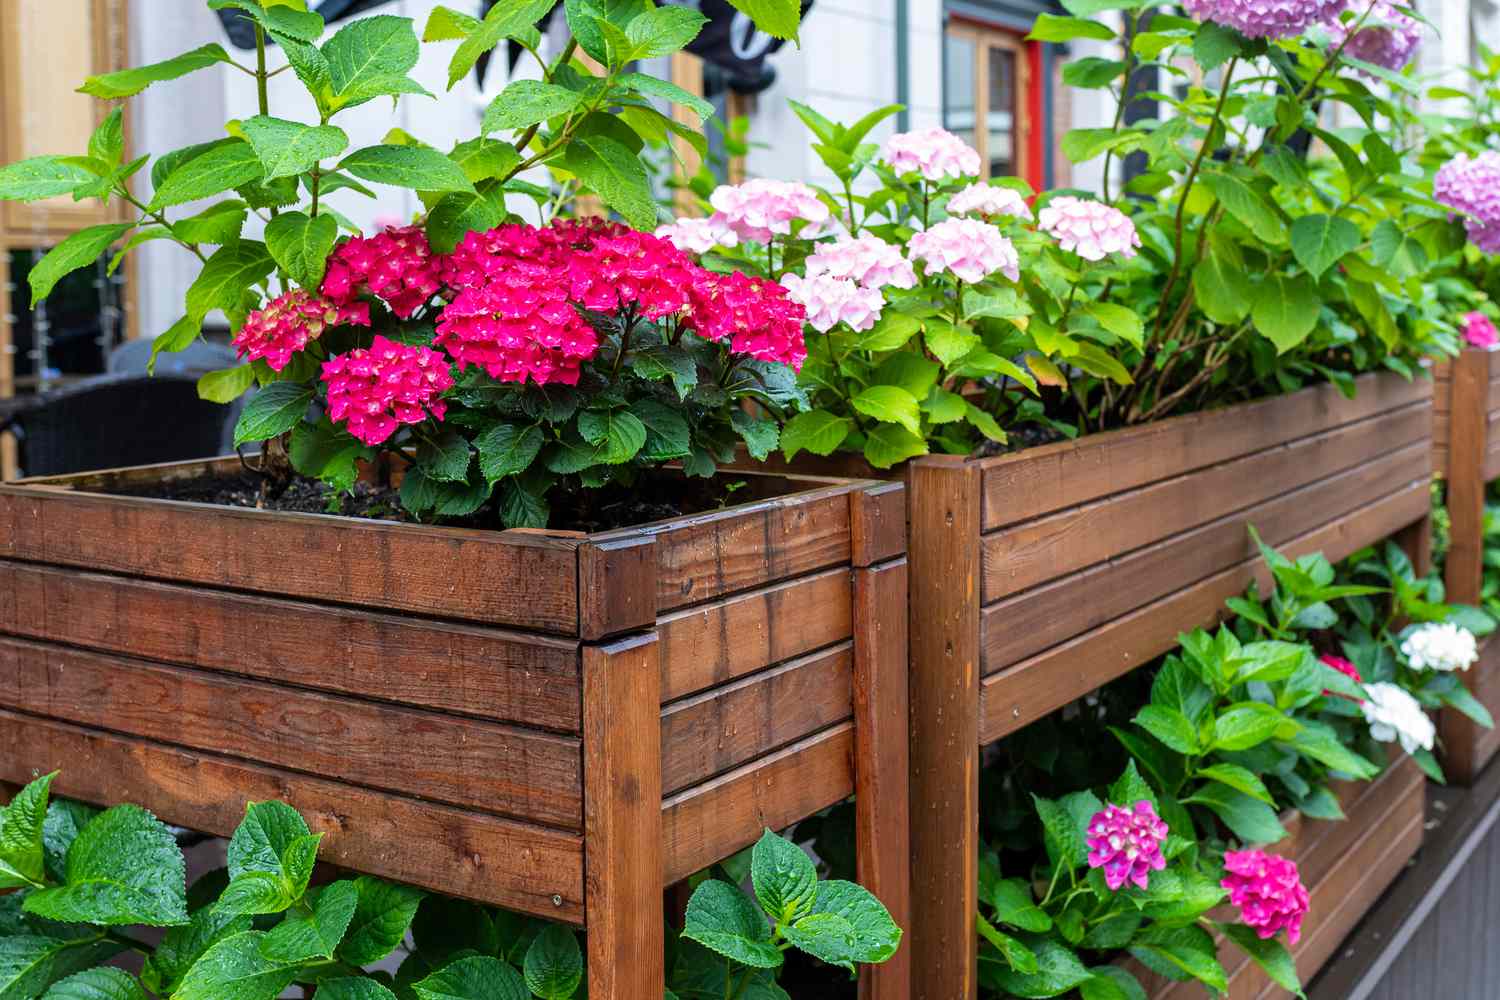
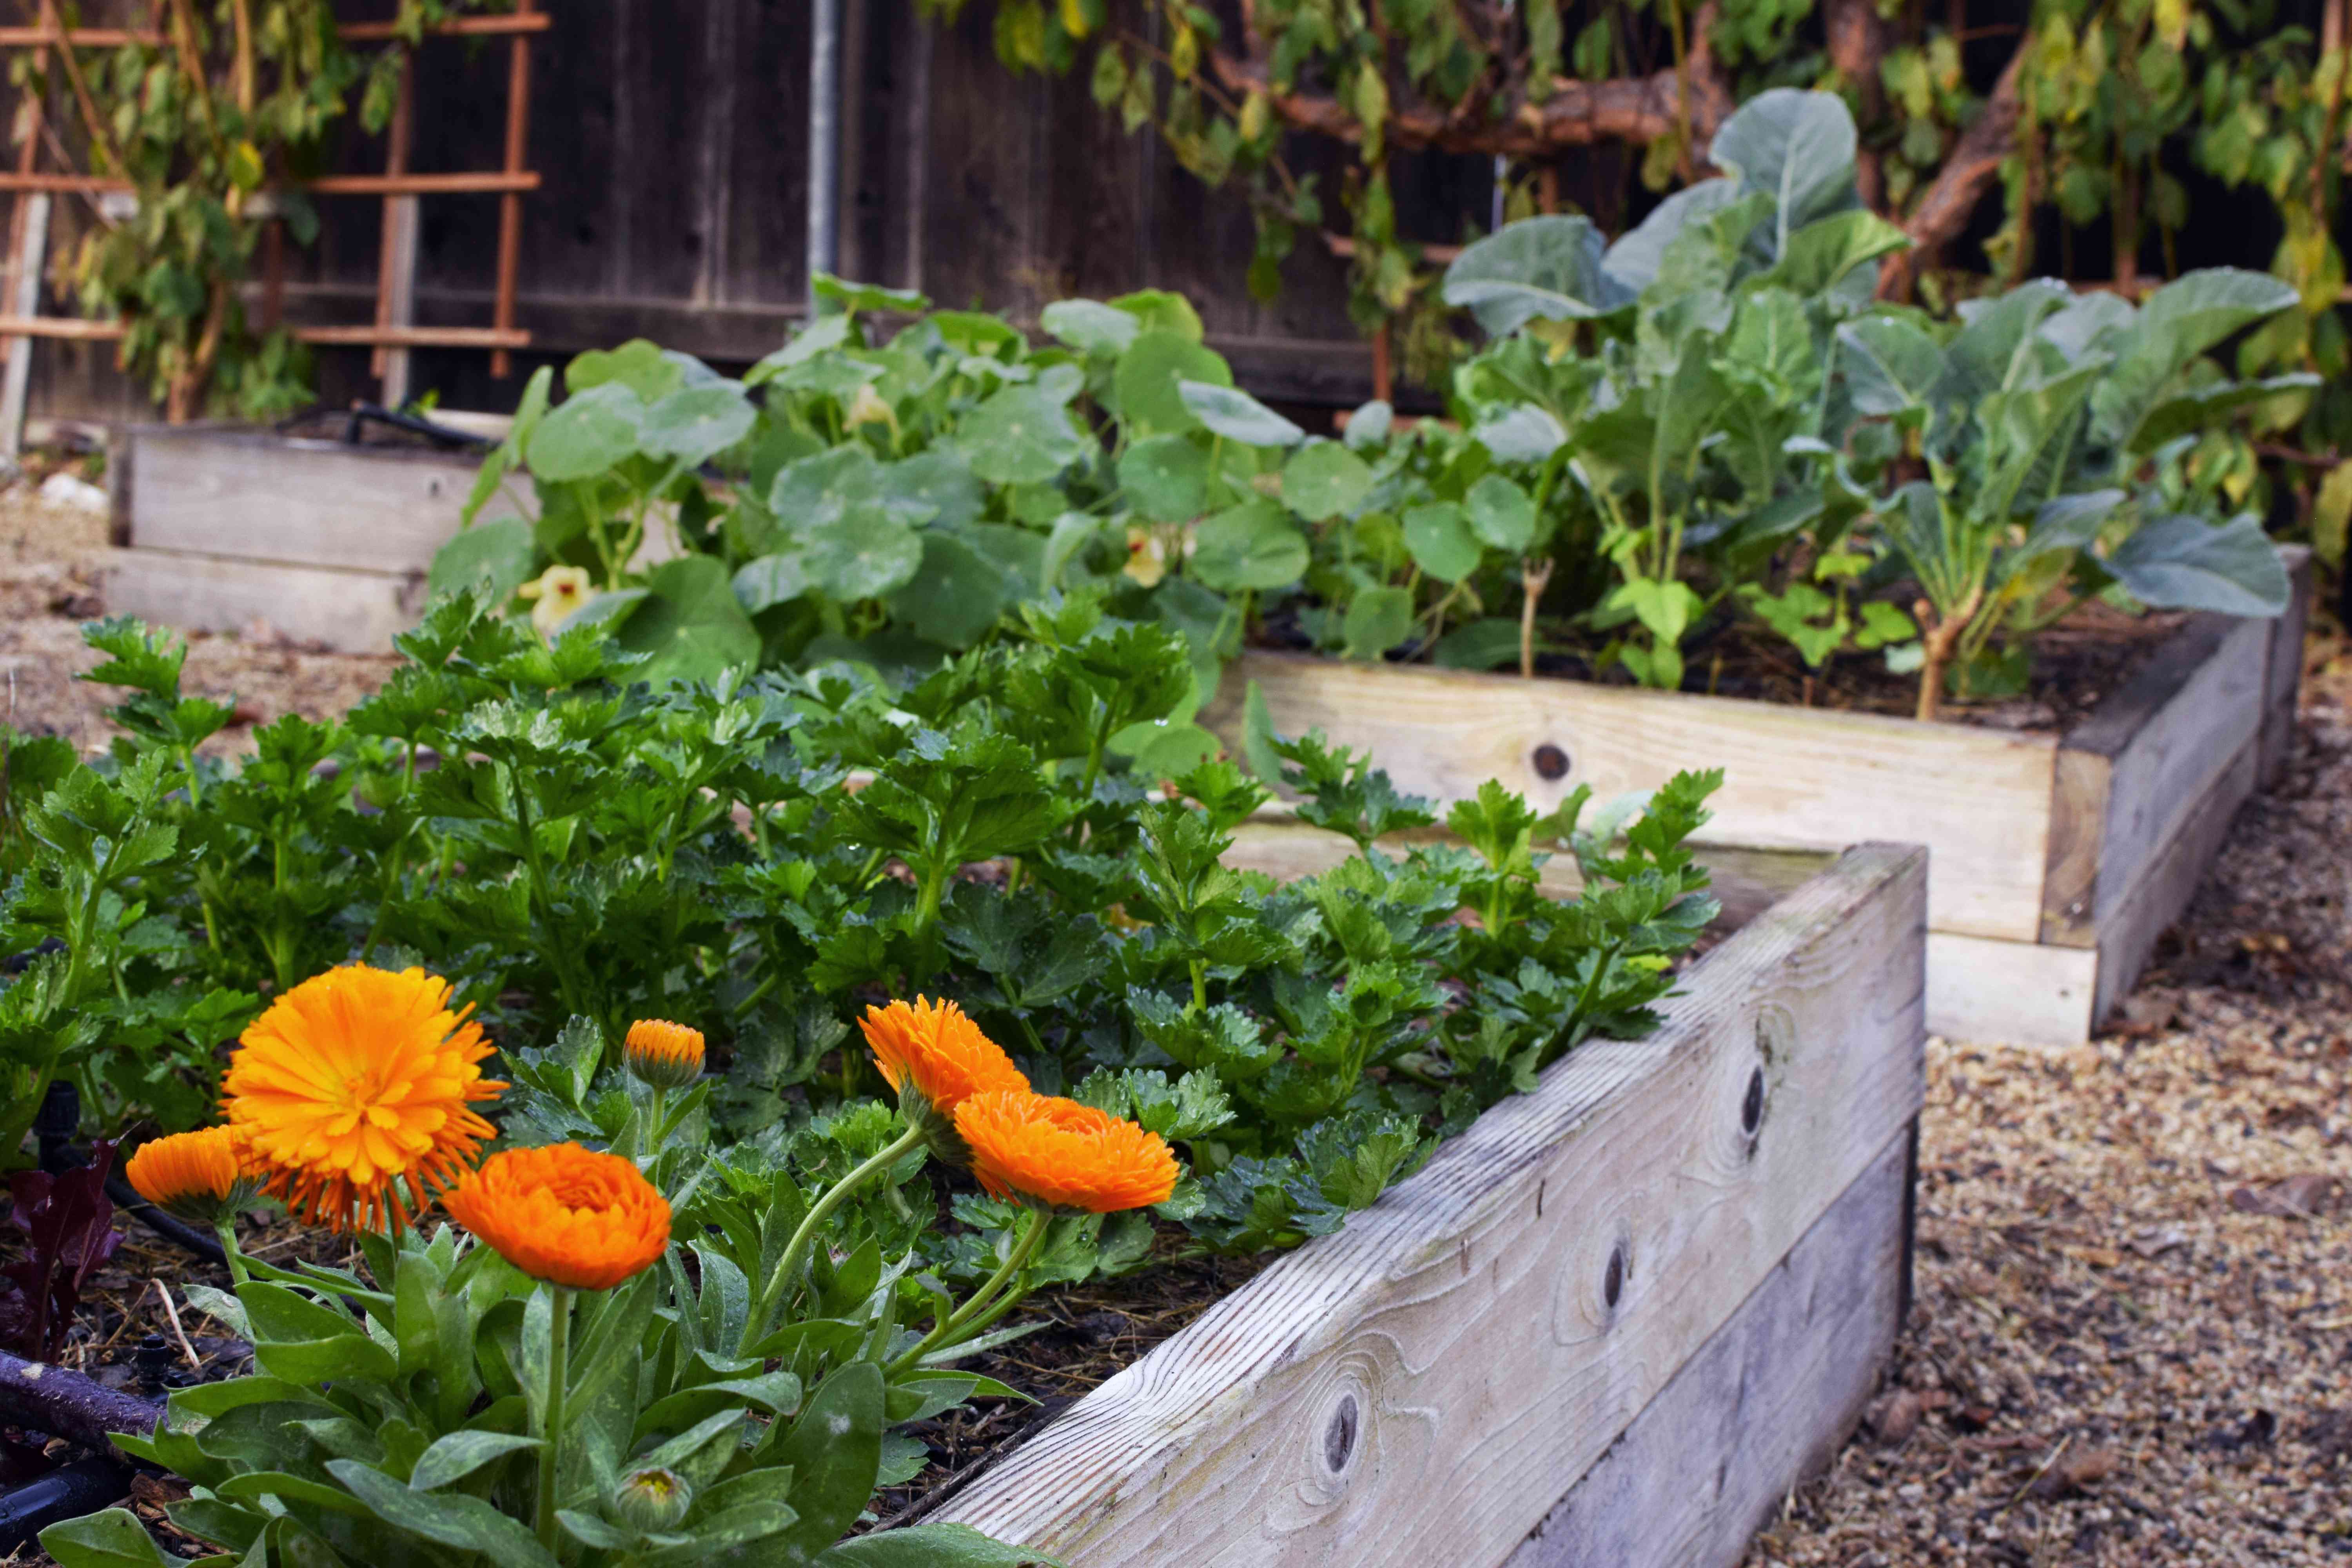
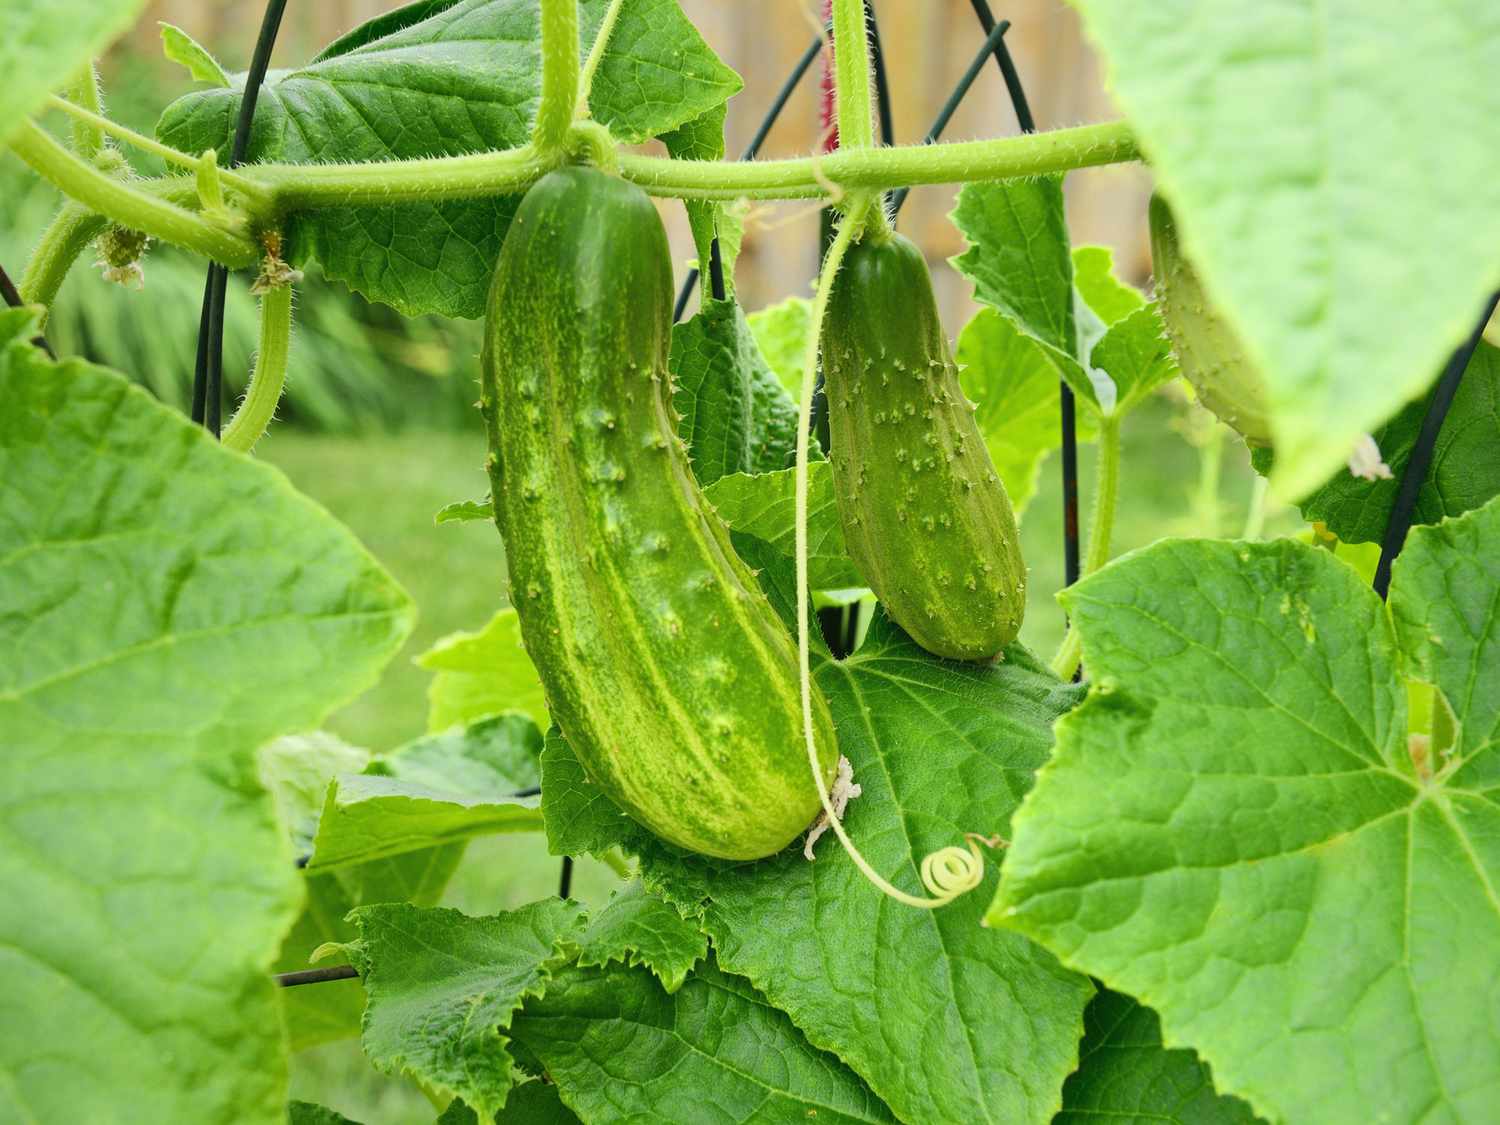
Step 5: Plant Your Garden
With the small raised garden bed meticulously constructed and filled with nutrient-rich soil, the time has come to breathe life into your green sanctuary by planting a diverse array of flora. This step marks the culmination of your efforts, as you carefully introduce your chosen plants, flowers, or vegetables into their new home, setting the stage for a flourishing and visually captivating garden.
1. Select Your Greenery
Before delving into the planting process, take a moment to consider the selection of plants that will grace your garden bed. Whether you envision a vibrant tapestry of flowers, a bountiful assortment of vegetables, or a harmonious blend of both, the choice of greenery is a reflection of your personal preferences and gardening aspirations. Consider factors such as sunlight requirements, mature plant size, and compatibility with neighboring species to curate a cohesive and visually appealing garden.
2. Plan the Layout
Carefully plan the layout of your garden bed, taking into account the growth habits and spacing requirements of the selected plants. Arrange taller or bushier plants towards the back of the bed to prevent shading of smaller specimens, and consider creating visually pleasing patterns or groupings to enhance the aesthetic appeal of the garden.
3. Plant with Care
With the layout in mind, proceed to plant your chosen greenery with precision and care. Dig individual planting holes that are spacious enough to accommodate the root systems of the plants, gently position them at the appropriate depth, and backfill the holes with soil, ensuring firm but gentle tamping to secure the plants in place. Water the newly planted greenery thoroughly to provide essential hydration and support their acclimatization to their new environment.
Read more: How To Cover A Raised Garden Bed
4. Nourish and Protect
Following the initial planting, consider applying a balanced, slow-release fertilizer to provide a nutrient boost to the soil and promote healthy growth. Additionally, consider the application of organic mulch around the base of the plants to conserve moisture, suppress weed growth, and insulate the soil. These measures contribute to the overall health and vitality of your garden, fostering an environment conducive to robust plant development.
5. Embrace Growth and Beauty
As your garden bed begins to flourish, embrace the journey of nurturing and witnessing the growth of your greenery. Regularly tend to your garden, providing adequate water, monitoring for pests or diseases, and offering support to climbing or sprawling plants as needed. Revel in the evolving tapestry of colors, textures, and fragrances that your garden bed will exude, and take pride in the natural beauty and abundance that you have cultivated.
By following these steps, you can infuse your small raised garden bed with an enchanting array of greenery, transforming it into a captivating and thriving oasis of natural splendor. With your garden now planted and poised for growth, you have successfully embarked on a fulfilling and rewarding journey of gardening and creation.
Conclusion
As we conclude this enriching journey of creating a small raised garden bed, it's evident that this DIY project offers far more than just a visually appealing addition to your outdoor space. By carefully selecting the location, gathering materials, constructing the frame, filling it with nutrient-rich soil, and planting a diverse array of greenery, you have embarked on a fulfilling and rewarding endeavor that embodies the essence of creativity, nurturing, and natural beauty.
The process of building a small raised garden bed transcends the mere act of gardening; it represents a harmonious collaboration between human ingenuity and the bountiful offerings of nature. It provides a canvas for self-expression, allowing you to curate a living tapestry of colors, textures, and fragrances that reflect your personal tastes and aspirations. Moreover, it fosters a deeper connection with the natural world, offering a sanctuary where you can escape the hustle and bustle of daily life and immerse yourself in the tranquility of a thriving green oasis.
Beyond the aesthetic and emotional rewards, a small raised garden bed presents practical advantages as well. It empowers you to cultivate your own fresh produce, whether it's a medley of vibrant vegetables, aromatic herbs, or a kaleidoscope of blossoming flowers. This not only promotes sustainability and self-sufficiency but also allows you to savor the unparalleled flavor and nutritional value of homegrown harvests.
Furthermore, the act of tending to your garden bed fosters a sense of mindfulness and tranquility, providing a therapeutic retreat where you can immerse yourself in the rhythm of nature's cycles. Whether it's the simple act of watering your plants, observing the unfurling of delicate petals, or harvesting the fruits of your labor, each interaction with your garden bed becomes a source of joy and fulfillment.
As you witness the evolution of your garden bed, from the initial construction to the flourishing tapestry of greenery, you become a steward of life, nurturing and supporting the growth of a vibrant ecosystem. This journey instills a profound appreciation for the interconnectedness of all living things and the transformative power of nurturing and care.
In essence, the creation of a small raised garden bed transcends the boundaries of a mere DIY project; it is a testament to the enduring bond between humanity and the natural world. It is a celebration of growth, beauty, and the timeless cycle of life that unfolds within the confines of a modest yet resplendent garden bed. As you bask in the tranquility and abundance of your creation, may it serve as a reminder of the boundless wonders that await when we embrace the art of gardening and cultivate our own slice of paradise.
Frequently Asked Questions about How To Make A Small Raised Garden Bed
Was this page helpful?
At Storables.com, we guarantee accurate and reliable information. Our content, validated by Expert Board Contributors, is crafted following stringent Editorial Policies. We're committed to providing you with well-researched, expert-backed insights for all your informational needs.


0 thoughts on “How To Make A Small Raised Garden Bed”