Home>Ideas and Tips>Home Bar Foot Rail Installation: Comfortable Seating Addition
Ideas and Tips
Home Bar Foot Rail Installation: Comfortable Seating Addition
Published: September 25, 2024
Enhance your home bar with a stylish foot rail. Learn how to install it for added comfort and elegance. Follow our step-by-step guide for a professional finish.
(Many of the links in this article redirect to a specific reviewed product. Your purchase of these products through affiliate links helps to generate commission for Storables.com, at no extra cost. Learn more)
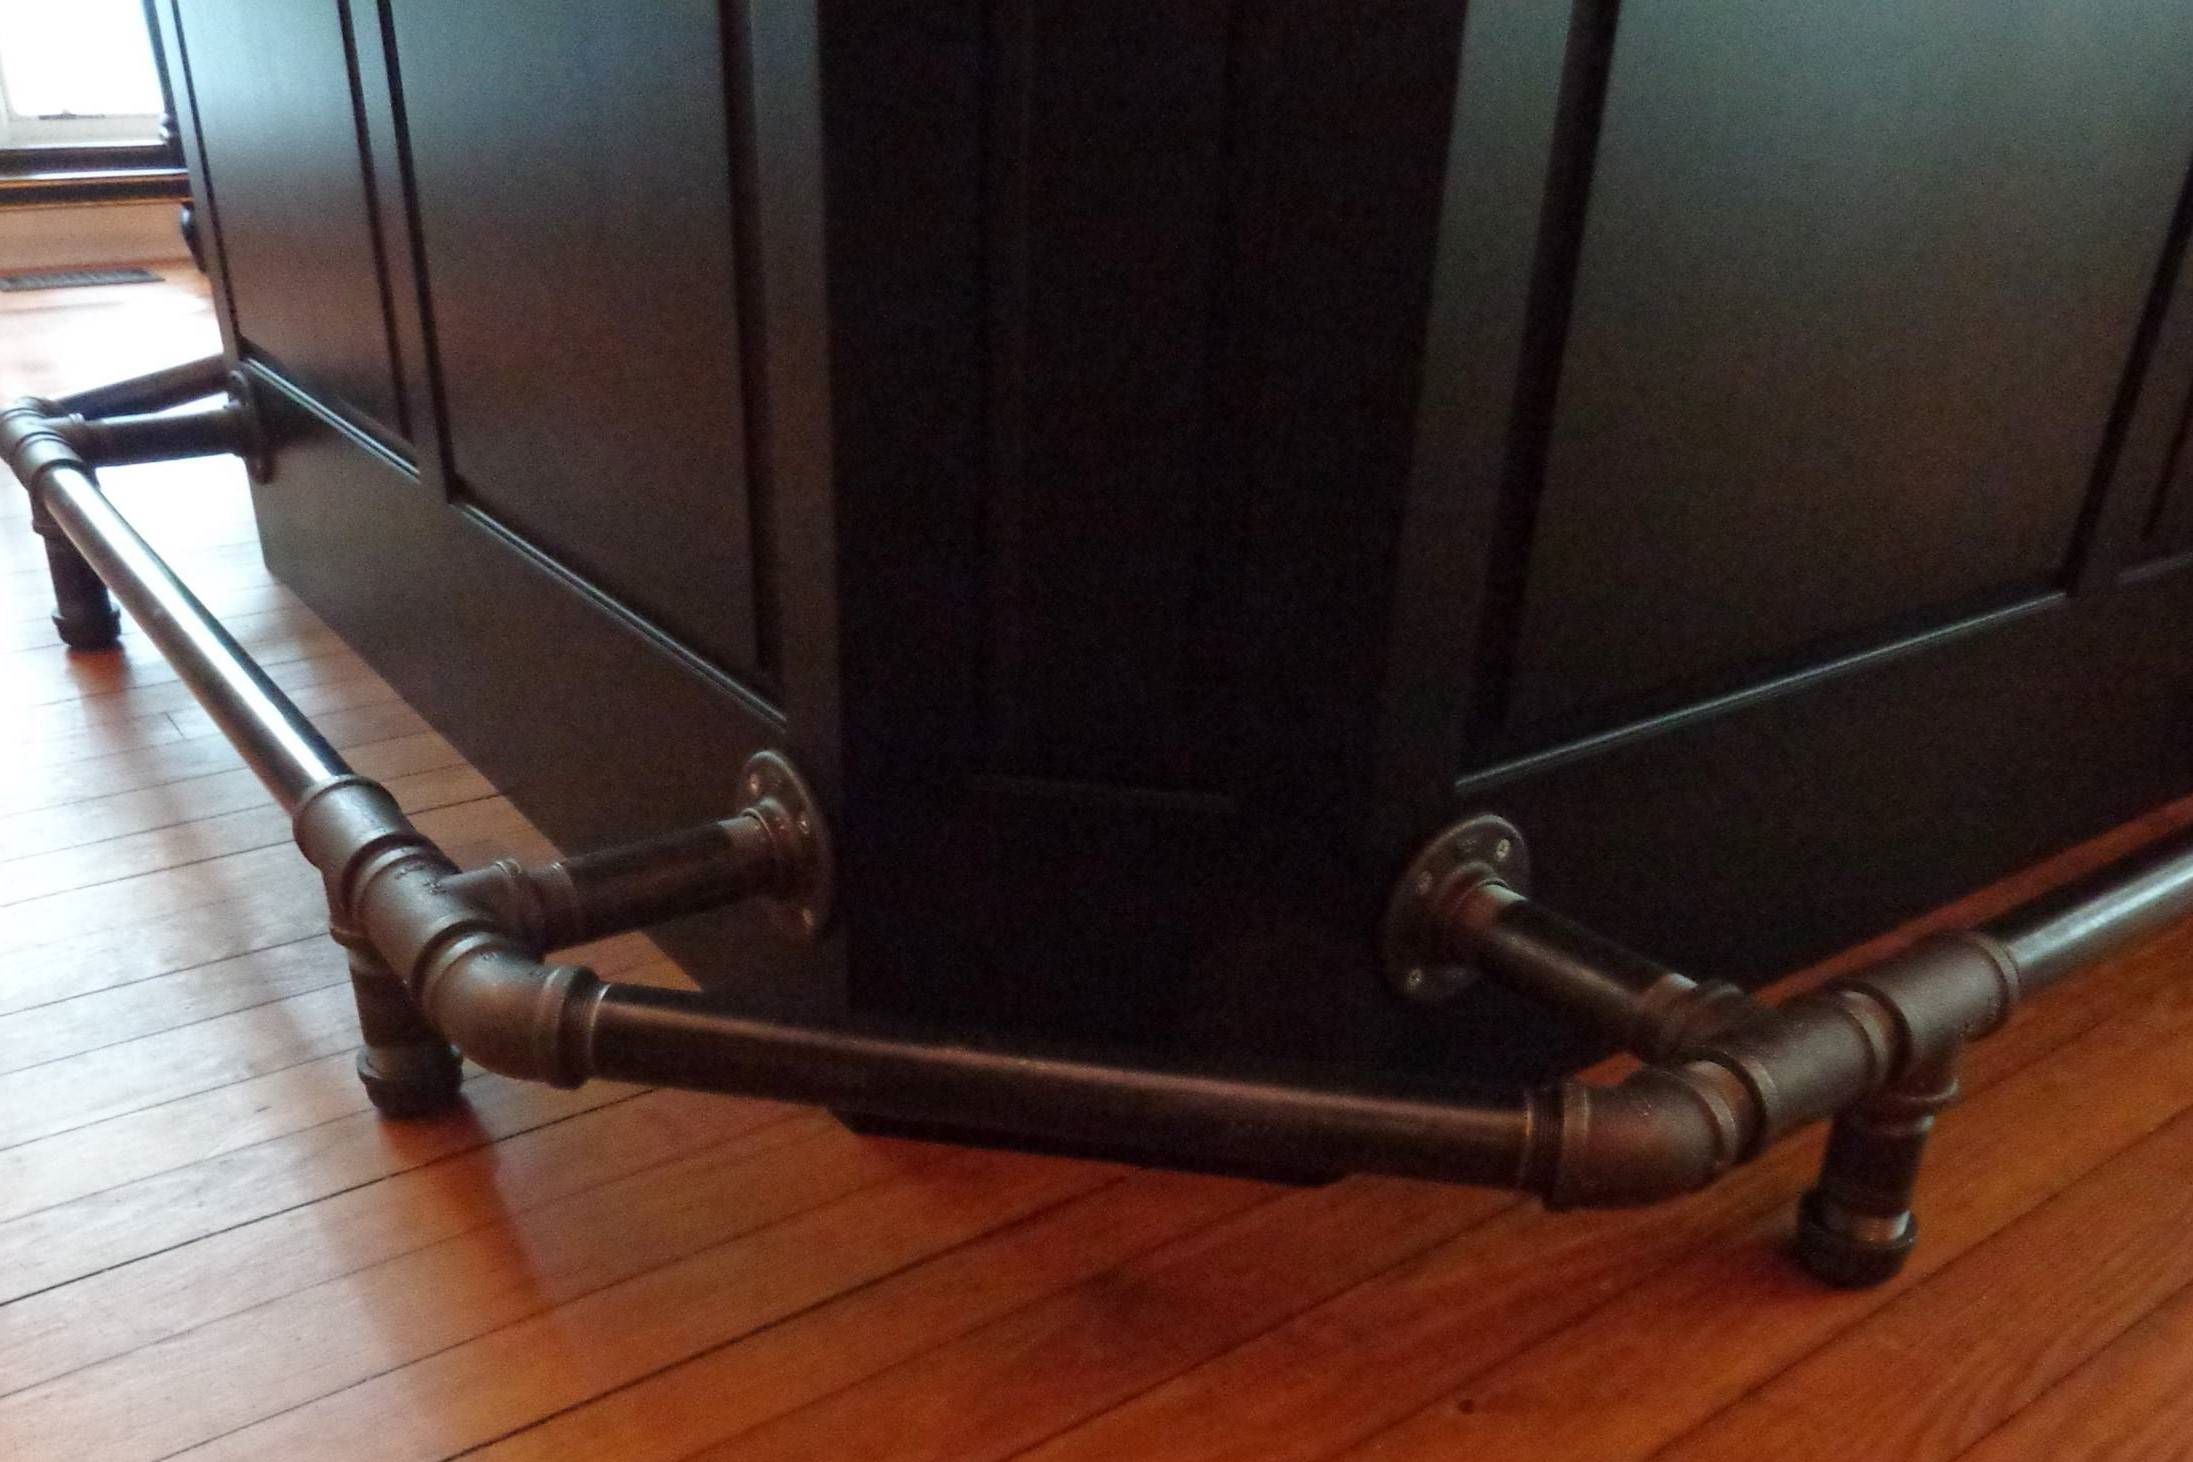
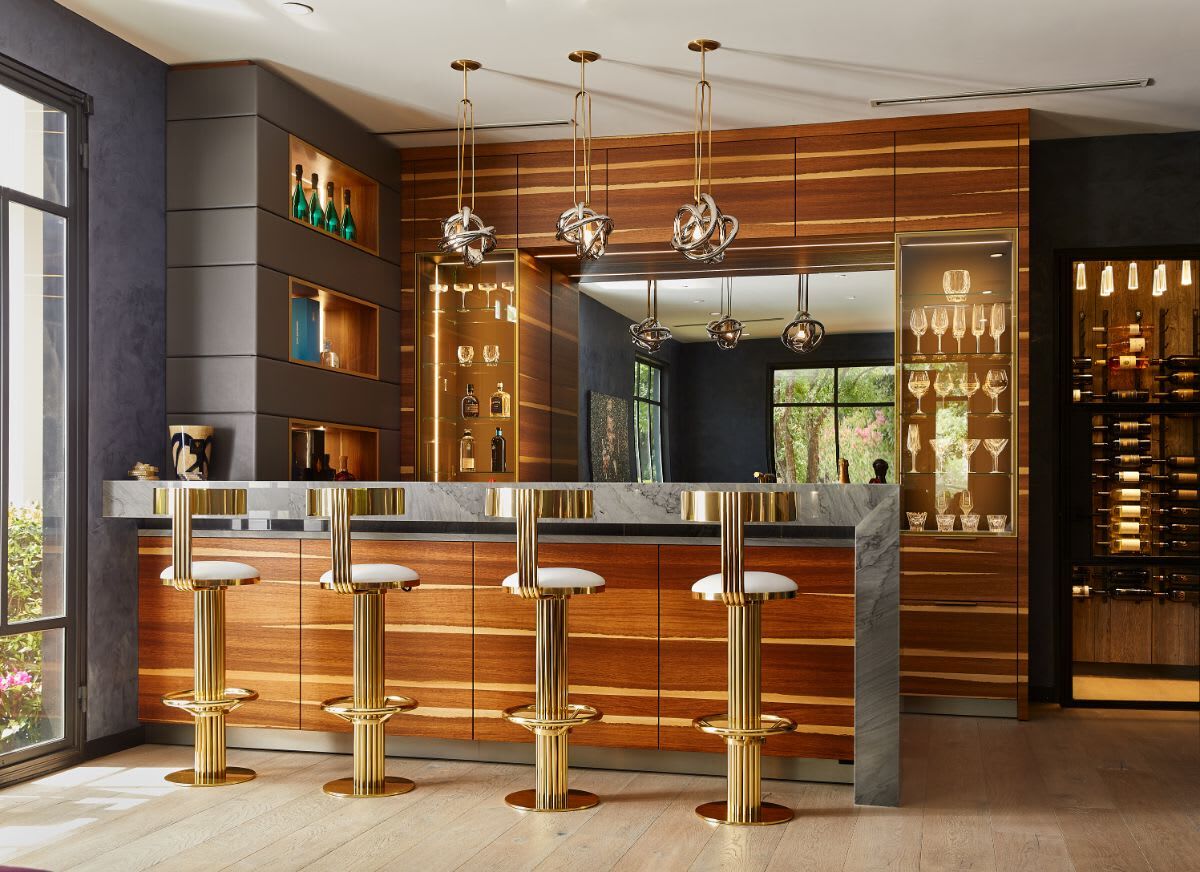
Installing a foot rail in your home bar is an excellent way to enhance both the aesthetic appeal and functionality of your space. A well-designed foot rail not only provides a comfortable place for your guests to rest their feet but also adds a touch of elegance to your bar. In this article, we will guide you through the process of installing a bar foot rail, covering all the necessary steps, tools, and considerations to ensure a professional-looking finish.
Choosing the Right Components
Before you begin the installation process, it is crucial to choose the right components for your bar foot rail. The three main components you will need are:
-
Tubing: This is the metal rail that serves as your foot rest. Tubing is available in various materials such as brass, stainless steel, and wood, each offering different finishes to match the style of your bar. For example, polished brass is a popular choice for its classic look, while satin stainless steel is durable and resistant to fingerprints and scratches.
-
Brackets: These connect the tubing to your bar and/or the floor. There are various types of brackets available, including bar brackets that mount directly to the face of the bar and combination brackets that mount to the face of the bar and then rest on the floor. Custom brackets can also be fabricated to meet specific project requirements.
-
End Caps: These attach to the end of foot rail tubing to provide a finished look to your project. End caps come in different styles such as flat flush and round dome styles, allowing you to customize the appearance of your foot rail.
Planning Your Installation
To ensure that your foot rail installation is successful, it is essential to plan carefully before you start. Here are some steps to follow:
-
Measure Your Bar: Determine the length of tubing you will need by measuring from one end of your bar to the other. It is a good idea to create a virtual rail using measuring tape, string, or scotch tape to visualize and measure the appropriate lengths needed. Bar rail tubing is typically available in lengths of eight feet, so you may need to calculate how many pieces of tubing and connecting pieces will be required.
-
Sketch a Plan: Sketch out a plan for your foot rail system to ensure you order the right parts. This will help you visualize how much space you will need for your foot rail and how many brackets you will require. For example, you should support the tubing with brackets every 6 inches from an end and every 4 feet through the middle for proper support.
-
Determine Bracket Spacing: Decide on the spacing of your brackets based on the length of your bar. For instance, if you have a six-foot bar, you might only need one extra bracket placed two and a half feet between the two ends. The maximum distance between brackets should not exceed four feet.
Tools Needed
To install a bar foot rail, you will need several tools:
-
Electric Drill/Electric Screwdriver: These are necessary for drilling pilot holes and attaching brackets to the bar.
-
Saw: Depending on the material of your tubing (brass or stainless steel), you may need a hacksaw or a powered radial arm saw with a fine-toothed blade or an abrasive wheel.
-
Phillips Screwdriver: This is used to secure the brackets to the bar.
-
Metal File: For smoothing out cut tubing edges to prevent sharp edges.
-
Channel Lock Pliers: These come in handy for setting in brass splicing tubes when joining two pieces of tubing together.
-
Adhesive for Elbows and End Caps: To ensure a secure fit of elbows and end caps.
Step-by-Step Installation Guide
Now that you have all the necessary components and tools, let’s proceed with the installation process:
Step 1: Cutting Tubing (Optional)
If your tubing needs to be adjusted to fit your bar perfectly, you will need to cut it. Here’s how you can do it:
- Measure and Mark: Measure and mark where you need to cut your tubing.
- Cutting Brass Tubing: Use either a hacksaw or a powered radial arm saw with a fine-toothed blade or an abrasive wheel. Ensure that your cuts are square to the length of the tube.
- Cutting Stainless Steel Tubing: Use a powered radial arm saw with a carbide tip blade for stainless steel tubing. Again, ensure that your cuts are square to the length of the tube.
- File Edges: After cutting, file the edges to smooth them out.
Step 2: Assembling the Foot Rail
Once you have cut your tubing to the required length, it’s time to assemble the foot rail:
- Loosely Assemble: Slide the brackets over the tubing but do not attach them to the wall yet.
- Attach Brackets: Attach the brackets securely to the bar using mounting screws along the longest section of your bar. Start with straight sections first and then move on to corners.
Step 3: Installing Brackets at Corners
When turning a corner, you will need an elbow fitting or end caps:
- Elbow Fittings: Use an elbow fitting like this or what many people like to do is simply use end caps and that’s it.
Step 4: Securing Tubing
Secure any loose tubing to the brackets:
- Tighten Set Screws: Once all sections are loosely assembled, tighten set screws securely.
Step 5: Adding End Caps
Finally, attach your end caps for a nice finished look:
- Choose Style: Select either flat flush or round dome style end caps depending on your preference.
Additional Considerations
While installing a bar foot rail is relatively straightforward, there are some additional considerations you should keep in mind:
-
Finish Protection: When your bar rails arrive wrapped in protective plastic film, try to keep this covering in place as long as possible to help protect it from scratches and dings during installation.
-
Splicing Sleeves: If you need longer than eight feet of bar rail tubing, use splicing sleeves on the inside of your tubing to connect two pieces together. Use a wrench to crimp the splicer so it slides easily into the rail.
-
Wall Flanges: If the end of your foot rail tubing meets a wall or any other flat surface, use wall flanges for proper support.
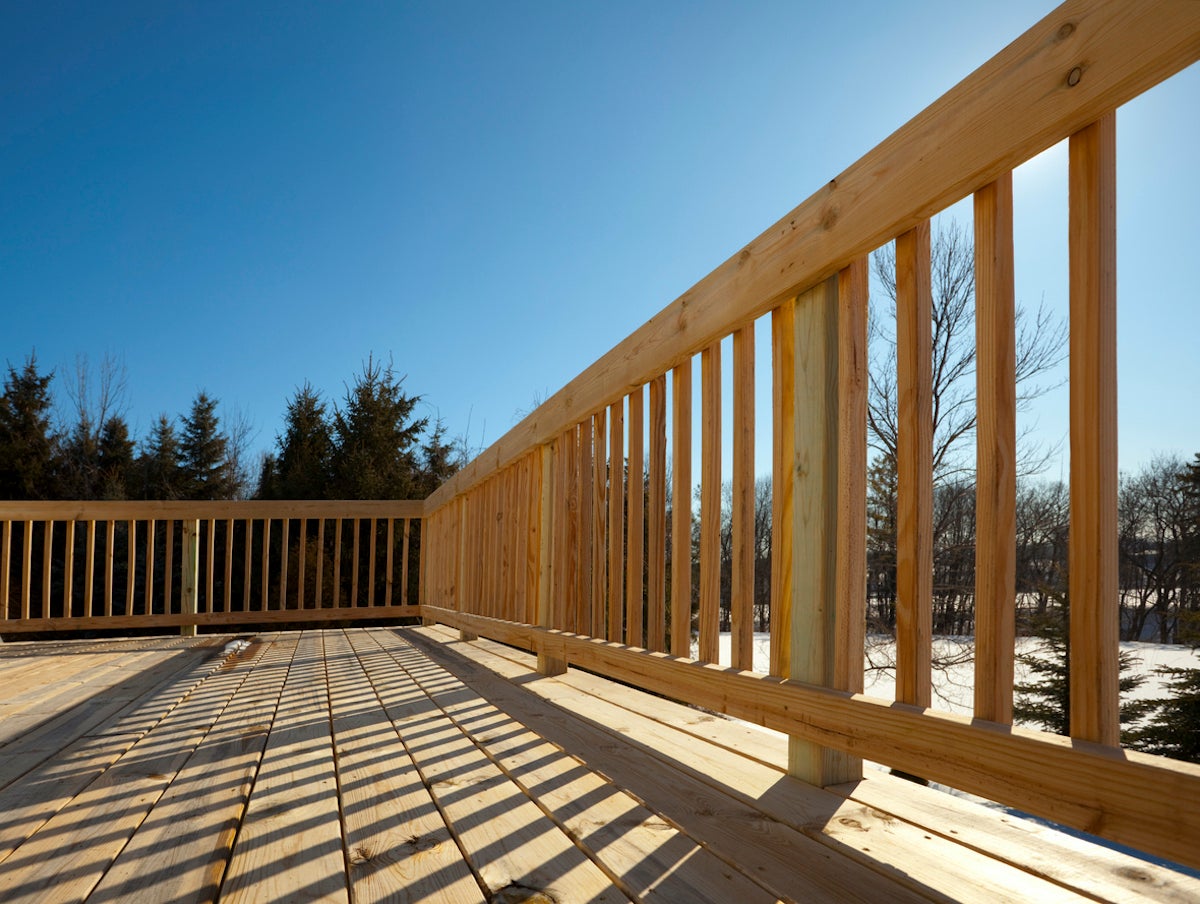
Read more: How To Install Balcony Railing
Conclusion
Installing a bar foot rail is an excellent way to enhance both the comfort and aesthetic appeal of your home bar. By following these steps and considering all necessary components and tools, you can achieve a professional-looking finish that adds class and comfort to your bar. Whether you choose polished brass, satin stainless steel, or unstained wood finishes, your new foot rail will provide both functional purpose and enhance the entire atmosphere when installed correctly.
Remember to plan carefully before starting your project, measure accurately, and use proper tools for each step of the installation process. With these tips and guidelines, you’ll be able to create a beautiful and functional foot rail system that complements your home bar perfectly.
References How To Install Bar Foot Rails – YouTube by Robert from The Cocktail Spirit on Small Screen Network (2009-05-15) Adding and Installing a Bar Foot Rail | ESP Metal Products & Crafts (2018-01-02) Bar Foot Rail Installation Guide for 4', 6' and 8' Railings by Outwater Industries (2024-04-28) Planning & Installing Bar Foot Rails – Resource Center by KegWorks (2020-09-09) How to Install A Bar Foot Rail – YouTube by Zan Williams of The Kings Bay (2022-06-20)
Was this page helpful?
At Storables.com, we guarantee accurate and reliable information. Our content, validated by Expert Board Contributors, is crafted following stringent Editorial Policies. We're committed to providing you with well-researched, expert-backed insights for all your informational needs.


0 thoughts on “Home Bar Foot Rail Installation: Comfortable Seating Addition”