Articles
How To Install Deck Railing Posts
Modified: May 6, 2024
Learn how to install deck railing posts with our step-by-step articles. Build a sturdy and secure deck railing using our expert tips and techniques.
(Many of the links in this article redirect to a specific reviewed product. Your purchase of these products through affiliate links helps to generate commission for Storables.com, at no extra cost. Learn more)
Introduction
Installing deck railing posts is an essential step in ensuring the safety and stability of your deck. Not only do railing posts provide support for the railing panels, but they also serve as a crucial barrier to prevent accidental falls and injuries. In this guide, we will walk you through the step-by-step process of installing deck railing posts, from gathering the necessary materials to adding the finishing touches.
Before you begin, it’s important to note that the specific requirements and regulations for deck railing installation may vary depending on your location. It is always recommended to consult with local building codes and obtain any necessary permits before proceeding with the project. Safety should be your priority throughout the installation process.
By following this comprehensive guide, you can ensure a successful and secure installation of your deck railing posts. So, let’s dive in and get started!
Key Takeaways:
- Properly spacing and securing deck railing posts is crucial for creating a sturdy foundation for your railing panels, ensuring both safety and visual appeal for your outdoor space.
- Adding finishing touches and safety measures, such as trim and finish, painting or staining, and incorporating safety accessories, enhances the longevity, aesthetics, and functionality of your deck railing system.
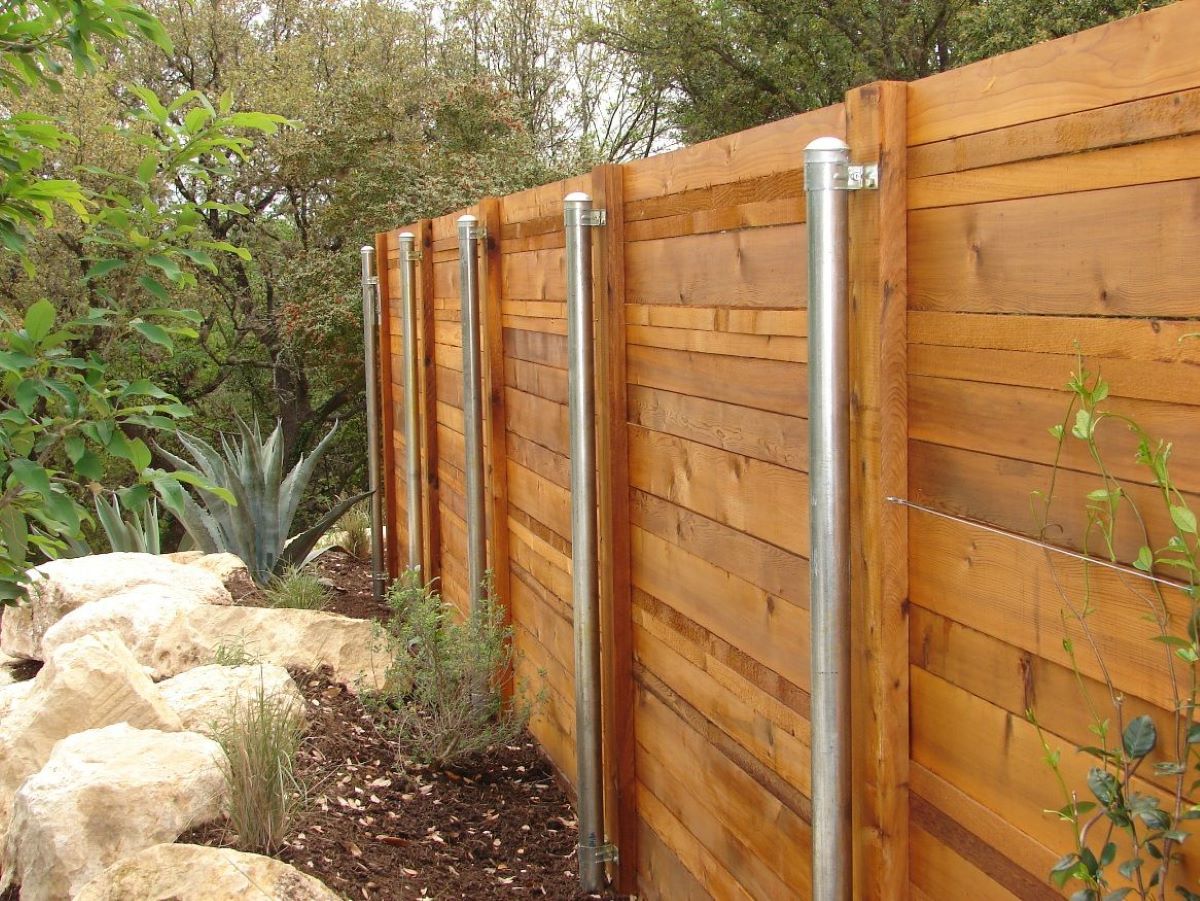
Read more: How To Build A Post And Rail Fence
Step 1: Gather the necessary materials and tools
Prior to installing deck railing posts, it’s crucial to gather all the materials and tools you will need for the project. This will ensure a smooth and efficient installation process. Here’s a list of the essential items you’ll need:
- Deck railing posts: Choose sturdy and durable posts that are suitable for outdoor use. The material and design of the posts will depend on your personal preference and the style of your deck.
- Post anchors or post brackets: These are used to securely attach the railing posts to the deck surface. Make sure to select anchors or brackets that are compatible with the type of deck material you have.
- Concrete mix: You’ll need this to set the posts in the ground. Opt for a high-quality concrete mix that is suitable for outdoor applications.
- Water: You’ll need water to mix with the concrete and achieve the proper consistency.
- Digging tools: Depending on the depth and width of the post holes you plan to dig, you may need a shovel, post hole digger, or an auger.
- Level: A level is essential for ensuring that the posts are plumb and level during the installation process. A long level is recommended for accurate measurements.
- Safety equipment: Don’t forget to prioritize safety by wearing gloves, safety goggles, and appropriate footwear when working with tools and materials.
By gathering these materials and tools in advance, you can save time and prevent any interruptions during the installation process. It’s always a good idea to double-check that you have everything you need before getting started.
Step 2: Determine the placement and spacing of the railing posts
Once you have gathered all the necessary materials and tools, the next step is to determine the placement and spacing of the railing posts. Properly spacing the posts ensures the structural integrity and aesthetics of your deck railing.
Here are some considerations to keep in mind when determining the placement and spacing:
- Building codes: Check your local building codes for any specific requirements regarding post placement and spacing. These codes often dictate the maximum distance between posts to ensure safety.
- Railing height: Determine the desired height of your deck railing. Most building codes require a minimum height, typically around 36 inches, to ensure the safety of anyone on the deck.
- Railing design: Consider the design and style of the railing panels you plan to install. This will help you determine the optimal placement and spacing of the posts to achieve a visually pleasing and functional railing system.
- Weight distribution: Take into account the weight distribution of the railing panels and any additional features such as planter boxes or built-in benches. This will affect the number of posts needed and their spacing to ensure proper support.
- Staircases and corners: If your deck has staircases or corners, pay special attention to the placement and spacing of the posts in these areas. They may require additional posts or different spacing to maintain stability.
To mark the placement of the posts, use a measuring tape, chalk, or string to create reference lines on the deck surface. Ensure that the lines are straight and aligned with the edges of the deck.
Once you have determined the placement and spacing, you’re ready to move on to the next step of the installation process. Remember to refer back to your local building codes and regulations to ensure compliance throughout the project.
Step 3: Dig the post holes
Now that you have determined the placement and spacing of the railing posts, it’s time to dig the post holes. The depth and width of the holes will depend on various factors, including the type of soil, the height of the deck railing, and local building codes. Here’s how to dig the post holes:
- Start by marking the center of each post hole based on your predetermined spacing.
- Using a post hole digger, shovel, or an auger, start digging the holes. The depth of the holes should typically be below the frost line in your area to prevent any shifting or movement of the posts. Consult your local building codes to determine the recommended depth.
- As you dig, periodically check the depth with a measuring tape or a long level to ensure consistency.
- The width of the holes should be wide enough to accommodate the size of the post anchors or brackets you will be using. Refer to the manufacturer’s instructions for the recommended width.
- Remove any excess dirt or debris from the holes and make sure they are clean and free of obstructions.
It’s important to maintain accuracy and precision when digging the post holes to ensure the stability and longevity of your deck railing. Take your time and double-check the depth and width of each hole before proceeding to the next step.
It’s worth noting that if you are installing the railing posts on an existing deck, you may need to use a different method, such as surface-mounted post brackets, instead of digging post holes. Consult a professional or refer to the manufacturer’s instructions for the best approach in this case.
Once the post holes are dug and prepared, you’re ready to move on to the next step of setting the posts in concrete. This step is crucial as it provides a solid foundation for the railing posts and ensures their stability over time.
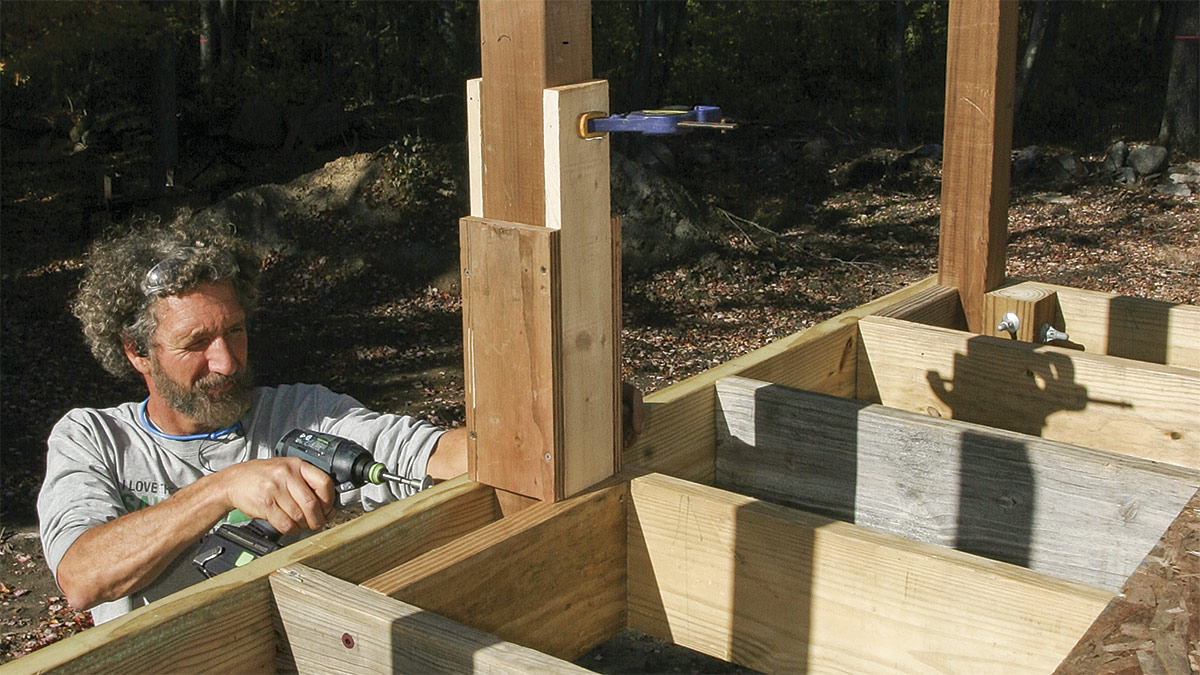
Step 4: Set the posts in concrete
Setting the railing posts in concrete is a critical step that provides stability and strength to your deck railing. Here’s a step-by-step guide on how to set the posts in concrete:
- Prepare the concrete mix according to the manufacturer’s instructions. Ensure that you have the appropriate ratio of concrete mix to water to achieve the desired consistency.
- Place a few inches of gravel or small rocks at the bottom of each post hole. This helps with drainage and prevents the bottom of the posts from rotting over time.
- Position the railing posts in the post holes, ensuring they are plumb and level. Use a level to check the vertical and horizontal alignment of each post. Make any necessary adjustments before proceeding.
- Pour the prepared concrete mix into each post hole, covering the bottom of the posts. Fill the holes about two-thirds full, leaving space for expansion and additional concrete later.
- Use a long level to check the alignment of the posts once again. Adjust as needed to ensure they are perfectly level and plumb.
- Continue pouring the concrete mix into the post holes until they are filled to the top. Use a trowel to smooth the surface of the concrete and eliminate any air pockets or voids.
- Allow the concrete to fully cure according to the manufacturer’s instructions. This typically takes a few days, so be patient and avoid putting any weight or stress on the posts during this time.
Setting the posts in concrete provides a solid anchor for your deck railing, ensuring its stability and durability. It’s important to follow the proper guidelines and take the time to ensure the posts are plumb and level. This will prevent any issues or adjustments down the road.
With the posts set in concrete and properly cured, you’re ready to move on to the next step of attaching the railing brackets to the posts. This step will secure the railing panels to the posts, creating a safe and functional deck railing system.
When installing deck railing posts, make sure to use pressure-treated lumber to prevent rot and decay. Additionally, be sure to securely anchor the posts to the deck framing for stability and safety.
Read more: How To Install Balcony Railing
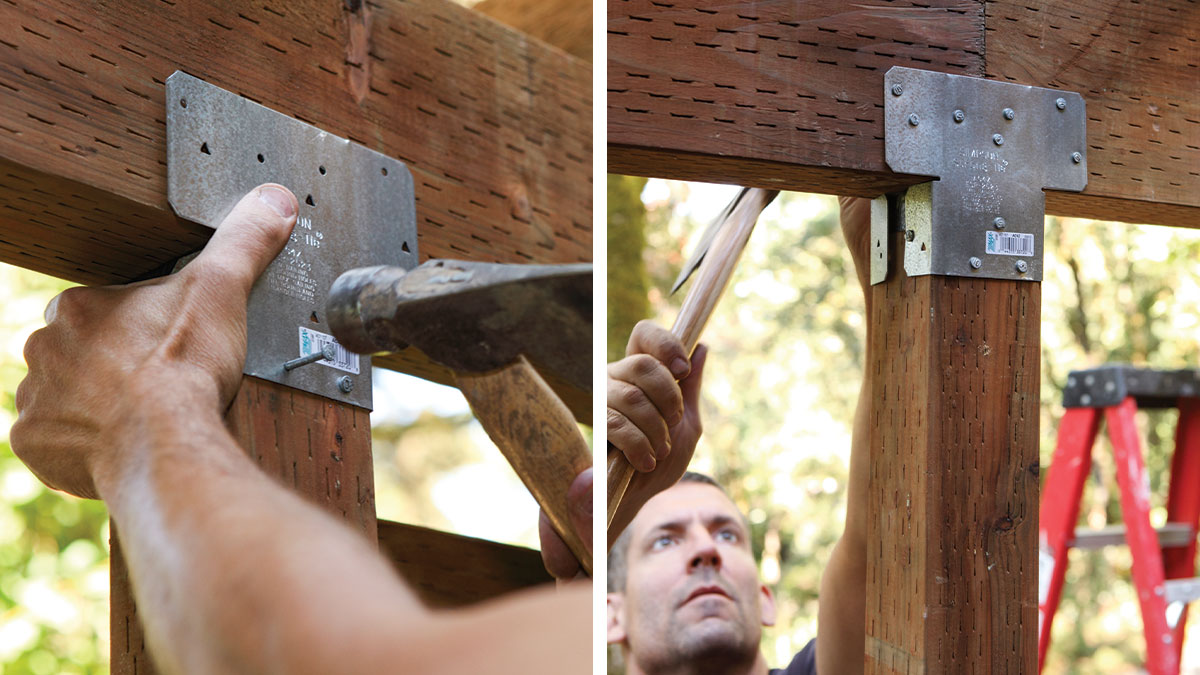
Step 5: Attach the railing brackets to the posts
Attaching the railing brackets to the posts is a crucial step to secure the railing panels and ensure the stability of your deck railing system. Here’s a step-by-step guide on how to attach the railing brackets:
- Start by determining the height at which you want to install the railing panels. Mark this height on each post using a measuring tape or a level.
- Position the first railing bracket on the marked height of one post. Ensure that the bracket is aligned vertically and horizontally.
- Secure the railing bracket to the post using the appropriate screws or bolts. Refer to the manufacturer’s instructions for the recommended hardware and installation method.
- Repeat the process for the remaining railing brackets, ensuring equal spacing between them based on the length of the railing panels.
- Once all the railing brackets are securely attached to the posts, test the stability by applying gentle pressure to ensure that they are properly secured.
- Double-check the alignment and levelness of the railing brackets. Adjust as necessary to ensure a straight and level railing system.
It’s important to follow the specific instructions provided by the manufacturer for attaching the railing brackets to the posts. Different brackets may have varying installation methods and hardware requirements, so be sure to read and understand the instructions carefully.
Once the railing brackets are securely attached to the posts, you’re ready to move on to the next step of installing the deck railing panels. This step will bring your deck railing to life and provide the final visual and functional element to your deck.
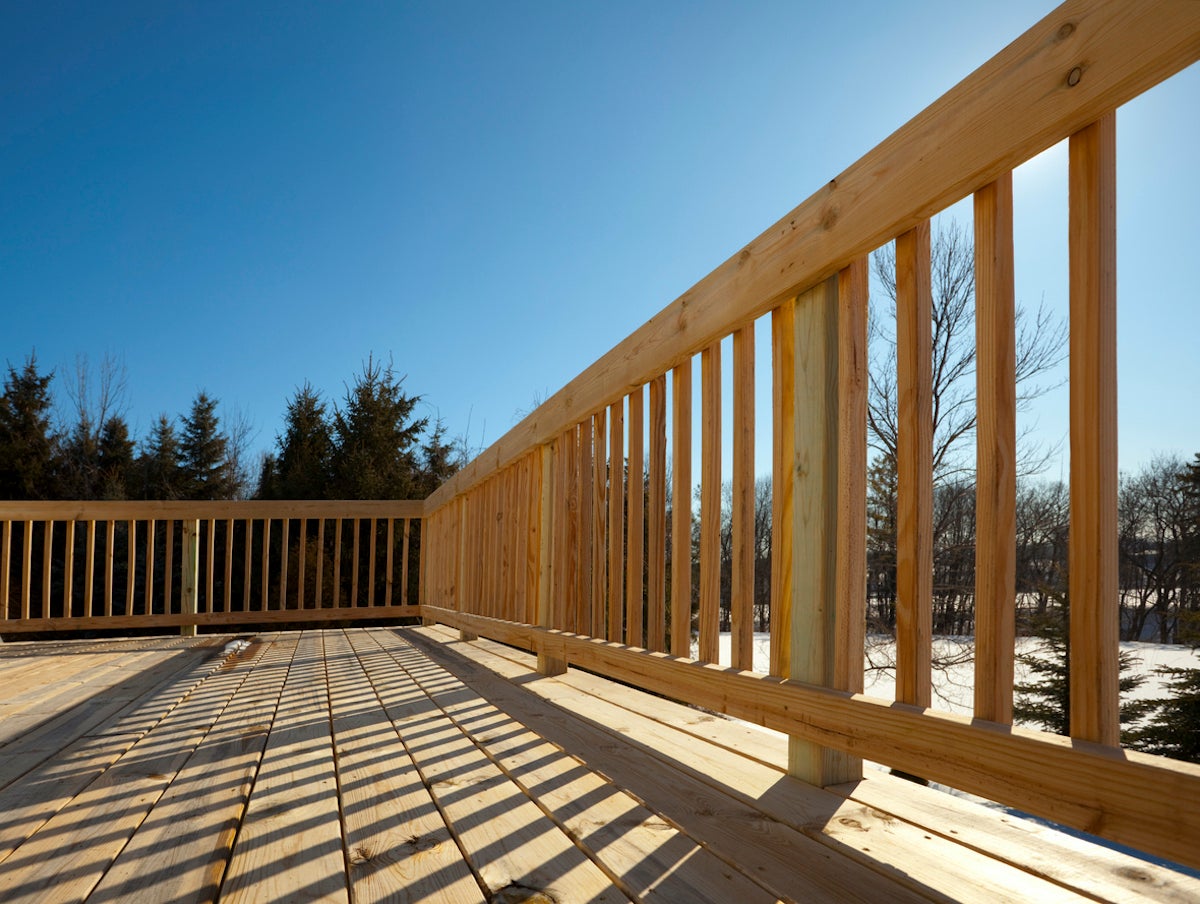
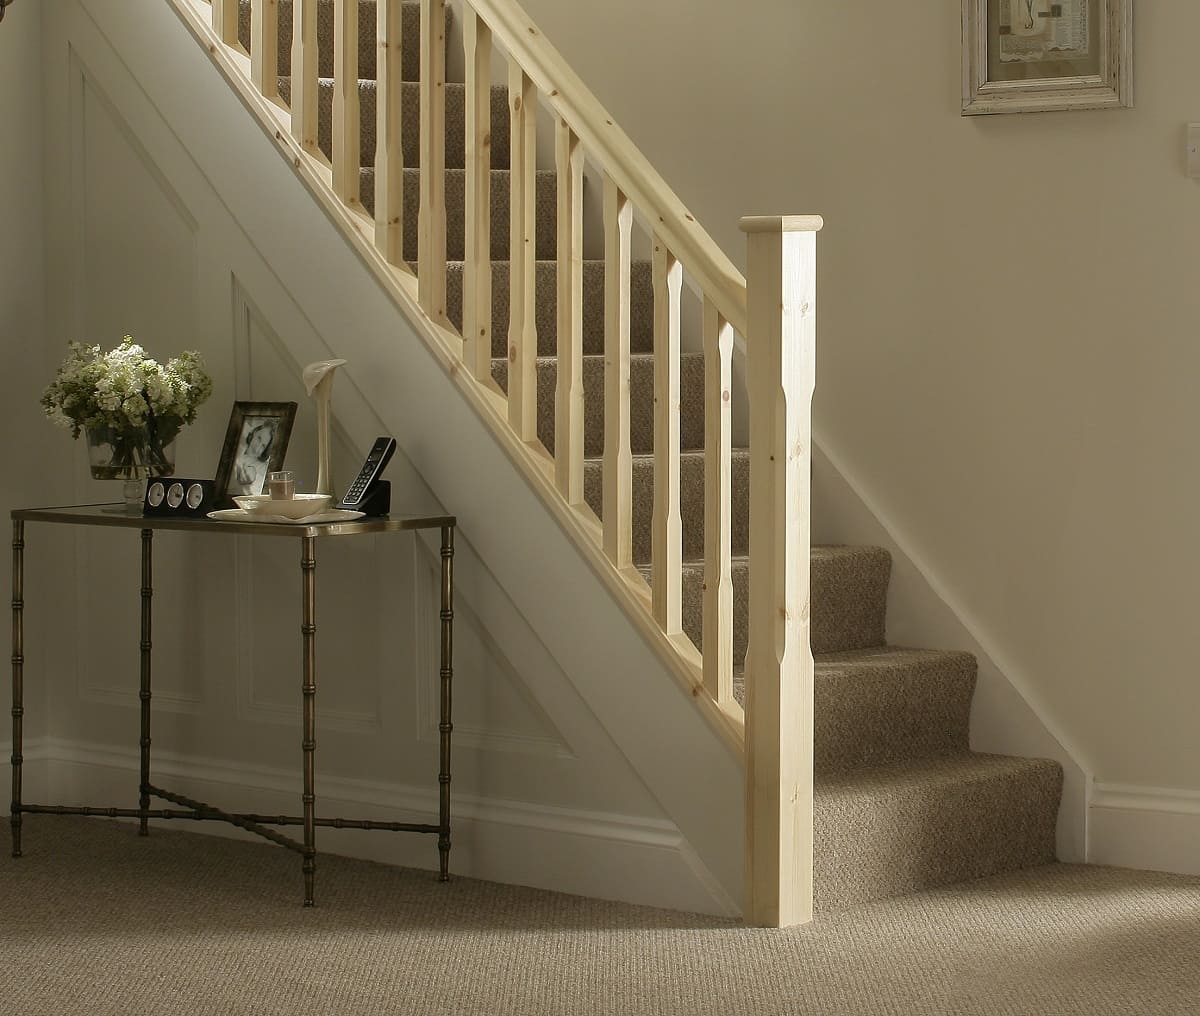
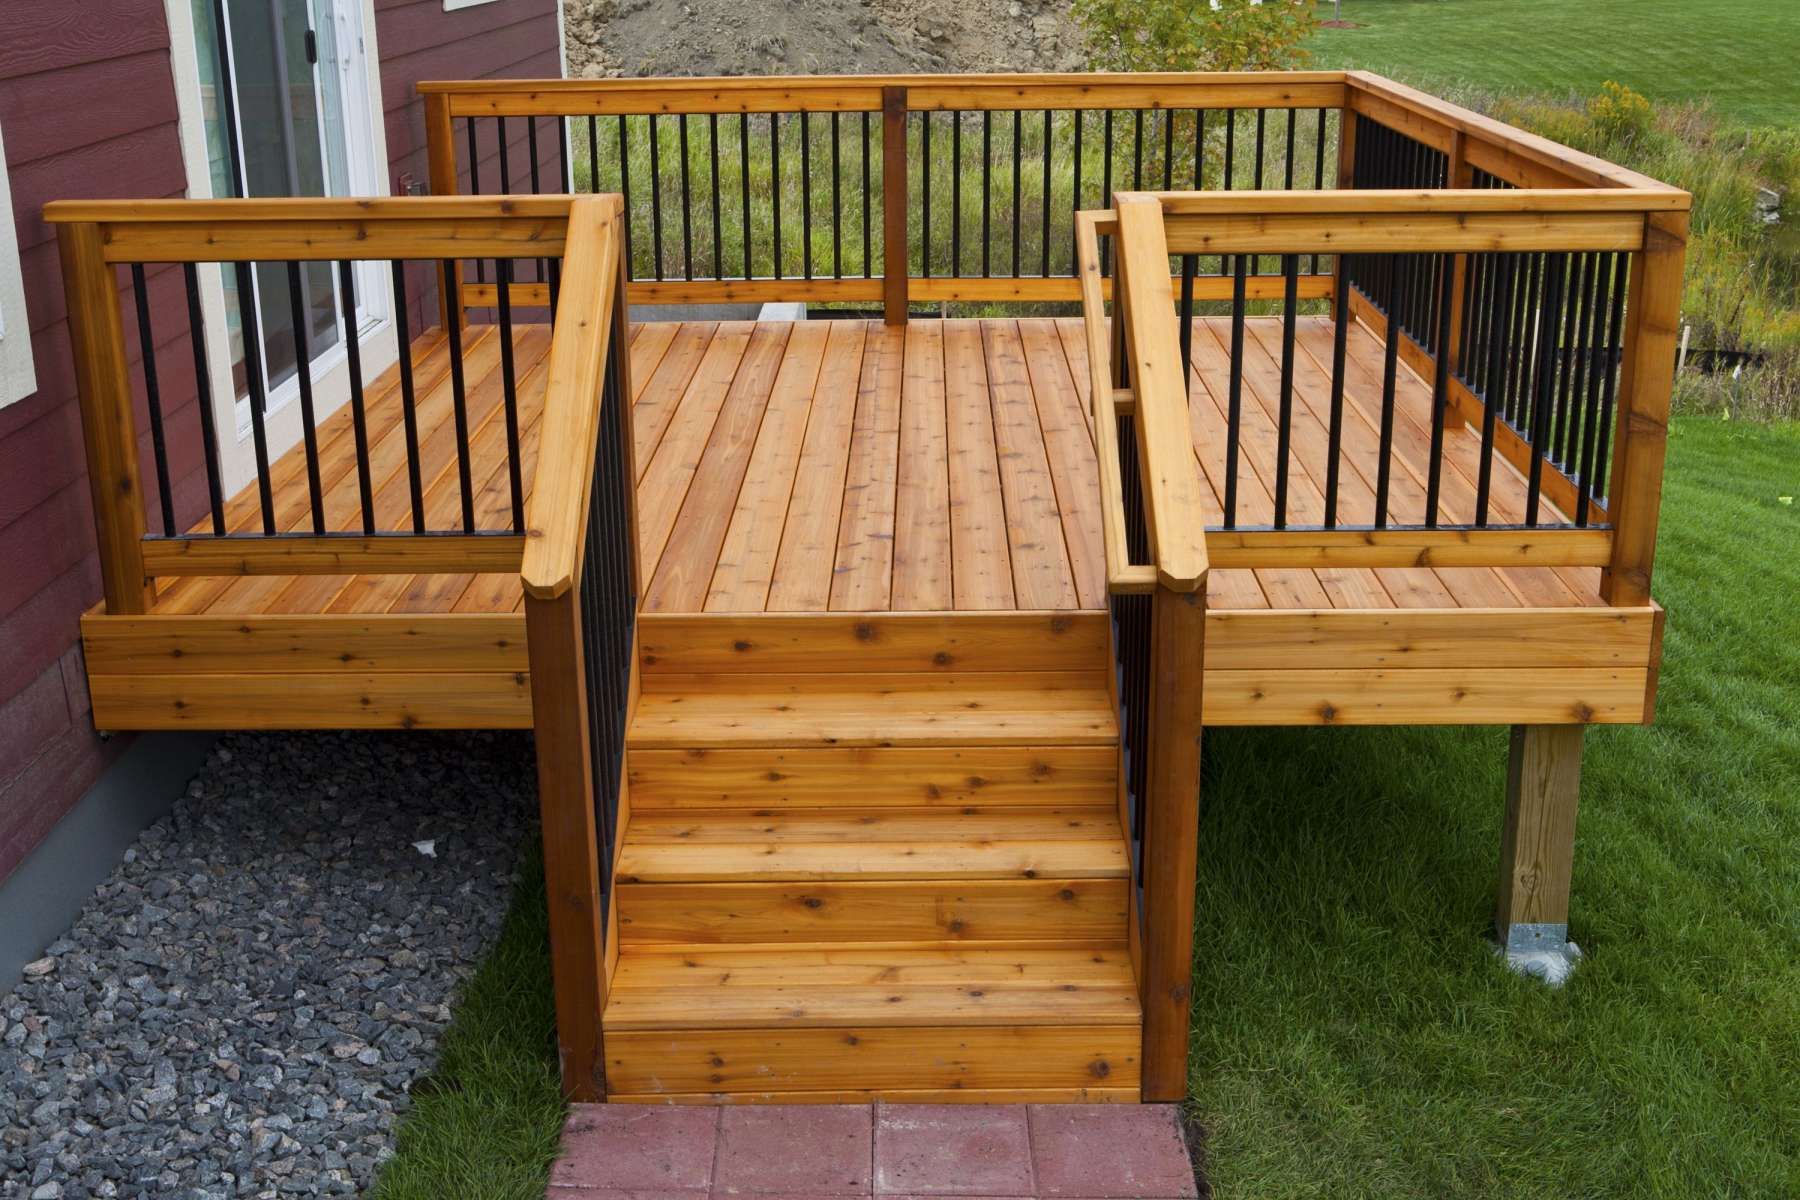
Step 6: Install the deck railing panels
Installing the deck railing panels is the next step to complete your deck railing system. This step will not only enhance the aesthetic appeal of your deck but also provide safety and security. Here’s a step-by-step guide on how to install the deck railing panels:
- Measure the distance between the installed railing brackets to determine the length of each railing panel. Ensure accurate measurements to achieve a seamless and proper fit.
- Using a saw or appropriate cutting tool, cut the railing panels to the measured length. Make sure to follow safety guidelines and wear protective gear during this step.
- Position the first railing panel between the installed brackets. Ensure that the panel is centered and level within the brackets.
- Secure the railing panel to the brackets using the recommended screws or fasteners. Be sure to follow the manufacturer’s instructions for the proper installation method.
- Repeat the process for the remaining railing panels, ensuring equal spacing between them for a visually pleasing and functional deck railing.
- Once all the railing panels are installed, double-check their alignment, levelness, and stability. Make any necessary adjustments to ensure a secure and solid railing system.
It’s important to note that the specific installation method for the deck railing panels may vary depending on the type and design of the panels. Some panels may require additional hardware or specialized instructions for installation. Refer to the manufacturer’s guidelines for the recommended installation process.
With the deck railing panels properly installed, your deck is now transformed into a safe and inviting outdoor space. However, we’re not quite done yet. In the next step, we will add finishing touches and safety measures to complete the deck railing installation.
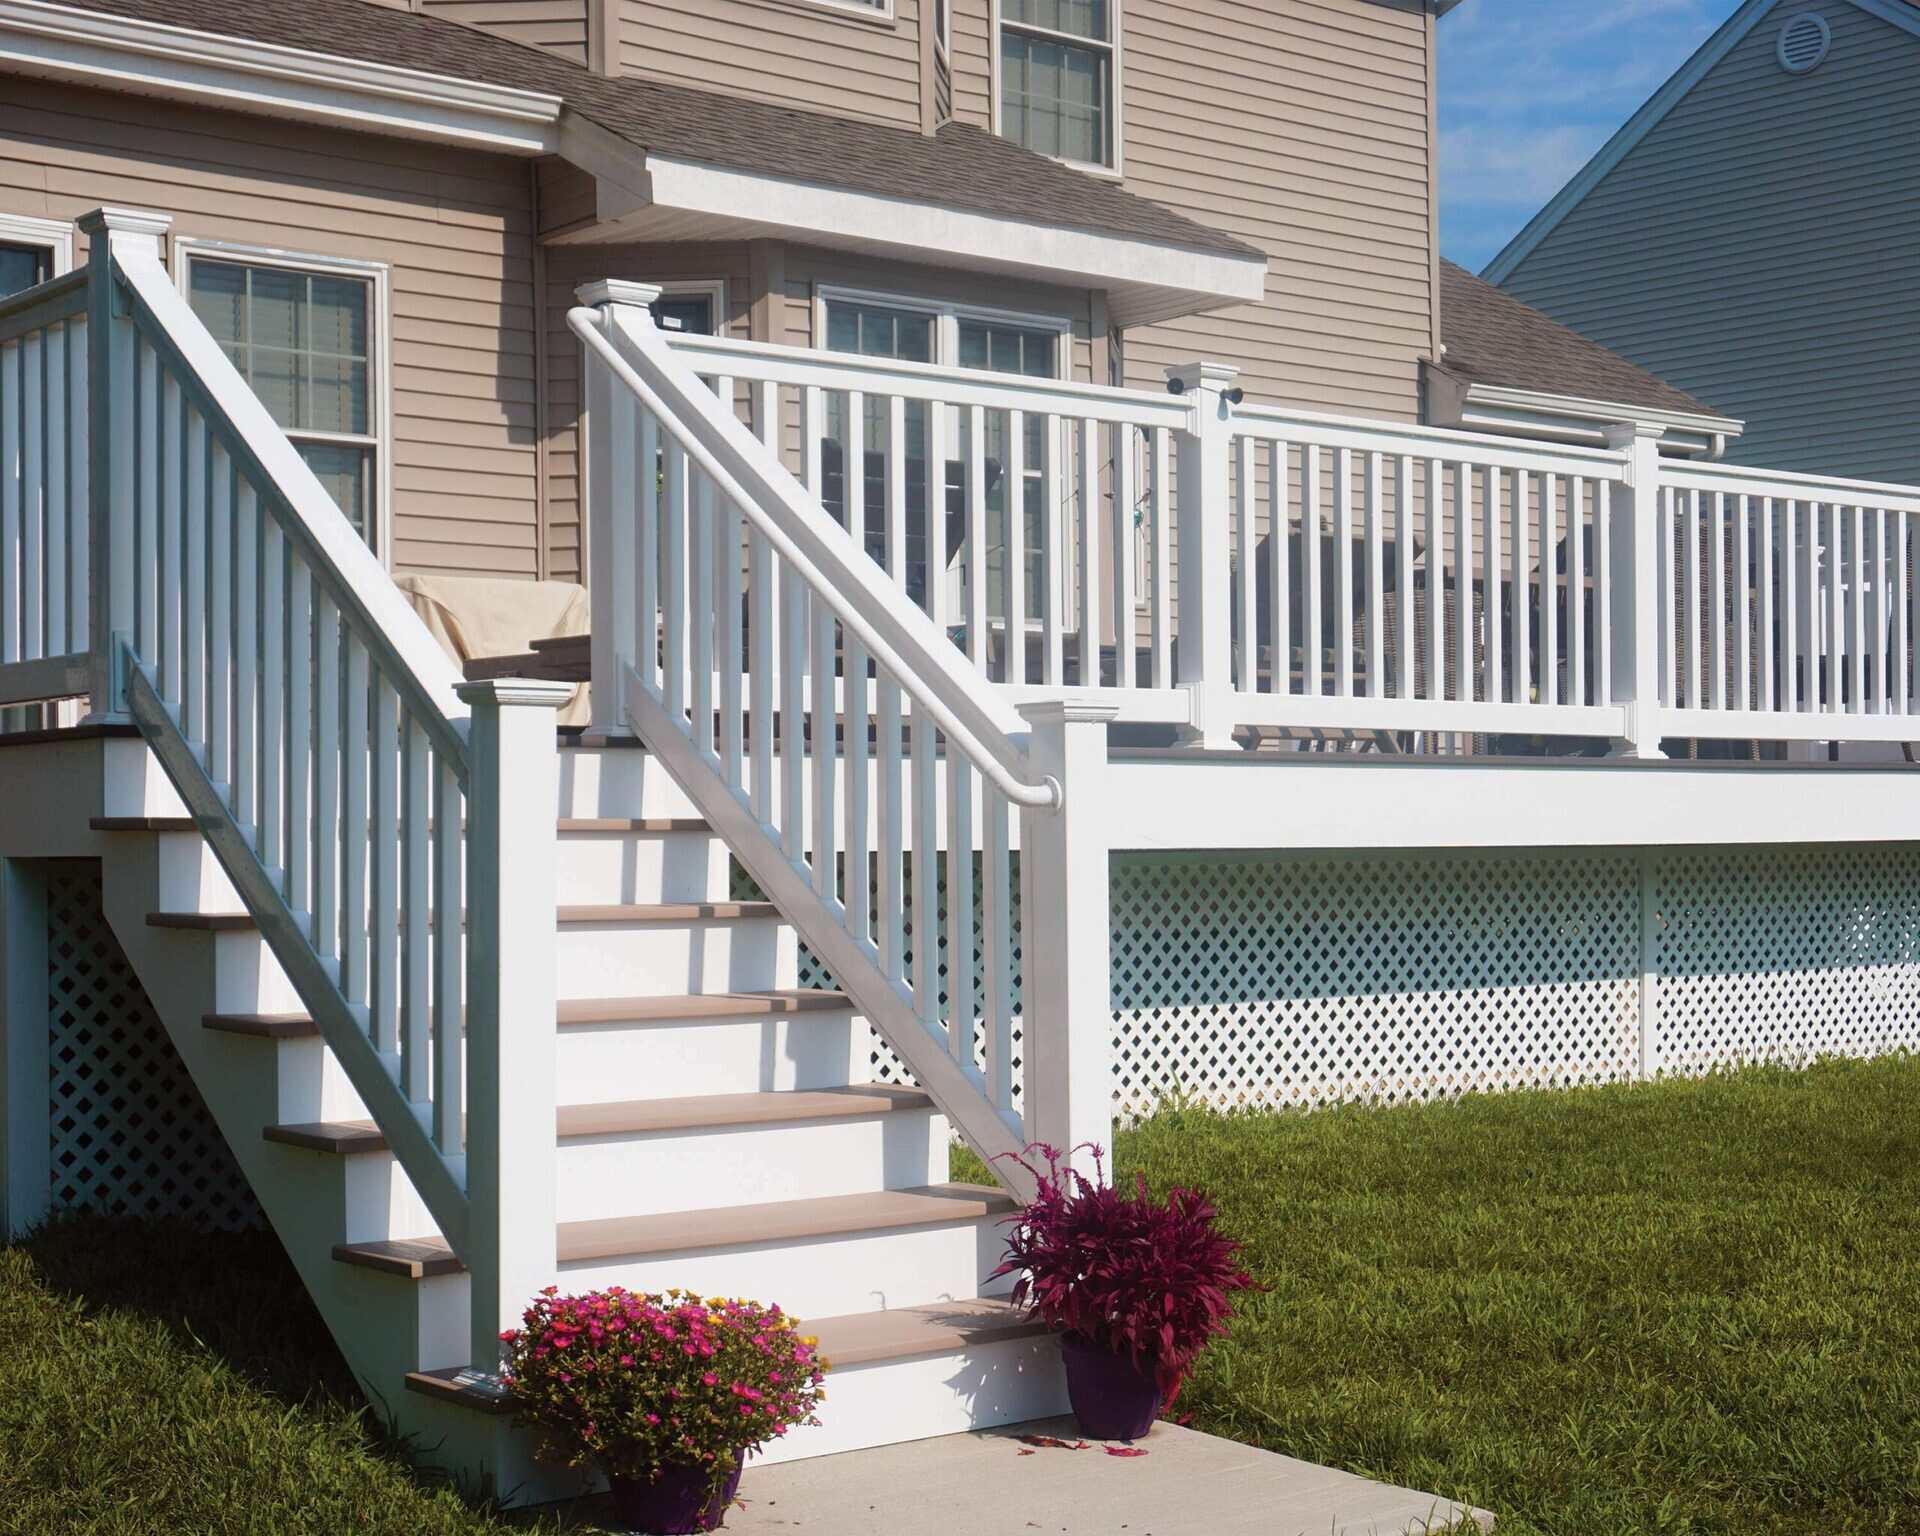
Step 7: Add finishing touches and safety measures
As you near the completion of your deck railing installation, it’s important to add the finishing touches and incorporate necessary safety measures. These final steps will ensure that your deck railing not only looks great but also provides maximum safety for you and your loved ones. Here’s what you need to do:
- Trim and finish the railing panels: Use a saw or appropriate cutting tool to trim any excess material from the railing panels, ensuring a neat and polished appearance. Sand down any rough edges or splintered areas for a smooth finish.
- Paint or stain the railing: If desired, apply a coat of paint or stain to the railing and posts. This will enhance durability and protect the wood from weathering and decay. Choose a high-quality outdoor paint or stain that is suitable for your deck railing material.
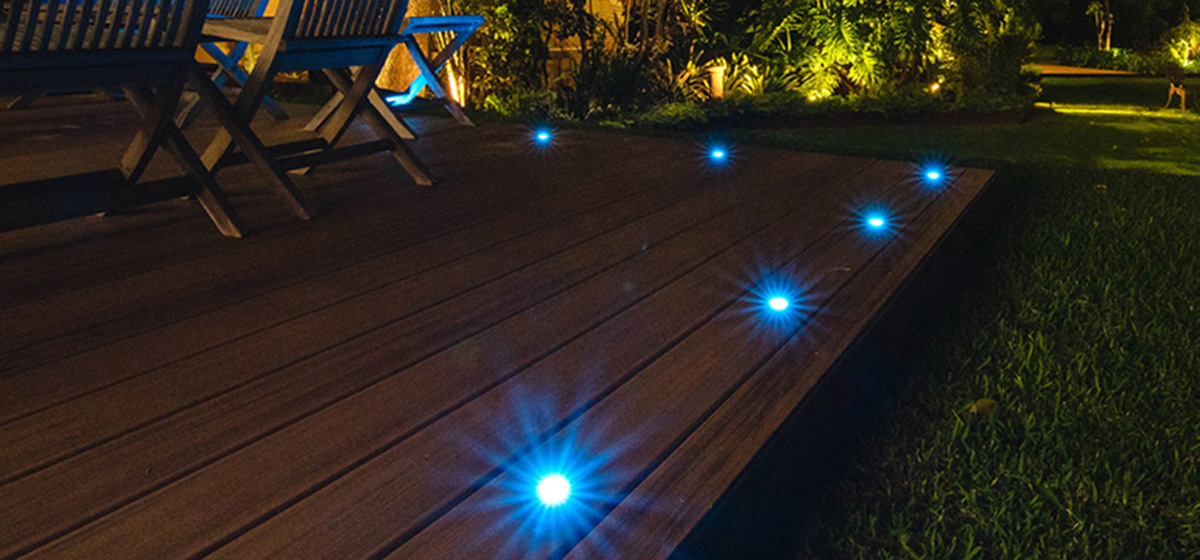
- Add decorative elements: Consider adding decorative elements such as post caps, balusters, or lighting fixtures to enhance the overall look of your deck railing. These additions can add personality and style to your outdoor space.
- Install safety accessories: To further enhance safety, consider installing additional safety accessories such as childproof locks or self-closing gates if you have young children or pets. These measures can prevent accidents and provide peace of mind.
- Regular maintenance: Keep your deck railing in top condition by regularly inspecting its integrity and performing routine maintenance tasks. Check for any loose screws or fasteners, repair any damaged areas, and clean the railing to remove dirt and debris.
By paying attention to these finishing touches and safety measures, you can ensure the longevity, aesthetics, and functionality of your deck railing system. Regular maintenance and periodic inspection will help you catch any issues early on and address them promptly.
Congratulations! You have successfully completed the installation of your deck railing posts. Enjoy your newly enhanced outdoor space, knowing that you have taken the necessary steps to create a safe and visually appealing deck railing system.
Conclusion
Installing deck railing posts is a crucial step in creating a safe and visually appealing outdoor space. By following the step-by-step guide provided in this article, you can successfully install your deck railing posts with confidence and precision.
From gathering the necessary materials and tools to adding the finishing touches, each step plays a vital role in ensuring the stability, durability, and aesthetics of your deck railing system.
Remember to always consult local building codes and regulations to ensure that your deck railing installation is compliant and safe. Prioritize safety by wearing the appropriate protective gear and taking the necessary precautions throughout the installation process.
By properly spacing and securing the railing posts, you can create a sturdy foundation for your deck railing panels. With the installation of the railing brackets and panels, your deck becomes a functional and inviting space where you can relax and entertain with peace of mind.
Don’t forget the importance of adding finishing touches and implementing safety measures. Trim and finish the railing panels, consider painting or staining the railing for added protection, and incorporate safety accessories to prevent accidents.
Regular maintenance and periodic inspections will help keep your deck railing in excellent condition, ensuring its longevity and continued safety for years to come.
Now that you have gained the knowledge and guidance needed, it’s time to turn your deck into a secure and aesthetically pleasing outdoor oasis. Enjoy the process and take pride in your deck railing installation!
Now that you've got the hang of installing deck railing posts, why not dive deeper into home enhancement? If you're eager to tackle more projects, our guide on DIY home improvement will provide you with useful tips to transform your space creatively and efficiently. For those with a passion for crafting, our selection of woodworking projects offers inspiring ideas that can bring any room to life. And, if upgrading your floors is next on your agenda, don't miss our recommendations for home renovation with the best hardwood floors.
Frequently Asked Questions about How To Install Deck Railing Posts
Was this page helpful?
At Storables.com, we guarantee accurate and reliable information. Our content, validated by Expert Board Contributors, is crafted following stringent Editorial Policies. We're committed to providing you with well-researched, expert-backed insights for all your informational needs.


0 thoughts on “How To Install Deck Railing Posts”