Articles
How To Install Bidet Toilet Seat
Modified: October 18, 2024
Learn how to install a bidet toilet seat and enhance your bathroom experience. Our articles provide step-by-step instructions and expert tips for a hassle-free installation.
(Many of the links in this article redirect to a specific reviewed product. Your purchase of these products through affiliate links helps to generate commission for Storables.com, at no extra cost. Learn more)
Introduction
Welcome to the ultimate guide on how to install a bidet toilet seat! Bidet toilet seats have become increasingly popular due to their many benefits, including improved hygiene, comfort, and water-saving capabilities. By installing a bidet seat, you can transform your ordinary toilet into a luxurious and functional bathroom fixture.
In this comprehensive article, we will take you through each step of the installation process, providing detailed instructions and helpful tips along the way. Whether you are a DIY enthusiast or a novice, you can feel confident in your ability to successfully install a bidet toilet seat with this guide.
Before we dive into the installation steps, let’s quickly go over the tools and materials you will need to have on hand:
- Adjustable wrench
- Phillips-head screwdriver
- Teflon tape
- Water supply line
- Mounting hardware (typically included with the bidet seat)
With these tools and materials ready, you’re all set to begin the installation process. So, let’s get started!
Key Takeaways:
- Upgrade your bathroom with a bidet toilet seat for improved hygiene, comfort, and water-saving benefits. Follow the comprehensive guide for a successful DIY installation.
- Transform your ordinary toilet into a luxurious and functional fixture with easy-to-follow steps and essential tools. Enjoy the convenience and luxury of a bidet seat in your bathroom.
Read more: What Is A Bidet Toilet Seat
Step 1: Gather the Necessary Tools and Materials
Before you begin the installation process, it’s crucial to gather all the necessary tools and materials. Having everything you need on hand will make the installation process smoother and prevent any unnecessary delays. Here is a list of the essential tools and materials you’ll need:
- Adjustable wrench: You will need this tool to tighten and loosen bolts and nuts during the installation. Make sure it is adjustable to fit different sizes.
- Phillips-head screwdriver: This screwdriver will be useful for removing or tightening screws, especially when attaching the bidet seat to the mounting bracket.
- Teflon tape: Teflon tape is necessary for sealing the connections and preventing any leaks in the water supply line.
- Water supply line: You will need a flexible water supply line that connects the bidet seat to the water source. Ensure that it is the appropriate length for your setup.
- Mounting hardware: Check if your bidet seat comes with the necessary mounting hardware. If not, purchase it separately. The mounting hardware typically includes screws, brackets, and any other components required for installation.
Once you have gathered all the tools and materials, it’s a good idea to double-check that nothing is missing or damaged. This will prevent any last-minute inconveniences and allow you to proceed confidently with the installation.
It’s also worth mentioning that while bidet toilet seat installation is generally straightforward, different models may have specific requirements or additional tools needed. Therefore, always refer to the manufacturer’s instructions that come with your bidet seat for any specific tools or materials required.
Now that you have everything you need, let’s move on to the next step: preparing the toilet for installation.
Step 2: Prepare the Toilet
Before you can install the bidet toilet seat, you need to prepare the toilet by removing the existing toilet seat. Follow these steps to prepare the toilet for the bidet seat installation:
- Start by closing the water supply valve. This valve is usually located behind the toilet, near the floor or wall. Turn it clockwise to shut off the water supply to the toilet.
- Flush the toilet to drain the water from the tank and bowl.
- Locate the bolts or screws that hold the existing toilet seat in place. These are usually located on the back of the toilet bowl. Use a Phillips-head screwdriver or adjustable wrench to remove them, depending on the type of fasteners used.
- Lift the toilet seat and carefully remove it from the toilet bowl.
- Once the seat is removed, clean the toilet bowl thoroughly. Use a mild cleaner or disinfectant to sanitize the surface and remove any dirt or residue.
- Inspect the toilet bowl for any cracks or damage. If you notice any, it is essential to address them before proceeding with the bidet seat installation.
Preparing the toilet by removing the existing seat and cleaning the bowl ensures a clean and smooth surface for installing the bidet seat. It also allows you to assess the condition of the toilet bowl, ensuring that there are no issues that could interfere with the installation process.
With the toilet prepared, you are now ready to move on to the next step: installing the mounting bracket for the bidet seat.
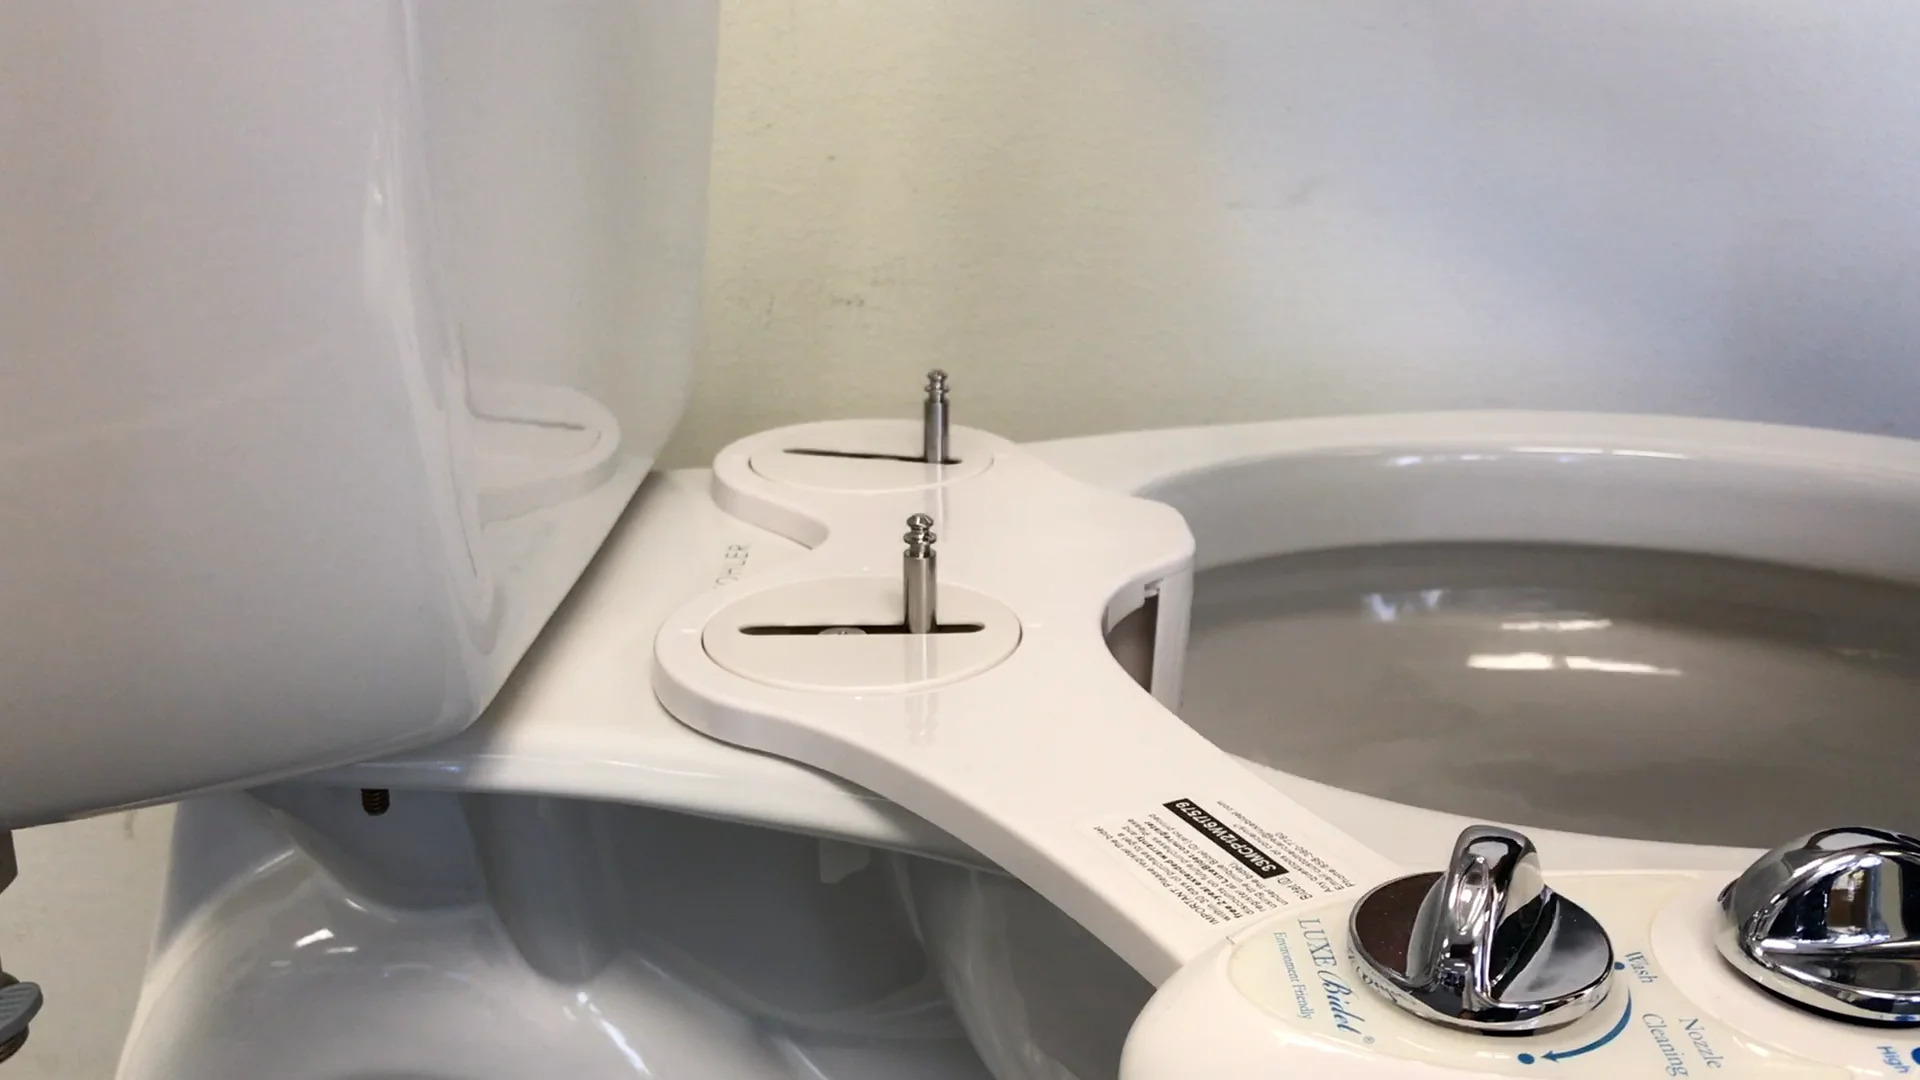
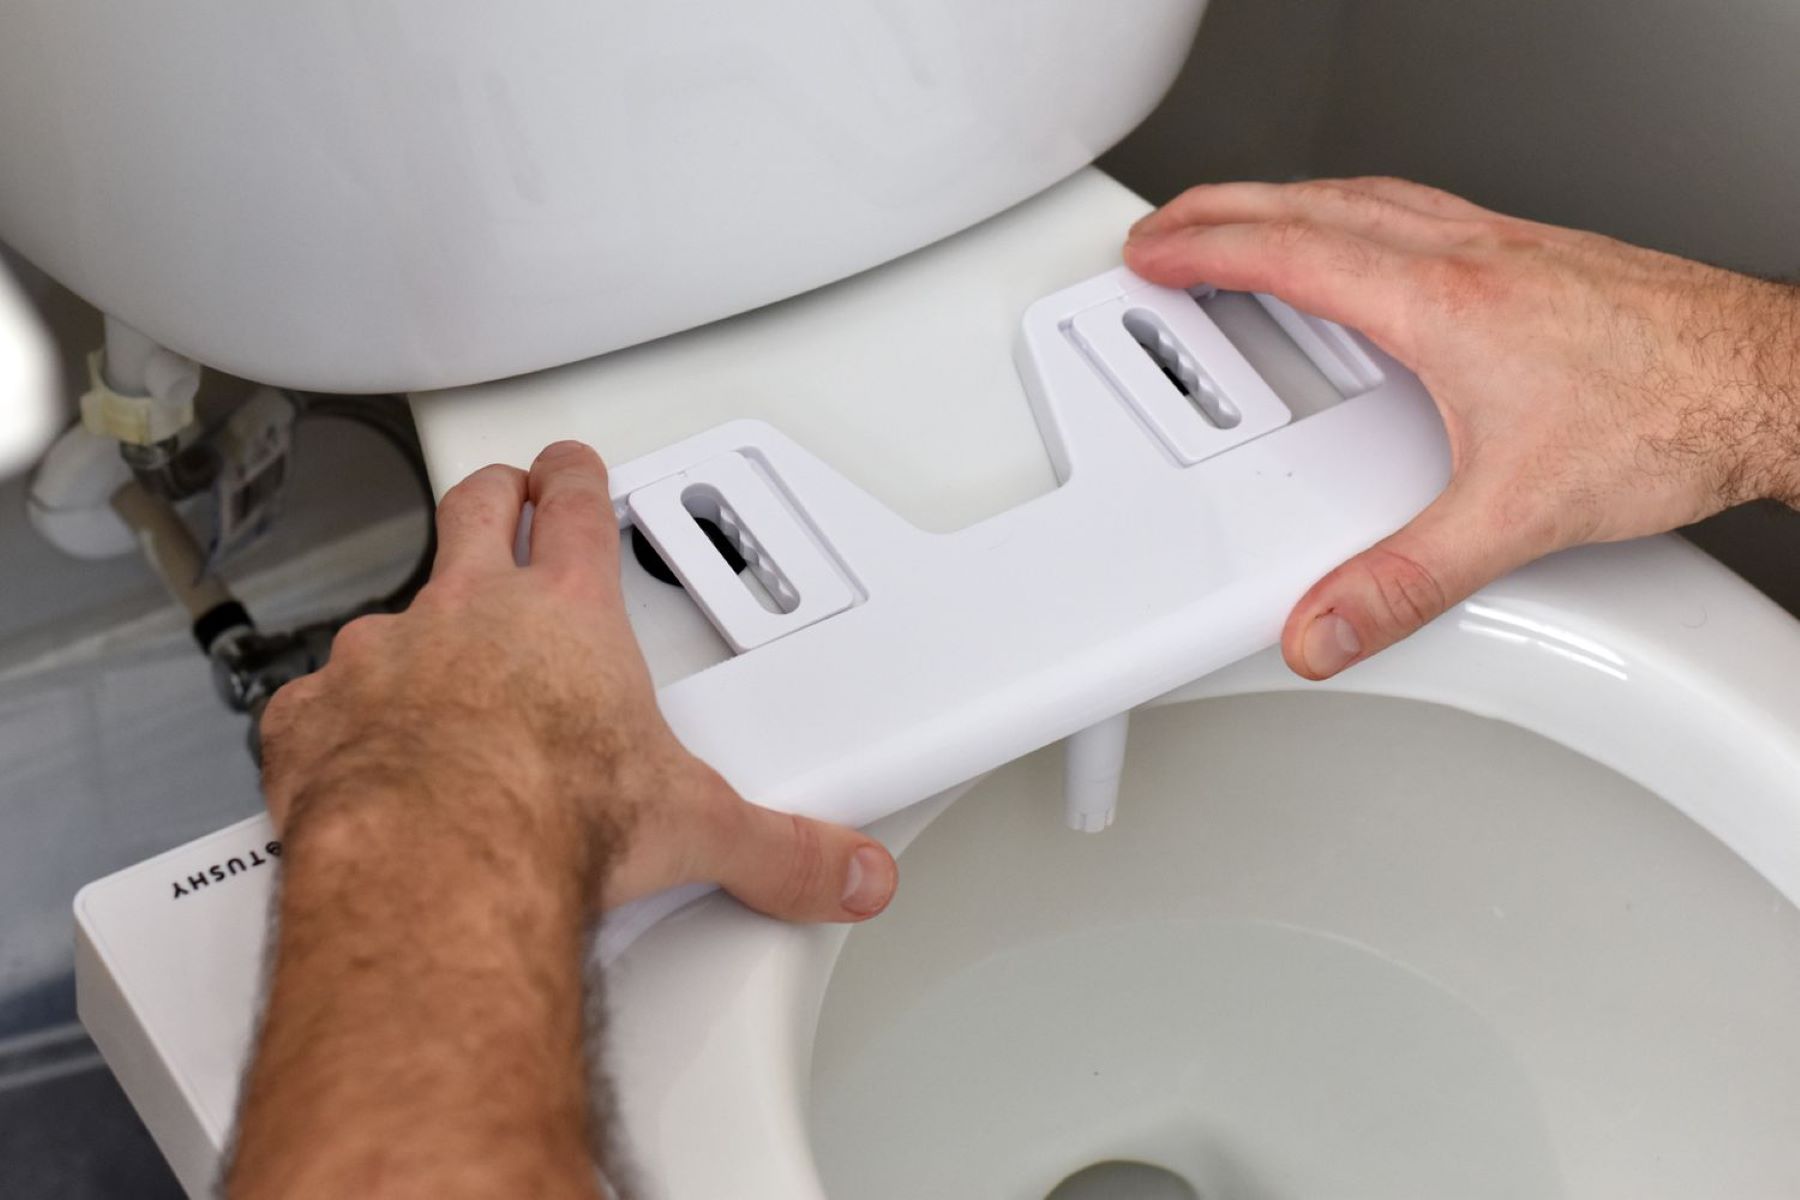
Step 3: Install the Mounting Bracket
Installing the mounting bracket is a crucial step in the bidet toilet seat installation process, as it provides stability and support for the seat. Follow these steps to install the mounting bracket:
- Locate the mounting holes on the back of the toilet bowl. These are typically positioned above the bolt holes used for the previous seat.
- Take the mounting bracket and align it with the mounting holes on the toilet bowl. Ensure that the bracket is centered and level.
- Insert the provided screws or bolts through the bracket and into the mounting holes. Use an adjustable wrench or screwdriver to tighten them securely.
- Confirm that the bracket is firmly attached to the toilet bowl and does not wobble or move when pressure is applied.
It’s important to note that the installation process may vary slightly depending on the specific bidet seat model you have. Therefore, always refer to the manufacturer’s instructions for any specific requirements or guidelines.
Once the mounting bracket is securely installed, you are ready to proceed to the next step, which involves attaching the bidet seat to the bracket.
When installing a bidet toilet seat, make sure to turn off the water supply to the toilet before beginning. This will prevent any leaks or water damage during the installation process.
Step 4: Attach the Bidet Seat
Attaching the bidet seat to the mounting bracket is a straightforward process. Follow these steps to securely attach the bidet seat:
- Take the bidet seat and position it on top of the mounting bracket. Ensure that the seat aligns properly with the bracket and the mounting holes.
- Check if there are any alignment markers or indicators on the bidet seat and the bracket. These will assist you in aligning the seat correctly.
- Insert the screws or bolts provided with the bidet seat through the mounting holes on the seat and into the bracket.
- Using an adjustable wrench or screwdriver, tighten the screws or bolts securely. However, be cautious not to overtighten as it could damage the seat or the bracket.
- Double-check that the bidet seat is securely attached to the mounting bracket and does not move or wobble.
It is essential to follow the manufacturer’s instructions throughout this process, as different bidet seat models may have specific requirements or attachment mechanisms.
Once the bidet seat is attached to the mounting bracket, you are ready to move on to the next step: connecting the water supply.
Read more: How To Use A Bidet Toilet Seat
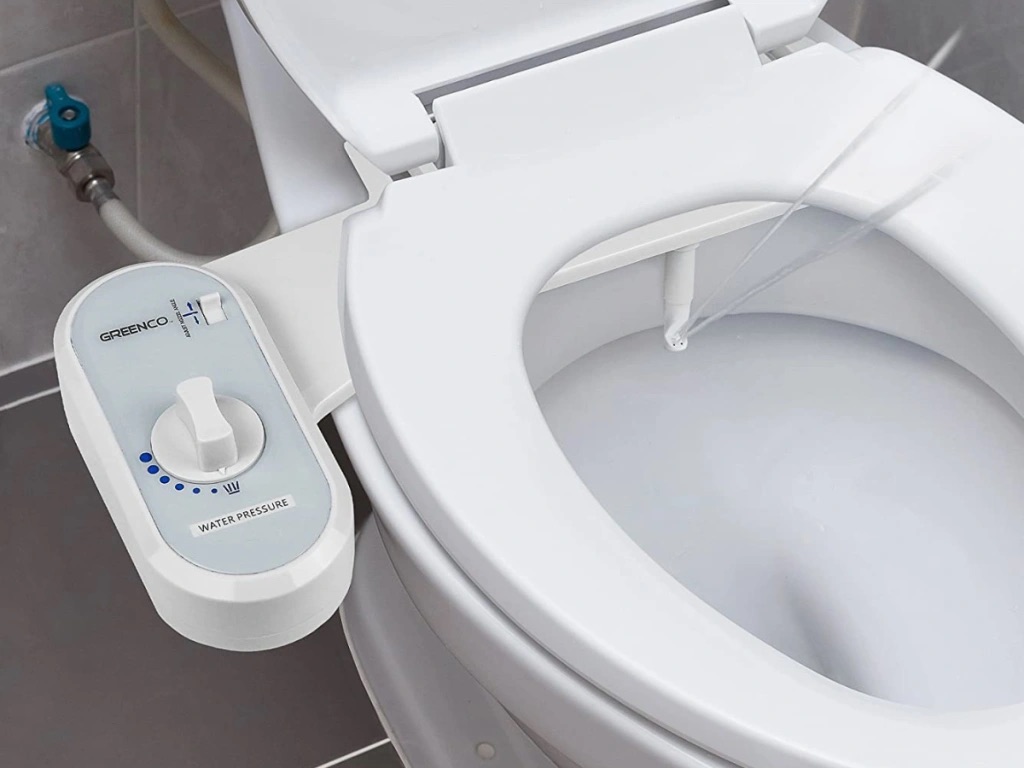
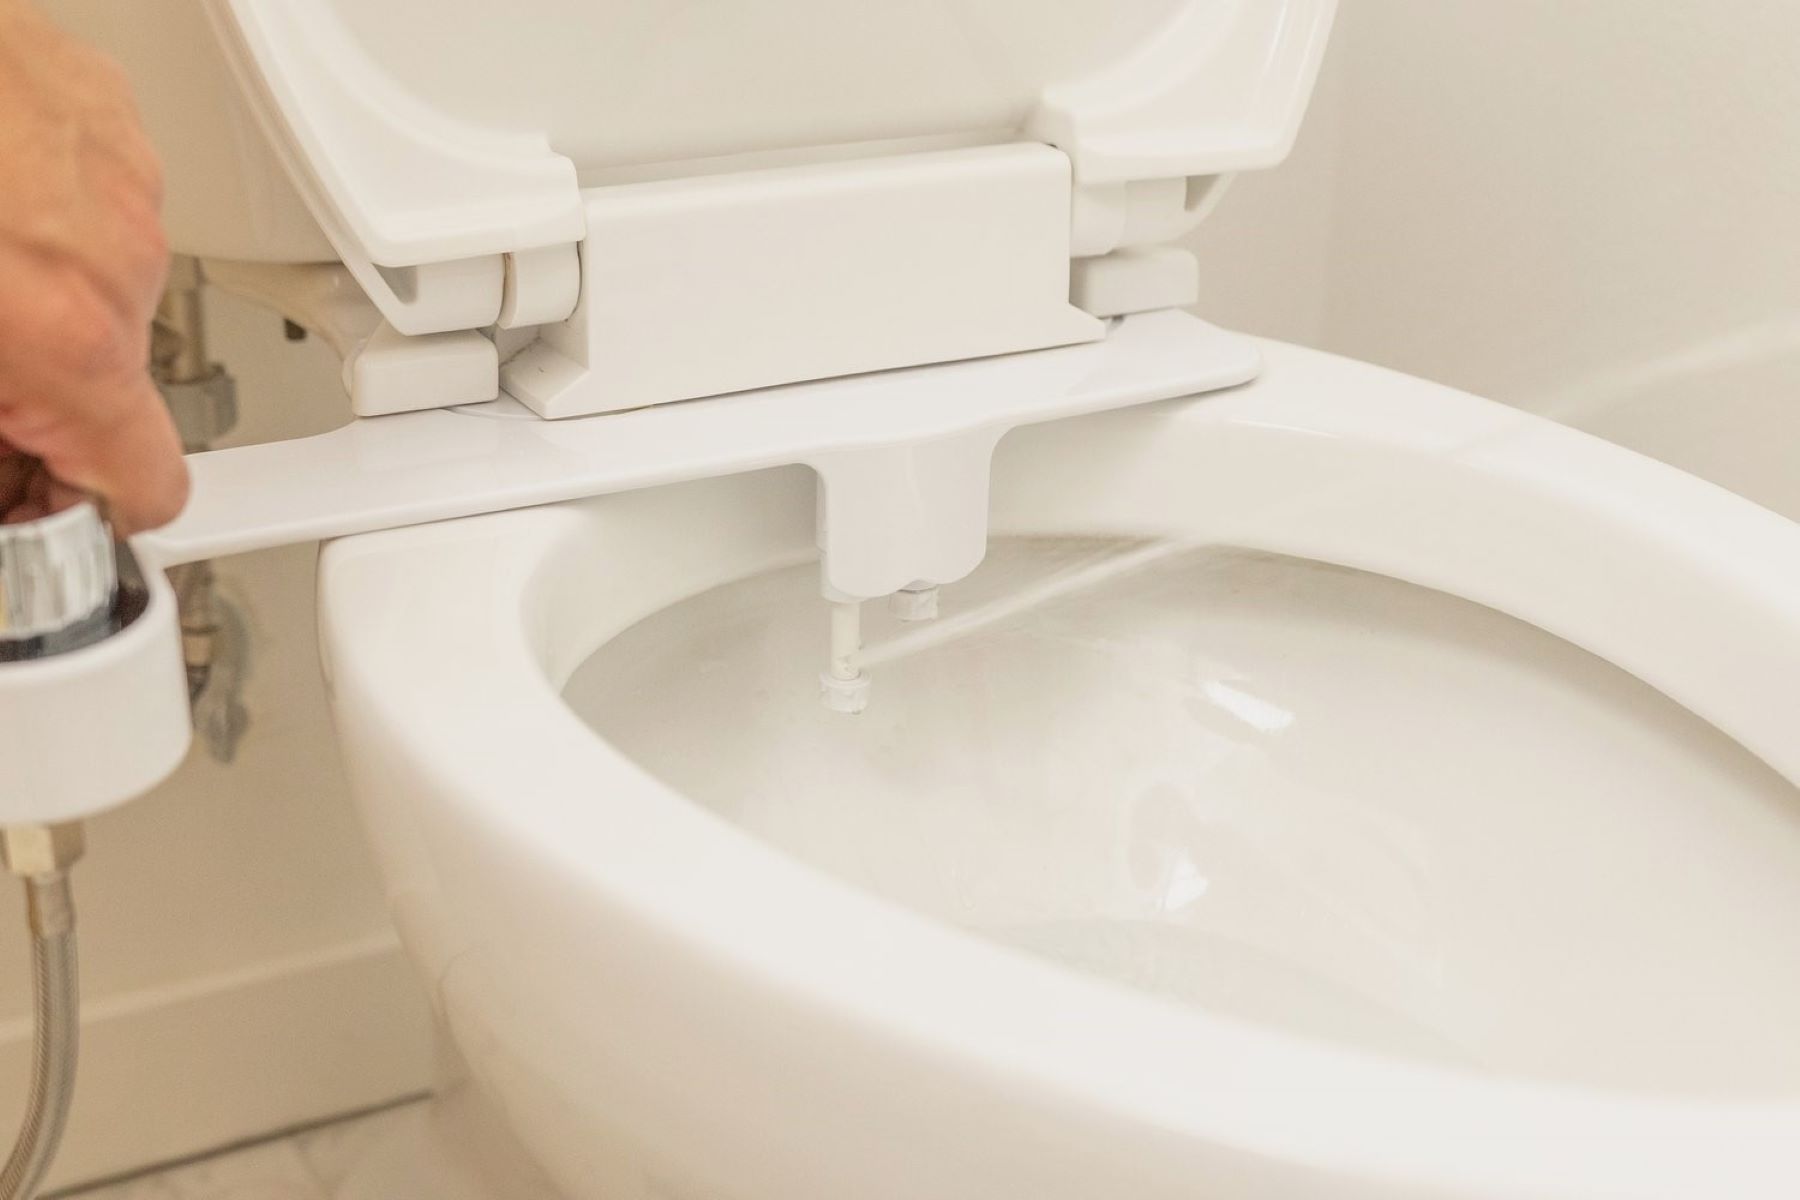
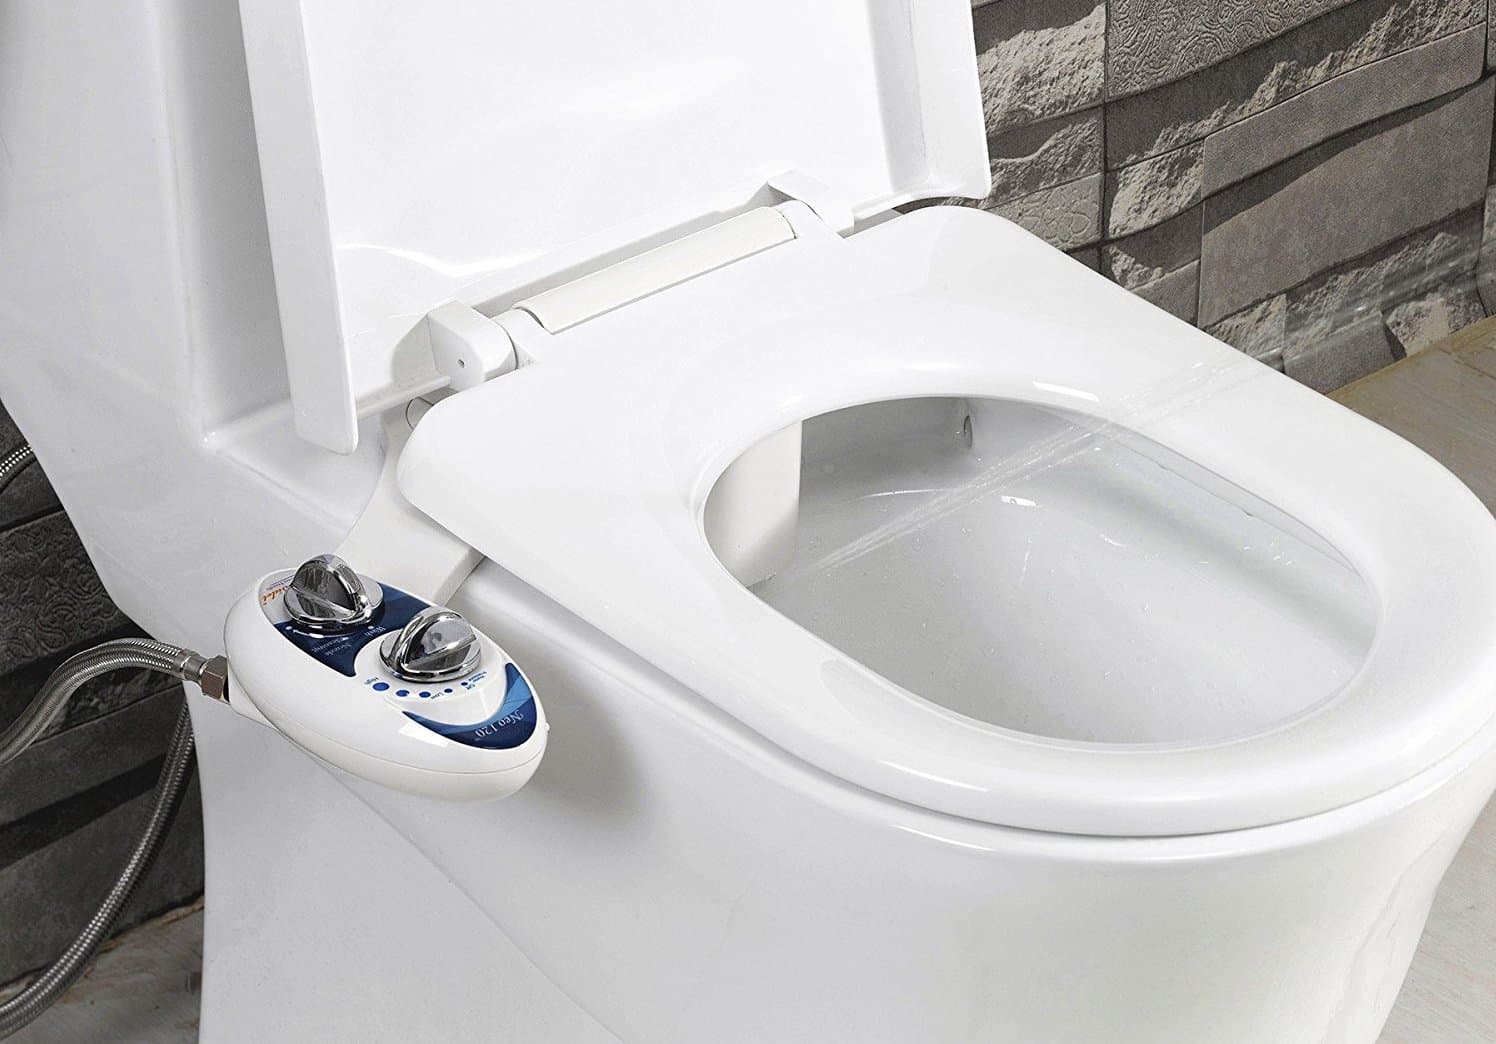
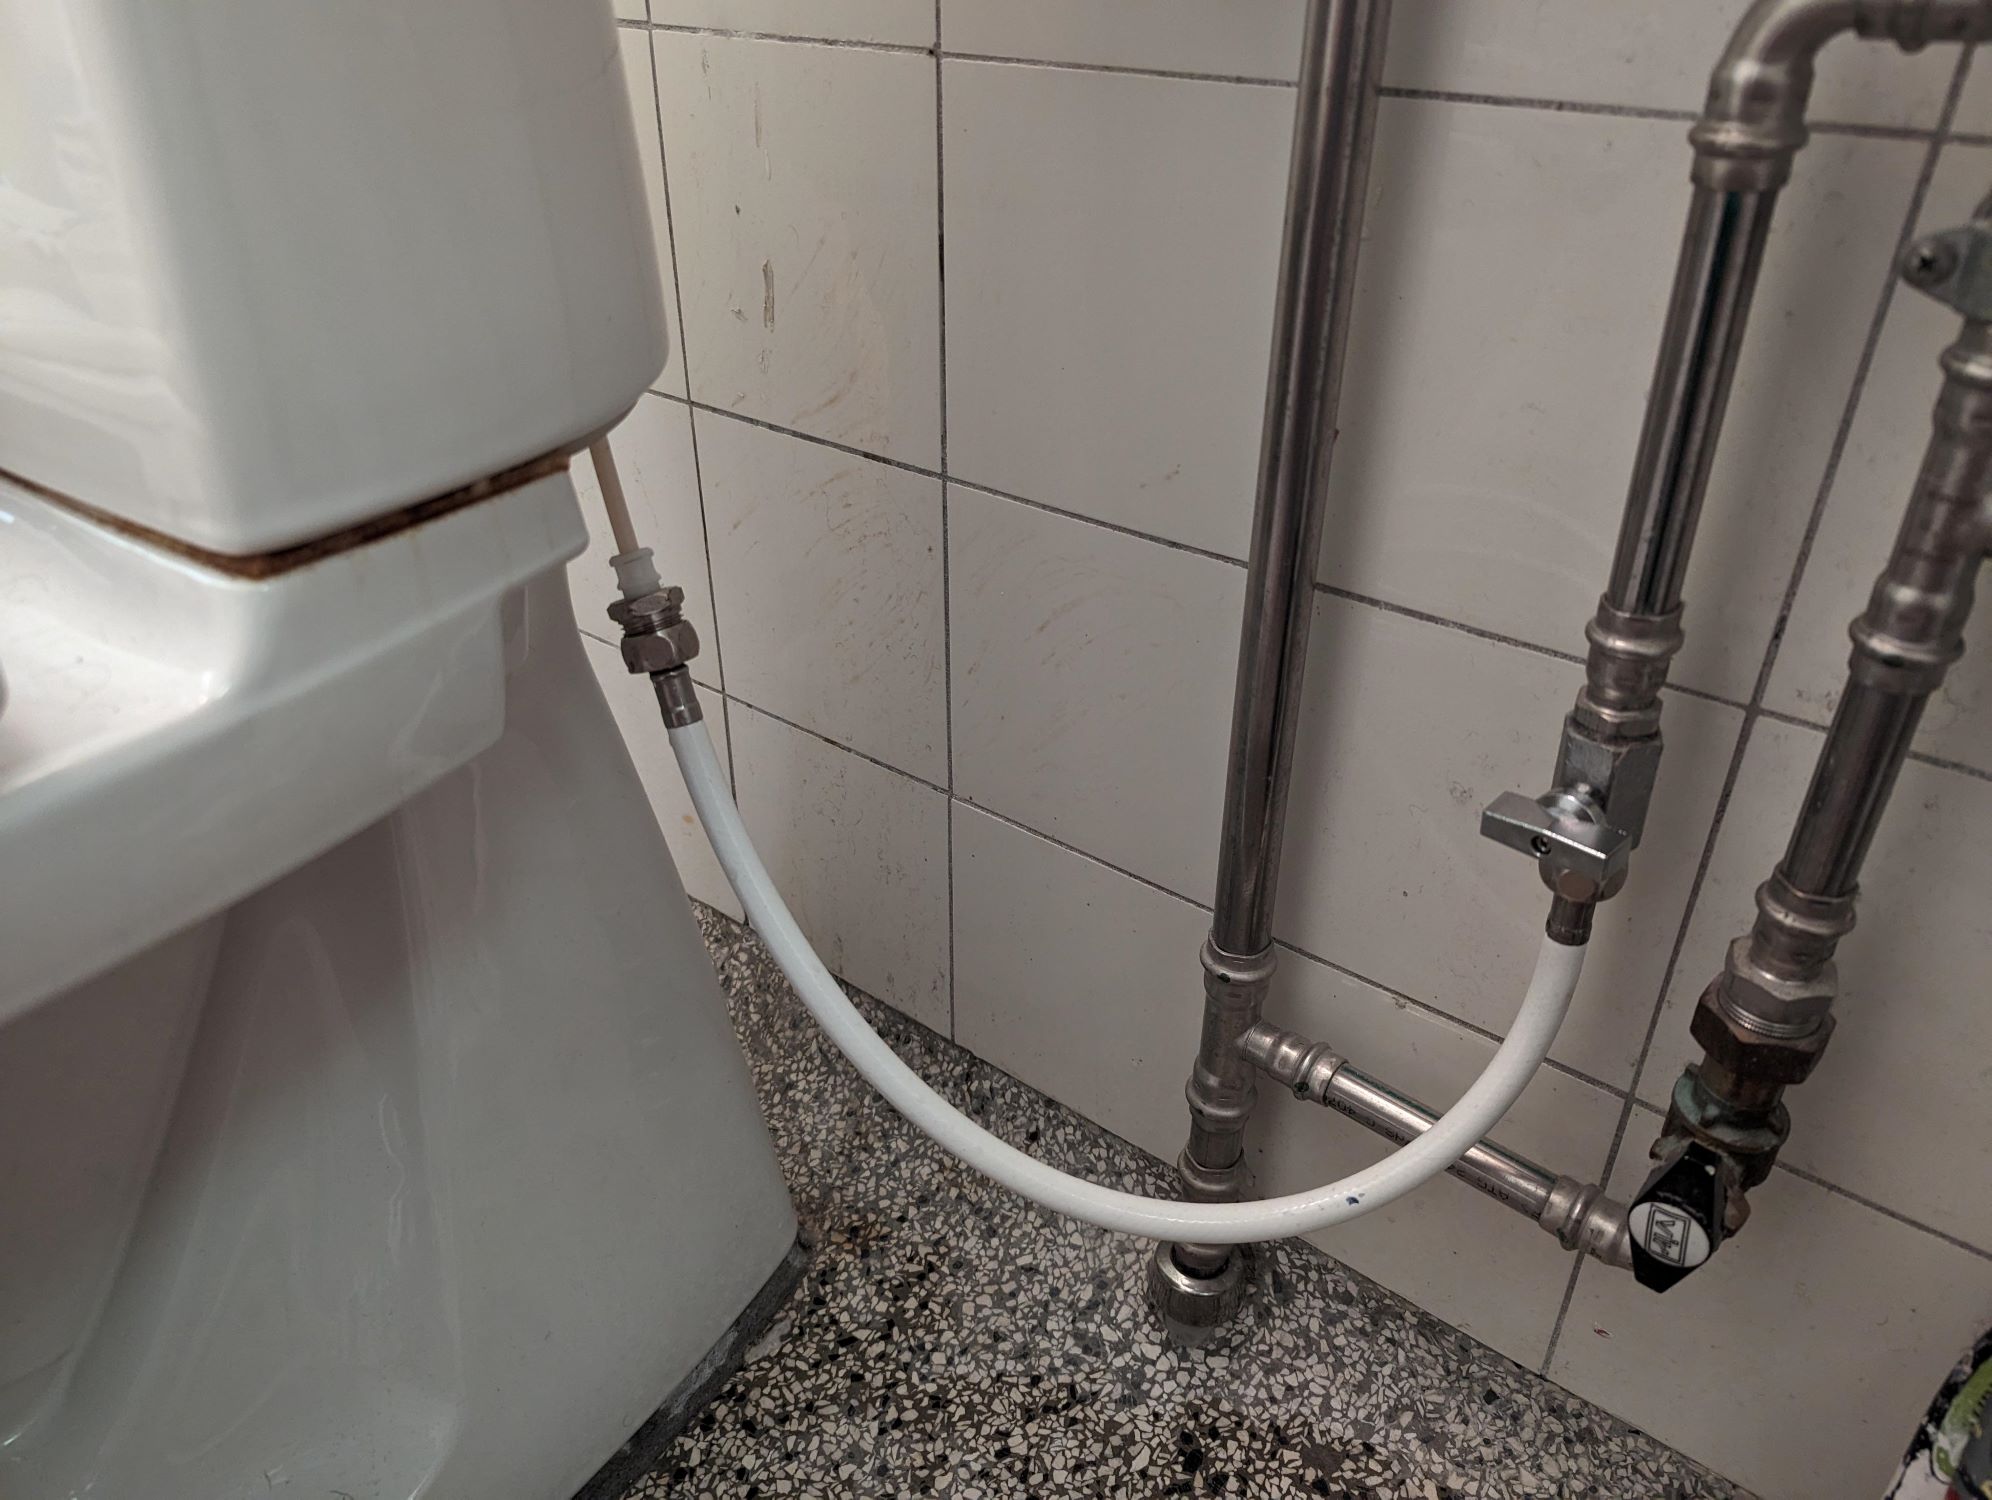
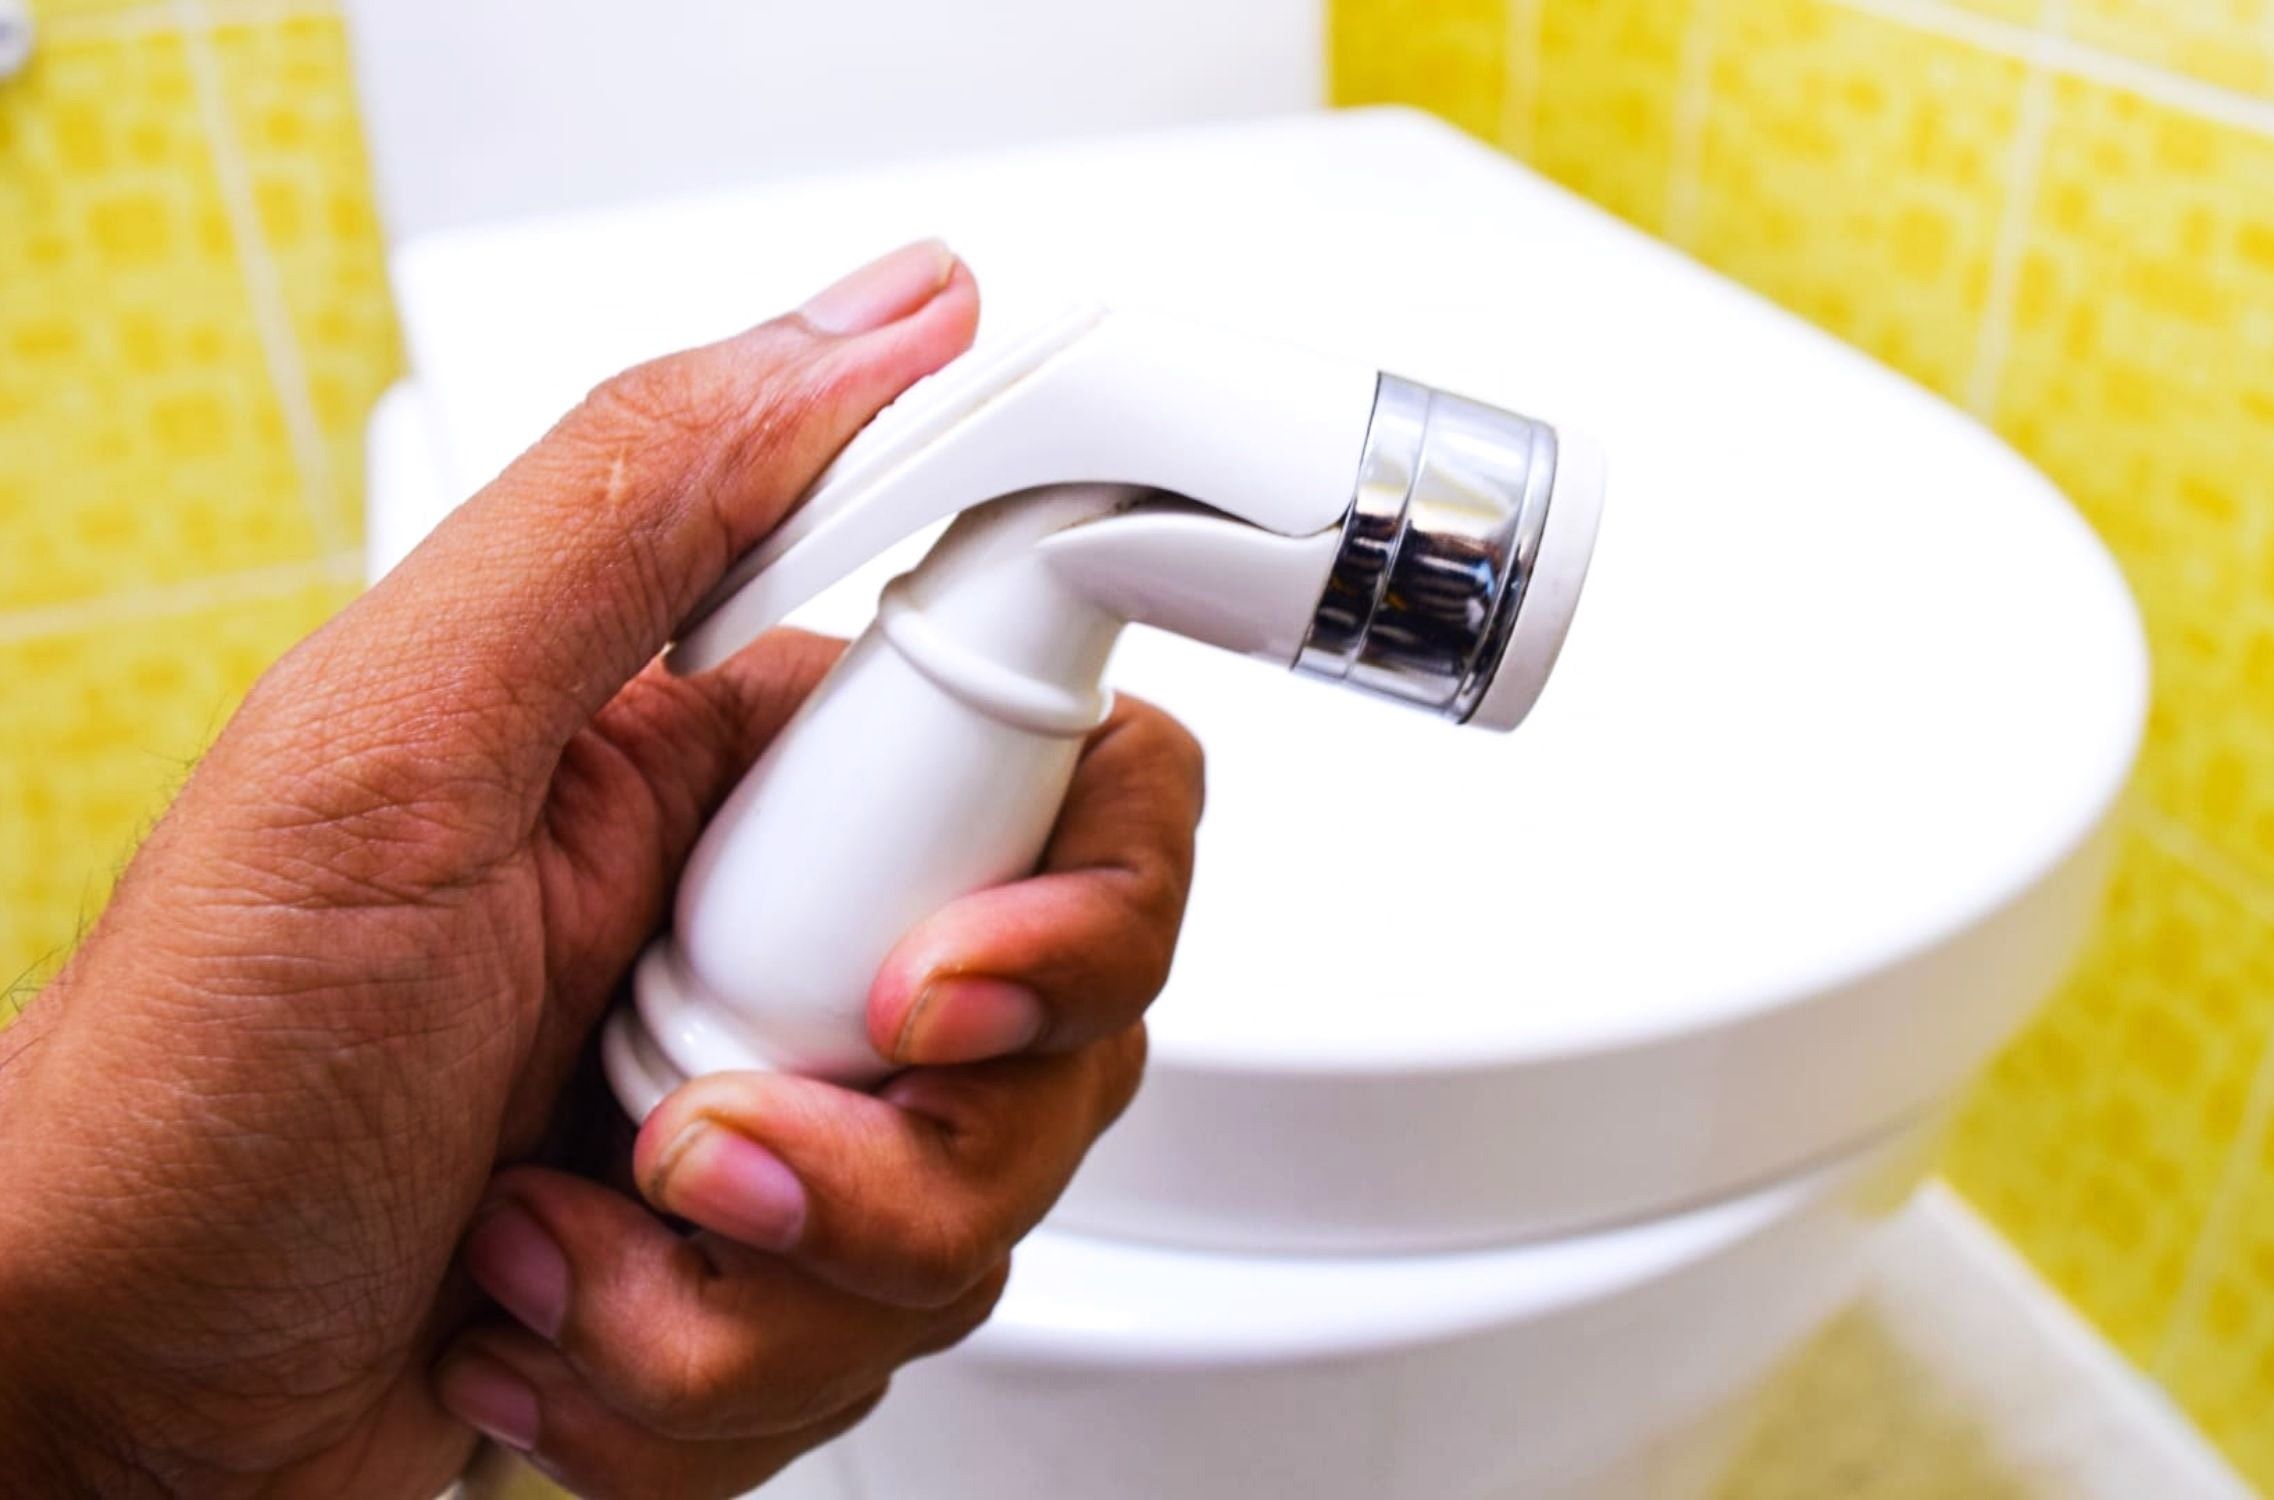
Step 5: Connect Water Supply
Connecting the water supply is a crucial step in the installation process as it enables the bidet seat to function properly. Follow these steps to connect the water supply:
- Locate the water supply valve behind the toilet near the floor or wall. Turn the valve counterclockwise to open it and allow the water to flow.
- Take the flexible water supply line and connect one end to the bidet seat’s water inlet. The water inlet is typically located at the back of the seat.
- Ensure that the connection is tight and secure. You can use an adjustable wrench to tighten it further, but be careful not to overtighten and damage the threads.
- On the other end of the water supply line, connect it to the water supply valve. Again, ensure a tight and secure connection.
- Once both connections are made, turn on the water supply valve fully to allow water to flow into the bidet seat.
- Check for any leaks around the water connections. If you notice any, turn off the water supply valve and recheck the connections to ensure they are properly tightened.
It is crucial to follow the manufacturer’s instructions regarding water supply connections, as each bidet seat may have specific requirements. Some models may include additional components or adapters to ensure compatibility with different water supply setups.
Once the water supply is connected and there are no leaks, you are almost done! The final step involves testing and adjusting the bidet seat.
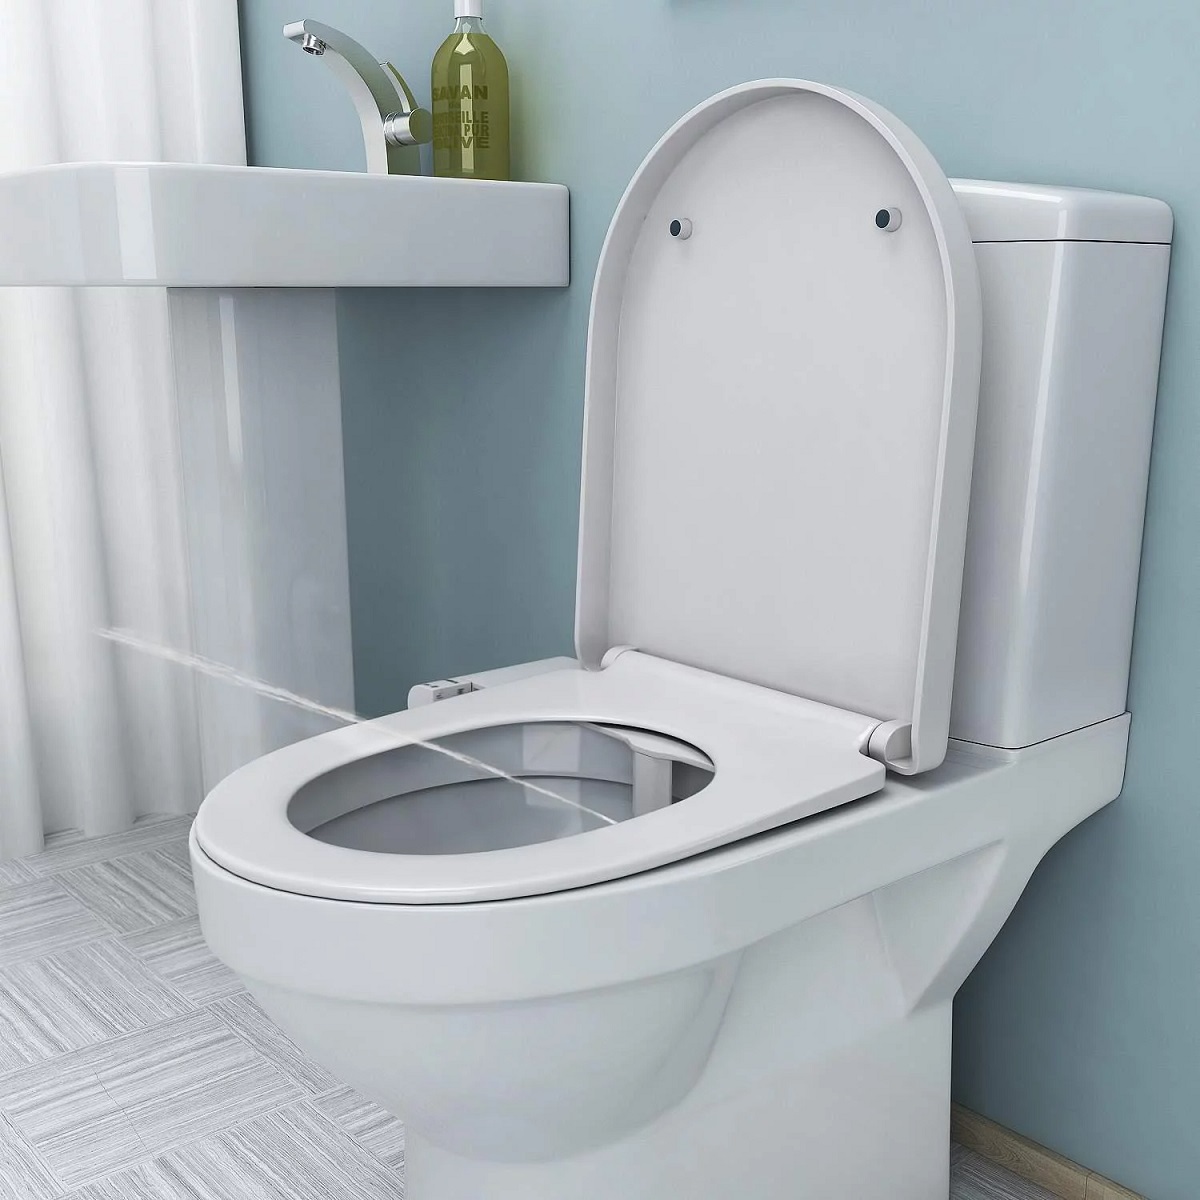
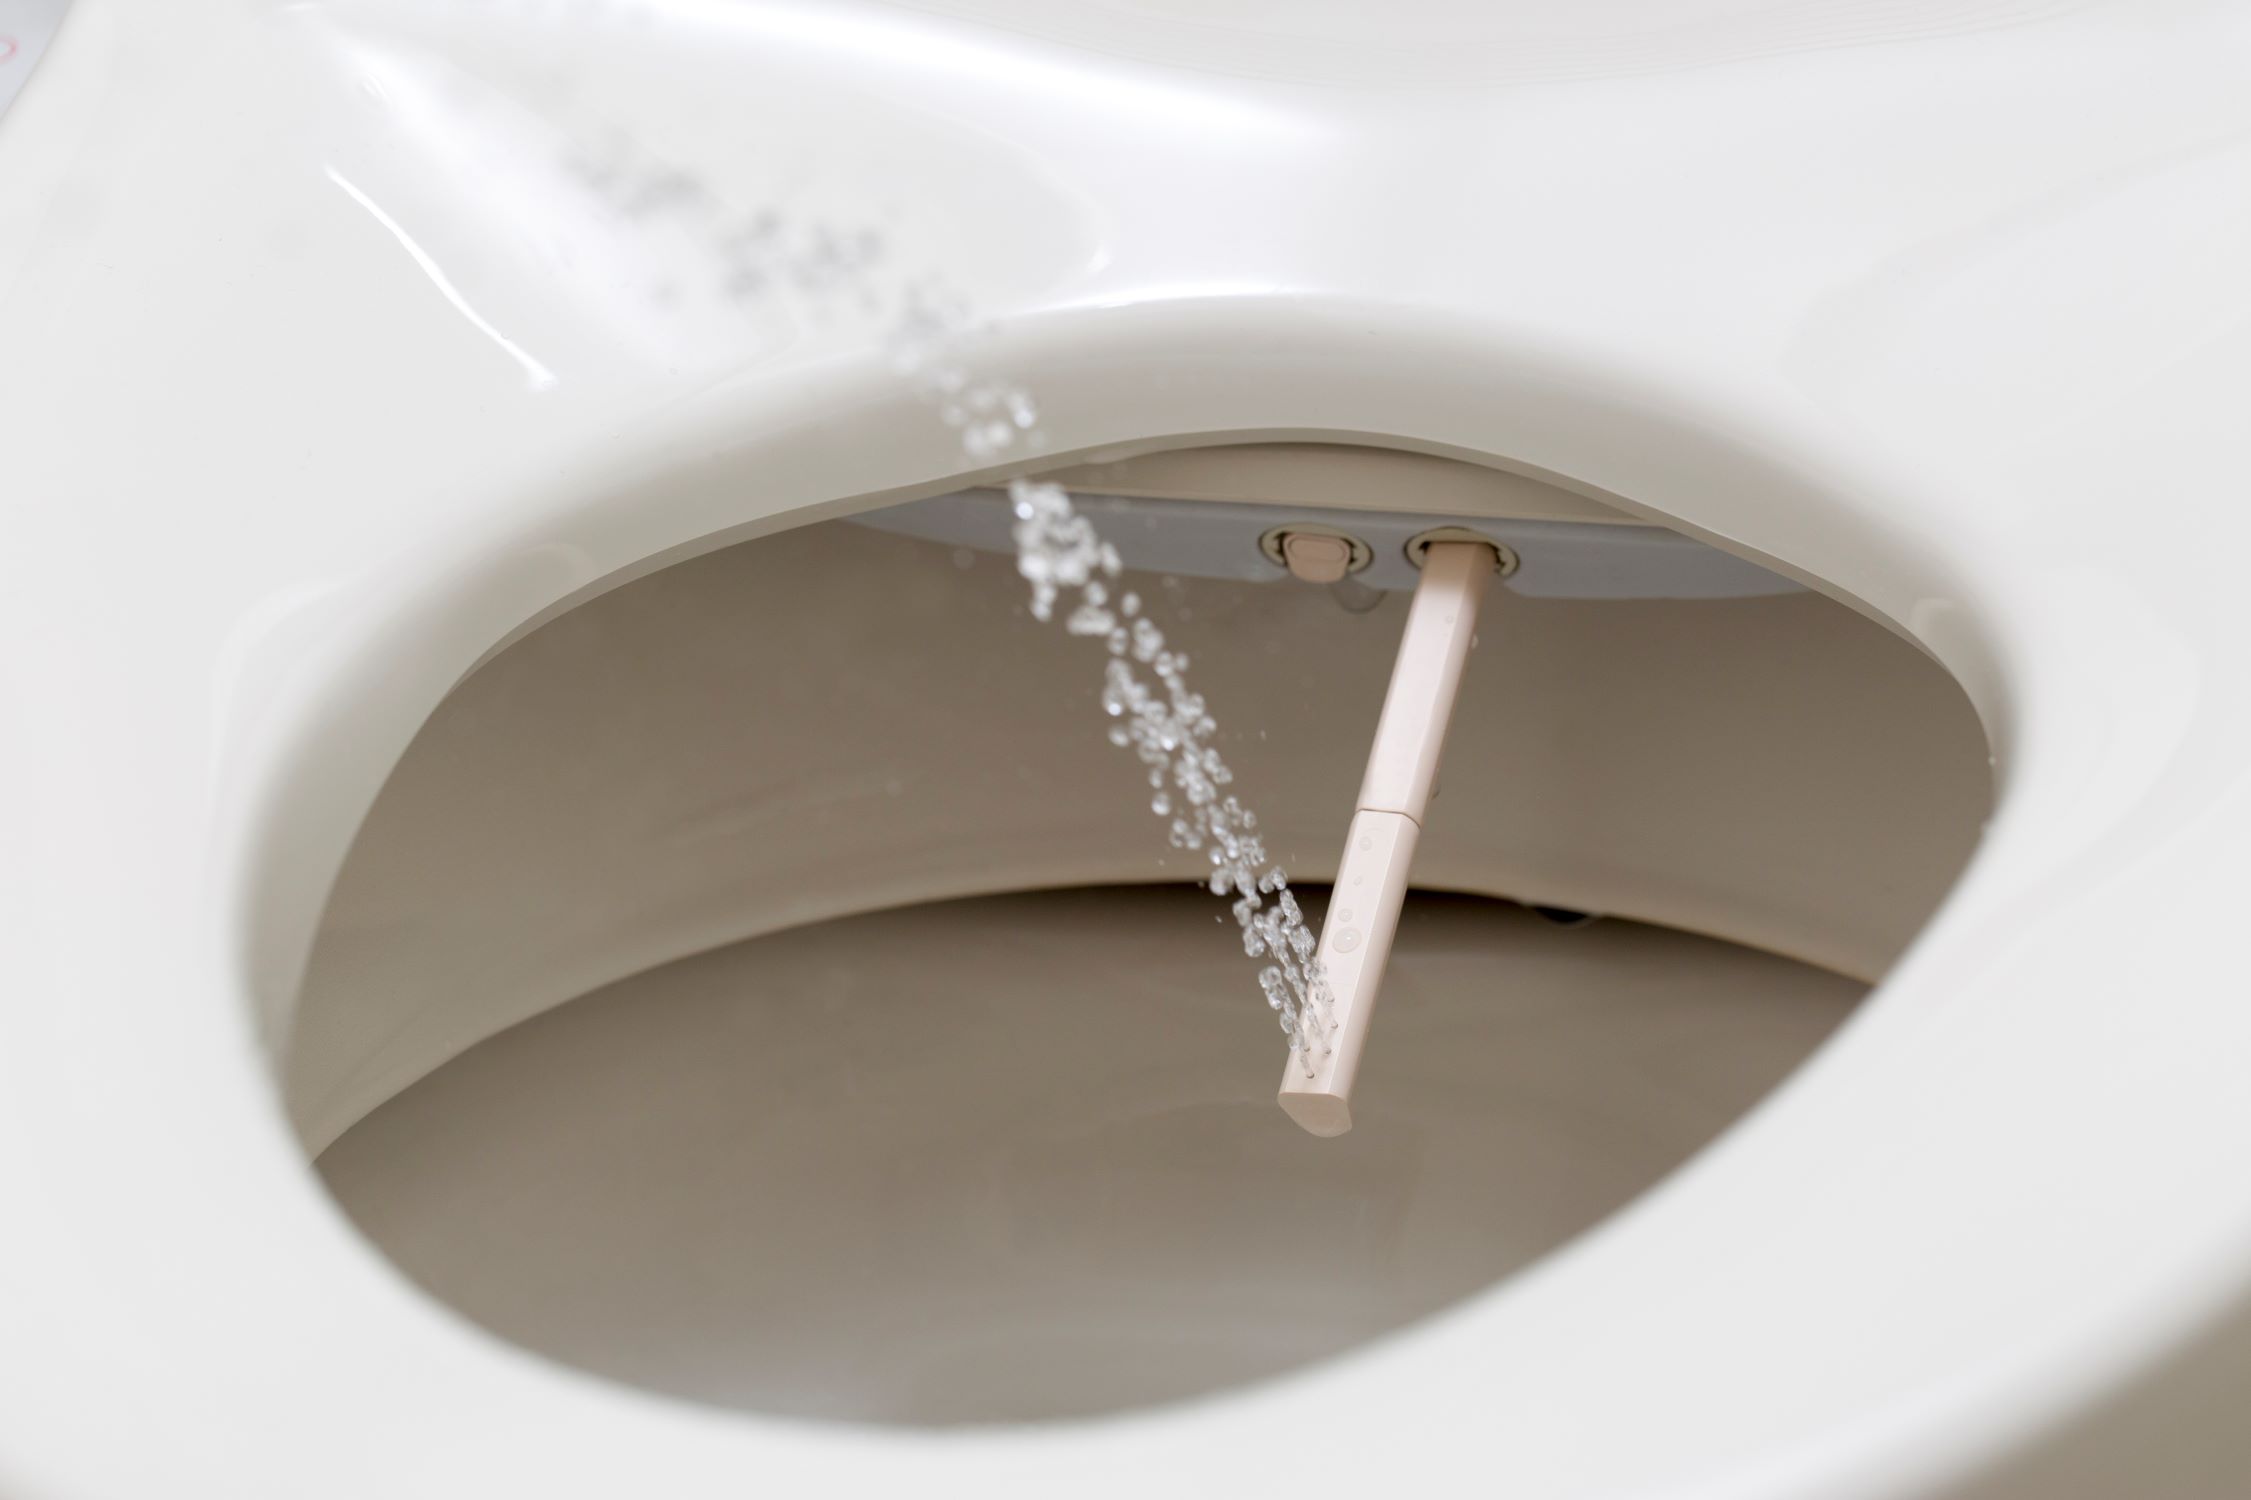
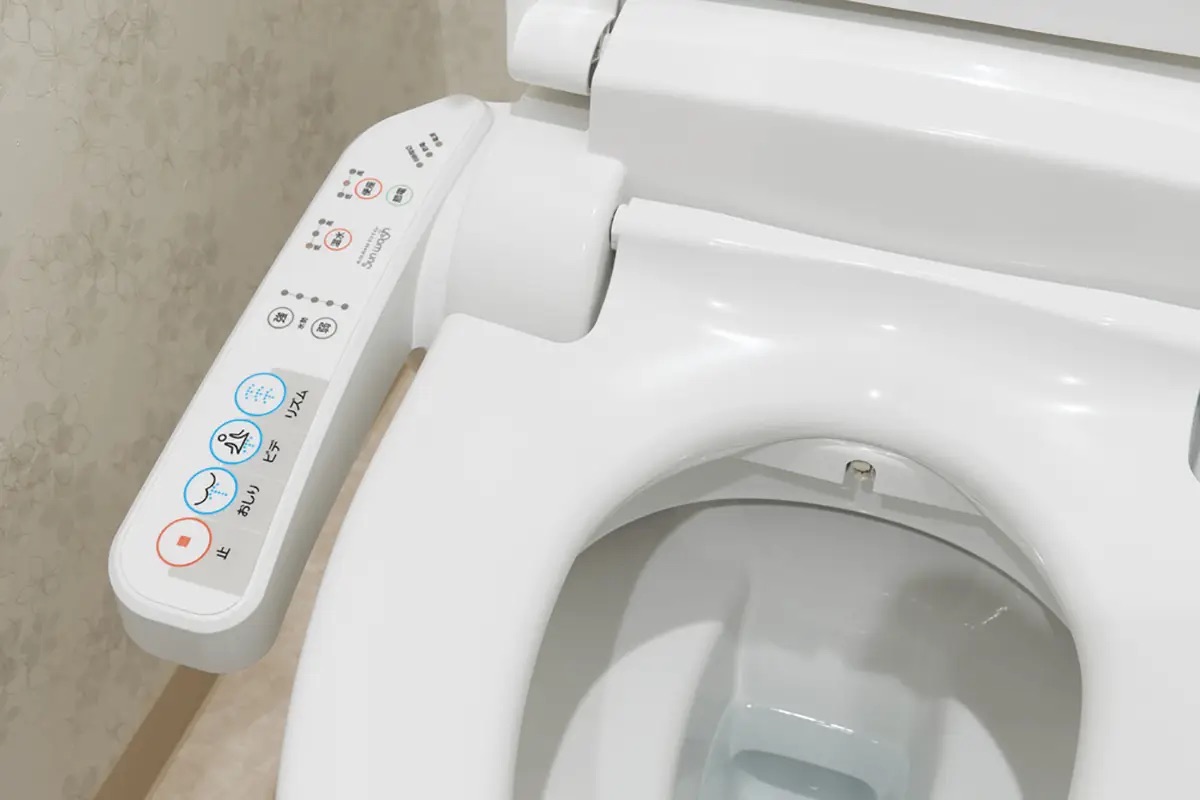
Step 6: Test and Adjust the Bidet Seat
Now that the bidet seat is securely installed and the water supply is connected, it’s time to test and adjust the seat to ensure it functions properly. Follow these steps to test and adjust the bidet seat:
- Once the water supply valve is fully open, test the bidet seat by pressing the relevant buttons or using the provided controls. This will activate the water spray or other bidet functions.
- Observe the water pressure, temperature, and spray accuracy to ensure they meet your preferences.
- If necessary, adjust the water pressure and temperature settings according to your comfort level. This can typically be done using the controls located on the side of the bidet seat.
- Check for any leaks or drips during and after using the bidet seat. If you notice any leaks, ensure that all the water connections are tight and secure.
- Take a moment to familiarize yourself with the additional features and functions of the bidet seat, such as air drying, heated seat, or adjustable nozzle positions.
- If you encounter any difficulties or have questions about the bidet seat, refer to the manufacturer’s instructions or contact their customer support for assistance.
Testing and adjusting the bidet seat ensures that it meets your preferences and functions properly. It allows you to customize the settings to provide a comfortable and hygienic experience.
With the bidet seat successfully tested and adjusted, you have completed the installation process! Take some time to appreciate your newly installed bidet toilet seat and revel in the convenience and luxury it brings to your bathroom.
Congratulations on successfully installing your bidet toilet seat! Now you can enjoy the numerous benefits, including enhanced hygiene and comfort, that come with having a bidet seat in your bathroom.
Remember to periodically clean and maintain the bidet seat to keep it in optimal condition. Refer to the manufacturer’s instructions for specific cleaning recommendations.
Thank you for following this comprehensive guide on how to install a bidet toilet seat. We hope this article has provided you with the knowledge and confidence to complete the installation with ease.
Conclusion
Congratulations! You have reached the end of this comprehensive guide on how to install a bidet toilet seat. By following the step-by-step instructions provided in this article, you have successfully transformed your ordinary toilet into a luxurious and functional fixture.
Installing a bidet toilet seat not only enhances hygiene but also brings comfort and convenience to your bathroom experience. With the easy-to-follow instructions and the right tools, you were able to complete the installation process with confidence.
Throughout the installation, it is important to refer to the manufacturer’s instructions specific to your bidet seat model. These instructions will provide you with any additional details or variations needed for a successful installation.
Remember to periodically check the bidet seat for any signs of wear or leaks. Maintaining proper cleaning and maintenance will ensure the longevity and optimal performance of your bidet seat.
We hope this guide has provided you with valuable insights and empowered you to install the bidet toilet seat on your own. Enjoy the benefits of improved hygiene, comfort, and water-saving capabilities that come with having a bidet seat in your bathroom.
Thank you for reading, and happy bidet seat installation!
Frequently Asked Questions about How To Install Bidet Toilet Seat
Was this page helpful?
At Storables.com, we guarantee accurate and reliable information. Our content, validated by Expert Board Contributors, is crafted following stringent Editorial Policies. We're committed to providing you with well-researched, expert-backed insights for all your informational needs.


0 thoughts on “How To Install Bidet Toilet Seat”