Home>Interior Design>A Guide To Satin Paint And How To Use It
Interior Design
A Guide To Satin Paint And How To Use It
Modified: September 1, 2024
Discover the ultimate guide to using satin paint in your interior design projects. Learn tips and techniques to achieve a smooth and luxurious finish for your home.
(Many of the links in this article redirect to a specific reviewed product. Your purchase of these products through affiliate links helps to generate commission for Storables.com, at no extra cost. Learn more)
Introduction
When it comes to interior design, choosing the right paint finish can make a significant difference in the overall look and feel of a space. One popular option that has gained popularity in recent years is satin paint. Satin paint is a versatile and visually appealing choice that can add a touch of elegance to any room.
In this comprehensive guide, we will explore what satin paint is, the benefits it offers, the types of surfaces it is suitable for, and how to properly apply it to achieve the best results. Whether you are a DIY enthusiast or a professional interior designer, this guide will provide you with valuable insights and practical tips on using satin paint effectively.
But first, let’s understand what satin paint actually is.
Key Takeaways:
- Elevate your interior design with satin paint, a versatile choice offering subtle sheen, easy maintenance, and the ability to hide imperfections. Transform your space with elegance and durability.
- Achieve flawless satin paint results by following proper preparation, using quality tools, and avoiding common mistakes. Maintain the vibrancy of your surfaces with regular care and attention.
Read more: A Guide To Eggshell Paint And When To Use It
What is Satin Paint?
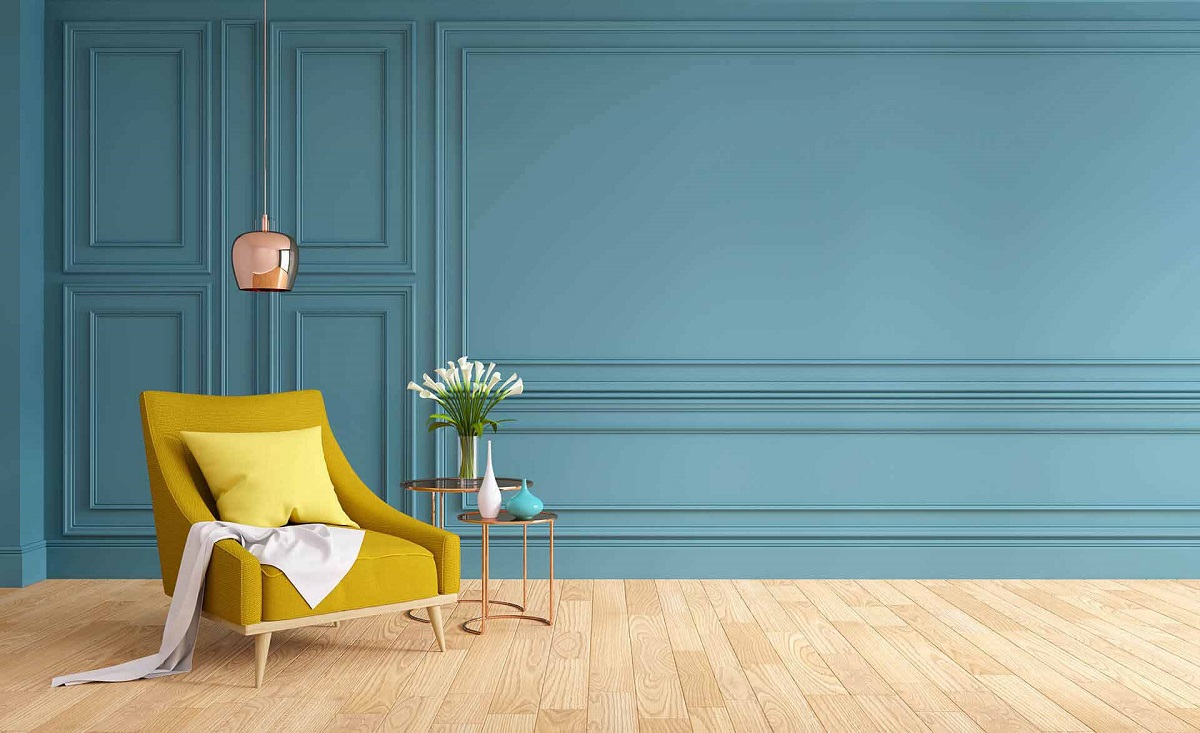
Satin paint is a type of interior paint finish that falls between a matte and semi-gloss finish. It is named after its resemblance to the smooth and lustrous appearance of satin fabric. This finish offers a subtle sheen that adds depth and richness to painted surfaces while still maintaining a low level of reflectivity.
What distinguishes satin paint from other finishes is its unique balance of characteristics. It provides a smooth and even finish, making it ideal for walls, ceilings, and trim in both residential and commercial spaces. Satin paint can be used in various areas of the home, including bedrooms, living rooms, kitchens, and bathrooms, as well as high-traffic areas such as hallways and entryways.
One of the key features of satin paint is its ability to hide imperfections on the painted surface. Due to its slight sheen, satin paint can help to camouflage minor flaws, such as small cracks, bumps, or uneven textures. This makes it a popular choice for older homes or walls with less-than-perfect conditions.
Satin paint is available in a wide range of colors, allowing you to choose from a plethora of options to suit your interior design preferences. It can be applied using various methods, such as brushes, rollers, or sprayers, providing flexibility and ease of use for both professionals and DIY enthusiasts.
Now that we have a good understanding of what satin paint is, let’s delve into its benefits and why it is a preferred choice for many interior design projects.
Benefits of Satin Paint
Satin paint offers a wide range of benefits that make it a sought-after choice among interior designers and homeowners. Let’s explore some of the key advantages of using satin paint:
- Subtle Sheen: Satin paint provides a delicate sheen that adds depth and sophistication to any space. Unlike high-gloss finishes, satin paint offers a more understated and elegant look, making it suitable for various design styles.
- Easy to Clean: One of the standout benefits of satin paint is its cleanability. It is more durable and washable compared to matte finishes, allowing you to easily wipe away stains, dirt, or fingerprints without damaging the paint.
- Hide Imperfections: Satin paint has excellent hiding capabilities, making it an excellent choice for surfaces with minor imperfections. The subtle sheen helps to minimize the appearance of bumps, cracks, and other flaws, creating a smooth and flawless finish.
- Moisture Resistance: Another advantage of satin paint is its moisture resistance. This makes it a suitable option for bathrooms, kitchens, or any space prone to humidity or moisture. Satin paint can withstand mildew growth and is less prone to water damage.
- Versatility: Satin paint is versatile and can be used on a wide range of surfaces, such as walls, ceilings, woodwork, and metal. It offers excellent adhesion and coverage, making it an all-purpose option for various interior design projects.
- Long-lasting: When properly applied and maintained, satin paint can last for years without significant wear or fading. Its durability and resistance to stains and abrasions make it a reliable choice for high-traffic areas.
- Light Reflectivity: Satin paint strikes a balance between matte and glossy finishes when it comes to light reflectivity. It reflects more light than matte paint, creating a gentle glow and brighter environment without the harsh glare of a high-gloss finish.
These benefits make satin paint an excellent choice for both residential and commercial interior design projects. Now that we understand the advantages of satin paint, let’s delve into the types of surfaces that are suitable for this finish.
Types of Surfaces Suitable for Satin Paint
Satin paint is a versatile option that can be applied to various surfaces, both interior and exterior. However, certain surfaces are better suited for this type of paint finish. Let’s take a look at some of the surfaces that are suitable for satin paint:
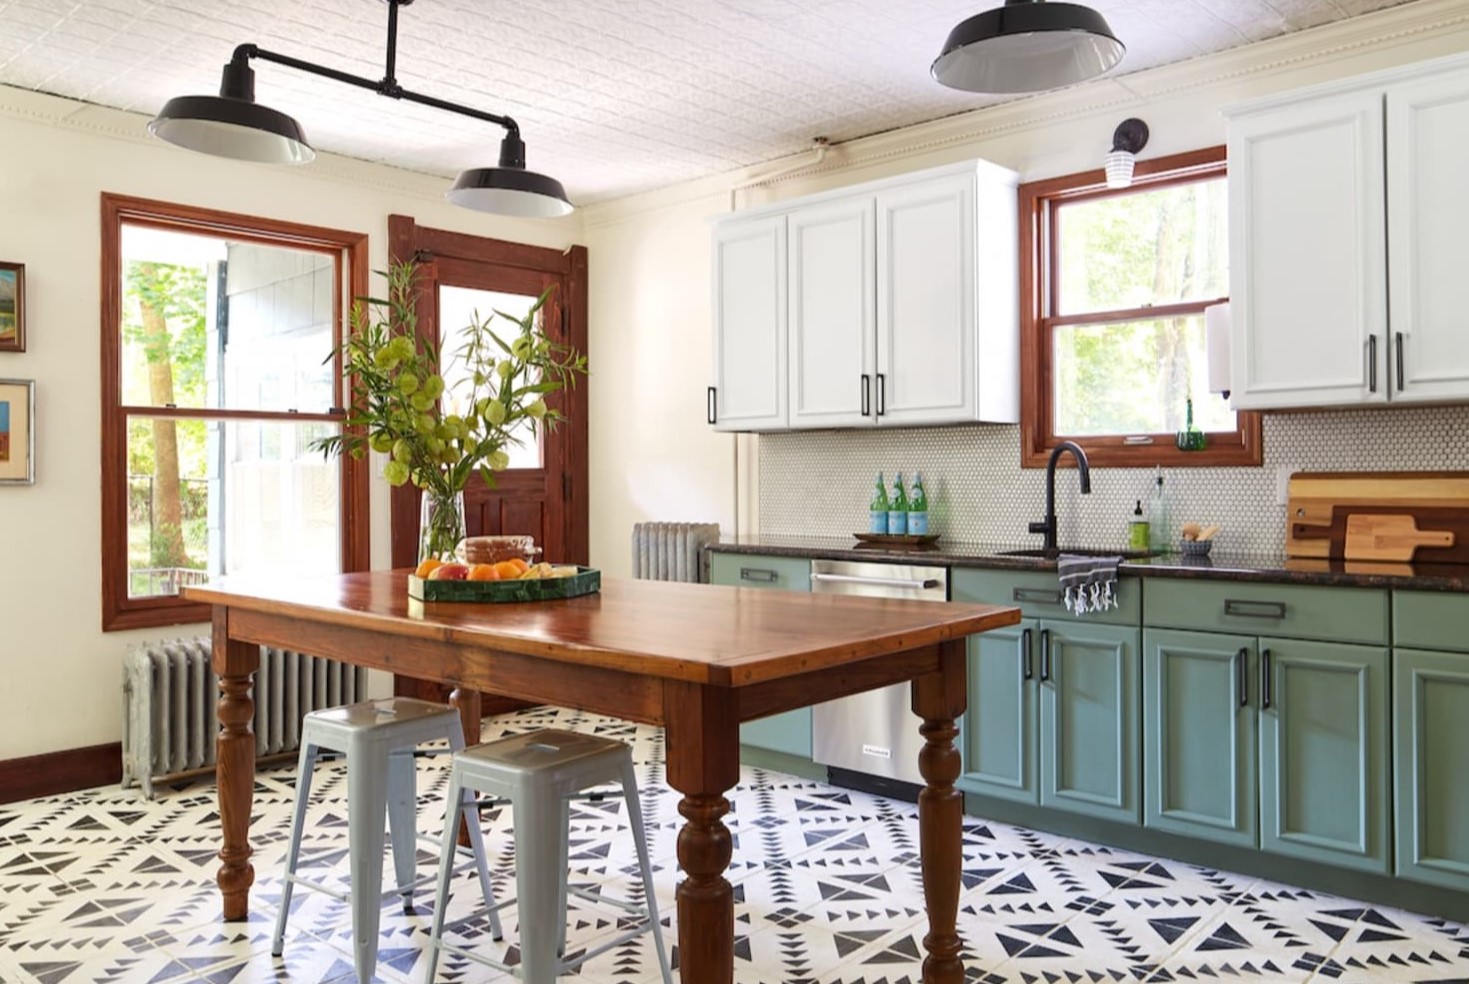
- Walls: Satin paint is an excellent choice for walls, particularly in high-traffic areas such as hallways, living rooms, and children’s rooms. It offers a durable and washable finish, making it easy to clean any marks or smudges that may occur.
- Ceilings: Satin paint can also be used on ceilings, giving them an elegant and slightly reflective finish. It helps to brighten the space by reflecting light without creating a strong glare or shine.
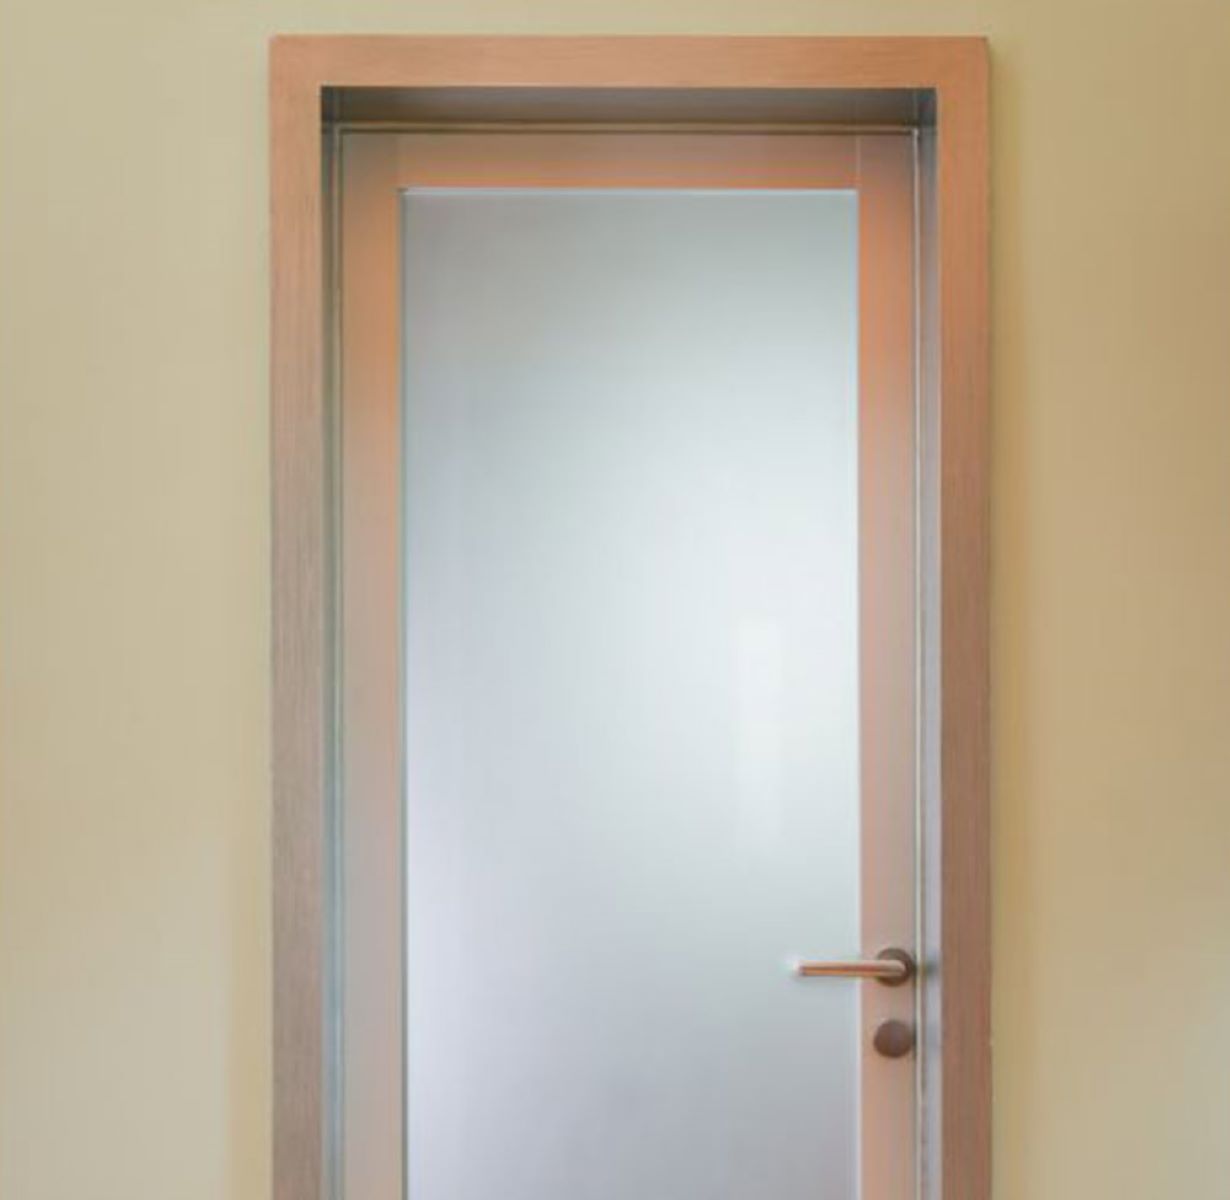
- Trim and Woodwork: Satin paint is well-suited for trim and woodwork, such as baseboards, crown molding, window frames, and doors. Its smooth and lustrous finish adds a touch of sophistication to these details, enhancing the overall aesthetic of a room.
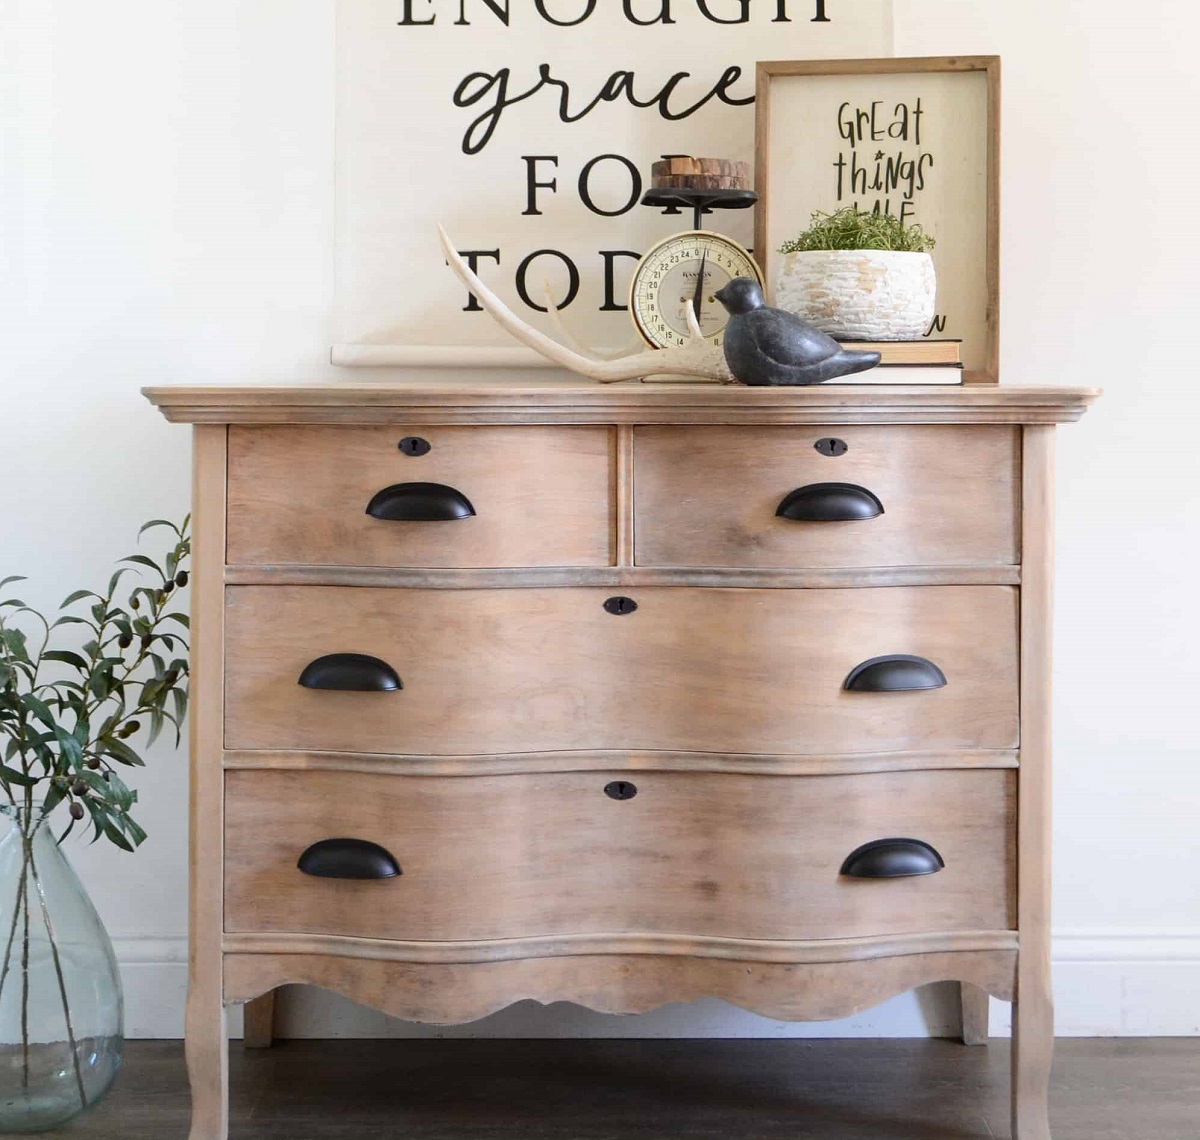
- Furniture: Satin paint can be used to transform old or worn-out furniture pieces into stylish focal points. Whether it’s a wooden dresser, side table, or even metal furniture, satin paint offers a durable and attractive finish that can instantly revive and refresh the look of the piece.
- Cabinets: If you’re looking to update your kitchen or bathroom cabinets, satin paint is an excellent choice. It provides a sleek and luxurious finish that is resistant to moisture and easy to clean, making it ideal for these areas where durability is essential.
- Exterior Surfaces: While satin paint is primarily used for interior surfaces, there are specific exterior applications where it can be used successfully. These include front doors, window trims, and other accents that benefit from a polished and slightly reflective finish.
These surfaces are well-suited for satin paint, considering its durability, cleanability, and aesthetic appeal. Preparation is key before applying satin paint, so let’s explore the necessary steps to ensure a flawless finish.
Preparation before Applying Satin Paint
Proper preparation is crucial for achieving a professional and long-lasting finish when using satin paint. Taking the time to prepare the surface before painting will ensure better adhesion, smoother application, and improved durability. Here are some essential steps to follow:
- Clean the Surface: Start by cleaning the surface you plan to paint. Use a mild detergent or a grease-cutting cleaner to remove any dirt, grime, or grease buildup. Rinse thoroughly and allow the surface to dry completely before proceeding.
- Repair and Patch: Inspect the surface for any cracks, holes, or imperfections. Use a suitable filler, such as spackling compound or putty, to fill these areas. Smooth the surface with a putty knife and allow it to dry according to the manufacturer’s instructions. Sand the patched areas with fine-grit sandpaper until they are flush with the surrounding surface.
- Sand the Surface: Sanding the surface will help to create a smooth and uniform base for the paint. Use fine-grit sandpaper and sand in a circular motion, focusing on rough areas or glossy surfaces. This step will also promote better adhesion and help the paint adhere more effectively.
- Remove Dust: After sanding, use a clean, damp cloth or tack cloth to remove any sanding dust or debris. Taking the time to remove dust particles will ensure a clean and flawless finish, free from any imperfections caused by trapped debris.
- Protect Surrounding Areas: Before applying the satin paint, protect surrounding surfaces and areas that you do not want to paint. Use painter’s tape to cover baseboards, trim, windows, and any other adjacent surfaces. Lay down drop cloths or plastic sheeting to protect the floor or furniture from any accidental drips or spills.
By following these preparation steps, you will create an ideal surface for the satin paint application. Once the surface is prepared, gather the necessary tools and materials to apply the paint smoothly and efficiently.
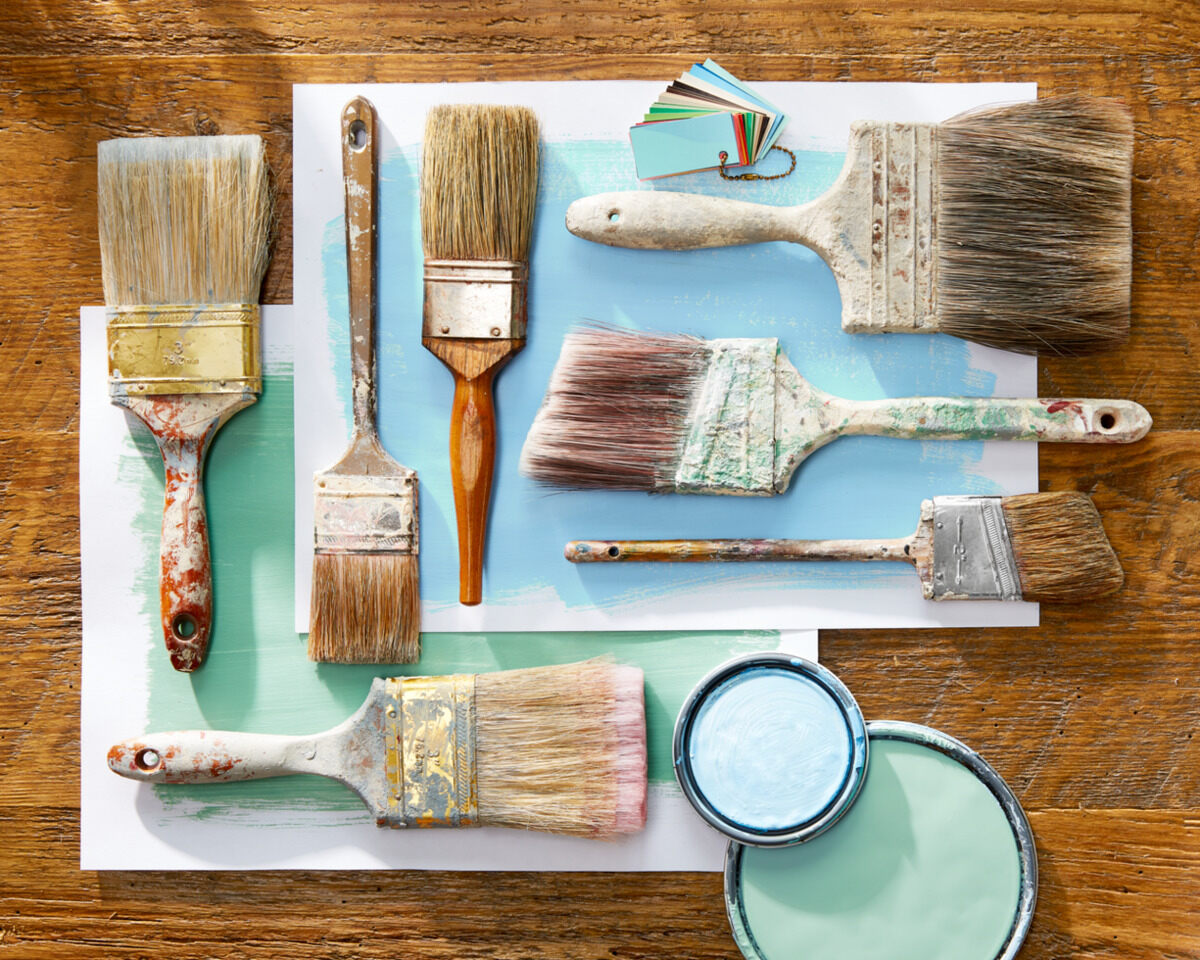
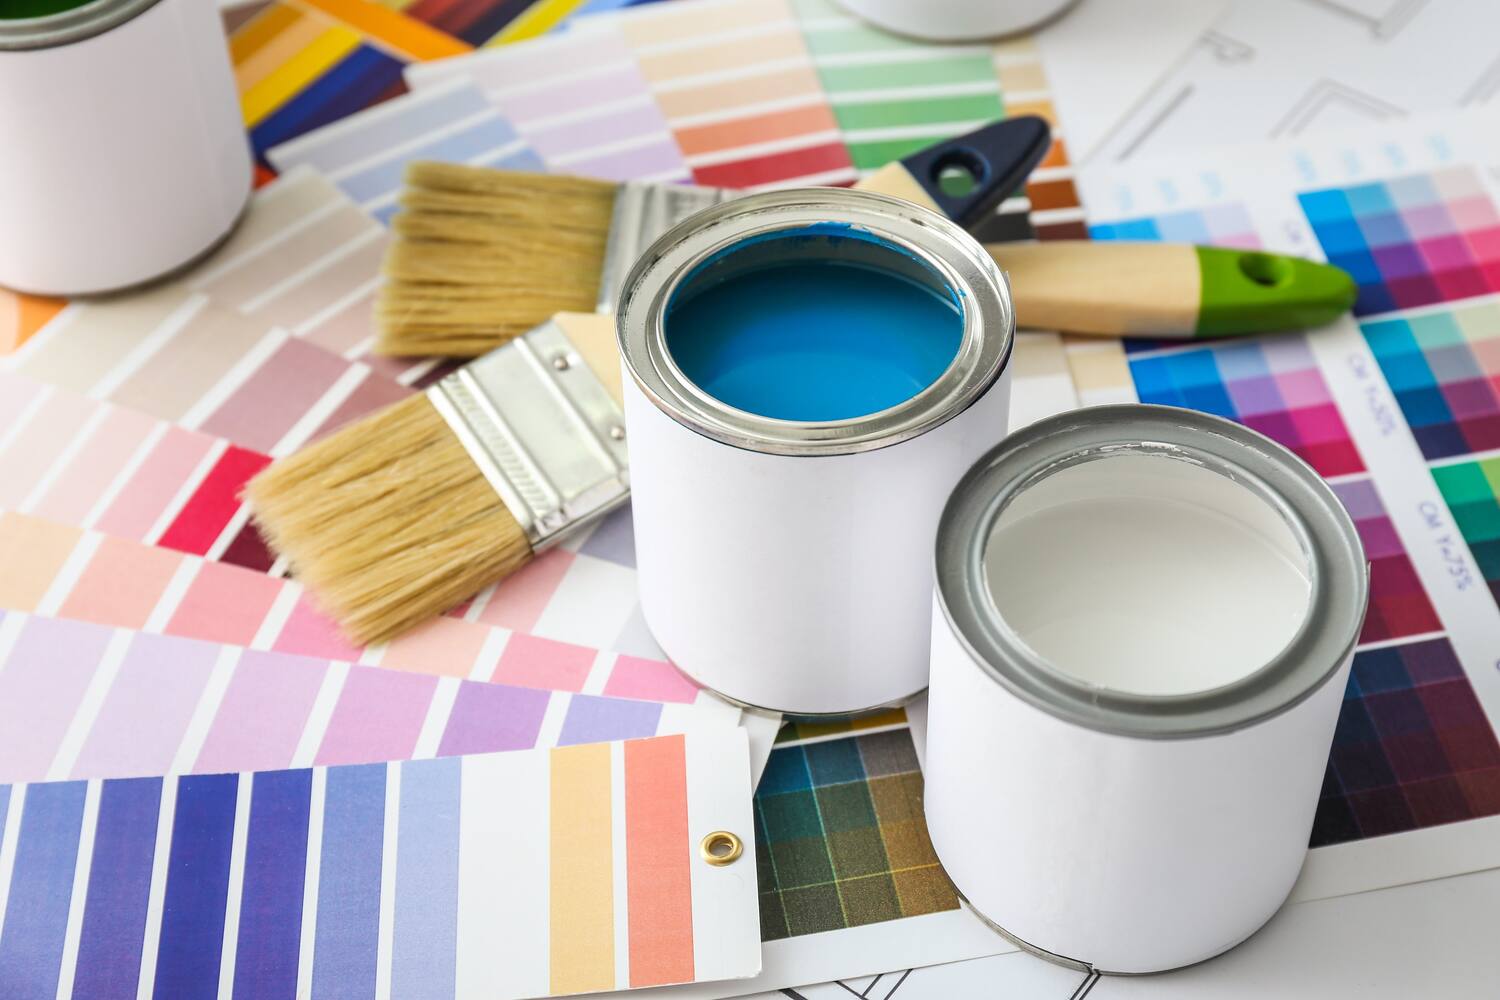
Tools and Materials Needed
Before you start applying satin paint, it’s important to gather the necessary tools and materials to ensure a successful and efficient painting process. Here’s a list of the essential items you will need:
- Paint: Choose a high-quality satin paint in your desired color. Consider the type of surface you are painting and select a paint that is suitable for that specific application.
- Primer (if needed): Depending on the surface you are painting, you may need a primer. Some surfaces, such as bare wood or dark-colored walls, may require a primer to improve paint adhesion and coverage. Consult the paint manufacturer’s recommendations for the appropriate primer.
- Paint Tray: A paint tray is essential for holding your paint and providing easy access for your brush or roller.
- Brushes: Choose high-quality paintbrushes with synthetic bristles for smooth and even application. Different brush sizes will be needed for different areas, such as trim or corners. Have a few brushes of varying sizes on hand for greater flexibility.
- Roller and Roller Cover: A roller is useful for painting larger surface areas quickly and efficiently. Choose a roller cover with the appropriate nap length for your specific surface. For rougher or textured surfaces, use a longer nap roller cover to ensure better coverage.
- Painters Tape: Use painters tape to protect areas you don’t want to paint, such as trim, baseboards, or windows. Ensure the tape is applied securely to create clean, crisp lines.
- Drops Cloths or Plastic Sheeting: Lay down drop cloths or plastic sheeting to protect the floor, furniture, or any surfaces adjacent to the area you are painting. This will catch any drips or spills, preventing potential damage.
- Sandpaper: Keep sandpaper on hand for any touch-ups or sanding between coats. Choose a fine-grit sandpaper for a smooth finish.
- Spackling Compound: If there are any imperfections on the surface, have spackling compound available to fill in cracks, holes, or dents before painting.
- Clean Cloth or Tack Cloth: Have a clean, lint-free cloth or tack cloth available to wipe away dust or debris from the surface before applying the paint.
- Paint Stirrer: Use a paint stirrer to thoroughly mix the paint before use. This will help distribute any settled pigments and ensure a consistent color throughout.
- Painting Extension Pole: If you have high walls or ceilings to paint, consider using a painting extension pole. This will allow you to reach higher areas comfortably without the need for a ladder.
Having the right tools and materials at hand will streamline the painting process and ensure that you have everything you need to achieve a professional and flawless satin paint finish. With these items ready, you can proceed with the steps of applying satin paint, which we will discuss in the next section.
When using satin paint, be sure to properly prepare the surface by sanding and priming it. This will ensure better adhesion and a smoother finish.
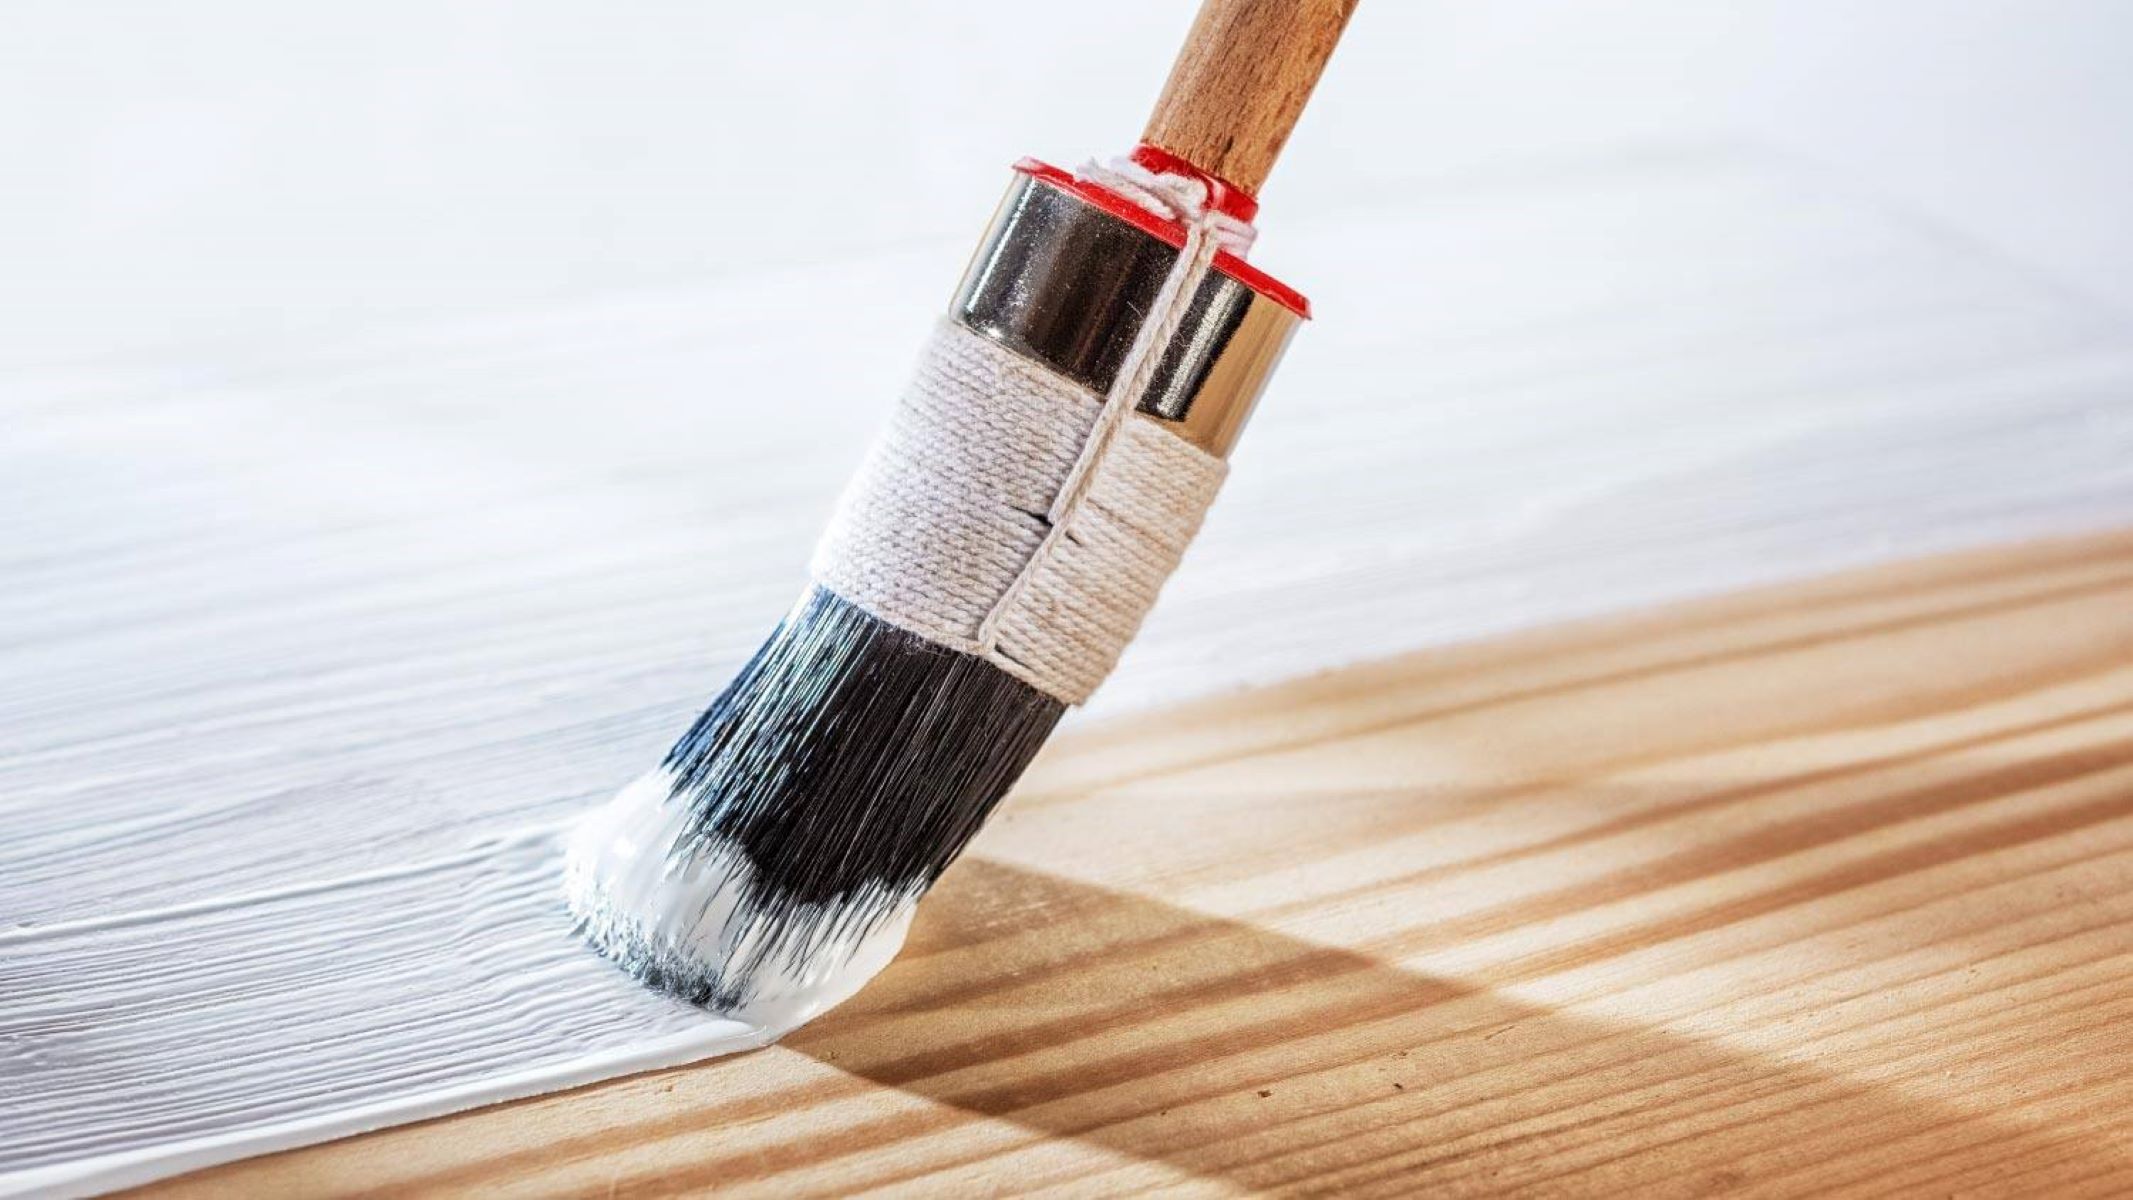
Steps to Apply Satin Paint
Now that you have all the necessary tools and materials, it’s time to apply the satin paint to your desired surface. Follow these step-by-step instructions for a smooth and successful application:
- Prepare the Surface: Ensure that the surface is clean, dry, and properly prepared as mentioned earlier. Repair any imperfections and sand the surface to create a smooth base for the paint.
- Apply Primer (if needed): If the surface requires a primer, apply it according to the manufacturer’s instructions. Use a brush or roller to cover the entire surface evenly. Allow the primer to dry completely before proceeding.
- Stir the Paint: Thoroughly stir the satin paint with a paint stirrer to achieve a consistent color and distribute any settled pigments. Avoid shaking the paint can as it can introduce air bubbles.
- Start with Cutting-In: Use a brush to “cut-in” or paint along the edges, corners, and areas where the roller cannot reach, such as around trim, baseboards, and ceilings.
- Begin Rolling: Dip the roller cover into the paint tray and roll it back and forth to evenly distribute the paint. Start rolling the satin paint onto the surface, working in manageable sections. Use a smooth, even, and overlapping motion to ensure a consistent finish.
- Roll in a W Pattern: For larger areas, such as walls or ceilings, use a “W” pattern while rolling the paint. This technique helps to evenly distribute the paint and prevent streaks or patches.
- Maintain a Wet Edge: To achieve a seamless finish, keep a “wet edge” while painting. This means always working in a continuous motion, ensuring that each stroke overlaps the previous one while the paint is still wet.
- Apply Multiple Coats: Depending on the desired color and coverage, you may need to apply multiple coats of satin paint. Allow each coat to dry completely before applying the next. Follow the manufacturer’s instructions for recommended drying times between coats.
- Inspect and Touch-Up: Once the final coat is dry, inspect the painted surface for any imperfections, missed spots, or areas that may require touch-ups. Use a brush or roller to address these areas and ensure a flawless finish.
- Clean the Tools: After you have finished painting, clean your brushes, roller covers, and other tools according to the paint manufacturer’s instructions. Proper cleaning and maintenance of your tools will ensure their longevity and enable you to use them for future projects.
Following these steps will help you achieve a professional and polished satin paint finish. However, it’s important to keep in mind some additional tips to ensure the best results, which we will discuss in the next section.
Tips for Using Satin Paint Effectively
To make the most out of your satin paint and achieve outstanding results, consider these helpful tips:
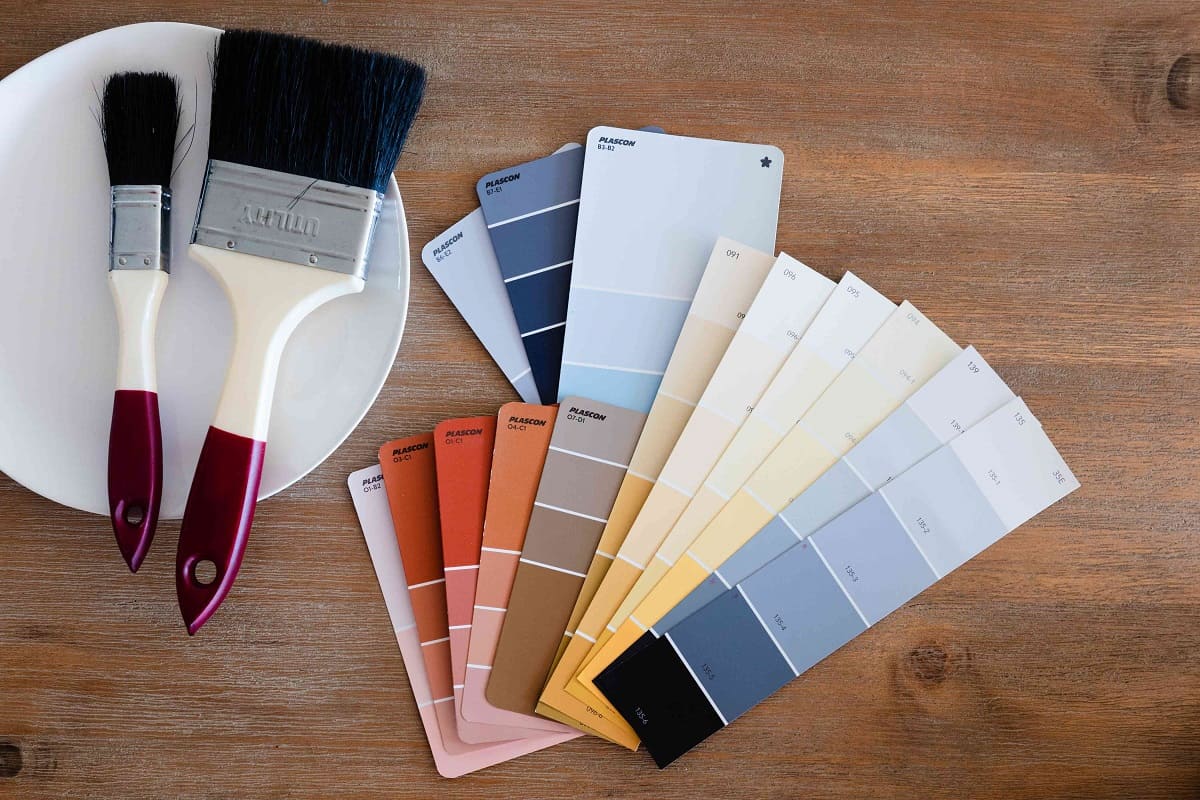
- Choose the Right Sheen: Satin paint comes in different sheen levels. Consider the lighting conditions and ambiance you want to create in the room when selecting the sheen. Keep in mind that higher-gloss finishes may show more imperfections.
- Test the Color: Before committing to painting the entire surface, test the color on a small, inconspicuous area to ensure it matches your expectations. Lighting and surrounding colors can affect how the paint appears on the wall.
- Use Quality Tools: Invest in high-quality brushes, rollers, and other painting tools. Quality tools will provide better coverage, smoother application, and help you achieve a more professional finish.
- Work in Proper Conditions: Paint in a well-ventilated area to ensure proper airflow and faster drying. Avoid painting in high humidity or extreme temperature conditions, as they can affect the drying and curing process.
- Avoid Overloading the Brush or Roller: When applying satin paint, avoid applying too much paint at once. Overloading the brush or roller can lead to drips, uneven coverage, and a sloppy finish. Apply the paint in thin, even layers for the best results.
- Maintain a Consistent Paint Direction: To achieve a uniform appearance, try to maintain a consistent painting direction throughout the entire surface. This will help minimize visible brush or roller marks and create a seamless finish.
- Be Mindful of Drying and Recoating Times: Follow the drying and recoating times specified by the paint manufacturer. Applying a new coat too soon can result in uneven drying and affect the overall finish quality.
- Keep a Wet Edge: As mentioned earlier, always maintain a wet edge while painting to avoid visible lines or streaks. This will ensure a smooth and professional-looking finish.
- Allow for Sufficient Drying Time: After the final coat is applied, be patient and allow sufficient drying time before moving furniture or touching the surface. This will help prevent smudges or damage that can occur from premature contact.
- Maintain and Clean the Painted Surface: To ensure the longevity of your satin paint finish, clean it regularly with a soft cloth or sponge. Avoid using harsh or abrasive cleaners that can damage the paint. Proper maintenance will keep your surfaces looking fresh and vibrant.
With these tips in mind, you’ll be able to make the most of your satin paint and achieve stunning results for your interior design projects.
Common Mistakes to Avoid when Using Satin Paint
While using satin paint can provide beautiful results, it’s important to be aware of common mistakes that can compromise the final finish. By avoiding these pitfalls, you can ensure a smooth and successful painting process. Here are some common mistakes to watch out for:
- Skipping Surface Preparation: Failing to properly prepare the surface before painting is a common mistake. Skipping steps like cleaning, patching holes, or sanding can lead to poor paint adhesion, uneven application, and a less durable finish. Take the time to prepare the surface thoroughly for the best results.
- Using the Wrong Tools: Using low-quality paint brushes or rollers can result in streaks, lint, or poor coverage. Invest in high-quality tools designed for satin paint to achieve a professional finish. Additionally, using the wrong type of brush or roller for the surface can create texture inconsistencies and affect the final appearance.
- Applying Too Thin or Thick Coats: Achieving the right consistency is crucial when applying satin paint. Applying coats that are too thin may result in poor coverage, while coats that are too thick can lead to drips, sagging, and an uneven finish. Follow the paint manufacturer’s instructions for proper application.
- Rushing the Drying Time: Allowing sufficient drying time between coats and before handling the painted surface is essential. Rushing the drying process can result in smudges, fingerprints, or damage to the finish. Follow the recommended drying times specified by the paint manufacturer to ensure the best results.
- Improper Brushing or Rolling Technique: Incorrect brushing or rolling techniques can leave visible brush or roller marks on the painted surface. To avoid this, maintain a consistent pressure and direction while applying the paint. Use smooth, even strokes to achieve a seamless finish.
- Not Using a Primer (When Necessary): In some cases, using a primer is necessary to improve paint adhesion, coverage, and to prevent stains from bleeding through. Skipping the primer step on surfaces that require it can result in a subpar finish and may require additional coats of paint to achieve the desired result.
- Overloading the Brush or Roller: Applying too much paint onto the brush or roller can cause drips, uneven coverage, and a sloppy finish. Use controlled, light pressure when loading the brush or roller to ensure the paint is evenly distributed without excess buildup.
- Not Testing the Color: Failing to test the color on a small, inconspicuous area can be risky. Lighting and surrounding colors can impact how the paint appears on the wall. Take the time to test the color before committing to painting the entire surface.
- Ignoring Proper Ventilation: Painting in a poorly ventilated area can lead to a longer drying time, lingering paint odors, and may affect the overall quality of the finish. Ensure proper airflow by opening windows, using fans, or working in well-ventilated rooms.
- Forgetting to Clean and Maintain the Brushes: Neglecting to clean and maintain your paint brushes can result in hardened bristles, clumps of paint, and overall decreased performance. Clean your brushes thoroughly after each use and store them properly to extend their lifespan.
By being aware of these common mistakes and taking the necessary precautions, you can avoid potential issues and achieve a flawless satin paint finish.
Read more: A Guide To Matte Paint And When To Use It
Maintenance and Care for Satin Painted Surfaces
Proper maintenance and care are essential for preserving the beauty and longevity of satin painted surfaces. By following these tips, you can keep your painted surfaces looking fresh and vibrant for years to come:
- Regular Cleaning: Dust and dirt can accumulate on painted surfaces over time. To prevent buildup, regularly dust the surface using a soft, lint-free cloth or a feather duster. If more thorough cleaning is needed, use a mild detergent solution and a soft sponge or cloth to gently wipe away stains or marks. Avoid using abrasive or harsh cleaning agents, as they can damage the paint.
- Avoid Excessive Scrubbing: While satin paint is durable, excessive scrubbing can cause the paint to fade or become damaged. Use gentle strokes and moderate pressure when cleaning to avoid scrubbing away the paint. For stubborn stains, try using milder cleaning agents or consult the manufacturer’s guidelines.
- Address Spills and Stains Promptly: Accidents happen, and spills or stains may occur on painted surfaces. It’s important to address spills promptly to prevent them from seeping into the paint and causing permanent damage. Blot the spill gently with a clean cloth or sponge to soak up the liquid, being careful not to rub the affected area.
- Protect Surfaces from Sharp Objects: Satin paint is resistant to minor scratches, but sharp objects can still leave marks. Take caution when moving furniture or other objects and use protective felt pads or furniture coasters to prevent scratches. Avoid using sharp tools or utensils directly on painted surfaces.
- Avoid Excessive Moisture: Satin paint is relatively moisture-resistant, but extended exposure to excessive moisture can damage the finish. Keep the painted surfaces in areas with appropriate ventilation and control humidity levels to prevent the formation of mold or mildew. Wipe away any moisture promptly to avoid damage.
- Touch-Up as Needed: Over time, small chips or scratches may appear on satin painted surfaces. To maintain a uniform appearance, periodically check for any imperfections and touch up the paint as necessary. Keep a small amount of leftover paint for touch-ups and use a small brush to carefully fill in any damaged areas.
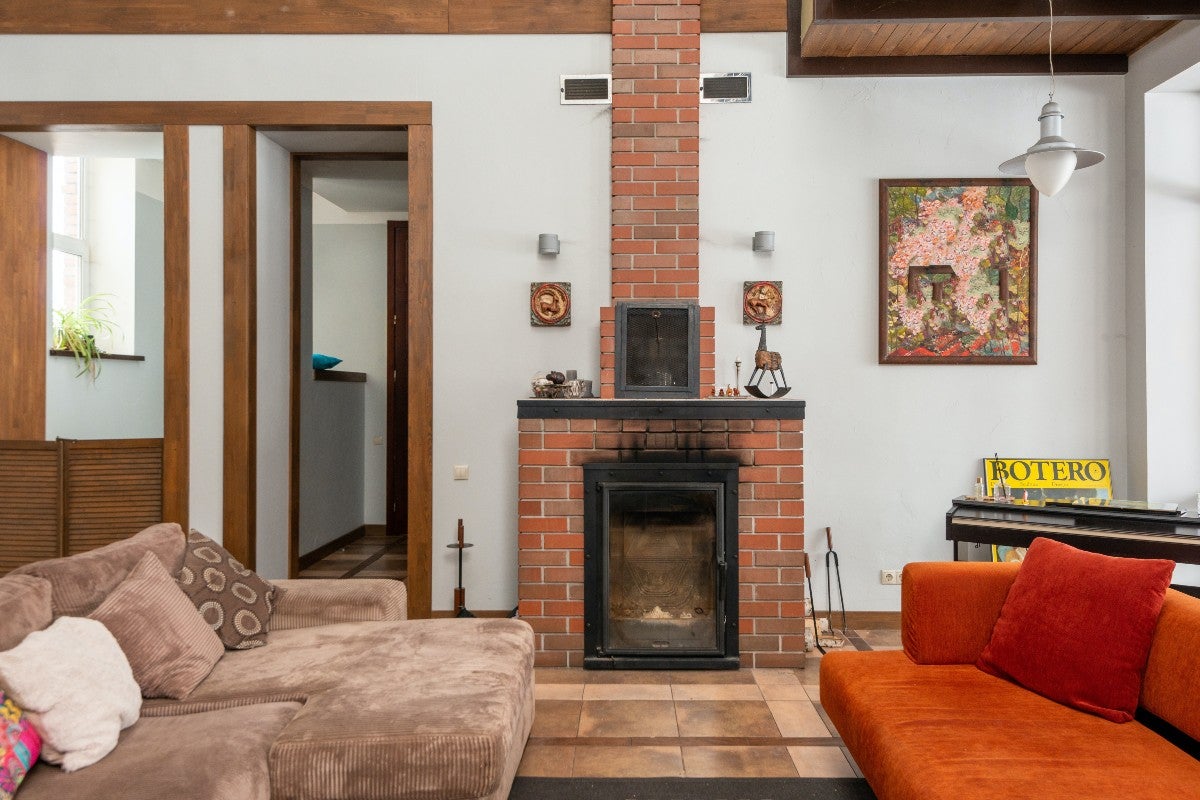
- Keep Away from Heat Sources: Satin paint can be sensitive to heat, so avoid placing painted surfaces directly near heat sources like radiators, fireplaces, or heat vents. Extreme heat can cause the paint to fade or discolor over time.
- Retouch with the Same Paint: When performing touch-ups on satin painted surfaces, use the same type and color of paint originally applied. This will ensure a consistent finish and prevent any noticeable variations in sheen or color.
- Regular Inspections: Take the time to periodically inspect your satin painted surfaces for any signs of wear, fading, or damage. Catching any issues early on allows for prompt repairs and prevents further deterioration.
By following these maintenance tips, you can extend the lifespan of your satin painted surfaces and enjoy their aesthetic appeal for years to come. Proper care and attention will keep your surfaces looking fresh and vibrant, enhancing the overall beauty of your space.
Conclusion
Satin paint is a versatile and visually appealing choice for creating a stunning interior design. Its subtle sheen adds depth and elegance to any space, while its durability and washability make it a practical option for high-traffic areas. By understanding its characteristics, benefits, and proper application techniques, you can maximize the impact of satin paint in your home or commercial projects.
Throughout this guide, we’ve explored what satin paint is and why it has become a popular choice. We’ve discussed its benefits, such as its ability to hide imperfections, its easy maintenance, and its versatility across various surfaces. We’ve also provided essential tips for effective use, including proper surface preparation, selecting the right tools, and maintaining a consistent application technique.
Avoiding common mistakes, such as rushing the paint drying process or using incorrect tools, will help ensure a flawless finish. Additionally, we’ve highlighted the importance of regular maintenance and care to preserve the beauty and longevity of satin painted surfaces. By following suggested cleaning methods, avoiding excessive scrubbing, and promptly addressing spills or stains, you can maintain the vibrancy and appearance of your satin paint.
In conclusion, satin paint offers a perfect balance of aesthetics and functionality, making it an excellent choice for interior design projects. Whether you are aiming to create a sophisticated ambiance or revitalize worn-out furniture, satin paint can transform your space with its subtle sheen and durability.
So, go ahead and embrace the beauty of satin paint in your next painting venture. With proper preparation, the right tools, and a little bit of care, you can achieve stunning results and elevate the visual appeal of your living or working environment.
Frequently Asked Questions about A Guide To Satin Paint And How To Use It
Was this page helpful?
At Storables.com, we guarantee accurate and reliable information. Our content, validated by Expert Board Contributors, is crafted following stringent Editorial Policies. We're committed to providing you with well-researched, expert-backed insights for all your informational needs.


0 thoughts on “A Guide To Satin Paint And How To Use It”