Home>Interior Design>How To Paint Over Wallpaper: An Expert Guide

Interior Design
How To Paint Over Wallpaper: An Expert Guide
Modified: September 2, 2024
Learn how to expertly paint over wallpaper with this comprehensive guide. Upgrade your interior design skills and transform your space with ease.
(Many of the links in this article redirect to a specific reviewed product. Your purchase of these products through affiliate links helps to generate commission for Storables.com, at no extra cost. Learn more)
Introduction
Welcome to our expert guide on how to paint over wallpaper. Wallpaper can add style and personality to a room, but there may come a time when you want to update the look or cover up outdated wallpaper. Painting over wallpaper can be a cost-effective and time-saving solution, allowing you to achieve a fresh, new look without the hassle of removing the wallpaper entirely.
However, before you dive into this project, it’s essential to understand the key steps and considerations involved in painting over wallpaper. In this guide, we will walk you through the process, from assessing the wallpaper to finishing touches and cleanup. By following these steps, you can achieve a professional-looking paint job and transform your space.
Before getting started, keep in mind that painting over wallpaper may not be suitable for all wallpaper types or conditions. It’s crucial to assess the condition of the wallpaper and ensure it is securely adhered to the walls. If the wallpaper is peeling or damaged, it’s best to remove it before painting.
Without further ado, let’s dive into the step-by-step process of painting over wallpaper and bring new life to your walls.
Key Takeaways:
- Transform your space with a fresh look by painting over wallpaper. Assess, prepare, prime, and paint for a professional finish without the hassle of wallpaper removal.
- Achieve a cost-effective and time-saving update to your room with the right paint and proper preparation. Enjoy a rewarding DIY project and a brand-new wall transformation.
Read more: How To Paint Wood Furniture: An Expert Guide
Step 1: Assessing the Wallpaper
The first step in painting over wallpaper is to assess its condition and suitability for painting. Here are some key considerations:
- Adhesion: Check if the wallpaper is firmly adhered to the wall. If the edges or seams are lifting or peeling, it’s best to remove the wallpaper before painting. Painting over loose wallpaper can result in a poor finish and may cause the paint to peel or bubble.
- Texture: Consider the texture of the wallpaper. Smooth or lightly textured wallpaper is generally more suitable for painting. If the wallpaper has a highly textured or embossed design, it may not provide an ideal surface for a smooth paint finish.
- Cleanliness: Ensure that the wallpaper is clean and free of dirt, grease, or any other contaminants. Use a mild detergent solution and a sponge to gently clean the wallpaper if necessary. Allow it to dry completely before proceeding with the painting process.
- Seams and Defects: Inspect the seams and any defects in the wallpaper, such as tears or holes. If there are extensive damages or visible imperfections, it’s recommended to repair or replace the damaged areas before painting.
- Previous Coatings: Consider if the wallpaper has any previous coatings or treatments. If there are multiple layers of paint or other coatings, it may affect the adhesion and finish of the new paint. In such cases, it’s advisable to remove the previous coatings or consult a professional.
Assessing the wallpaper’s condition is crucial to ensure a successful paint job. It’s essential to remember that not all wallpapers are suitable for painting over. If the wallpaper is heavily textured, peeling, or in poor condition, it’s best to remove it before proceeding with painting.
Once you have assessed the wallpaper and determined it is suitable for painting, you can move on to the next steps in the process.
Step 2: Preparing the Wallpaper for Painting
Preparing the wallpaper for painting is a critical step to ensure a smooth and long-lasting finish. Here’s what you need to do:
- Clean the Wallpaper: Before applying any paint, it’s essential to clean the wallpaper thoroughly. Use a mild detergent solution and a sponge to remove any dirt, grease, or stains. Be gentle to avoid damaging the wallpaper. Allow it to dry completely before proceeding.
- Repair Damaged Areas: Inspect the wallpaper for any tears, holes, or other damages. Repair these areas using a suitable wallpaper repair adhesive or patching compound. Smooth out the repaired areas and ensure they blend seamlessly with the rest of the wallpaper.
- Smooth Out Bubbles or Wrinkles: If the wallpaper has any bubbles or wrinkles, use a wallpaper smoothing tool or a plastic card to flatten them. Work gently and carefully to avoid causing any further damage.
- Edge Preparation: Pay attention to the edges of the wallpaper, as they can be tricky to paint over. Use a utility knife to carefully trim any loose or frayed edges. You can also use painter’s tape to protect adjacent surfaces like trim or baseboards.
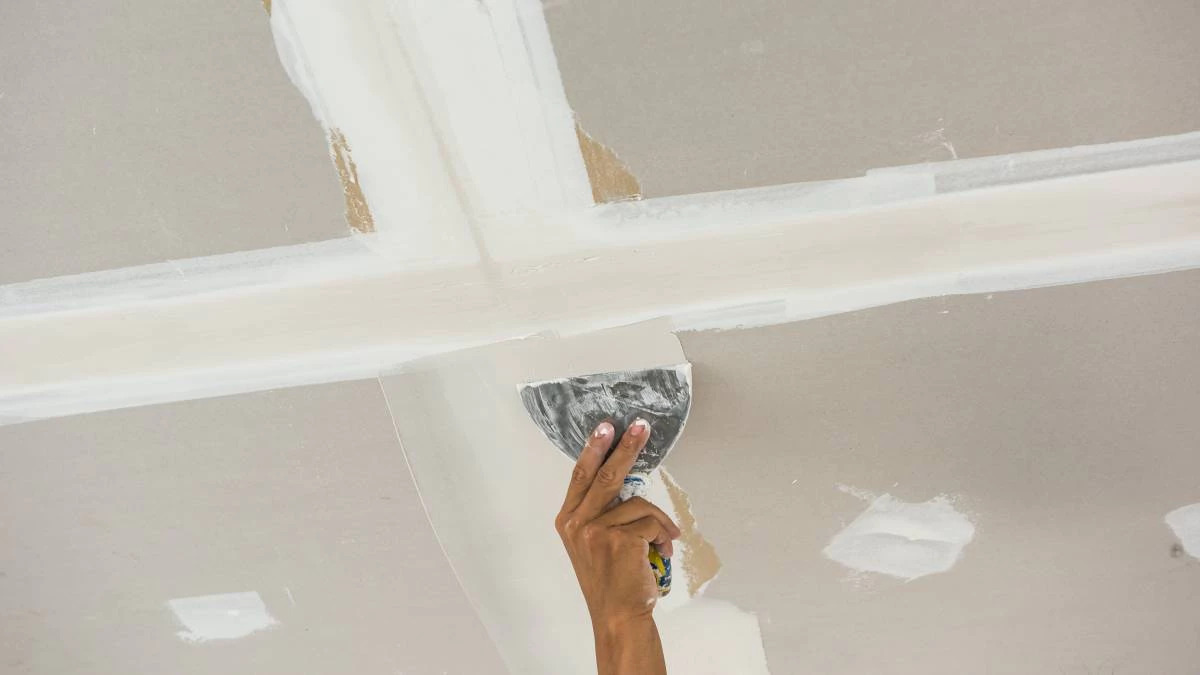
- Fill in Seam Lines: Wallpaper seam lines may be visible after painting. To minimize their appearance, use a lightweight spackling compound to fill in the seams. Allow it to dry thoroughly and sand it lightly to create a smooth surface.
By properly preparing the wallpaper, you create a clean and even surface for the paint to adhere to, resulting in a more professional-looking finish. Take your time and ensure that the wallpaper is in good condition, free of any defects, and ready for painting.
Once you have prepared the wallpaper, you can move on to the next step, which is choosing the right paint.
Step 3: Choosing the Right Paint
Choosing the right paint is crucial for achieving a successful paint job over wallpaper. Consider the following factors when selecting the paint:
- Paint Type: Opt for a paint that is suitable for the wallpaper material and texture. Latex or acrylic paints are generally recommended for most wallpaper types, as they are easy to work with and provide good adhesion. However, if you have vinyl or vinyl-coated wallpaper, it’s best to use an oil-based or shellac-based primer before applying latex paint.
- Finish: Take into account the desired finish for your walls. Different paint finishes, such as flat, satin, or semi-gloss, have different appearances and levels of reflectivity. Consider the overall aesthetic of the room and choose a finish that complements it.
- Color Choice: Select a color that enhances the room’s ambiance and matches your desired style. Remember that darker colors may require additional coats for full coverage, while lighter colors can hide imperfections more easily.
- Paint Quantity: Calculate the amount of paint needed based on the size of the room and the number of coats you plan to apply. It’s always better to have a little extra paint on hand to ensure consistent color and coverage throughout.
Consult with a paint specialist at your local home improvement store for expert advice on the best paint options for painting over wallpaper. They can guide you in choosing the right paint type, finish, and color for your specific project.
Remember, the quality of the paint you choose will significantly impact the final result. Investing in a high-quality paint that is specifically designed for painting over wallpaper will ensure a durable and long-lasting finish.
Once you have selected the appropriate paint, you are ready to move on to the next step, which is priming the wallpaper.
Step 4: Priming the Wallpaper
Priming the wallpaper is an essential step to promote adhesion and create a smooth base for paint application. Follow these steps to prime the wallpaper:
- Clean the Wallpaper (Again): Before priming, ensure that the wallpaper is clean and free of any dust or residue. Use a damp cloth or sponge to wipe down the surface and remove any remaining debris.
- Choose a Primer: Select a high-quality primer that is specifically designed for painting over wallpaper. Look for a primer that is recommended for the type of wallpaper you have and compatible with the paint you will be using.
- Apply the Primer: Using a brush or roller, apply an even coat of primer to the wallpaper. Work in small sections, starting from the top and working your way down. Make sure to cover the entire surface of the wallpaper. Allow the primer to dry completely according to the manufacturer’s instructions.
- Sand (Optional): If you notice any rough spots or imperfections after the primer has dried, you can lightly sand them with fine-grit sandpaper. This step will help create a smoother surface for the paint.
- Inspect and Touch Up: Once the primer is dry, inspect the wallpaper for any areas that may require additional priming or touch-up. Apply another coat of primer if necessary, focusing on areas that are particularly porous or uneven.
Priming the wallpaper is crucial as it creates a better surface for paint adhesion, helps prevent the wallpaper pattern from showing through the paint, and improves the durability of the paint finish. A properly primed wallpaper will also help the paint achieve a true and consistent color.
After priming, allow the primer to dry completely before moving on to the next step, which is painting over the wallpaper.
Before painting over wallpaper, make sure to clean the surface thoroughly and use a good quality primer to ensure the paint adheres properly. Sand any seams or edges to create a smooth surface for painting.
Step 5: Painting over the Wallpaper
Now that you have prepared the wallpaper and applied the primer, it’s time to paint over the wallpaper. Follow these steps for a successful paint application:
- Choose a Paint Color: Select your desired paint color and ensure it is compatible with the primer you have used. Stir the paint thoroughly to achieve a consistent color.
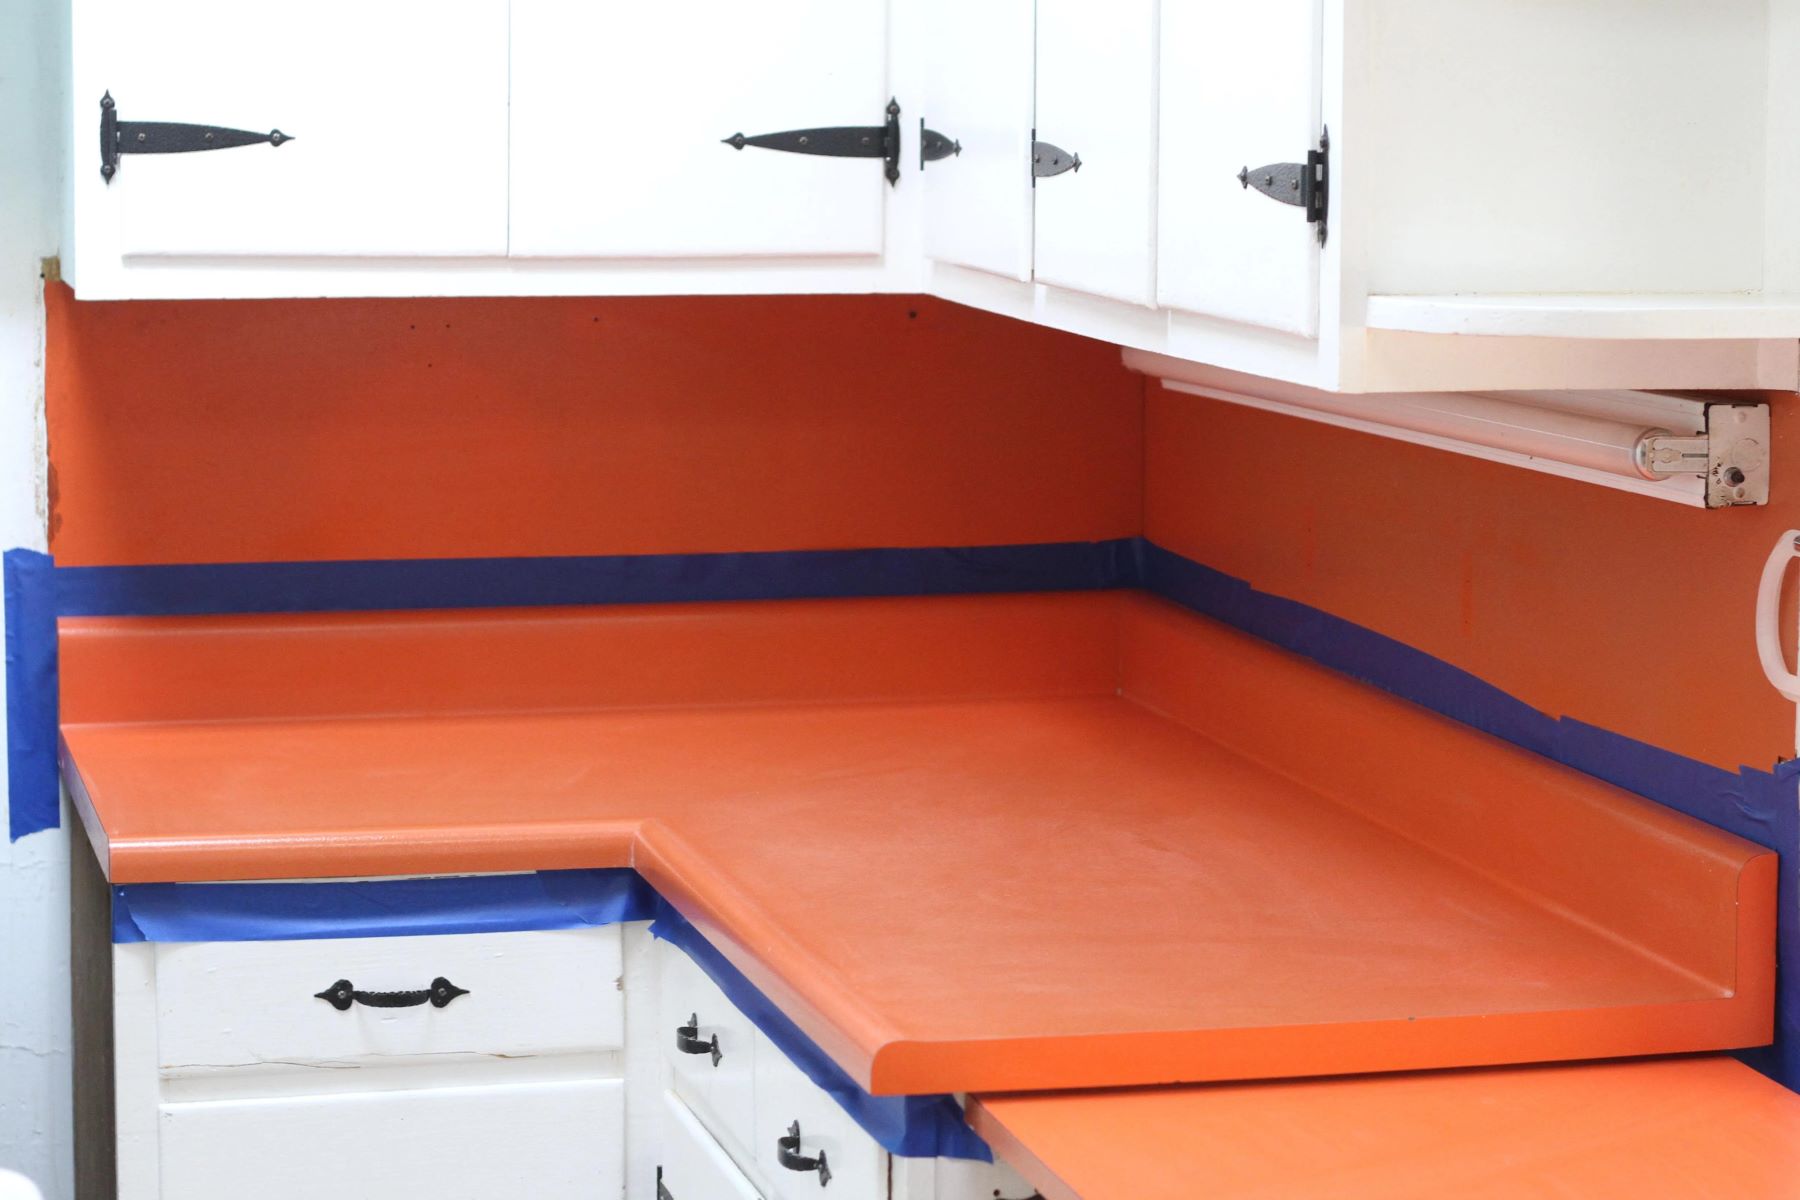
- Protect Surrounding Surfaces: Use painter’s tape to protect adjacent surfaces such as trim, baseboards, and ceilings. This will help ensure clean and precise paint lines.
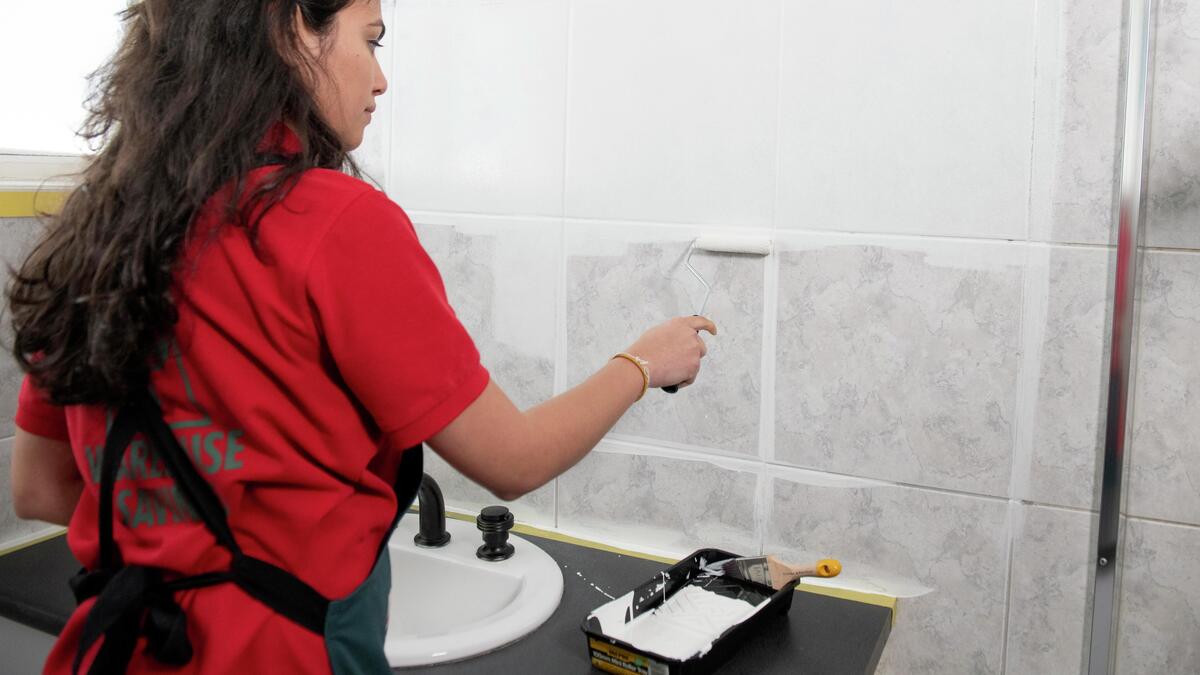
- Apply the Paint: Start by using a brush or a small roller to cut-in around the edges and corners of the walls. Then, use a larger roller to apply the paint evenly across the rest of the wallpapered surface. Work in manageable sections, keeping a wet edge to prevent visible seams or lines. Apply the paint in thin, even coats for better coverage and adhesion.
- Allow the Paint to Dry: Follow the paint manufacturer’s instructions for drying time. It’s important to allow the paint to dry completely between coats to prevent the paint from peeling or cracking.
- Apply Additional Coats (if necessary): Depending on the quality and coverage of the paint you’ve chosen, you may need to apply additional coats for a solid and uniform finish. Allow each coat to dry before applying the next one.
- Inspect and Touch Up: Once the final coat of paint is dry, inspect the walls for any areas that may require touch-up. Use a small brush to fix any missed spots or imperfections.
When painting over wallpaper, it’s important to work carefully and avoid applying too much paint, as this can cause the wallpaper to become saturated and peel. Additionally, proper ventilation in the room can help speed up the paint drying process.
After completing the paint application, allow the paint to cure fully before moving on to the final steps of the process.
Step 6: Applying Additional Coats (if necessary)
After painting over the wallpaper, it’s important to assess the coverage and quality of the paint job. Depending on the type of wallpaper and the color of the paint, you may find that additional coats are necessary to achieve the desired finish. Here’s what you need to know:
- Evaluate the Coverage: After the initial coat of paint has dried, step back and evaluate the coverage. Take note of any areas where the wallpaper pattern is still visible or where the paint appears thin.
- Assess the Color: Check if the color is consistent across the entire painted surface. Some colors may require additional coats to achieve the desired depth and richness.
- Apply Additional Coats: If needed, apply additional coats of paint following the same application technique used in Step 5. Work in thin, even coats and allow each coat to dry completely before applying the next.
- Check for Uniformity: After each coat of paint dries, carefully inspect the walls for any unevenness or missed spots. Touch up any areas where the paint may be thin or the pattern is showing through.
- Allow the Paint to Cure: Once you’re satisfied with the coverage and color, allow the final coat of paint to cure fully. Follow the paint manufacturer’s instructions for the recommended curing time.
Applying additional coats of paint will help ensure a smooth, consistent, and durable finish over the wallpaper. Remember to be patient during this step and allow the appropriate drying time between coats. Rushing the process may result in a subpar paint job.
Once the paint has fully cured, you can move on to the final step, which involves adding the finishing touches and performing cleanup.
Step 7: Finishing Touches and Cleanup
As you near the end of your project, it’s time to add the finishing touches to your painted wallpaper and clean up the area. Follow these steps to complete the process:
- Remove Painter’s Tape: Carefully remove the painter’s tape that was used to protect adjacent surfaces. Peel it off at a 45-degree angle to avoid pulling off any fresh paint.
- Inspect for Defects: Take a close look at the painted wallpaper for any imperfections or touch-up spots. Use a small brush to fix any areas that need attention, such as missed spots or uneven edges.
- Clean Up the Tools: Clean your paint brushes, rollers, and any other painting tools promptly after use. Follow the instructions on the paint can for the appropriate cleaning method, whether it’s using water or solvents.
- Dispose of Waste: Dispose of any leftover paint, empty cans, and other waste materials properly according to your local regulations. Avoid pouring paint down the drain or throwing paint cans in the regular trash.
- Reinstall Fixtures: If you had to remove any fixtures or outlet covers during the painting process, now is the time to reattach them. Use a screwdriver and be careful not to damage the freshly painted surfaces.
- Enjoy Your Newly Painted Wallpaper: Once everything is cleaned up, take a step back and admire your beautifully painted wallpaper. Enjoy the refreshed look and feel of your space.
Finishing touches and cleanup are essential in achieving a professional-looking outcome. Taking the time to fix any imperfections and properly clean up ensures a polished and long-lasting result.
Now that you have completed all the steps, you can sit back and enjoy the transformation of your wallpapered walls. Painting over wallpaper can be a rewarding DIY project, giving you the opportunity to update the look of your space without the need for wallpaper removal. Remember, with proper preparation and technique, you can achieve impressive results that will make your walls look brand new.
Thank you for following our expert guide on how to paint over wallpaper. We hope you found this information helpful and empowering. Happy painting!
Conclusion
Congratulations! You have successfully completed the process of painting over wallpaper. By following the steps outlined in this expert guide, you have transformed your space and achieved a fresh, new look without the need for wallpaper removal. Painting over wallpaper can be a cost-effective and time-saving solution that allows you to update the aesthetics of a room.
Throughout this guide, you learned how to assess the wallpaper’s condition, prepare it for painting, choose the right paint, apply primers and coats, and perform the finishing touches and cleanup. Each step was designed to ensure a professional-looking and long-lasting paint job over your wallpapered walls.
Remember to take your time and follow the instructions carefully. Proper preparation, including assessing the wallpaper’s adhesion, cleaning it thoroughly, and repairing any damages, is crucial for achieving the best results. Priming the wallpaper and choosing the right paint type and color are equally important. Applying the paint in thin, even coats and allowing proper drying time between each coat will ensure a smooth and durable finish.
As you near the end of the project, it is essential to pay attention to the finishing touches. Removing painter’s tape, inspecting for defects, and properly cleaning the tools and disposing of waste contribute to a polished and professional outcome.
Now that your newly painted wallpaper is complete, take a moment to appreciate the transformation you have accomplished. Enjoy the refreshed look and personalized touch you have added to your space. Sit back and revel in the satisfaction and sense of accomplishment that comes with a successful DIY project.
Thank you for choosing our expert guide on how to paint over wallpaper. We hope you found the information valuable and empowering. Remember, with careful preparation and execution, you can create a stunning and revitalized living environment without the need for extensive wallpaper removal. Happy painting!
Frequently Asked Questions about How To Paint Over Wallpaper: An Expert Guide
Was this page helpful?
At Storables.com, we guarantee accurate and reliable information. Our content, validated by Expert Board Contributors, is crafted following stringent Editorial Policies. We're committed to providing you with well-researched, expert-backed insights for all your informational needs.

0 thoughts on “How To Paint Over Wallpaper: An Expert Guide”