Articles
How To Sew Satin Blanket Binding On A Quilt
Modified: August 27, 2024
Learn how to sew satin blanket binding on a quilt with our articles, packed with helpful tips and step-by-step instructions. Enhance your quilting skills and create beautiful, professional-looking finishes.
(Many of the links in this article redirect to a specific reviewed product. Your purchase of these products through affiliate links helps to generate commission for Storables.com, at no extra cost. Learn more)
Introduction
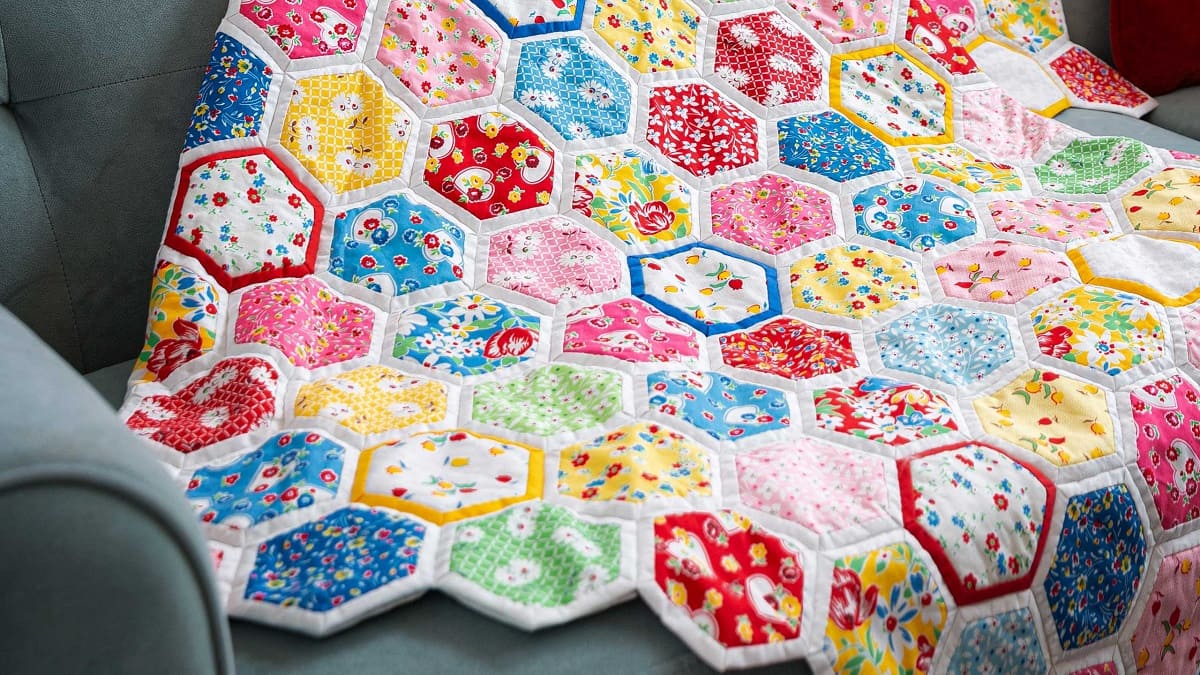
When it comes to quilting, adding a satin blanket binding can be a beautiful and luxurious finishing touch. Satin binding not only adds a touch of elegance to your quilt but also helps protect the edges from fraying. If you’re new to sewing satin blanket binding on a quilt, don’t worry – it’s easier than you might think!
In this article, we’ll guide you through the step-by-step process of sewing satin blanket binding onto your quilt. We’ll walk you through the supplies you’ll need, the preparation steps, attaching the binding, mitering the corners, completing the binding, and finishing touches. By the end of this article, you’ll be equipped with the knowledge and skills to add a professional-looking satin blanket binding to your quilt.
Before we get started, make sure you have all the necessary supplies:
- Satin blanket binding
- Quilt
- Thread
- Sewing machine
- Needle
- Scissors
- Pins
Now that you have everything you need, let’s dive into the step-by-step process of adding satin blanket binding to your quilt!
Key Takeaways:
- Elevate your quilt with a luxurious satin blanket binding, adding elegance and protection from fraying. Follow the step-by-step guide for a professional finish that exudes craftsmanship and attention to detail.
- Prepare, measure, fold, and sew your way to a stunning satin blanket binding. Miter corners, complete the binding, and add those final touches for a quilt that’s truly special and personalized.
Read more: How To Sew On Blanket Binding
Supplies Needed
Before you begin sewing satin blanket binding on a quilt, it’s important to gather all the necessary supplies. Here’s what you’ll need:
- Satin blanket binding: Choose a color and width that complements your quilt.
- Quilt: Ensure that your quilt top, batting, and backing are all securely in place.
- Thread: Pick a thread color that matches or coordinates with your blanket binding.
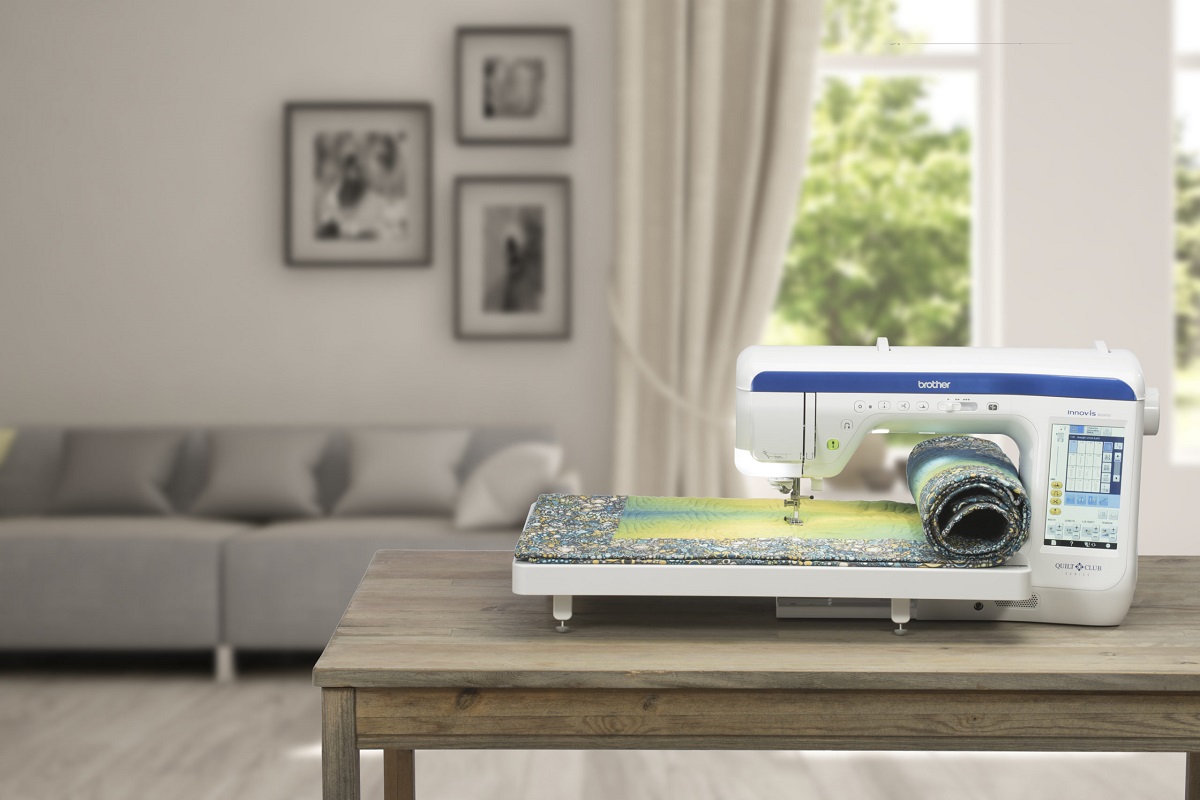
- Sewing machine: A sewing machine with a straight stitch capability is ideal for this project.
- Needle: You may need a needle to hand stitch any areas that are difficult to reach with a sewing machine.
- Scissors: Have a good pair of fabric scissors ready for cutting the satin binding.
- Pins: Use straight pins to hold the binding in place while sewing.
By having these supplies on hand, you’ll be well-prepared to create a beautiful and professional-looking satin blanket binding on your quilt.
Preparing the Quilt
Before you can start sewing the satin blanket binding on your quilt, you’ll need to prepare the quilt itself. Here are the steps to follow:
- Lay out the quilt flat: Find a clean and spacious area where you can lay your quilt flat. Make sure there are no ripples or wrinkles in the quilt top, batting, or backing.
- Align the edges of the quilt: Carefully align the edges of the quilt top and backing. Smooth out any wrinkles or puckers to ensure a neat and even surface.
Properly preparing the quilt will make it easier to attach the satin blanket binding and ensure a clean and professional appearance.
Preparing the Binding
Once your quilt is ready, it’s time to prepare the satin blanket binding. Here are the steps to follow:
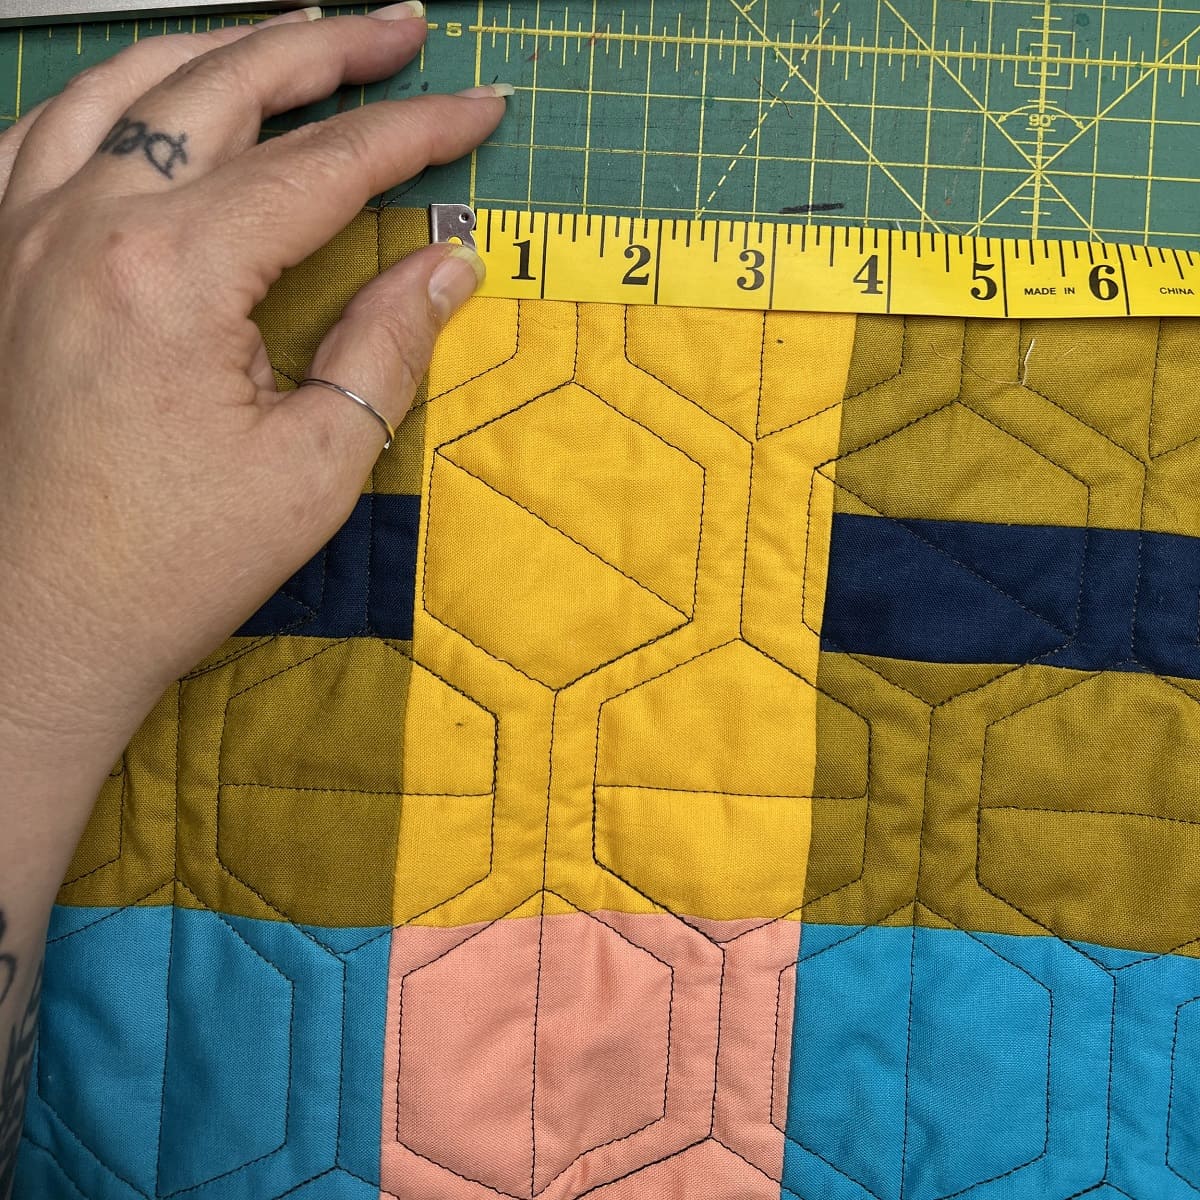
- Measure and cut the binding to the desired length: Start by measuring the perimeter of your quilt. Add a few extra inches to account for corners and overlapping ends. Using sharp fabric scissors, cut the satin blanket binding to the calculated length.
- Fold and press the binding in half lengthwise: Take the cut strip of satin blanket binding and fold it in half lengthwise, matching the long edges together. Press it with an iron to create a crisp fold.
- Aligning the raw edges of the binding: Open up the folded binding and align the raw edges along one edge of the quilt. Make sure the folded edge of the binding is facing towards the quilt center.
Preparing the binding in this manner will make it easier to attach to the quilt and create a clean, finished look. Now that the binding is ready, it’s time to move on to attaching it to the quilt!
Attaching the Binding
With the quilt and binding prepared, it’s time to start attaching the satin blanket binding to the quilt. Here’s how to do it:
- Starting in the middle of one side of the quilt: Take the folded satin blanket binding and start in the middle of one side of the quilt. Leave a few inches of the binding loose at the beginning, as this will be used to join the ends later.
- Pinning the binding to the quilt: Align the raw edges of the binding with the raw edges of the quilt, ensuring that the folded edge of the binding is facing towards the quilt center. Pin the binding in place at regular intervals to secure it.
- Sewing the binding to the quilt using a straight stitch: Using a sewing machine with a straight stitch, start sewing along the pinned edge of the binding, removing the pins as you go. Sew close to the folded edge of the binding, making sure to catch both the top and bottom layers of the binding and the quilt. Continue sewing until you reach the first corner.
Attaching the satin blanket binding to the quilt is a crucial step in creating a finished and polished look. By following these steps, you’ll be well on your way to completing the binding for your quilt.
When sewing satin blanket binding on a quilt, use a walking foot to prevent the layers from shifting and to ensure a smooth, even stitch. This will help you achieve a professional-looking finish.
Read more: How To Sew Quilt Binding By Hand
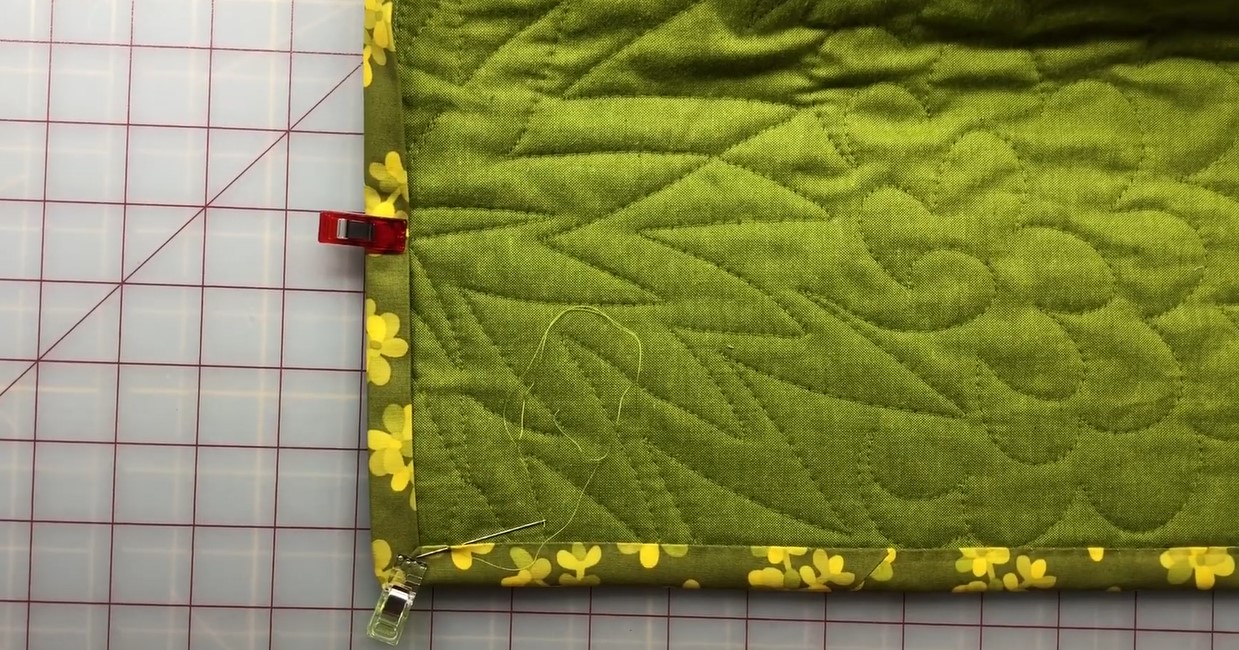
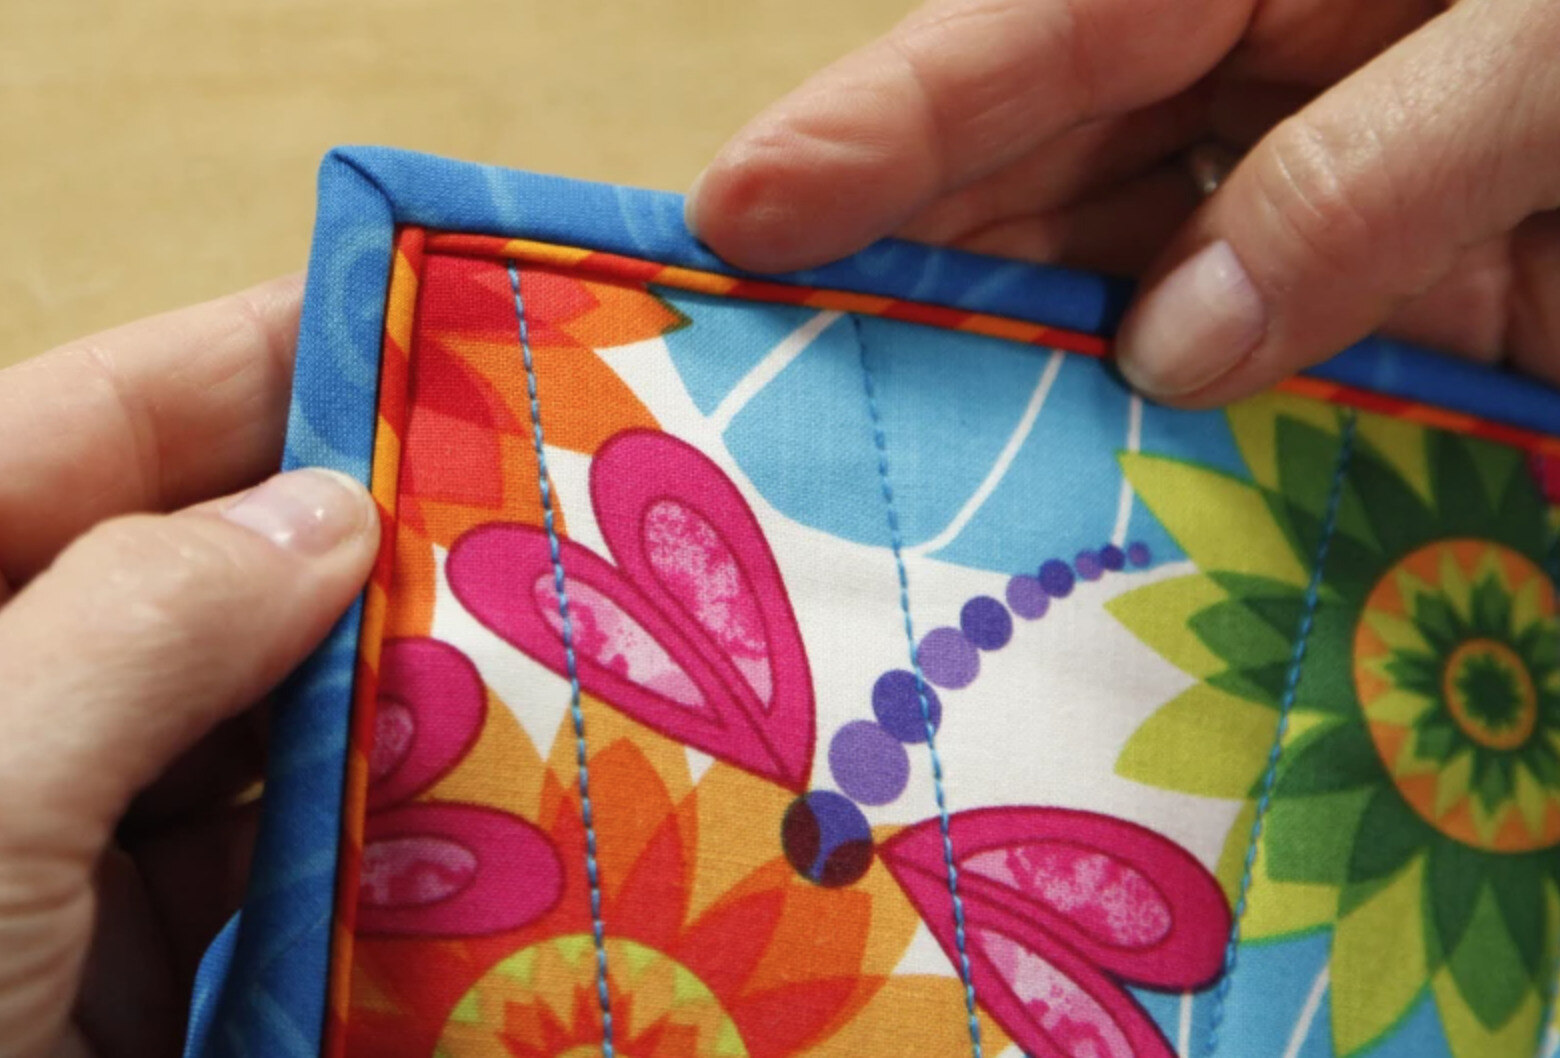
Mitering the Corners
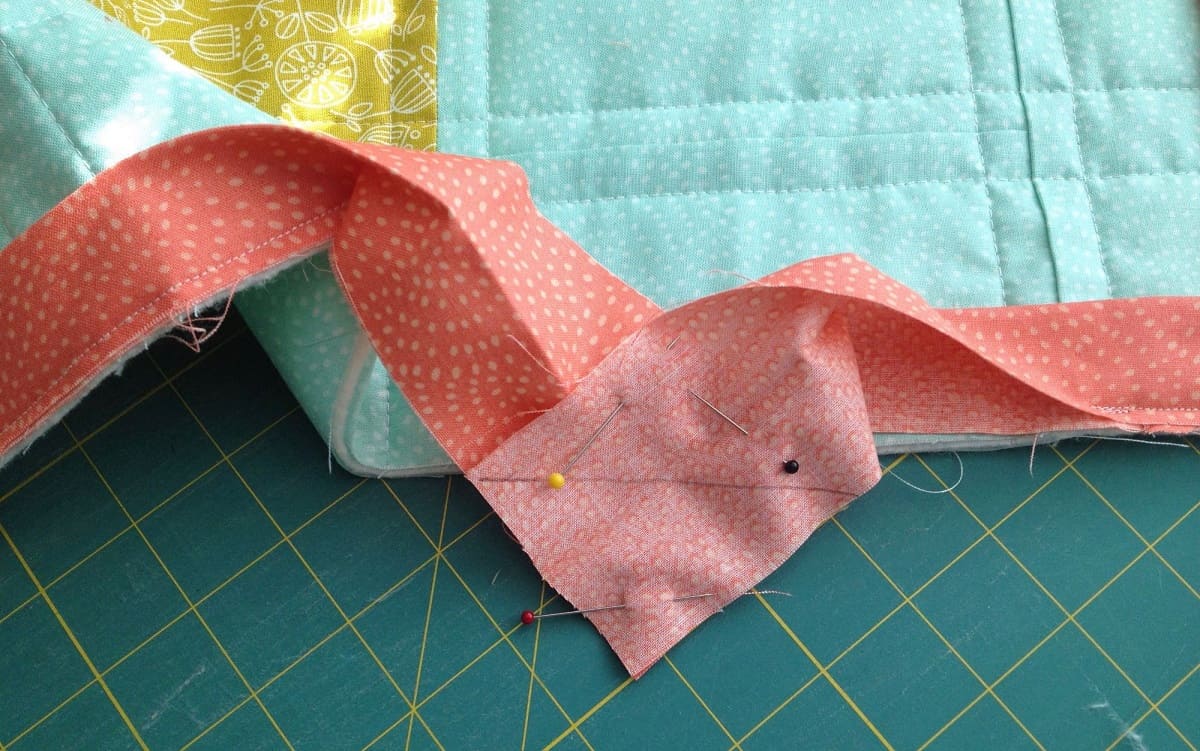
When sewing the satin blanket binding on a quilt, mitering the corners is essential to achieve a neat and professional finish. Here are the steps to miter the corners:
- Approaching the corners while sewing: As you sew along the edge of the quilt, stop stitching a quarter inch before reaching the corner. This will give you space to create the mitered corner.
- Folding the binding diagonally at the corner: Take the binding and fold it diagonally, aligning the raw edges of the binding to create a neat and precise corner. Be sure to fold the binding towards the quilt center.
- Sewing across the folded corner: Once the binding is folded, carefully sew across the corner, securing the fold in place. This will create a clean and crisp mitered corner. Continue sewing along the next side of the quilt, repeating the process for each corner.
Mitering the corners adds a professional touch to your quilt and prevents bulky excess fabric at the corners. Take your time to ensure the folds are neat and even, and your quilt will look beautifully finished.
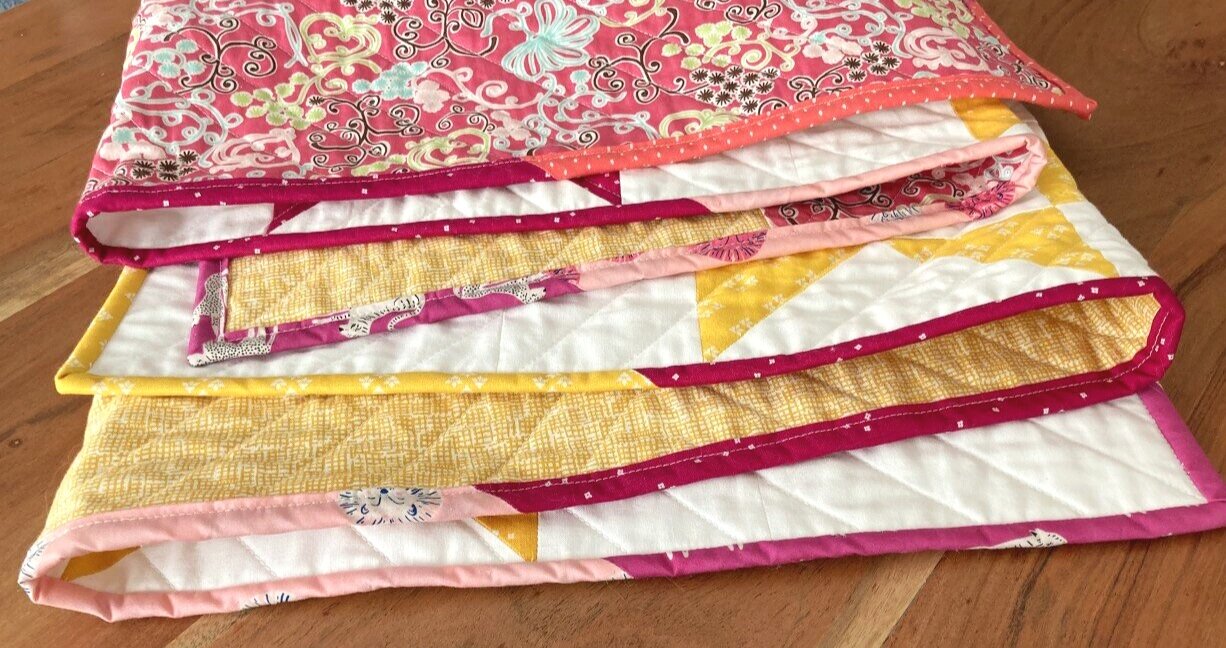
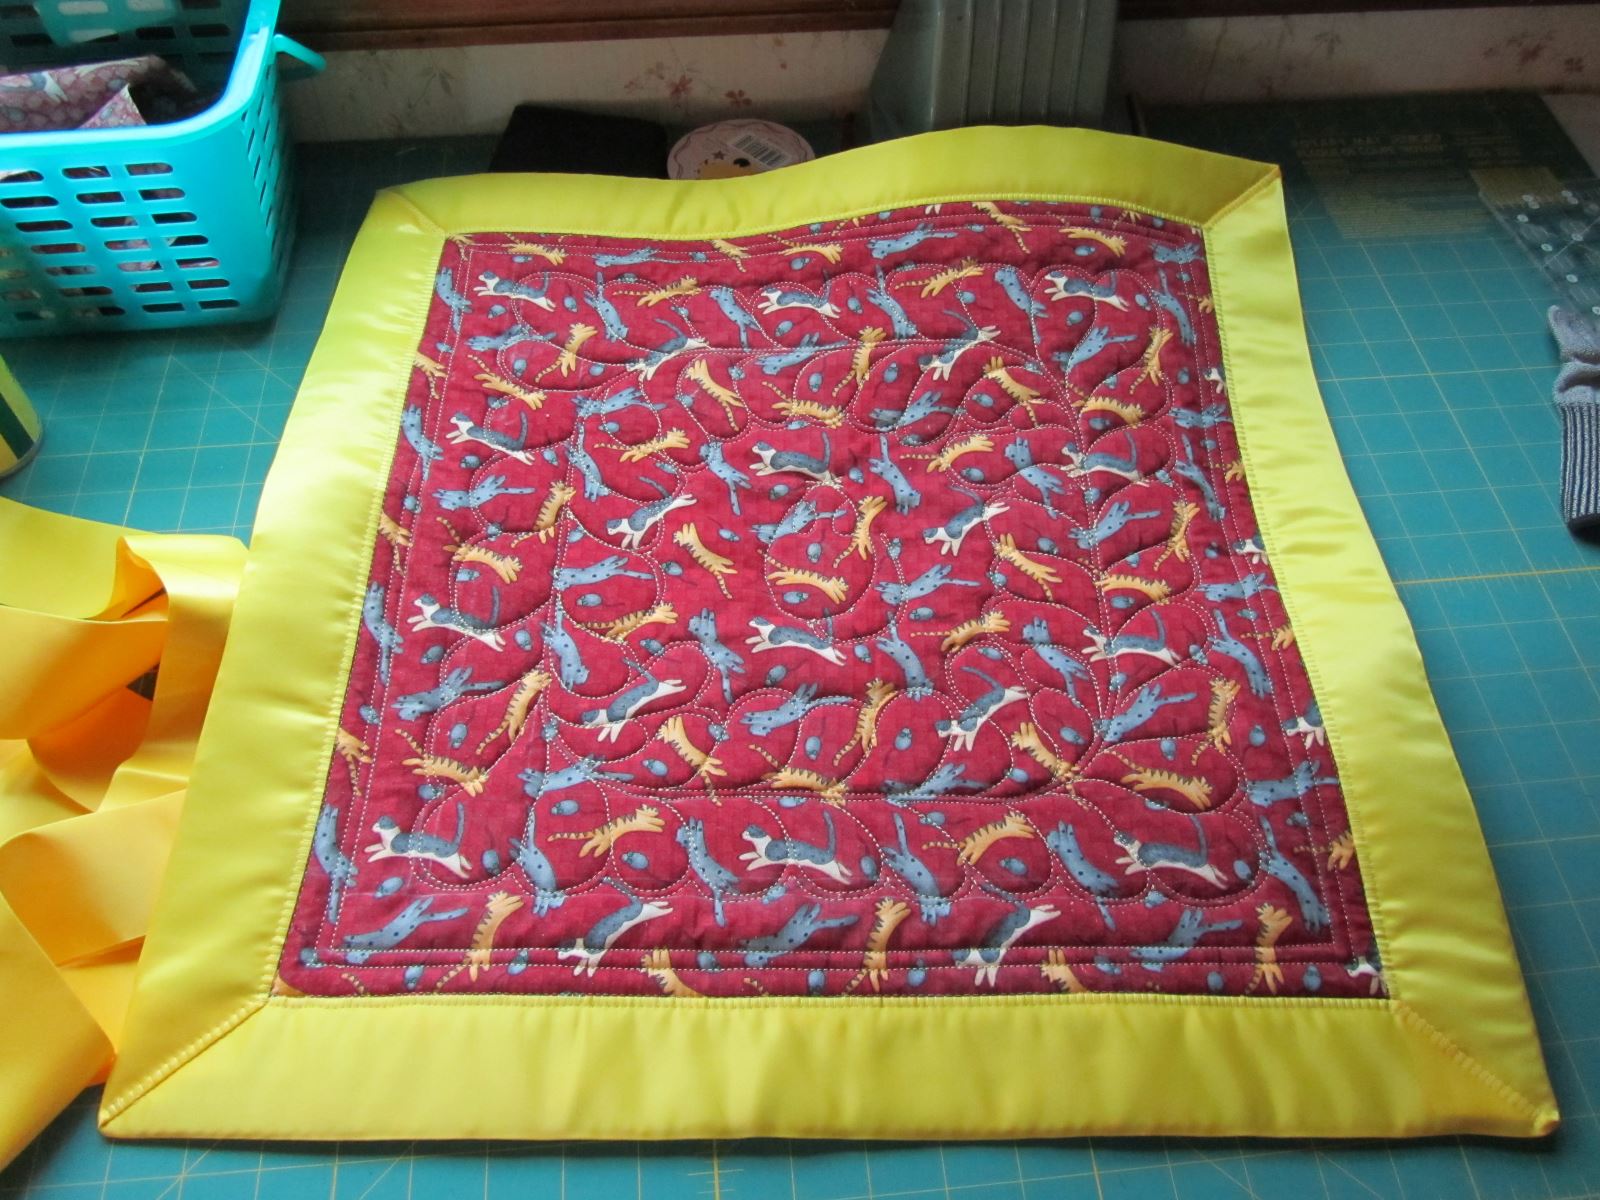
Completing the Binding
After sewing along the edges and mitering the corners, it’s time to complete the satin blanket binding. Here are the steps to follow:
- Sewing until the binding ends meet: Continue sewing along the edges of the quilt, following the same process as before. Sew until you are a few inches away from the starting point where you began attaching the binding.
- Overlapping the ends of the binding: Trim the excess binding so that it overlaps the starting point by a few inches. This will create a clean and seamless finish. Take one end of the binding and fold it back on itself, creating a neat fold.
- Sewing across the overlap: Place the other end of the binding over the folded end, creating a neat overlap. Sew across the overlap, securing both ends of the binding together. Trim any excess binding if necessary.
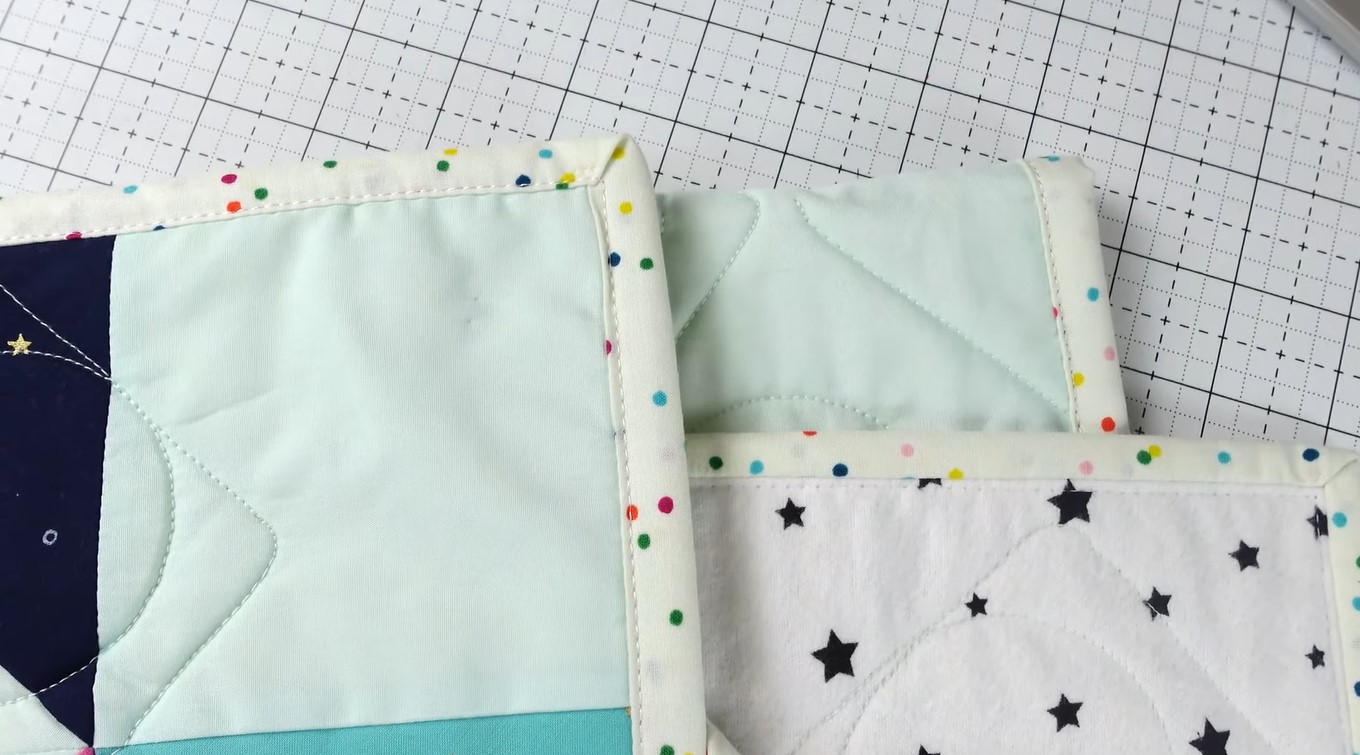
Completing the binding ensures that all edges are securely finished and that the binding wraps around the entire quilt with no gaps or loose ends. Take your time to ensure a neat and precise finish.
Finishing Touches
Once you have completed sewing the satin blanket binding on your quilt, it’s time to add some final touches to ensure a polished and professional look. Here’s what you should do:
- Tucking in any loose threads: Take a moment to inspect the quilt and binding for any loose threads or stray ends. Use a needle or a pair of sharp fabric scissors to carefully tuck in or trim any loose threads. This will give the quilt a clean and finished appearance.
- Pressing the binding: To achieve a crisp and neat look, it’s important to press the satin blanket binding. Use a hot iron and press the binding on both sides, being careful not to iron directly on the quilt. Pressing will help set the stitches and create a smooth and professional finish.
By tucking in loose threads and pressing the binding, you’ll ensure that your quilt looks immaculate and thoroughly finished. These small details can make a big difference in the overall appearance of your quilt.
Conclusion
Adding a satin blanket binding to your quilt is a wonderful way to elevate its appearance and provide a luxurious finishing touch. While the process may seem daunting at first, following the step-by-step instructions outlined in this article will help you achieve beautiful and professional results.
By preparing your quilt, cutting and folding the binding, and attaching it carefully with a straight stitch, you’ll be well on your way to creating a stunning satin blanket binding. Mitering the corners and completing the binding will ensure a clean and polished look, while taking the time to tuck in loose threads and press the binding will add those final touches of perfection.
Remember, patience and attention to detail are key throughout the entire process. Take your time, double-check your measurements, and make sure your stitches are even. This will result in a quilt that exudes elegance and craftsmanship.
Now that you have learned how to sew satin blanket binding on a quilt, put your newfound skills to use and create beautiful, personalized quilts. Whether you’re making a quilt for yourself, as a gift, or to showcase your creativity, the addition of a satin blanket binding will make it truly special.
So go ahead, gather your supplies, prepare your quilt, and start sewing that satin blanket binding. Enjoy the journey as you transform your quilt into a work of art!
Frequently Asked Questions about How To Sew Satin Blanket Binding On A Quilt
Was this page helpful?
At Storables.com, we guarantee accurate and reliable information. Our content, validated by Expert Board Contributors, is crafted following stringent Editorial Policies. We're committed to providing you with well-researched, expert-backed insights for all your informational needs.