Home>Interior Design>DIY Projects – Chic, Pretty Ideas To Transform Your Home
Interior Design
DIY Projects – Chic, Pretty Ideas To Transform Your Home
Modified: January 6, 2024
Discover chic and pretty DIY projects to transform your home with our interior design ideas. Get inspired and create a stylish space that reflects your unique taste.
(Many of the links in this article redirect to a specific reviewed product. Your purchase of these products through affiliate links helps to generate commission for Storables.com, at no extra cost. Learn more)
Introduction
Welcome to the exciting world of DIY interior design projects! If you’re looking to add a personal touch to your home, save some money, and unleash your creativity, then these chic and pretty DIY ideas are perfect for you.
Creating a stylish and inviting space doesn’t have to mean breaking the bank or hiring a professional interior designer. With a little bit of imagination and some basic DIY skills, you can transform your home into a stunning oasis that reflects your unique style and personality.
In this article, we’ll explore a variety of DIY projects that will not only enhance the aesthetics of your home but also maximize storage, add personality to your walls, give a new lease of life to old furniture, and elevate your outdoor space. We’ll also delve into creating your own home fragrances and eco-friendly cleaning solutions.
So grab your tools, roll up your sleeves, and get ready to embark on a creative journey that will breathe new life into your home. Whether you’re a seasoned DIY enthusiast or a newbie, these projects are designed to be fun, achievable, and highly rewarding.
But first, let’s talk about the importance of having a well-designed home. Your living space is a reflection of your personality, and it plays a crucial role in your overall well-being. It should be a place where you feel comfortable, relaxed, and inspired. A well-designed home not only looks beautiful but also functions efficiently, making your day-to-day life easier and more enjoyable.
When it comes to DIY interior design projects, the possibilities are endless. From small upgrades to entire room makeovers, there is a project for every skill level and budget. The key is to choose projects that align with your style and preferences, and ones that will make the biggest impact in your space.
In the following sections, we’ll dive into specific DIY projects that will help you achieve a stylish and personalized home. Whether you’re looking for clever storage solutions, creative wall decor ideas, furniture makeovers, unique lighting projects, outdoor oasis enhancements, homemade home fragrances, or eco-friendly cleaning solutions, we’ve got you covered.
So get ready to unleash your creativity and transform your home with these chic and pretty DIY projects. Let’s dive in!
Key Takeaways:
- Transform your home with chic DIY projects that reflect your style, save money, and unleash your creativity. From stylish storage solutions to homemade home fragrances, elevate your space with personalized touches.
- Embrace eco-friendly cleaning solutions and create a welcoming outdoor oasis with DIY projects. Infuse your home with delightful homemade fragrances and elevate your space with unique lighting projects.
Stylish Storage Solutions
Storage is an essential element of any well-designed home. It not only helps to keep your space organized and clutter-free but also adds a stylish touch to your decor. Here are three DIY storage solutions that are both functional and visually pleasing:
Creating Customized Shelving Units
Customized shelving units provide a practical and stylish way to store your belongings while showcasing your unique style. Start by measuring the space where you want to install the shelves and determine the dimensions you want. Next, gather the necessary materials, such as wood boards, brackets, screws, and a drill. You can also add a personal touch by painting or staining the shelves to match your decor.
Once you have your materials ready, it’s time to assemble the shelving units. Begin by attaching the brackets to the wall using a level to ensure they are straight. Then, attach the wood boards on top of the brackets, making sure they are secure. You can create a uniform look by spacing the shelves evenly or mix and match different sizes to add visual interest.
Repurposing Old Furniture for Storage
Don’t let your old furniture go to waste! Repurposing furniture is not only an eco-friendly option but also a great way to add unique storage solutions to your home. Look for old cabinets, dressers, or bookshelves that can be transformed into functional storage pieces.
Begin by cleaning and sanding the furniture to remove any existing finish or imperfections. Next, decide how you want to repurpose the piece. For example, you can turn an old dresser into a stylish entryway bench with built-in shoe storage. Or, transform a bookshelf into a trendy bar cart by adding wheels and repainting it in a bold color.
DIY Floating Shelves
Floating shelves are a popular choice for those who want to maximize storage without sacrificing floor space. They create the illusion of a “floating” shelf by hiding the brackets or supports within the shelf itself. These shelves provide a clean and modern look while offering a place to display your favorite items.
To create your own DIY floating shelves, you’ll need a sturdy material such as solid wood or plywood, as well as brackets or floating shelf hardware. Start by cutting the plywood into the desired length and width for your shelves. Sand the edges to create a smooth finish.
Next, attach the brackets or hardware to the back of the shelves, following the manufacturer’s instructions. Make sure the brackets are level and secure. Finally, use a stud finder to locate the studs in the wall and install the shelves by screwing them directly into the studs for maximum stability.
With these stylish storage solutions, you can keep your home organized while adding a touch of personality and style. Get creative and customize these projects to fit your space and design preferences, and enjoy the functional and beautiful storage solutions you’ve created!
Creative Wall Decor
Blank walls are like a canvas waiting to be filled with creativity and personality. Transform your walls into stunning focal points with these creative DIY wall decor ideas:
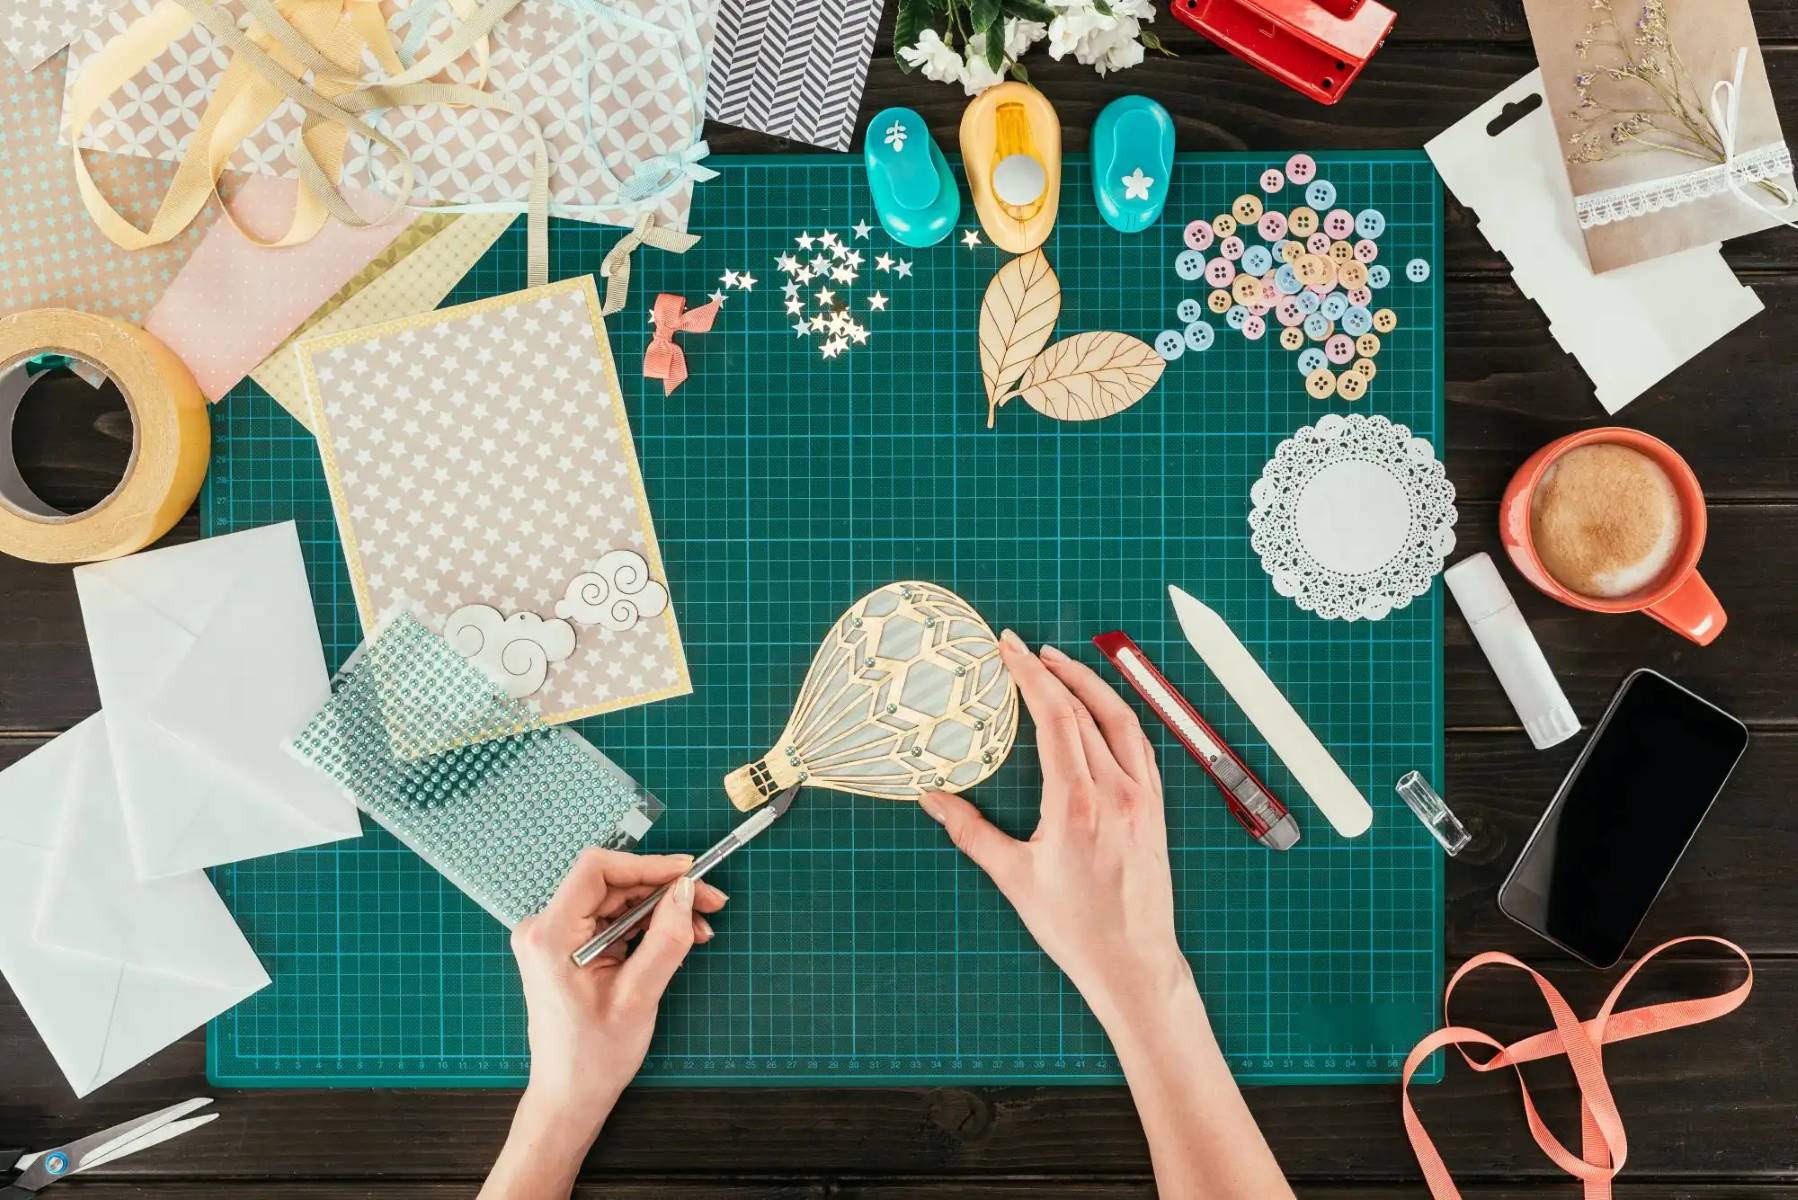
Handmade Wall Art Ideas
Express your artistic side by creating unique handmade wall art pieces. Get inspired by nature, abstract designs, or your favorite quotes, and bring them to life using various techniques and materials. You can experiment with painting, drawing, collage, or even sculpture.
For a minimalist and modern look, try creating a geometric canvas art piece by taping off sections of a canvas and painting them different colors. Or, use natural materials like driftwood or dried flowers to craft a beautiful and organic wall hanging. The possibilities are endless, so let your imagination run wild!
Read more: Easy Ways To Give Your Home Character
DIY Gallery Wall Tips and Tricks
Gallery walls are a stunning way to showcase your favorite photos, artwork, and sentimental items. However, creating a well-balanced and visually appealing gallery wall can be intimidating. Follow these tips and tricks to achieve a professional-looking gallery wall:
- Plan the layout: Before you start hanging items, lay them out on the floor or use paper templates to visualize the arrangement.
- Vary sizes and orientations: Mix different sizes of frames and artwork to create visual interest. Include a mix of landscape and portrait orientations for a balanced look.
- Consider the spacing: Leave some space between each frame to avoid a cluttered appearance. Generally, a two-inch gap is a good starting point.
- Include different elements: Combine artwork, photos, mirrors, and even small shelves or decorative objects to add depth and texture.
- Use a consistent color palette: Stick to a cohesive color scheme to tie the gallery wall together and create a harmonious look.
Personalized Photo Frames and Collages
Showcase your cherished memories by personalizing photo frames and creating collages that reflect your unique experiences and relationships. Start by collecting your favorite photos and selecting frames that complement your decor style.
For a shabby chic look, paint wooden frames in pastel colors and distress them with sandpaper for a weathered effect. You can also add embellishments like ribbons, buttons, or beads for a whimsical touch.
If you prefer a modern and sleek aesthetic, opt for black or white frames with clean lines. To add a personal touch, create a photo collage on a large poster-sized frame. Arrange your photos in a visually appealing way and secure them with adhesive or washi tape.
Whether you choose to create handmade wall art pieces, design a stunning gallery wall, or personalize photo frames and collages, these creative wall decor ideas will instantly transform your walls into a reflection of your style and memories.
Upcycled Furniture Makeovers
Don’t underestimate the power of a good furniture makeover. With a little bit of creativity and some DIY skills, you can turn outdated or ordinary furniture into stunning statement pieces. Here are some ideas to get you started:
Transforming a Dated Dresser into a Chic Statement Piece
If you have a tired and dated dresser that’s seen better days, don’t rush to replace it just yet. Instead, give it a fresh new look with a transformation. Start by sanding the dresser to remove any existing finish or imperfections.
Next, choose a paint color that matches your decor style. A soft pastel hue can give the dresser a feminine and vintage look, while a bold and vibrant color can make it a striking focal point in any room. Apply multiple coats of paint, allowing each coat to dry before adding the next one.
To add an extra touch of elegance, consider replacing the old drawer knobs with new ones that match your desired style. Vintage-inspired glass knobs, sleek metal handles, or even whimsical ceramic knobs can instantly elevate the look of your dresser.
Read more: How To Fix E2 Error In A Washing Machine
Revamping Old Chairs with New Upholstery and Paint
Give a new lease of life to old and worn-out chairs by reupholstering them and adding a fresh coat of paint. Start by removing the old upholstery, carefully taking note of how it was attached so you can replicate the process later.
Select a fabric that complements your decor style and works well with the chair’s design. Whether you opt for a bold and vibrant pattern or a neutral solid color, make sure it enhances the overall look of the chair.
Once you’ve reupholstered the seat and backrest, it’s time to paint the chair frame. Choose a paint color that coordinates with the fabric and complements the style of the chair. A distressed finish can add a touch of charm and character, while a glossy finish can create a modern and sleek appearance.
Giving New Life to an Ordinary Coffee Table
A coffee table is not just a functional piece of furniture; it can also serve as a stylish centerpiece for your living room. Transform an ordinary coffee table into a unique and eye-catching piece with a few simple steps.
Start by sanding the table to create a smooth and even surface. Next, choose a paint color or stain that matches your decor style. A weathered and distressed look can give the table a rustic and vintage charm, while a glossy finish can create a modern and sophisticated appearance.
If you want to add some extra pizzazz, consider adding decorative elements such as stencils, decals, or even hand-painted designs. These details can instantly elevate the look of your coffee table and make it a conversation starter.
With these upcycled furniture makeover ideas, you can breathe new life into old and tired pieces, turning them into stunning statement pieces that reflect your unique style and creativity. So, before you discard that old dresser, chair, or coffee table, consider giving it a DIY makeover and enjoy the satisfaction of creating something beautiful and one-of-a-kind.
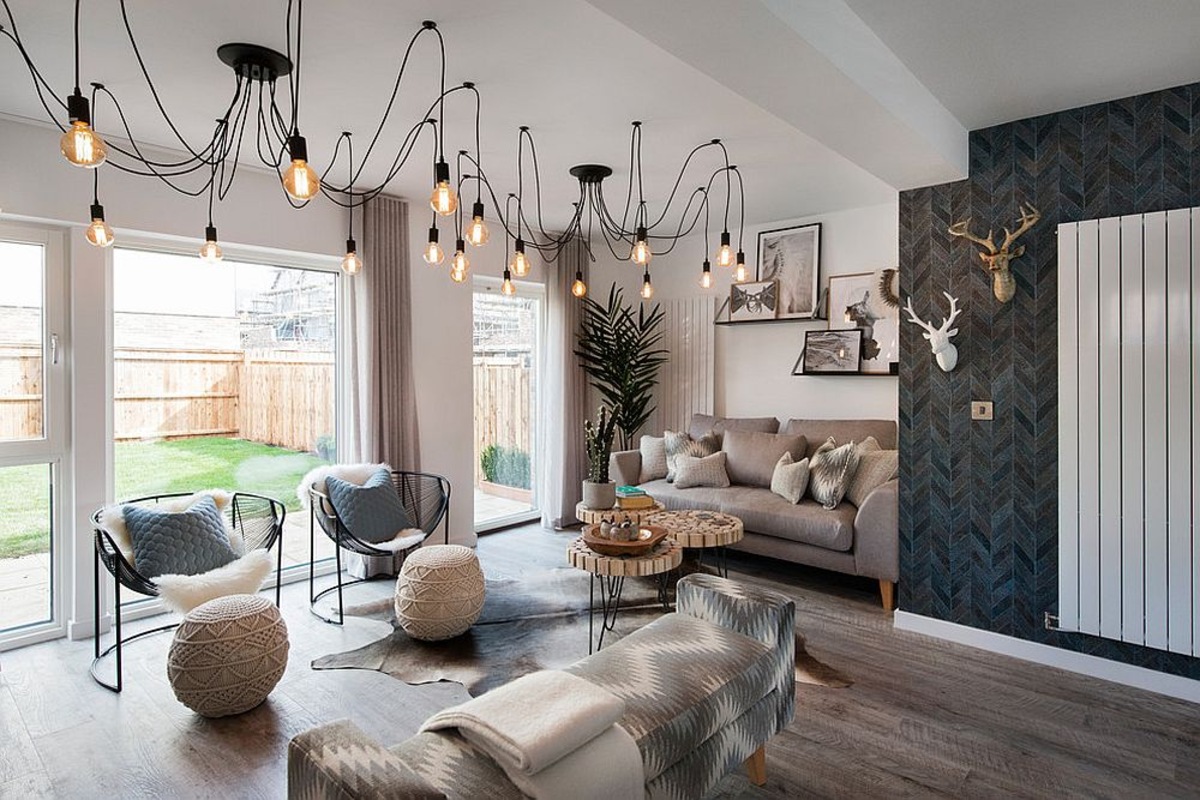
Statement Lighting Projects
Lighting is a crucial element in any interior design, and it can be a perfect opportunity to showcase your creativity. Make a statement with these unique and captivating DIY lighting projects:
DIY Pendant Lights
Pendant lights can add a touch of elegance and sophistication to any room. Instead of purchasing expensive pendant lights, create your own customized versions to match your style and budget. Start by selecting a pendant light kit, which typically includes a socket, cord, and canopy.
Next, choose a material for your pendant light shade. You can use a variety of materials, such as woven rattan, metal wire, glass, or even repurposed items like old colanders or birdcages. Let your imagination run wild and experiment with different shapes and textures.
Once you have your shade, attach it to the pendant light kit, following the manufacturer’s instructions. Be sure to wire the socket correctly and test the light before hanging it. Install the pendant light in the desired location and enjoy the unique glow it adds to your space.
Unique Lampshade Ideas
Give ordinary lampshades a makeover with unique and creative ideas. You can use various materials, techniques, and decorative elements to transform a plain lampshade into a stunning focal point.
One idea is to use fabric to cover the lampshade. Choose a fabric that complements your decor and cut it to size. Attach the fabric using fabric glue or double-sided tape, ensuring a smooth and even application. You can also get creative by adding trim, beading, or even painting designs directly onto the fabric.
Another option is to create a stencil pattern on a plain lampshade. Choose a stencil that matches your desired style and secure it to the lampshade using tape. Apply paint onto the stencil using a brush or sponge, making sure to blend colors and create a unique design.
If you’re feeling particularly crafty, consider making a lampshade from scratch. Gather materials such as wire frames, adhesive, and fabric or paper. Cut the fabric or paper to fit the frame, then affix it using adhesive or by sewing it together. This allows you to customize the shape, size, and pattern of your lampshade.
Creating a Customized Chandelier
A chandelier is a stunning centerpiece that can elevate any room. Create your own customized chandelier to add a touch of elegance and personality to your space. Start by selecting a base for your chandelier, such as a metal ring or a vintage-inspired chandelier frame.
Next, choose the elements that will dangle from the base. This can include crystal beads, seashells, feathers, or even repurposed materials like wine bottles or mason jars. Attach these elements to the base using craft wire or string, ensuring they are secure and evenly spaced.
Complete your chandelier by wiring the necessary electrical components. If you’re not comfortable with electrical work, consult a professional to ensure the safety and functionality of your chandelier. Hang your customized creation in a central location and enjoy the statement it makes in your space.
With these statement lighting projects, you can create unique and captivating light fixtures that add personality and style to your home. From DIY pendant lights to unique lampshades and customized chandeliers, let your creativity shine bright and illuminate your space in a truly remarkable way.
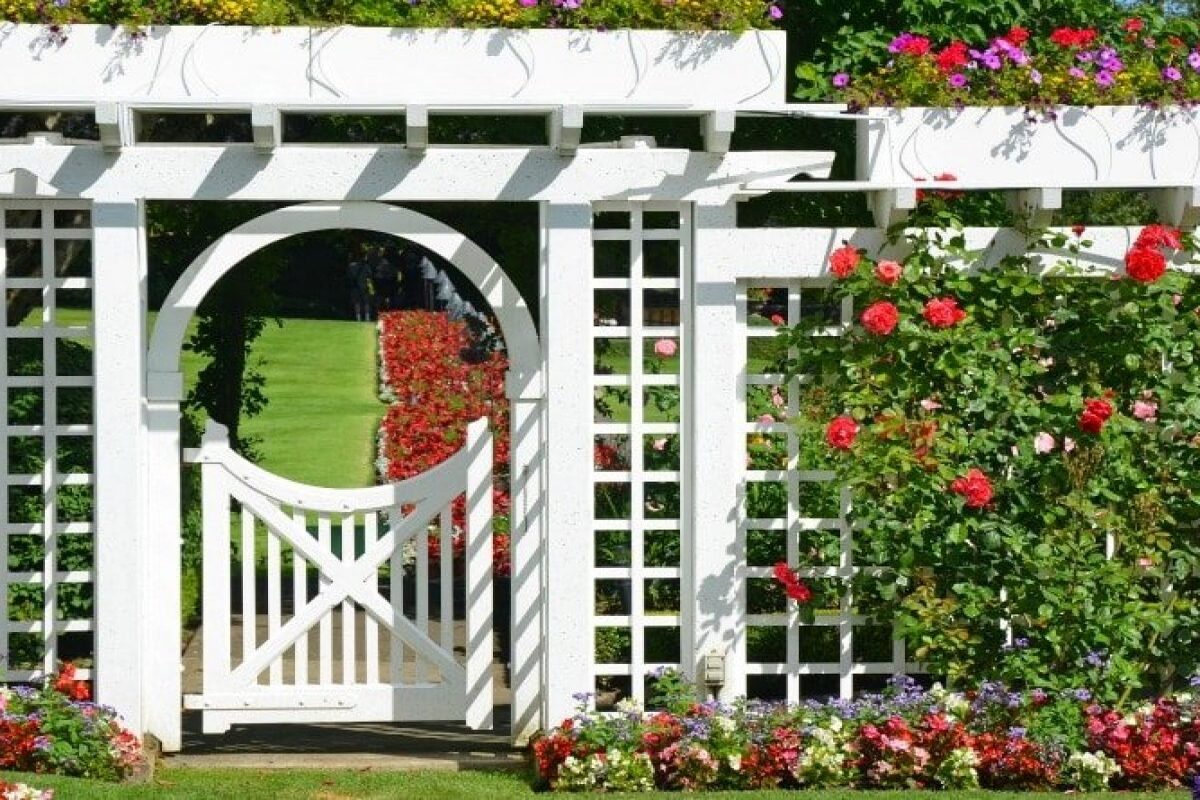
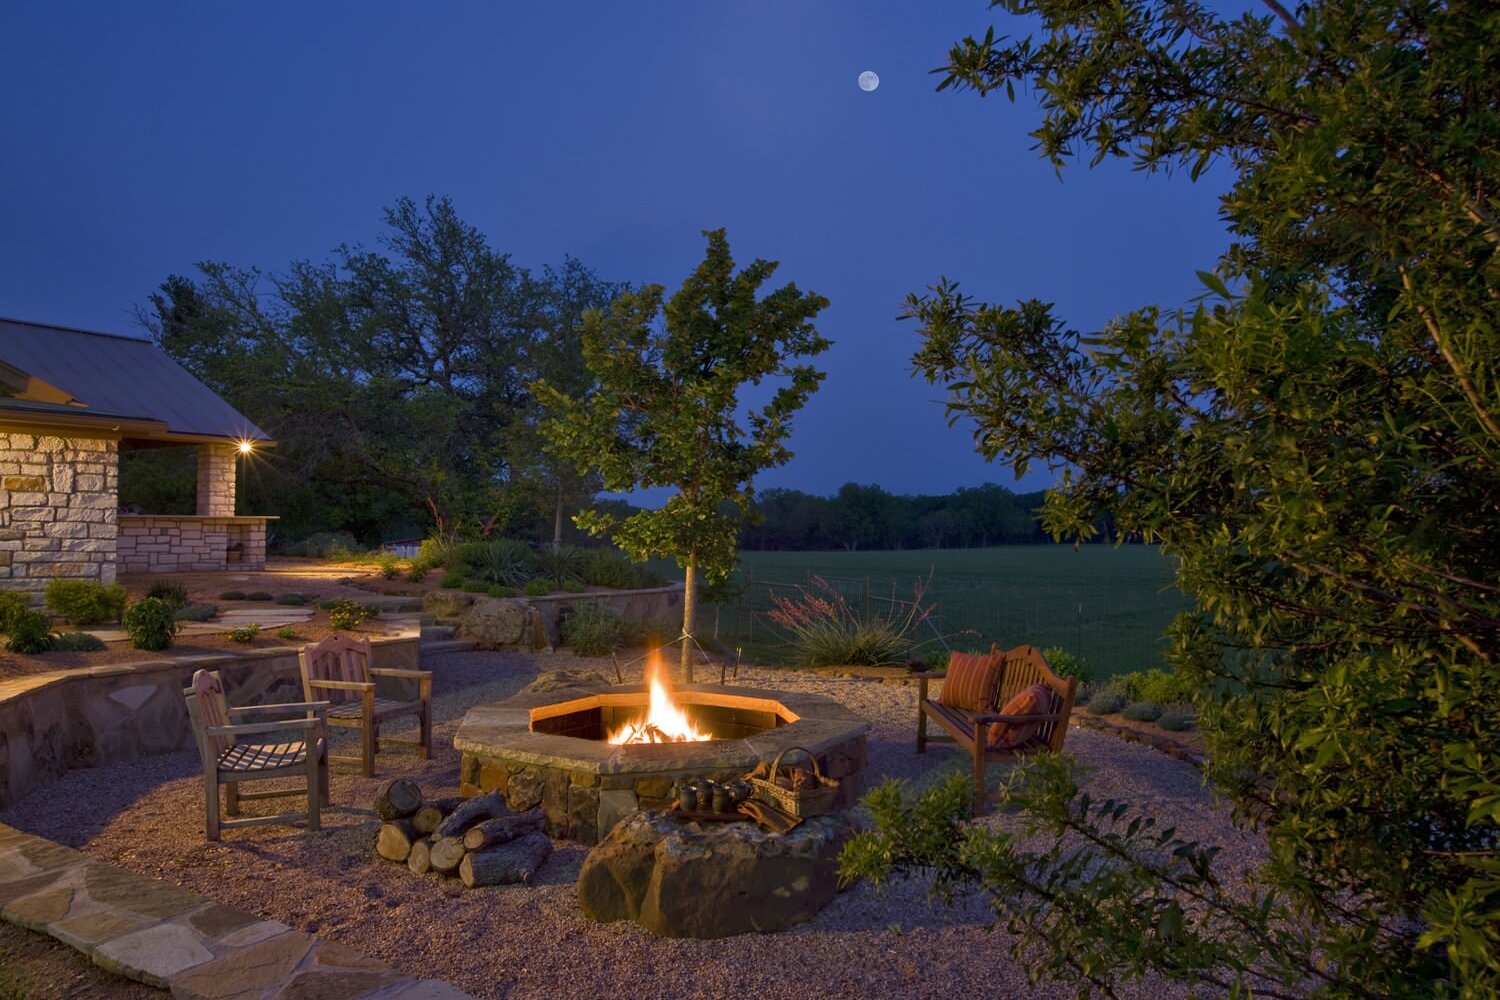
Outdoor Oasis Enhancements
Your outdoor space is an extension of your home, and with some DIY projects, you can transform it into a beautiful and inviting oasis. Enhance your outdoor area with these DIY projects:
DIY Patio Furniture
Creating your own patio furniture allows you to customize the pieces to fit your space and style. Start by determining the type of furniture you want to build, such as a dining table, lounge chairs, or a bench. Then, gather the necessary materials, such as wood, screws, and paint or stain.
For a simple and sleek look, build a wooden dining table with matching benches. Measure and cut the wood to the desired dimensions, then assemble the pieces using screws. Sand the surfaces for a smooth finish and apply a protective coat of paint or stain. Add cushions or pillows for added comfort and style.
If you want a more relaxed seating option, build lounge chairs using wooden pallets. Take apart the pallets and use the wood to construct the chairs, adding additional support where needed. Sand and paint the chairs, then add weather-resistant cushions for extra comfort.
Read more: 14 Ways To Stretch Your Renovation Budget
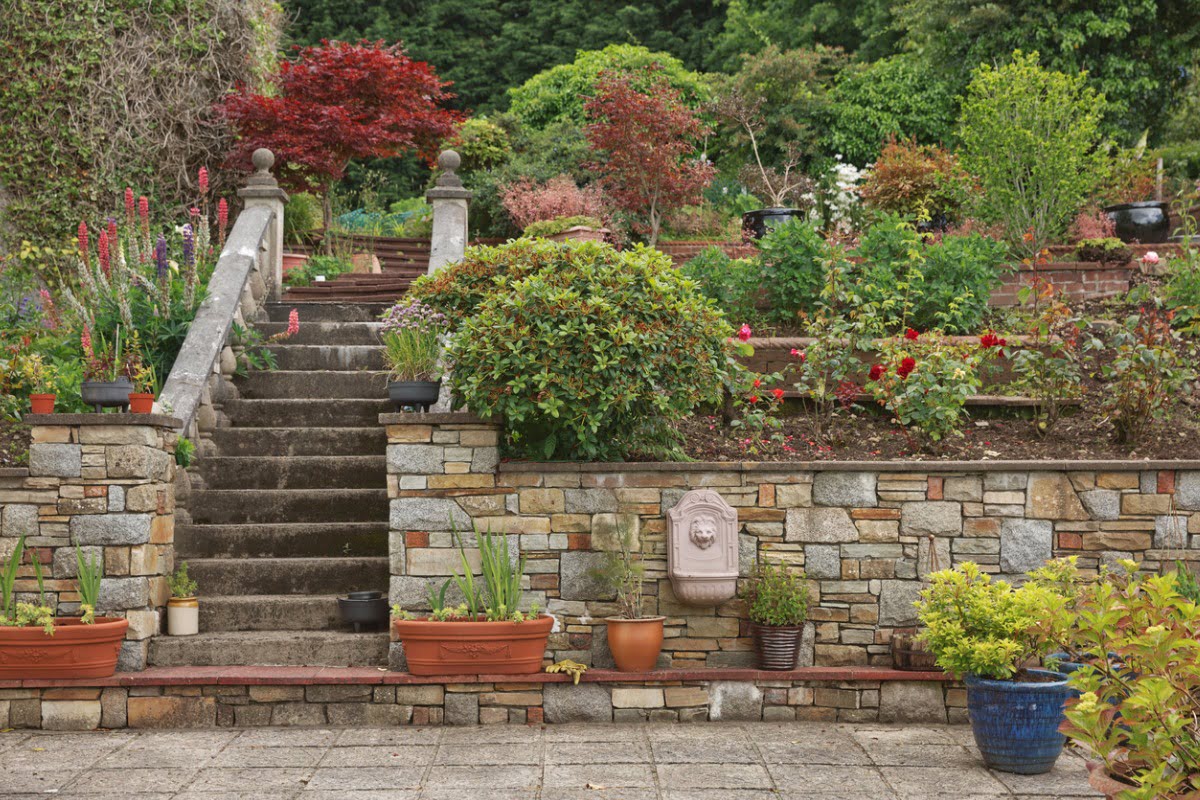
DIY Planters and Garden Decorations
Add color and greenery to your outdoor oasis by creating your own planters and garden decorations. Repurpose materials like old tires, wooden crates, or mason jars to create unique and eye-catching planters.
For example, transform an old tire into a stylish planter by cleaning it and painting it in a vibrant color. Fill the center with soil and plant your favorite flowers or herbs. Alternatively, repurpose wooden crates by stacking them and filling each compartment with soil and plants.
Create personalized garden decorations by painting terracotta pots with unique designs or patterns. You can also make your own garden stakes using materials like wooden dowels, paint, and stencils. Personalize them with names of the plants or your favorite gardening quotes.
Creating a Cozy Outdoor Lounge Space
Make your outdoor space a cozy and inviting lounge area where you can relax and entertain. Start by creating a comfortable seating area using outdoor cushions, pillows, and throw blankets. Arrange the seating in a way that encourages conversation and relaxation.
Add a touch of ambiance by incorporating string lights or lanterns. Hang them above the seating area or string them between trees to create a warm and inviting atmosphere. LED candles are also a safe and stylish option for adding a cozy glow.
Complete the space with a designated relaxation area, such as a hammock or a swing. Hang a hammock between trees or invest in a freestanding hammock stand. Alternatively, install a swing set or a hanging chair for a unique and enjoyable lounging experience.
With these outdoor oasis enhancement projects, you can transform your outdoor space into a welcoming and beautiful extension of your home. Whether you’re creating DIY patio furniture, unique planters, or a cozy lounge area, these projects will allow you to enjoy the beauty of the outdoors in your own personalized retreat.
Homemade Home Fragrances
Elevate the ambiance of your home with delightful homemade fragrances. Create a pleasant and inviting atmosphere with these DIY home fragrance projects:
DIY Scented Candles
There’s something magical about the warm glow and delightful aroma of scented candles. Instead of buying expensive candles, make your own customized versions with your favorite scents and designs.
Start by choosing the type of wax you prefer, such as soy wax or beeswax, and melt it according to the manufacturer’s instructions. Add your desired fragrance oil or essential oils to the melted wax, stirring well to ensure an even distribution. Pour the scented wax into a heat-resistant container, such as a mason jar or a teacup, and insert a pre-tabbed wick in the center. Let the wax cool and solidify, then trim the wick to the desired length.
To add a decorative touch, consider incorporating dried flowers, herbs, or slices of citrus fruits into the wax before it solidifies. As the candle burns, the fragrances from the botanicals will be released into the air, creating a wonderful sensory experience.
Read more: Understanding Your Home’s Circuits
Natural Room Sprays and Reed Diffusers
If you prefer a non-candle option, you can create natural room sprays and reed diffusers to infuse your home with delightful scents. For a DIY room spray, combine distilled water, witch hazel or vodka, and your favorite essential oils in a spray bottle. Shake the bottle well before each use and simply spray the mixture into the air, allowing the refreshing aroma to fill the room.
A reed diffuser is another fantastic option for a long-lasting fragrance. Fill a glass jar or vase with a carrier oil, such as safflower oil or sweet almond oil. Add your chosen essential oils to the carrier oil, stirring gently to mix. Insert bamboo skewers or diffuser reeds into the jar, allowing them to absorb the scented oil. Flip the reeds every few days to maintain a consistent fragrance in your space.
Creating Potpourri from Dried Flowers and Herbs
Potpourri is a classic and charming way to add fragrance and beauty to your home. You can create your own potpourri by drying a variety of flowers and herbs. Start by gathering fresh flowers and herbs, such as lavender, rose petals, chamomile, or eucalyptus leaves.
To dry the flowers and herbs, tie them together in small bundles and hang them upside down in a warm and well-ventilated area. Allow them to air dry for several days until they are crisp and no longer moist.
Once the flowers and herbs are dried, combine them in a bowl or a decorative container. You can also add additional scent by sprinkling a few drops of essential oils onto the mixture. Place the potpourri in various areas of your home, such as on a coffee table, on a windowsill, or in a decorative dish, to release its delightful fragrance.
With these homemade home fragrance projects, you can create a truly captivating and inviting atmosphere in your home. Whether through scented candles, natural room sprays and diffusers, or beautiful potpourri, enjoy the wonderful aromas that will enhance your living space and create a sense of relaxation and joy.
Eco-Friendly Cleaning Solutions
Keeping your home clean and tidy doesn’t mean you have to rely on harsh chemicals. Embrace eco-friendly cleaning by making your own homemade cleaning solutions that are effective, safe, and gentle on the environment. Here are some DIY cleaning solutions to try:
Homemade All-Purpose Cleaners
An all-purpose cleaner is a versatile tool for cleaning various surfaces in your home. Create your own DIY all-purpose cleaner by mixing equal parts distilled water and white vinegar. Add a few drops of your favorite essential oils, such as lemon or lavender, for a pleasant scent.
Pour the mixture into a spray bottle and shake well before each use. It can be used to clean countertops, floors, windows, and more. The vinegar acts as a natural disinfectant and the essential oils add a refreshing fragrance.
Read more: 17 Do-It-Yourself Outdoor Project Ideas
DIY Natural Laundry Detergent
Reduce your environmental impact and save money by making your own natural laundry detergent. Combine grated castile soap, washing soda, and baking soda in a container. Use 1-2 tablespoons of the mixture per load of laundry.
If desired, add a few drops of essential oils to infuse your laundry with a pleasant fragrance. Lavender, tea tree, or eucalyptus essential oils are great options. This DIY laundry detergent is effective, gentle on fabrics, and free of harmful chemicals.
Chemical-Free Bathroom Cleaners
Clean your bathroom without using harsh chemicals by making your own DIY bathroom cleaners. For a natural toilet cleaner, combine baking soda, white vinegar, and a few drops of tea tree or peppermint essential oil. Sprinkle the mixture into the toilet bowl, scrub well, and flush.
To clean your shower and bathtub, mix equal parts distilled water and vinegar in a spray bottle. Add a few drops of dish soap and tea tree essential oil. Spray the solution onto the surfaces, let it sit for a few minutes, then scrub and rinse thoroughly.
For the bathroom sink and countertops, a mixture of baking soda and water works wonders. Make a paste by combining the two ingredients and apply it to the surfaces. Scrub gently and rinse with water to reveal a clean and shiny finish.
With these eco-friendly cleaning solutions, you can maintain a clean and healthy living environment while reducing your exposure to harmful chemicals. Enjoy the benefits of homemade cleaning products that are cost-effective, safe, and better for the planet.
Conclusion
Congratulations! You have now explored a wide range of DIY projects to transform your home into a chic and inviting space. By incorporating these ideas into your interior design, you can infuse your personal style, save money, and create a space that reflects your unique personality.
From stylish storage solutions to creative wall decor, upcycled furniture makeovers to statement lighting projects, outdoor oasis enhancements to homemade home fragrances, and eco-friendly cleaning solutions, there are endless possibilities for DIY projects that will enhance your home.
By utilizing your creativity and honing your DIY skills, you can create customized shelving units, repurpose old furniture, make handmade wall art, build your own furniture, craft beautiful home fragrances, and even clean your space sustainably – all while enjoying the process and saving money in the process.
Remember, the key to successful DIY projects is to plan ahead, gather the necessary materials, and follow instructions carefully. Don’t be afraid to experiment and put your own personal touch on each project. Each piece you create will be a reflection of your creativity and individuality, making your home truly unique.
As you embark on your DIY journey, remember to prioritize safety and use proper tools and techniques. It’s also important to be mindful of the environment by choosing eco-friendly materials and practices whenever possible.
Whether you’re a seasoned DIY enthusiast or a beginner, these projects offer something for everyone. So, roll up your sleeves, pick a project that speaks to you, and get ready to transform your home into a space that you will love and be proud of.
With each completed project, you’ll gain experience and confidence, and your home will become a showcase of your creativity and skills. So, embrace the world of DIY interior design and enjoy the journey of creating a home that is uniquely yours!
Frequently Asked Questions about DIY Projects – Chic, Pretty Ideas To Transform Your Home
Was this page helpful?
At Storables.com, we guarantee accurate and reliable information. Our content, validated by Expert Board Contributors, is crafted following stringent Editorial Policies. We're committed to providing you with well-researched, expert-backed insights for all your informational needs.


0 thoughts on “DIY Projects – Chic, Pretty Ideas To Transform Your Home”