Home>Articles>How To Install Foam Board Insulation On Exterior Walls
Articles
How To Install Foam Board Insulation On Exterior Walls
Modified: May 6, 2024
Learn how to properly install foam board insulation on your exterior walls with our informative articles. Improve energy efficiency and reduce utility costs.
(Many of the links in this article redirect to a specific reviewed product. Your purchase of these products through affiliate links helps to generate commission for Storables.com, at no extra cost. Learn more)
Introduction
Welcome to the ultimate guide on how to install foam board insulation on exterior walls! If you have been looking for an effective and efficient way to improve the insulation of your home, then foam board insulation is a fantastic option. Not only does it help to reduce energy costs, but it also enhances the overall comfort of your living space.
In this article, we will walk you through the step-by-step process of installing foam board insulation on your exterior walls. We will cover everything from the tools and materials you will need to the techniques required to ensure a successful installation.
So, whether you are a seasoned DIY enthusiast or a homeowner looking to take on a new project, this guide will provide you with all the information you need to get started. Let’s dive in!
Key Takeaways:
- Efficiently install foam board insulation on exterior walls by preparing the surface, measuring and cutting the insulation, applying adhesive, securing it in place, and sealing gaps. Enjoy a more comfortable and energy-efficient home!
- Enhance your home’s insulation and energy efficiency by following the step-by-step guide to install foam board insulation. Enjoy the long-term benefits of reduced energy costs and improved indoor comfort.
Tools and Materials Needed
Before you begin the installation process, it’s important to gather all the necessary tools and materials. Here’s a comprehensive list of what you’ll need:
- Foam board insulation sheets
- Measuring tape
- Straightedge or T-square
- Utility knife
- Adhesive suitable for foam board insulation
- Can foam or caulk
- Construction adhesive
- Screws or nails
- Drill or hammer
- Saw (optional)
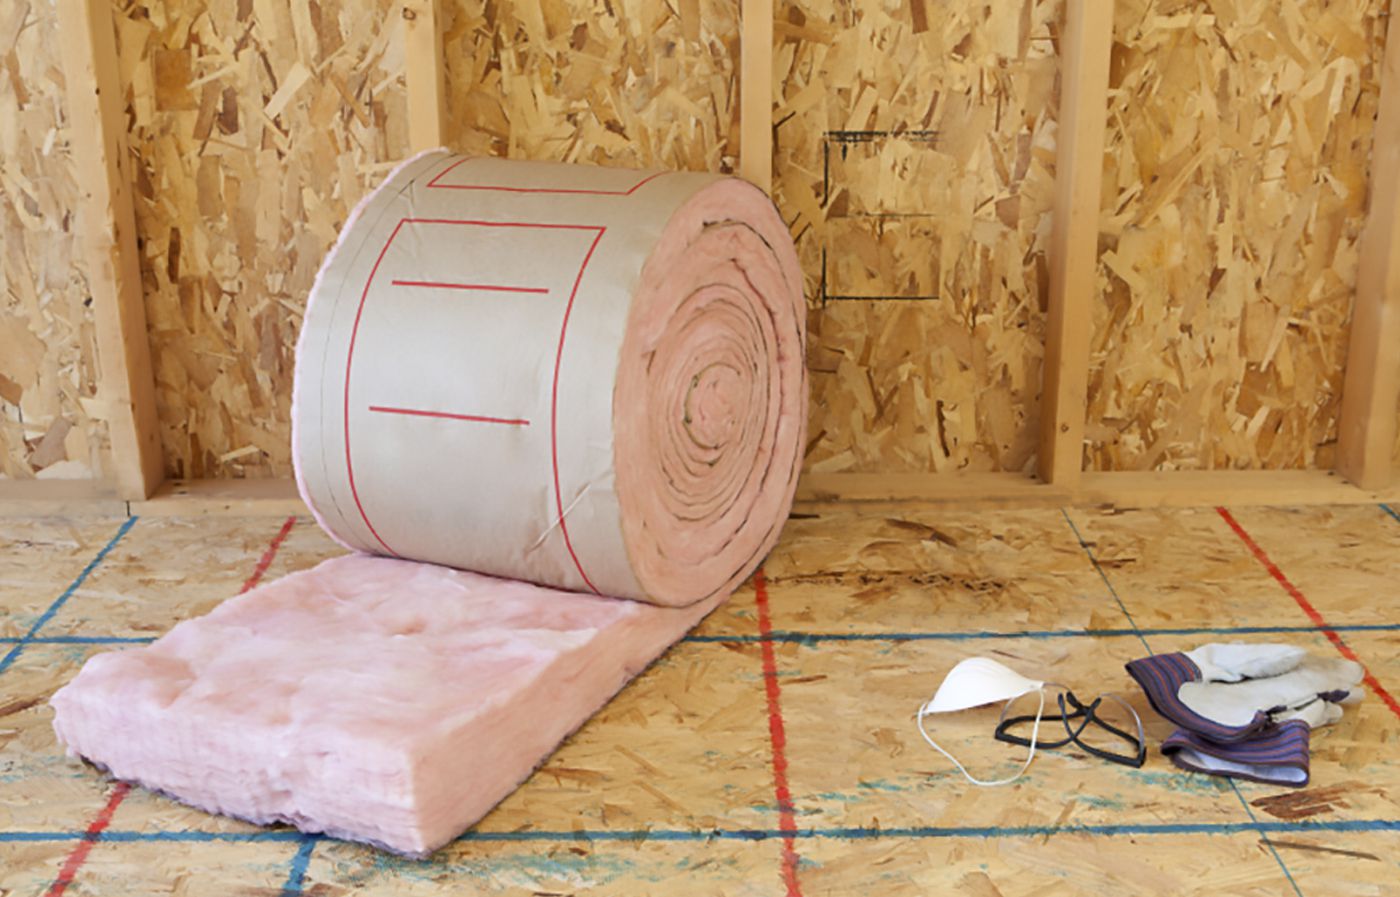
- Protective gear (gloves, goggles, mask)
Make sure to acquire all these tools and materials before you begin the installation. This will save you time and ensure a smooth process.
Step 1: Prepare the Exterior Walls
Before you start installing foam board insulation, it is essential to prepare the exterior walls properly. This involves cleaning the surface and ensuring it is free from any debris, dirt, or loose paint. Follow these steps to prepare the walls:
- Start by thoroughly inspecting the walls. Look for any signs of damage, such as cracks, rot, or moisture. It’s crucial to address these issues before proceeding with the insulation.
- Remove any loose or flaking paint from the walls using a scraper or wire brush. This will help ensure a smooth and even surface for adhering the foam board insulation.
- Clean the walls using a mild detergent and water solution. Scrub any stubborn stains or dirt. Rinse the walls thoroughly and allow them to dry completely before moving on to the next step.
- If there are any gaps or cracks in the walls, use a filler or caulking compound to seal them. This will help prevent air leakage and maximize the effectiveness of the insulation.
By taking the time to properly prepare the exterior walls, you are setting the foundation for a successful foam board insulation installation. This step ensures that the insulation adheres well and provides an effective barrier against heat transfer.
Step 2: Measure and Cut the Foam Board Insulation
Once you have prepared the exterior walls, it’s time to measure and cut the foam board insulation to fit the wall dimensions. Follow these steps:
- Measure the height and width of the wall using a measuring tape. It’s recommended to measure multiple sections of the wall, as walls are not always perfectly straight.
- Transfer the measurements onto the foam board insulation. Use a straightedge or T-square to ensure accurate and straight lines.
- Using a utility knife, cut along the marked lines. It’s important to make clean and precise cuts to achieve a tight fit.
- If you encounter any obstacles such as electrical outlets or windows, measure and mark the foam board insulation to fit around them. Cut out the required openings using a utility knife or a saw if necessary.
Remember to wear protective gear such as gloves and goggles while cutting the foam board insulation. Additionally, make sure to double-check your measurements to avoid any wastage or ill-fitting pieces.
Properly measuring and cutting the foam board insulation ensures that it fits snugly against the exterior walls, providing optimal thermal insulation and reducing the chances of air leakage.
Step 3: Apply Adhesive to the Foam Board Insulation
With the foam board insulation cut to the appropriate size, the next step is to apply adhesive to ensure it is securely attached to the exterior walls. Follow these steps:
- Choose an adhesive that is specifically designed for foam board insulation. Read the instructions provided by the manufacturer before applying.
- Apply a bead of adhesive along the edges and in a zigzag pattern across the back of the foam board insulation. This will help create a strong bond between the insulation and the wall.
- Spread the adhesive evenly using a notched trowel or a putty knife. This will ensure that the adhesive covers the entire surface of the foam board insulation.
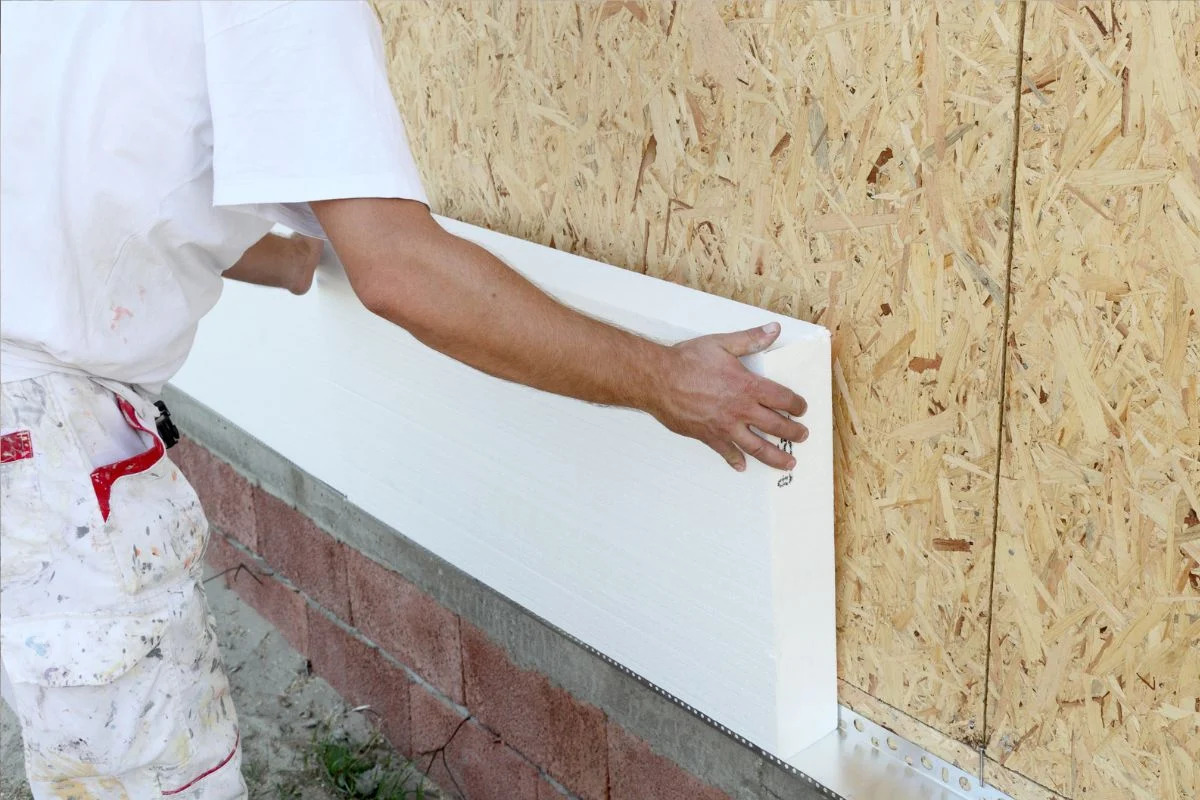
- Press the foam board insulation against the prepared exterior wall. Apply even pressure to ensure proper adhesion.
- If you have multiple sheets of foam board insulation, make sure to butt the edges tightly together. Use adhesive or tape to seal any gaps between the sheets.
Allow the adhesive to dry according to the manufacturer’s instructions before proceeding to the next step. This ensures a strong bond and prevents the foam board insulation from shifting or coming loose.
Applying adhesive to the foam board insulation is a crucial step in the installation process. It helps to provide stability and ensures that the insulation remains securely in place for long-lasting effectiveness.
When installing foam board insulation on exterior walls, make sure to properly seal all seams and edges to prevent air leakage and maximize the insulation’s effectiveness. Use a high-quality adhesive and tape designed for insulation installation.
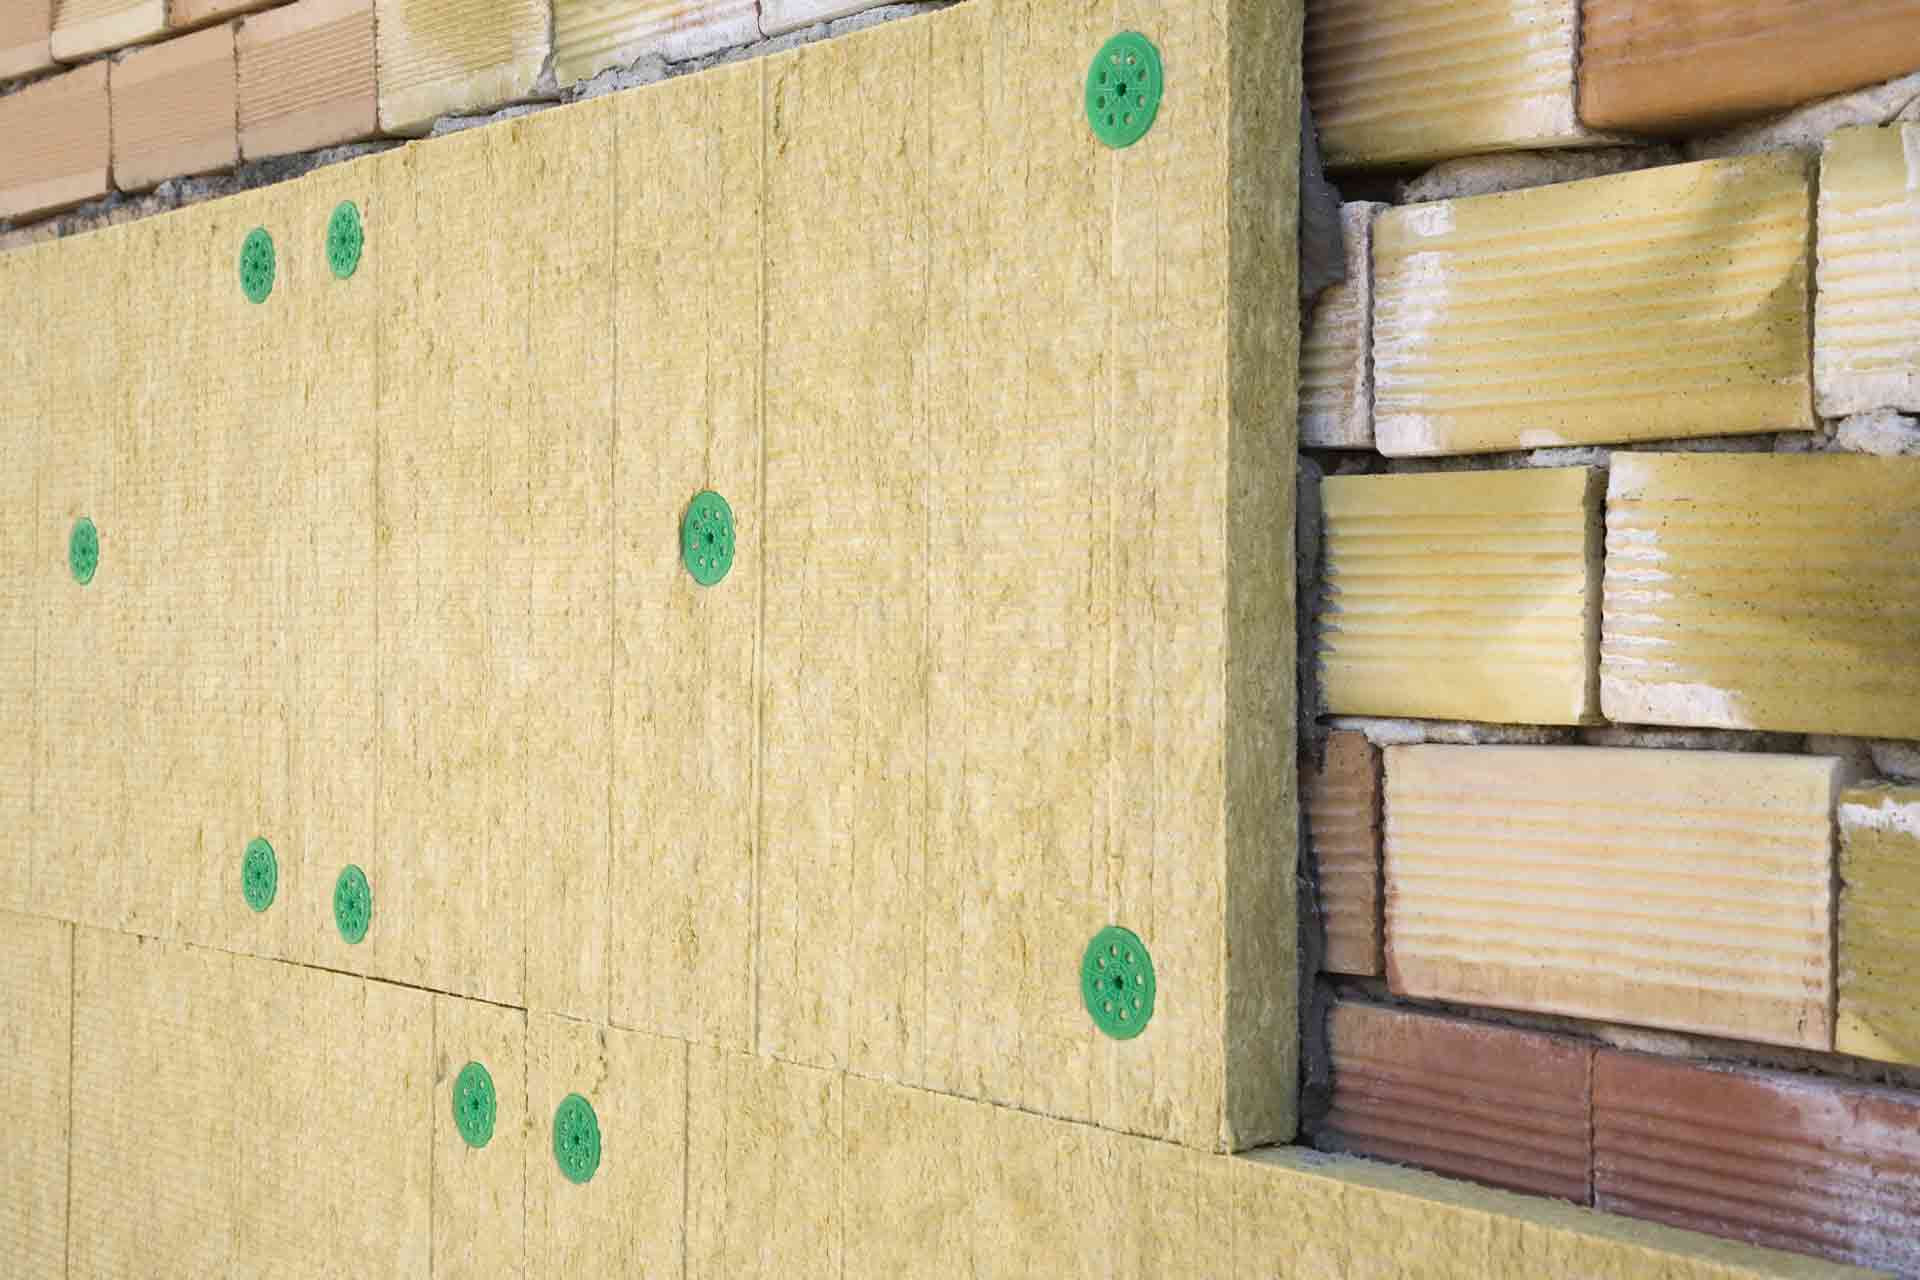
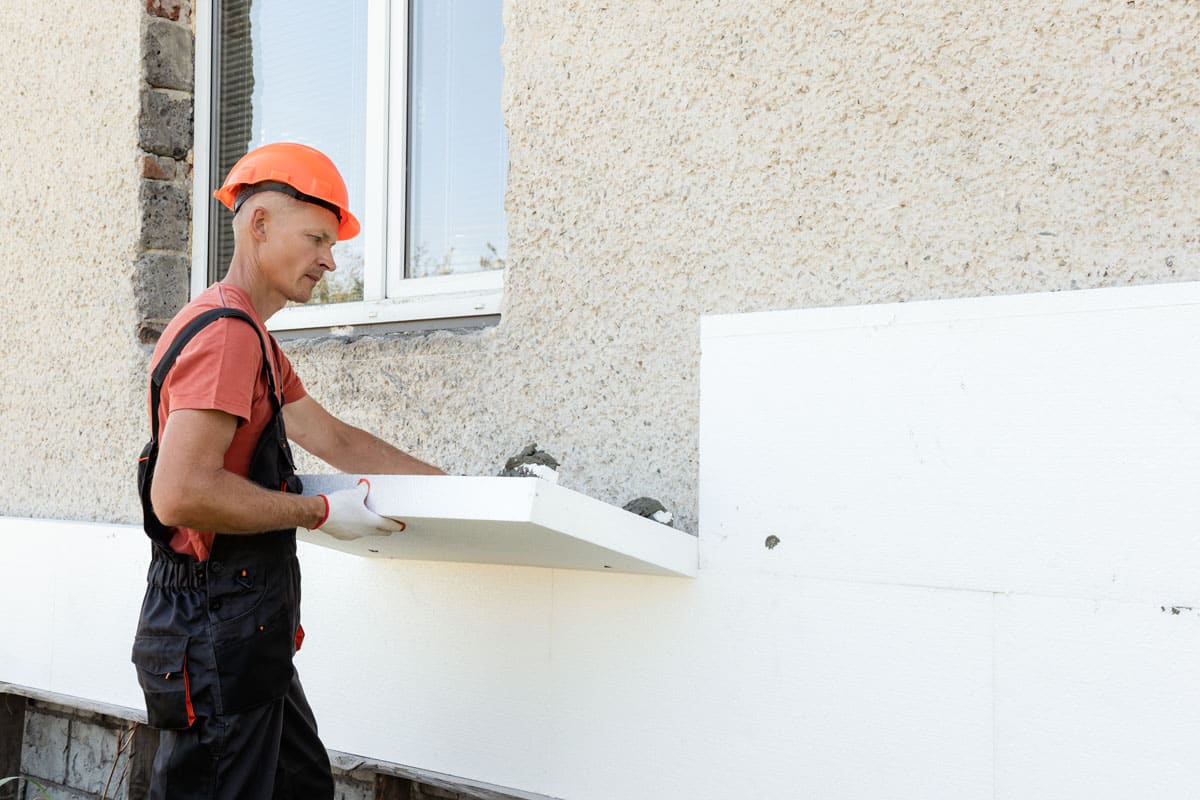
Step 4: Attach the Foam Board Insulation to the Exterior Walls
With the foam board insulation adhesive applied and dried, it’s time to attach the insulation to the exterior walls. Follow these steps:
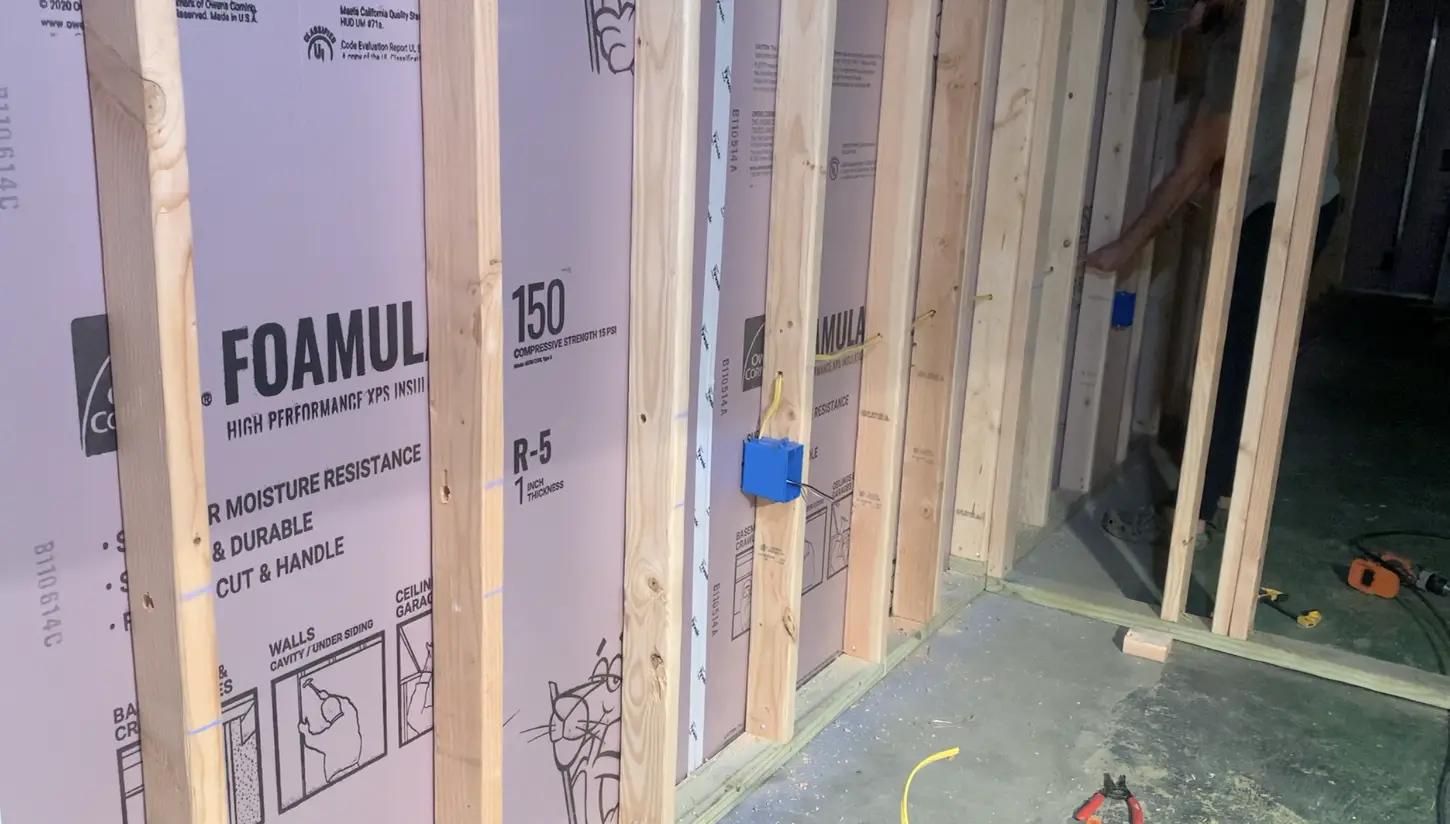
- Starting at one corner of the wall, position the foam board insulation against the wall. Ensure that it is aligned vertically and horizontally.
- Press the foam board insulation firmly against the wall, ensuring that it adheres to the adhesive underneath.
- If necessary, use screws or nails with washers to secure the foam board insulation in place. Place them along the edges and corners, spacing them out evenly.
- Continue attaching the foam board insulation to the rest of the wall, following the same process of alignment and securing.
- For larger sheets of insulation, it may be helpful to have a second person assist in holding and positioning the insulation while it is being attached.
Ensure that the foam board insulation is securely attached to the exterior walls, as this will prevent any movement or shifting that could compromise its effectiveness. The screws or nails serve as additional reinforcement to keep the insulation in place.
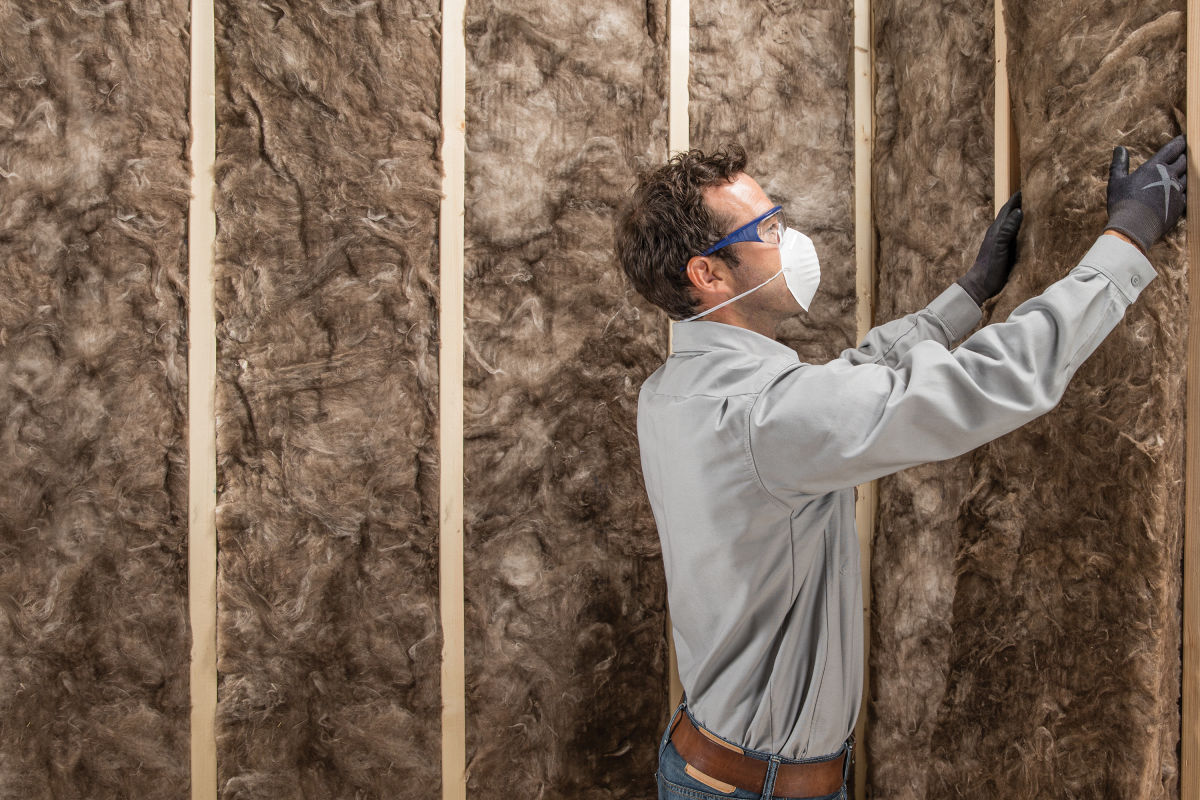
Remember to follow proper safety precautions when handling and installing the foam board insulation, such as wearing gloves and eye protection. Take care not to damage the insulation during the installation process.
By attaching the foam board insulation to the exterior walls, you are creating a thermal barrier that helps regulate the temperature inside your home, leading to increased energy efficiency and enhanced comfort.
Step 5: Secure the Insulation in Place
Once the foam board insulation is attached to the exterior walls, it is important to secure it in place to ensure its long-term effectiveness. Follow these steps:
- Inspect the attached insulation for any gaps or areas that may not be securely fastened.
- Using can foam or caulk, fill any gaps or voids between the insulation boards and the walls. This helps prevent air leakage and improves insulation performance.
- Seal the edges of the insulation boards with construction adhesive. Apply a generous amount along the perimeter to create a strong bond and prevent moisture or air from penetrating.
- If needed, use a utility knife to trim any excess foam board insulation along the edges for a neat and precise finish.
By securing the foam board insulation in place, you are ensuring that it remains properly sealed and protected against moisture, air, and other potential factors that may compromise its effectiveness.
Take the time to carefully inspect and address any gaps or loose areas to maintain the integrity and performance of the insulation. Properly securing the insulation in place will maximize its thermal efficiency and contribute to energy savings in your home.
Step 6: Seal the Gaps and Edges
To further enhance the effectiveness of the foam board insulation and create a seamless barrier against heat transfer, it is essential to seal any gaps and edges. Follow these steps:
- Inspect the foam board insulation for any visible gaps or openings between the boards.
- Using can foam or caulk, apply a bead of sealant along the edges and seams of the foam board insulation. This will fill any gaps and prevent air leakage.
- Smooth out the sealant with a putty knife or your finger to ensure a tight seal. Be sure to follow the manufacturer’s instructions for the specific sealant you are using.
- If there are any gaps around windows, doors, or electrical outlets, apply caulk or can foam to seal them. This will prevent air infiltration and maintain the insulation’s thermal efficiency.
- Allow the sealant to dry and cure completely before proceeding to the next step.
Properly sealing the gaps and edges of the foam board insulation is crucial, as it helps prevent air leaks and enhances the insulation’s ability to maintain a consistent temperature within your home.
Take the time to carefully seal any visible gaps or openings, ensuring that the foam board insulation creates a continuous and airtight barrier. This step will optimize the energy efficiency of your home and contribute to long-term cost savings.
Step 7: Finish the Wall Surface
After successfully installing and sealing the foam board insulation on your exterior walls, it’s time to finish the wall surface. This final step not only enhances the appearance of your walls but also provides added protection for the insulation. Follow these steps:
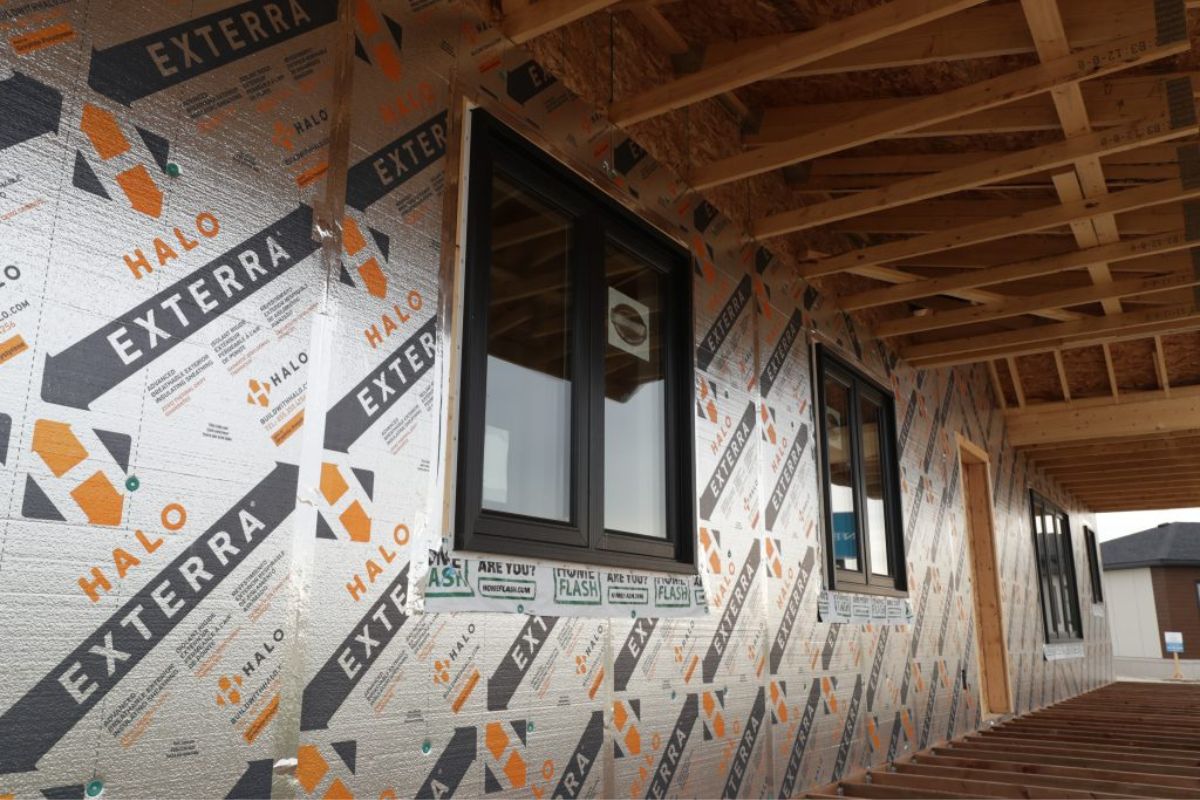
- If desired, install a vapor barrier over the foam board insulation. This will help prevent moisture from seeping into the walls and causing damage.
- If you plan to cover the foam board insulation with another layer, such as drywall or siding, measure and cut the new material to fit the wall dimensions.
- Attach the new material to the wall using appropriate fasteners or adhesives, following the manufacturer’s instructions.
- If you are not covering the foam board insulation, apply a protective coating or paint designed for exterior use. This will shield the insulation from UV rays and the elements.
- Inspect the finished wall surface for any imperfections or areas that may need additional touch-ups. Make any necessary repairs or adjustments to ensure a smooth and seamless appearance.
Finishing the wall surface after installing foam board insulation provides an added layer of protection and enhances the overall aesthetics of your home. Whether you choose to cover the insulation or apply a protective coating, this step ensures the longevity and visual appeal of your insulation installation.
Remember to follow the proper guidelines and procedures when installing and finishing the wall surface, ensuring that all materials are compatible and applied correctly.
Congratulations! By completing this final step, you have successfully installed foam board insulation on your exterior walls, creating a more energy-efficient and comfortable living space.
Read more: How To Cut Insulation Foam Board
Conclusion
Installing foam board insulation on your exterior walls is a great way to enhance the energy efficiency and comfort of your home. With the step-by-step guide provided in this article, you now have the knowledge and understanding to successfully complete this project.
By preparing the exterior walls, measuring and cutting the foam board insulation, applying adhesive, attaching and securing the insulation, sealing gaps and edges, and finishing the wall surface, you have created a thermal barrier that helps regulate the temperature inside your home and reduces energy costs.
It’s important to note that while the installation process may require some time and effort, the long-term benefits are well worth it. Foam board insulation not only improves insulation performance but also contributes to a more sustainable environment by reducing energy consumption.
Remember to always follow safety precautions and use proper tools and materials during the installation process. Measure accurately, secure the insulation tightly, and seal any gaps to ensure maximum efficiency and effectiveness.
Now that you have completed the installation of foam board insulation on your exterior walls, take the time to enjoy the benefits it brings. You’ll experience improved indoor comfort, reduced energy bills, and a more sustainable living space.
Thank you for following along with this comprehensive guide. We hope it has provided you with the necessary information and guidance to successfully install foam board insulation on your exterior walls. Have fun and enjoy your well-insulated home!
Now that you've mastered installing foam board insulation on exterior walls, why not tackle more projects around your house? Our guide on DIY home improvement offers practical tips and simple steps for enhancing your living space. Ready to take on new challenges and personalize your home? Dive into our next article full of inspiration and hands-on advice.
Frequently Asked Questions about How To Install Foam Board Insulation On Exterior Walls
Was this page helpful?
At Storables.com, we guarantee accurate and reliable information. Our content, validated by Expert Board Contributors, is crafted following stringent Editorial Policies. We're committed to providing you with well-researched, expert-backed insights for all your informational needs.

0 thoughts on “How To Install Foam Board Insulation On Exterior Walls”