Home>Interior Design>How To Paint A Door: Expert Tips For A Professional Finish
Interior Design
How To Paint A Door: Expert Tips For A Professional Finish
Modified: January 23, 2024
Get expert tips for achieving a professional finish when painting your door. Enhance your interior design with our step-by-step guide.
(Many of the links in this article redirect to a specific reviewed product. Your purchase of these products through affiliate links helps to generate commission for Storables.com, at no extra cost. Learn more)
Introduction
Painting a door is a simple and cost-effective way to update the look of any space. Whether you want to give your entrance door a fresh coat of paint or enhance the interior doors in your home, knowing how to paint a door properly is essential for achieving a professional finish. In this article, we will provide expert tips and step-by-step instructions to guide you through the door painting process.
Before diving into the project, it’s important to gather the necessary materials. You will need:
- Painter’s tape
- Sandpaper (medium and fine grit)
- Tack cloth or microfiber cloth
- Primer paint
- Paint of your choice
- Paint rollers
- Paintbrushes
- Drop cloth or newspaper
- Screwdriver
- Optional: paint tray and paint can opener
Once you have gathered all the necessary materials, the next step is to prepare the door for painting. This involves removing any hardware such as doorknobs or hinges and protecting the surrounding areas from paint splatters.
Key Takeaways:
- Achieve a professional finish by preparing, sanding, and cleaning the door before applying primer and high-quality paint. Employ expert painting techniques and allow sufficient drying time for a flawless result.
- Transform your space with a freshly painted door using expert tips. Choose the right materials, apply multiple coats, and add final touches for a professional, long-lasting finish.
Necessary Materials
Before you begin painting a door, it is essential to gather all the necessary materials. Here is a list of items that you will need for a successful door painting project:
- Painter’s Tape: This is used to cover any areas that you want to protect from paint, such as the door frame or glass inserts.
- Sandpaper (medium and fine grit): Sandpaper is used to smooth the surface of the door and remove any existing paint or imperfections. Medium grit sandpaper is ideal for initial sanding, while fine grit sandpaper helps achieve a smooth finish.
- Tack Cloth or Microfiber Cloth: These cloths are used to wipe away dust and particles after sanding, ensuring a clean surface for painting.
- Primer Paint: Primer is a crucial step in the door painting process as it helps the paint adhere to the surface and provides a smooth and even finish. Choose a primer suitable for the material of your door, such as wood or metal.
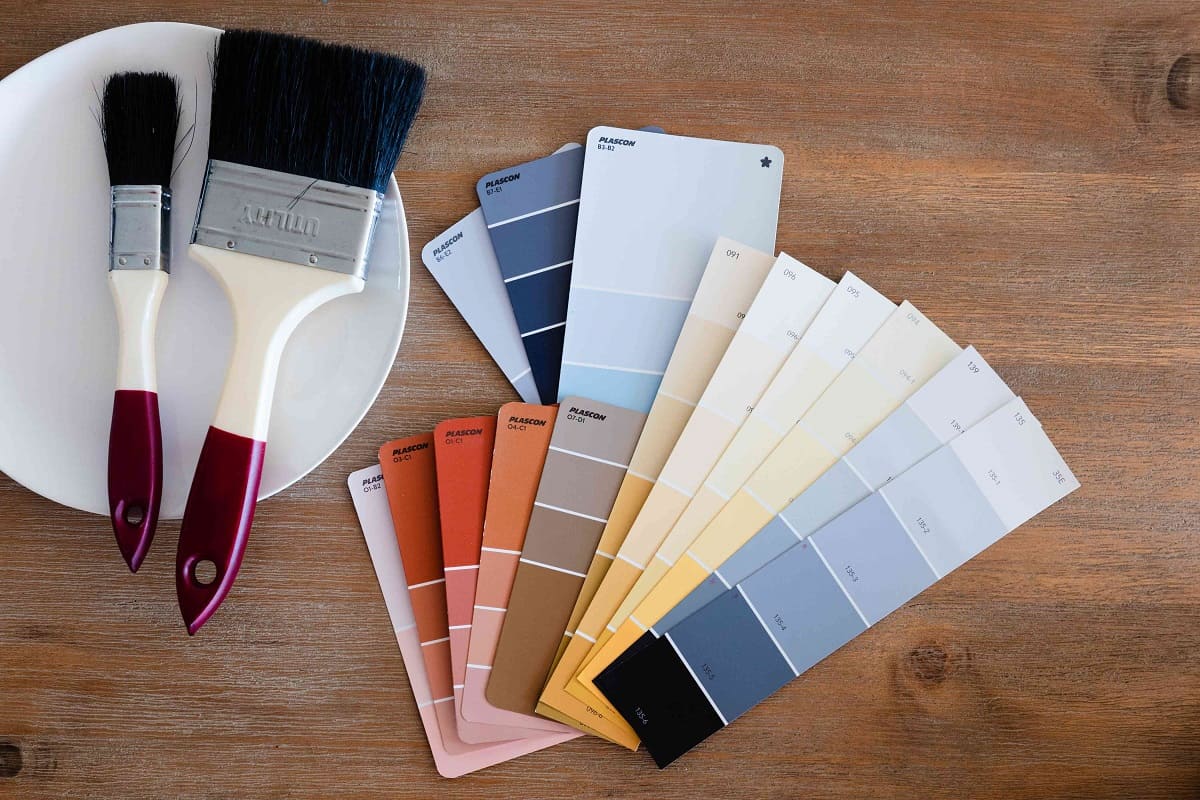
- Paint of Your Choice: Select a high-quality paint that is specifically formulated for doors and trim. Consider the color and finish that will best complement your space.
- Paint Rollers: Use paint rollers to apply the paint evenly and quickly on larger areas of the door.
- Paintbrushes: Choose high-quality brushes for finer details and edges that cannot be reached with a roller.
- Drop Cloth or Newspaper: Protect your floor or work area from paint spills or drips with a drop cloth or newspaper.
- Screwdriver: If you need to remove the door from its hinges for painting, a screwdriver will be necessary.
- Optional: Paint Tray and Paint Can Opener: These items are helpful for pouring the paint and keeping it accessible during the painting process.
Having all the necessary materials in advance will ensure a smooth and efficient painting process and help you achieve professional-looking results.
Preparing the Door
Before you start applying paint to the door, it’s important to properly prepare the surface. This involves removing any hardware and protecting the surrounding areas from accidental paint splatters.
The first step is to remove any doorknobs, hinges, or other hardware from the door. Use a screwdriver to carefully unscrew and detach them. This will make the painting process cleaner and allow you to paint the entire door, including the edges.
Next, clean the door thoroughly to remove any dirt, grease, or grime that may affect the paint’s adhesion. You can use a mild detergent mixed with water and a sponge to clean the surface. Rinse the door with clean water and allow it to dry completely.
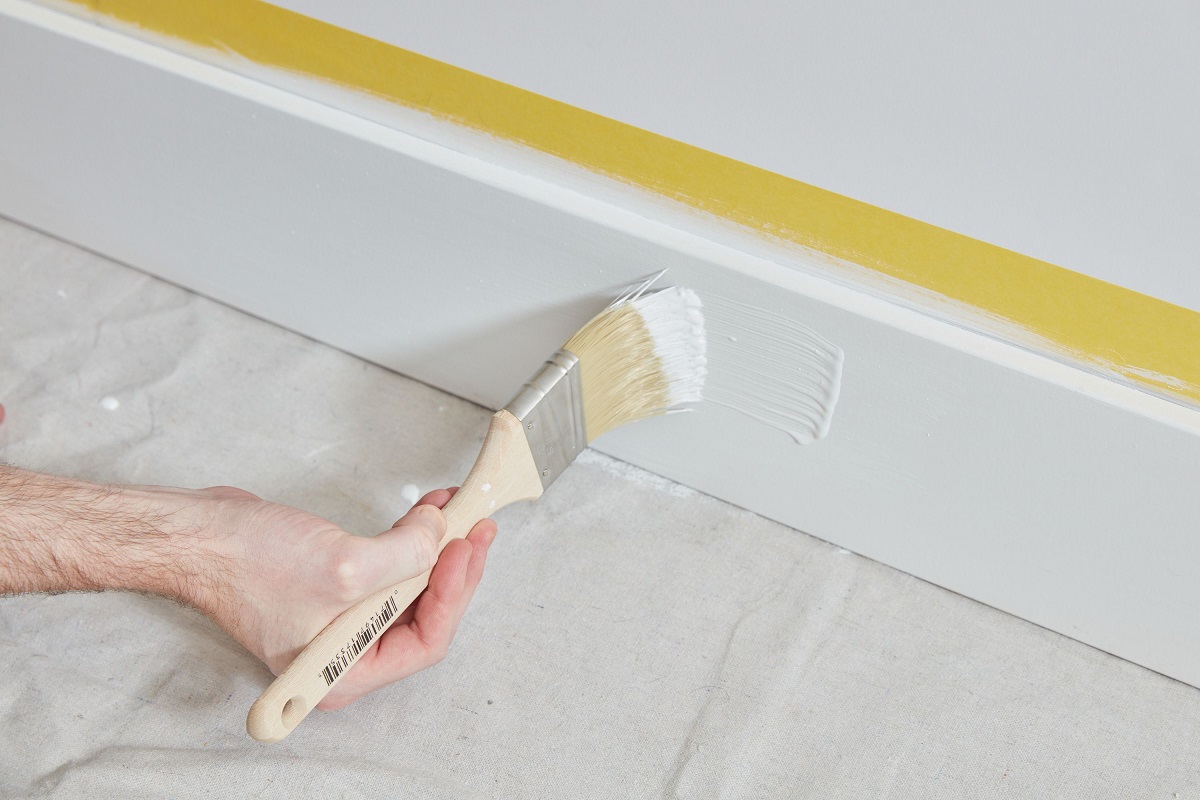
Once the door is dry, use painter’s tape to protect any areas that you don’t want to be painted, such as the door frame or glass inserts. Apply the tape carefully, ensuring it adheres firmly to the surface and creates a clean edge.
If you are painting the door while it is still attached to the hinges, you can use a drop cloth or newspaper to cover the surrounding floor or area. This will protect it from accidental paint drips or spills.
By properly preparing the door, you will create a clean and smooth surface for the paint and ensure that the paint adheres properly, resulting in a professional and long-lasting finish.
Sanding the Surface
Sanding the surface of the door is a crucial step to ensure a smooth and even finish. It helps remove any existing paint, rough patches, or imperfections, allowing the new paint to adhere properly.
Start by using medium grit sandpaper to sand the entire surface of the door. Sand in the direction of the wood grain or in long, even strokes if the door is made of metal or another material. This will help remove any glossy finishes, rough spots, or raised edges.
Pay special attention to areas with flaking or peeling paint. Use gentle pressure to sand these areas until the surface is smooth and even. Be careful not to apply too much pressure, as this can damage the underlying material.
After sanding with medium grit sandpaper, switch to fine grit sandpaper. This will help further smooth the surface of the door and prepare it for painting. Sand the entire door using the same gentle and even strokes.
Throughout the sanding process, periodically wipe the door with a tack cloth or microfiber cloth to remove any dust or debris. This will ensure that you have a clean surface for painting.
Remember, the goal of sanding is not to completely strip the door down to its bare surface, but rather to create a smooth and rough-free surface for the paint to adhere to. Take your time and pay attention to detail to achieve the best results.
Once you have finished sanding, inspect the door’s surface to ensure it is smooth and free from any rough patches. If necessary, lightly sand any remaining imperfections until the surface feels uniformly smooth to the touch.
Sanding the surface of the door is a crucial preparation step that will help you achieve a professional and flawless finish. It promotes paint adhesion and ensures that the final result is smooth, even, and visually appealing.
Cleaning the Door
Before you begin painting the door, it is essential to clean the surface thoroughly. Cleaning the door ensures that there is no dirt, grease, or grime on the surface, which can impact the adhesion and the overall finish of the paint.
Start by preparing a mild detergent solution by mixing a few drops of dish soap with warm water. Using a sponge or a soft cloth, dip it into the soapy water and gently scrub the entire surface of the door. Pay extra attention to areas that are prone to accumulating dirt or fingerprints, such as the doorknob area and the edges.
Rinse the door with clean water to remove any soap residue. Ensure that all soap is thoroughly rinsed off to prevent it from affecting the paint adhesion. Use a clean cloth or sponge to dry the door completely.
If you notice any stubborn stains or greasy areas on the door, you may need to use a stronger cleaner or a degreaser. Follow the product instructions carefully and test it on a small, inconspicuous area of the door to ensure it does not damage the surface. Scrub the stained areas gently, using a soft brush or a sponge, and rinse thoroughly with clean water.
After cleaning, it is important to let the door dry completely before proceeding to the next step. Moisture can interfere with the paint application and may affect the final result. Ensure that the door is placed in a well-ventilated area with sufficient airflow to aid in the drying process.
Cleaning the door before painting not only helps to maintain its overall appearance but also ensures that the paint adheres properly and provides a smooth and long-lasting finish. It removes any surface contaminants that could impact the adhesion or cause imperfections in the paint application.
By taking the time to thoroughly clean the door, you are setting the foundation for a successful painting project and ensuring that the end result is both visually pleasing and durable.
Applying Primer
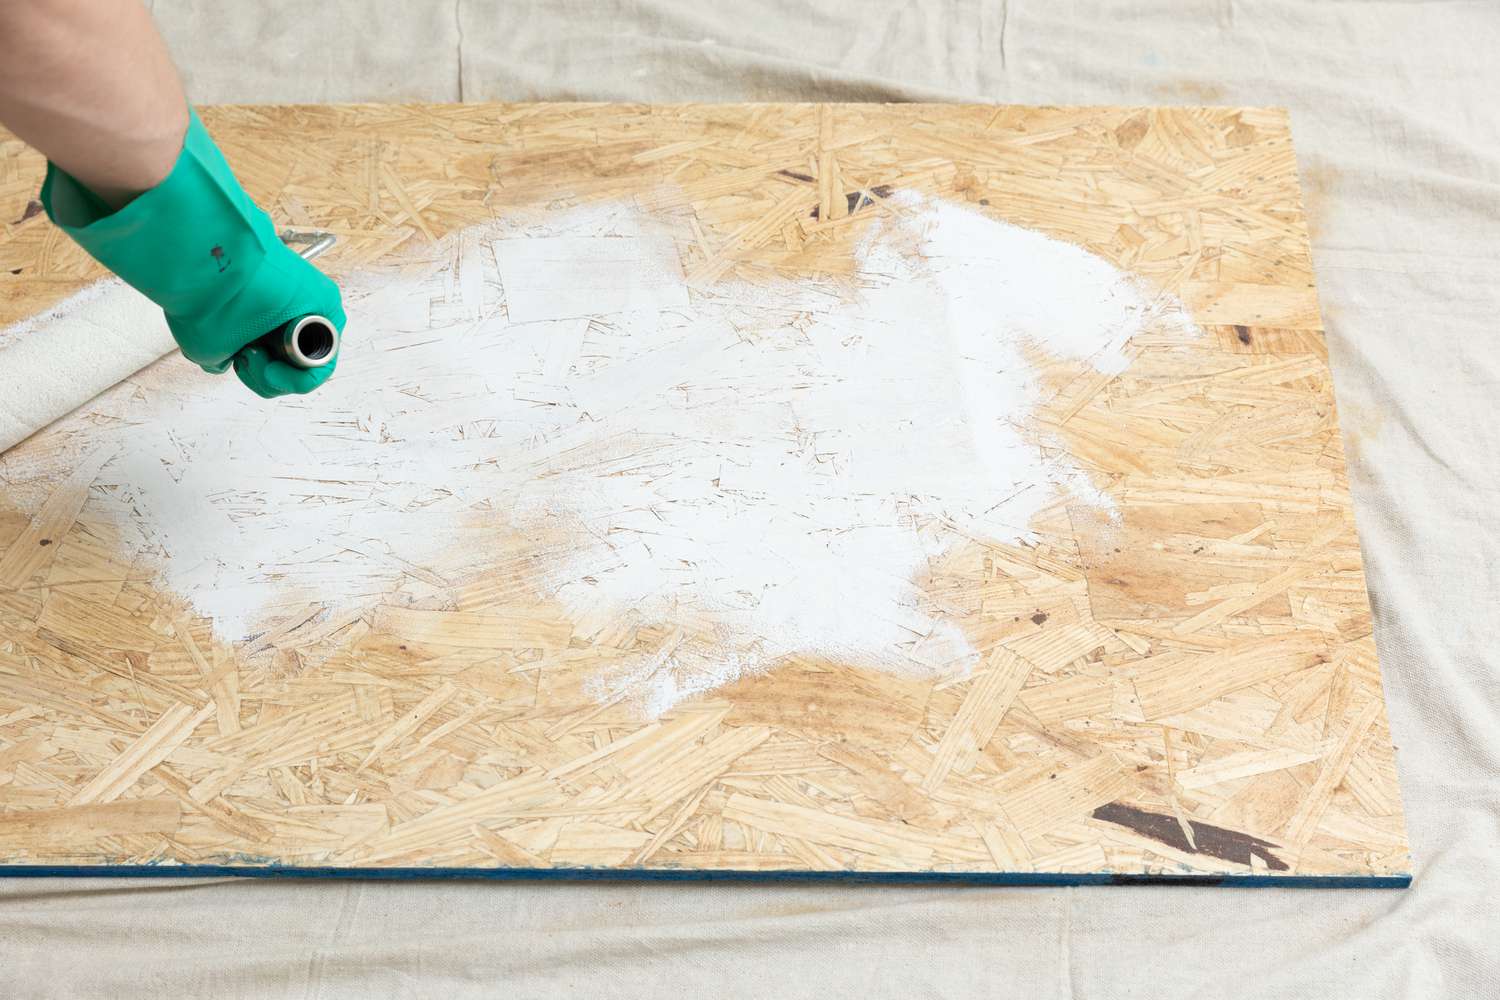
Once the door is prepared and cleaned, the next step is applying primer. Primer is essential for creating a smooth and even surface for the paint, promoting better adhesion and enhancing the durability of the final coat.
Before you begin applying primer, ensure that the door is completely dry from the cleaning process. It’s also important to choose a primer that is suitable for the material of your door, whether it is wood, metal, or another type of surface. Consult with a paint professional or read the instructions on the primer to ensure compatibility.
Start by stirring the primer thoroughly to achieve consistent color and texture. Pour a small amount of primer into a paint tray if necessary, making it easier to access during the painting process.
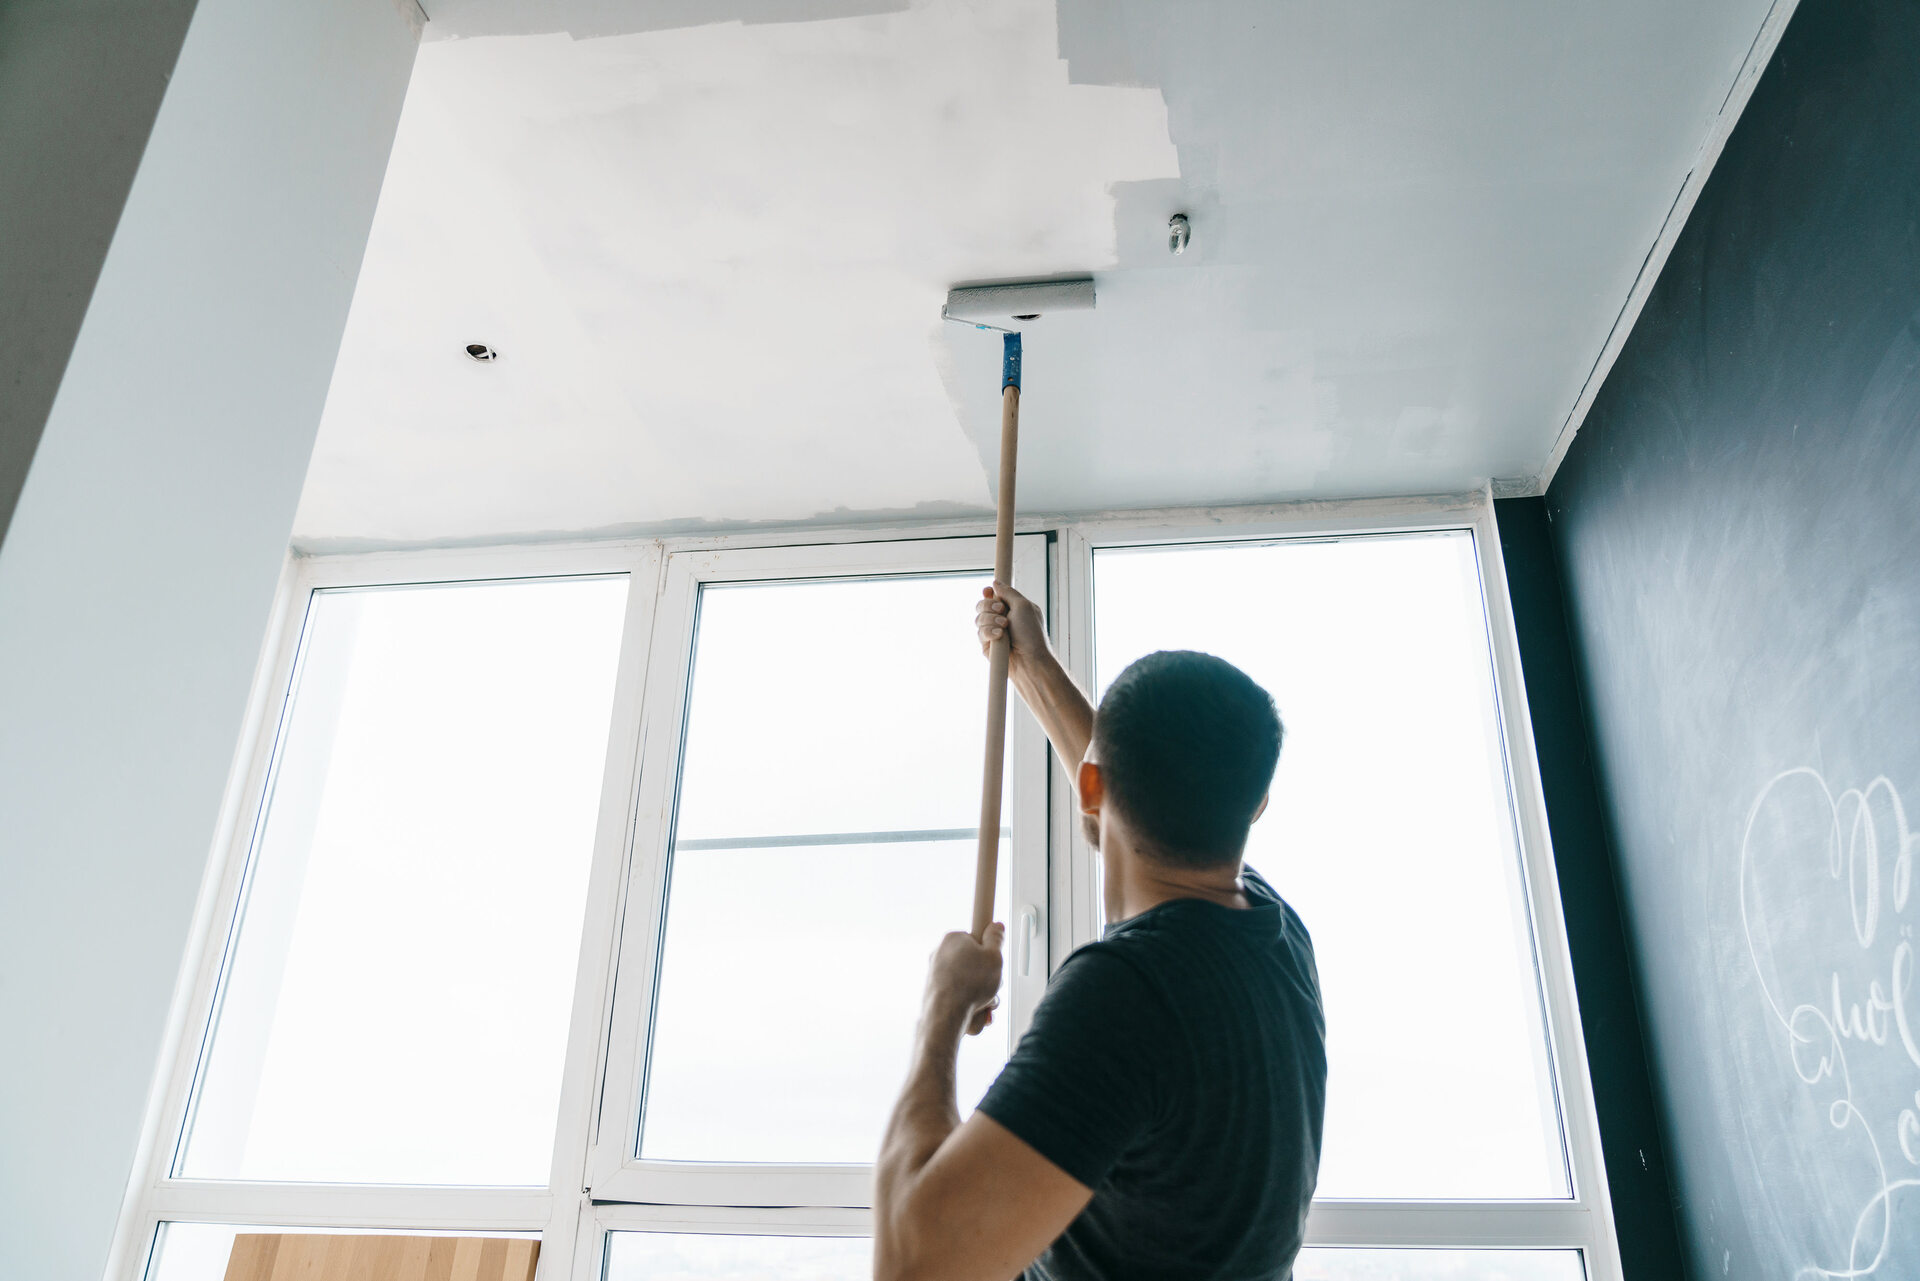
Using a high-quality brush or a paint roller, begin applying the primer to the door. Start from the top of the door and work your way down, ensuring even coverage on all surfaces. Use long, smooth strokes to minimize brush marks or roller lines.
If you are using a roller, it’s recommended to start with the flat surfaces and then move to the corners and edges using a brush for better control and coverage. Make sure to apply an even layer of primer, avoiding excessive build-up or drips.
Pay attention to any recessed areas or carvings on the door. Use a brush to ensure that primer reaches all the intricate details, providing a solid base for the paint to adhere to.
Allow the primer to dry completely according to the manufacturer’s instructions. This typically takes anywhere from 1 to 4 hours, but it’s important to follow the specific recommendations on the primer can.
Once the primer is dry, inspect the door’s surface for any imperfections. If necessary, lightly sand the primed surface with fine-grit sandpaper to achieve a smooth and even finish.
Priming the door is a crucial step to ensure optimal paint adhesion and a professional-looking finish. It helps to create a barrier between the paint and the surface, resulting in better color coverage and increased durability.
By applying primer, you are setting the stage for a successful painting project and ensuring a long-lasting, beautiful finish for your door.
Choosing the Paint
When it comes to choosing the right paint for your door, there are a few factors to consider to ensure a professional finish that meets your aesthetic preferences and durability requirements.
Firstly, decide on the type of paint suitable for the material of your door. If you have a wooden door, opt for an interior or exterior latex paint formulated for wood surfaces. For metal doors, choose an exterior-grade paint designed to withstand weather and protect the metal from rust.
Consider the finish or sheen of the paint. The most common options are satin, semi-gloss, and high-gloss. Satin finishes provide a subtle sheen and are suitable for interior doors. Semi-gloss and high-gloss finishes offer more shine and are typically used for exterior doors or doors that require easy cleaning and maintenance.
Take into account the color of the paint. Choose a color that complements the overall style and decor of your space. Consider factors such as lighting, existing color schemes, and personal preferences. It’s a good idea to test a small area with the chosen paint color before committing to painting the entire door.
When it comes to quality, it’s worth investing in a high-quality paint that will provide better coverage and durability. Look for brands that offer excellent adhesion, resistance to fading or cracking, and long-lasting performance. Don’t be tempted to cut costs by opting for cheaper options, as they may require multiple coats and offer subpar results.
Consider the drying and curing time of the paint. Faster-drying paints allow you to complete the project more quickly, but they may not provide as smooth of a finish. Slower-drying paints are often more durable and offer better adhesion but require longer curing times before the door can be fully used.
Lastly, before purchasing the paint, consult with the professionals at the paint store or read the manufacturer’s instructions for any additional considerations or specific instructions for application, such as recommended tools, temperature requirements, and surface preparation.
Choosing the right paint for your door is crucial in achieving a professional finish that is visually appealing and long-lasting. By considering the material, finish, color, quality, and drying time, you can select a paint that meets your needs and elevates the overall look of your door and space.
Before painting a door, make sure to properly prepare the surface by sanding and cleaning it. Use high-quality paint and apply it in thin, even coats to achieve a professional finish.
Painting Techniques
Mastering the right painting techniques is essential for achieving a professional finish when painting a door. By employing the following techniques, you can ensure an even and smooth application of paint:
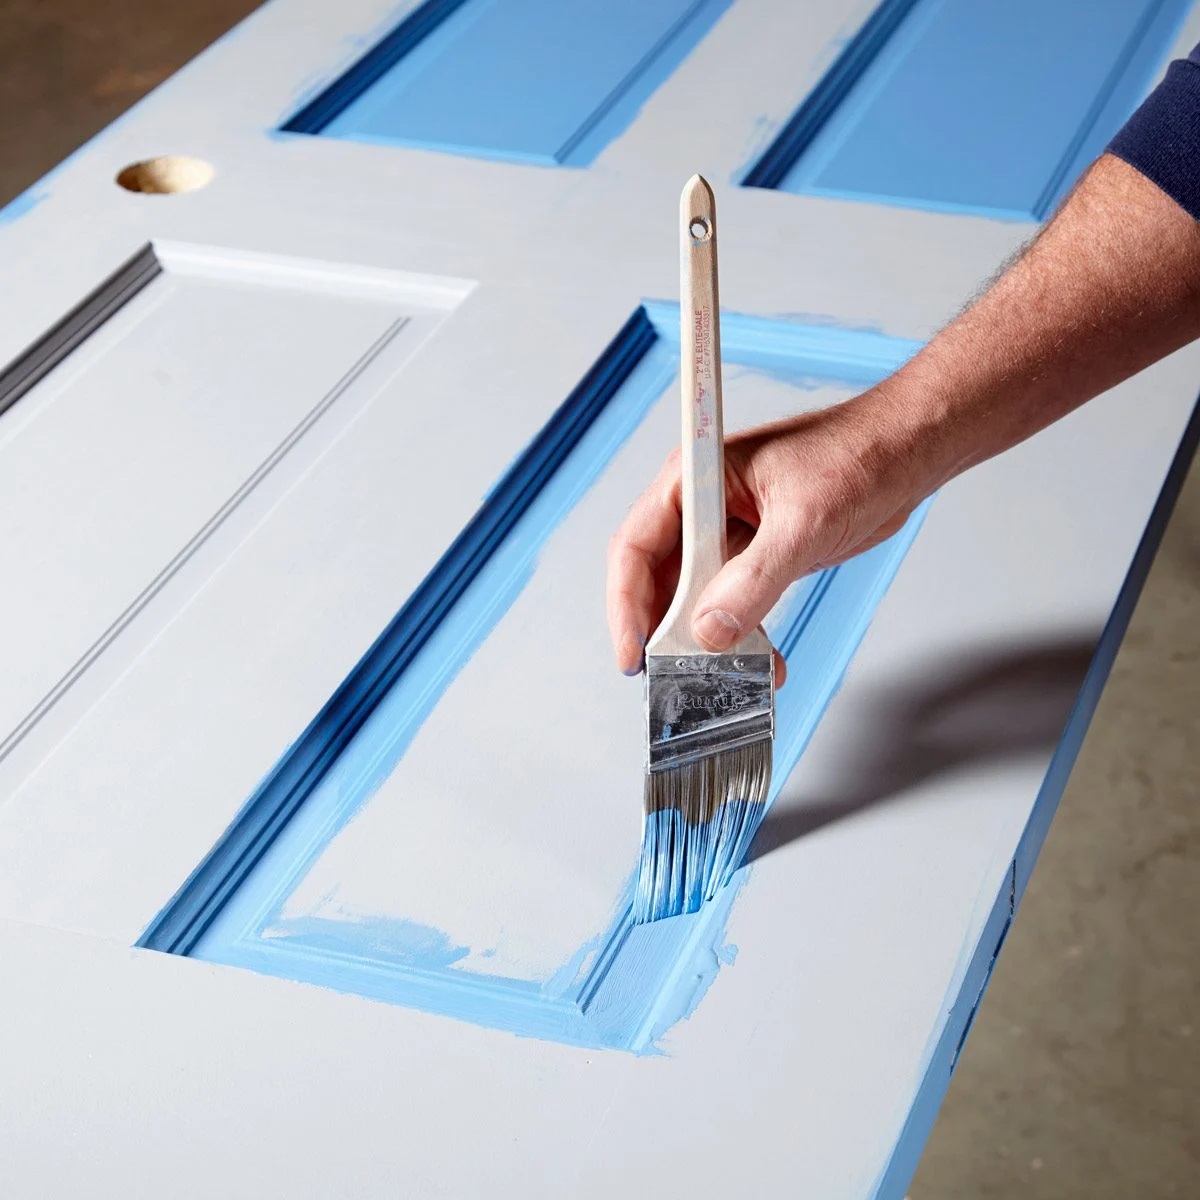
1. Cut-In Technique: Before using a roller, use a high-quality brush to paint the edges and corners of the door. This technique, known as “cutting in,” ensures that the paint covers all areas that may be missed by the roller.
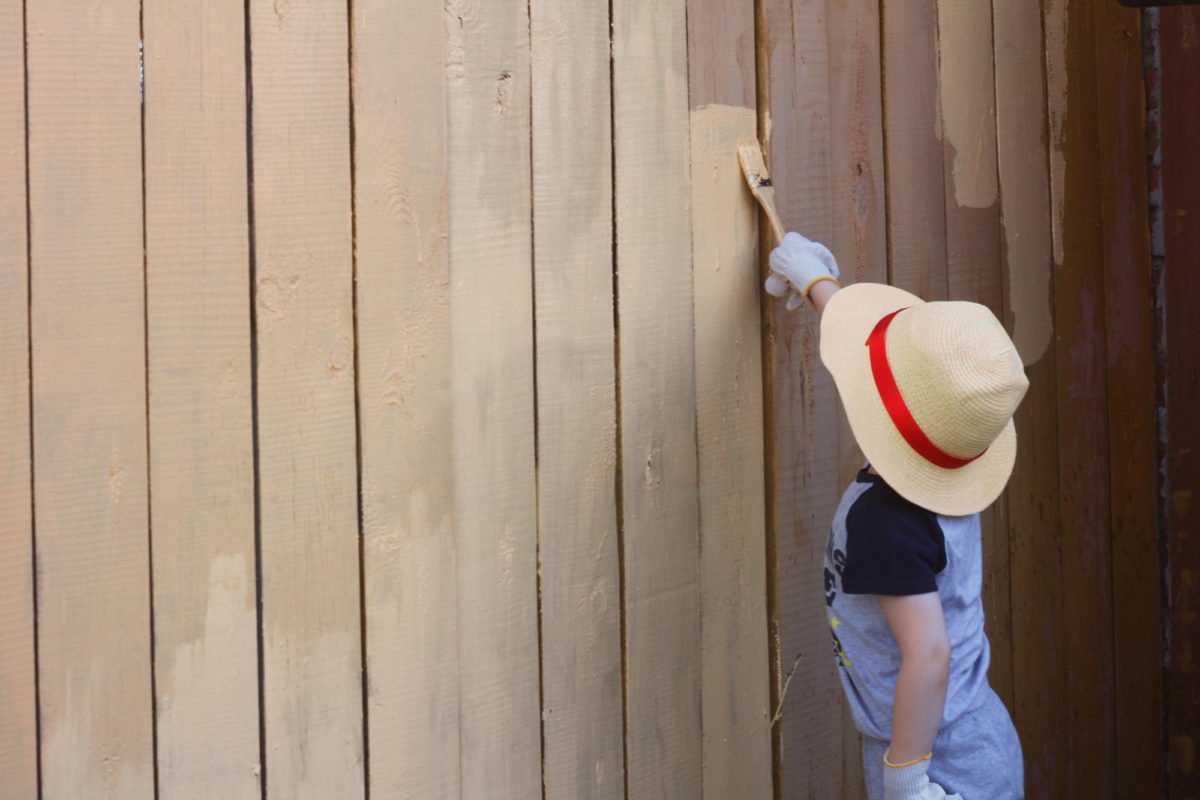
2. Always Start from the Top: Begin painting from the top of the door and work your way down. This prevents any paint drips from falling onto areas you have already painted, ensuring a clean and streak-free finish.
3. Use a Roller for Larger Areas: When painting flat surfaces of the door, such as the main panels, use a paint roller for quick and even coverage. Apply the paint in long, vertical strokes, overlapping each stroke slightly to avoid visible lines.
4. Back-Brushing: After using a roller, lightly brush over the freshly painted area with a paintbrush in the same direction. This technique, known as back-brushing, smooths out any texture left by the roller, resulting in a more uniform and professional finish.
5. Avoid Overloading the Brush or Roller: Dip the brush or roller into the paint and remove any excess paint by tapping it against the edge of the paint tray. Too much paint can lead to drips, a textured surface, or an uneven finish.
6. Work in Small Sections: To ensure the paint does not dry before you have a chance to blend it properly, work in small sections at a time. This allows for better control and consistency in the paint application.
7. Keep a Wet Edge: When painting larger areas with a roller, make sure to maintain a “wet edge” by slightly overlapping each new stroke with the previous one. This prevents visible lines or marks where the wet paint meets the dry paint.
8. Allow for Proper Drying Time: Follow the drying time specified by the paint manufacturer between coats. Rushing the drying process can result in paint smudges or marks, compromising the overall finish.
9. Keep the Door Open: If you are painting an interior door, prop it open slightly during the drying process. This prevents the paint from sticking to the frame or causing the door to become glued shut.
By utilizing these painting techniques, you can achieve a professional and flawless finish when painting your door. Taking the time to apply paint properly not only enhances the visual appeal but also ensures the longevity of the painted surface.
Applying the First Coat
Once you have prepared the door and chosen the right paint, it’s time to apply the first coat. Applying the first coat is an important step in achieving a smooth and consistent finish.
Start by stirring the paint thoroughly to ensure an even distribution of color and additives. Pour a sufficient amount of paint into a paint tray for easy access during the painting process.
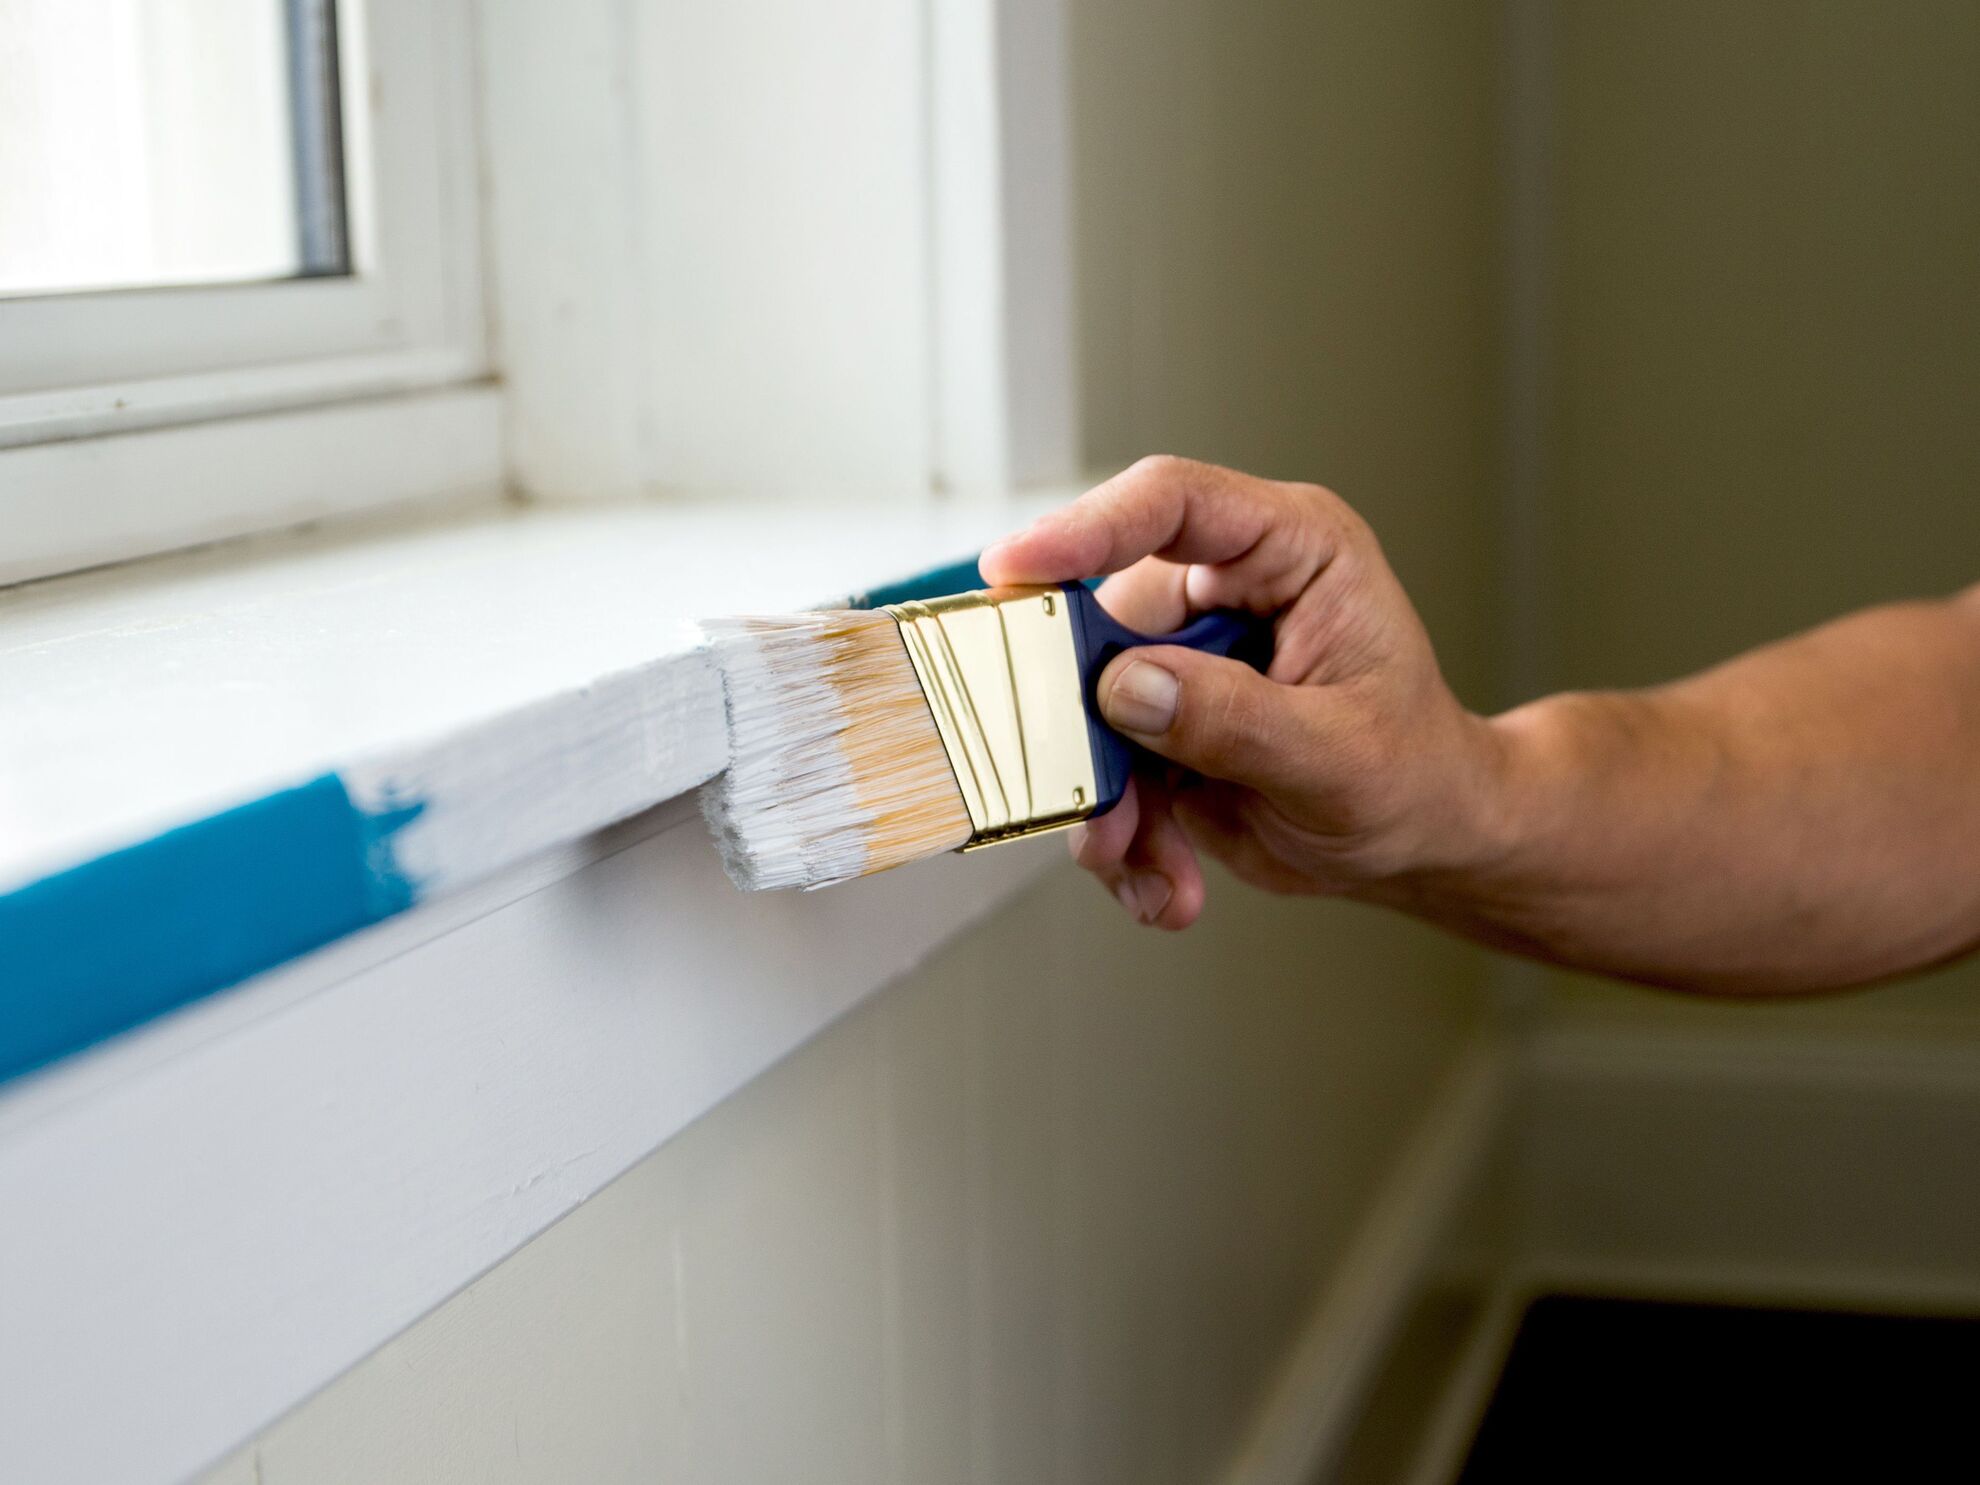
Before you begin painting, consider using an angled brush to cut in the edges and corners of the door. This technique helps establish clean lines and ensures that the paint reaches all areas that may be missed by a roller.
Next, if using a roller, dip it into the paint tray and roll it back and forth to evenly distribute the paint on the roller sleeve. Apply the paint to the door in smooth, vertical strokes. Start from the top of the door and work your way down, covering one section at a time.
Apply the paint with consistent pressure, making sure there are no gaps or missed spots. Use long, overlapping strokes to create a uniform appearance. Avoid going back over the painted area once the paint starts to dry, as this can cause streaks or texture inconsistencies.
If you notice any drips or excess paint accumulating, use the brush or roller to smooth them out immediately. This prevents them from drying and causing an uneven finish.
Ensure that the paint is applied evenly and check for any visible brushstrokes or roller marks. If you notice any, lightly brush over the surface with a dry brush in the same direction to blend and smooth the paint.
As you proceed, periodically step back and inspect your work from a distance to ensure an even application and consistent coverage. This allows you to make any necessary adjustments during the painting process.
Allow the first coat to dry completely before applying a second coat. Follow the instructions on the paint can regarding drying time, as this can vary depending on the type and brand of paint used.
By taking your time and applying the first coat carefully and evenly, you are setting the foundation for a professional and flawless finish on your door.
Allowing Drying Time
After applying the first coat of paint, it is crucial to allow sufficient drying time before moving on to the next steps. Properly drying the paint ensures a durable and flawless finish for your door.
The drying time for paint can vary depending on various factors such as humidity, temperature, and the type of paint used. It is essential to follow the manufacturer’s instructions on the paint can for specific drying time recommendations.
Generally, it is recommended to wait at least 2-4 hours for latex-based paints to dry to the touch. However, it is crucial to note that even if the paint feels dry to the touch, it may not be fully cured. Curing refers to the time it takes for the paint to harden and reach its maximum durability.
For oil-based paints, the drying time is typically longer compared to latex-based paints. It may take anywhere from 8-24 hours or more for oil-based paint to dry to the touch and even longer for it to fully cure.
During the drying process, it is important to create a well-ventilated environment by opening windows or using fans. This promotes air circulation and helps speed up the drying time. However, avoid using excessive heat sources such as hair dryers or heaters, as they can cause the paint to dry too quickly and may result in cracking or uneven surfaces.
While the paint is drying, be mindful of any potential dust or debris that could settle on the surface. Keeping the area clean and free from particles will ensure a smooth and pristine finish.
Allowing sufficient drying time between coats is crucial for achieving a professional result. Rushing the process can lead to issues such as paint smudging, surface imperfections, or uneven color distribution.
If you plan to apply multiple coats of paint, ensure that each coat is fully dried and cured before proceeding. Applying the next coat too soon can cause the paint to lift, streak, or create an uneven finish.
Patience is key when it comes to allowing drying time for your painted door. By giving the paint ample time to dry and cure, you will ensure a beautiful and long-lasting finish that you can enjoy for years to come.
Applying the Second Coat
Once the first coat of paint has dried and cured, it’s time to apply the second coat. Applying a second coat ensures that the color is even and consistent, and it helps achieve a more polished and professional finish.
Before applying the second coat, inspect the first coat for any imperfections or areas that may need touch-ups. If you notice any unevenness, drips, or brush marks, lightly sand those areas with fine-grit sandpaper and wipe away the dust with a clean, dry cloth.
Stir the paint thoroughly to ensure a uniform color and texture. If necessary, pour the paint into a fresh paint tray, taking care not to introduce any air bubbles into the paint.
Using the same techniques as the first coat, start by cutting in the edges and corners of the door with a brush. Then, use a roller or brush to apply the second coat of paint to the flat surfaces of the door.
Be mindful to apply the second coat in the same direction as the first coat to maintain a consistent finish. Use long, smooth strokes for an even application. Overlap each stroke slightly with the previous one to ensure seamless color blending.
Pay close attention to areas that may require extra coverage, such as corners, edges, or recessed portions of the door. Use a brush to ensure these areas are adequately coated with paint.
While applying the second coat, avoid overloading the brush or roller with paint. Excess paint can create streaks, drips, or an uneven finish. Apply a moderate amount of paint and work in thin layers to achieve a smooth result.
Allow the second coat to dry completely according to the manufacturer’s instructions. This may take a similar amount of time as the first coat, so be patient and avoid touching the door until it is fully dried.
After the second coat has dried, step back and inspect the door from different angles to ensure a consistent and flawless finish. If necessary, you can lightly sand any small imperfections between coats to achieve a smoother surface.
Applying the second coat of paint adds depth and richness to the color, and it helps to cover any remaining inconsistencies from the first coat. It is an important step in achieving a professional-looking, beautifully finished door.
By taking your time and applying the second coat carefully and evenly, you can ensure a stunning and long-lasting result that will enhance the overall appearance of your door and space.
Final Touches
Once you have applied the final coat of paint to your door, it’s time to add the finishing touches to ensure a seamless and professional finish. These final touches will give your newly painted door a polished look:
1. Inspect the Door: Take a close look at the door to ensure there are no visible brushstrokes, roller marks, or uneven areas. If you spot any imperfections, gently sand them with fine-grit sandpaper and wipe away any dust with a clean cloth.
2. Reattach Hardware: If you removed any door hardware, such as doorknobs or hinges, during the painting process, now is the time to reattach them. Make sure they are clean and dry before reinstalling.
3. Remove Painter’s Tape: Once the paint is dry to the touch, carefully remove the painter’s tape that was used to protect certain areas. Pull the tape at a 45-degree angle to prevent the paint from peeling off with the tape.
4. Clean Up: Dispose of any used paint cans, brushes, rollers, and other supplies properly. Clean your brushes and rollers thoroughly with water (if using latex-based paint) or the appropriate solvent (if using oil-based paint).
5. Touch-Up Paint: After completing the final touches, step back and assess the overall appearance of the painted door. If you notice any small areas that need additional touch-ups or blending, use a small brush to carefully apply paint to those spots.
6. Allow Sufficient Curing Time: Even though the paint may feel dry to the touch, it’s essential to allow sufficient curing time before subjecting the door to regular use. Follow the manufacturer’s instructions for the recommended curing time, which is typically longer than the drying time.
7. Enjoy the Freshly Painted Door: Once the paint has fully cured, you can fully enjoy your freshly painted door. Admire its new appearance and take pride in the professional finish you have achieved.
By paying attention to these final touches, you can ensure a smooth and professional-looking finish on your painted door. These small details make a significant difference in the overall appearance and longevity of your freshly painted door.
Now sit back, open and close your newly painted door, and take pleasure in the transformative power of a beautifully finished door that adds a touch of elegance and charm to your space.
Conclusion
Painting a door is a rewarding and cost-effective way to refresh the look of any space. With the right materials, proper preparation, and a few expert techniques, you can achieve a professional finish that enhances the overall aesthetic of your door.
Throughout this article, we have provided comprehensive tips and step-by-step instructions on how to paint a door effectively. From gathering the necessary materials to applying the final touches, each stage is essential to ensure a flawless and long-lasting result.
By preparing the door properly, which includes removing hardware, cleaning the surface, and applying a primer, you create a solid foundation for the paint to adhere to. Sanding the surface, choosing the right paint, and employing the correct painting techniques ensure an even and smooth application.
Applying multiple coats of paint, allowing sufficient drying and curing time between coats, and paying attention to the final touches are essential steps to achieve a professional-looking finish. These details, such as inspecting for imperfections, reattaching hardware, and removing painter’s tape, add the final level of finesse to your painted door.
Remember to choose high-quality paint, follow the manufacturer’s instructions, and take your time throughout the process. Striking a balance between patience and precision will lead to a well-painted door that brings a fresh and updated look to your space.
So, grab your brushes and rollers, select the perfect color, and embark on the journey of transforming your door into a focal point that reflects your personal style and enhances the overall ambiance of your home or office.
With the knowledge and tips shared in this article, you can confidently paint your door and achieve a professional finish that you can be proud of for years to come.
Frequently Asked Questions about How To Paint A Door: Expert Tips For A Professional Finish
Was this page helpful?
At Storables.com, we guarantee accurate and reliable information. Our content, validated by Expert Board Contributors, is crafted following stringent Editorial Policies. We're committed to providing you with well-researched, expert-backed insights for all your informational needs.


0 thoughts on “How To Paint A Door: Expert Tips For A Professional Finish”