Home>Interior Design>How To Paint A Radiator: Step-By-Step For An Expert Finish
Interior Design
How To Paint A Radiator: Step-By-Step For An Expert Finish
Modified: January 23, 2024
Learn how to paint a radiator with our step-by-step guide for an expert finish. Enhance your interior design with this easy DIY project.
(Many of the links in this article redirect to a specific reviewed product. Your purchase of these products through affiliate links helps to generate commission for Storables.com, at no extra cost. Learn more)
Introduction
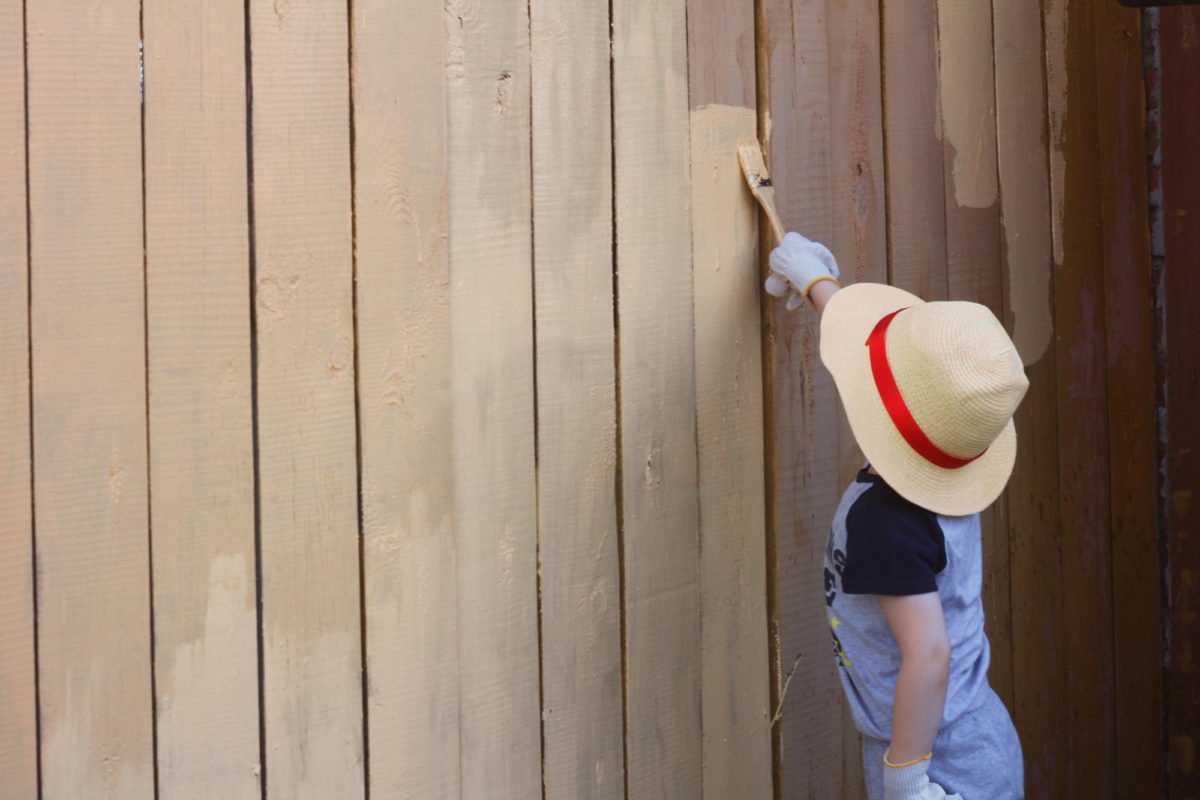
Painting a radiator is a fantastic way to give your home a fresh and updated look. Not only can it revive the appearance of your radiator, but it can also help improve its efficiency and extend its lifespan. Whether you want to match it to your wall color or add a pop of color as an accent, painting a radiator can be a fun and rewarding DIY project for any interior design enthusiast.
In this step-by-step guide, we will walk you through the process of painting a radiator to achieve an expert finish. From preparing the radiator to choosing the right paint and applying it correctly, we’ll cover all the important details you need to know. So, let’s get started and transform your radiator into a beautiful and functional element of your home.
Key Takeaways:
- Transform your radiator into a stylish and functional element of your home with expert painting techniques. Enhance efficiency, longevity, and aesthetic appeal with step-by-step guidance.
- Achieve a professional finish by meticulously preparing, cleaning, and painting your radiator. Choose the right paint, apply multiple coats, and allow proper drying time for a stunning result.
Read more: How To Paint Behind A Radiator
Step 1: Prepare the radiator
Before you begin painting, it is crucial to ensure that the radiator is properly prepared. This step will help to maximize the adhesion of the paint and ensure a smooth and long-lasting finish. Here are the key steps to follow:
- Turn off the heating: It is essential to turn off the heating system and allow the radiator to cool down completely. This will prevent any injury or complications during the painting process. Safety should always be the top priority.
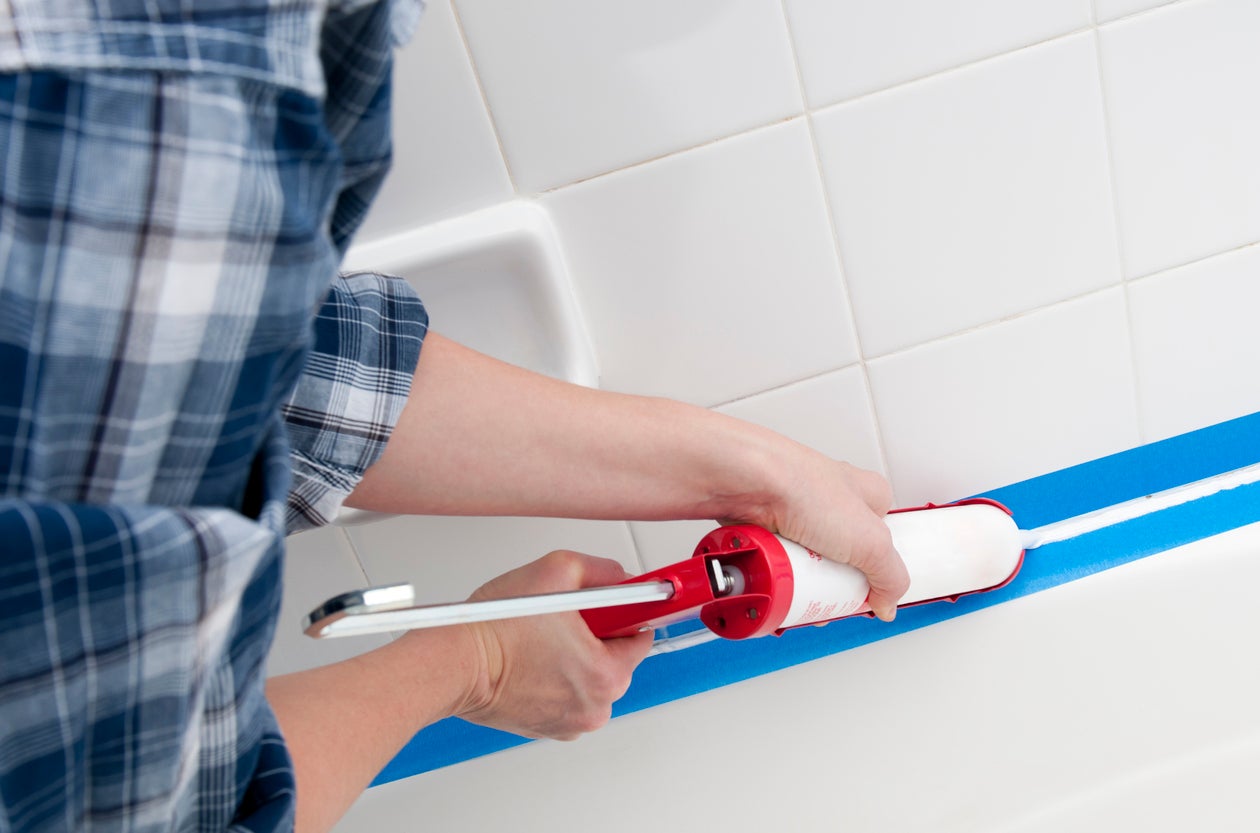
- Protect the surrounding areas: Next, you want to protect the surrounding areas from any accidental paint splatters or drips. Use drop cloths or plastic sheets to cover the floor, furniture, and nearby walls. This will make cleaning up much easier.
- Remove any covers or accessories: Take off any covers, grilles, knobs, or accessories from the radiator. This will allow you to work on the bare radiator surface without any hindrance. If needed, use a screwdriver or appropriate tools to remove them.
- Clean the radiator: Use a vacuum cleaner, soft brush, or a lint-free cloth to remove any dust, dirt, or debris from the radiator surface. Cleaning the radiator thoroughly will ensure proper paint adhesion and a smooth finish.
By following these preparatory steps, you will create an ideal surface for the paint to adhere to, resulting in a professional and long-lasting finish. Now that you have prepared the radiator, it’s time to move on to the next step: removing any existing paint or rust.
Step 2: Remove any existing paint or rust
Before applying a fresh coat of paint, it’s important to remove any existing paint or rust from the radiator. This will ensure a smooth and even surface for the new paint to adhere to. Here are the key steps to follow:
- Assess the condition: Carefully inspect the radiator to determine the extent of the paint or rust. If the existing paint is in good condition without any flaking or peeling, you may be able to skip the paint removal step and proceed to the surface preparation step.
- Use paint stripper: If the existing paint is flaking or peeling, or if there are stubborn areas of rust, you will need to use a paint stripper to remove them. Follow the instructions on the product carefully, and use a scraper or wire brush to gently remove the old paint or rust.
- Sand the surface: After using the paint stripper, sand the radiator surface lightly using fine-grit sandpaper. This will help to smooth out any remaining paint or rust residue and create a clean and even surface for the new paint to adhere to. Remember to wear a dust mask and safety goggles while sanding.
- Clean the surface: Once the paint or rust has been removed, use a clean, damp cloth to wipe down the radiator surface. This will remove any dust or debris from sanding and ensure a clean and smooth surface for painting.
By thoroughly removing any existing paint or rust, you will create a stable base for the new paint to adhere to, resulting in a flawless and professional finish. Now that you have cleared the radiator of any old paint or rust, it’s time to move on to the next step: cleaning the radiator surface.
Step 3: Clean the radiator surface
Having a clean radiator surface is crucial for achieving a smooth and well-adhered paint finish. Cleaning the radiator surface effectively will remove any dirt, grease, or residue that may hinder the paint’s adhesion. Follow these steps to ensure a pristine surface:
- Gather your cleaning supplies: Before starting, gather the necessary supplies, including a mild detergent or degreaser, a soft sponge or cloth, and warm water.
- Mix the cleaning solution: In a bucket or basin, mix the mild detergent or degreaser with warm water according to the manufacturer’s instructions.
- Dip the sponge or cloth: Dip the sponge or cloth into the cleaning solution, ensuring it is well saturated but not dripping excessively.
- Wipe the surface: Gently wipe the radiator surface using the sponge or cloth, paying attention to any areas that may be particularly dirty or greasy. Use small circular motions to loosen and remove any stubborn dirt or grime.
- Rinse with clean water: Once you have thoroughly cleaned the radiator surface, rinse off any residual detergent or degreaser with clean water. This will prevent any residue from interfering with the paint’s adhesion.
- Dry the surface: Finally, use a clean and dry cloth to gently dry the radiator surface. Ensure that the surface is completely dry before moving on to the next step.
By cleaning the radiator surface meticulously, you will create an ideal foundation for the paint to adhere to. With a clean and smooth surface, your radiator will be ready for the next step: sanding.
Step 4: Sand the radiator
Sanding the radiator is an important step to ensure a smooth and even surface for the paint to adhere to. This step helps to remove any roughness, imperfections, or leftover residue from the cleaning process. Follow these steps to sand the radiator effectively:
- Gather your sanding tools: Before you start sanding, gather the necessary tools, including fine-grit sandpaper (around 120-220 grit), a sanding block or sanding sponge, and a dust mask and safety goggles.
- Start with a gentle sanding: Begin by lightly sanding the radiator surface using the fine-grit sandpaper. Sand in a circular motion or back and forth motion, focusing on any areas that may be rough or have remaining residue. Be sure to sand evenly and avoid applying excessive pressure that may damage the radiator.
- Change sandpaper grit if necessary: If there are any stubborn areas or rough spots, you may need to switch to a slightly coarser sandpaper grit. However, be cautious not to use a grit that is too coarse, as it can create deep scratches or gouges on the radiator surface.
- Clean up the dust: After sanding, use a clean and damp cloth or a vacuum cleaner with a brush attachment to remove any sanding dust from the radiator surface. It’s important to have a clean and dust-free surface before moving on to the next step.
Sanding the radiator not only helps to create a smooth surface for paint adhesion but also promotes better paint finish and longevity. Once you have completed sanding, you are ready for the next step: applying a primer to the radiator.
Step 5: Apply a primer
Applying a primer to your radiator is a crucial step to ensure optimal paint adhesion and a long-lasting finish. The primer acts as a base coat that prepares the surface for the topcoat of paint. Follow these steps to apply the primer effectively:
- Choose the right primer: Select a high-quality primer that is specifically designed for metal surfaces. Look for a primer that offers good adhesion, corrosion resistance, and compatibility with the type of paint you plan to use.
- Prepare your workspace: Prepare your workspace by covering the surrounding areas with drop cloths or plastic sheets to protect them from primer overspray or drips.
- Start with a clean radiator surface: Ensure that the radiator surface is clean, dry, and free from any dust or debris. If needed, use a clean cloth or vacuum cleaner to remove any remaining particles.
- Apply the primer: Use a high-quality brush or a paint roller to apply an even coat of primer to the radiator surface. Start from the top and work your way down, applying the primer in smooth and consistent strokes. Pay attention to any crevices or intricate details on the radiator and ensure that the primer covers them adequately.
- Allow the primer to dry: Follow the manufacturer’s instructions regarding the drying time of the primer. Typically, it may take a few hours for the primer to dry completely. Avoid touching or disturbing the primer during this time.
- Inspect and sand if necessary: After the primer has dried, inspect the radiator surface for any imperfections or uneven areas. If needed, lightly sand the surface with fine-grit sandpaper to smooth out any rough spots.
- Clean up: Clean the brushes or rollers immediately after use with soap and water, following the manufacturer’s instructions. Dispose of any used materials responsibly.
Applying a primer not only enhances the adhesion of the topcoat but also helps to prevent rust or corrosion on the radiator surface. With the primer applied, you’re now ready for the exciting next step: choosing the right paint for your radiator.
Before painting a radiator, make sure to clean and sand the surface to remove any rust or old paint. Use a high-heat paint specifically designed for radiators to ensure a durable and professional finish.
Step 6: Choose the right paint
Choosing the right paint for your radiator is essential to achieve a beautiful and durable finish. The type of paint you select will depend on the material of your radiator and your desired aesthetic. Consider the following factors when choosing the right paint:
- Radiator material: Determine the material of your radiator, as different paints are suitable for different surfaces. For example, if you have a cast iron radiator, you may need a heat-resistant paint. If you have an aluminum radiator, you will require a paint specifically designed for metal.
- Heat resistance: Radiators generate heat, so it’s important to choose a paint that can withstand high temperatures without chipping or discoloration. Look for paint labeled as “heat-resistant” or “radiator paint.”
- Finish: Consider the desired finish for your radiator. Options include matte, satin, or gloss. Matte finishes provide a subtle and sophisticated look, while gloss finishes offer a sleek and reflective appearance. Satin finishes offer a middle ground between the two.
- Color: Select a color that complements your interior design scheme and personal preferences. You may want to match the radiator to the wall color for a seamless look, or you could opt for a contrasting color to make a bold statement.
- Type of paint: Choose between oil-based or water-based paints. Oil-based paints provide a more durable and long-lasting finish, but they have a strong odor and require mineral spirits for cleanup. Water-based paints are more eco-friendly, dry faster, and have less odor, but they may not be as durable.
Consult with your local paint specialist or hardware store to ensure you select the most suitable paint for your radiator. Consider discussing your specific needs and requirements to make an informed decision. Once you have chosen the right paint, you’re ready for the next step: painting the radiator.
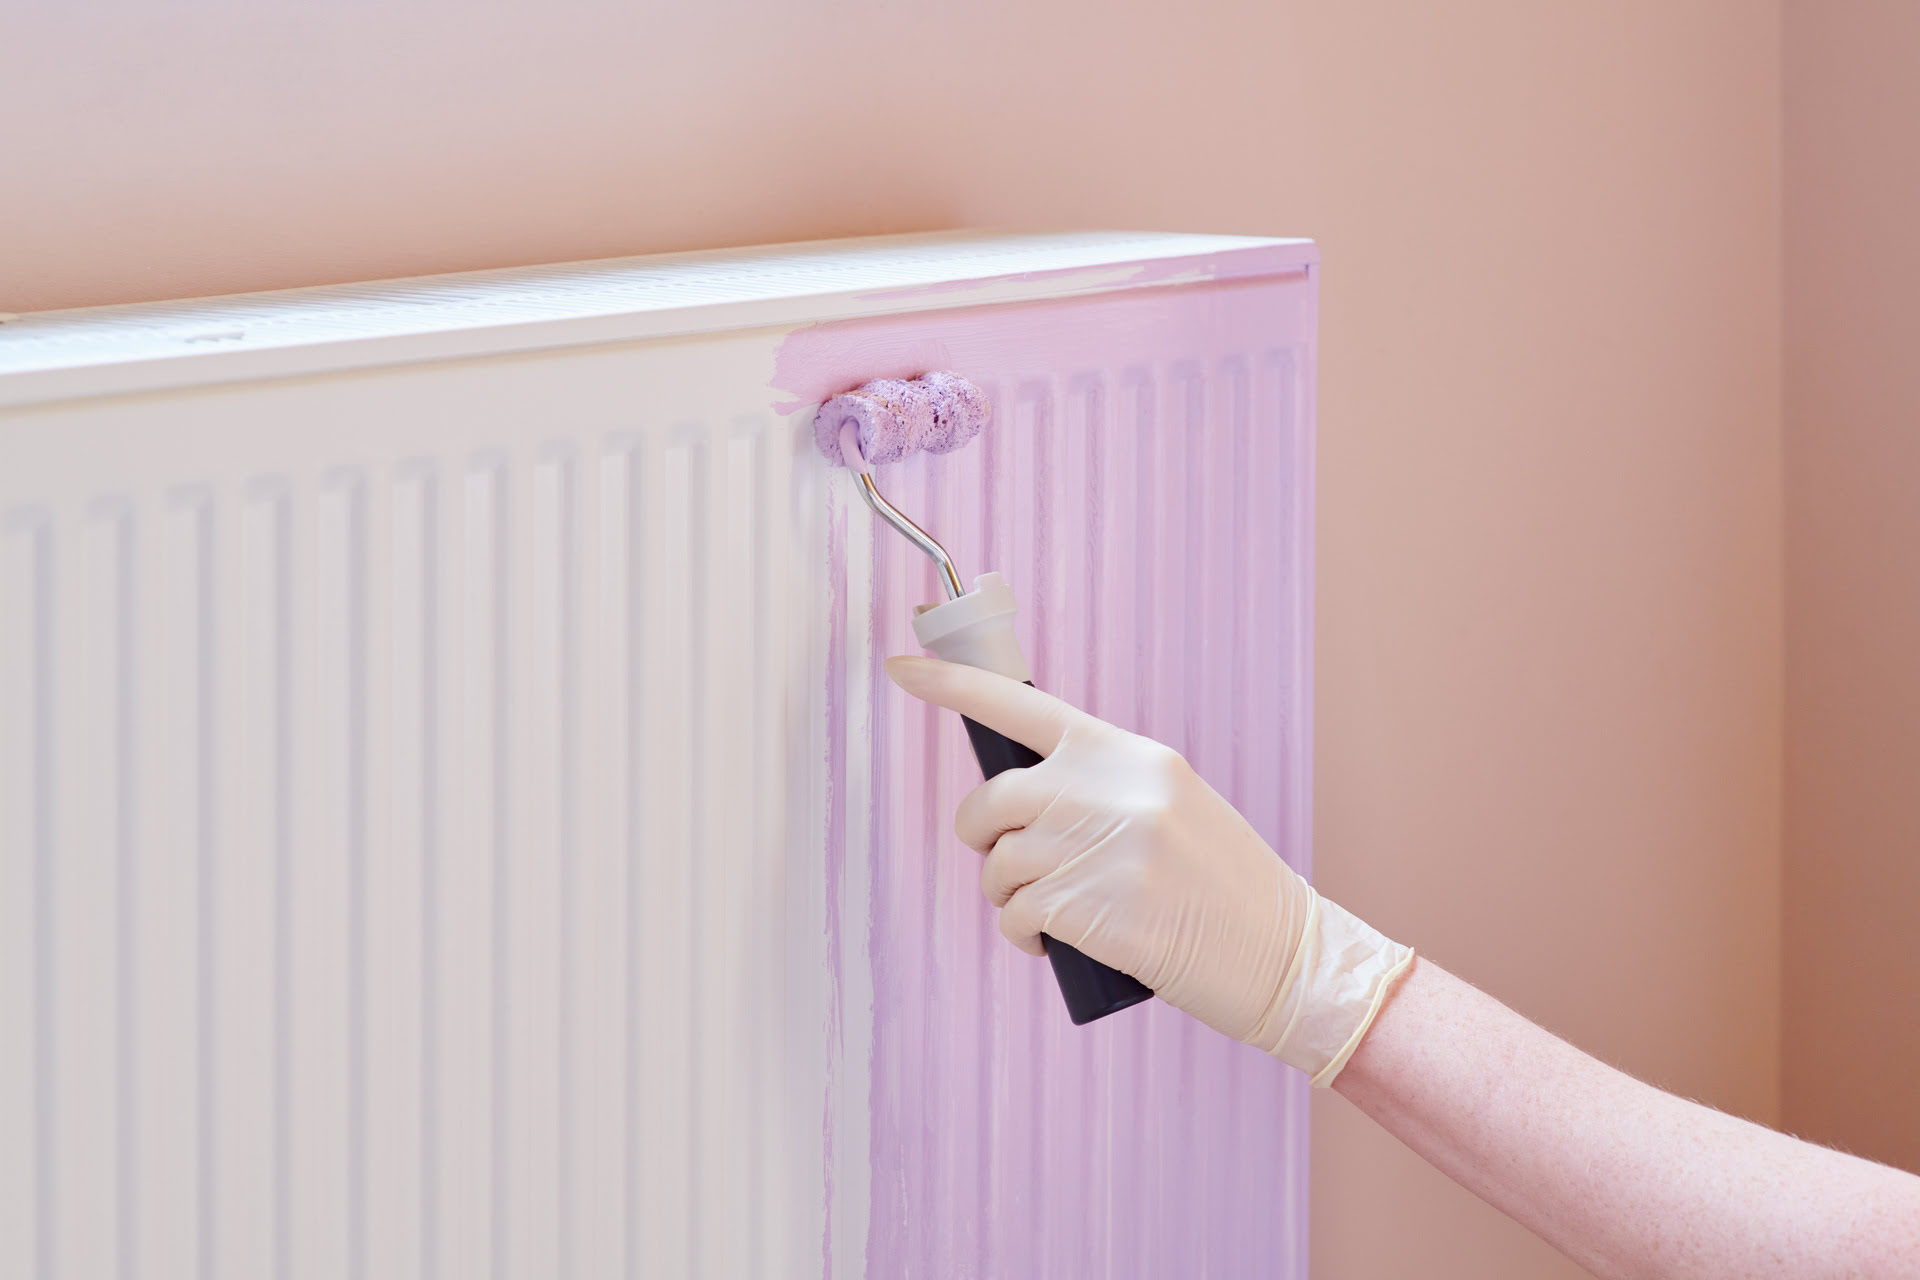
Step 7: Paint the radiator
Now comes the exciting part: painting the radiator! This step involves applying the chosen paint to the prepared and primed radiator surface. Follow these steps to ensure a smooth and professional-looking paint job:
- Prepare your workspace: Lay down drop cloths or plastic sheets to protect the surrounding area from any paint splatters or drips.
- Stir the paint: Use a stir stick to thoroughly mix the paint before application. This ensures an even distribution of color and any settling that may have occurred.
- Use a high-quality brush or roller: For smaller areas and intricate details, use a high-quality brush. For larger surface areas, you may opt for a paint roller with a suitable nap, ensuring smooth and consistent coverage.
- Start painting: Begin at the top and work your way down, applying the paint in even strokes. Use light pressure and avoid overloading the brush or roller to prevent drips and streaks. Pay attention to any nooks and crannies, ensuring they are adequately coated.
- Apply multiple thin coats: It’s better to apply multiple thin coats rather than one thick coat. This allows for better adhesion and a smoother finish. Allow each coat to dry completely before applying the next one, following the paint manufacturer’s recommended drying times.
- Smooth out any imperfections: If you notice any drips, bubbles, or brush strokes, gently smooth them out with a brush or roller before the paint dries. This will help to achieve a seamless and polished look.
- Allow the paint to dry: Once you have applied the desired number of coats, allow the paint to dry completely. This may take several hours or even overnight, depending on the type of paint and environmental conditions.
Remember to follow the paint manufacturer’s instructions regarding drying times and any additional steps, such as sanding between coats if necessary. With the radiator painted and the paint dried, you’re one step closer to having a beautifully transformed radiator!
Step 8: Apply a second coat (if necessary)
Applying a second coat of paint is often necessary to achieve a more durable and uniform finish. This step ensures that the color is fully saturated and any unevenness or imperfections from the first coat are corrected. Here’s how to apply a second coat if necessary:
- Inspect the first coat: Before applying a second coat, examine the painted radiator surface under good lighting to check for any visible streaks, thin areas, or areas where the primer is showing through. If you’re satisfied with the coverage and appearance of the first coat, you may skip this step.
- Prepare the paint: Stir the paint thoroughly once again to ensure proper consistency and color distribution.
- Apply the second coat: Using the same techniques as the first coat, apply a thin and even layer of paint to the radiator surface. Work systematically, ensuring that each stroke overlaps slightly with the previous one.
- Allow the paint to dry: Follow the paint manufacturer’s instructions for drying time between coats. It’s important to allow the first coat to dry completely before applying a second coat to avoid any issues with adhesion or texture.
Applying a second coat helps to deepen the color and provide a more consistent and polished finish. It can also increase the longevity of the painted surface, especially in high-traffic areas. Remember to be patient and allow the paint to fully cure before moving on to the next step.
If you’re satisfied with the appearance of your radiator after the second coat, you can proceed to the next step: allowing the paint to dry completely.
Step 9: Allow the paint to dry
After completing the painting process, it’s crucial to allow the paint to dry thoroughly. This step ensures that the paint cures properly and hardens to create a durable and long-lasting finish. Follow these guidelines for allowing the paint on your radiator to dry:
- Check the paint manufacturer’s instructions: Different paints may have varying drying times, so it’s important to consult the instructions provided by the manufacturer. This will give you the most accurate estimate of how long the paint needs to dry.
- Provide good ventilation: Ensure that the room is well-ventilated during the drying process. Opening windows or using fans can help speed up the drying time and prevent any lingering paint odors.
- Avoid touching or moving the radiator: It’s crucial to avoid touching or moving the radiator while the paint is drying. Any disturbance can disrupt the drying process and potentially ruin the finish.
- Be patient: Depending on the type of paint and environmental conditions, the drying time can range from a few hours to several days. It’s essential to exercise patience and allow the paint to thoroughly dry before reassembling or using the radiator.
Remember that proper drying time is essential for achieving a smooth and long-lasting paint finish. Rushing the process can result in uneven drying, smudges, or damage to the painted surface. Once the paint has dried completely, you can proceed to the final step: reassembling and cleaning up.
Step 10: Reassemble and clean up
With the paint dried and your radiator looking fresh and updated, it’s time to reassemble and clean up the area. Follow these steps to complete the final stage of your radiator painting project:
- Replace any covers or accessories: If you removed any radiator covers, grilles, knobs, or accessories during the painting process, now is the time to reinstall them. Make sure they are properly aligned and secured.
- Clean up the workspace: Remove the drop cloths or plastic sheets covering the surrounding area and dispose of any paint cans or containers responsibly. Vacuum or sweep the area to ensure all paint chips or dust particles are removed.
- Inspect and touch up: Carefully examine the painted radiator for any touch-ups that may be needed. If you notice any areas that require additional paint coverage or minor imperfections, use a small brush or roller to touch them up.
- Dispose of waste materials properly: Dispose of used paintbrushes, rollers, and other painting materials in accordance with local regulations. Some areas require special disposal methods for paint-related waste.
- Respect drying and curing times: Although the paint may be dry to the touch, it’s important to remember that it will continue to cure and harden over time. Avoid placing any objects on the radiator or subjecting it to excessive heat or rubbing until the paint has fully cured.
By reassembling the radiator and tidying up the workspace, you can fully enjoy the fruits of your hard work. Take a step back and admire your beautifully painted radiator and how it enhances the overall aesthetic of the room.
Congratulations! You have successfully completed the radiator painting process, adding a fresh and vibrant touch to your home. With proper care and maintenance, your newly painted radiator will continue to bring both aesthetic appeal and functionality to your space for years to come.
Conclusion
Painting a radiator can be a transformative and rewarding project that breathes new life into your space. By following these step-by-step instructions and paying attention to the details, you can achieve an expert finish that not only enhances the aesthetics of your home but also improves the efficiency and longevity of your radiator.
From preparing the radiator to choosing the right paint and applying it with care, each step plays a crucial role in ensuring a successful outcome. Taking the time to properly prepare the radiator, remove any existing paint or rust, clean the surface, and apply a primer sets the foundation for a durable and visually pleasing paint job.
Choosing the right paint specifically designed for radiator surfaces, applying multiple coats for optimal coverage, and allowing ample drying time are essential for achieving a professional finish. Lastly, reassembling the radiator and cleaning up the workspace brings the project to its final completion.
Remember, attention to detail, patience, and adherence to safety precautions are key throughout the entire process. By successfully painting your radiator, you’ve not only added a touch of style and personality to your home but also extended the life of an important heating component.
So go ahead and take on this DIY project with confidence. Enjoy the satisfaction of transforming your radiator into a beautifully refreshed fixture that seamlessly integrates with your interior design. Happy painting!
Frequently Asked Questions about How To Paint A Radiator: Step-By-Step For An Expert Finish
Was this page helpful?
At Storables.com, we guarantee accurate and reliable information. Our content, validated by Expert Board Contributors, is crafted following stringent Editorial Policies. We're committed to providing you with well-researched, expert-backed insights for all your informational needs.


0 thoughts on “How To Paint A Radiator: Step-By-Step For An Expert Finish”