Home>Outdoor Storage>DIY Outdoor Bike Storage For Your Kids


Outdoor Storage
DIY Outdoor Bike Storage For Your Kids
Modified: December 6, 2023
Whether you live in the city in an apartment or already have a garage, these DIY outdoor bike storage ideas are simply inspirational! Read along.
(Many of the links in this article redirect to a specific reviewed product. Your purchase of these products through affiliate links helps to generate commission for Storables.com, at no extra cost. Learn more)
Some houses do not come with a garage. It is especially seen in the urban areas where the space is limited. Despite the lack of parking space, we can get creative in creating our own parking space. The outdoor bike shed is a perfect solution for a family that doesn’t have a garage but has limited space on the porch. If you are already familiar with DIY projects, these solutions will seem less tricky to you. Outdoor bike storage provides maximum safety for your kid’s bikes.
Besides providing security, these DIY outdoor bike storage ideas also help to keep your yard or garden free from unnecessary clutter. You can add different shelves to a bike closet and keep everything, from toys to gardening equipment, arranged neatly. Here are some of the best DIY outdoor bike storage ideas for you to try at home. These storage ideas are simple and will require only a few supplies. Apart from being easy, they have been compiled from different ideas; therefore, you can improvise. Whether you live in the city in an apartment or already have a garage, the below-mentioned ideas are simply inspirational! Read along!
1. Pallet Bicycle Storage Shed
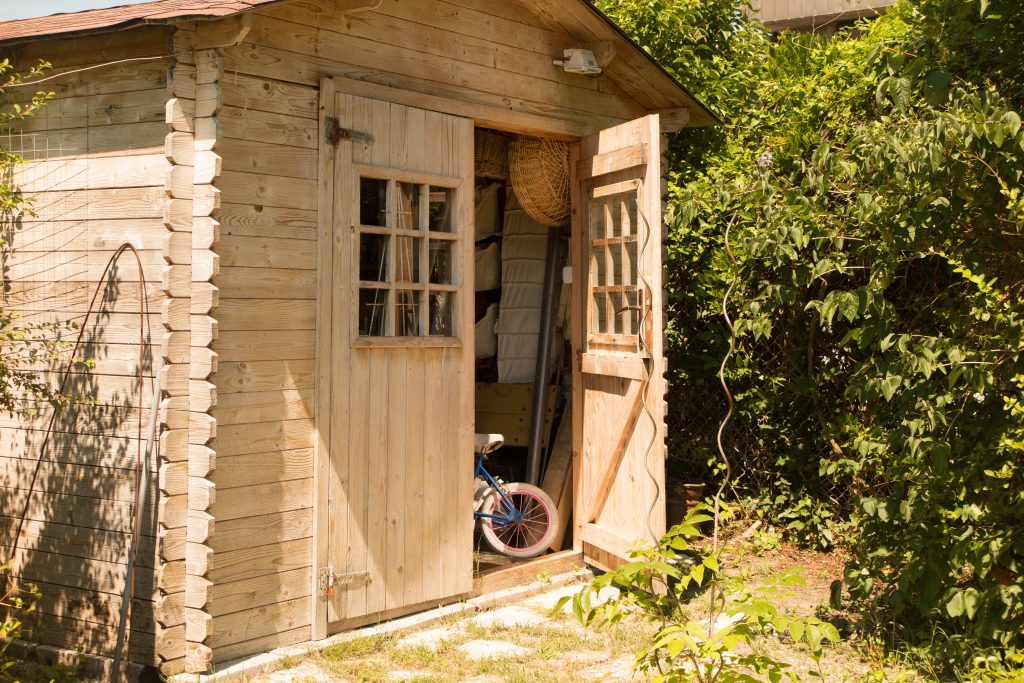
DIY outdoor bike storage can come with different shapes and sizes. Yes, you heard me. It all depends on the space you require. This idea right here requires a couple of pallets which can easily be found right at your place.
A simple pallet bicycle storage shed can be made of unused or spare wooden pallets. It is easy to build and needs very few supplies. Keep your essential things and bikes safe from the changes in the weather. Apart from that, this shed will also keep it safe from getting stolen. Here’s how you can build a bicycle storage shed from just a few pallets.
Read also: 13 Best Outdoor Bike Storage For 2025
Things Required
- Unused/spare wooden pallets
- Table saw
- Nails
- Drilling Machine
- A large piece of corrugated roof
- Hinges
- Wooden board for doors
- Handle
- Sandpaper
- Wooden planks
- Varnish
- The first and foremost thing you need to do is assemble all the wooden pallets from your backyard. Use sandpaper to make the surface smooth.
- Keep them stacked around each other to build the three sides of a shed.
- With the help of nails and a drilling machine, attach them together to fix the sides properly.
- Once done, add a few wooden planks to secure each side of the bicycle storage shed.
- Take a few more wooden planks and build the frame of the door. Fix it to the front of the shed.
- Cut two pieces of wooden boards for the door and attach them to the frame with four hinges.
- Add handles to the door.
- For the top, use a large piece of corrugated roof.
- Finish off with varnish or paint.
Making a DIY outdoor storage shed with the help of wooden pallets is an inexpensive way to add extra outdoor storage in your house. It will help you store the essential things inside the shed. You can also add a lock to the door to ensure maximum safety.
2. DIY Bicycle Storage Garden Shed
A shed for bicycle storage makes a perfect addition to your garden. It helps your children park their bicycles to keep them safe from the dust, dirt, and weather changes. Not only is it easy to build, but the size of this shed can also hold other outdoor stuff inside. Attach hooks to the inner side of the door and hang their hamlets securely. The following are the steps to make a perfect DIY bicycle storage garden shed.
Material Needed
- Handles
- Lap joints
- PVC roof
- Wooden logs and planks
- Electric saw
- Drilling machine
- Nails
- Paint
- Paintbrush
- Level the ground where you want to keep your DIY bike storage shed.
- Take long wooden planks to build the basic shape or frame of a bicycle storage shed.
- Now use small wooden planks to build the sides and back of the shed.
- Keep the planks at a perfect position from each other by using a chunk of wood while fixing them to the sides.
- Use a 2/6 for the fascia around the top of the shed. This will help in giving more depth and definition between the side and top.
- Take a piece of PVC roof and cut it accordingly after measuring the upper side of the shed.
- Bolt it on the edges to secure the roof.
- To make the doors, cut the pieces of the wooden planks to make the door frame and use a lap joint to fix it to the shed. Now add small planks to the frame, and your doors will be ready.
- Add small pieces of wooden blocks to the area that needs a little more definition.
- Use brown colored paint to add a little color to your shed so that it doesn’t look boring.
- Fix two handles on the door to complete the shed.
Build this easy DIY bike shed that will cost just your energy. You can find the supplies right at your place. Take help from your children and build this DIY project within a couple of hours! Enjoy.
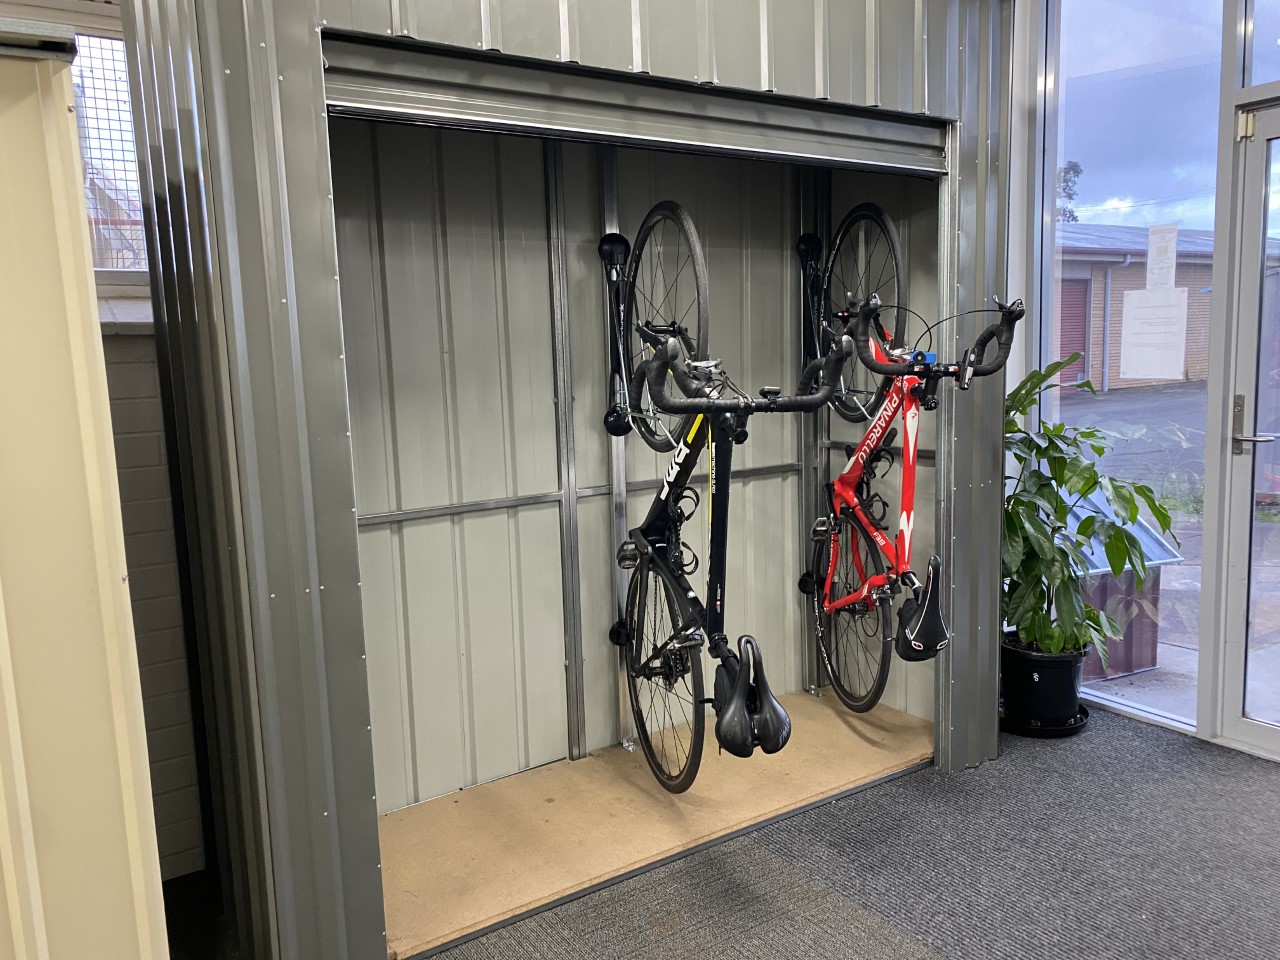
3. DIY Bike Closet
Organizing things around your garden or outdoor area keeps you away from stress. Tired of cleaning up your children’s mess every time they come home from riding their bikes? Well, all mothers can relate to this. Therefore, we have an exceptional idea. Build this DIY outdoor bike storage from scratch and pat on your back!
With this DIY idea, you won’t have to clean the garden area every time which will save a lot of time. Keep your children’s bike in a better state with this amazing DIY bike closet idea. Here are the details.
What Will You Require?
- Build a frame on the side of the wall where you want to fix a DIY bike closet.
- It’s time to build the sidewalls of this closet. For the same, take two frames and then fix wooden planks which overlap each other to create a unique design.
- Attach these sides to the mainframe with the help of heavy-duty nails.
- Now, you need to add the roof. Fix a header to the front, which will support the roof framing.
- Build the frame of the roof and attach it to the top side of the walls.
- Once the frame is up, add a water barrier that doesn’t let the water seep in.
- Next up, build bi-fold doors in the same manner you have built the sidewalls.
- To attach the doors to the wall using heavy-duty hinges.
- Apply two coats of varnish to add shine to the closet and bring it to life.
This vertical DIY bike closet will help you arrange all your stuff neatly in one place. It is one of the most effective bike storage ideas. Besides storing your children’s bike, it can also hold other outdoor stuff that keeps lying on your porch.
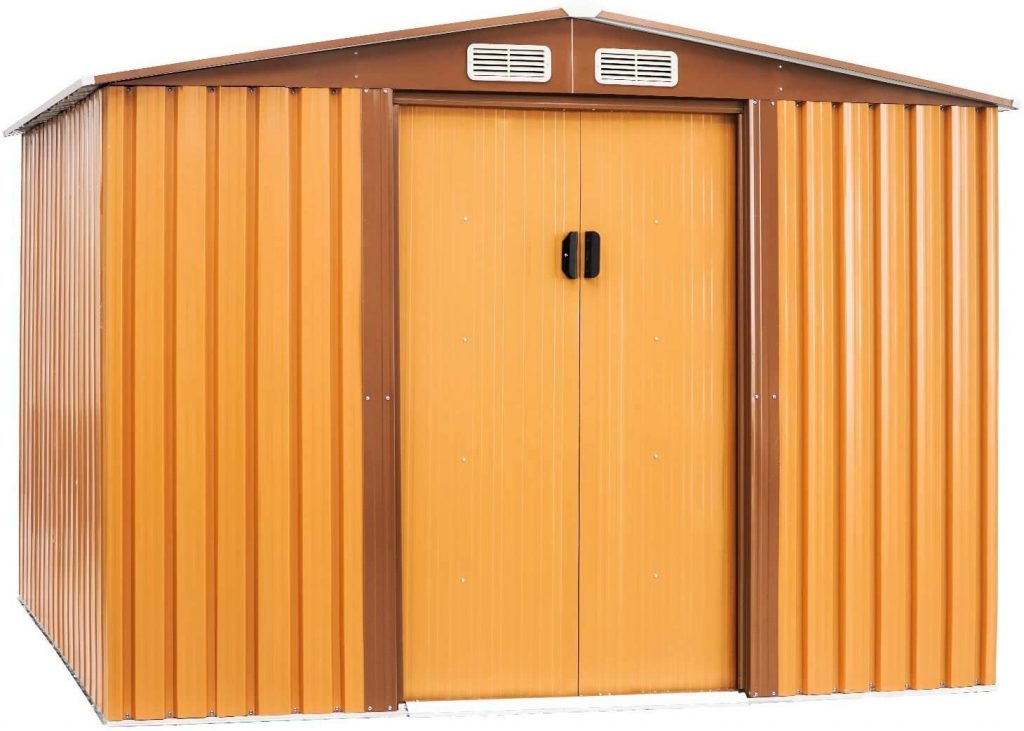
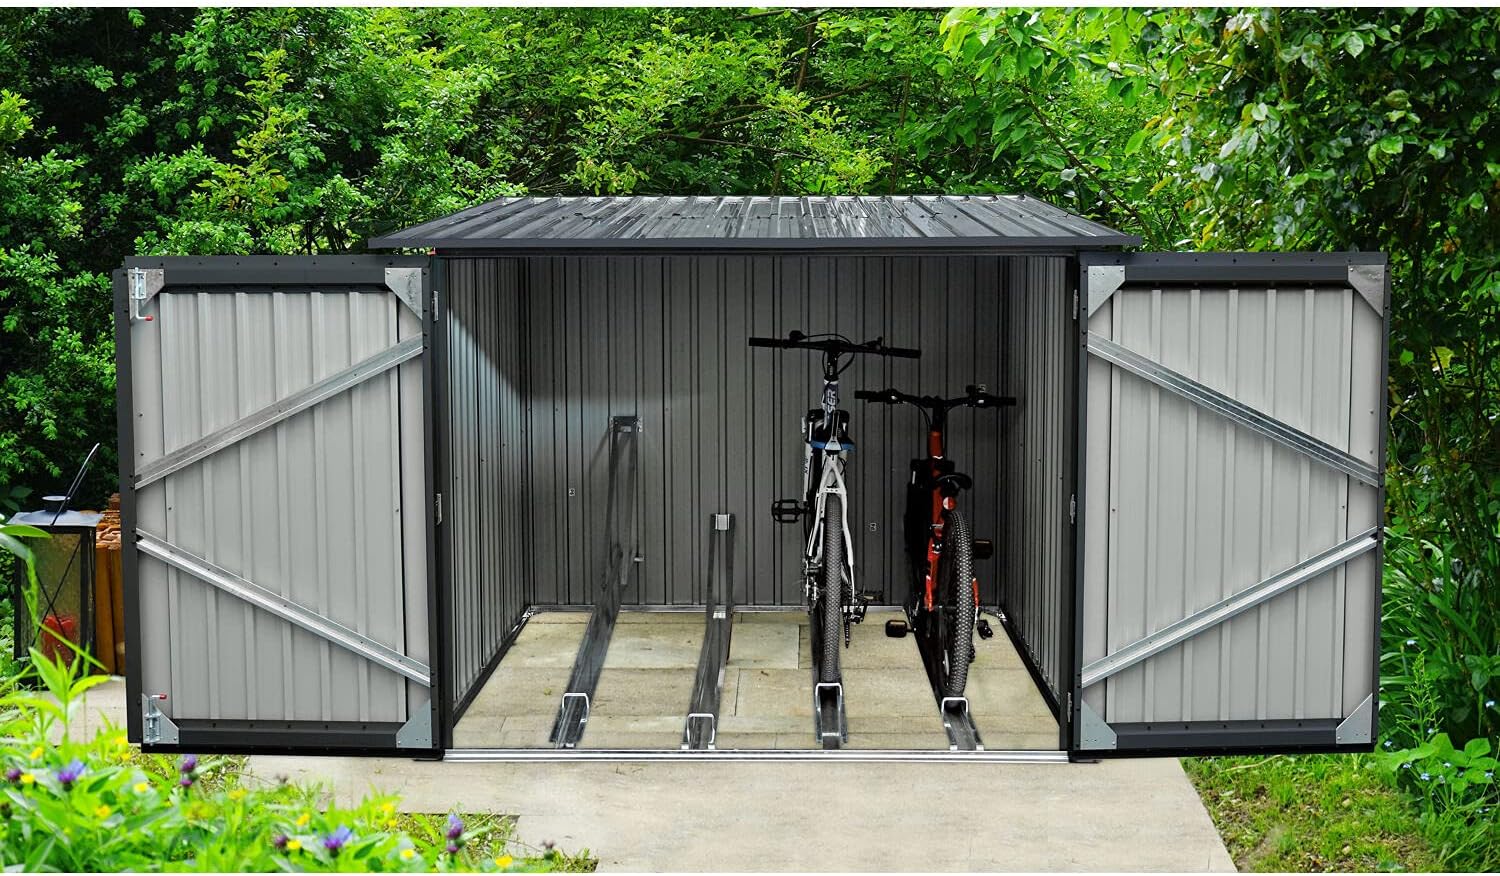
4. DIY Bike Storage Shed
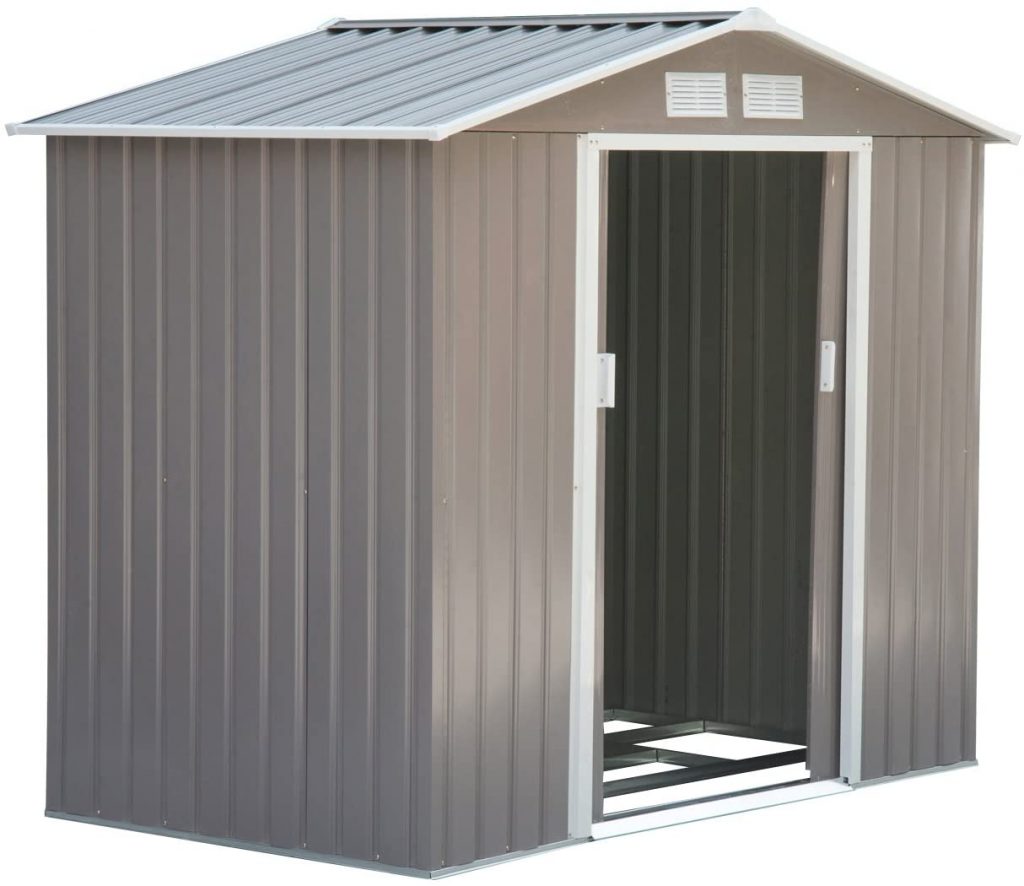
One of the infuriating situations is when your house doesn’t have an outdoor storage option. Whether it is your child’s bike or toys, you would mostly find them lying around. These poor babies have no place to go and, in turn, make your outdoor space full of mess. Therefore, we have a perfect solution! DIY bike storage shed. It is compact but can hold all your outdoor equipment with ease. Let’s see how it is made.
Things You Will Need
- To build a cute little storage shed for a bike, you will have to build the frame of the walls by joining the wooden planks together.
- After building the frame, make a base.
- Attach the frame to the base so that you are able to build the doors.
- Now you can either use an already built roof to cover the top of the shed or use planks to make the topmost part of the shed.
- Once the frame is up, use wooden planks to clad the frame.
- Attach the roof.
- Using a paintbrush and paint, coat the timber into the choice of your color.
- It’s time to attach the fittings such as locks, handles, and hinges.
The process of making this storage shed is very smooth. However, you may require a lot of material than you have imagined. Therefore, make sure you have plenty. You will be able to store a lot of stuff apart from your kid’s bike in this simple storage unit for a bicycle.
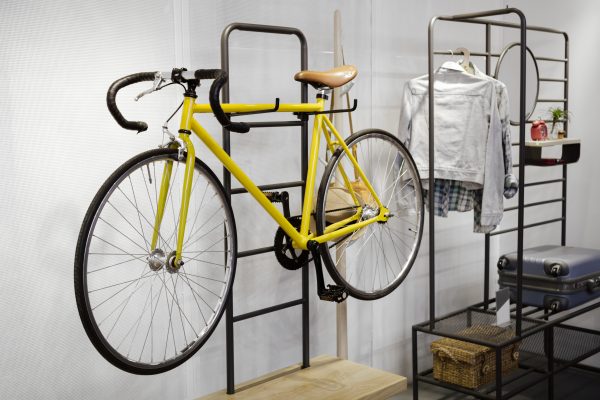
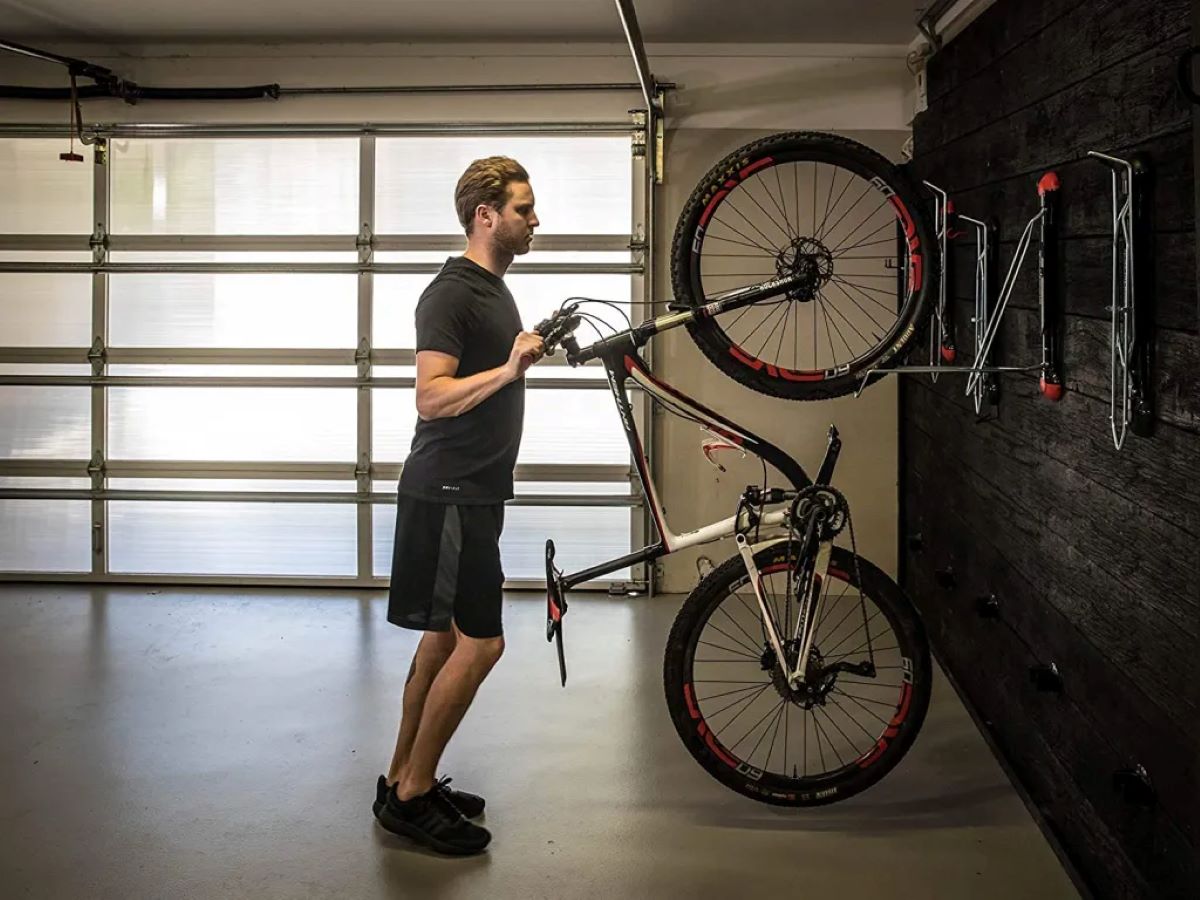
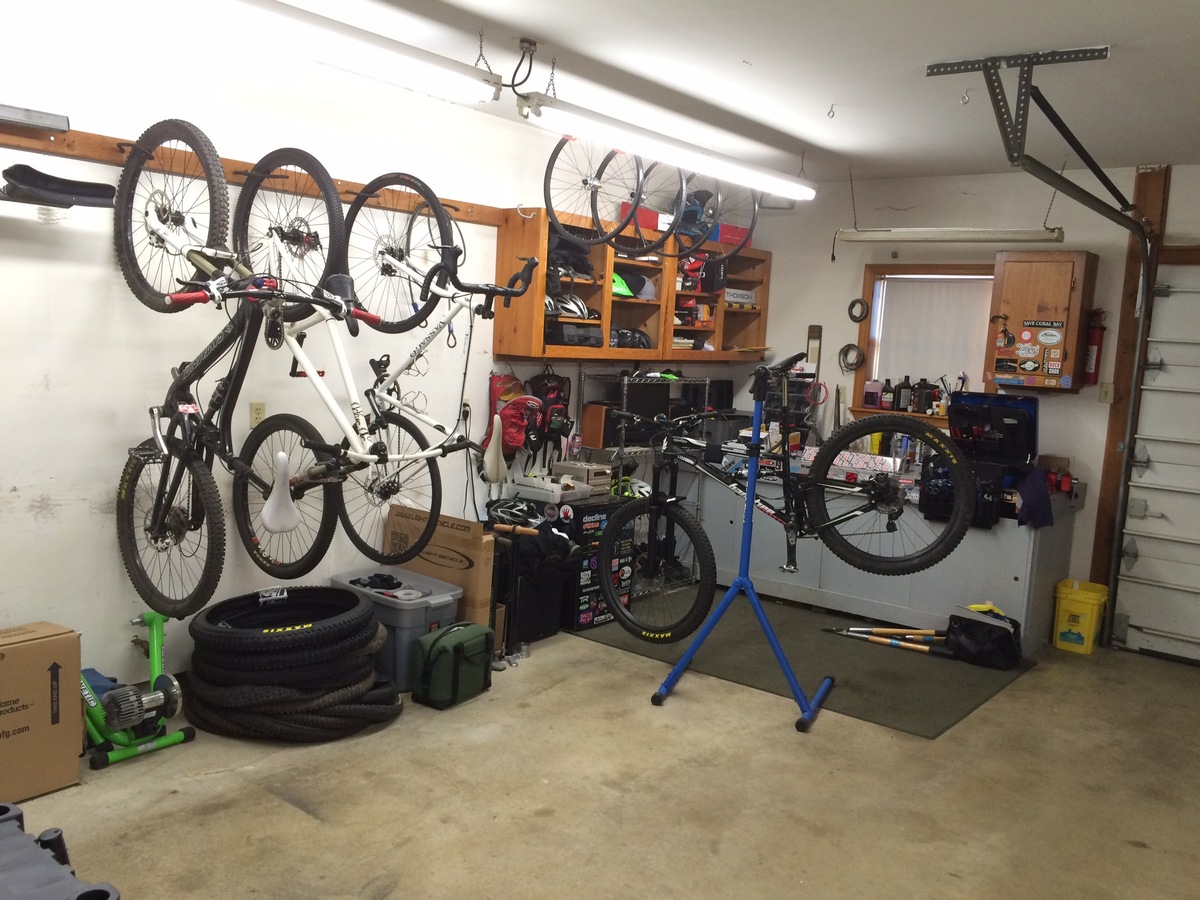
5. Bike Rack For Garage
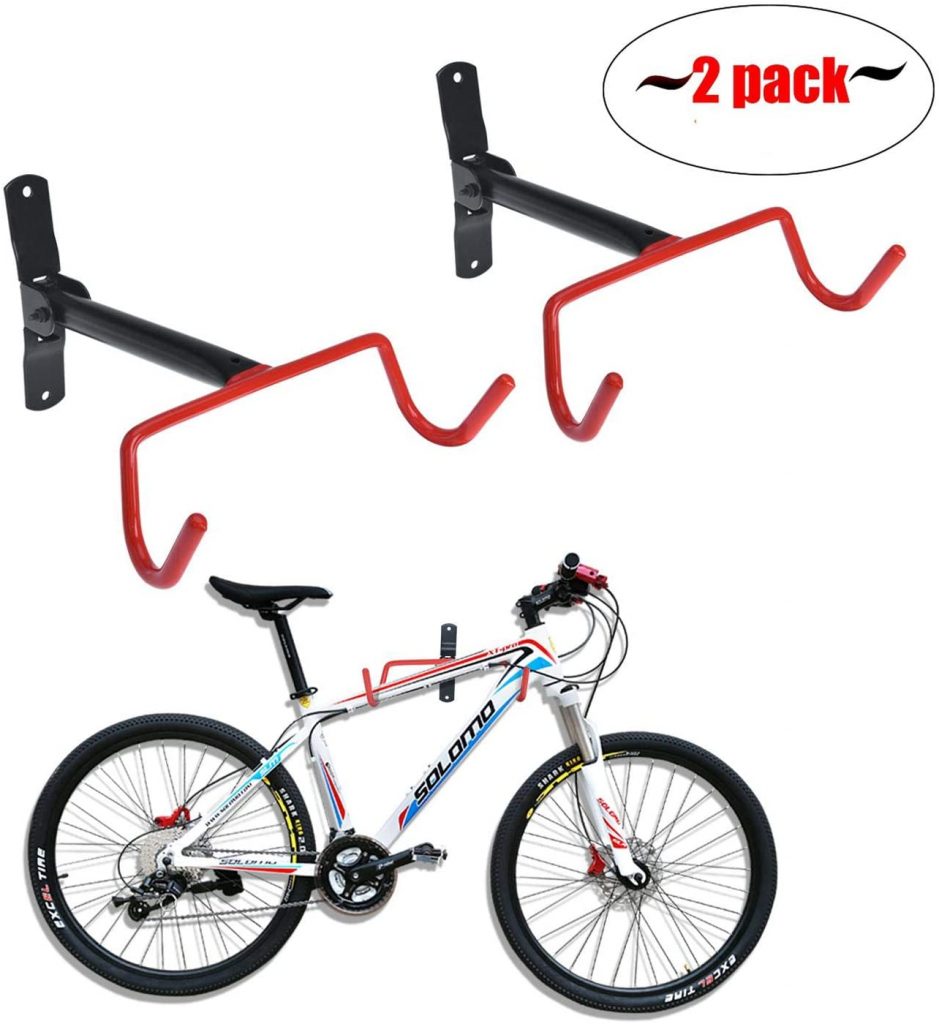
If you already have a garage at home and don’t utilize it to store your kids’ bikes, now is the time.
Since bikes come with stands, they can be placed on the ground. However, if you dedicate a separate area, it will make your garage area very neat as well as pleasing. So, if you cannot buy a bike rack for the garage you can simply make your own with these easy steps.
Here Is What You’ll Need
And you are done!
- You will need two pallets which are slightly different from each other. The one with a thin board will be used as the upright pallet, and the one which has narrow slots will hold the wheels of the bike.
- To line up the wheels so that they fit the vertical slats, you will have to create more room. Use a handsaw to remove the inner slats to create a well for the wheels. The cross brace serves as a stop so that the bike doesn’t roll out of place. This DIY bike rack for garage doesn’t require any screws; therefore, it is very easy and simple.
- The new rack is roomy and tidies the whole garage while creating a separate space for all the bikes. It might need a bit of adjustment every now and then; however, it is very stable for an idea that doesn’t require any screw or glue.
Are you tired of your garage getting all littered with bikes? We have a solution! This ultimate bike rack for storage is great to keep all your bikes in line without messing your garage space. Apart from being highly stable, this solution can be set up in just a couple of hours!
Final Thoughts

Bicycles are one of the finest inventions in the world. It not only helps you travel around the neighborhood most energetically, but it also helps keep your children occupied. Cycling strengthens the lower parts of the body while improving a person’s cardiovascular health. However, bikes require proper maintenance, which comes with a storage option. You can either put your bike inside the shed or build your own storage solution right in front of your house. It will keep the bike safe from getting stolen and will also protect it from the outdoor elements.
The above mentioned DIY outdoor bike storage ideas are super simple to build. These can be customized as per your requirement and will also prove to add aesthetic value to your property. Dive into the world of possibilities with these amazing DIY outdoor bike storage ideas!
Was this page helpful?
At Storables.com, we guarantee accurate and reliable information. Our content, validated by Expert Board Contributors, is crafted following stringent Editorial Policies. We're committed to providing you with well-researched, expert-backed insights for all your informational needs.
0 thoughts on “DIY Outdoor Bike Storage For Your Kids”