Home>Furniture & Design>Outdoor Furniture>How To Build An Outdoor Bar Table
Outdoor Furniture
How To Build An Outdoor Bar Table
Modified: March 26, 2024
Discover how to create your own stylish outdoor bar table with our expert tips and design ideas. Elevate your outdoor space with our outdoor furniture and design inspiration.
(Many of the links in this article redirect to a specific reviewed product. Your purchase of these products through affiliate links helps to generate commission for Storables.com, at no extra cost. Learn more)
Introduction
Welcome to the world of outdoor furniture design! Building an outdoor bar table can be a rewarding and enjoyable project that adds both functionality and style to your outdoor space. Whether you're a seasoned DIY enthusiast or a novice looking to embark on your first furniture-building endeavor, this guide will walk you through the process of creating a stunning outdoor bar table that will be the centerpiece of your gatherings and leisure time.
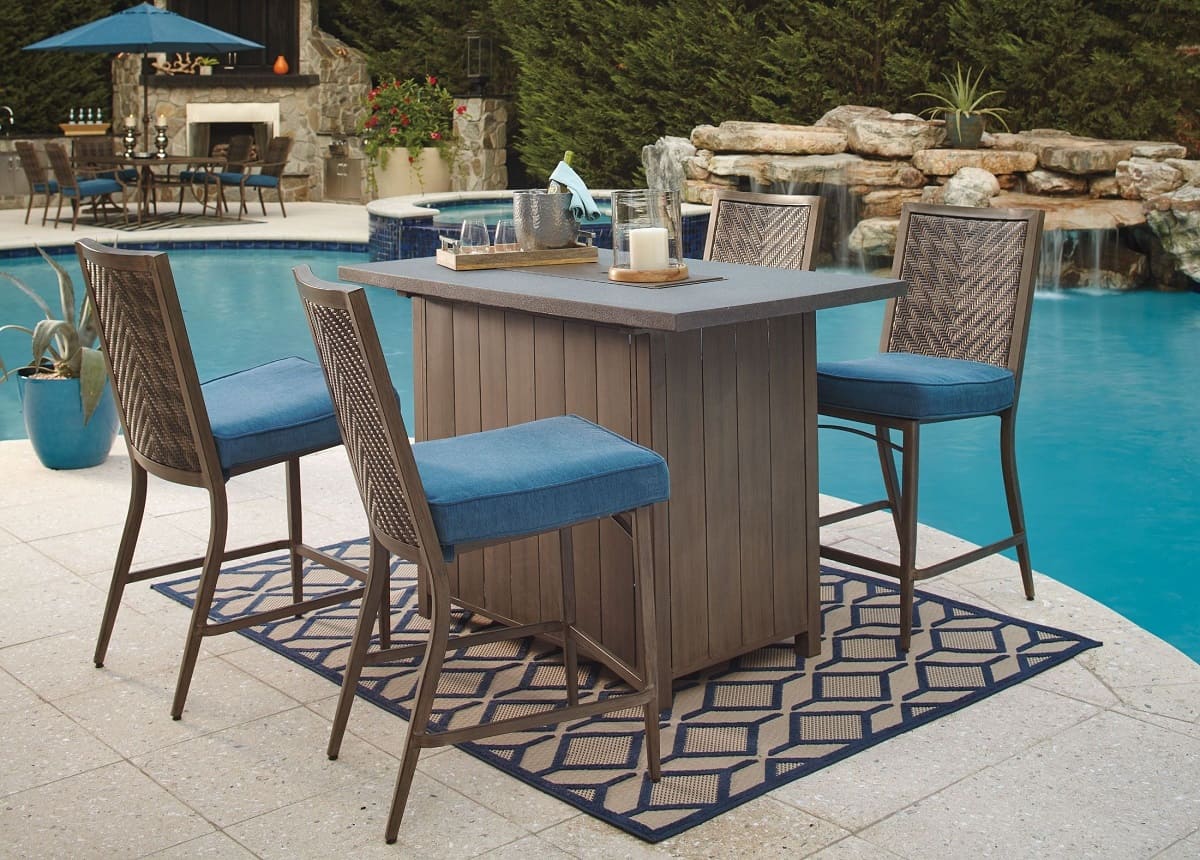
An outdoor bar table provides a versatile and inviting space for entertaining guests, enjoying meals al fresco, or simply unwinding with a refreshing beverage on a sunny afternoon. By crafting your own outdoor bar table, you have the freedom to customize its design to perfectly suit your outdoor living area and personal aesthetic preferences.
In this comprehensive guide, we will delve into the essential steps of building an outdoor bar table, from selecting the ideal location for your creation to choosing the right materials and tools, designing the table, constructing the frame, adding the tabletop, and adding the finishing touches. Whether you envision a sleek and modern bar table or a rustic and charming addition to your outdoor oasis, this guide is designed to empower you with the knowledge and inspiration needed to bring your vision to life.
Embracing the art of outdoor furniture design not only allows you to express your creativity but also enables you to create a functional piece that seamlessly integrates with your outdoor environment. So, roll up your sleeves, gather your tools, and let's embark on this exciting journey to construct a remarkable outdoor bar table that will be the envy of your outdoor space!
Key Takeaways:
- Building an outdoor bar table is a fun and rewarding project that allows you to customize the design to fit your outdoor space and personal style. It’s a great way to enhance your outdoor living area and create a focal point for gatherings and relaxation.
- When building your outdoor bar table, carefully consider the location, materials, and design to ensure accessibility, durability, and aesthetic appeal. Adding finishing touches like weather-resistant coatings and decorative elements can elevate the functionality and charm of your custom creation.
Read more: How To Build An Outdoor Patio Bar
Choosing the Right Location
Before diving into the construction of your outdoor bar table, it’s crucial to carefully select the location where it will reside. The chosen spot should harmonize with the overall layout of your outdoor space while considering factors such as accessibility, functionality, and aesthetics.
When identifying the ideal location for your outdoor bar table, consider the following aspects:
- Accessibility: Ensure that the location allows for easy access and movement around the bar table. It should be strategically positioned to facilitate smooth traffic flow, especially during social gatherings.
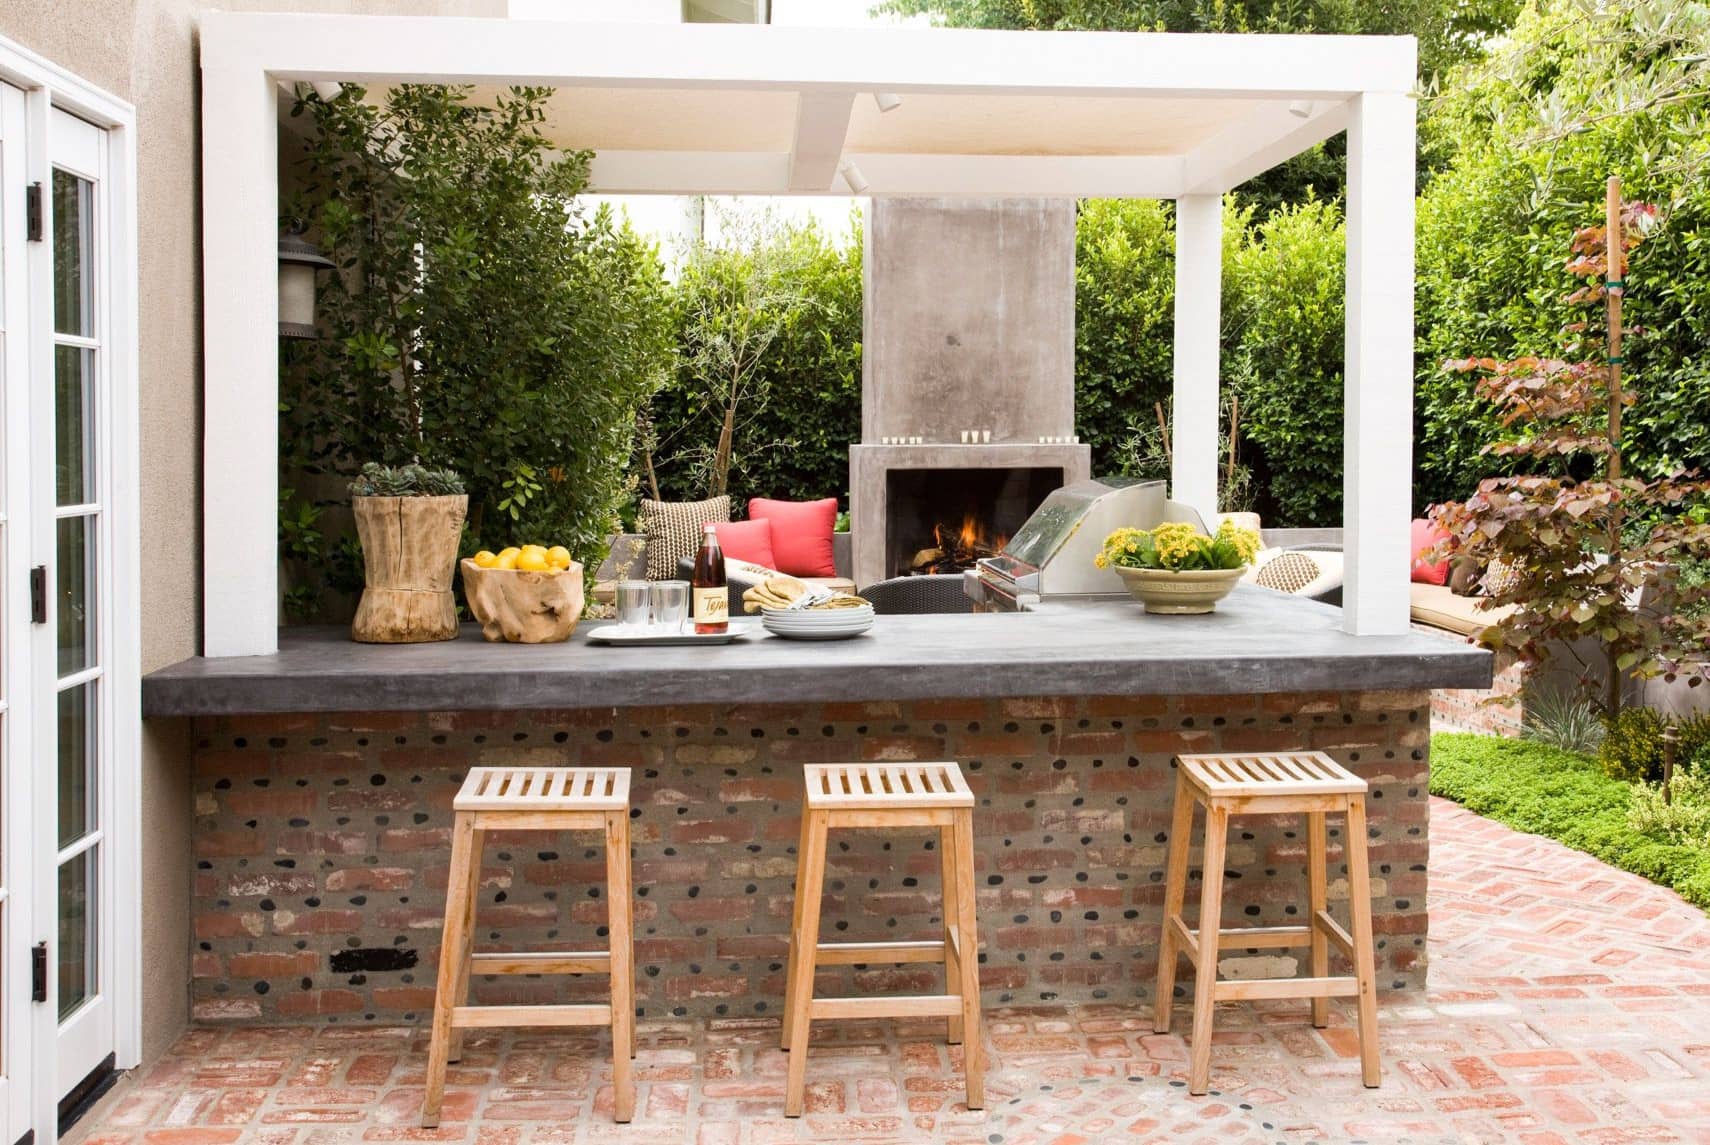
- Shelter and Shade: If possible, choose a location that offers protection from the elements. Whether it’s the scorching sun or unexpected rain, having a shaded area or the option to install a canopy can significantly enhance the comfort and usability of your outdoor bar table.
- Scenic Views: Capitalize on the natural beauty of your outdoor space by placing the bar table in an area that offers captivating views. Whether it’s overlooking a lush garden, a serene water feature, or a breathtaking landscape, the location should provide a visually appealing backdrop for your outdoor gatherings.
- Proximity to Utilities: If your outdoor activities often involve food preparation or beverage service, consider the proximity to utilities such as water and electricity. This can streamline the process of setting up outdoor events and ensure convenience when hosting gatherings.
- Privacy: Create an intimate and inviting atmosphere by selecting a location that offers a degree of privacy. Whether it’s through natural barriers like hedges or strategic placement within your outdoor space, a sense of seclusion can elevate the ambiance of your outdoor bar table area.
By carefully evaluating these considerations, you can pinpoint the perfect spot for your outdoor bar table, setting the stage for a delightful and functional addition to your outdoor living space. Once the location is chosen, you can proceed to the next steps of material selection and design, bringing you closer to the realization of your custom outdoor bar table.
Selecting Materials and Tools
Choosing the right materials and tools is a pivotal step in the construction of your outdoor bar table. The selection process involves considering the durability, aesthetics, and weather resistance of the materials, as well as ensuring that you have the necessary tools to bring your design to life.
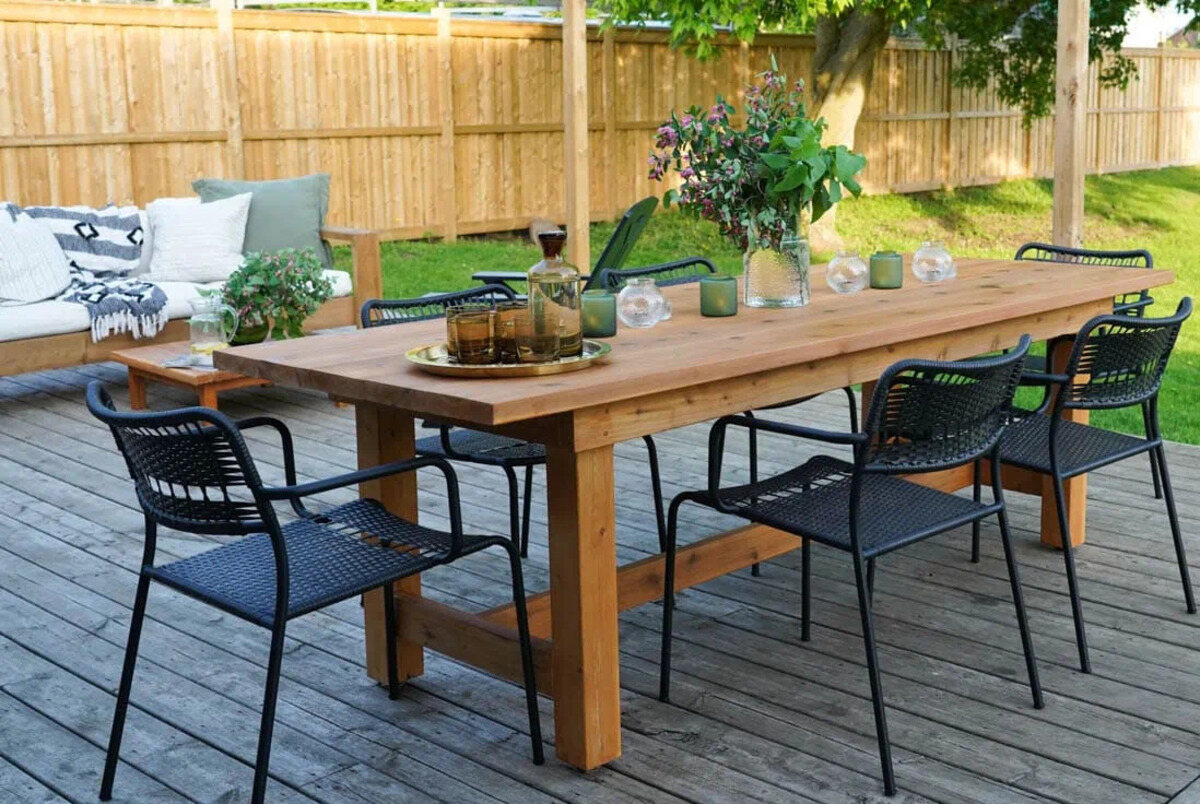
When it comes to materials, opt for weather-resistant options that can withstand the outdoor elements. Cedar, teak, and pressure-treated pine are popular choices for outdoor furniture due to their natural resistance to decay and insects. Additionally, marine-grade plywood and outdoor-grade lumber are excellent options for the tabletop, providing a sturdy and durable surface for your bar table.
For the frame and structural components, stainless steel, galvanized steel, or aluminum hardware can offer superior resistance to rust and corrosion, ensuring the longevity of your outdoor bar table. It’s essential to prioritize quality materials to guarantee the enduring beauty and functionality of your creation.
Equally important is the selection of tools required for the construction process. Basic tools such as a saw, drill, screwdriver, measuring tape, and level are essential for cutting, assembling, and aligning the components of the bar table. Additionally, investing in clamps, wood glue, and a sander can contribute to the precision and stability of the construction process, resulting in a polished and professional finish.
Consider incorporating a router for creating decorative edges on the tabletop or adding intricate details to the frame, allowing you to infuse your personal touch and elevate the visual appeal of the bar table. Furthermore, a weather-resistant wood finish or outdoor paint can provide an added layer of protection and enhance the aesthetic allure of the completed outdoor bar table.
By meticulously selecting high-quality materials and ensuring that you have the essential tools at your disposal, you are poised to embark on the construction phase with confidence and the assurance of creating a durable and visually captivating outdoor bar table.
Designing the Bar Table
Designing your outdoor bar table presents an exciting opportunity to infuse your personal style and preferences into the creation. Whether you envision a sleek and contemporary design or a more rustic and charming aesthetic, the design phase allows you to conceptualize the overall look and functionality of your outdoor bar table.
Consider the following aspects when designing your bar table:
- Dimensions: Determine the ideal size of your bar table based on the available space and intended use. Whether it’s a compact table for intimate gatherings or a larger surface to accommodate a group of guests, the dimensions should align with your outdoor space and socializing needs.
- Style and Aesthetics: Define the style that resonates with your outdoor setting, whether it’s modern, traditional, coastal, or eclectic. Consider incorporating elements such as sleek lines, decorative accents, or a distressed finish to complement the existing decor and ambiance of your outdoor space.
- Functionality: Evaluate the intended functions of the bar table, such as serving drinks, meals, or providing a casual gathering spot. Incorporate features such as built-in shelves, hanging hooks for utensils, or a footrest to enhance the usability and convenience of the table.
- Materials and Finishes: Select the specific materials and finishes that align with your design vision. Whether it’s the warmth of natural wood, the industrial appeal of metal accents, or the versatility of composite materials, the choices should reflect the desired aesthetic and complement the outdoor environment.
- Integration with Seating: If you plan to pair the bar table with stools or chairs, ensure that the design allows for comfortable seating and legroom. The cohesive integration of the table with suitable seating enhances the functionality and visual appeal of the outdoor bar area.
During the design phase, explore various sketches, digital renderings, or mood boards to visualize the different elements of your outdoor bar table. Embrace creativity and innovation, allowing your design to evolve and adapt to your preferences, ensuring that the final concept encapsulates both practicality and aesthetic allure.
By meticulously planning and refining the design of your outdoor bar table, you set the stage for a construction process that seamlessly translates your vision into a captivating and functional addition to your outdoor living space.
When building an outdoor bar table, make sure to use weather-resistant materials such as cedar or teak to ensure durability and longevity.
Building the Frame
Constructing the frame of your outdoor bar table forms the structural backbone of the entire piece, providing stability and support for the tabletop while contributing to the overall visual appeal. Whether you opt for a simple and streamlined frame or a more intricate and decorative design, the construction process involves precision and attention to detail.
Follow these essential steps to build the frame of your outdoor bar table:
- Measure and Cut the Lumber: Begin by measuring and cutting the lumber according to the dimensions of your chosen design. Use a saw to achieve precise cuts, ensuring that the components align seamlessly during assembly.
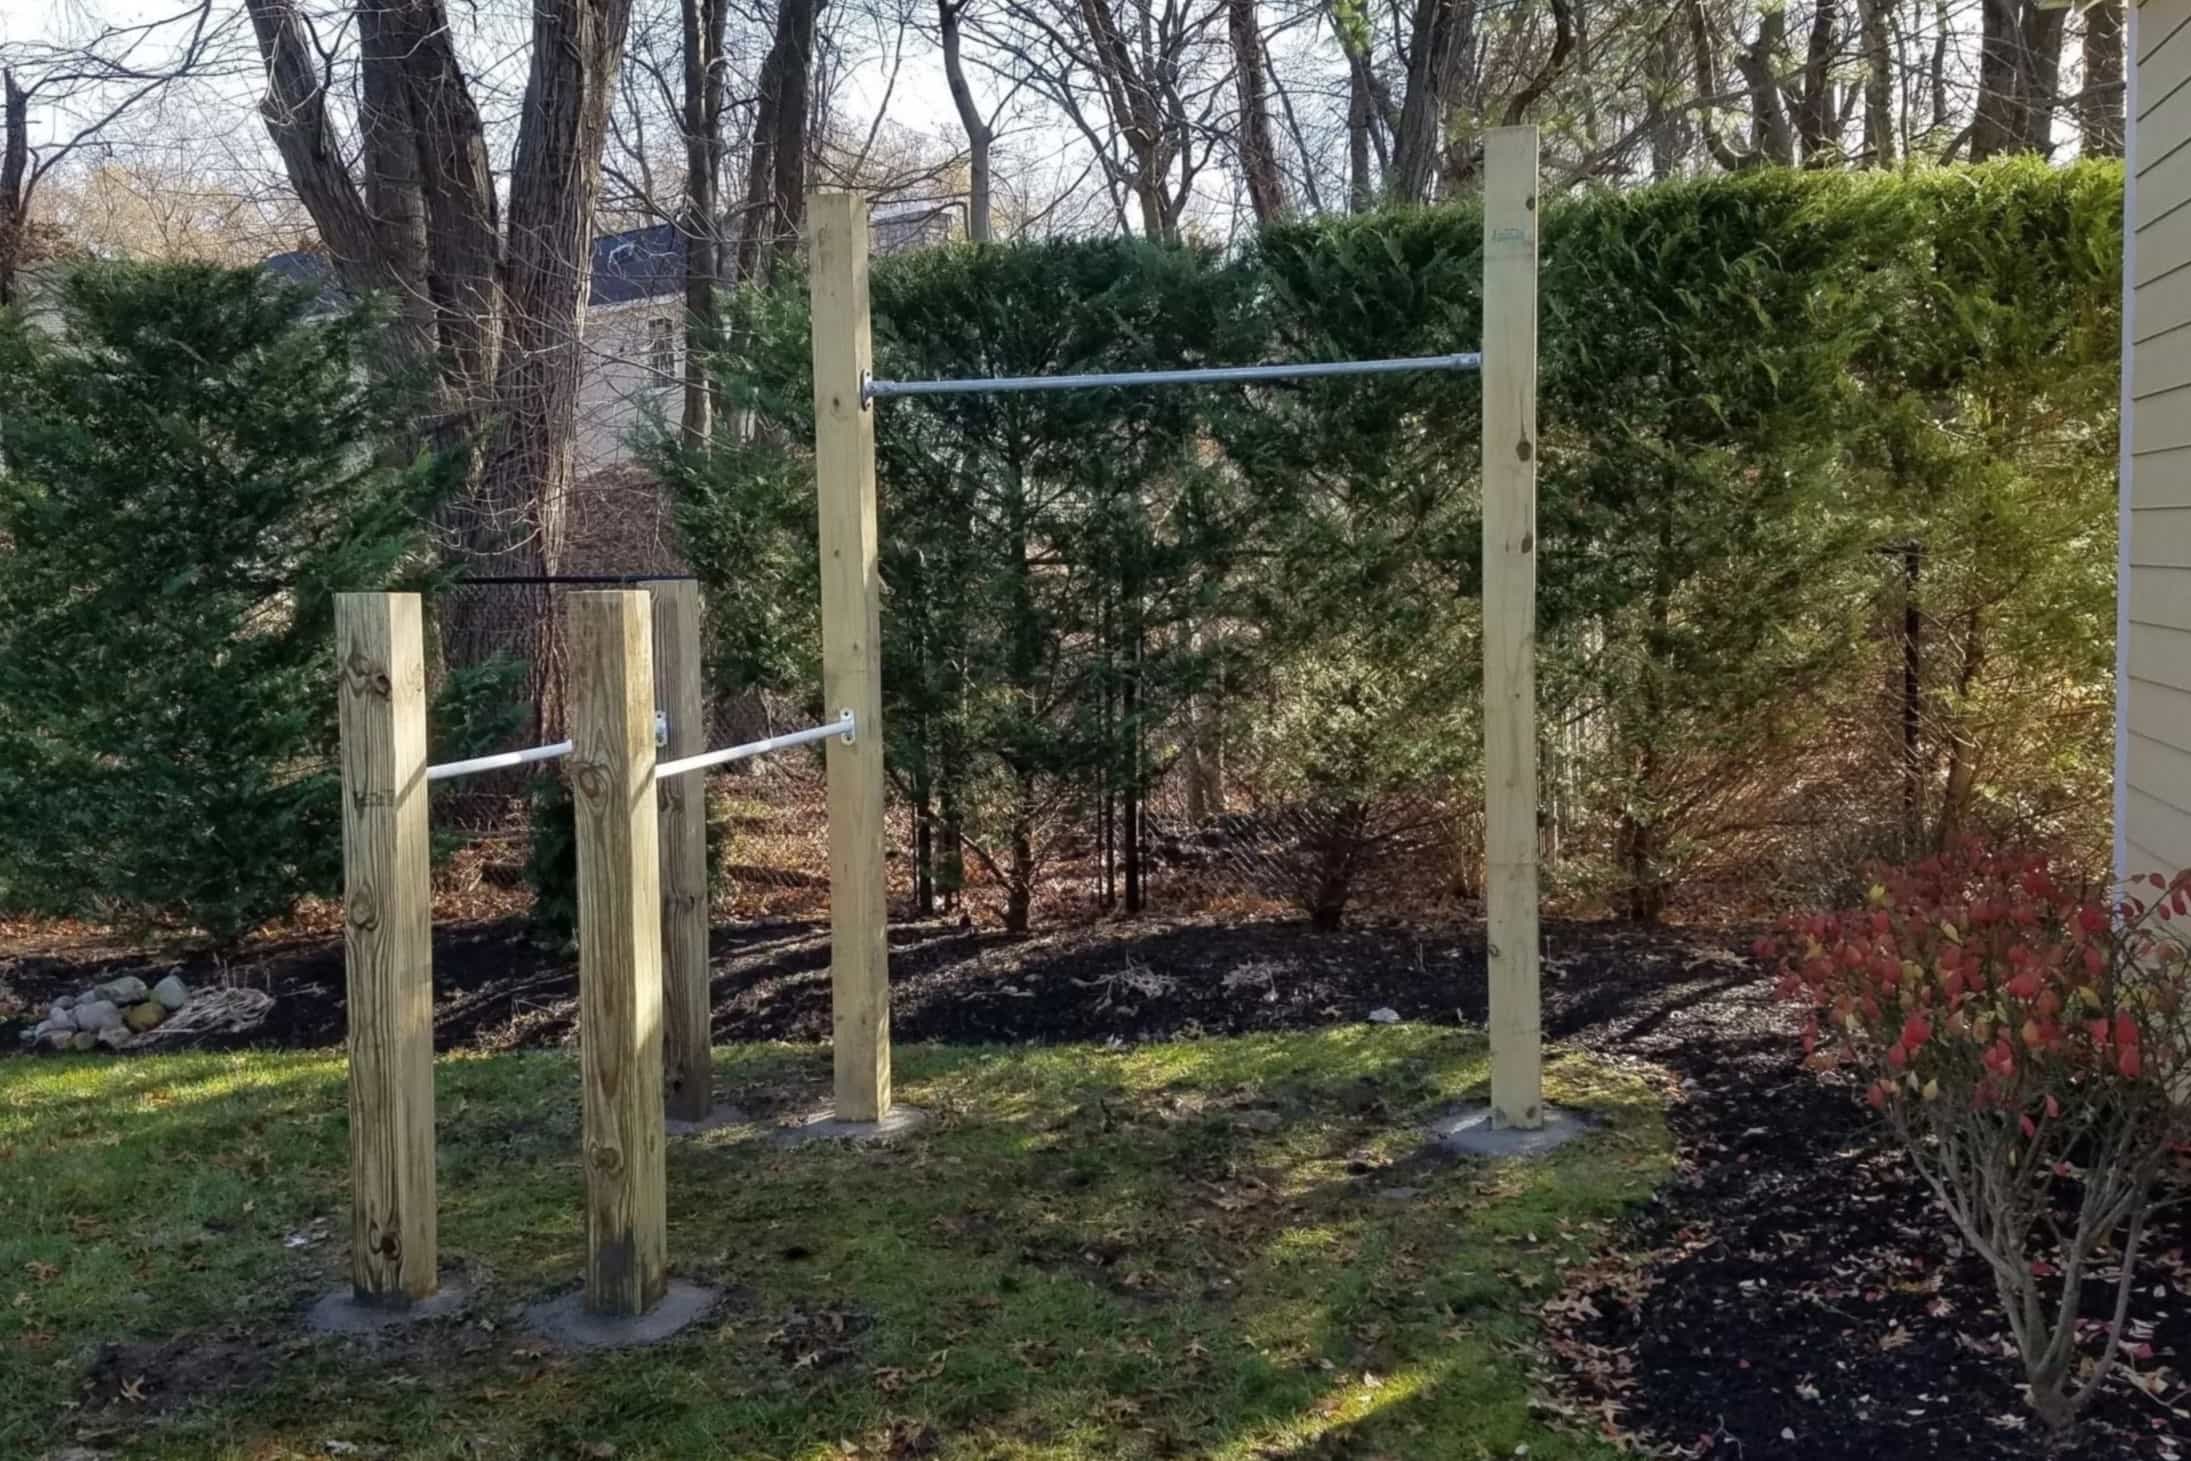
- Assemble the Frame Components: Utilize wood glue and screws to securely join the frame components, such as the legs, stretchers, and supports. Employ clamps to hold the pieces in place during assembly, maintaining alignment and stability throughout the process.
- Ensure Level and Square Alignment: Use a level to confirm that the frame is even and level, preventing any wobbling or instability once the tabletop is added. Additionally, verify that the corners are square, promoting a symmetrical and polished appearance for the completed frame.
- Reinforce Joints and Connections: Consider reinforcing the joints and connections with additional screws or corner braces to fortify the structural integrity of the frame. This step enhances the durability and longevity of the outdoor bar table, especially in the face of varying weather conditions.
- Add Decorative Elements (Optional): If your design incorporates decorative elements such as routed edges, carved details, or embellishments, this is the stage to integrate these features into the frame, infusing character and personality into the construction.
Throughout the frame-building process, prioritize precision and meticulous craftsmanship, ensuring that each component is securely fastened and aligned to create a sturdy and visually appealing foundation for the outdoor bar table.
Upon completing the frame construction, you are poised to progress to the next phase of adding the tabletop, bringing you one step closer to the realization of your custom outdoor bar table.
Read more: How To Build A Bar-Style Table
Adding the Tabletop
The addition of the tabletop is a pivotal stage in the construction of your outdoor bar table, transforming the frame into a functional and inviting surface for dining, socializing, and relaxation. Whether you opt for a solid wood tabletop, a composite material surface, or a customized design, this phase requires precision and attention to detail to ensure a seamless integration with the frame.
Follow these essential steps to add the tabletop to your outdoor bar table:
- Prepare the Tabletop Material: If using solid wood, ensure that the tabletop material is appropriately sized, sanded, and finished to achieve a smooth and durable surface. For composite materials, follow the manufacturer’s guidelines for cutting and preparing the tabletop to fit the dimensions of the frame.
- Secure the Tabletop to the Frame: Position the tabletop onto the frame, ensuring that it is centered and aligned with the edges of the frame. Utilize screws or fasteners from underneath to secure the tabletop to the frame, creating a stable and cohesive connection between the two components.
- Apply Weather-Resistant Finish (Optional): Consider applying a weather-resistant finish to the tabletop to protect it from the outdoor elements. Whether it’s a clear sealant to showcase the natural beauty of the wood or a colorful stain to enhance the visual appeal, the finish adds an extra layer of protection and aesthetic charm to the tabletop.
- Create a Smooth and Level Surface: Use a level to confirm that the tabletop is even and flat, preventing any unevenness that could compromise its usability. Additionally, ensure that the edges are flush with the frame, promoting a seamless and polished appearance for the completed outdoor bar table.
- Personalize with Custom Details (Optional): If desired, consider personalizing the tabletop with engraved designs, inlaid patterns, or decorative accents that reflect your style and creativity. These custom details can elevate the visual interest of the tabletop, making it a standout feature of your outdoor bar table.
By meticulously adding the tabletop to the frame, you bring your outdoor bar table one step closer to completion, setting the stage for the final phase of adding the finishing touches that will enhance its functionality and aesthetic allure.
Finishing Touches
As you near the completion of your outdoor bar table, the application of finishing touches serves as the final flourish, elevating the functionality, durability, and visual appeal of the constructed piece. From weather-resistant coatings to thoughtful accessories, these details add a layer of refinement and personality to your custom creation, ensuring that it seamlessly integrates with your outdoor living space.
Consider the following finishing touches to enhance your outdoor bar table:
- Weather-Resistant Coating: Apply a weather-resistant sealant or outdoor-grade paint to protect the wood and frame from moisture, UV exposure, and environmental wear. This step not only prolongs the lifespan of the outdoor bar table but also preserves its aesthetic charm, allowing it to withstand the rigors of outdoor use.
- Add Protective Feet: Attach protective feet or glides to the bottom of the table legs to prevent damage to the flooring surface and enhance the stability of the bar table. These accessories mitigate potential scratches and scuffs, ensuring that your outdoor bar table remains in pristine condition.
- Accessorize with Lighting: Incorporate ambient lighting elements such as string lights, lanterns, or solar-powered fixtures to create an inviting and enchanting atmosphere around the bar table, especially during evening gatherings or outdoor events.
- Personalize with Décor: Infuse your outdoor bar table with decorative accents such as potted plants, tabletop sculptures, or themed décor that aligns with your outdoor design aesthetic. These personal touches add character and charm to the bar table area, creating a welcoming and visually engaging space.
- Consider Functional Additions: Integrate functional additions such as built-in bottle openers, towel hooks, or storage compartments to enhance the usability and convenience of the bar table, catering to the practical needs of outdoor entertaining and relaxation.
By attending to these finishing touches, you impart a sense of completeness and refinement to your outdoor bar table, ensuring that it harmonizes with the surrounding environment and fulfills its intended purpose as a focal point of outdoor enjoyment and hospitality.
With the addition of these thoughtful details, your custom outdoor bar table is ready to take its place as a cherished and functional element of your outdoor living space, inviting memorable gatherings and leisurely moments for years to come.
Conclusion
Congratulations on embarking on the rewarding journey of building your own outdoor bar table! From the initial selection of the perfect location to the meticulous crafting of the frame, tabletop, and finishing touches, you have demonstrated creativity, craftsmanship, and a passion for outdoor living.
As you stand back and admire your completed outdoor bar table, envision the countless gatherings, delightful meals, and cherished moments that await in its presence. This custom creation is more than just a piece of furniture; it is a testament to your ingenuity and dedication to enhancing your outdoor living space.
By infusing your personal style and preferences into the design and construction process, you have not only created a functional and visually captivating bar table but also a focal point that embodies the spirit of outdoor hospitality and relaxation.
As you enjoy the fruits of your labor, take pride in the fact that your outdoor bar table is a reflection of your creativity and a source of joy for yourself, your family, and your guests. It stands as a symbol of the art of outdoor furniture design, blending practicality with aesthetic allure to enrich your outdoor lifestyle.
May your outdoor bar table serve as a gathering place for laughter, conversations, and shared experiences, fostering unforgettable memories and strengthening the bonds of friendship and family. Embrace the versatility and charm of this custom creation, knowing that it will continue to be a cherished centerpiece of your outdoor oasis for years to come.
With your newfound expertise in outdoor furniture design, you are poised to embark on future projects and further enhance your outdoor living space, infusing it with your unique vision and passion for craftsmanship.
So, raise a toast to your exceptional craftsmanship and the enduring beauty of your outdoor bar table, and let its presence enrich your outdoor lifestyle with warmth, hospitality, and the joy of creative expression.
Frequently Asked Questions about How To Build An Outdoor Bar Table
Was this page helpful?
At Storables.com, we guarantee accurate and reliable information. Our content, validated by Expert Board Contributors, is crafted following stringent Editorial Policies. We're committed to providing you with well-researched, expert-backed insights for all your informational needs.


0 thoughts on “How To Build An Outdoor Bar Table”