Home>Renovation & DIY>Home Renovation Guides>How To Insulate Crawl Space With Dirt Floor

Home Renovation Guides
How To Insulate Crawl Space With Dirt Floor
Modified: February 18, 2024
Learn how to properly insulate a crawl space with a dirt floor in this comprehensive home renovation guide. Create a more energy-efficient and comfortable living space today!
(Many of the links in this article redirect to a specific reviewed product. Your purchase of these products through affiliate links helps to generate commission for Storables.com, at no extra cost. Learn more)
Introduction
Insulating a crawl space with a dirt floor is a crucial step in maintaining a comfortable and energy-efficient home. A crawl space with a dirt floor is susceptible to moisture, which can lead to various issues such as mold growth, wood rot, and increased energy costs. By insulating the crawl space, you can create a barrier against moisture, regulate indoor temperatures, and improve the overall energy efficiency of your home.
In this comprehensive guide, we will walk you through the step-by-step process of insulating a crawl space with a dirt floor. From clearing the crawl space to installing a vapor barrier and adding insulation material, each step is essential in creating a well-insulated and moisture-resistant environment beneath your home. By following these steps, you can effectively protect your home from moisture-related problems and reduce your energy expenses.
Insulating a crawl space with a dirt floor not only contributes to a healthier living environment but also helps in preserving the structural integrity of your home. Whether you're looking to tackle this project as a DIY enthusiast or seeking insights to oversee a professional installation, this guide will equip you with the knowledge and understanding needed to make informed decisions and ensure a successful outcome.
Now, let's delve into the step-by-step process of insulating a crawl space with a dirt floor, starting with the crucial first step of clearing the crawl space.
Key Takeaways:
- Transform your crawl space with a dirt floor into a cozy, energy-efficient haven by clearing debris, installing a vapor barrier, adding insulation, and sealing gaps. Enjoy a healthier home and lower energy costs!
- Say goodbye to moisture issues and hello to energy savings! Insulate your crawl space with a dirt floor to create a comfortable, well-protected environment. Clear, seal, and insulate for a healthier, more sustainable home.
Read more: How To Insulate The Floor In A Crawl Space
Step 1: Clearing the Crawl Space
Before embarking on the insulation process, it is essential to thoroughly clear the crawl space to create a clean and accessible environment for the subsequent steps. Clearing the crawl space involves removing any debris, organic matter, and potential obstructions that may hinder the installation of insulation materials and compromise the effectiveness of the insulation.
Clearing Debris and Organic Matter
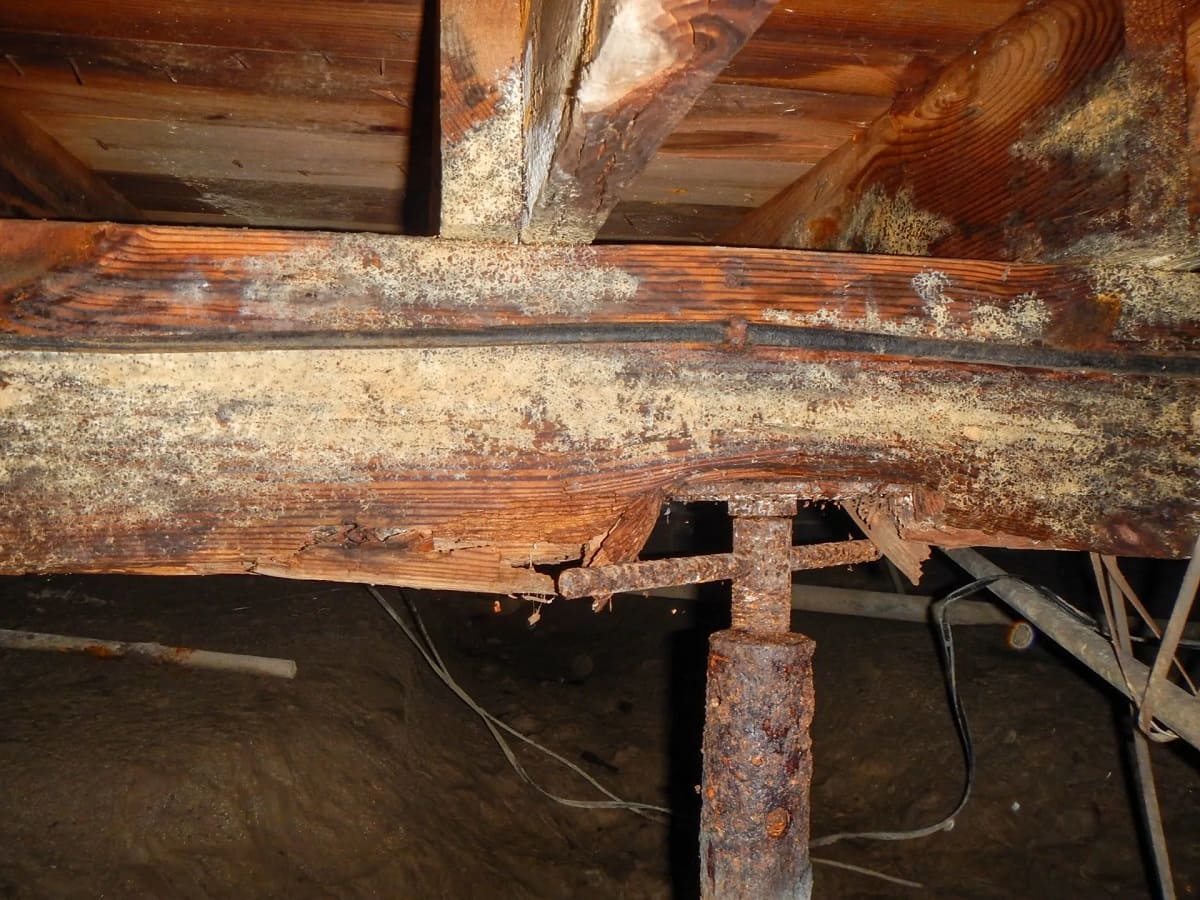
The first task in clearing the crawl space is to remove any accumulated debris, such as fallen leaves, branches, and other organic matter. These materials can retain moisture and create a conducive environment for mold growth and pest infestation. By diligently clearing the debris, you can mitigate the risk of moisture-related issues and ensure a clean foundation for the insulation.
Addressing Moisture and Standing Water
Inspect the crawl space for any signs of standing water or excessive moisture. Addressing these issues is crucial before proceeding with the insulation process. Standing water can lead to structural damage and compromise the effectiveness of the insulation. Implementing proper drainage and moisture control measures, such as installing a sump pump or addressing grading issues around the foundation, can help mitigate moisture problems and safeguard the crawl space against water intrusion.
Removing Obstructions
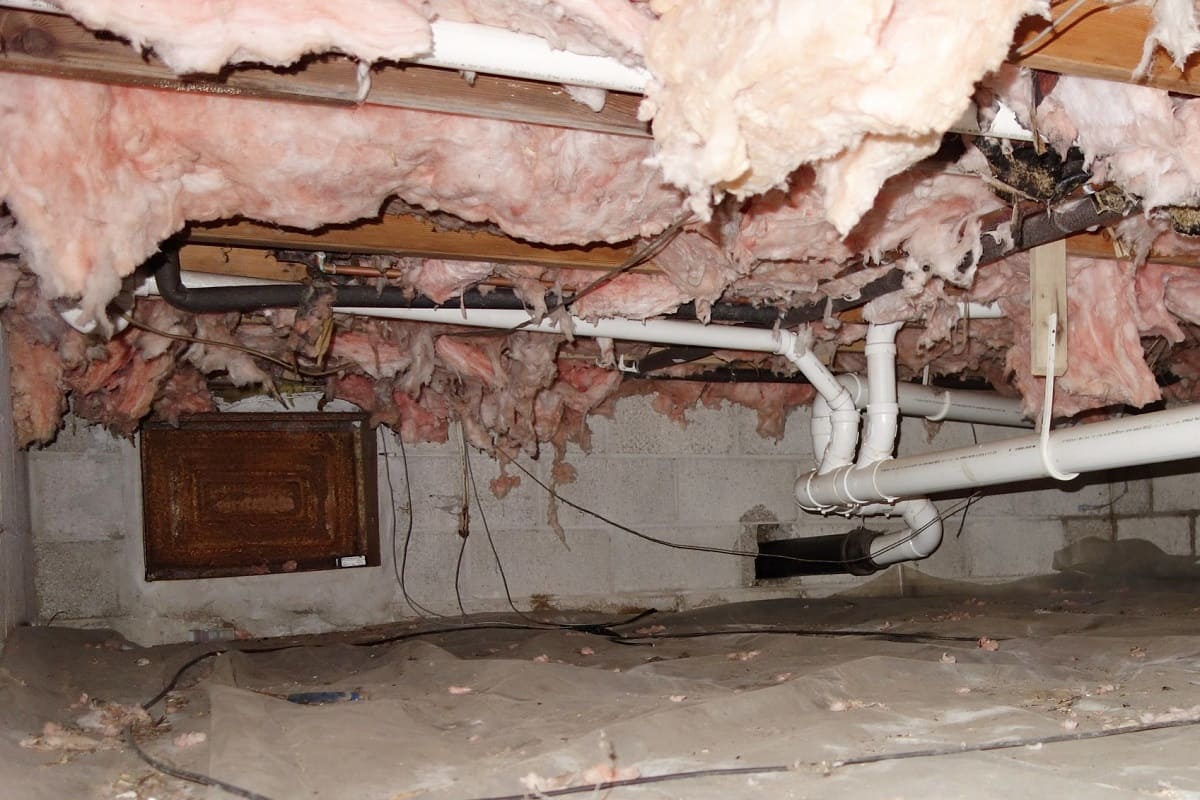
Inspect the crawl space for any potential obstructions, including old insulation, wiring, or plumbing components. Clearing these obstructions will ensure unobstructed access for installing the vapor barrier and insulation materials. Additionally, it provides an opportunity to assess the condition of existing structural elements and address any maintenance or repair needs before proceeding with the insulation.
Read more: How To Insulate A Floor Over A Crawl Space
Ensuring Adequate Ventilation
Proper ventilation is essential for maintaining a healthy crawl space environment. Check the existing ventilation openings and ensure that they are unobstructed and functioning effectively. Adequate ventilation helps prevent moisture buildup and promotes air circulation, contributing to the overall success of the insulation project.
By meticulously clearing the crawl space and addressing potential issues such as moisture, debris, and obstructions, you can lay the groundwork for a successful insulation installation. This initial step sets the stage for creating a clean, moisture-resistant, and accessible space for the subsequent insulation process, ultimately contributing to a more comfortable and energy-efficient home environment.
Step 2: Installing Vapor Barrier
Installing a vapor barrier is a critical step in insulating a crawl space with a dirt floor. A vapor barrier, also known as a moisture barrier, plays a pivotal role in preventing moisture from seeping into the crawl space and affecting the insulation and structural integrity of the home. This impermeable layer acts as a shield against moisture, effectively reducing the risk of mold growth, wood rot, and other moisture-related issues.
Selecting the Vapor Barrier Material
When selecting a vapor barrier material, it's essential to opt for a high-quality, durable product designed specifically for crawl space applications. Common vapor barrier materials include polyethylene sheets and reinforced plastic liners, both of which offer excellent moisture resistance and durability. Consider the thickness and strength of the material to ensure it can withstand the conditions within the crawl space and provide long-term protection against moisture intrusion.
Preparing the Crawl Space
Before installing the vapor barrier, it's crucial to prepare the crawl space by ensuring a clean and smooth surface. Remove any remaining debris, dust, or protrusions that may compromise the integrity of the vapor barrier. Additionally, inspect the crawl space for any signs of moisture or water intrusion, addressing these issues before proceeding with the installation.
Securing the Vapor Barrier
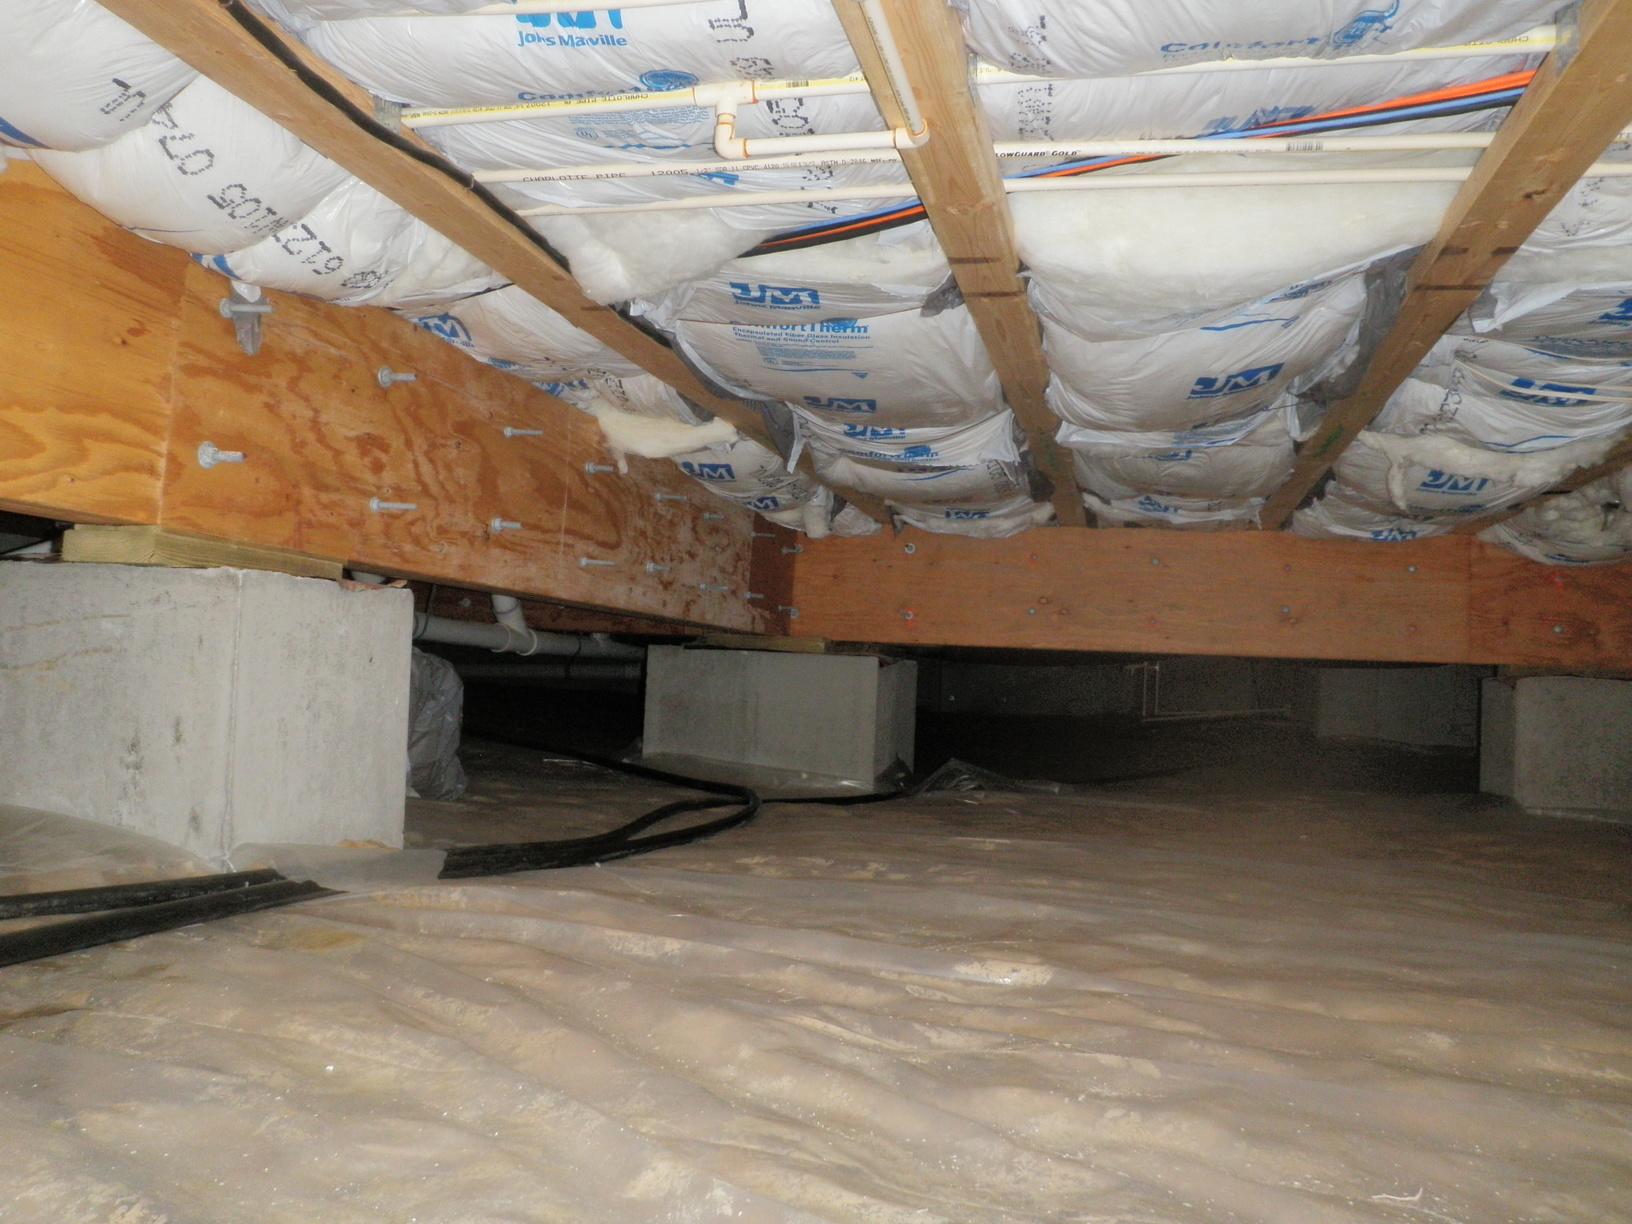
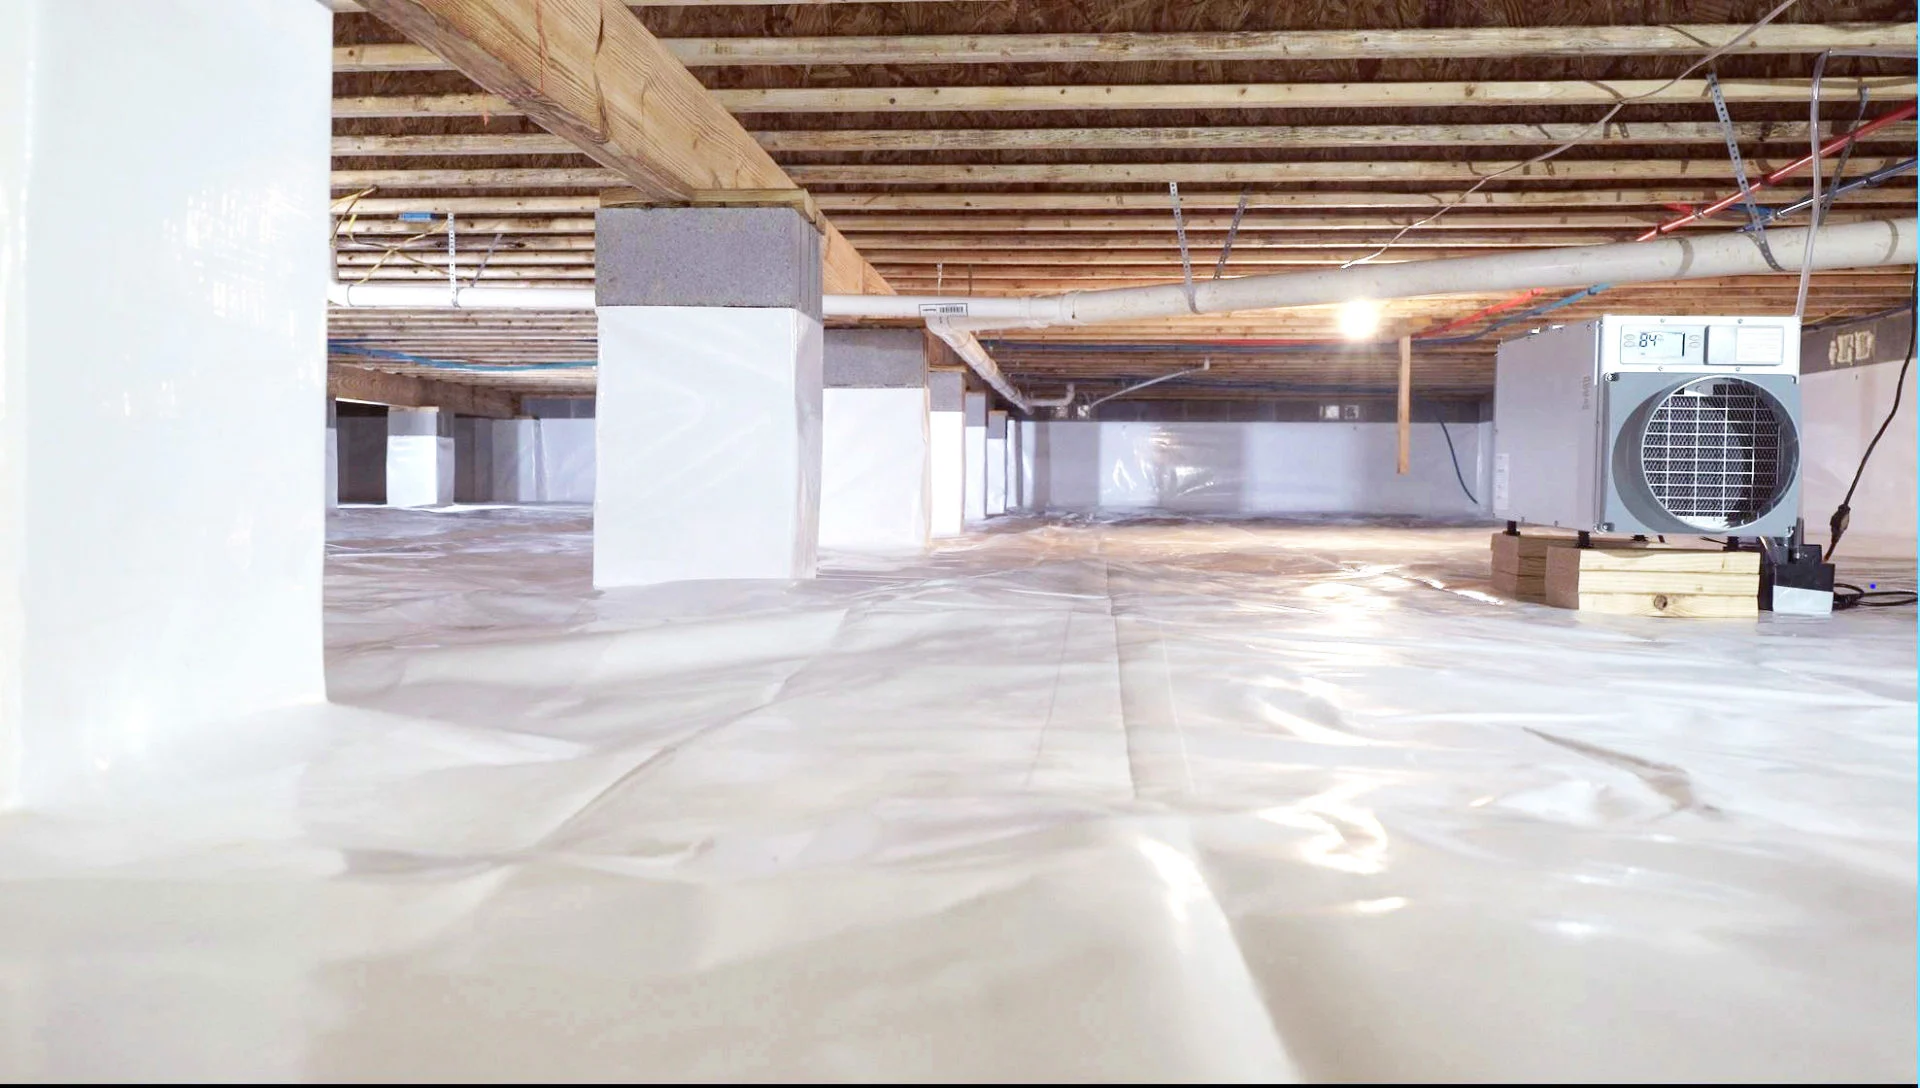
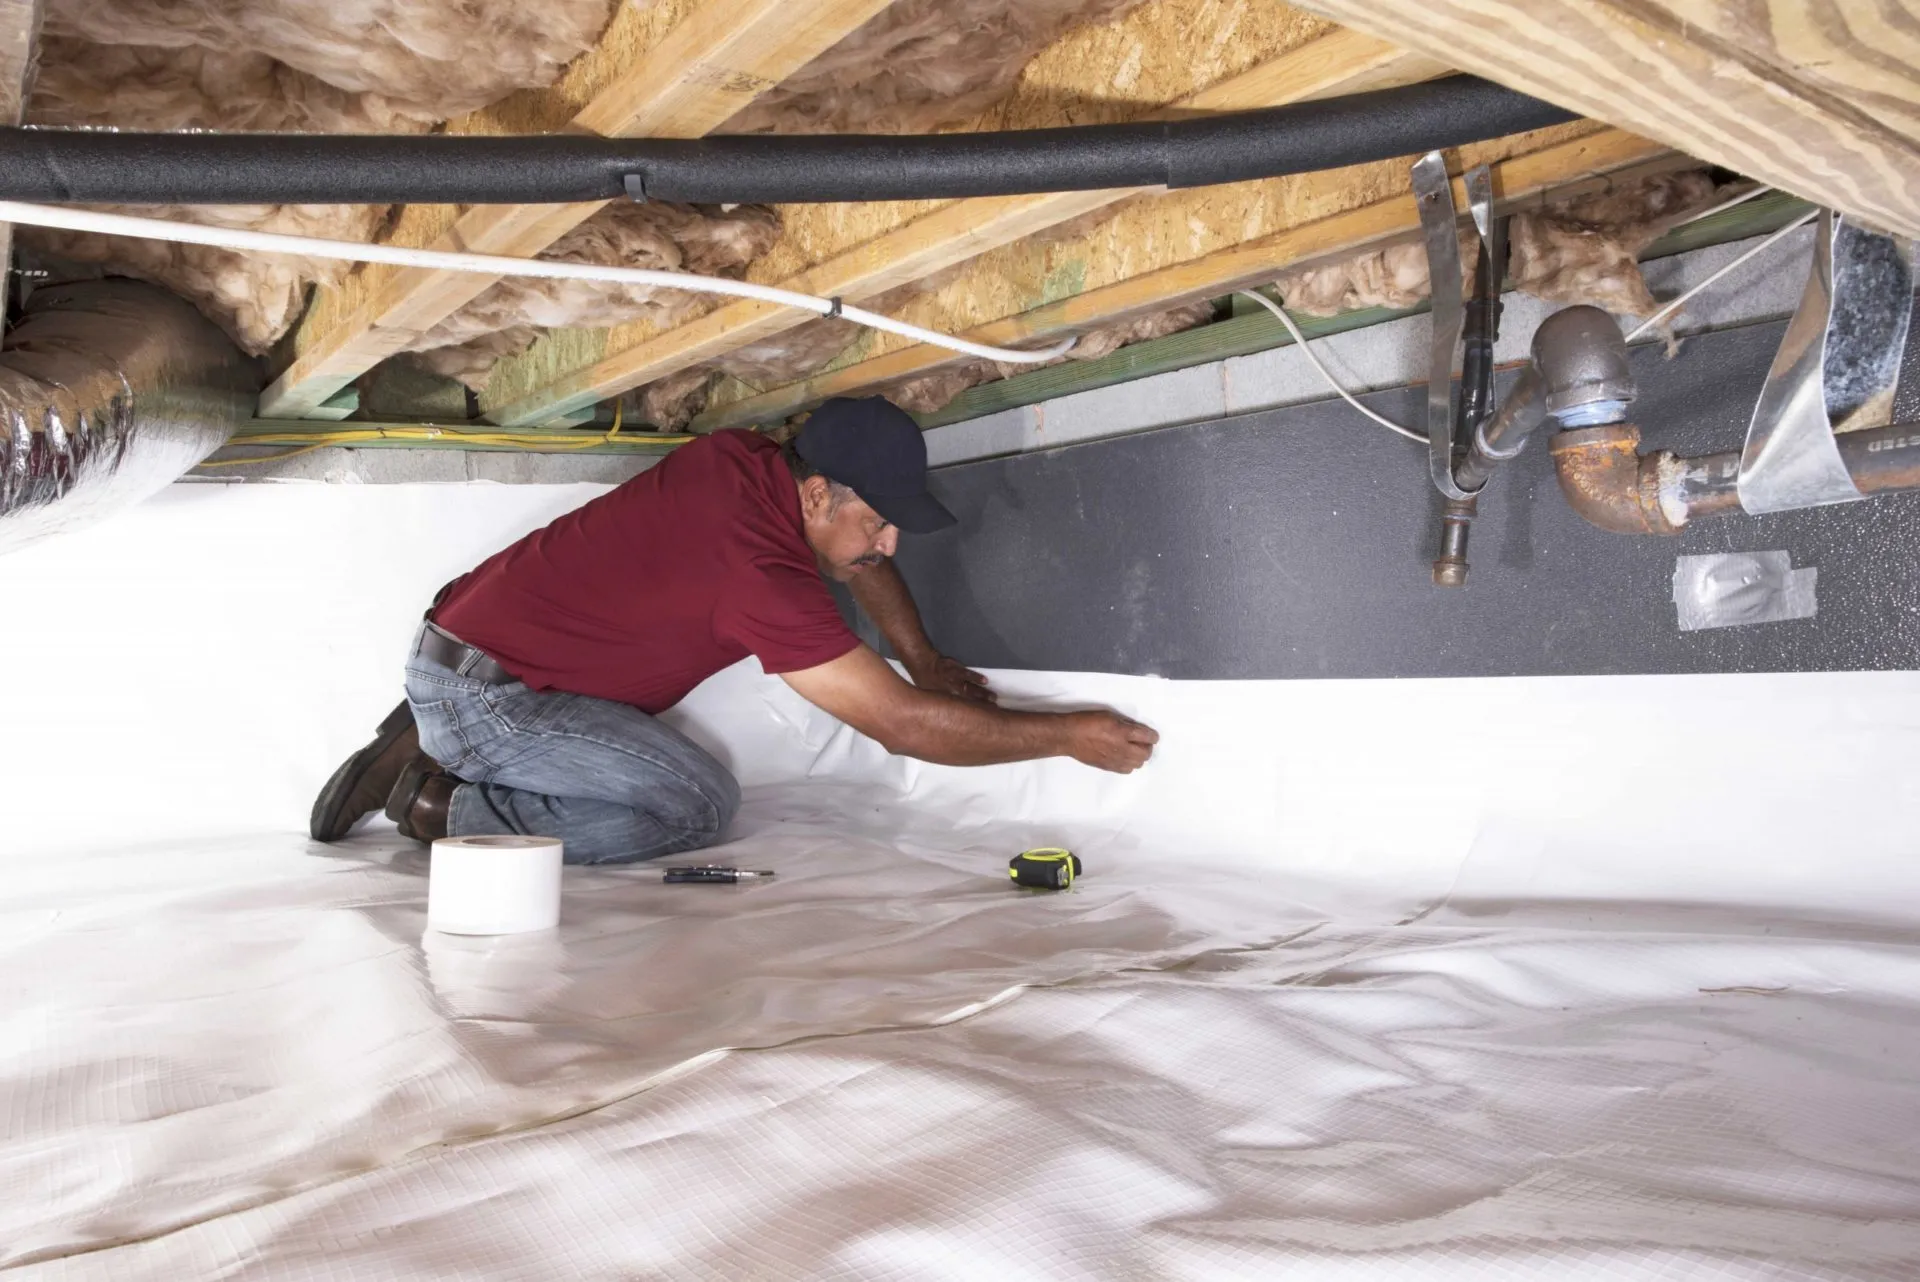
Lay the vapor barrier material across the entire crawl space, ensuring complete coverage of the dirt floor and extending it up the walls to create a seamless barrier. Overlapping the seams and edges of the vapor barrier helps create a continuous shield against moisture infiltration. Secure the vapor barrier in place using adhesive or specialized tape designed for vapor barrier installation. Pay close attention to sealing the edges and seams to prevent any gaps that could allow moisture to penetrate the barrier.
Inspecting and Testing
Once the vapor barrier is installed, conduct a thorough inspection to ensure it is properly secured and free of tears or punctures. Additionally, consider conducting a moisture test to verify the effectiveness of the vapor barrier in preventing moisture infiltration. This step is crucial in identifying any potential vulnerabilities and addressing them before proceeding with the insulation material installation.
By meticulously installing a high-quality vapor barrier, you can create a robust defense against moisture, laying the foundation for a well-protected and insulated crawl space. This essential step sets the stage for the subsequent insulation material installation, contributing to a healthier and more energy-efficient home environment.
Step 3: Adding Insulation Material
Adding insulation material to the crawl space is a pivotal step in creating a thermally efficient and well-protected environment beneath your home. Insulation helps regulate indoor temperatures, minimize energy loss, and further fortify the moisture-resistant barrier established by the vapor barrier. When selecting insulation material for a crawl space with a dirt floor, it's essential to consider factors such as moisture resistance, durability, and thermal performance to ensure optimal effectiveness.
Choosing the Right Insulation Material
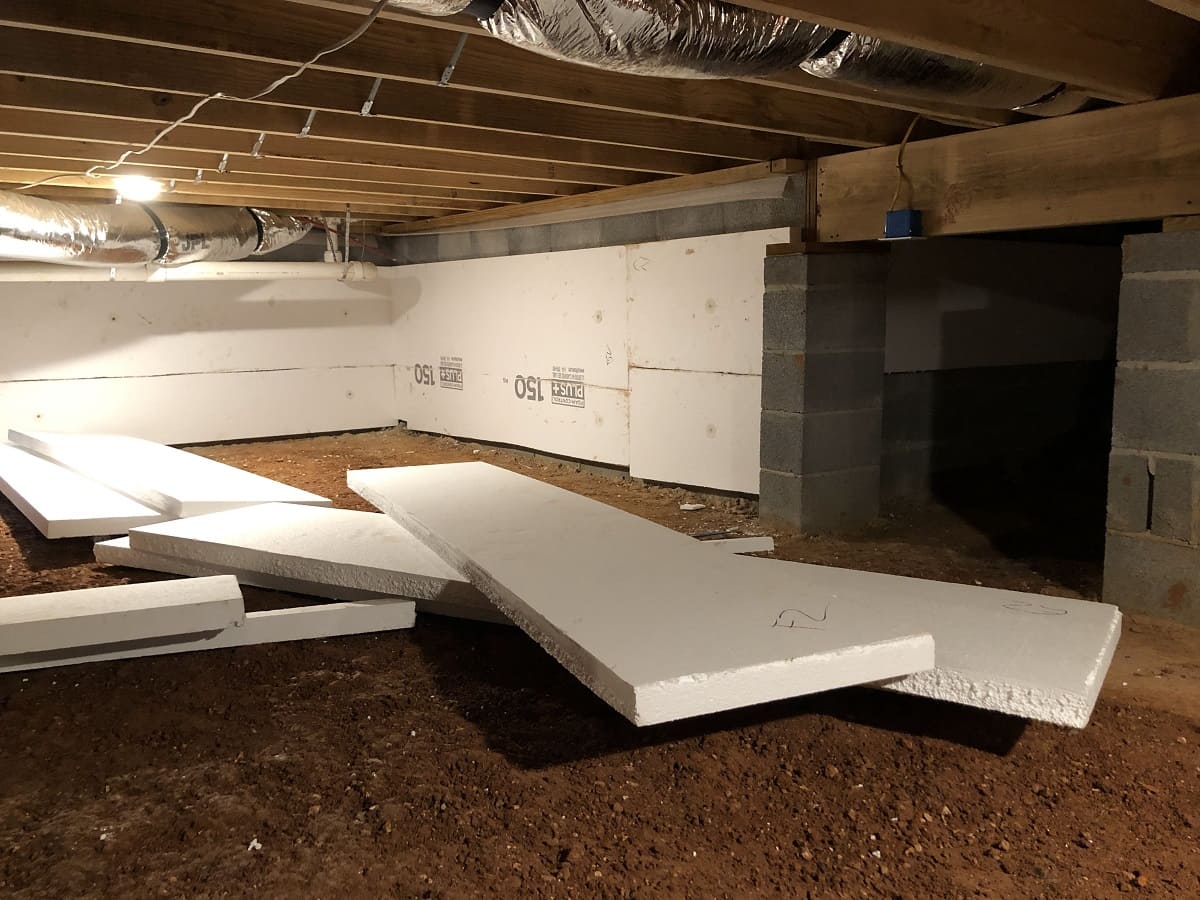
When choosing insulation material for a crawl space with a dirt floor, it's crucial to prioritize moisture-resistant options that can withstand the unique conditions within the crawl space. Closed-cell spray foam insulation is a popular choice for crawl spaces due to its exceptional moisture resistance and ability to create an effective air barrier. Additionally, rigid foam board insulation offers excellent thermal performance and moisture resistance, making it well-suited for crawl space applications. Consider consulting with insulation professionals to determine the most suitable material for your specific crawl space conditions and insulation goals.
Read more: How To Insulate PEX Pipes In A Crawl Space
Installing the Insulation Material
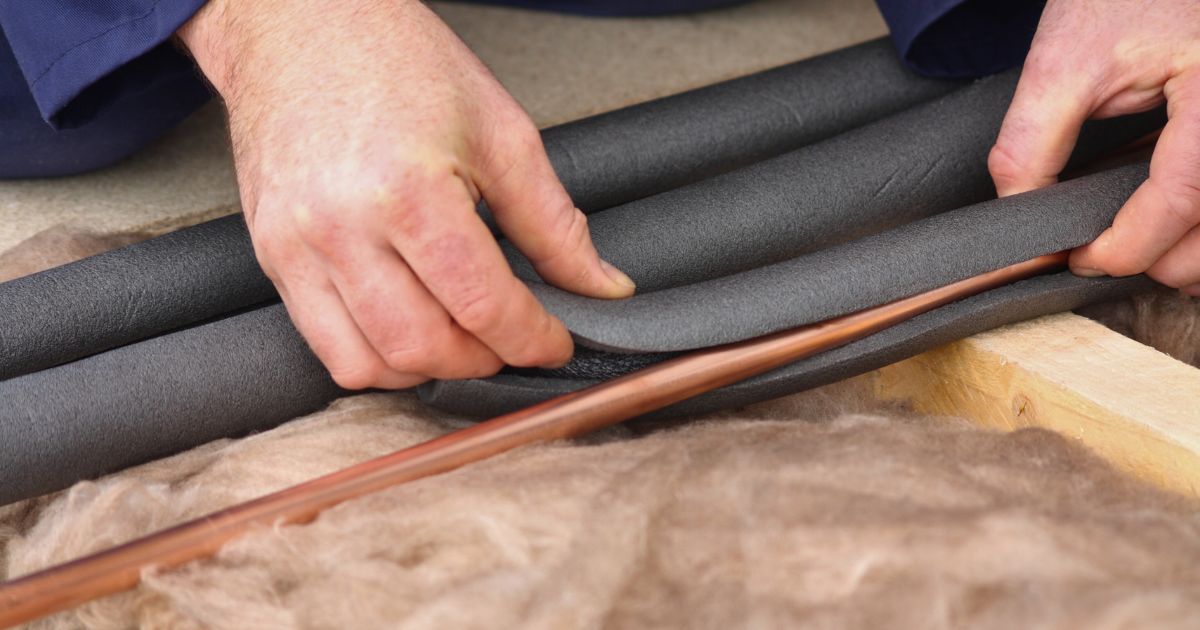
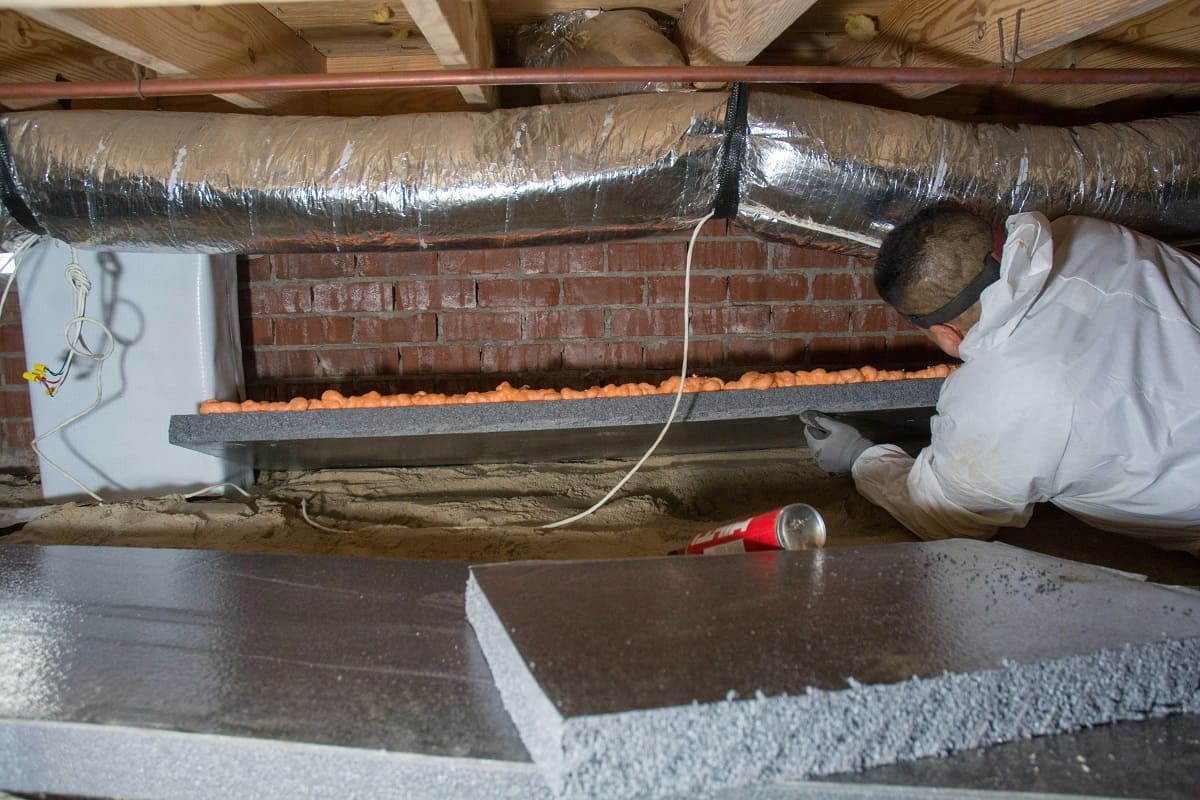
Before installing the insulation material, ensure that the crawl space is adequately prepared, with the vapor barrier securely in place. Carefully measure and cut the insulation material to fit the dimensions of the crawl space, ensuring a snug and precise installation. For spray foam insulation, professional installation is recommended to achieve optimal coverage and adherence to the crawl space surfaces. When installing rigid foam board insulation, securely fasten the panels to the crawl space walls and ensure proper sealing to create a continuous thermal barrier.
Ensuring Proper Ventilation and Air Circulation
Proper ventilation and air circulation are essential considerations when adding insulation material to a crawl space. Ensure that any existing ventilation openings are unobstructed and functioning effectively to promote air exchange and prevent moisture buildup. Additionally, consider incorporating vent fans or dehumidifiers to maintain optimal humidity levels within the crawl space, further enhancing the effectiveness of the insulation and moisture control measures.
Evaluating Insulation Performance
After the insulation material is installed, it's important to evaluate its performance and effectiveness in regulating temperatures and moisture levels within the crawl space. Monitor the crawl space for any signs of moisture accumulation or temperature fluctuations, addressing any potential issues promptly to maintain the integrity of the insulation and ensure long-term effectiveness.
By adding high-quality insulation material to the crawl space, you can create a well-insulated and moisture-resistant environment that contributes to enhanced energy efficiency and a healthier living space. This crucial step further fortifies the protective barrier established by the vapor barrier, ultimately contributing to a more comfortable and sustainable home environment.
Step 4: Sealing the Crawl Space
Sealing the crawl space is the final essential step in the insulation process, playing a pivotal role in creating a comprehensive barrier against moisture, pests, and air infiltration. Properly sealing the crawl space helps maintain the integrity of the insulation, regulates indoor temperatures, and contributes to overall energy efficiency. This step involves addressing potential entry points, sealing gaps and cracks, and implementing measures to prevent moisture intrusion and air leakage.
Read more: How To Insulate A Crawl Space Door
Identifying Entry Points and Gaps
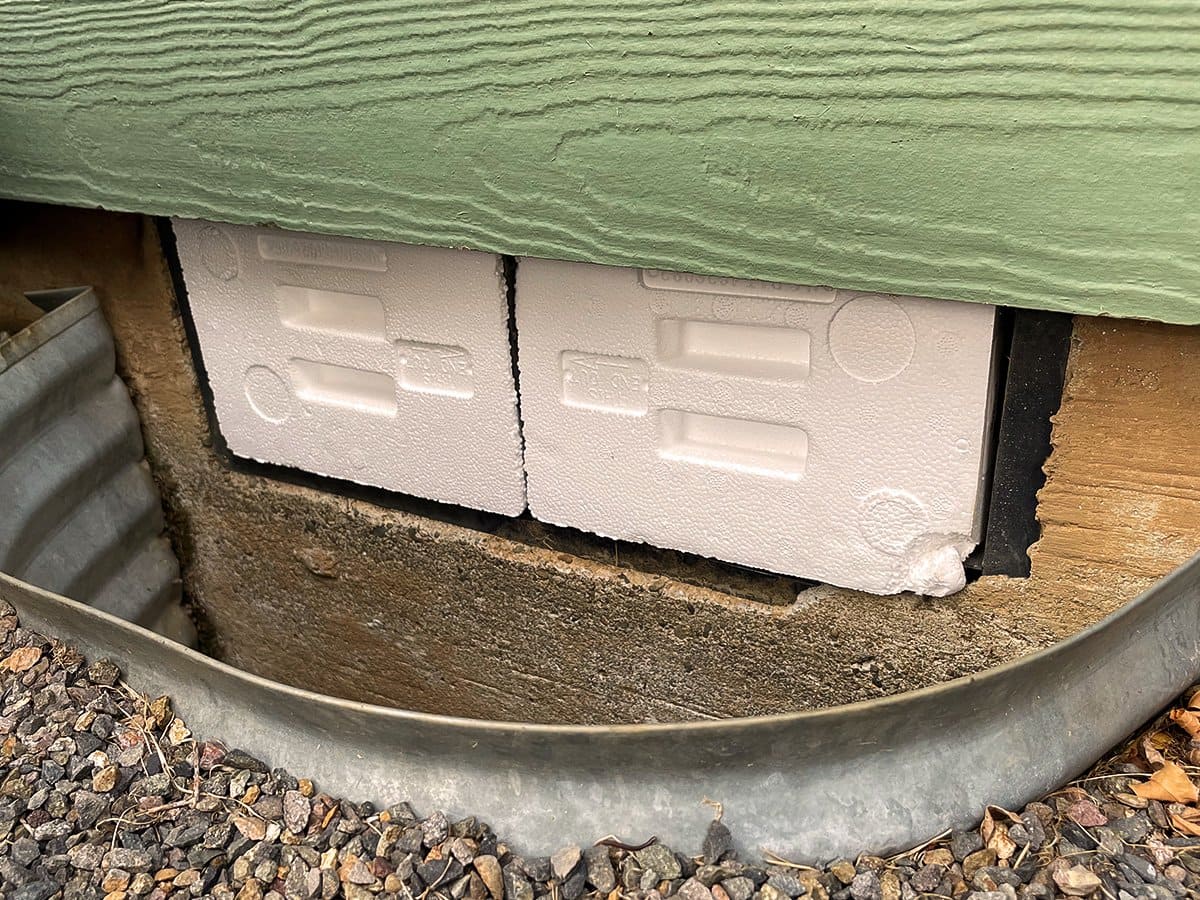
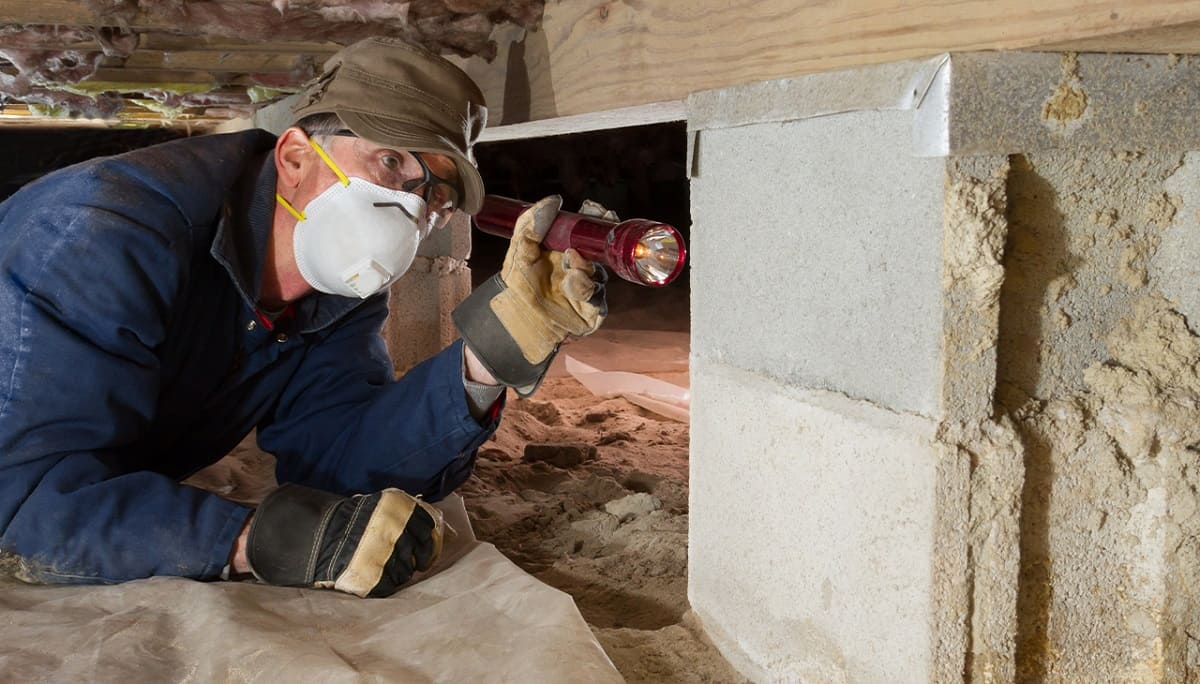
Begin by thoroughly inspecting the crawl space for potential entry points that may allow moisture, pests, or air to infiltrate the space. Common entry points include gaps around plumbing penetrations, foundation vents, and areas where utility lines enter the crawl space. Additionally, carefully examine the perimeter of the crawl space for any cracks or openings that could compromise the integrity of the insulation and vapor barrier.
Sealing Gaps and Cracks
Once potential entry points are identified, proceed to seal gaps and cracks using appropriate sealants and insulation materials. For smaller gaps and cracks, consider using expanding foam sealant to create a durable and airtight seal. For larger openings or structural gaps, employ insulation materials or specialized sealants designed for crawl space applications. Ensuring a thorough and meticulous sealing process is crucial in fortifying the crawl space against moisture and air infiltration.
Implementing Moisture Control Measures
In addition to sealing gaps and cracks, consider implementing moisture control measures to further safeguard the crawl space. Installing a dehumidifier can help maintain optimal humidity levels, preventing moisture buildup and mitigating the risk of mold growth. Additionally, consider incorporating drainage systems or sump pumps to address potential water intrusion and ensure proper moisture management within the crawl space.
Assessing the Integrity of the Seal
After sealing the crawl space, conduct a comprehensive assessment to verify the integrity of the seal and identify any potential areas that may require additional attention. Utilize smoke pencils or thermal imaging tools to detect air leaks and ensure that the seal is effectively preventing air infiltration. Additionally, conduct a visual inspection to confirm that all gaps, cracks, and entry points have been adequately sealed, providing a robust defense against moisture and air intrusion.
By meticulously sealing the crawl space and addressing potential vulnerabilities, you can create a well-protected and energy-efficient environment beneath your home. This final step in the insulation process serves as a crucial measure in maintaining the effectiveness of the insulation and vapor barrier, ultimately contributing to a healthier, more comfortable, and sustainable living space.
Read more: How To Install Insulation In A Crawl Space
Conclusion
Insulating a crawl space with a dirt floor is a transformative process that not only enhances the energy efficiency of your home but also contributes to a healthier living environment. By following the comprehensive steps outlined in this guide, you have taken proactive measures to protect your home from moisture-related issues, regulate indoor temperatures, and reduce energy expenses.
The journey began with the crucial step of clearing the crawl space, where diligent efforts were made to remove debris, address moisture concerns, and ensure adequate ventilation. This initial preparation set the stage for the subsequent installation of a high-quality vapor barrier, creating a robust defense against moisture infiltration and laying the foundation for a well-protected crawl space.
The addition of insulation material further fortified the crawl space, contributing to enhanced thermal performance and moisture resistance. By carefully selecting and installing insulation material suited for crawl space applications, you have taken significant strides in creating a more energy-efficient and comfortable home environment.
Sealing the crawl space served as the final essential step, where meticulous attention was given to identifying and addressing potential entry points, sealing gaps and cracks, and implementing moisture control measures. This comprehensive sealing process ensures that the integrity of the insulation and vapor barrier is maintained, safeguarding the crawl space against moisture, pests, and air infiltration.
As a result of your dedication to insulating the crawl space with a dirt floor, you have not only enhanced the structural integrity of your home but also contributed to long-term energy savings and a healthier living space. The measures taken in this insulation process serve as a proactive investment in the sustainability and comfort of your home, providing lasting benefits for you and your family.
By embracing the knowledge and insights shared in this guide, you have empowered yourself to create a well-insulated, moisture-resistant, and energy-efficient crawl space, setting the stage for a more sustainable and comfortable living environment. As you witness the positive impact of these insulation efforts on your home, you can take pride in knowing that you have taken proactive steps to enhance the overall quality and sustainability of your living space.
Frequently Asked Questions about How To Insulate Crawl Space With Dirt Floor
Was this page helpful?
At Storables.com, we guarantee accurate and reliable information. Our content, validated by Expert Board Contributors, is crafted following stringent Editorial Policies. We're committed to providing you with well-researched, expert-backed insights for all your informational needs.

0 thoughts on “How To Insulate Crawl Space With Dirt Floor”