Home>Articles>How To Install Insulation In Crawl Space Floor

Articles
How To Install Insulation In Crawl Space Floor
Modified: January 8, 2024
Learn how to properly install insulation in your crawl space floor with our informative articles. Improve energy efficiency and prevent moisture issues today.
(Many of the links in this article redirect to a specific reviewed product. Your purchase of these products through affiliate links helps to generate commission for Storables.com, at no extra cost. Learn more)
Introduction
Welcome to our comprehensive guide on how to install insulation in a crawl space floor. If you have a crawl space beneath your home, it’s important to insulate it properly to keep your living spaces comfortable and energy-efficient. Insulating the crawl space floor can help prevent heat loss or gain, reduce energy bills, control moisture levels, and enhance the overall comfort of your home.
In this article, we will walk you through a step-by-step process of installing insulation in your crawl space floor. We will cover everything from gathering the necessary materials to sealing gaps and cracks. By following these guidelines, you can ensure a successful installation that will provide long-term benefits for your home.
Before we dive into the installation process, it’s essential to understand the importance of insulation in a crawl space. Crawl spaces are vulnerable to temperature fluctuations and moisture accumulation, which can lead to various issues such as mold growth, pest infestation, and energy inefficiency.
By insulating the crawl space floor, you create a barrier between the cold ground and the living spaces above. This barrier helps to maintain a consistent temperature in your home, preventing drafts and cold floors during the winter months. Additionally, proper insulation can help control moisture levels, reducing the risk of mold and other moisture-related problems.
Now that we understand the benefits of insulating the crawl space floor, let’s move on to the step-by-step process of installation.
Key Takeaways:
- Properly insulating your crawl space floor can control temperature fluctuations, reduce energy bills, prevent moisture issues, and enhance overall comfort, creating a healthier living environment by preventing mold and pests.
- Regular maintenance and inspections are crucial for ensuring the long-term effectiveness of your insulation. By monitoring humidity levels, addressing gaps or cracks, and staying proactive, you can prolong the life of your insulation and minimize energy loss.
Read more: How To Insulate The Floor In A Crawl Space
Step 1: Gather necessary materials
Before you begin the insulation installation process, it’s important to gather all the required materials. Having everything on hand will save you time and ensure a smooth installation process. Here are the materials you will need:
- Insulation batts or rolls: Choose insulation material suitable for crawl space floors, such as fiberglass or foam board insulation. Measure the dimensions of your crawl space floor to determine how much insulation you’ll need.
- Vapor barrier: A vapor barrier will help prevent moisture from seeping into the crawl space. Look for a high-quality, durable vapor barrier made of materials like polyethylene.
- Knee pads and gloves: These will provide protection and comfort while working in the crawl space.
- Tape measure: Use a tape measure to accurately measure the dimensions of your crawl space and the insulation materials.
- Utility knife: This will be handy for cutting the insulation to the appropriate size.
- Staple gun and staples: You’ll need a staple gun to secure the insulation in place. Make sure you have enough staples for the job.
- Caulk and foam sealant: These materials will be used to seal any gaps or cracks in the crawl space floor and prevent air leakage.
- Safety gear: Wear safety goggles and a dust mask to protect yourself from any potential irritants during the installation process.
Once you have gathered all these materials, you’ll be ready to proceed to the next steps of the installation process. It’s important to ensure that all the materials you use are of high quality and suitable for crawl space floor insulation. This will ensure that your insulation is durable, effective, and long-lasting.
Step 2: Measure the crawl space floor
Now that you have all the necessary materials, the next step is to measure the dimensions of your crawl space floor. Accurate measurements are essential to ensure that you purchase the correct amount of insulation and properly cover the entire area. Here’s how to measure your crawl space floor:
- Put on your knee pads and gloves to protect yourself while working in the crawl space.
- Access the crawl space through the designated entry point. It’s important to have proper lighting and ventilation in the crawl space.
- Using a tape measure, measure the length and width of the crawl space floor. Take note of any irregularities or obstacles that might affect the installation process.
- Calculate the total square footage of the crawl space floor by multiplying the length and width measurements. This will help you determine how much insulation material you will need.
- Remember to account for any openings in the crawl space floor, such as vents or access points, when calculating the total square footage. You may need to cut the insulation to fit around these openings.
Once you have measured the crawl space floor and determined the total square footage, you can proceed to purchase the appropriate amount of insulation material. It is advisable to purchase a little extra material to account for any mistakes or unforeseen circumstances during the installation process.
Accurate measurements will ensure that you have enough insulation to cover the entire crawl space floor, effectively sealing it from outside temperatures and moisture. Taking the time to measure carefully at this stage will save you time and effort later on.
Step 3: Prepare the crawl space floor
Before installing the insulation in your crawl space floor, it’s crucial to properly prepare the area. Preparing the crawl space floor will ensure a clean and stable surface for the insulation installation. Here’s what you need to do:
- Clean the crawl space floor: Remove any debris, dirt, or objects from the crawl space floor. This will provide a clean surface for the insulation and prevent any obstructions during the installation process.
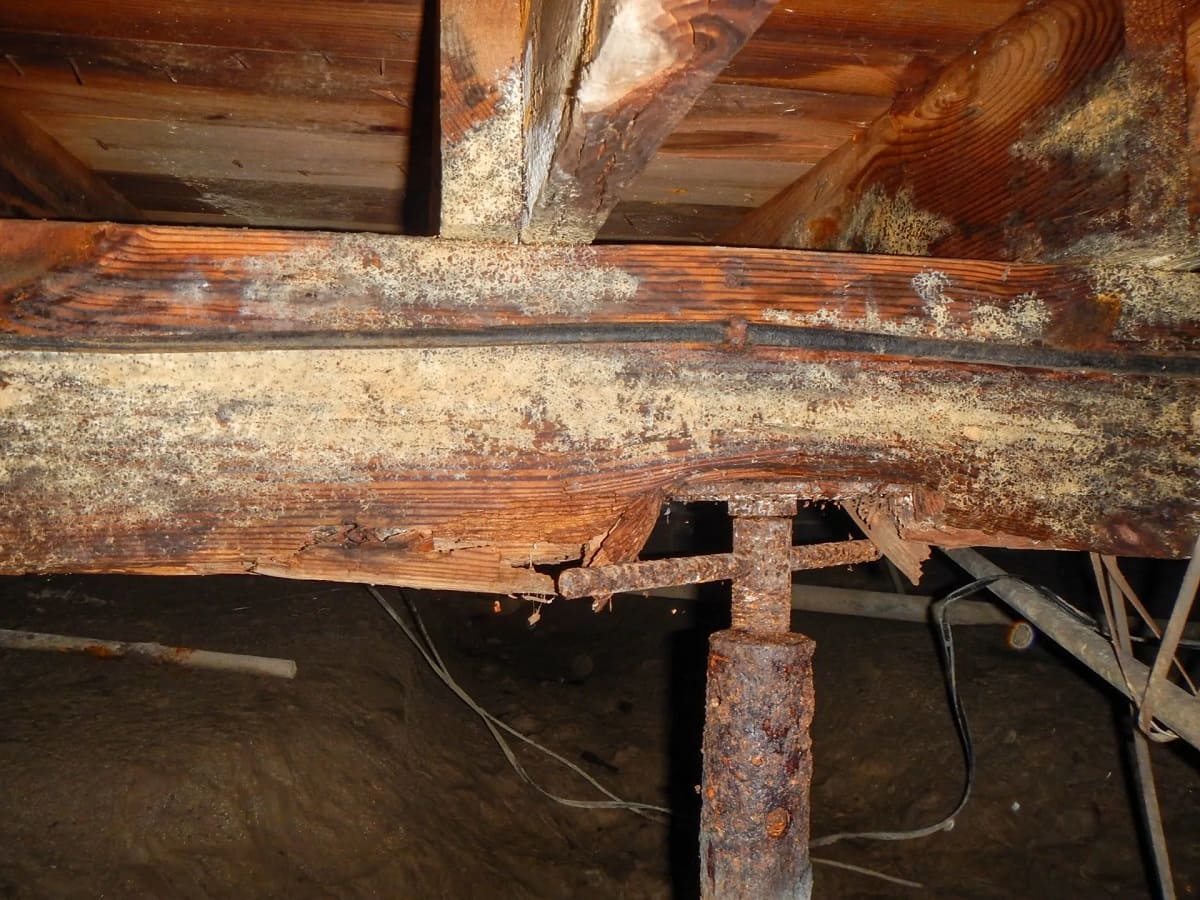
- Check for moisture issues: Inspect the crawl space for signs of moisture or water intrusion. Address any existing moisture problems before proceeding with the insulation installation. This may involve fixing leaks, improving drainage, or installing a sump pump.
- Repair any damage: Look for any damage in the crawl space floor, such as cracks or holes. Repair these areas using an appropriate filler or sealant. This will ensure a smooth and solid surface for the insulation.
- Address pests or mold: If you notice any signs of pests or mold in the crawl space, take appropriate action to eliminate them. This may involve hiring a professional pest control or mold remediation service.
By properly preparing the crawl space floor, you will create a suitable environment for the insulation installation. Addressing any moisture issues, repairing damage, and eliminating pests or mold will help ensure the longevity and effectiveness of the insulation.
It’s important to note that if you are unsure about handling any of these tasks yourself, it’s best to seek professional assistance. Insulation installation in a crawl space can be complex, and it’s important to prioritize safety and efficiency throughout the process.
Once you have prepared the crawl space floor, you are ready to move on to the next step of installing a vapor barrier.
Step 4: Install vapor barrier
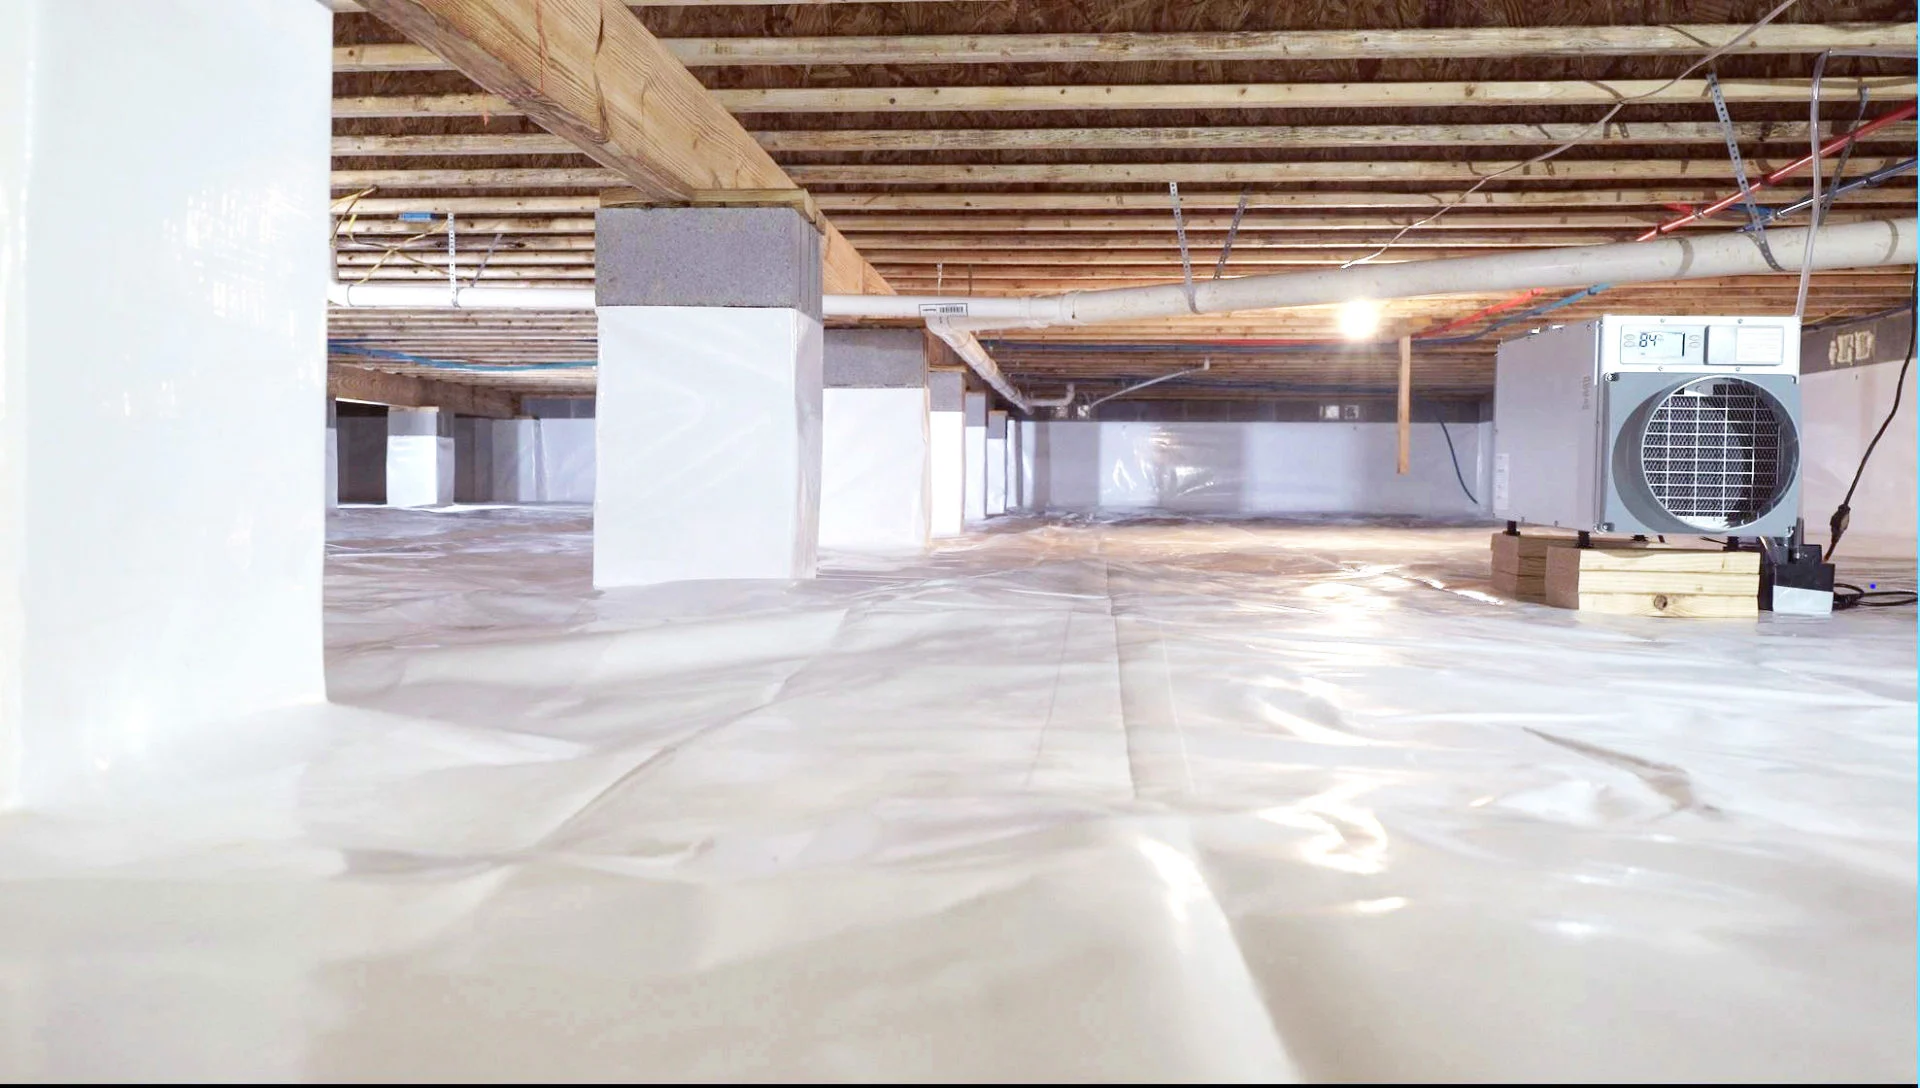
Installing a vapor barrier is an essential step in insulating the crawl space floor. The vapor barrier acts as a moisture barrier, preventing the buildup of moisture and condensation in the crawl space. Here’s how you can install a vapor barrier:
- Measure the dimensions of the crawl space floor and cut the vapor barrier material to fit. Leave a few extra inches of material at the edges to ensure proper coverage.
- Start by laying the vapor barrier along one end of the crawl space floor. Unroll it and position it so that it covers the entire floor, extending up the walls of the crawl space.
- Secure the vapor barrier in place using a staple gun. Place staples approximately every 6 inches along the edges of the vapor barrier and every 12 inches in the field of the material. Make sure the vapor barrier is taut and free from wrinkles.
- Overlap the vapor barrier sheets by at least 6 inches and seal the seams using vapor barrier tape. This will ensure a continuous and effective barrier against moisture.
- Cut holes in the vapor barrier to accommodate any crawl space vents or access points. Ensure a snug fit around these openings to maintain the integrity of the vapor barrier.
Installing a vapor barrier is crucial because it prevents moisture from seeping into the crawl space and causing damage to the insulation and the structure of the home. It also helps to control humidity levels and prevent the growth of mold and mildew.
Remember to follow the manufacturer’s instructions when installing the vapor barrier. Different types of vapor barriers may have specific guidelines and recommendations for installation. Properly installing the vapor barrier will ensure its effectiveness in preserving the integrity of the crawl space insulation.
With the vapor barrier in place, you are now ready to move on to the next step and install the insulation batts in the crawl space floor.
Read more: How To Install Insulation In A Crawl Space
Step 5: Install insulation batts
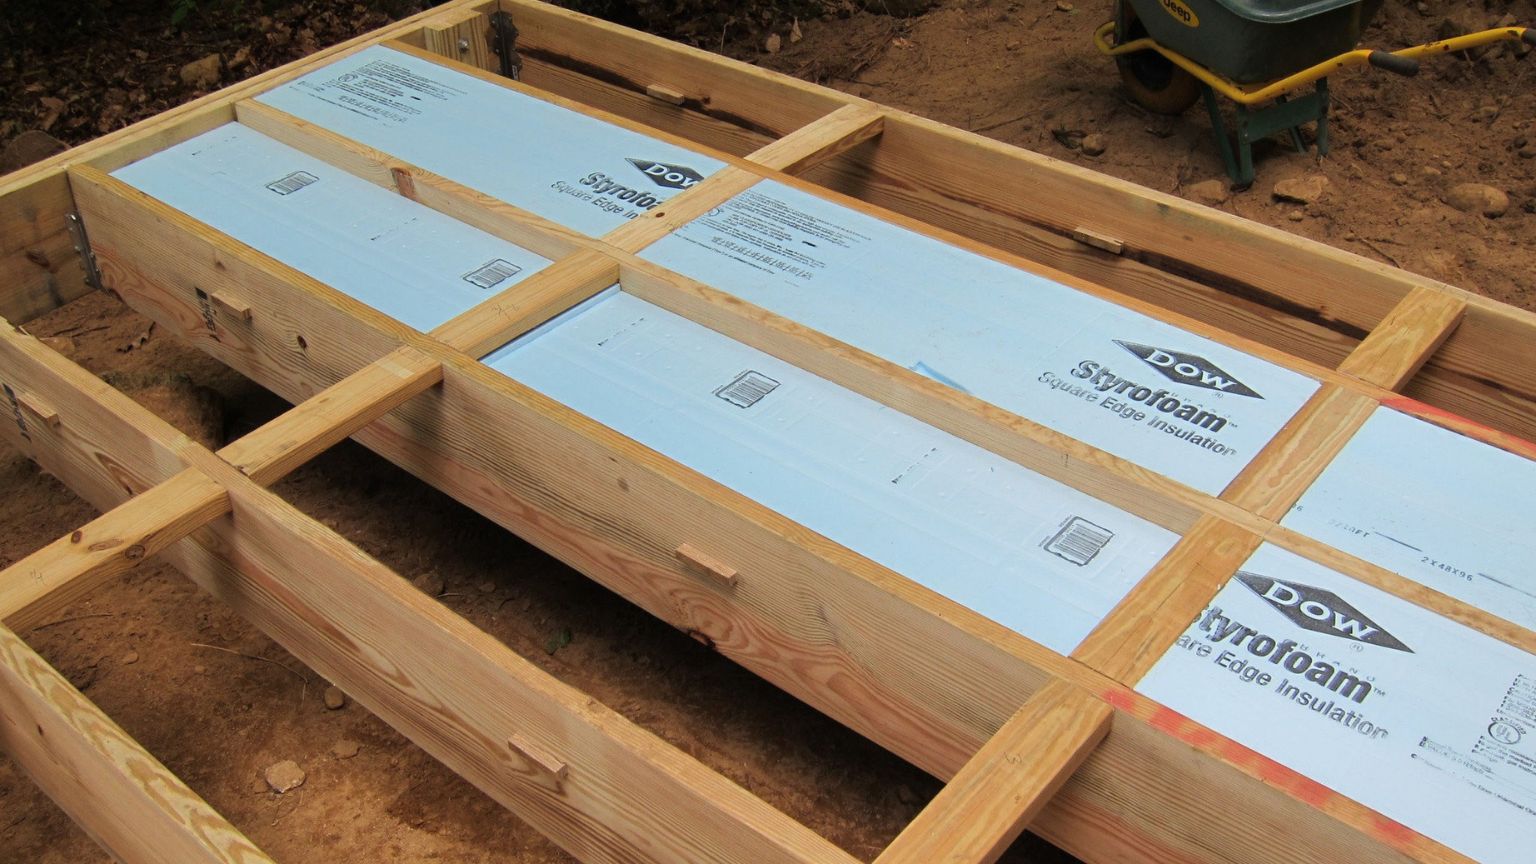
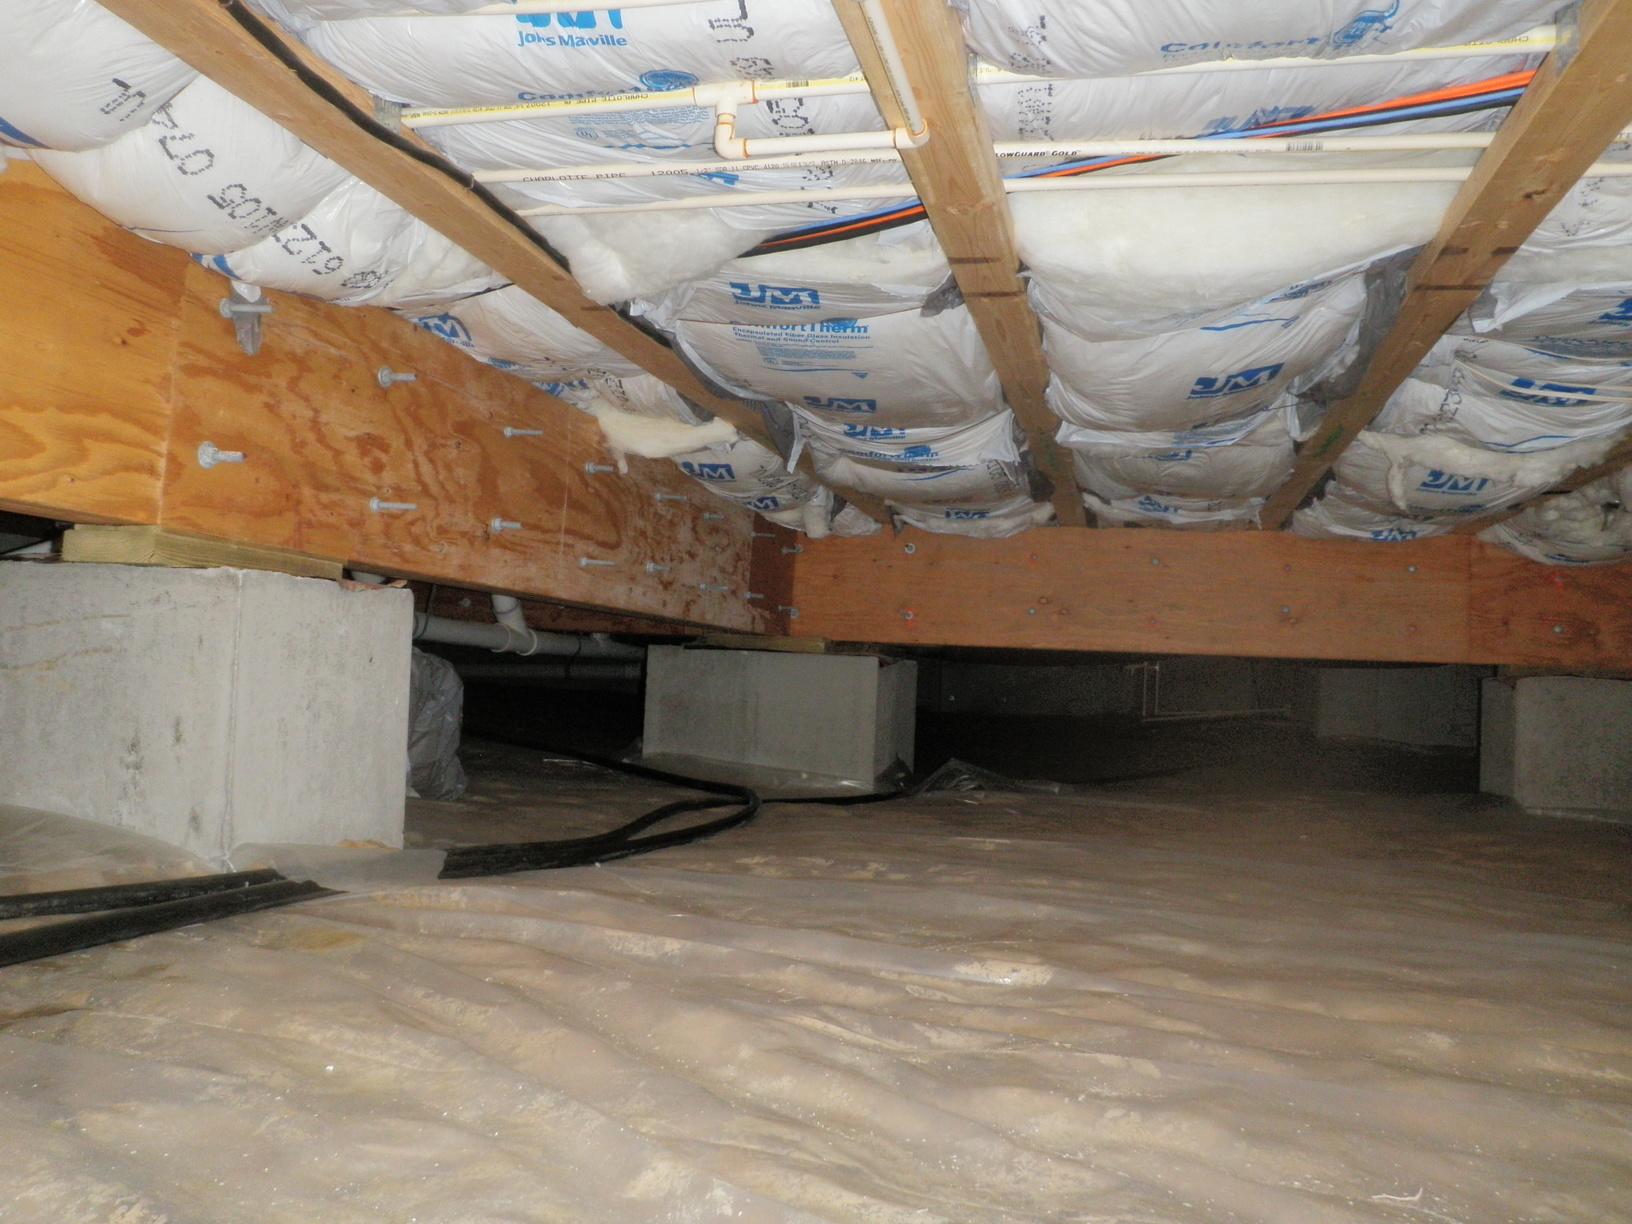
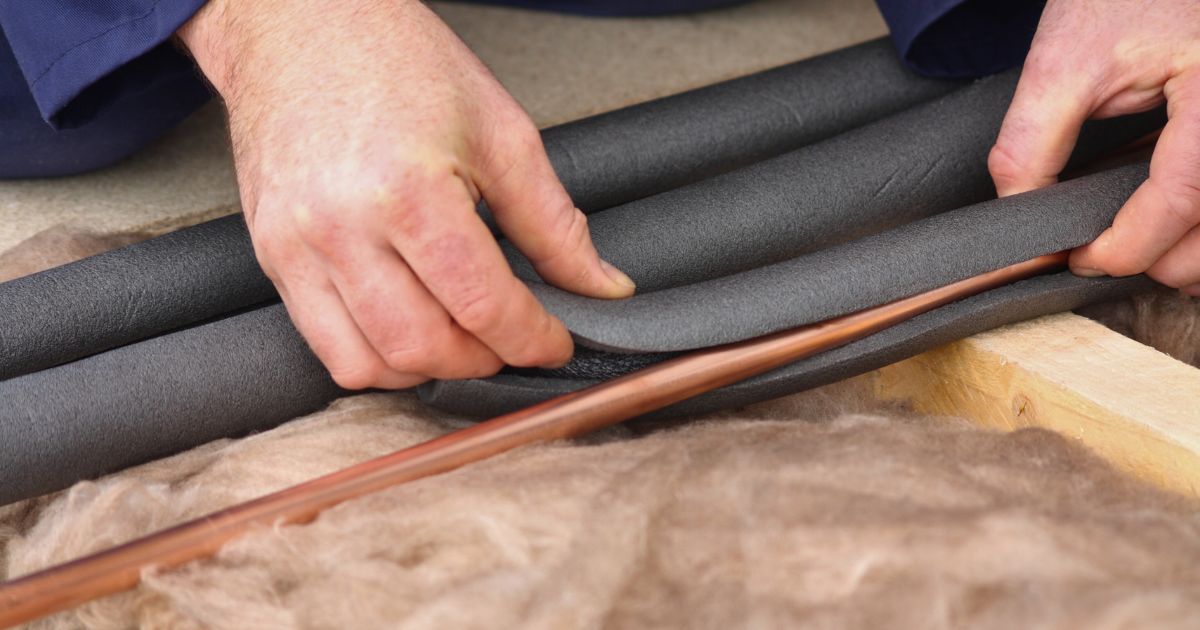
Now that the vapor barrier is installed, it’s time to move on to installing the insulation batts in the crawl space floor. Insulation batts are pre-cut panels of insulation that are designed to fit between floor joists. Here’s how you can install them:
- Measure the distance between the floor joists in your crawl space. This will help you determine the appropriate size of insulation batts to use.
- Cut the insulation batts to the desired length, ensuring they fit snugly between the floor joists. Use a utility knife or insulation cutter for precise cuts.
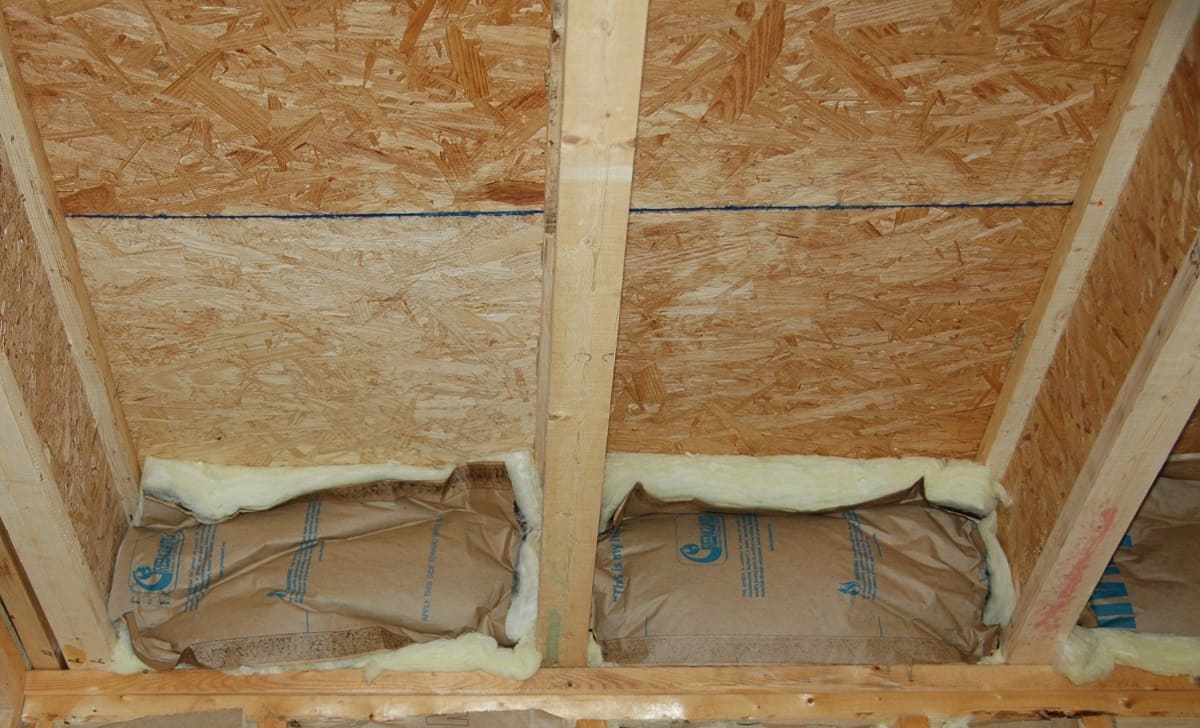
- Place the insulation batts between the floor joists, making sure they are flush against the subfloor above.
- For added insulation, you can install a second layer of insulation batts perpendicular to the first layer. This will help minimize any gaps and improve the overall insulation performance.
It’s important to note that when handling insulation batts, you should wear protective clothing, such as gloves and a mask, to avoid skin irritation or respiratory issues.
When installing the insulation batts, ensure that there are no gaps or spaces between the insulation and the floor joists. This will help maximize the insulation’s effectiveness and prevent air leaks.
It is recommended to start installing the insulation batts from one end of the crawl space and work your way towards the other end. This will ensure a systematic and thorough installation process.
Once you have installed the insulation batts, take a moment to inspect and adjust them if necessary. Make sure they are evenly distributed and cover the entire crawl space floor. Insulation batts play a crucial role in providing thermal resistance and energy efficiency, so proper installation is key.
With the insulation batts in place, you are ready to move on to the next step and secure the insulation in place.
When installing insulation in a crawl space floor, make sure to wear protective clothing, gloves, and a mask to avoid irritation from the insulation material. Additionally, use a vapor barrier to prevent moisture from seeping into the insulation.
Step 6: Secure insulation batts in place
Once you have installed the insulation batts in the crawl space floor, it’s important to secure them in place to ensure they stay in position and maintain their effectiveness. Securing the insulation batts will also help prevent any sagging or movement over time. Here’s how you can secure the insulation batts:
- Using a staple gun, fasten the insulation batts to the floor joists. Place staples along the edges of the insulation batts, approximately every 12 inches, to keep them firmly in place.
- Ensure that the insulation batts are secured tightly to the floor joists, but be careful not to compress the insulation material. Compressed insulation will reduce its effectiveness.
- If the insulation batts are not staying in place with staples alone, you can use insulation hangers or wire to provide additional support. Attach the hangers or wire to the joists and secure the insulation batts to them.
- Check for any gaps or areas where the insulation batts might be loose. If necessary, use additional staples or hangers to secure those areas.
Properly securing the insulation batts will ensure that they remain in position and provide optimal insulation performance. It’s important to take the time to secure all areas of the crawl space floor to avoid any potential insulation gaps or shifts.
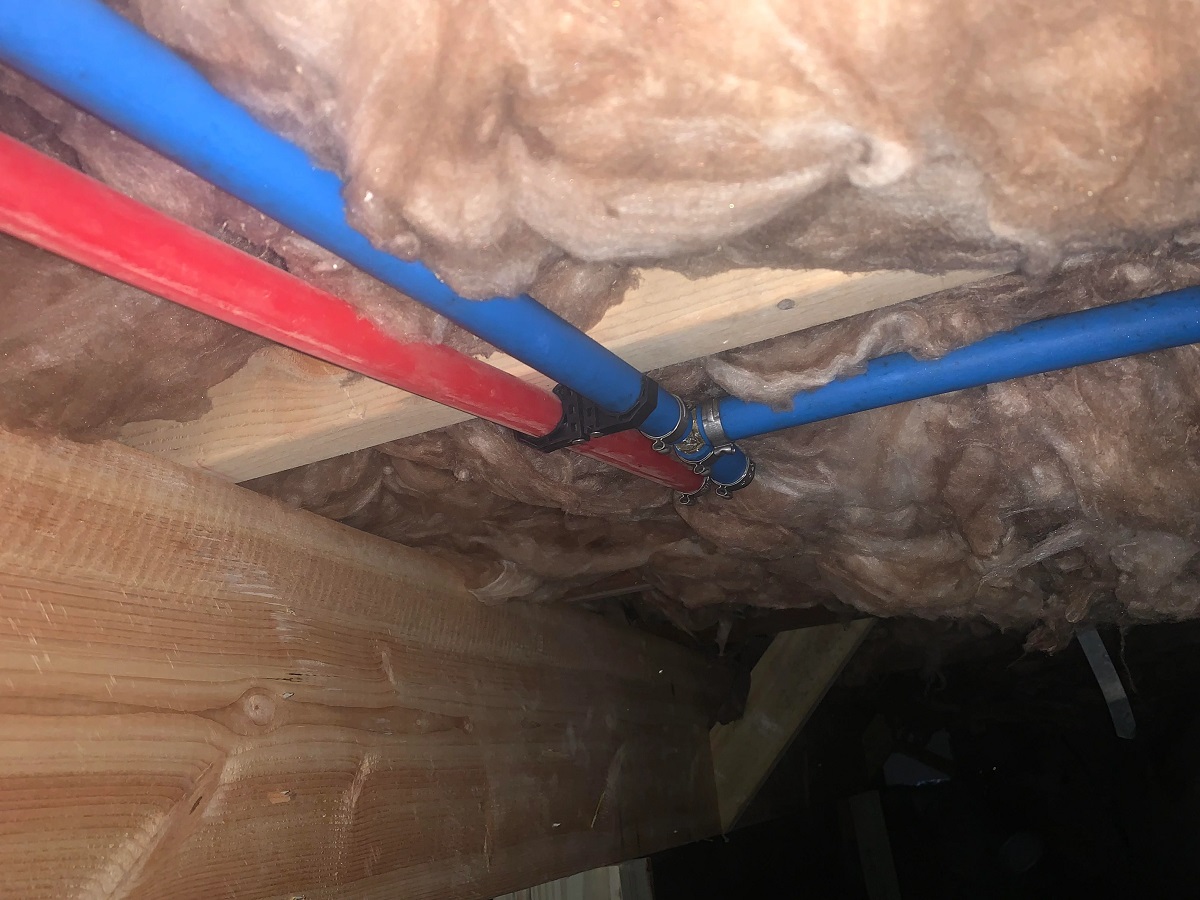
Remember to be mindful of any electrical wiring, plumbing, or other obstructions in the crawl space while securing the insulation. Avoid stapling or compressing insulation around these areas to prevent any damage or hazards.
By securely fastening the insulation batts, you are ensuring that your crawl space floor is thoroughly insulated and protected against temperature fluctuations. This will help improve the energy efficiency of your home and provide greater comfort for you and your family.
Once the insulation batts are securely in place, you can move on to the next step and cover the insulation with a vapor barrier.
Step 7: Cover the insulation with a vapor barrier
After securing the insulation batts in place, the next step is to cover them with a vapor barrier. The vapor barrier acts as an additional layer of protection, preventing moisture from entering the crawl space and affecting the insulation. Here’s how you can cover the insulation with a vapor barrier:
- Measure the dimensions of the crawl space floor to determine the size of the vapor barrier needed. Ensure that it will completely cover the insulation batts and extend up the walls of the crawl space.
- Cut the vapor barrier material to the appropriate size, leaving extra material to account for any overlaps or seams.
- Start by laying the vapor barrier along one end of the crawl space floor, covering the insulation batts. Unroll it and position it so that it fully covers the insulation and extends up the walls by a few inches.
- Secure the vapor barrier in place using a staple gun or adhesive designed for this purpose. Place staples or apply the adhesive along the edges of the vapor barrier, ensuring a tight and secure fit.
- If using multiple sheets of vapor barrier, overlap the edges by at least 6 inches to create a continuous barrier. Seal the seams using vapor barrier tape to ensure there are no gaps for moisture to penetrate.
The vapor barrier provides an extra layer of protection against moisture and helps maintain the integrity of the insulation. It acts as a barrier, preventing humid air from entering the crawl space and causing condensation or other moisture-related problems.
Take care when handling the vapor barrier to ensure it is not damaged during installation. Avoid puncturing or tearing the material, as this can compromise its effectiveness.
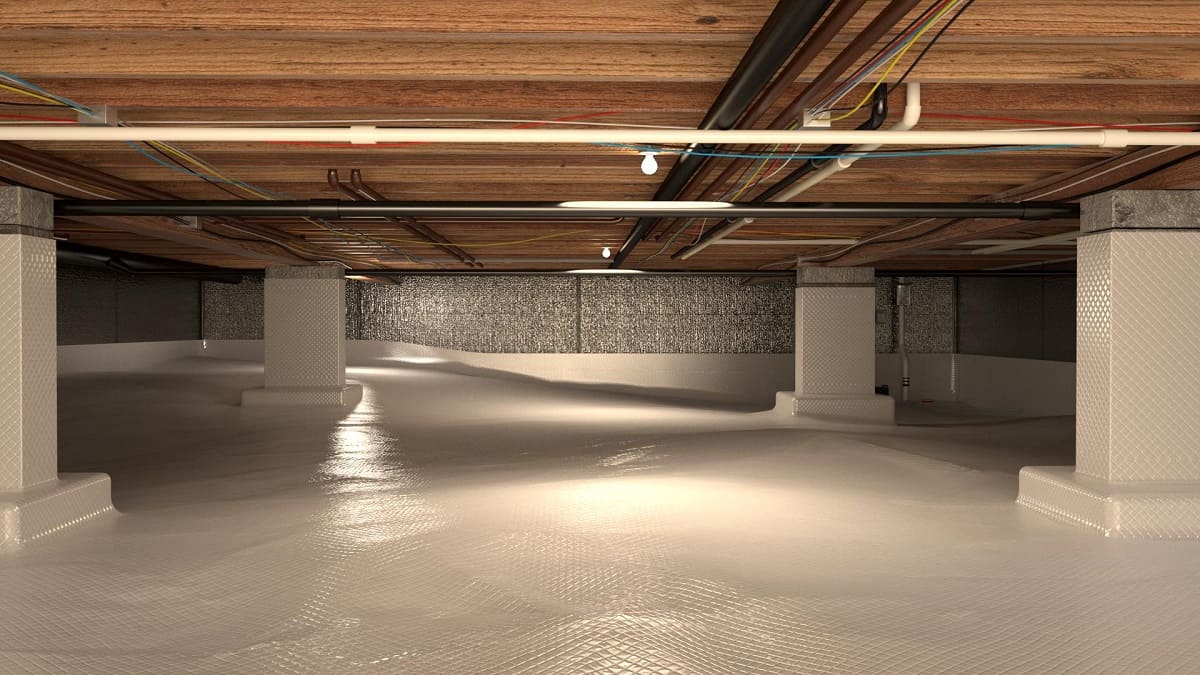
By covering the insulation batts with a vapor barrier, you are creating a well-protected and insulated crawl space floor. This will contribute to improved energy efficiency, reduced moisture issues, and a more comfortable living environment.
With the vapor barrier in place, you have taken a significant step towards completing the insulation installation in your crawl space. Now it’s time to focus on sealing any gaps and cracks to further enhance the insulation’s effectiveness.
Step 8: Seal gaps and cracks
Sealing gaps and cracks in the crawl space floor is an important step in the insulation installation process. It helps to prevent air leakage, maintain the integrity of the insulation, and improve energy efficiency. Here’s how you can effectively seal gaps and cracks in your crawl space floor:
- Inspect the crawl space floor for any visible gaps or cracks. These can often be found around pipes, electrical wiring, vents, or where the floor meets the walls.
- Use a caulk gun to apply a bead of caulk along the gaps and cracks. Choose a high-quality caulk that is specifically designed for crawl space use and is resistant to moisture.
- Smooth the caulk with a caulk smoothing tool or a putty knife to create a seamless and well-sealed barrier.
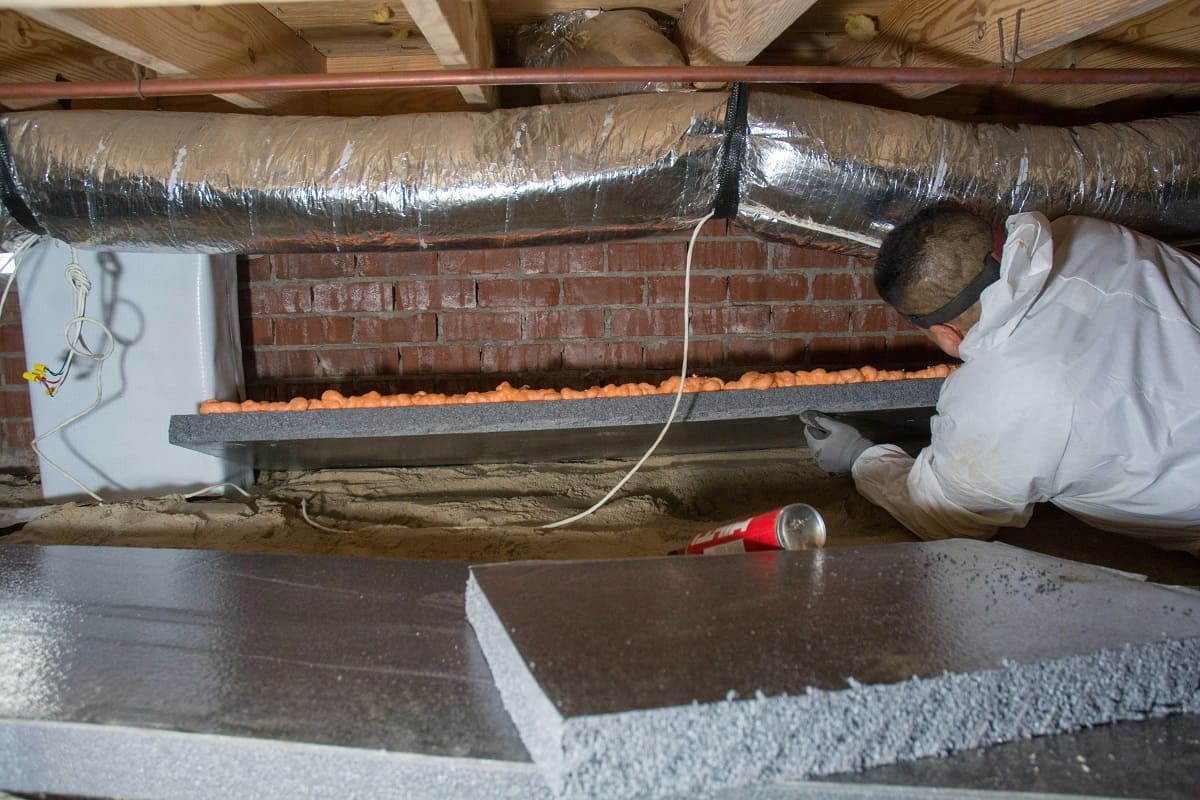
- For larger gaps or cracks, use expanding foam sealant. Apply the foam sealant into the gap or crack, allowing it to expand and fill the space. Trim any excess foam once it has dried to create a flush surface.
- Pay close attention to areas where different materials meet, such as where the crawl space floor meets the walls or where pipes and wires enter the crawl space. These are common areas for air leakage and should be sealed properly.
- Allow the caulk or foam sealant to fully cure according to the manufacturer’s instructions before proceeding.
Sealing gaps and cracks is crucial because it eliminates air infiltration, which can compromise the effectiveness of the insulation and lead to energy loss. It also helps to control moisture levels and prevent pests from entering the crawl space.
Regularly inspect the crawl space for any new gaps or cracks that may appear over time. Address any issues promptly to maintain the integrity of the insulation and achieve the maximum energy efficiency benefits.
By sealing gaps and cracks in the crawl space floor, you are enhancing the overall performance and effectiveness of your insulation installation. This step ensures a well-sealed and airtight crawl space, contributing to improved comfort and energy savings.
With the gaps and cracks sealed, you are nearly finished with the insulation installation process. The final step involves cleaning up and implementing maintenance tips to ensure the longevity and efficiency of your crawl space insulation.
Read more: How To Insulate Crawl Space With Dirt Floor
Step 9: Clean up and maintenance tips
Congratulations! You have successfully completed the insulation installation in your crawl space floor. Now, it’s time to clean up and implement some maintenance tips to ensure the longevity and efficiency of your insulation. Here’s what you need to do:
- Dispose of any leftover materials and clean up any debris in the crawl space. Properly dispose of insulation scraps, packaging materials, and any other waste generated during the installation process.
- Inspect the crawl space periodically for any signs of damage, moisture, or pests. This will allow you to address any issues promptly and prevent any potential problems from escalating.
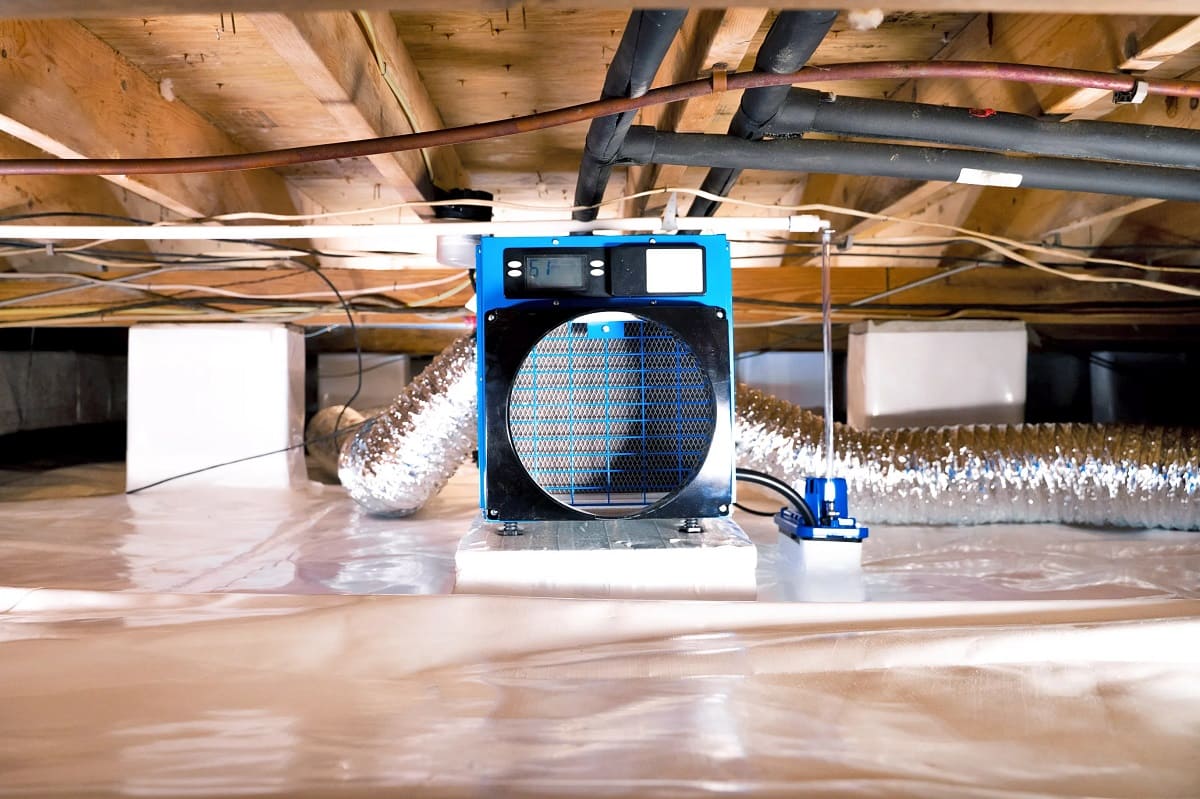
- Maintain good airflow in the crawl space by keeping vents open and free from obstructions. Proper ventilation will help control moisture levels and prevent mold or mildew growth.
- Monitor humidity levels in the crawl space using a hygrometer. Ideally, the humidity level should be kept below 60% to prevent moisture-related issues.
- Check the condition of the vapor barrier and insulation regularly. Make sure there are no tears, gaps, or damage that could compromise their effectiveness.
- Seal any new gaps or cracks that may appear over time. As the house settles or due to general wear and tear, it’s important to recheck and seal any areas where air leakage occurs.
- Consider adding additional insulation, if needed, to improve energy efficiency. Over time, you may find that adding more insulation can further enhance the thermal performance of your crawl space floor.
- Regularly clean or replace air filters in your HVAC system to ensure proper airflow and efficient operation. This will help maintain consistent temperatures and reduce strain on the system.
By implementing these maintenance tips, you can ensure that your crawl space insulation remains in optimal condition and continues to provide the desired benefits. Regular monitoring and upkeep will help preserve energy efficiency, prevent moisture issues, and extend the lifespan of your insulation.
Remember to consult with professionals if you encounter any significant issues or if you are unsure about any maintenance tasks. They can provide expert guidance and assistance to ensure the long-term effectiveness of your crawl space insulation.
With the insulation installation and maintenance process complete, you can now enjoy the benefits of a well-insulated and energy-efficient crawl space floor. Congratulations on your successful project!
Conclusion
Installing insulation in your crawl space floor is a wise investment that can greatly improve the comfort and energy efficiency of your home. By following the steps outlined in this guide, you can successfully insulate your crawl space floor and reap the benefits for years to come.
Throughout the installation process, we discussed the importance of gathering necessary materials, measuring the crawl space floor, preparing the area, installing a vapor barrier, and securing insulation batts in place. We also covered the essential steps of covering the insulation with a vapor barrier, sealing gaps and cracks, and implementing maintenance tips for long-term insulation performance.
Properly insulating your crawl space floor helps to control temperature fluctuations, reduce energy bills, prevent moisture issues, and enhance overall comfort. It also contributes to a healthier living environment by preventing mold and pests from thriving in the crawl space.
Remember to carefully follow the manufacturer’s instructions for all insulation materials and products. If you feel unsure or uncomfortable with any part of the installation process, it is advisable to seek assistance from a professional insulation contractor.
Regular maintenance and inspections are key to ensuring the effectiveness of your insulation over time. By monitoring humidity levels, addressing any gaps or cracks, and staying proactive in maintaining the crawl space, you can prolong the life of your insulation and minimize energy loss.
We hope that this comprehensive guide has provided you with useful insights and guidance for installing insulation in your crawl space floor. By following the step-by-step instructions and implementing the recommended maintenance tips, you can create a well-insulated and energy-efficient home.
Enjoy the benefits of a more comfortable living space and the savings on your energy bills. With proper insulation, your crawl space floor will contribute to a more sustainable and environmentally friendly home for you and future generations.
Frequently Asked Questions about How To Install Insulation In Crawl Space Floor
Was this page helpful?
At Storables.com, we guarantee accurate and reliable information. Our content, validated by Expert Board Contributors, is crafted following stringent Editorial Policies. We're committed to providing you with well-researched, expert-backed insights for all your informational needs.

0 thoughts on “How To Install Insulation In Crawl Space Floor”