Home>Renovation & DIY>Home Renovation Guides>How To Insulate The Floor In A Crawl Space

Home Renovation Guides
How To Insulate The Floor In A Crawl Space
Modified: February 18, 2024
Learn how to properly insulate the floor in your crawl space with our comprehensive home renovation guide. Improve energy efficiency and reduce moisture issues.
(Many of the links in this article redirect to a specific reviewed product. Your purchase of these products through affiliate links helps to generate commission for Storables.com, at no extra cost. Learn more)
Introduction
Insulating the floor in a crawl space is a crucial step in maintaining a comfortable and energy-efficient home. A crawl space, often overlooked, plays a significant role in the overall insulation of a house. By insulating the floor in this area, homeowners can effectively regulate indoor temperatures, reduce energy costs, and prevent moisture-related issues.
Proper insulation in the crawl space not only enhances the comfort of the living space above but also contributes to the structural integrity of the home. It acts as a barrier against cold air infiltration in the winter and helps to keep the floors warmer. Additionally, it prevents excess moisture from seeping into the crawl space, which can lead to mold growth and structural damage.
In this comprehensive guide, we will walk you through the step-by-step process of insulating the floor in a crawl space. From preparing the area to installing insulation materials and ensuring long-term effectiveness, we will cover everything you need to know to tackle this home improvement project with confidence. Whether you are a seasoned DIY enthusiast or a homeowner looking to understand the ins and outs of crawl space insulation, this guide will equip you with the knowledge and insights to make informed decisions and achieve optimal results.
Now, let's dive into the details of each step, so you can embark on this journey to create a more comfortable, energy-efficient, and resilient home.
Key Takeaways:
- Don’t overlook the crawl space! Cleaning and sealing it before insulating the floor is crucial. It sets the stage for a cozy, energy-efficient home by keeping out moisture and sealing air leaks.
- Insulating the crawl space floor is a big job, but it’s worth it! Choose the right insulation, secure it properly, and keep an eye on maintenance to enjoy a comfy and efficient home for years to come.
Read more: How To Insulate Crawl Space With Dirt Floor
Step 1: Clean the Crawl Space
Before embarking on the insulation process, it's essential to start with a clean slate. Cleaning the crawl space is a crucial first step that sets the foundation for effective insulation. Here's a detailed breakdown of the tasks involved in this initial phase:
-
Remove Debris: Begin by clearing out any debris, such as leaves, branches, and accumulated dirt, from the crawl space. This step is essential to create a clean and accessible environment for the subsequent insulation work.
-
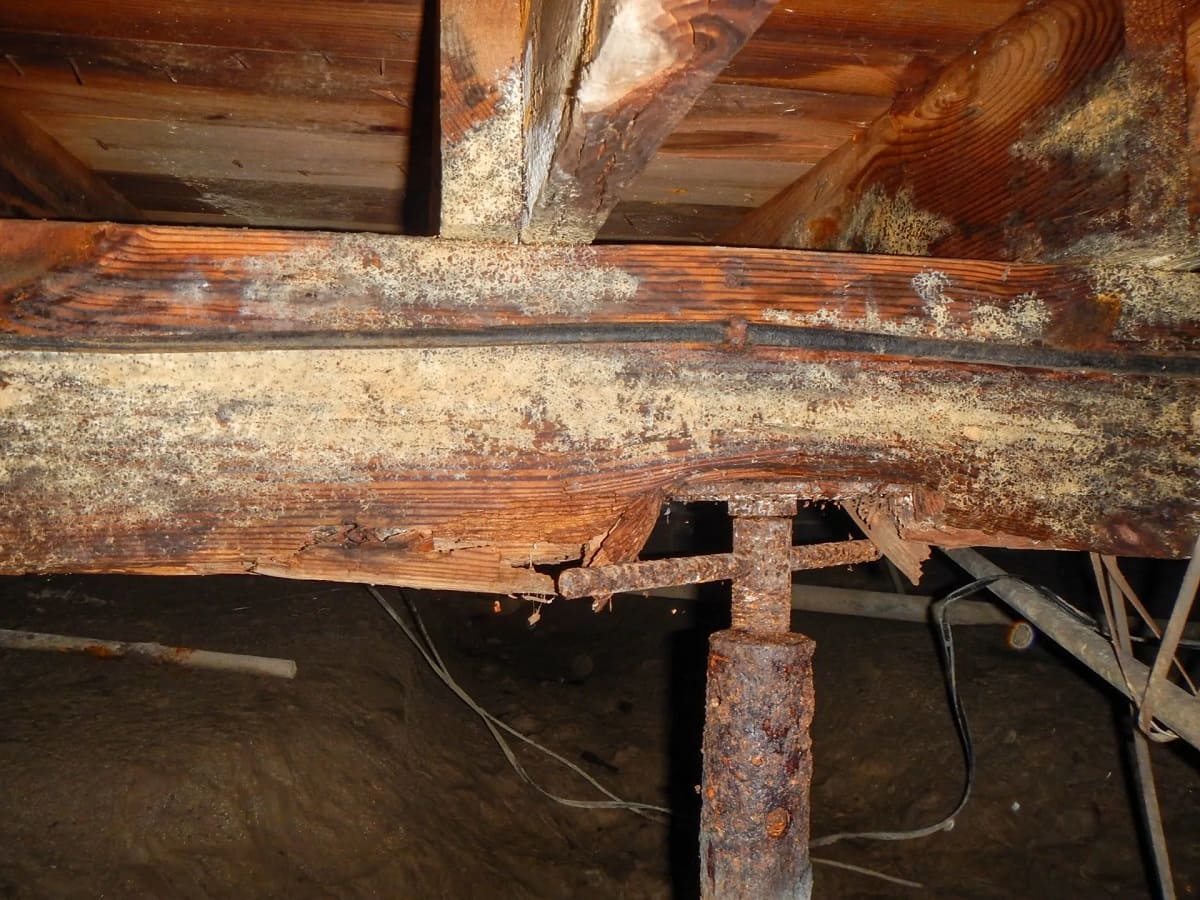
Address Moisture: Check for any signs of moisture or water accumulation in the crawl space. Address any existing moisture issues by fixing leaks, repairing damaged pipes, and ensuring proper drainage. It's vital to eliminate moisture problems before proceeding with insulation to prevent mold growth and structural damage.
-
Inspect for Pests: Conduct a thorough inspection for signs of pest infestation, including rodents, insects, and other critters. Address any pest-related issues by sealing entry points and, if necessary, consult with a professional pest control service to ensure the crawl space is free from unwanted inhabitants.
-
Clean the Subfloor: Once the debris, moisture, and pest-related issues have been addressed, thoroughly clean the subfloor of the crawl space. Remove any remaining dirt, dust, and debris to create a clean and smooth surface for the subsequent installation of insulation materials.
By meticulously cleaning the crawl space and addressing any underlying issues, you are laying the groundwork for a successful insulation project. This proactive approach not only ensures a clean and healthy environment but also sets the stage for the effective installation of insulation materials, ultimately contributing to a more comfortable and energy-efficient home.
Cleaning the crawl space may seem like a labor-intensive task, but it is a critical preparatory step that significantly impacts the overall success of the insulation project. With a clean and well-prepared crawl space, you are ready to move on to the next phase of the insulation process, setting the stage for a more comfortable and resilient home.
Step 2: Seal any Air Leaks
Sealing any air leaks in the crawl space is a critical step in the insulation process, as it helps create a more airtight and energy-efficient environment. Air leaks can significantly impact the effectiveness of insulation by allowing outside air to infiltrate the crawl space, leading to temperature fluctuations and increased energy consumption. Here's a detailed breakdown of the tasks involved in this essential phase:
-
Identify Air Leaks: Begin by carefully inspecting the crawl space for any potential air leaks. Common areas where air leaks may occur include gaps around pipes, ductwork, electrical wiring, and the perimeter of the crawl space. Use a flashlight to spot any areas where light penetrates from the outside, indicating potential air leaks.
-
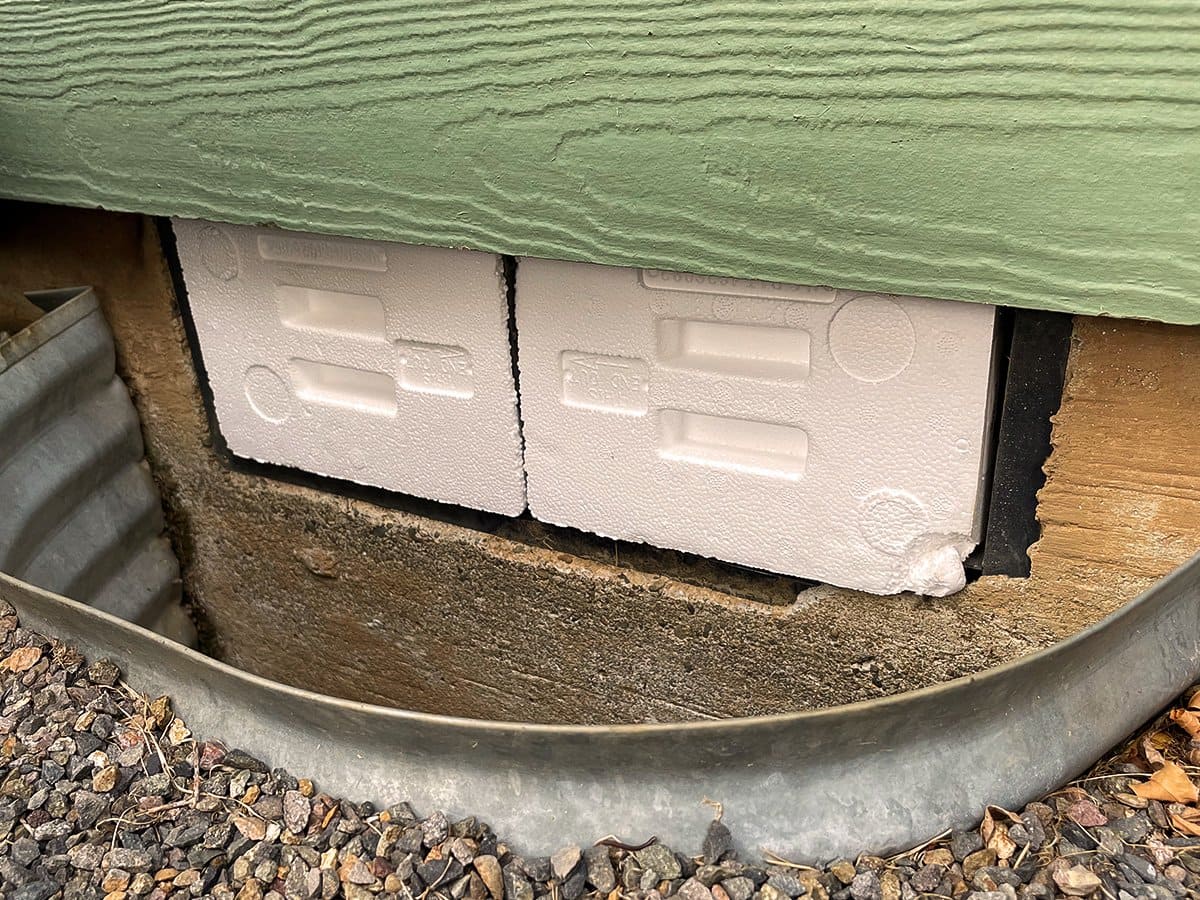
Seal Gaps and Cracks: Once identified, seal any gaps and cracks using appropriate sealing materials. For small gaps and cracks, use caulking or expanding foam to create a tight seal. For larger gaps or openings around pipes and ductwork, consider using foam board or insulation materials to effectively block air infiltration.
-
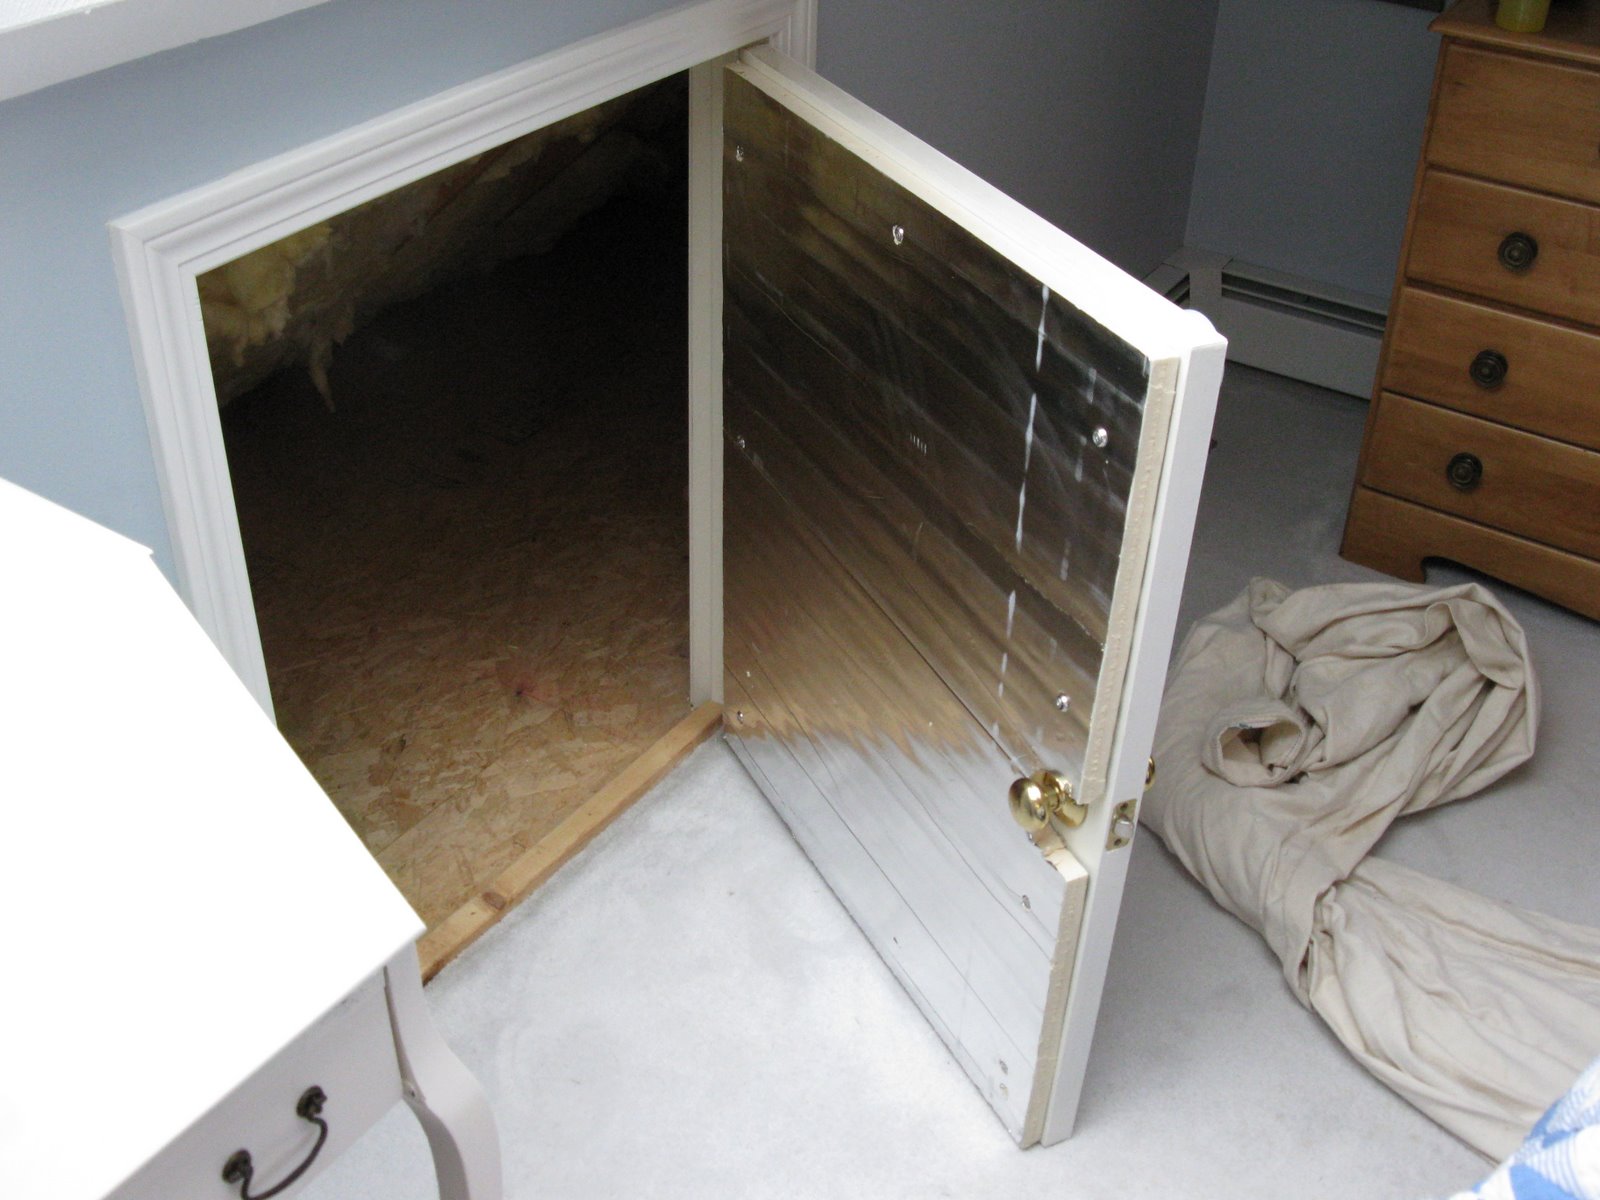
Weatherstrip Access Points: Pay special attention to access points such as crawl space doors and hatches. Install weatherstripping around these entryways to create a tight seal and prevent air leakage. Additionally, ensure that any vents or openings in the crawl space are equipped with proper covers or screens to prevent unwanted airflow.
-
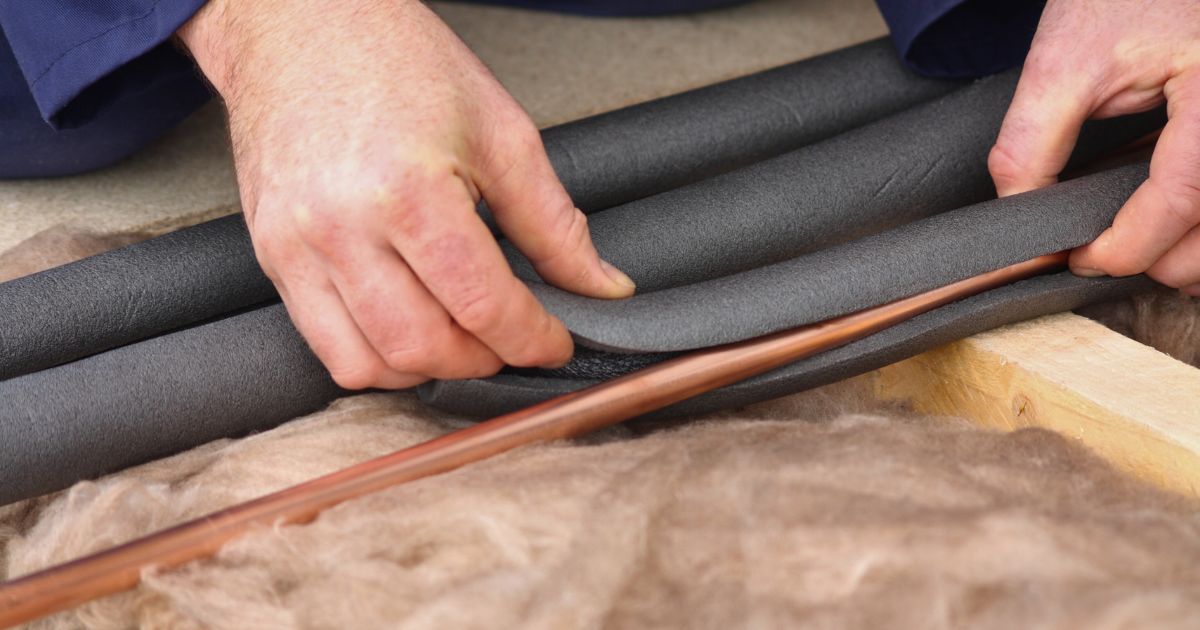
Insulate Ductwork: Insulating the ductwork within the crawl space is crucial for both energy efficiency and indoor air quality. Use duct sealant and insulation sleeves to seal and insulate the ducts, preventing air leaks and minimizing heat loss or gain as air circulates through the HVAC system.
By diligently sealing any air leaks in the crawl space, you are taking proactive measures to enhance the overall effectiveness of the insulation. This meticulous approach not only contributes to energy savings but also helps maintain a more consistent indoor temperature, ultimately improving the comfort and efficiency of your home.
Sealing air leaks may seem like a small detail, but it plays a significant role in the overall success of the insulation project. By addressing these potential sources of energy loss, you are creating a more airtight and energy-efficient crawl space, setting the stage for the subsequent installation of insulation materials.
Step 3: Install a Vapor Barrier
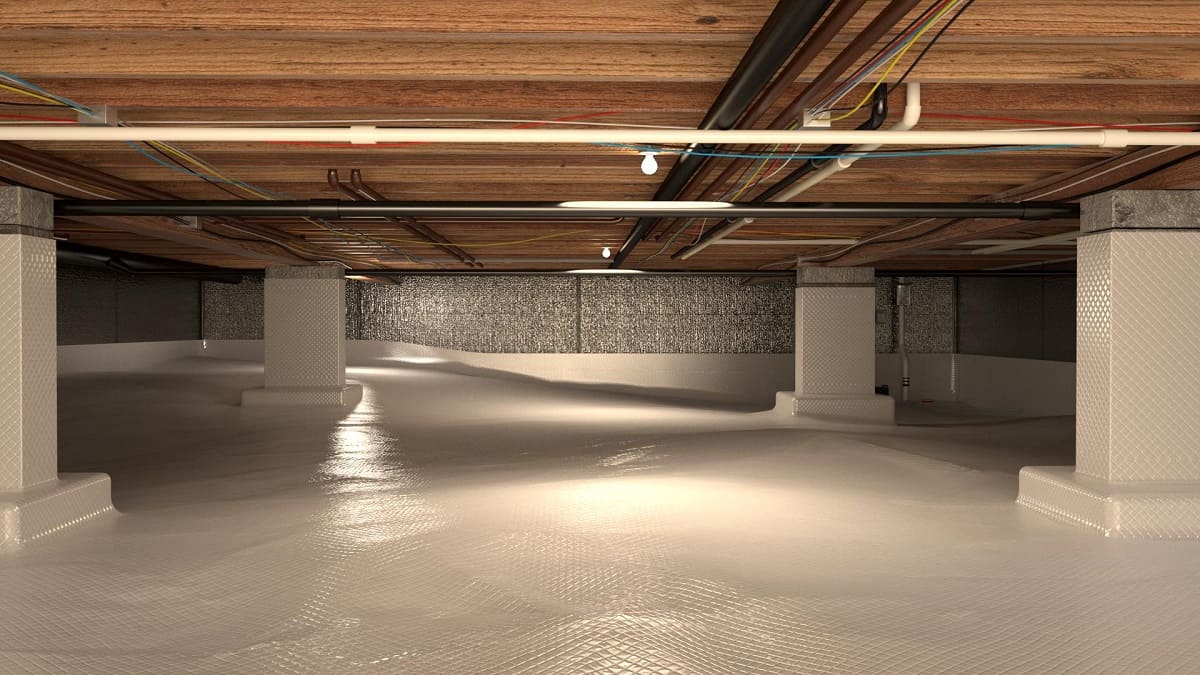
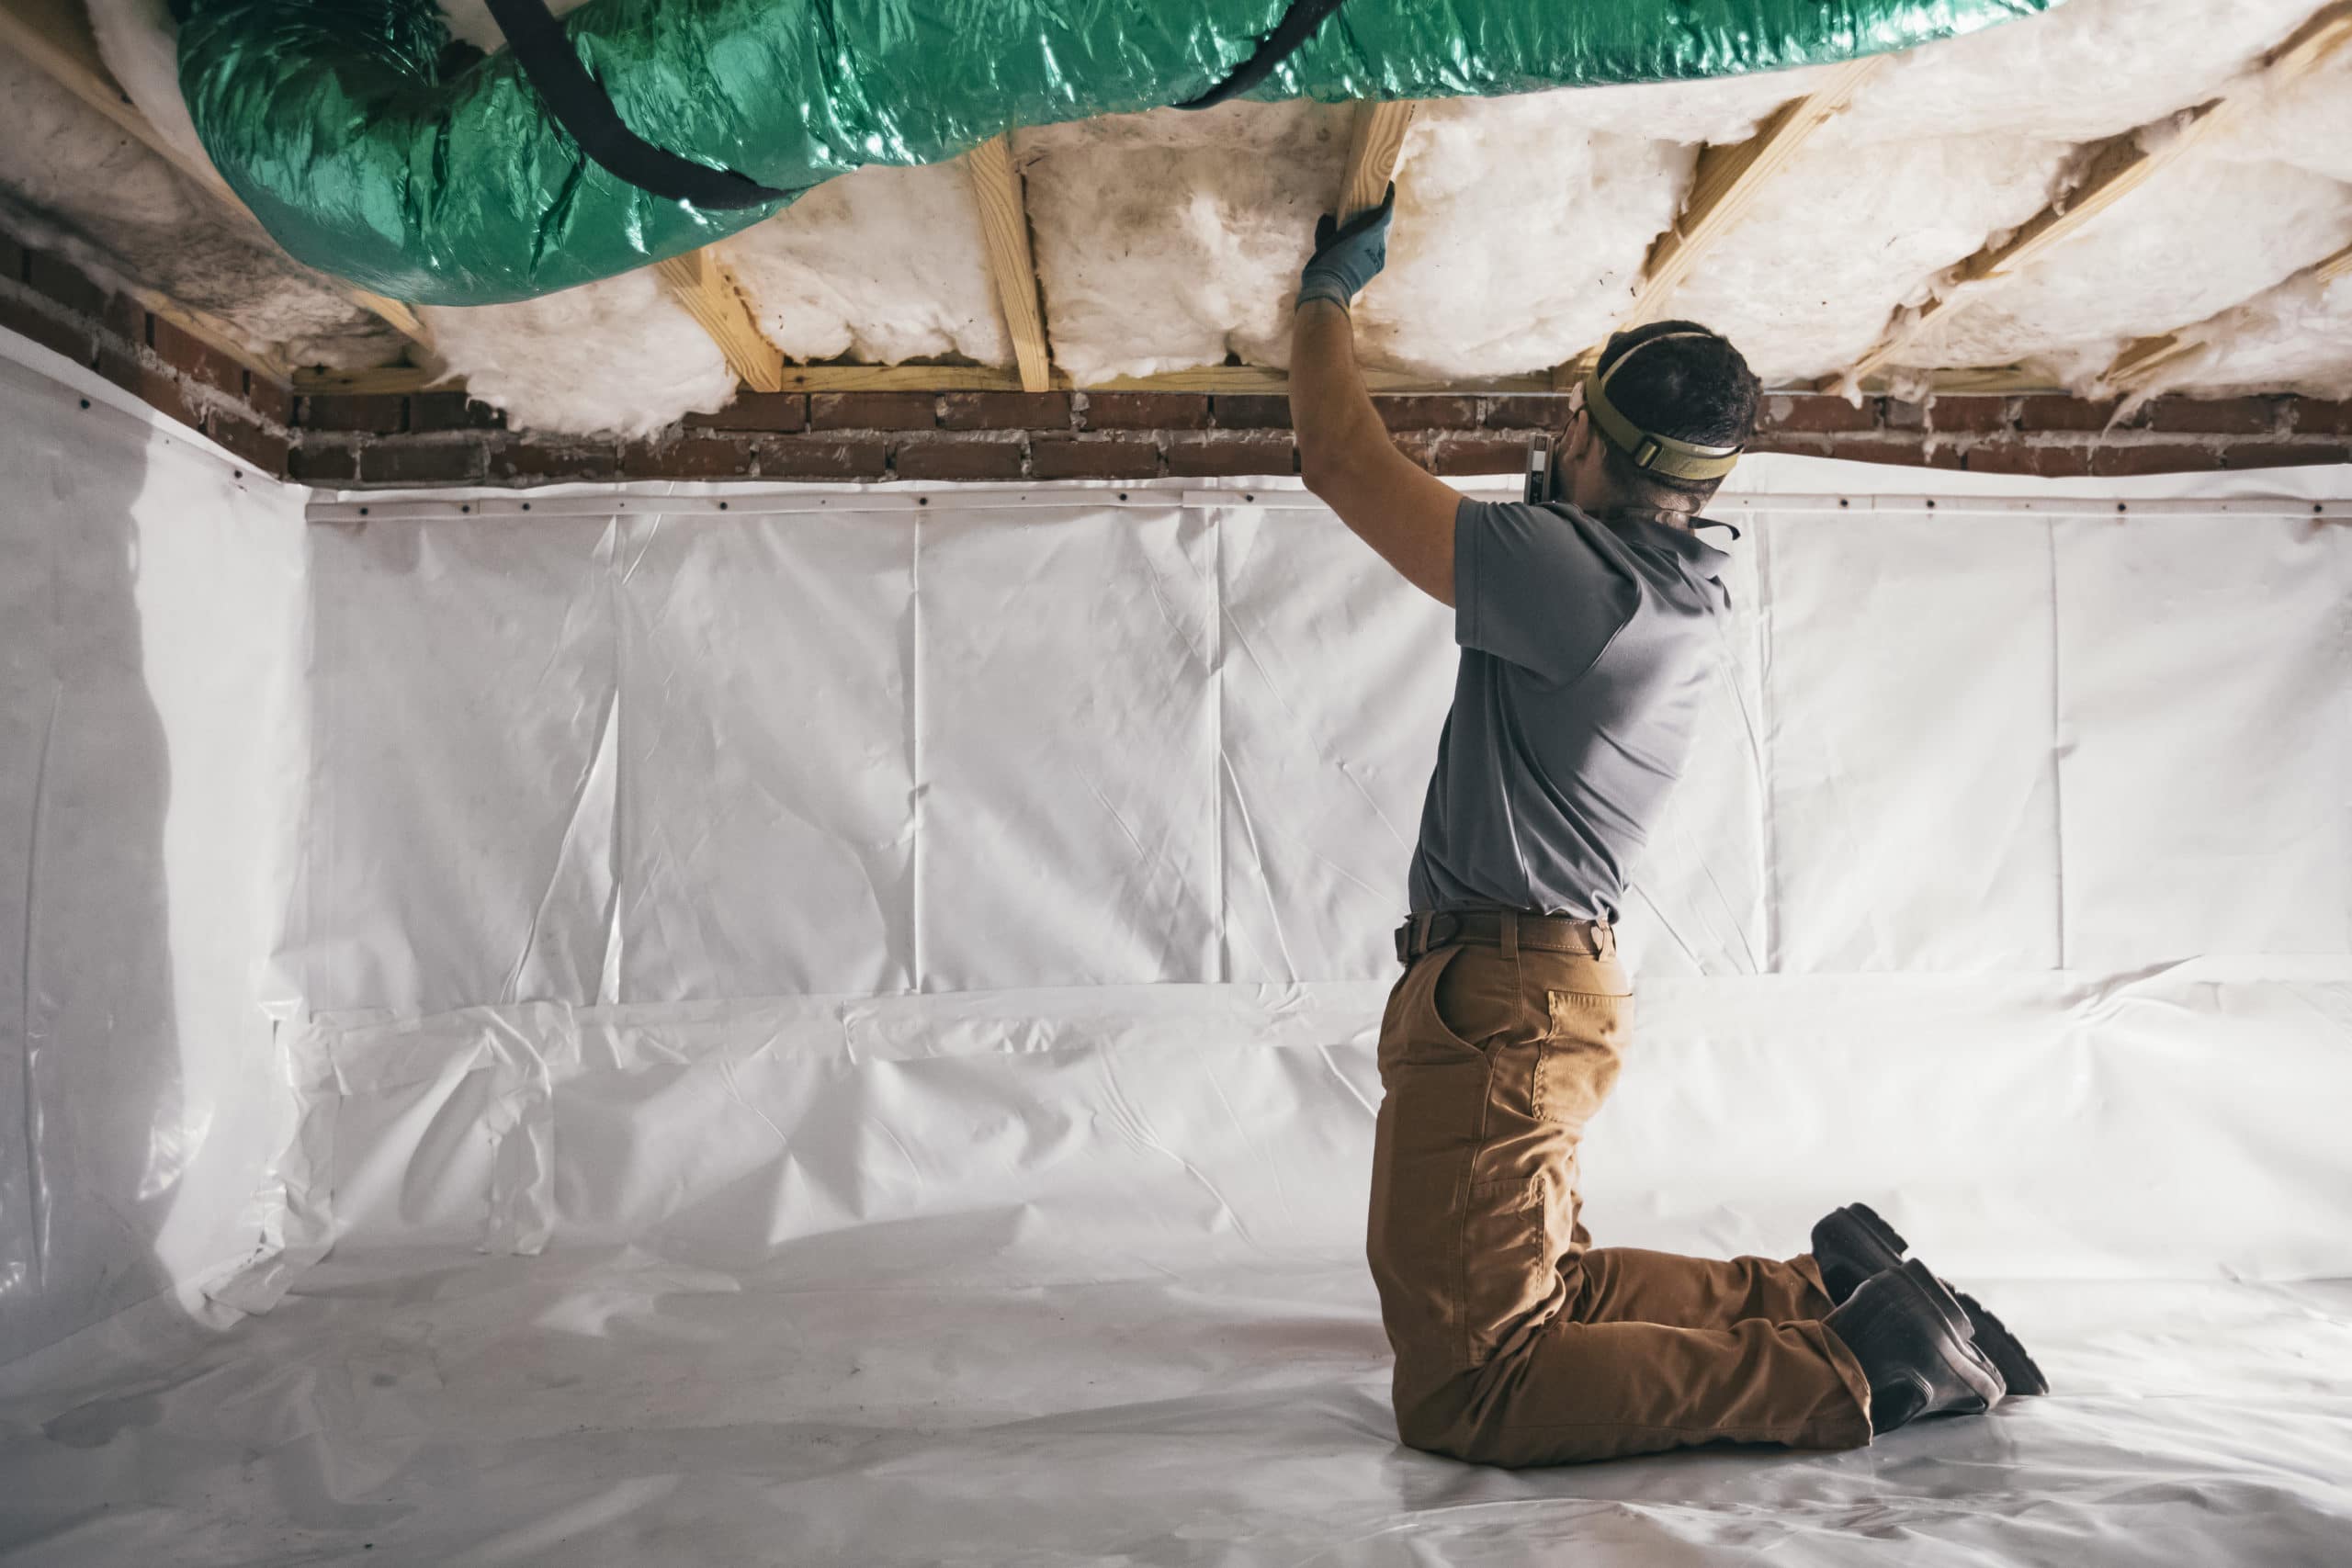
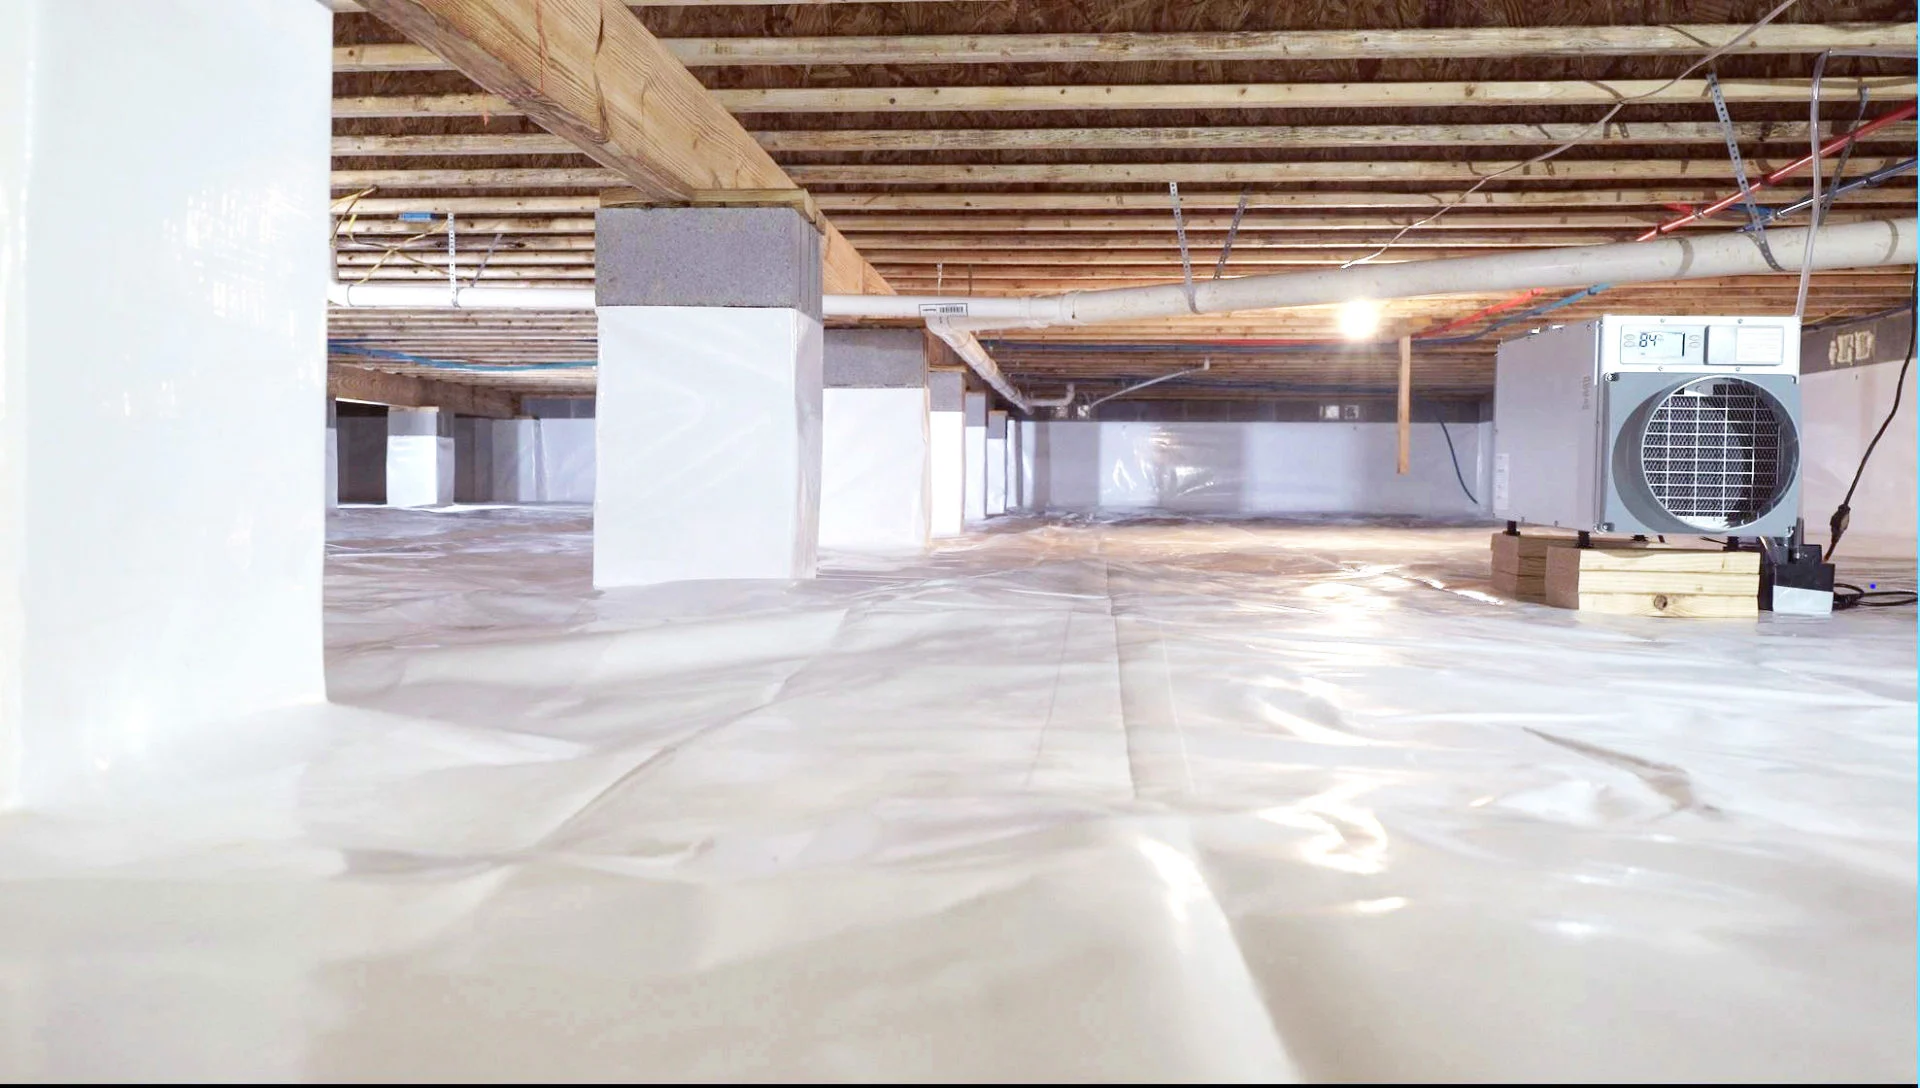
Installing a vapor barrier in the crawl space is a crucial step in the insulation process, as it helps control moisture and humidity levels, ultimately contributing to a healthier and more resilient home environment. A vapor barrier, typically made of polyethylene plastic sheeting, acts as a protective layer that prevents moisture from seeping into the crawl space and affecting the insulation materials and structural components of the home.
Here's a detailed breakdown of the process involved in installing a vapor barrier:
-
Measure and Cut the Vapor Barrier: Begin by measuring the dimensions of the crawl space floor and walls to determine the required size of the vapor barrier. Use a utility knife or scissors to cut the vapor barrier material to fit the specific dimensions of the crawl space, ensuring a precise and snug fit.
-
Prepare the Surface: Before laying down the vapor barrier, ensure that the crawl space floor is clean, dry, and free from any debris. Smooth out any uneven surfaces and address any protrusions or obstacles that may interfere with the installation process.
-
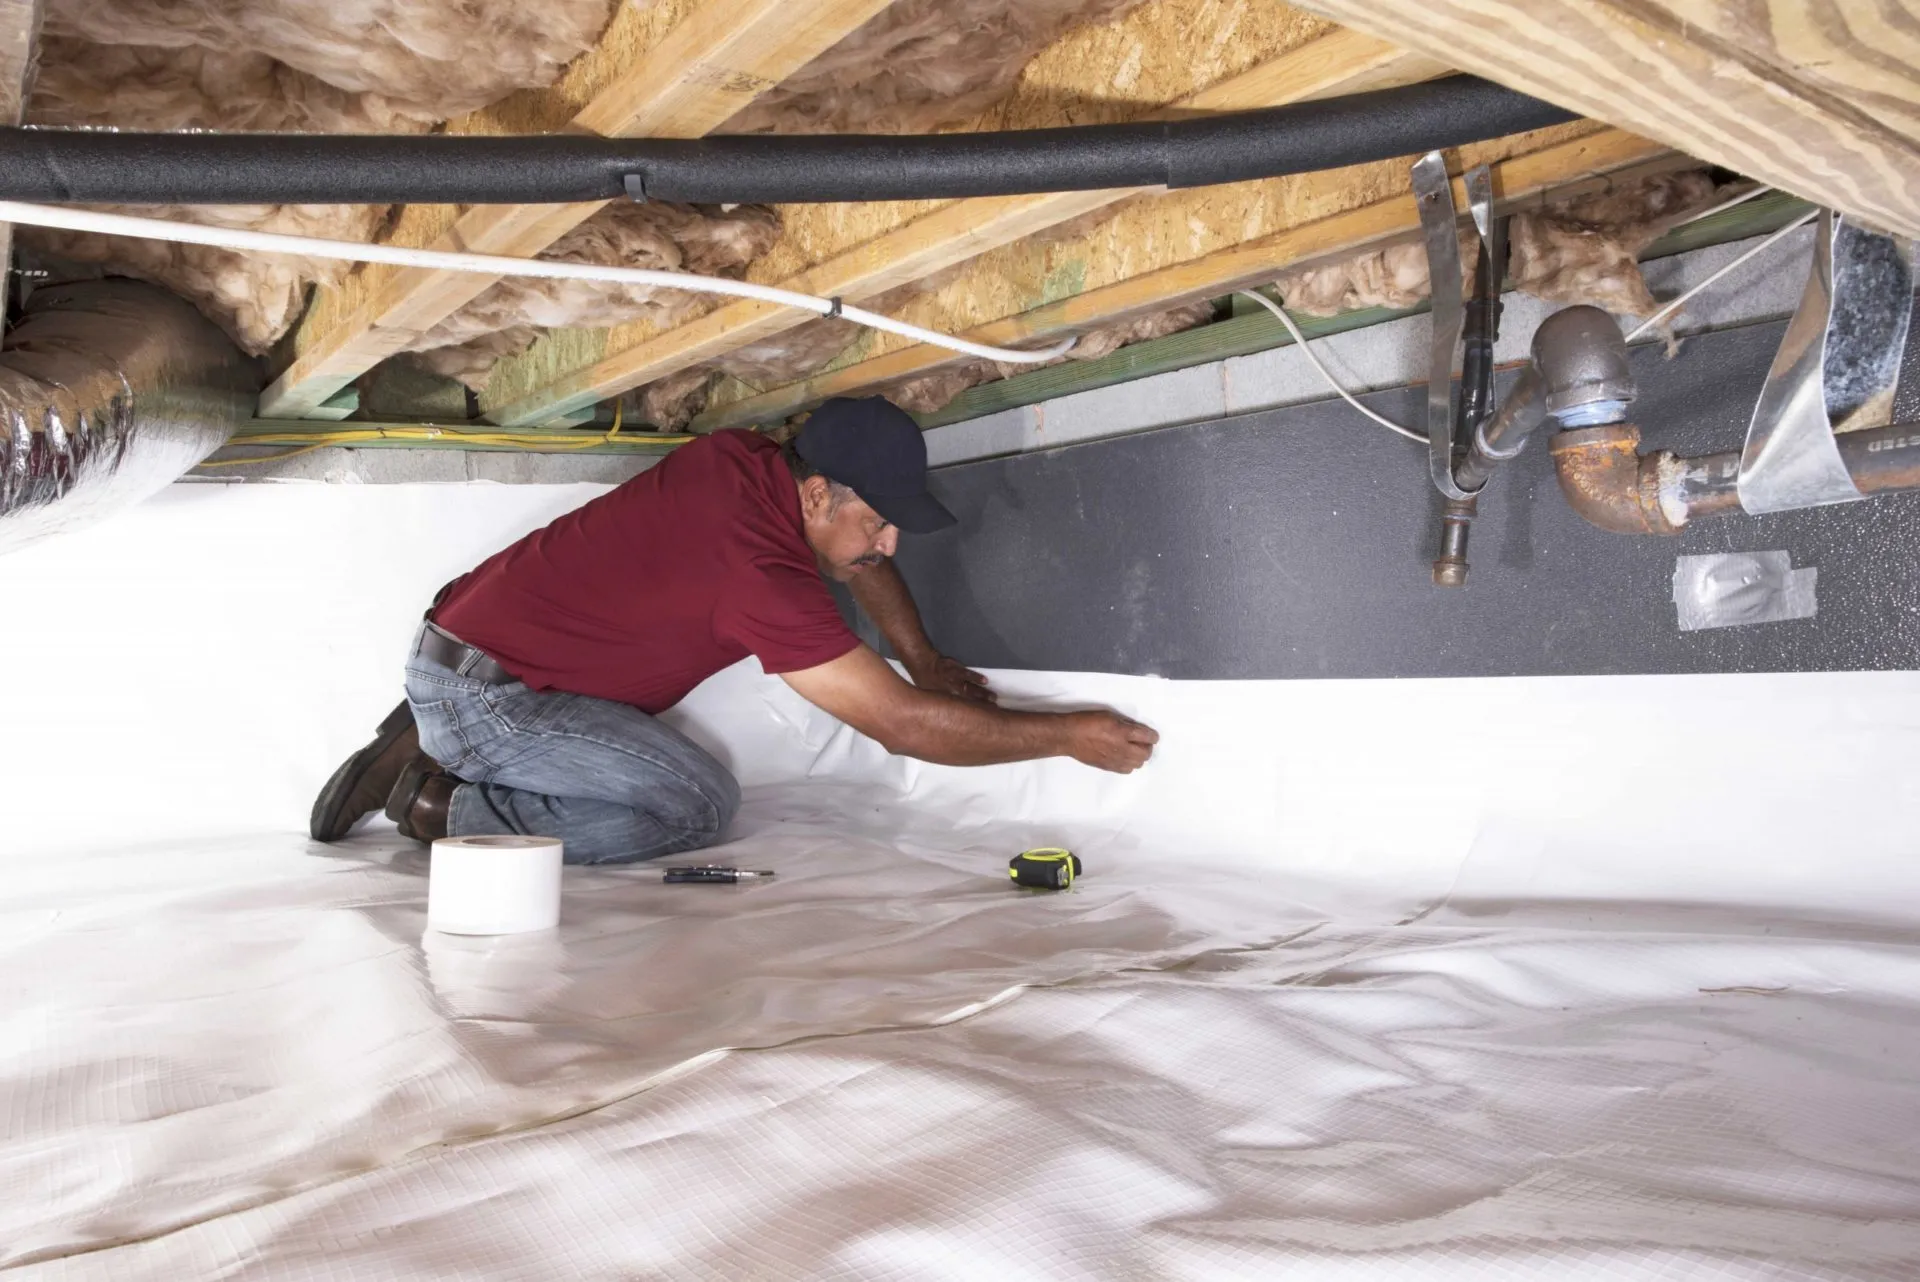
Lay the Vapor Barrier: Carefully place the cut pieces of the vapor barrier on the crawl space floor, ensuring that they overlap each other by several inches. Use heavy-duty tape or specialized seam tape to secure the seams and create a continuous barrier that effectively covers the entire floor area.
-
Secure the Vapor Barrier to Walls and Piers: Extend the vapor barrier up the walls of the crawl space, securing it in place using adhesive or mechanical fasteners. Additionally, ensure that the vapor barrier is properly attached to any support piers or columns within the crawl space to create a comprehensive moisture barrier.
-
Seal Penetrations and Joints: Pay special attention to sealing around any penetrations, such as pipes, conduits, and structural joints. Use appropriate sealing materials, such as caulk or foam, to create a tight seal around these areas, preventing moisture intrusion through potential entry points.
By installing a vapor barrier in the crawl space, you are taking proactive measures to control moisture levels and create a more stable and resilient environment within your home. This essential step not only protects the insulation materials from moisture-related damage but also contributes to improved indoor air quality and overall structural integrity.
Installing a vapor barrier may seem like a straightforward task, but its impact on the long-term effectiveness of the insulation cannot be overstated. By creating a moisture-resistant barrier, you are laying the foundation for a more durable and energy-efficient crawl space, setting the stage for the subsequent installation of insulation materials.
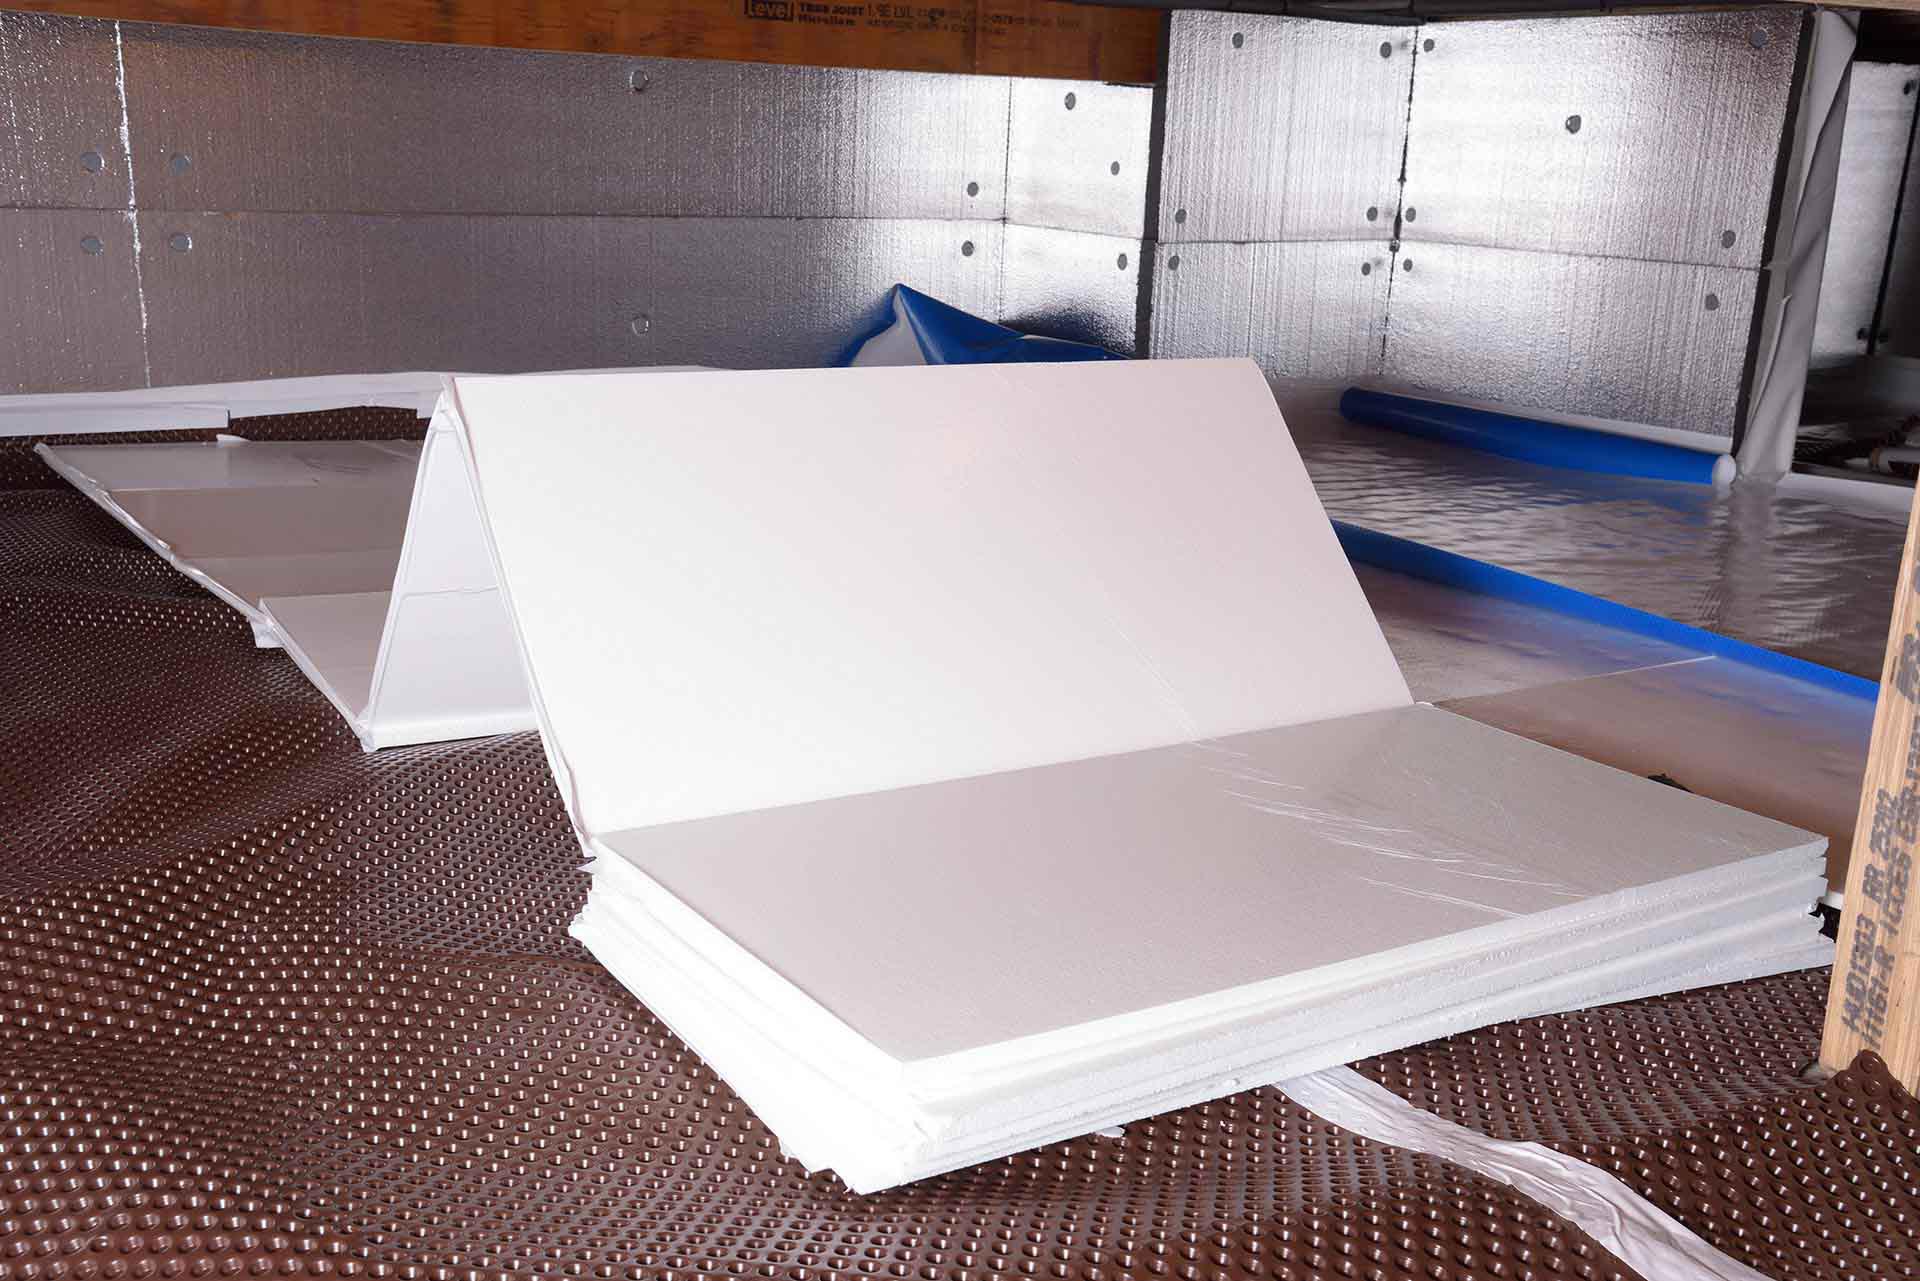
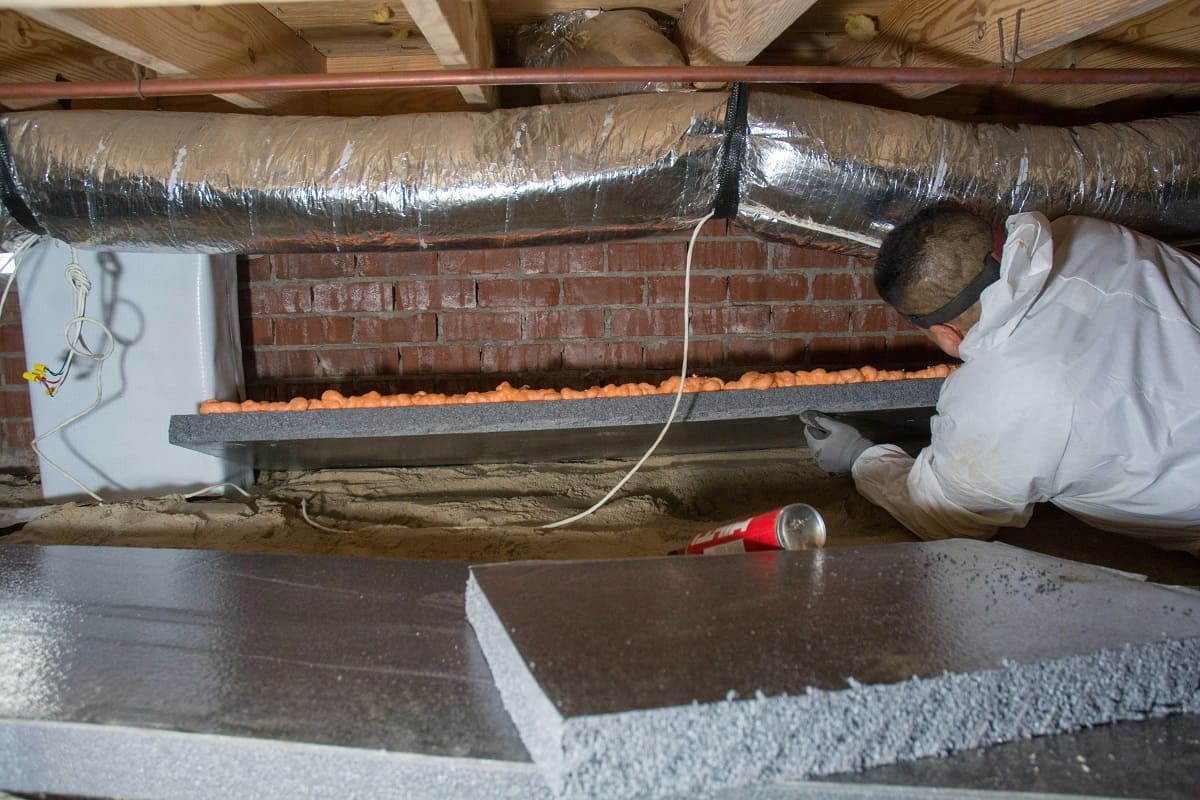
Consider using rigid foam insulation board to insulate the floor in a crawl space. It’s easy to install and provides a barrier against moisture and cold air. Make sure to seal any gaps to maximize effectiveness.
Step 4: Install Insulation Material
Once the crawl space is cleaned, air leaks are sealed, and a vapor barrier is in place, the next crucial step is to install insulation material to further enhance the energy efficiency and comfort of your home. Insulating the crawl space floor helps to minimize heat loss, maintain consistent indoor temperatures, and reduce energy consumption. Here's a detailed overview of the process involved in installing insulation material:
-
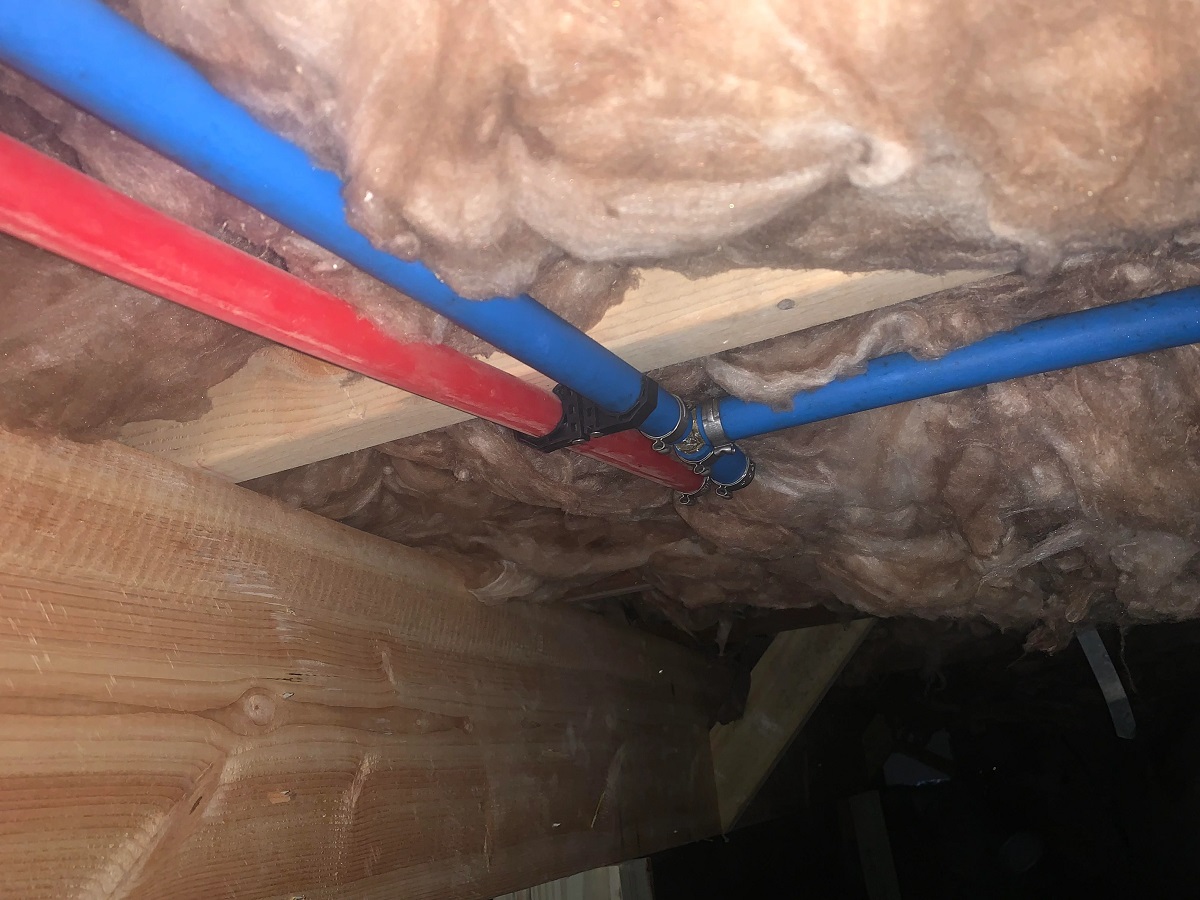
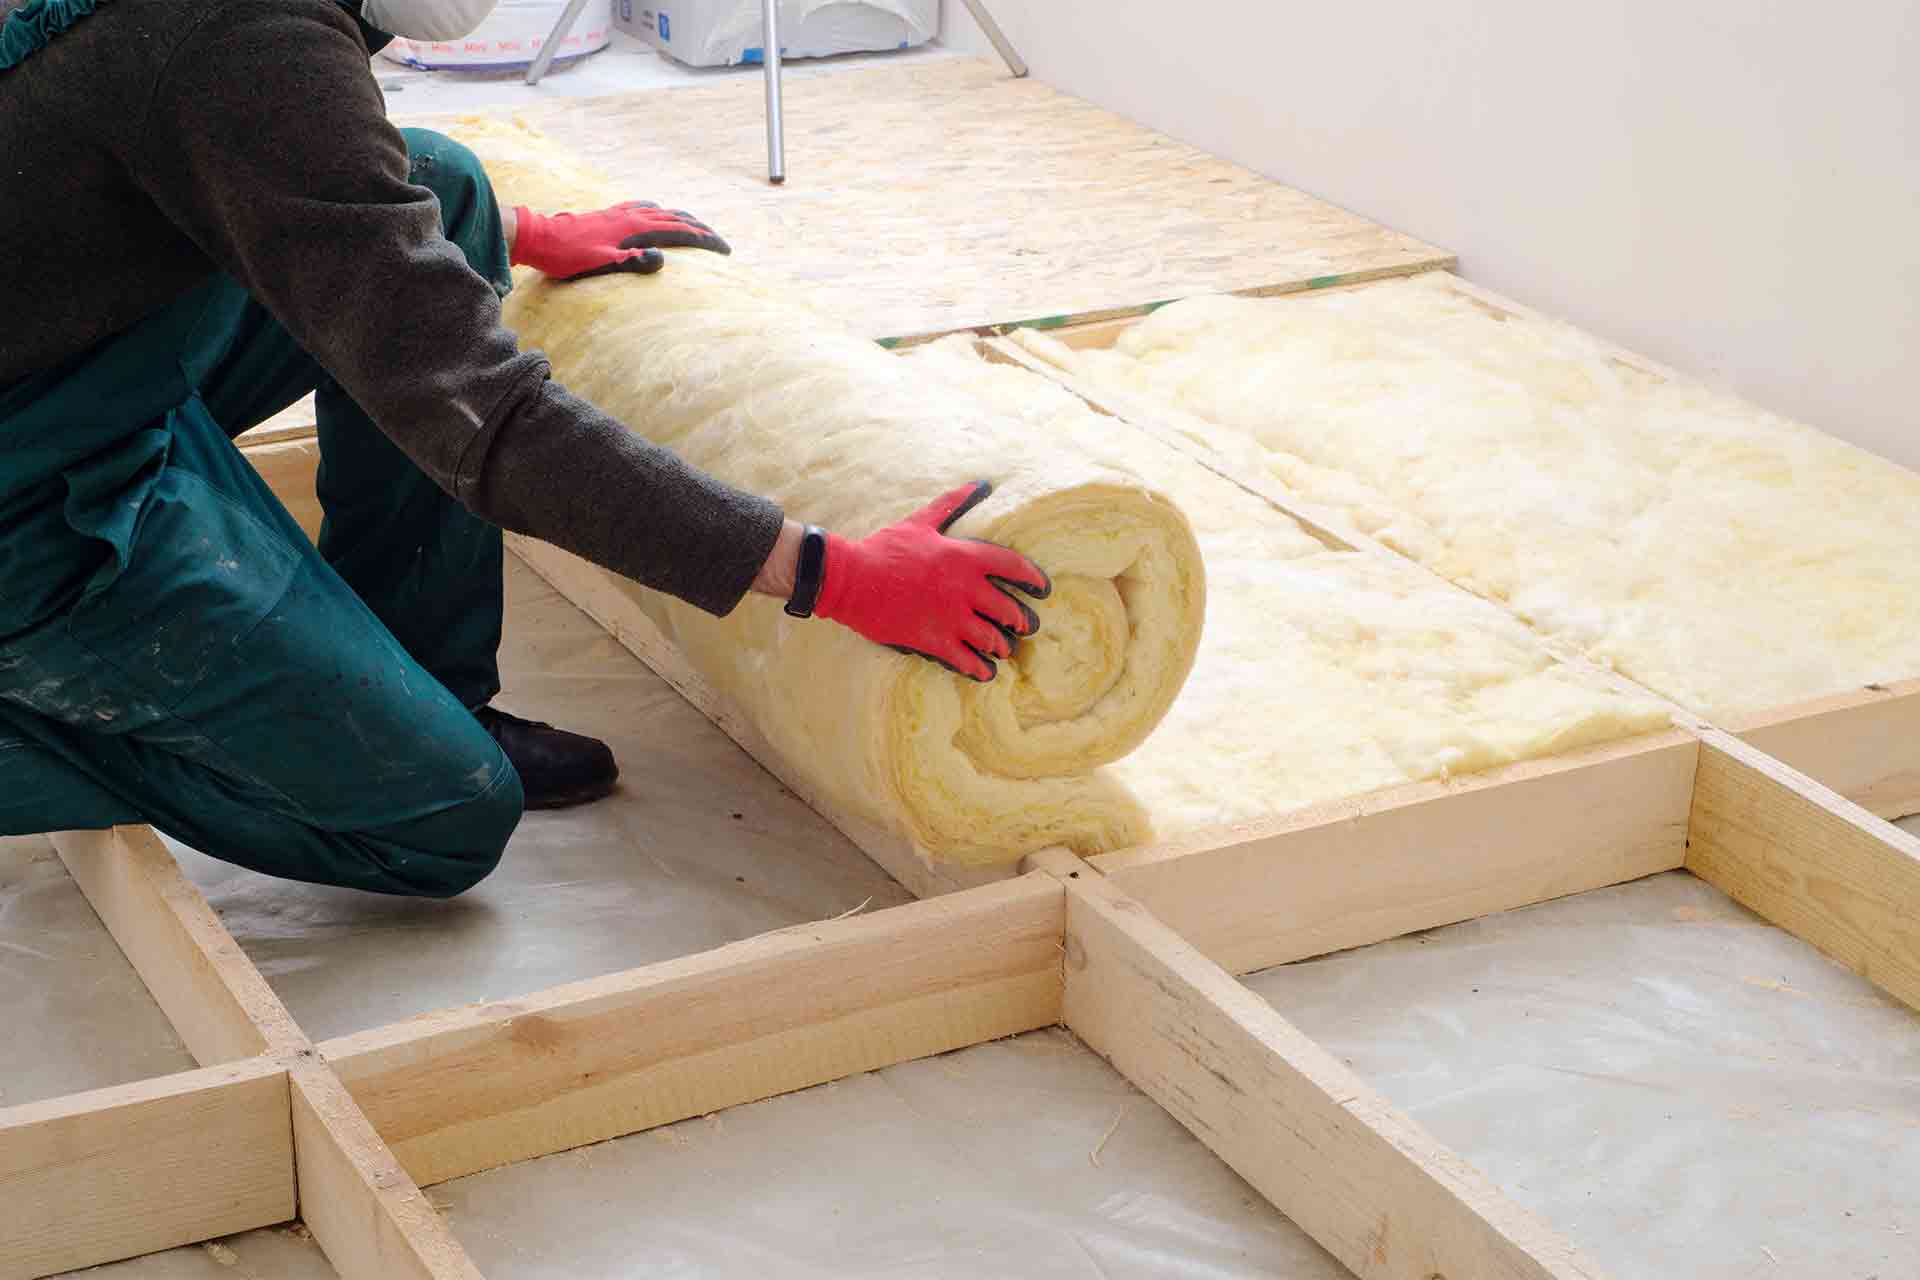
Choose the Right Insulation: Selecting the appropriate insulation material is essential for maximizing the effectiveness of the insulation. Consider factors such as R-value, moisture resistance, and compatibility with the crawl space environment. Common insulation options for crawl spaces include fiberglass batts, rigid foam boards, and spray foam insulation.
-
Measure and Cut Insulation: Measure the dimensions of the crawl space floor and cut the insulation material to fit the specific area. Ensure precise cuts to create a snug and uniform coverage across the entire floor surface.
-
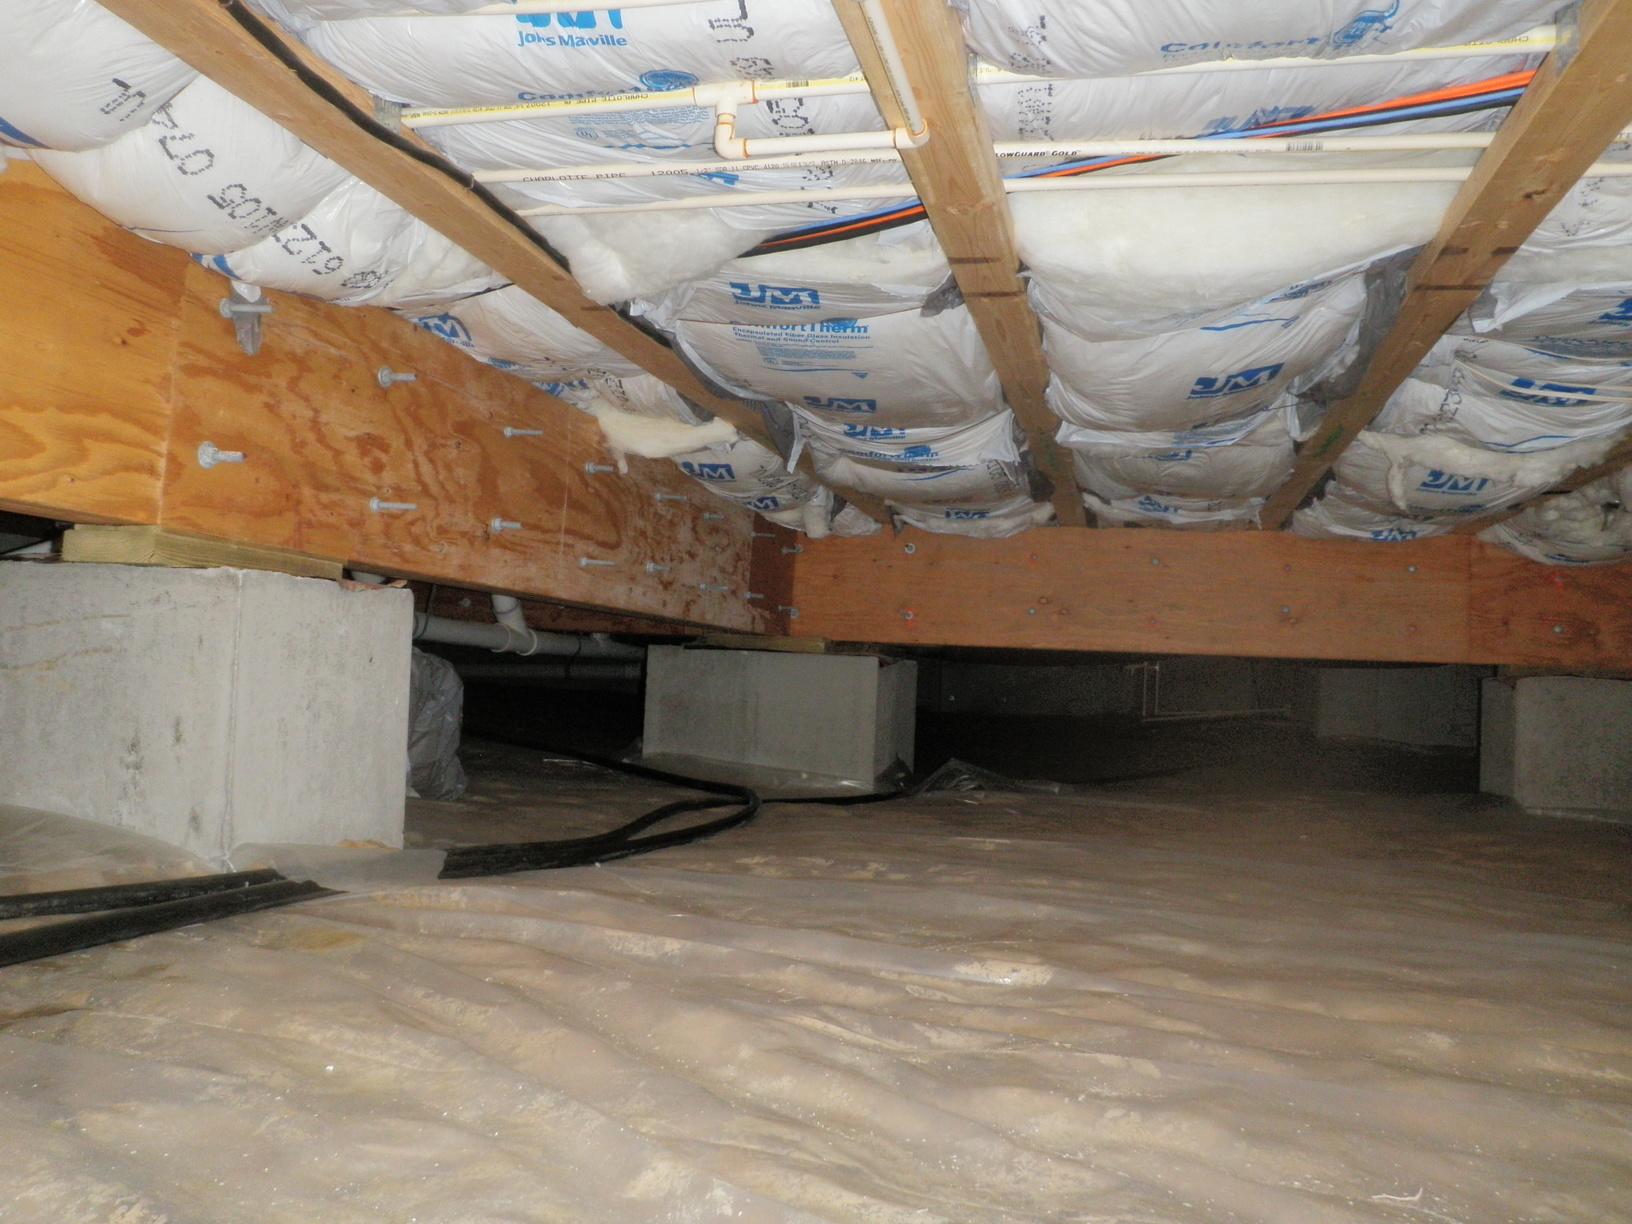
Lay the Insulation: Carefully place the insulation material on the crawl space floor, ensuring that it fits securely between support beams and around any obstacles. For fiberglass batts, fluff the material to its full thickness and gently press it into place. For rigid foam boards, ensure a tight fit and use adhesive or mechanical fasteners to secure them in position.
-
Seal Joints and Gaps: Pay attention to sealing any joints, gaps, or seams between insulation materials to create a continuous and effective barrier against heat transfer. Use specialized sealing tape or foam to ensure a tight seal and prevent air infiltration.
-
Protect Insulation: Once the insulation material is in place, consider adding an additional protective layer, such as plywood or specialized insulation board, to shield the insulation from potential damage and provide a durable walking surface if access to the crawl space is required in the future.
By installing insulation material in the crawl space, you are taking proactive steps to enhance the overall energy efficiency and comfort of your home. This essential phase not only contributes to reduced energy costs but also creates a more stable and insulated environment, ultimately improving the livability and resilience of your home.
Installing insulation material may seem like a straightforward task, but its impact on the long-term effectiveness of the crawl space insulation is significant. By carefully selecting, placing, and protecting the insulation material, you are setting the stage for a more energy-efficient and comfortable home, ensuring that your efforts yield lasting benefits for years to come.
Step 5: Secure the Insulation
Securing the insulation in the crawl space is a critical step that ensures the long-term effectiveness and durability of the insulation materials. Properly securing the insulation not only enhances its thermal performance but also prevents displacement or damage over time. Here's a detailed breakdown of the process involved in securing the insulation:
-
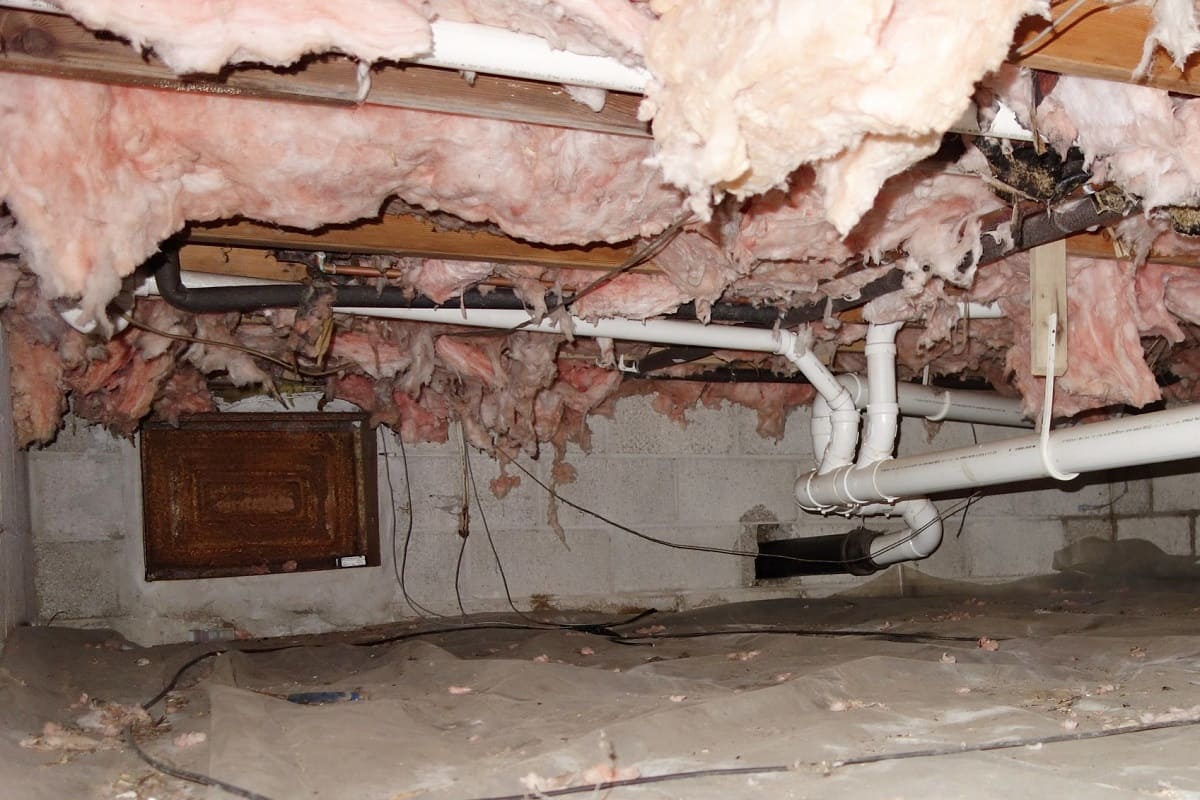
Fasten Insulation Material: Once the insulation material is in place, secure it by using appropriate fastening methods. For fiberglass batts, use insulation hangers or wires to hold the material in position, preventing sagging or shifting. For rigid foam boards, utilize mechanical fasteners or adhesive designed for insulation applications to ensure a secure and stable fit.
-
Seal Seams and Edges: Pay special attention to sealing seams and edges of the insulation material to create a continuous and effective barrier. Use specialized sealing tape or foam to seal any gaps or joints, ensuring that the insulation forms a seamless layer that minimizes heat transfer and air infiltration.
-
Protect Insulation from Damage: Consider adding an additional protective layer, such as plywood or specialized insulation board, to shield the insulation from potential damage. This protective layer not only safeguards the insulation from physical harm but also provides a durable walking surface if access to the crawl space is required in the future.
-
Ensure Uniform Coverage: Inspect the entire crawl space to ensure that the insulation material provides uniform coverage across the floor surface. Address any areas where the insulation may be uneven or improperly secured, ensuring that the entire crawl space is effectively insulated for optimal energy efficiency and comfort.
By securing the insulation in the crawl space, you are taking proactive measures to maximize the effectiveness and longevity of the insulation materials. This meticulous approach not only contributes to improved thermal performance but also ensures that the insulation remains in place, providing consistent energy savings and comfort for your home.
Securing the insulation may seem like a detail-oriented task, but its impact on the overall success of the insulation project is significant. By properly fastening, sealing, and protecting the insulation, you are setting the stage for a more durable, energy-efficient, and comfortable crawl space, ensuring that your efforts yield lasting benefits for years to come.
Step 6: Monitor and Maintain the Insulation
After completing the insulation of the crawl space, it's essential to establish a monitoring and maintenance routine to ensure the long-term effectiveness and performance of the insulation. Regular monitoring and proactive maintenance measures can help identify and address potential issues, preserving the integrity of the insulation and maximizing its energy-saving benefits.
Here's a detailed overview of the monitoring and maintenance tasks involved in this crucial phase:
-
Regular Inspections: Schedule periodic inspections of the crawl space to assess the condition of the insulation. Look for signs of moisture accumulation, pest activity, or any damage to the insulation material. By conducting regular visual inspections, you can promptly identify and address any issues that may compromise the insulation's effectiveness.
-
Moisture Management: Monitor the moisture levels in the crawl space to ensure that the insulation remains dry and free from excess humidity. Use a moisture meter to measure the relative humidity and detect any moisture-related issues. Address any moisture accumulation promptly to prevent mold growth and structural damage.
-
Pest Control: Keep an eye out for any signs of pest activity in the crawl space. Look for evidence of rodent infestation, insect nests, or damage caused by pests. Implement pest control measures as needed to prevent pests from compromising the insulation or causing structural harm.
-
Seal Maintenance: Check the seals, joints, and seams of the insulation material to ensure that they remain intact and effective. Address any gaps, tears, or deterioration in the sealing materials to maintain a continuous and airtight barrier that minimizes heat transfer and air infiltration.
-
Addressing Damage: If any damage to the insulation is identified during inspections, take prompt action to repair or replace the affected areas. Whether it's due to moisture, pests, or physical wear, addressing insulation damage in a timely manner is crucial to preserving the overall effectiveness of the insulation.
-
HVAC System Inspection: Periodically inspect the HVAC ductwork and equipment within the crawl space to ensure proper insulation and functioning. Address any issues related to the HVAC system that may impact the insulation's performance, such as leaks, damaged ducts, or inadequate insulation around the ductwork.
By implementing a comprehensive monitoring and maintenance plan, you can safeguard the integrity of the crawl space insulation and ensure that it continues to deliver optimal energy efficiency and comfort for your home. Regular attention to these maintenance tasks can help extend the lifespan of the insulation and maximize its long-term benefits, contributing to a more resilient and energy-efficient living environment.
Frequently Asked Questions about How To Insulate The Floor In A Crawl Space
Was this page helpful?
At Storables.com, we guarantee accurate and reliable information. Our content, validated by Expert Board Contributors, is crafted following stringent Editorial Policies. We're committed to providing you with well-researched, expert-backed insights for all your informational needs.

0 thoughts on “How To Insulate The Floor In A Crawl Space”