Home>Renovation & DIY>Home Renovation Guides>How To Winterize A Crawl Space
Home Renovation Guides
How To Winterize A Crawl Space
Modified: February 18, 2024
Learn how to properly winterize your crawl space with our comprehensive home renovation guide. Protect your home from cold weather and potential damage.
(Many of the links in this article redirect to a specific reviewed product. Your purchase of these products through affiliate links helps to generate commission for Storables.com, at no extra cost. Learn more)
Introduction
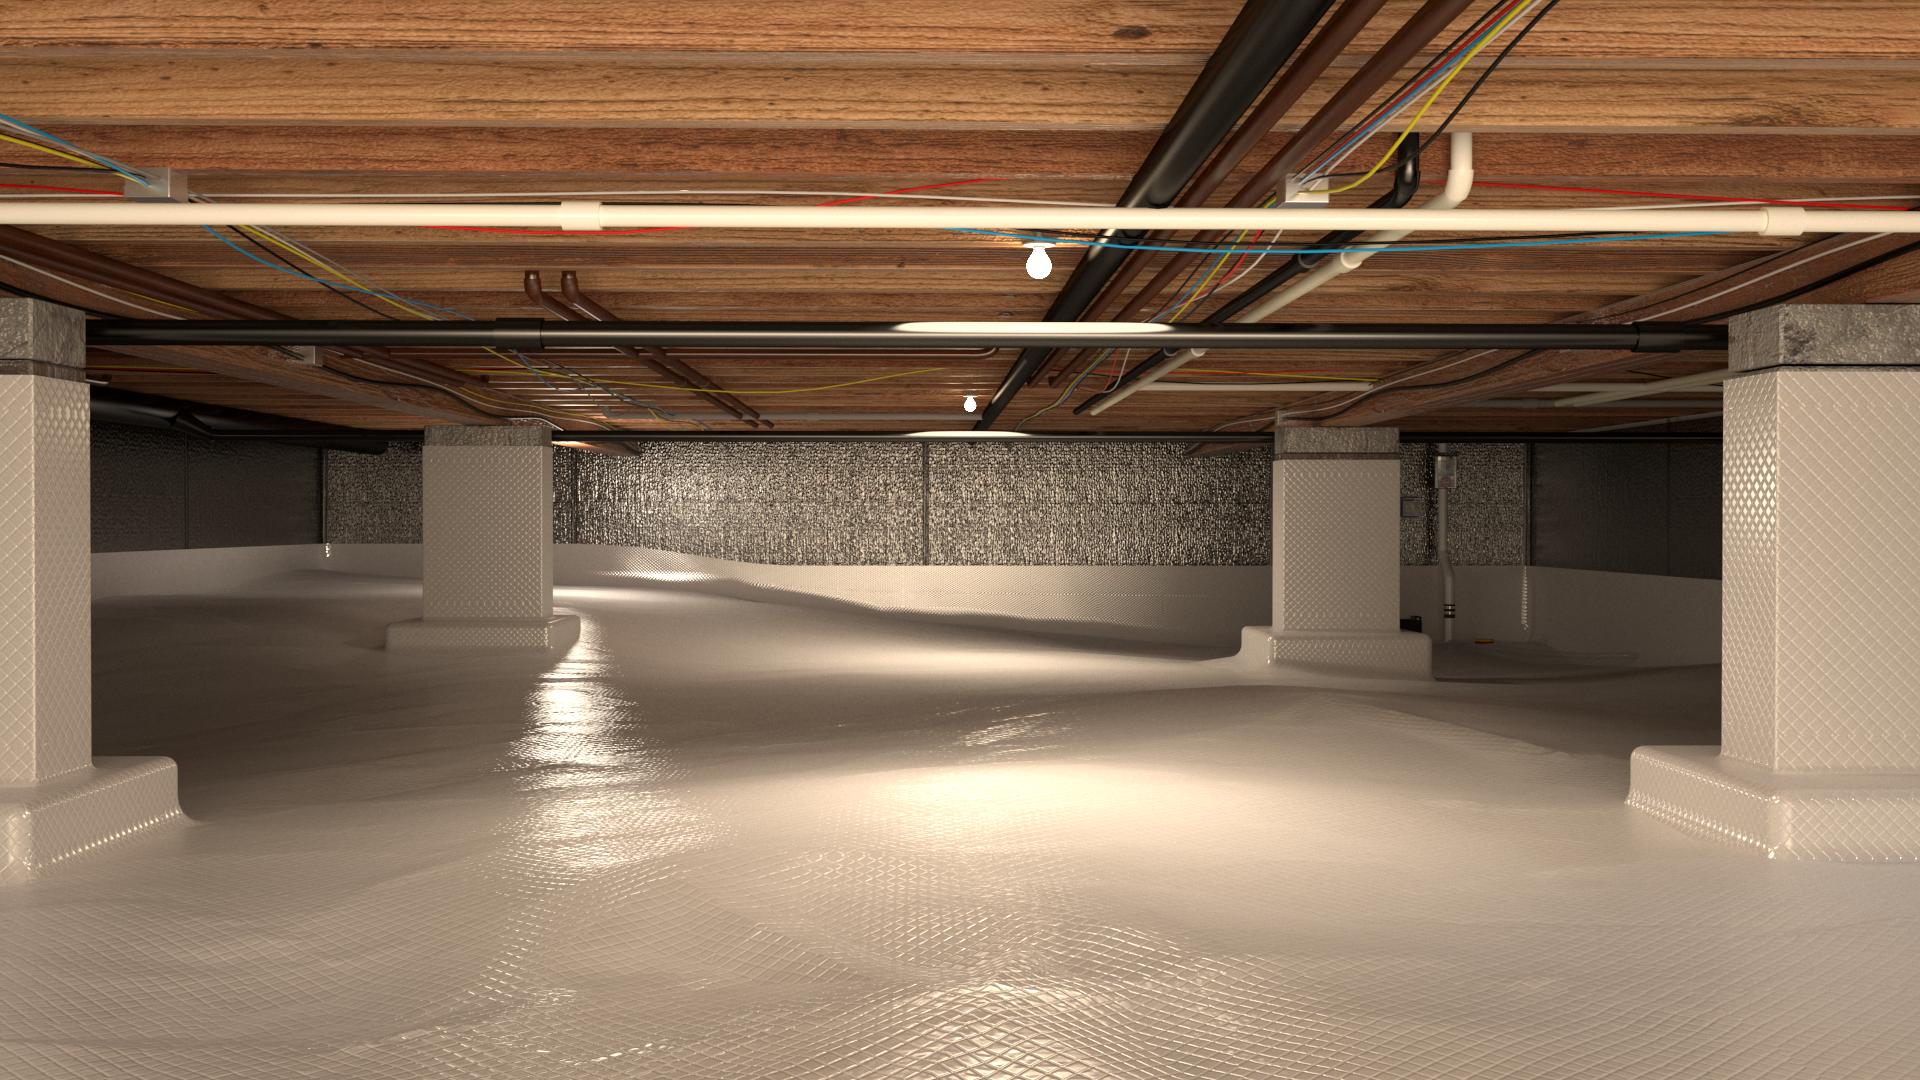
Winterizing your crawl space is a crucial step in preparing your home for the colder months. Neglecting this vital task can lead to a host of issues, including frozen pipes, increased energy bills, and potential damage to your home's foundation. By taking the time to properly winterize your crawl space, you can safeguard your home against the harsh winter elements and ensure a comfortable and energy-efficient living environment.
In this comprehensive guide, we will walk you through the essential steps to effectively winterize your crawl space. From clearing out debris to installing a dehumidifier, each step plays a pivotal role in protecting your home from the challenges posed by winter weather. By following these steps, you can mitigate the risk of costly repairs and create a more resilient and sustainable living space for you and your family.
Let's dive into the details of each step, providing you with the knowledge and confidence to tackle this important home maintenance task. Whether you're a seasoned DIY enthusiast or a homeowner looking to learn more about protecting your investment, this guide will equip you with the insights and practical tips needed to winterize your crawl space effectively. So, roll up your sleeves and get ready to transform your crawl space into a winter-ready fortress!
Key Takeaways:
- Protect your home from winter by clearing debris, insulating pipes, sealing air leaks, adding insulation, and installing a dehumidifier in your crawl space. These steps ensure a resilient and energy-efficient living environment.
- Winterizing your crawl space is crucial for preventing frozen pipes, high energy bills, and foundation damage. By following these steps, you can create a comfortable and sustainable home for the colder months.
Read more: How To Insulate Crawl Space Vents For Winter
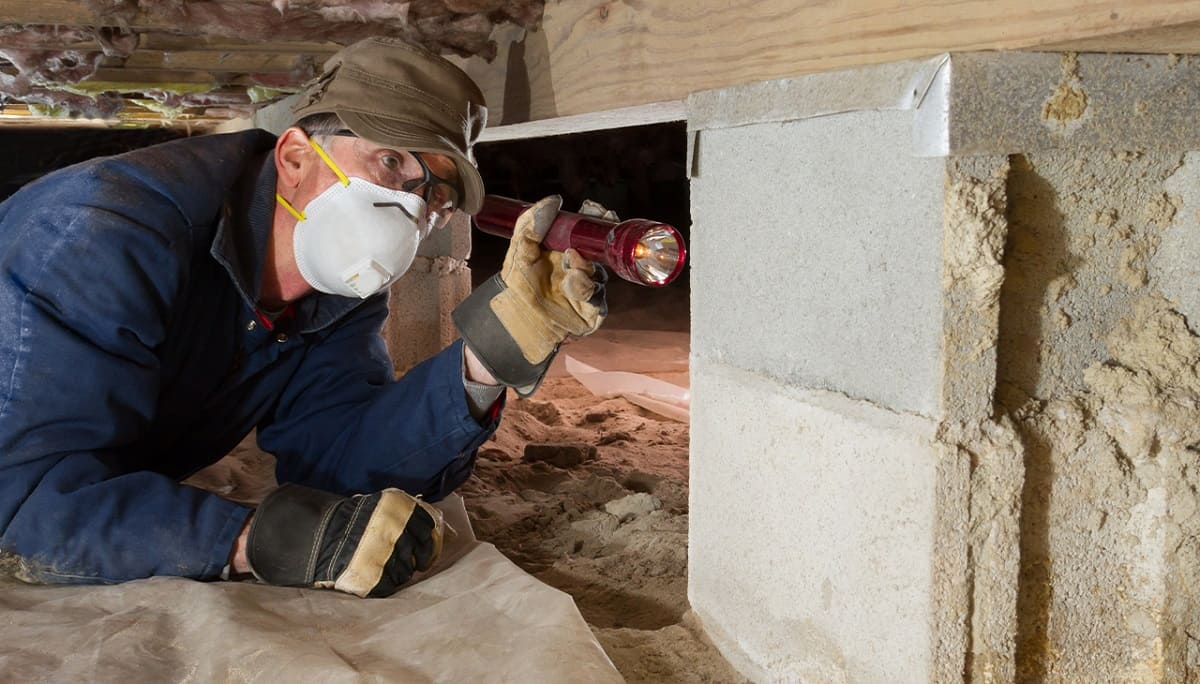
Step 1: Clear Out Debris
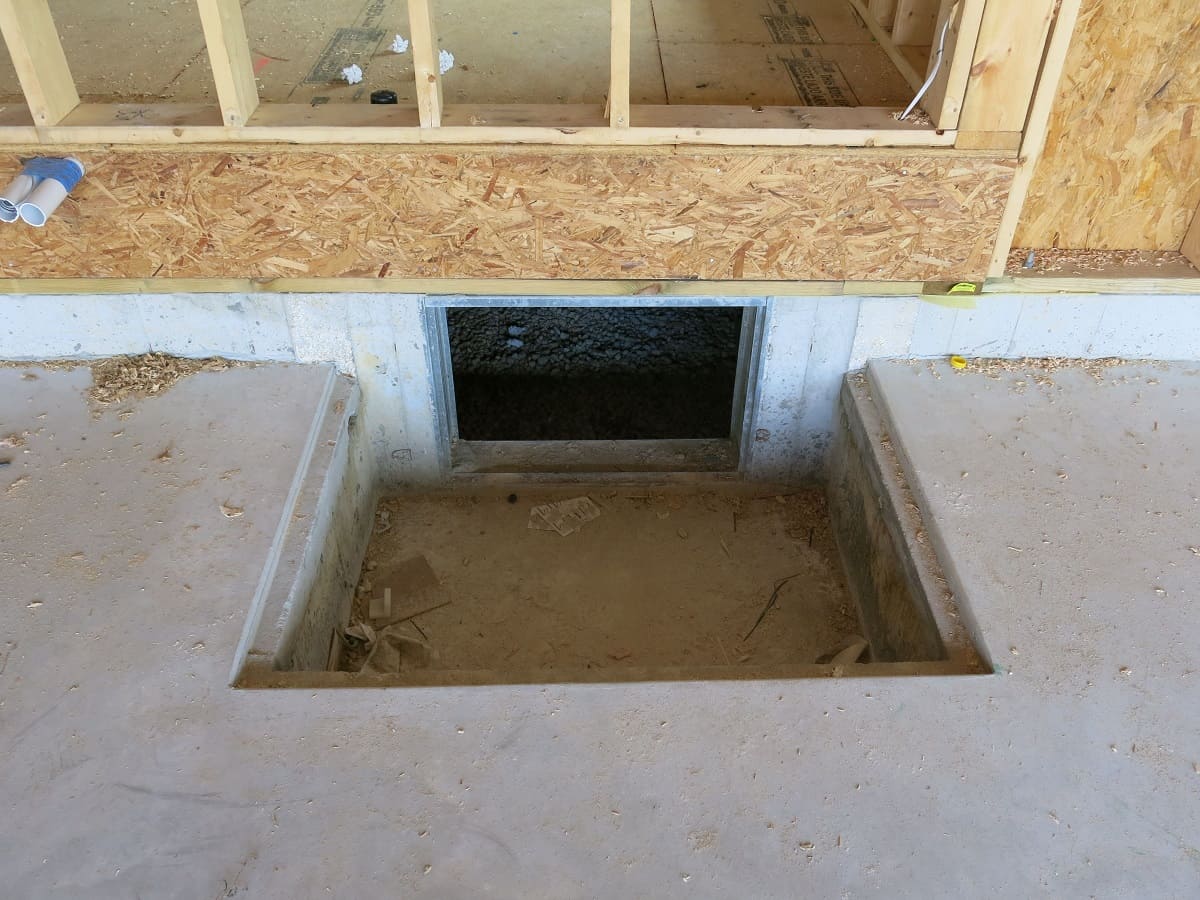
Before embarking on the process of winterizing your crawl space, it's essential to start with a clean slate. Over time, debris such as leaves, branches, and even small animal nests can accumulate in the crawl space, creating a potential breeding ground for moisture and pests. Therefore, the first step in preparing your crawl space for winter is to thoroughly clear out any debris.
Begin by donning appropriate protective gear, including gloves, a dust mask, and knee pads, as crawl spaces can be dusty and cramped. Armed with a sturdy flashlight, carefully inspect the area for any signs of debris accumulation. Use a rake or a broom to gently remove leaves, twigs, and other loose debris. Pay close attention to corners and crevices, as these areas are often overlooked but can harbor significant amounts of debris.
Next, assess the condition of the vapor barrier, if one is present. The vapor barrier plays a crucial role in preventing moisture from seeping into the crawl space, so it's important to ensure that it is intact and free from tears or damage. If any issues are detected, make a note to address them promptly to maintain the integrity of the barrier.
In addition to clearing out visible debris, take the time to inspect for signs of pest infestation. Look for droppings, gnaw marks, or nests, as these indicate the presence of unwanted critters. If evidence of pests is found, consider contacting a professional pest control service to address the issue before proceeding with the winterization process.
By thoroughly clearing out debris and addressing any potential pest issues, you are laying the foundation for a successful crawl space winterization. This proactive approach not only helps to create a cleaner and healthier environment but also sets the stage for the subsequent steps in the winterization process.
With the debris cleared and the crawl space primed for the next steps, you are well on your way to ensuring a well-protected and resilient home as the colder months approach.
Step 2: Insulate Pipes
As the temperatures drop during the winter months, the risk of exposed pipes freezing and potentially bursting becomes a significant concern. To mitigate this risk and safeguard your plumbing system, insulating the pipes in your crawl space is a crucial step in the winterization process.
Begin by identifying all exposed pipes within the crawl space. These may include water supply lines, drain pipes, and any other plumbing components that are not shielded within insulated walls. Once you have located the exposed pipes, assess their current insulation status. In some cases, pipes may already be wrapped in insulation, but it's important to ensure that the insulation is intact and in good condition.
If the pipes are not adequately insulated or if the existing insulation shows signs of wear or damage, it's essential to reinforce them with high-quality pipe insulation. This can typically be found at hardware or home improvement stores and is available in various sizes to accommodate different pipe diameters.
When insulating the pipes, pay close attention to areas where pipes are most vulnerable to freezing, such as near exterior walls or in drafty spaces. Use the appropriate insulation material to wrap the pipes securely, ensuring a snug fit that effectively shields them from the cold. Additionally, be mindful of any joints, bends, or connections in the pipes, as these areas may require special attention to maintain consistent insulation coverage.
In addition to insulating the pipes themselves, consider insulating any valves, fittings, or other exposed components that are part of the plumbing system. By taking a comprehensive approach to pipe insulation, you can minimize the risk of frozen pipes and the potential water damage that can result from a burst pipe.
By insulating the pipes in your crawl space, you are not only protecting your plumbing infrastructure but also contributing to the overall energy efficiency of your home. Insulated pipes are less prone to heat loss, which can lead to reduced energy consumption and lower utility bills during the winter months.
With the pipes effectively insulated, you can proceed with the next steps in the winterization process, knowing that your plumbing system is well-prepared to withstand the challenges of winter. This proactive measure will help you maintain a comfortable and functional home environment while minimizing the risk of costly plumbing repairs due to cold weather-related issues.
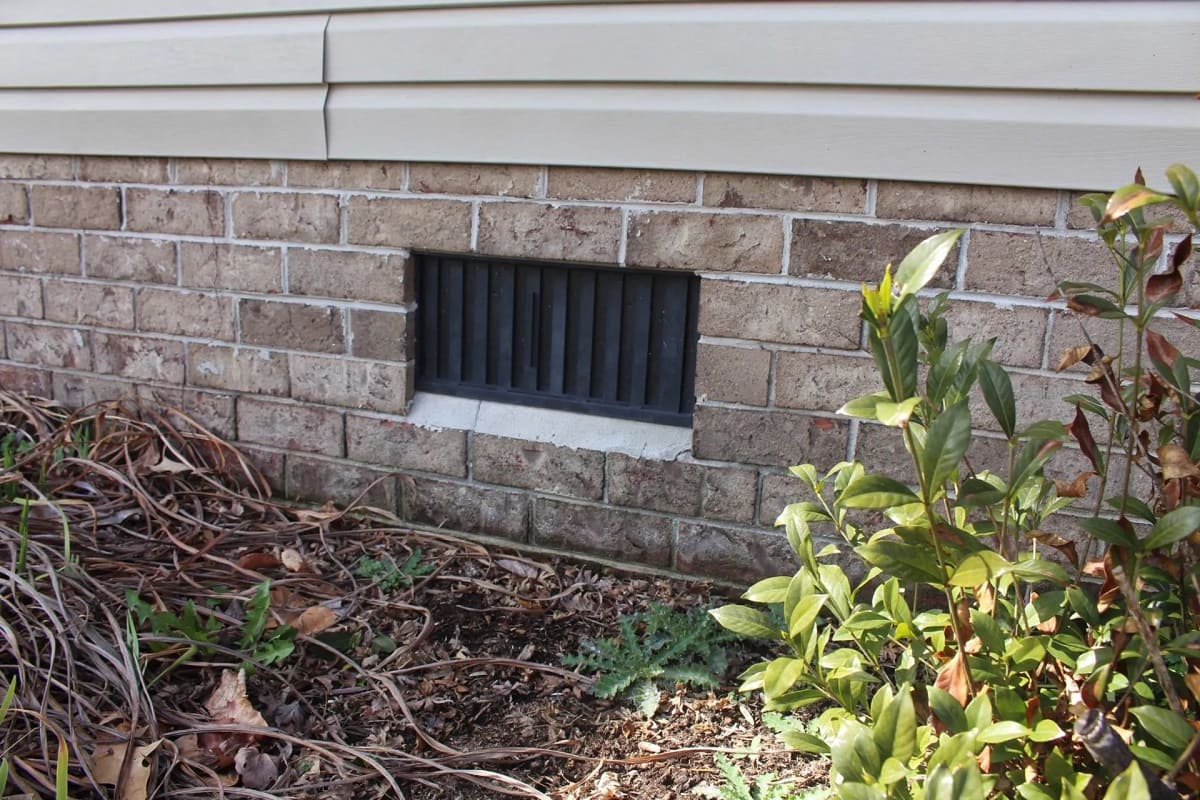
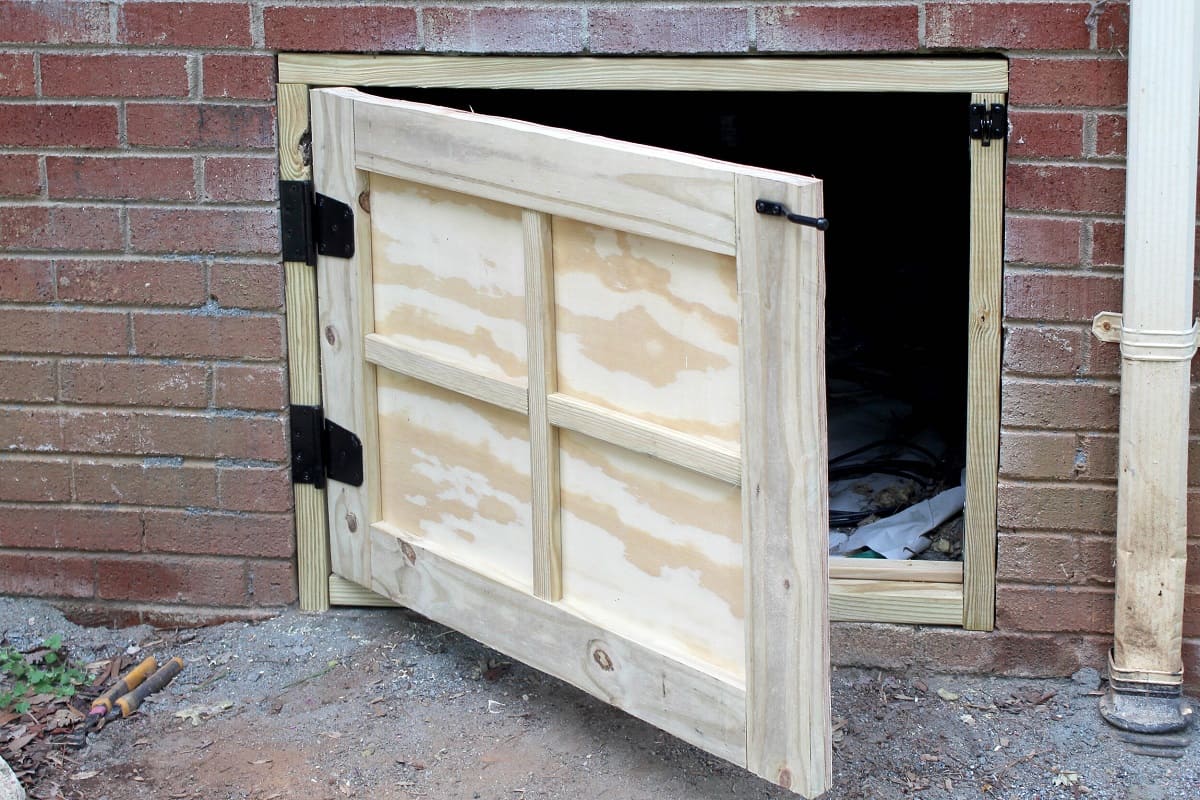
Step 3: Seal Air Leaks
Sealing air leaks in your crawl space is a critical step in the winterization process, as it helps to prevent the infiltration of cold air and the escape of heated air from your home. Air leaks not only contribute to energy inefficiency but can also lead to temperature fluctuations and discomfort within your living spaces. By effectively sealing air leaks, you can create a more consistent and comfortable indoor environment while reducing your energy consumption and utility costs.
Begin by conducting a thorough inspection of the crawl space to identify potential air leakage points. Common areas where air leaks may occur include gaps around pipes, ductwork, electrical wiring, and vents, as well as cracks in the foundation or walls. Additionally, pay attention to any openings or penetrations that may have been created for utility access or other purposes.
Once air leakage points have been identified, it's essential to seal them using appropriate materials and techniques. For smaller gaps and cracks, a high-quality caulk or foam sealant can be used to create an airtight seal. Choose a product that is specifically designed for use in crawl spaces and is resistant to moisture and temperature fluctuations.
For larger openings or penetrations, such as around pipes or ductwork, consider using insulation materials or rigid foam board to effectively block air leaks. These materials not only provide insulation but also serve as barriers against air infiltration, helping to maintain a more stable indoor environment.
In addition to sealing visible air leaks, it's important to address any areas where insulation may be lacking or damaged. Insulation plays a key role in preventing heat loss and maintaining consistent indoor temperatures. By ensuring that insulation is properly installed and in good condition, you can further enhance the energy efficiency of your home and reduce the impact of cold air infiltration.
By taking proactive measures to seal air leaks in your crawl space, you are not only improving the comfort and livability of your home but also contributing to a more sustainable and energy-efficient living environment. With air leaks effectively sealed, you can proceed with confidence to the next steps in the winterization process, knowing that your home is better equipped to withstand the challenges of winter weather.
Seal any air leaks in the crawl space with caulk or foam to prevent cold air from entering. This will help keep the space warmer and reduce the risk of frozen pipes.
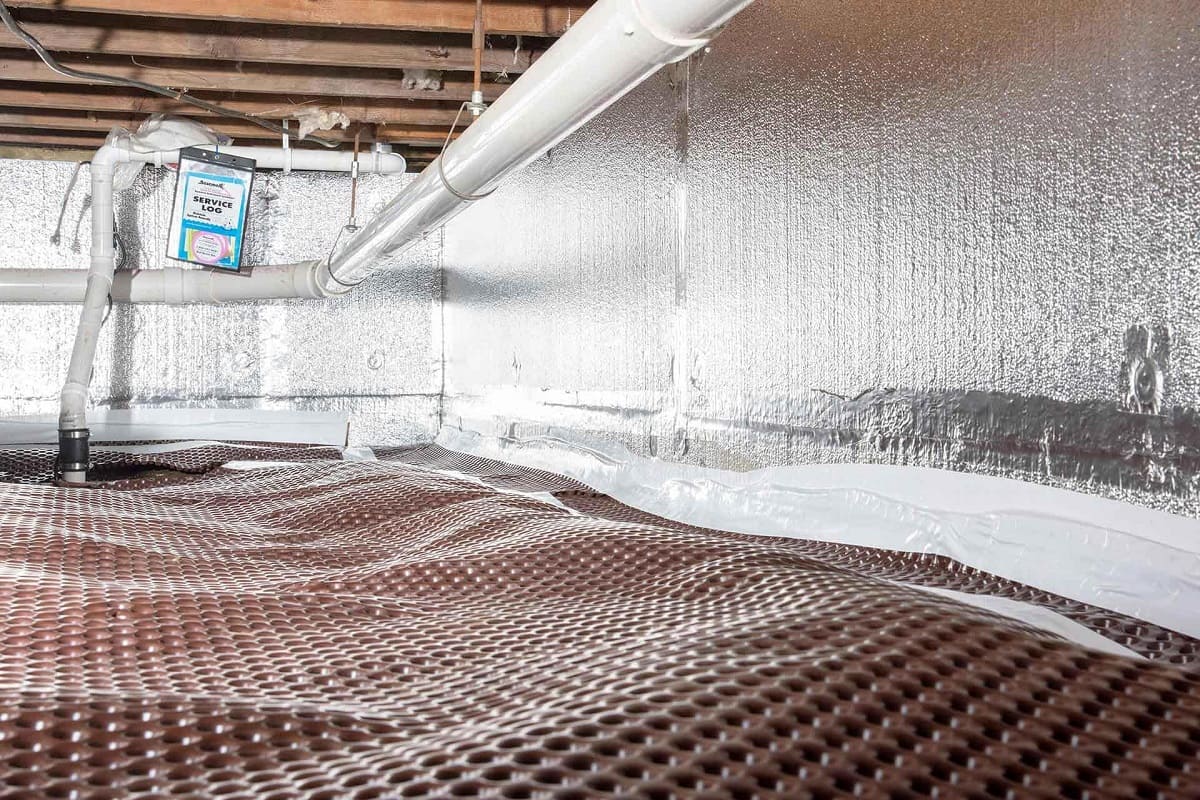
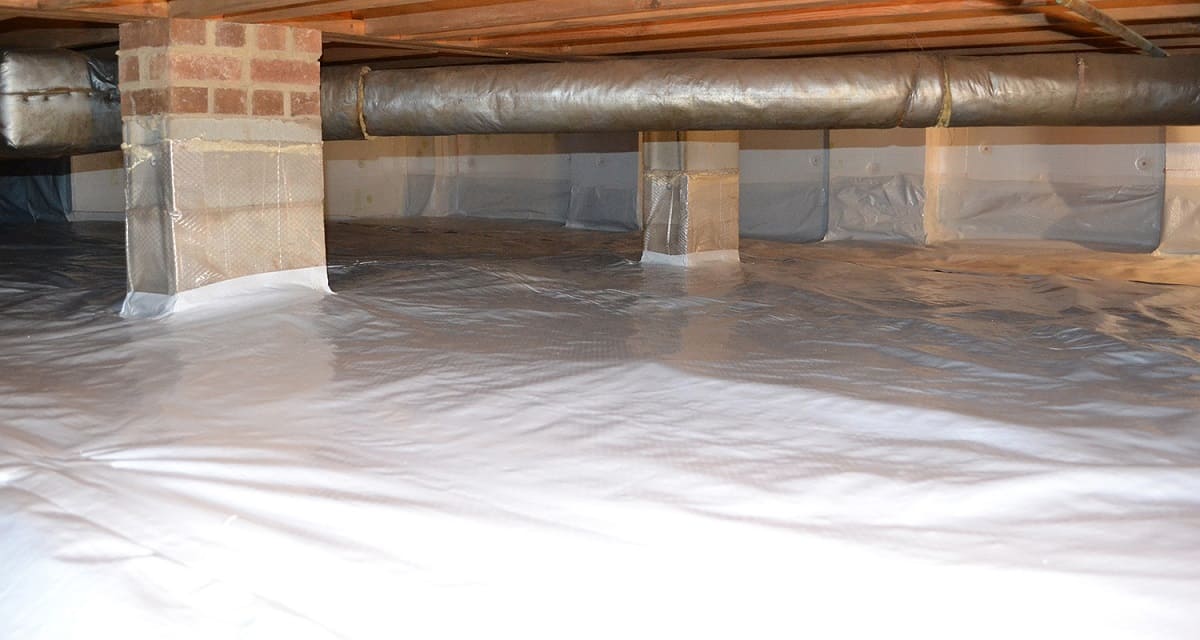
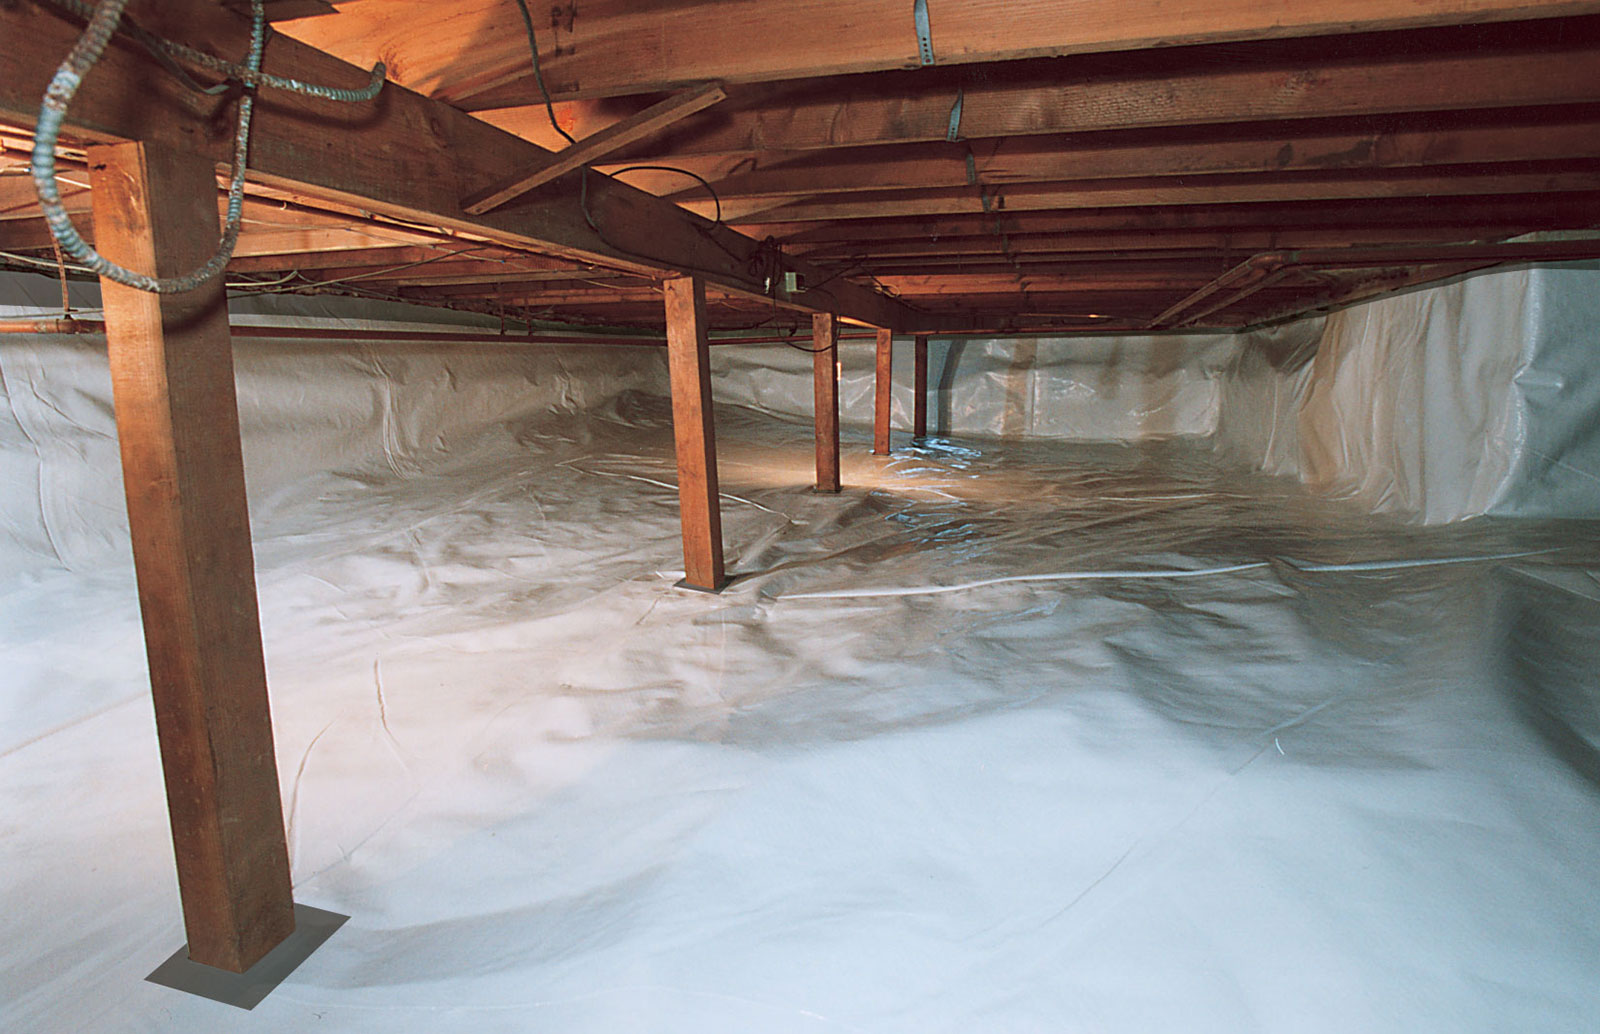
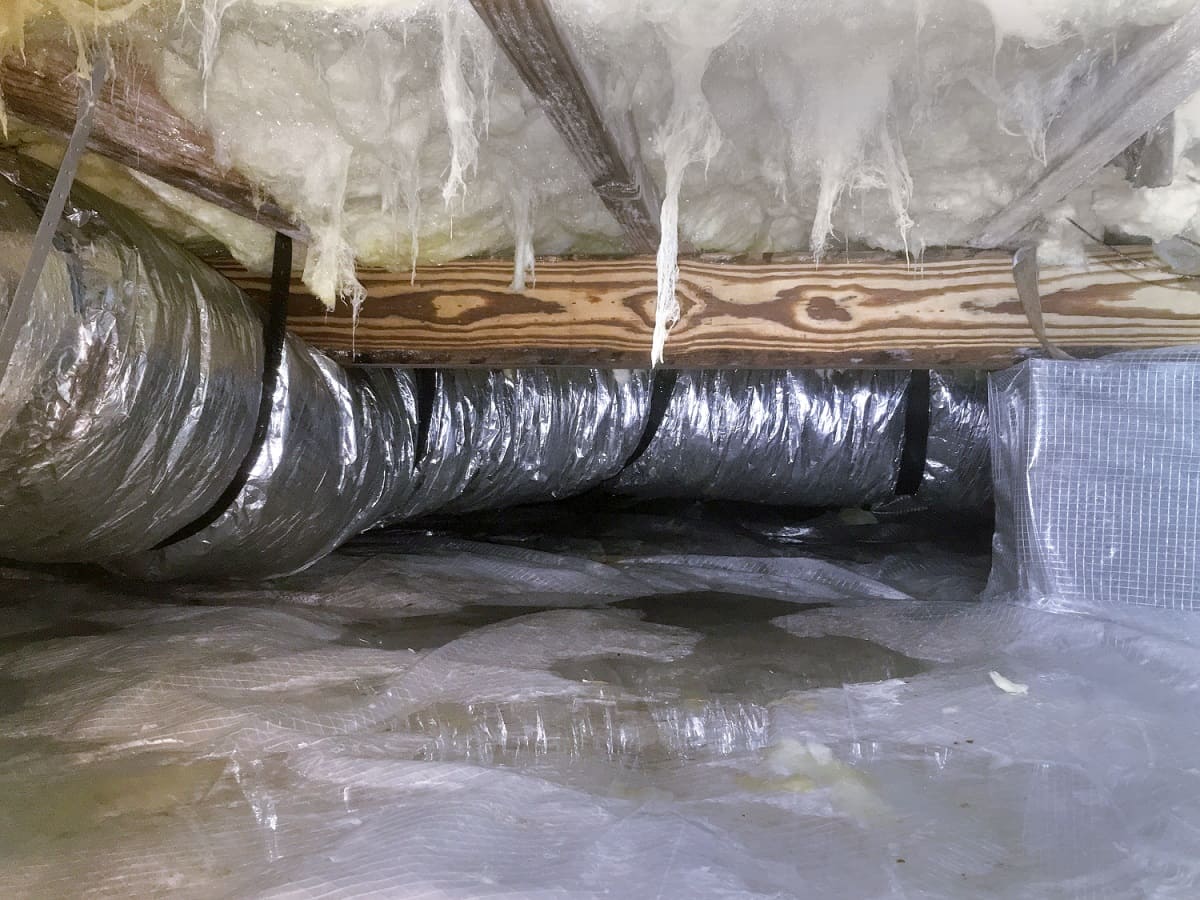
Step 4: Install Vapor Barrier
Installing a vapor barrier in your crawl space is a fundamental aspect of winterizing your home. This crucial step helps to control moisture levels and prevent the infiltration of damp air, ultimately safeguarding your home against the potential damage caused by excess moisture.
Begin by assessing the condition of the existing vapor barrier, if one is already in place. Over time, vapor barriers can become damaged or compromised, reducing their effectiveness in controlling moisture. If the current barrier shows signs of wear, tears, or deterioration, it's essential to replace it with a new, high-quality vapor barrier.
When selecting a vapor barrier, opt for a durable and puncture-resistant material that is specifically designed for crawl space applications. The barrier should have a high perm rating, indicating its ability to restrict the passage of moisture while allowing for the diffusion of water vapor. Additionally, ensure that the vapor barrier is of sufficient thickness to provide adequate protection against moisture intrusion.
Before installing the new vapor barrier, thoroughly clean and prepare the crawl space surface to create a smooth and even foundation for the barrier. Remove any debris, dust, or protrusions that may hinder the proper installation of the vapor barrier. This preparatory step is crucial in ensuring the long-term effectiveness of the barrier in controlling moisture levels.
Next, carefully lay out the vapor barrier across the crawl space floor, ensuring that it covers the entire area with no gaps or overlaps. Secure the barrier in place using appropriate fastening methods, such as mechanical fasteners or specialized adhesives designed for use with vapor barriers. Pay close attention to the edges and seams of the barrier, ensuring that they are properly sealed to create a continuous and effective moisture barrier.
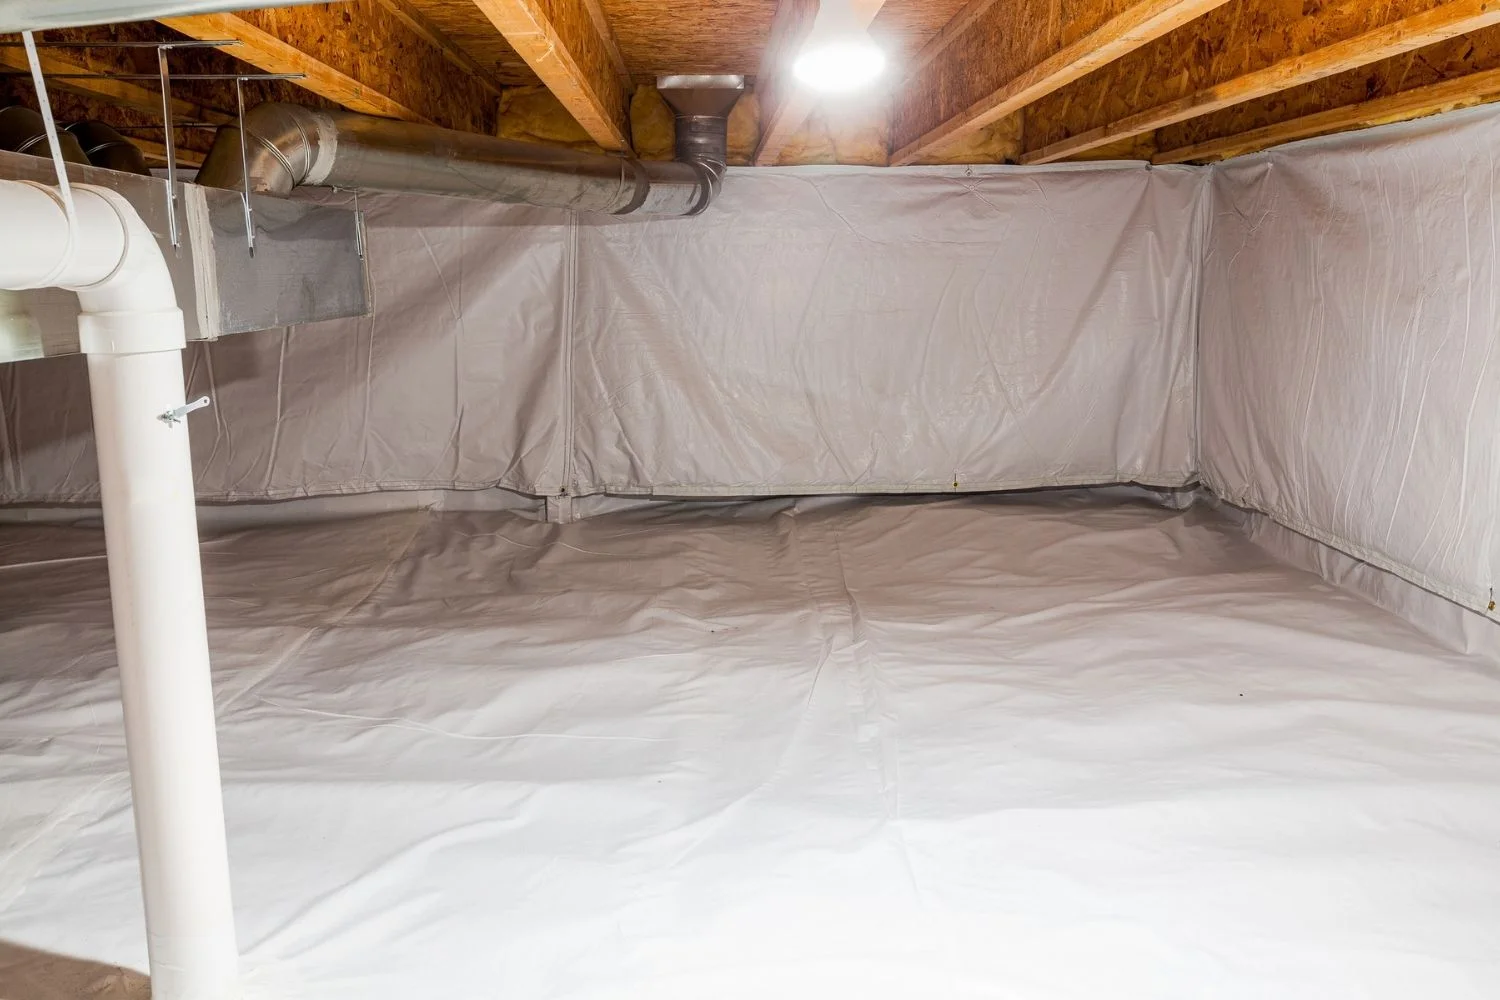
In addition to covering the floor, consider extending the vapor barrier up the walls of the crawl space to create a seamless barrier against moisture intrusion. This comprehensive approach helps to create a more controlled and moisture-resistant environment within the crawl space, ultimately benefiting the overall health and integrity of your home.
By installing a high-quality vapor barrier, you are taking proactive measures to protect your home from the potential effects of excess moisture, such as mold growth, wood rot, and structural damage. With the vapor barrier in place, you can proceed with confidence to the subsequent steps in the winterization process, knowing that your home is better equipped to withstand the challenges of winter weather.
Read more: How To Maintain A Crawl Space
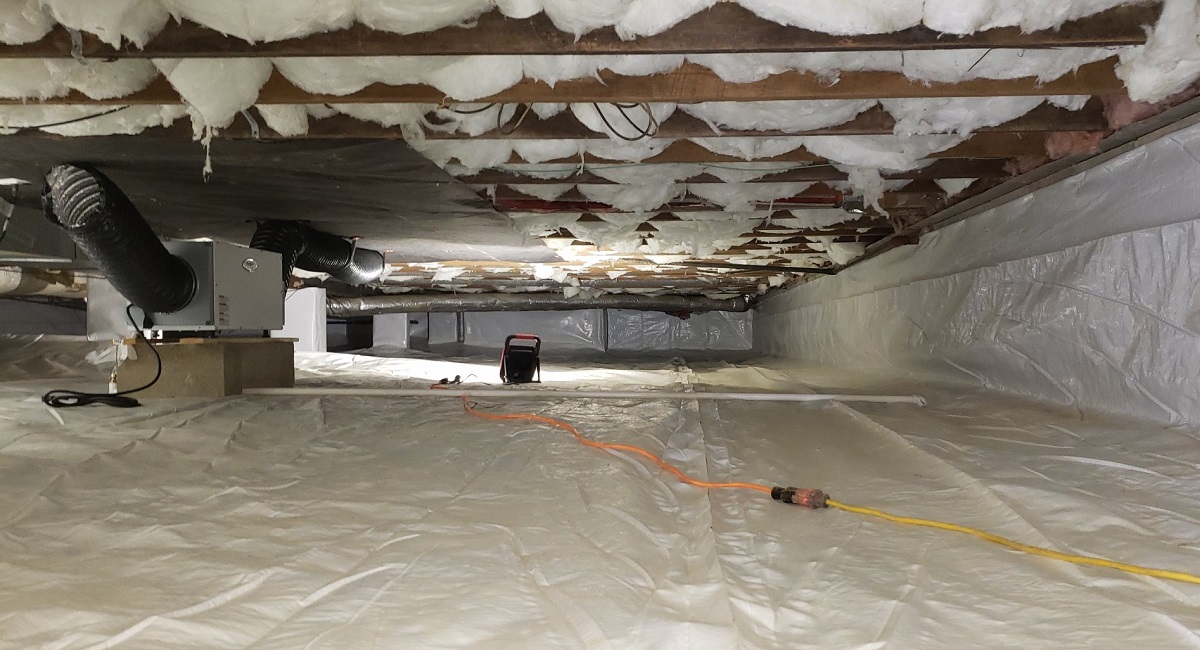
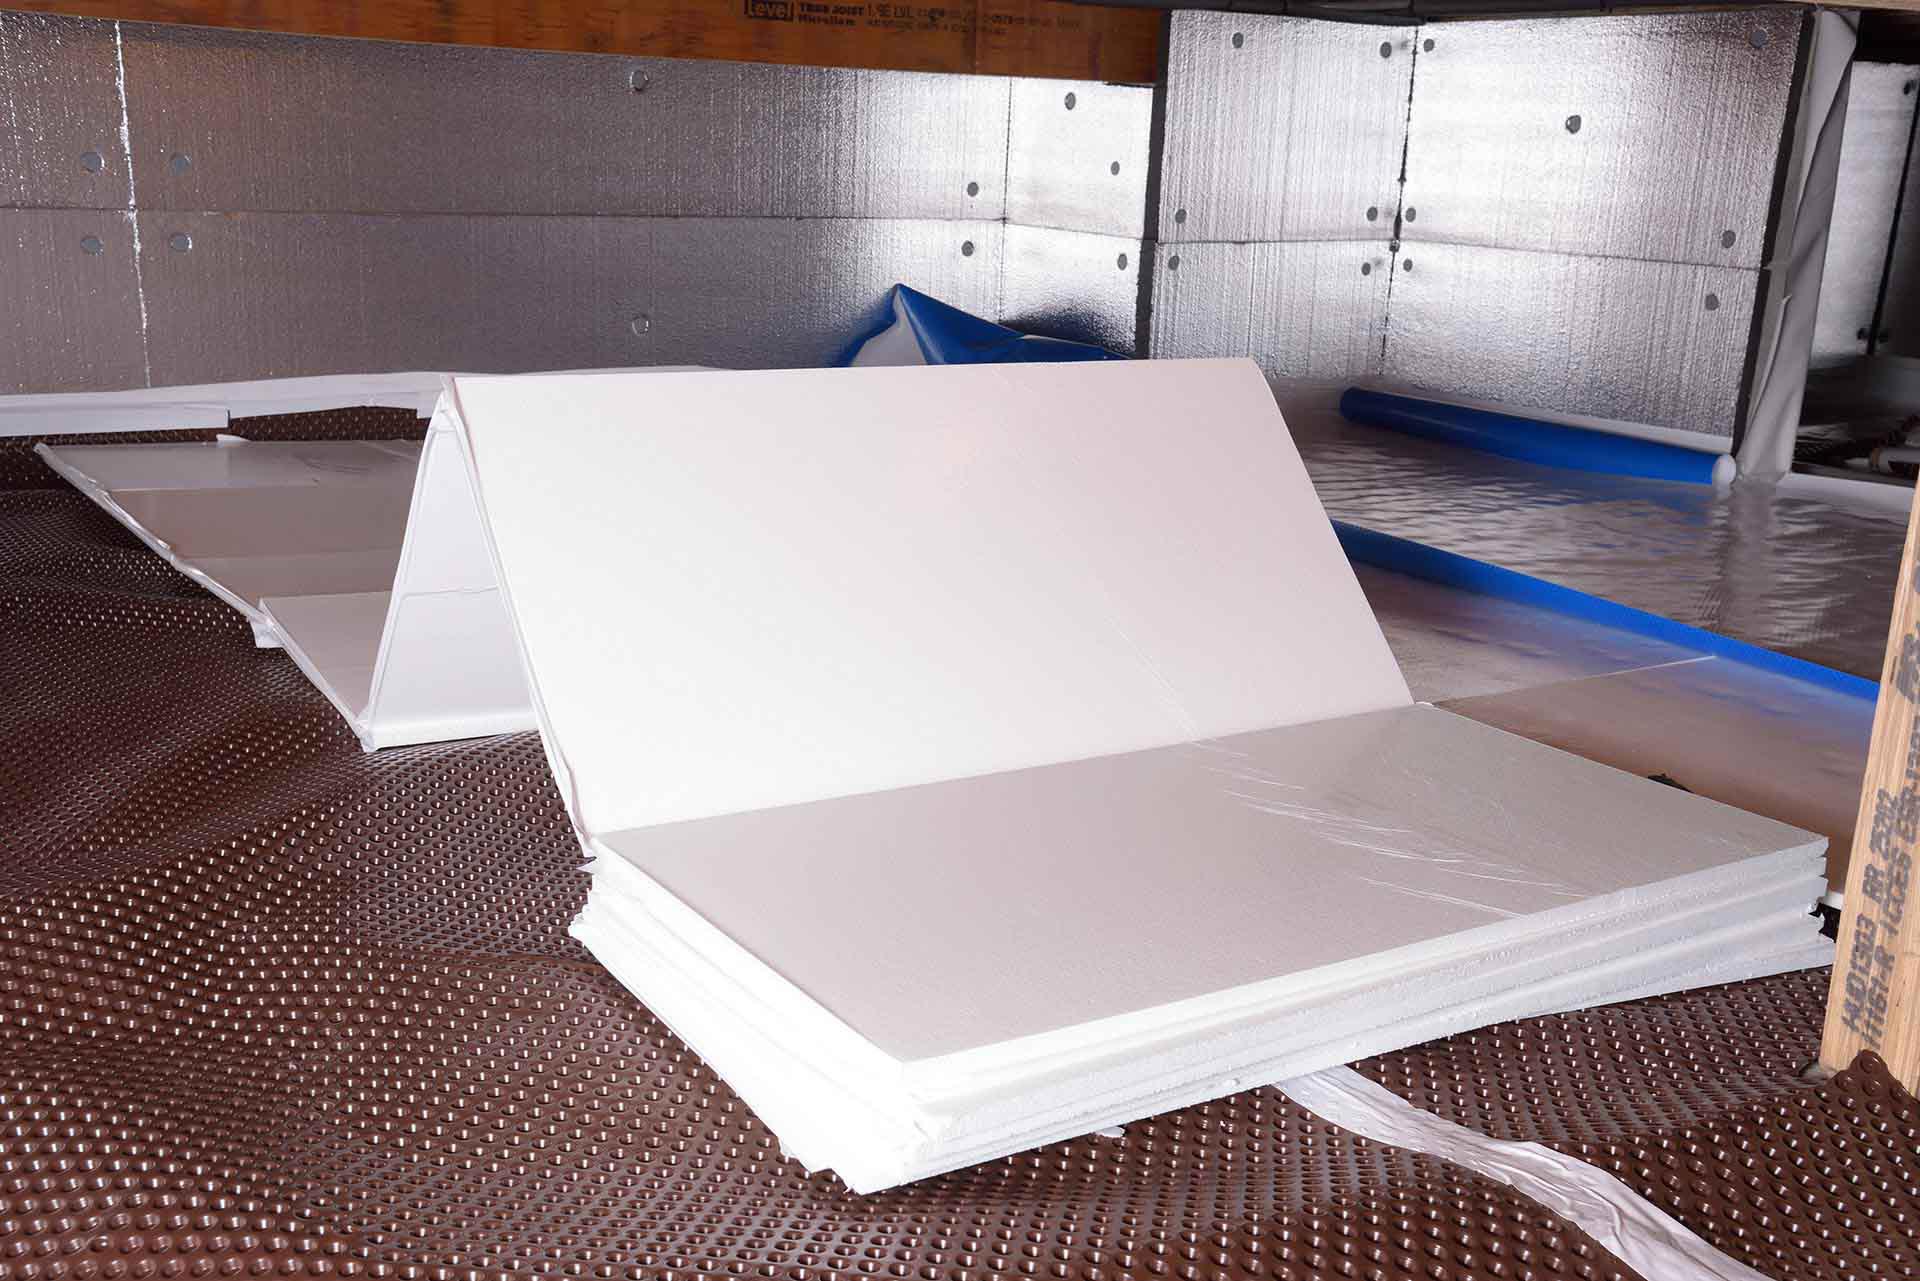
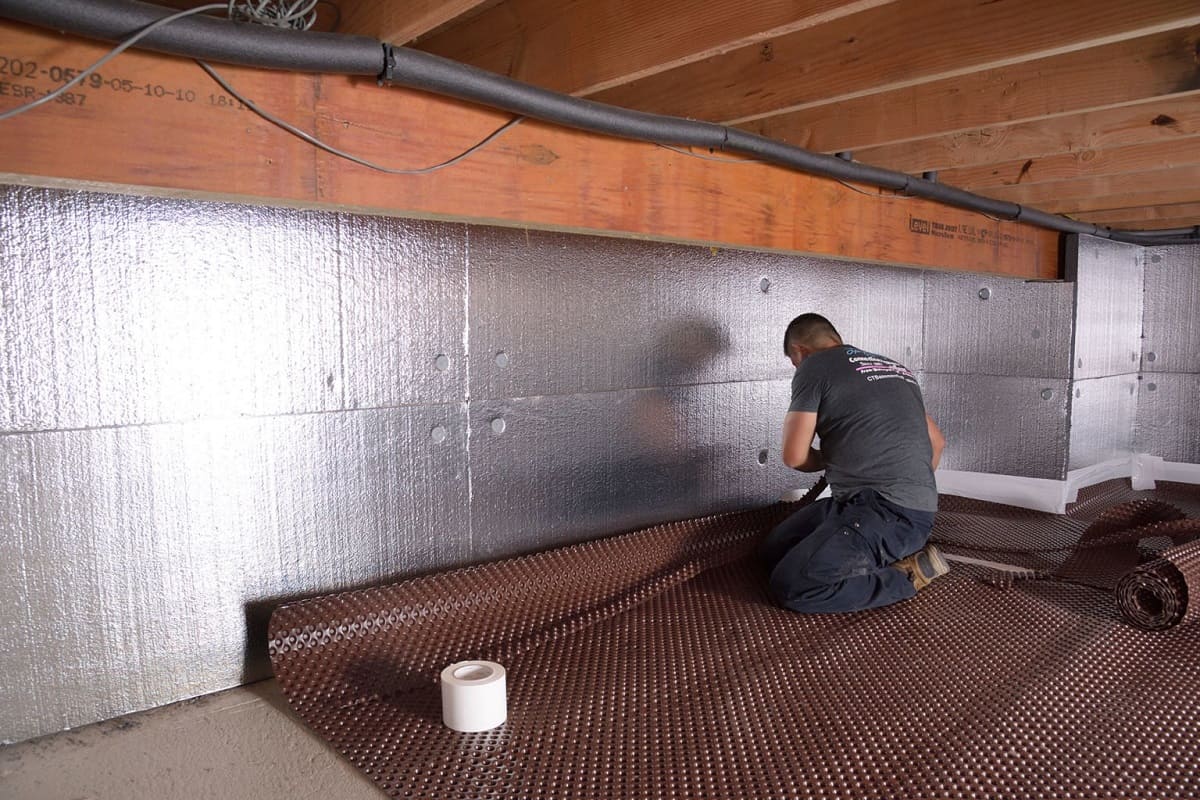
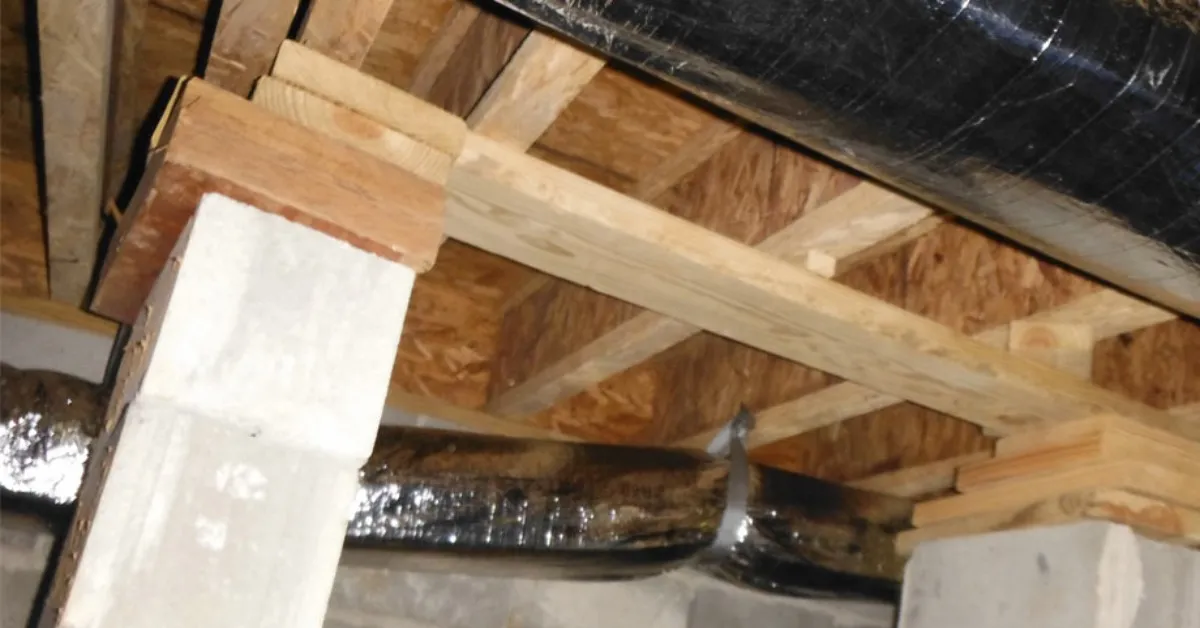
Step 5: Add Insulation
Adding insulation to your crawl space is a pivotal step in the winterization process, as it contributes to maintaining consistent indoor temperatures, reducing energy consumption, and protecting your home from the impact of cold weather. Proper insulation helps to create a thermal barrier that minimizes heat loss and prevents cold air from infiltrating your living spaces, ultimately enhancing the overall comfort and energy efficiency of your home.
Begin by assessing the current insulation status in your crawl space. If insulation is already present, check for any signs of wear, damage, or inadequate coverage. Over time, insulation can deteriorate, become compressed, or be displaced, compromising its effectiveness in regulating indoor temperatures. If the existing insulation is insufficient or in poor condition, it's essential to reinforce or replace it to ensure optimal thermal performance.
When selecting insulation materials for your crawl space, consider factors such as R-value, moisture resistance, and suitability for the crawl space environment. Opt for insulation products that are specifically designed for use in below-grade spaces, as they are engineered to withstand potential moisture exposure and provide long-term thermal efficiency.
Focus on insulating key areas within the crawl space, including the walls, rim joists, and any exposed surfaces that are susceptible to heat loss. By creating a continuous thermal envelope, you can effectively minimize heat transfer and create a more stable and comfortable indoor environment. Additionally, pay attention to areas where plumbing or HVAC components penetrate the crawl space, as these areas may require specialized insulation solutions to prevent energy loss and maintain consistent temperatures.
In addition to traditional insulation materials such as fiberglass or foam board, consider the benefits of spray foam insulation for addressing hard-to-reach areas and achieving a seamless, airtight barrier. Spray foam insulation provides superior thermal performance and can effectively seal gaps and voids, further enhancing the energy efficiency of your home.
By adding high-quality insulation to your crawl space, you are not only enhancing the thermal performance of your home but also contributing to long-term energy savings and environmental sustainability. With a well-insulated crawl space, you can create a more resilient and energy-efficient living environment, ensuring that your home is well-prepared to withstand the rigors of winter.
With the insulation in place, you can proceed confidently to the subsequent steps in the winterization process, knowing that your home is equipped with the necessary measures to maintain comfort, efficiency, and protection throughout the colder months.
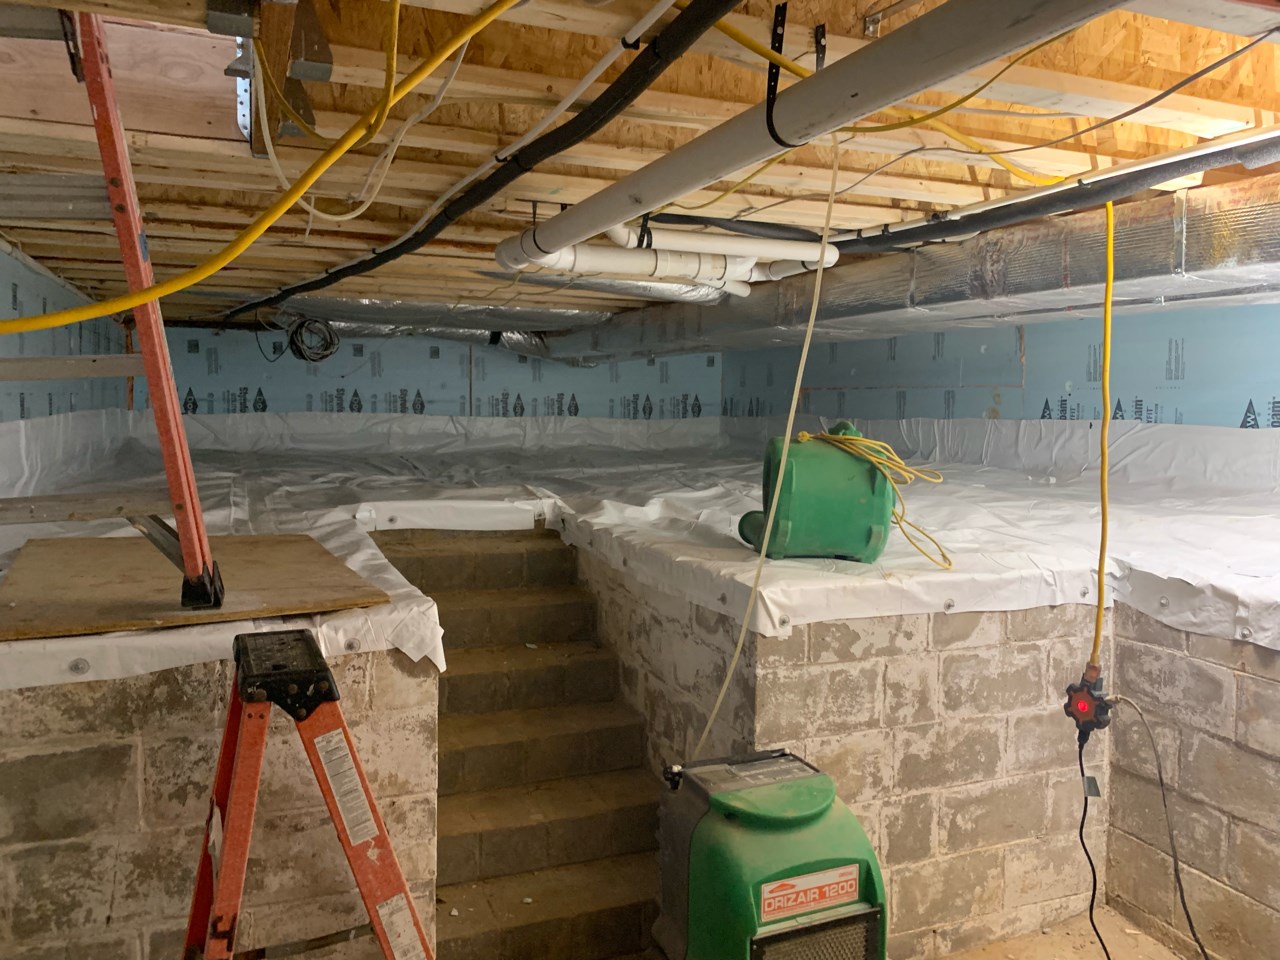
Step 6: Install a Dehumidifier
Installing a dehumidifier in your crawl space is a crucial step in the winterization process, as it helps to control moisture levels and mitigate the risk of excess humidity, ultimately safeguarding your home against potential issues such as mold growth, musty odors, and structural damage.
Begin by selecting a high-quality dehumidifier that is specifically designed for use in crawl spaces. Look for a unit with a robust moisture removal capacity and a durable construction that can withstand the unique conditions of a below-grade environment. Additionally, consider features such as automatic humidity control, drainage options, and energy efficiency to ensure optimal performance and convenience.
Before installing the dehumidifier, carefully assess the layout and dimensions of your crawl space to determine the most suitable placement for the unit. Ideally, the dehumidifier should be positioned in a central location to maximize its coverage and effectiveness in controlling moisture levels throughout the space.
Once you have identified the placement, follow the manufacturer's guidelines for installing the dehumidifier, ensuring that it is securely positioned and properly leveled. If the unit requires drainage, set up a suitable drainage system to facilitate the removal of collected moisture. Some dehumidifiers may offer options for continuous drainage or the use of a condensate pump, providing flexibility in managing the extracted moisture.
After the dehumidifier is installed, configure the settings according to the recommended humidity levels for crawl spaces, typically in the range of 50-60% relative humidity. Many modern dehumidifiers feature built-in hygrometers and automatic controls, making it easy to maintain optimal humidity levels without constant manual adjustments.
Regularly monitor the performance of the dehumidifier and ensure that it is operating effectively in maintaining the desired humidity levels. Periodically check and empty the collection reservoir or verify the functionality of the drainage system to prevent any potential issues due to moisture accumulation.
By installing a dehumidifier in your crawl space, you are proactively addressing one of the primary factors that contribute to moisture-related problems in homes. With controlled humidity levels, you can create a healthier and more resilient living environment, protecting your home from the detrimental effects of excess moisture while enhancing overall indoor air quality.
With the dehumidifier in place and effectively managing moisture levels, you can proceed confidently, knowing that your home is well-equipped to withstand the challenges of winter weather.
Conclusion
As you wrap up the comprehensive process of winterizing your crawl space, it's essential to reflect on the significant impact of these proactive measures in safeguarding your home against the challenges of winter. By diligently following each step, from clearing out debris to installing a dehumidifier, you have taken crucial steps to fortify your home and create a more resilient living environment.
The meticulous process of clearing out debris not only ensures a cleaner and healthier crawl space but also sets the stage for subsequent steps in the winterization process. By addressing potential pest issues and assessing the condition of the vapor barrier, you have laid a solid foundation for protecting your home from moisture and pest-related concerns.
Insulating the pipes and sealing air leaks are pivotal measures in enhancing the energy efficiency and structural integrity of your home. By safeguarding your plumbing system from the risks of frozen pipes and minimizing heat loss through effective air sealing, you are contributing to a more sustainable and cost-effective living environment.
The installation of a high-quality vapor barrier and the addition of insulation further bolster your home's defenses against the impact of cold weather. By controlling moisture levels and creating a thermal barrier, you are not only protecting your home from potential damage but also enhancing its overall comfort and energy efficiency.
The culmination of these efforts is the installation of a dehumidifier, which actively manages moisture levels and contributes to a healthier indoor environment. By controlling humidity levels, you are mitigating the risk of mold growth, musty odors, and structural deterioration, ensuring that your home remains a safe and comfortable haven throughout the winter months.
As you conclude the winterization process, take pride in the proactive steps you have taken to protect your home and create a more resilient living space. By investing the time and effort into winterizing your crawl space, you are not only safeguarding your home from potential damage but also contributing to long-term energy savings and environmental sustainability.
With a well-prepared and winterized crawl space, you can approach the colder months with confidence, knowing that your home is equipped to withstand the rigors of winter weather. By prioritizing proactive maintenance and protective measures, you are creating a more resilient and sustainable living environment for you and your family.
Frequently Asked Questions about How To Winterize A Crawl Space
Was this page helpful?
At Storables.com, we guarantee accurate and reliable information. Our content, validated by Expert Board Contributors, is crafted following stringent Editorial Policies. We're committed to providing you with well-researched, expert-backed insights for all your informational needs.
0 thoughts on “How To Winterize A Crawl Space”