Home>Renovation & DIY>Home Renovation Guides>How To Remove A Backsplash
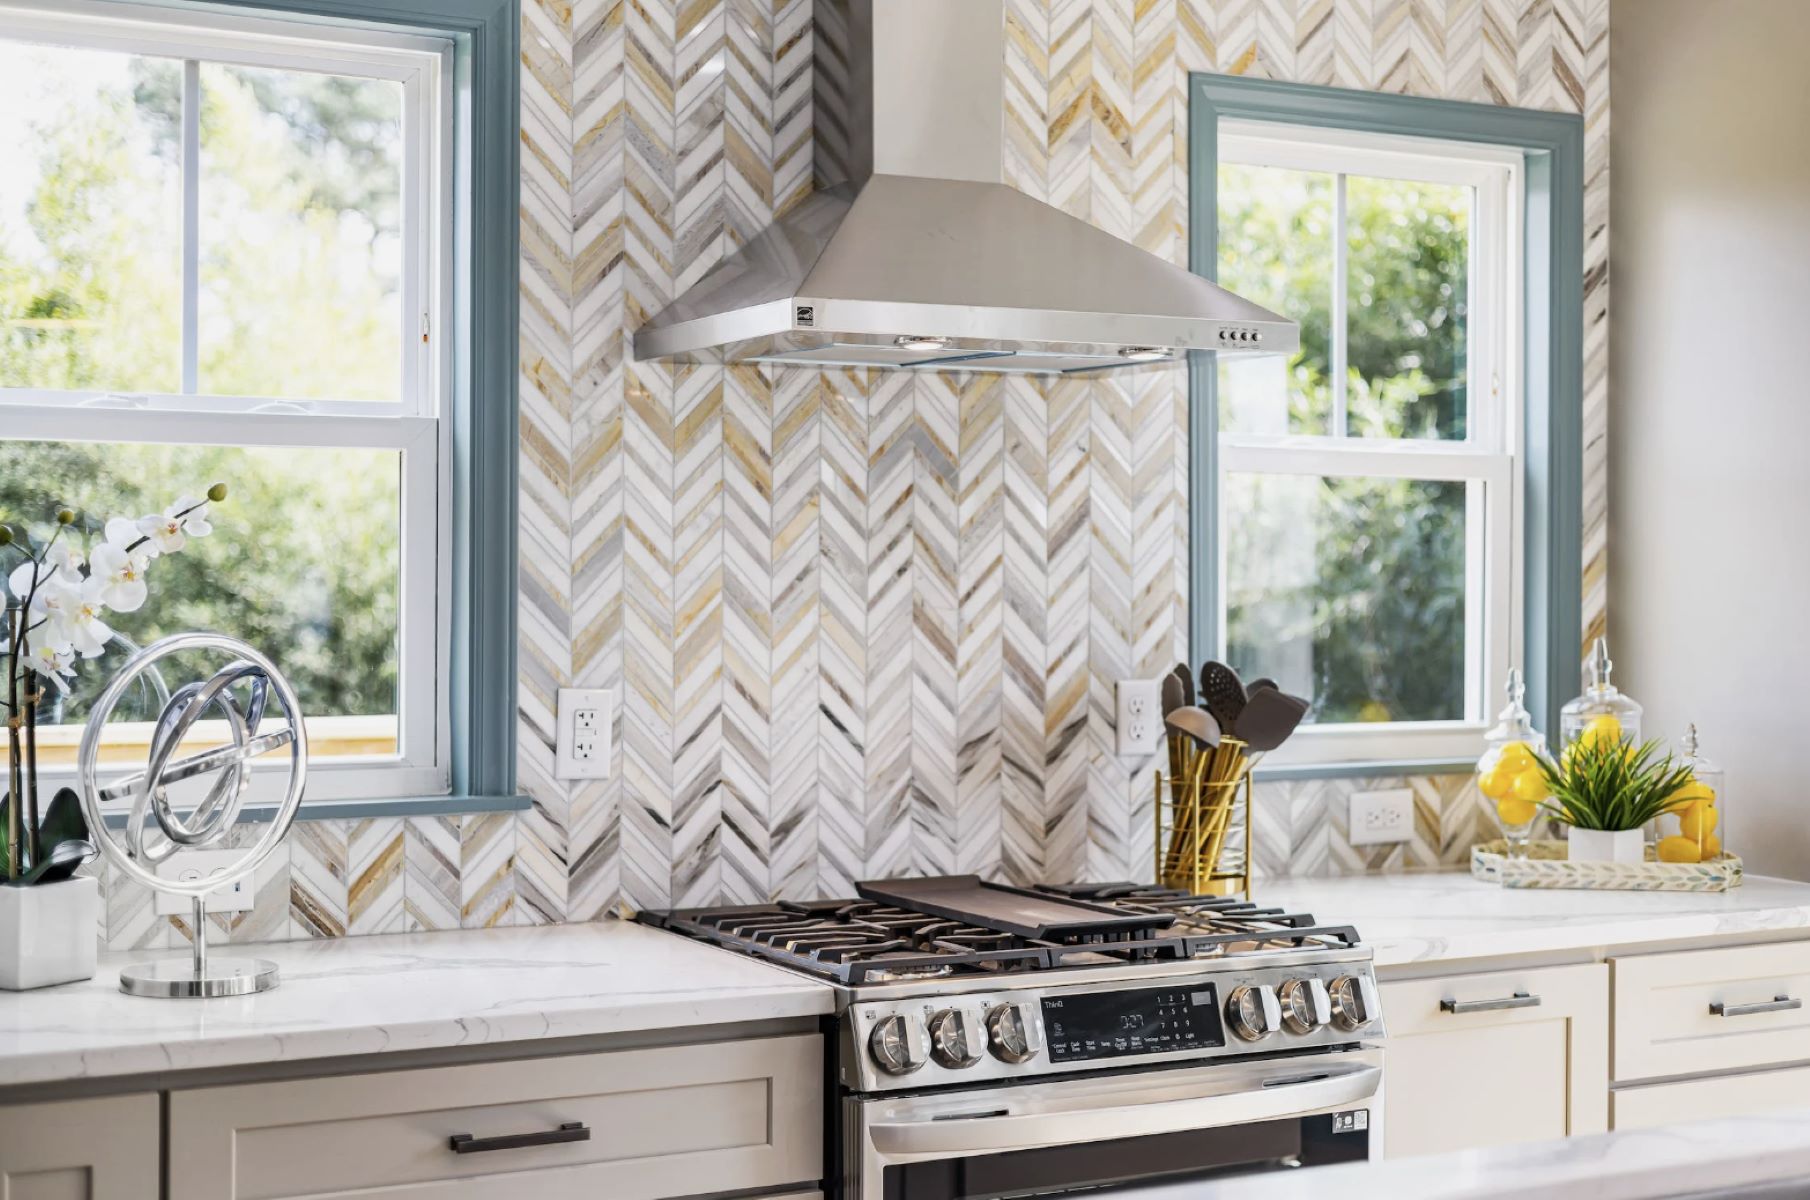

Home Renovation Guides
How To Remove A Backsplash
Modified: February 18, 2024
Learn how to remove a backsplash with our comprehensive home renovation guide. Get expert tips and step-by-step instructions for a successful DIY project.
(Many of the links in this article redirect to a specific reviewed product. Your purchase of these products through affiliate links helps to generate commission for Storables.com, at no extra cost. Learn more)
Introduction
Removing a backsplash can breathe new life into your kitchen or bathroom, giving the space a fresh and updated look. Whether you're preparing for a complete renovation or simply want to replace the existing backsplash, understanding the step-by-step process is crucial for a successful outcome. By following this comprehensive guide, you'll gain the knowledge and confidence to tackle this project with ease.
A backsplash serves as both a protective barrier and a design element in kitchens and bathrooms. Over time, it's not uncommon for backsplashes to become outdated or damaged, prompting the need for removal. Additionally, if you're planning to install a new backsplash, removing the existing one is the essential first step.
This guide will walk you through the process of removing a backsplash, from gathering the necessary tools and materials to cleaning the wall and making any necessary repairs. Whether you're a seasoned DIY enthusiast or a novice looking to expand your home improvement skills, this step-by-step tutorial will equip you with the knowledge to complete the task efficiently and effectively.
As you embark on this project, keep in mind that patience and attention to detail are key. While removing a backsplash may seem daunting at first, with the right approach and a clear understanding of each step, you'll be well on your way to achieving the desired results. So, roll up your sleeves, gather your tools, and let's dive into the process of removing a backsplash to transform your space.
Key Takeaways:
- Removing a backsplash involves gathering tools, protecting the area, removing grout, loosening and removing tiles, cleaning the wall, repairing any damage, and optionally installing a new backsplash. It’s a detailed process that requires patience and precision.
- Before starting the project, gather all necessary tools and materials, protect the surrounding area, and ensure proper ventilation. Take your time to remove the grout and tiles carefully, clean the wall thoroughly, and repair any damage to achieve a successful backsplash removal.
Read more: How To Remove Backsplash Grout
Step 1: Gather the necessary tools and materials
Before embarking on the task of removing a backsplash, it's essential to gather the appropriate tools and materials to ensure a smooth and efficient process. Here's a comprehensive list of what you'll need:
Tools:
- Safety goggles and gloves: Protect your eyes and hands from debris and sharp edges while working.
- Putty knife or utility knife: Use this to loosen the tiles and grout during the removal process.
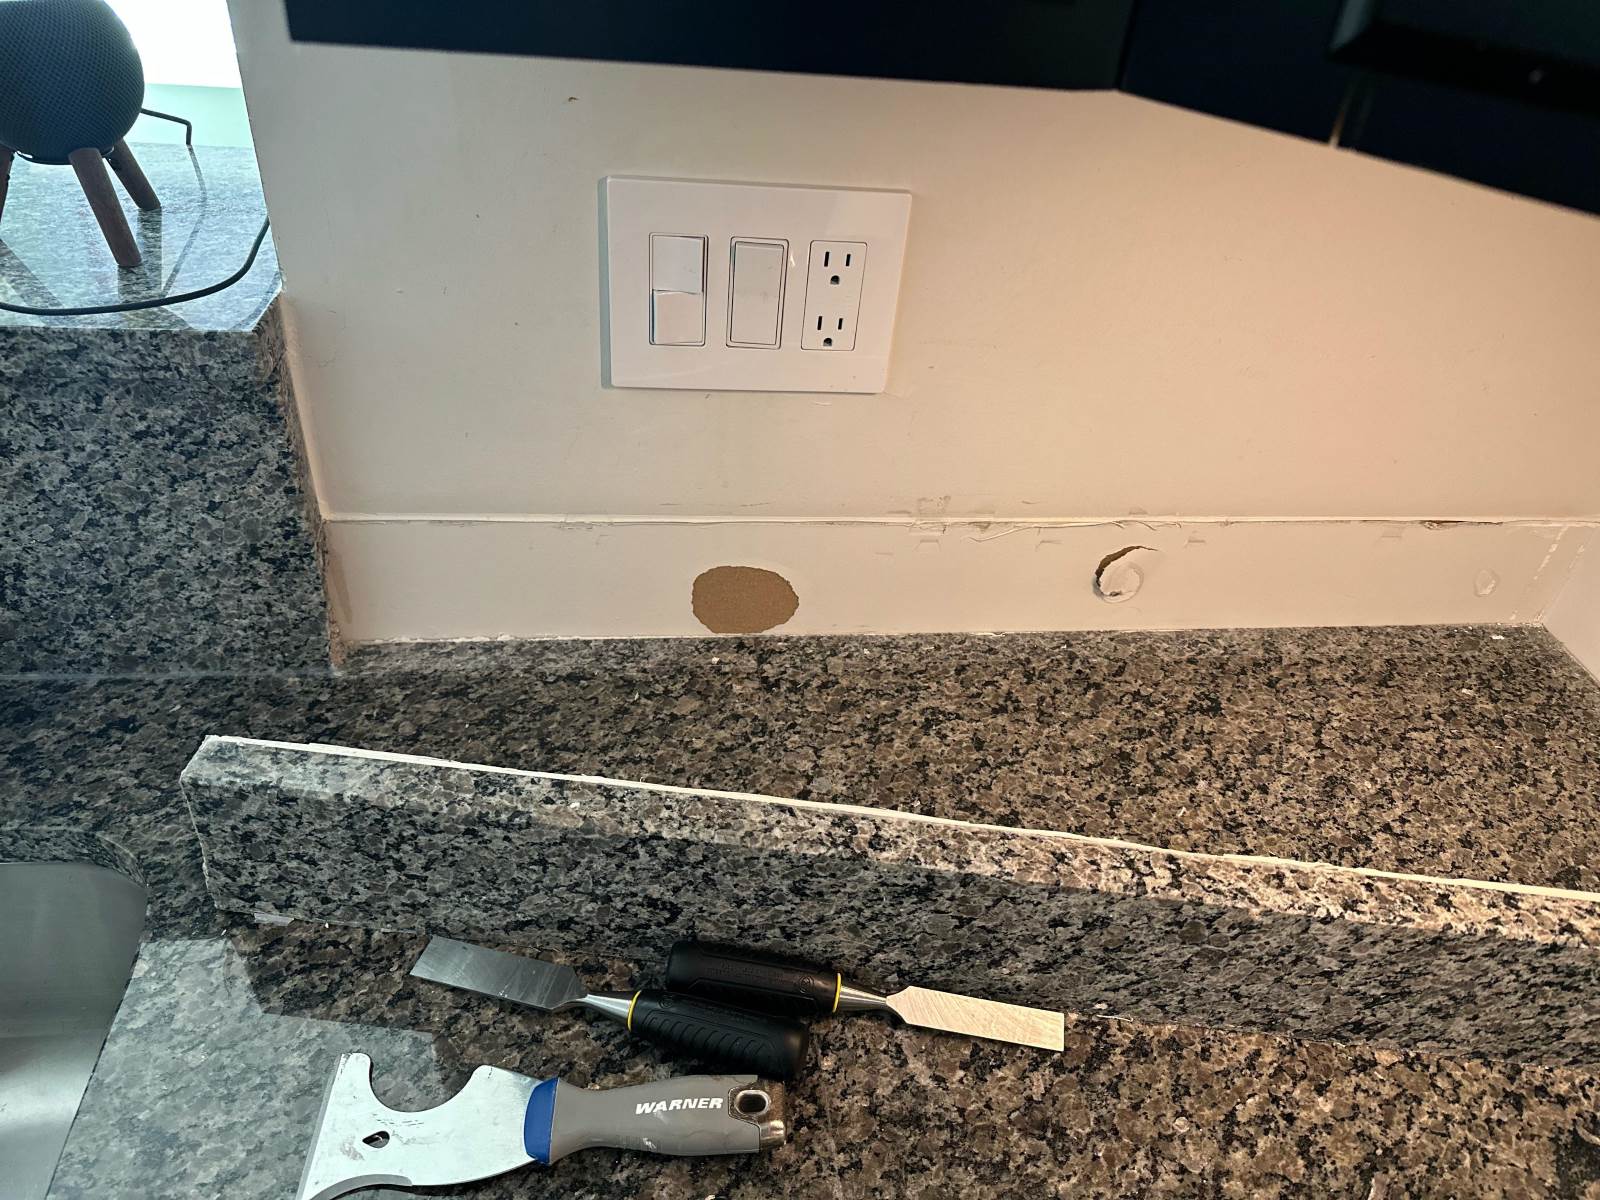
- Pry bar or chisel: These tools will aid in carefully prying the tiles away from the wall.
- Hammer: Use a hammer to gently tap the pry bar or chisel for controlled tile removal.
- Pliers: Handy for gripping and removing any stubborn tile pieces.
- Screwdriver: If your backsplash is secured with screws, a screwdriver will be necessary for removal.
- Bucket: Use this to collect and dispose of the removed tiles and grout.
- Trash bags: Keep a few large trash bags nearby for easy disposal of debris.
- Vacuum cleaner: After removing the tiles, use a vacuum to clean up any remaining dust and debris.
Materials:
- Drop cloth or plastic sheeting: Protect the surrounding area from dust and debris during the removal process.
- Grout saw: If the backsplash is grouted, a grout saw will aid in removing the grout between the tiles.
- Adhesive remover: If the tiles are adhered with strong adhesive, an adhesive remover will help to dissolve and loosen the bond for easier removal.
- Cleaning solution: Prepare a mild cleaning solution to clean the wall surface after the tiles are removed.
- Rags or sponges: Use these to apply the cleaning solution and wipe down the wall.
- Putty knife or spackling compound (if necessary): In case the wall sustains any damage during the removal process, a putty knife and spackling compound will be needed for repairs.
By ensuring that you have all the necessary tools and materials at your disposal, you'll be well-prepared to tackle the task of removing the backsplash with confidence and efficiency. With these essentials in hand, you're ready to move on to the next step in the process.
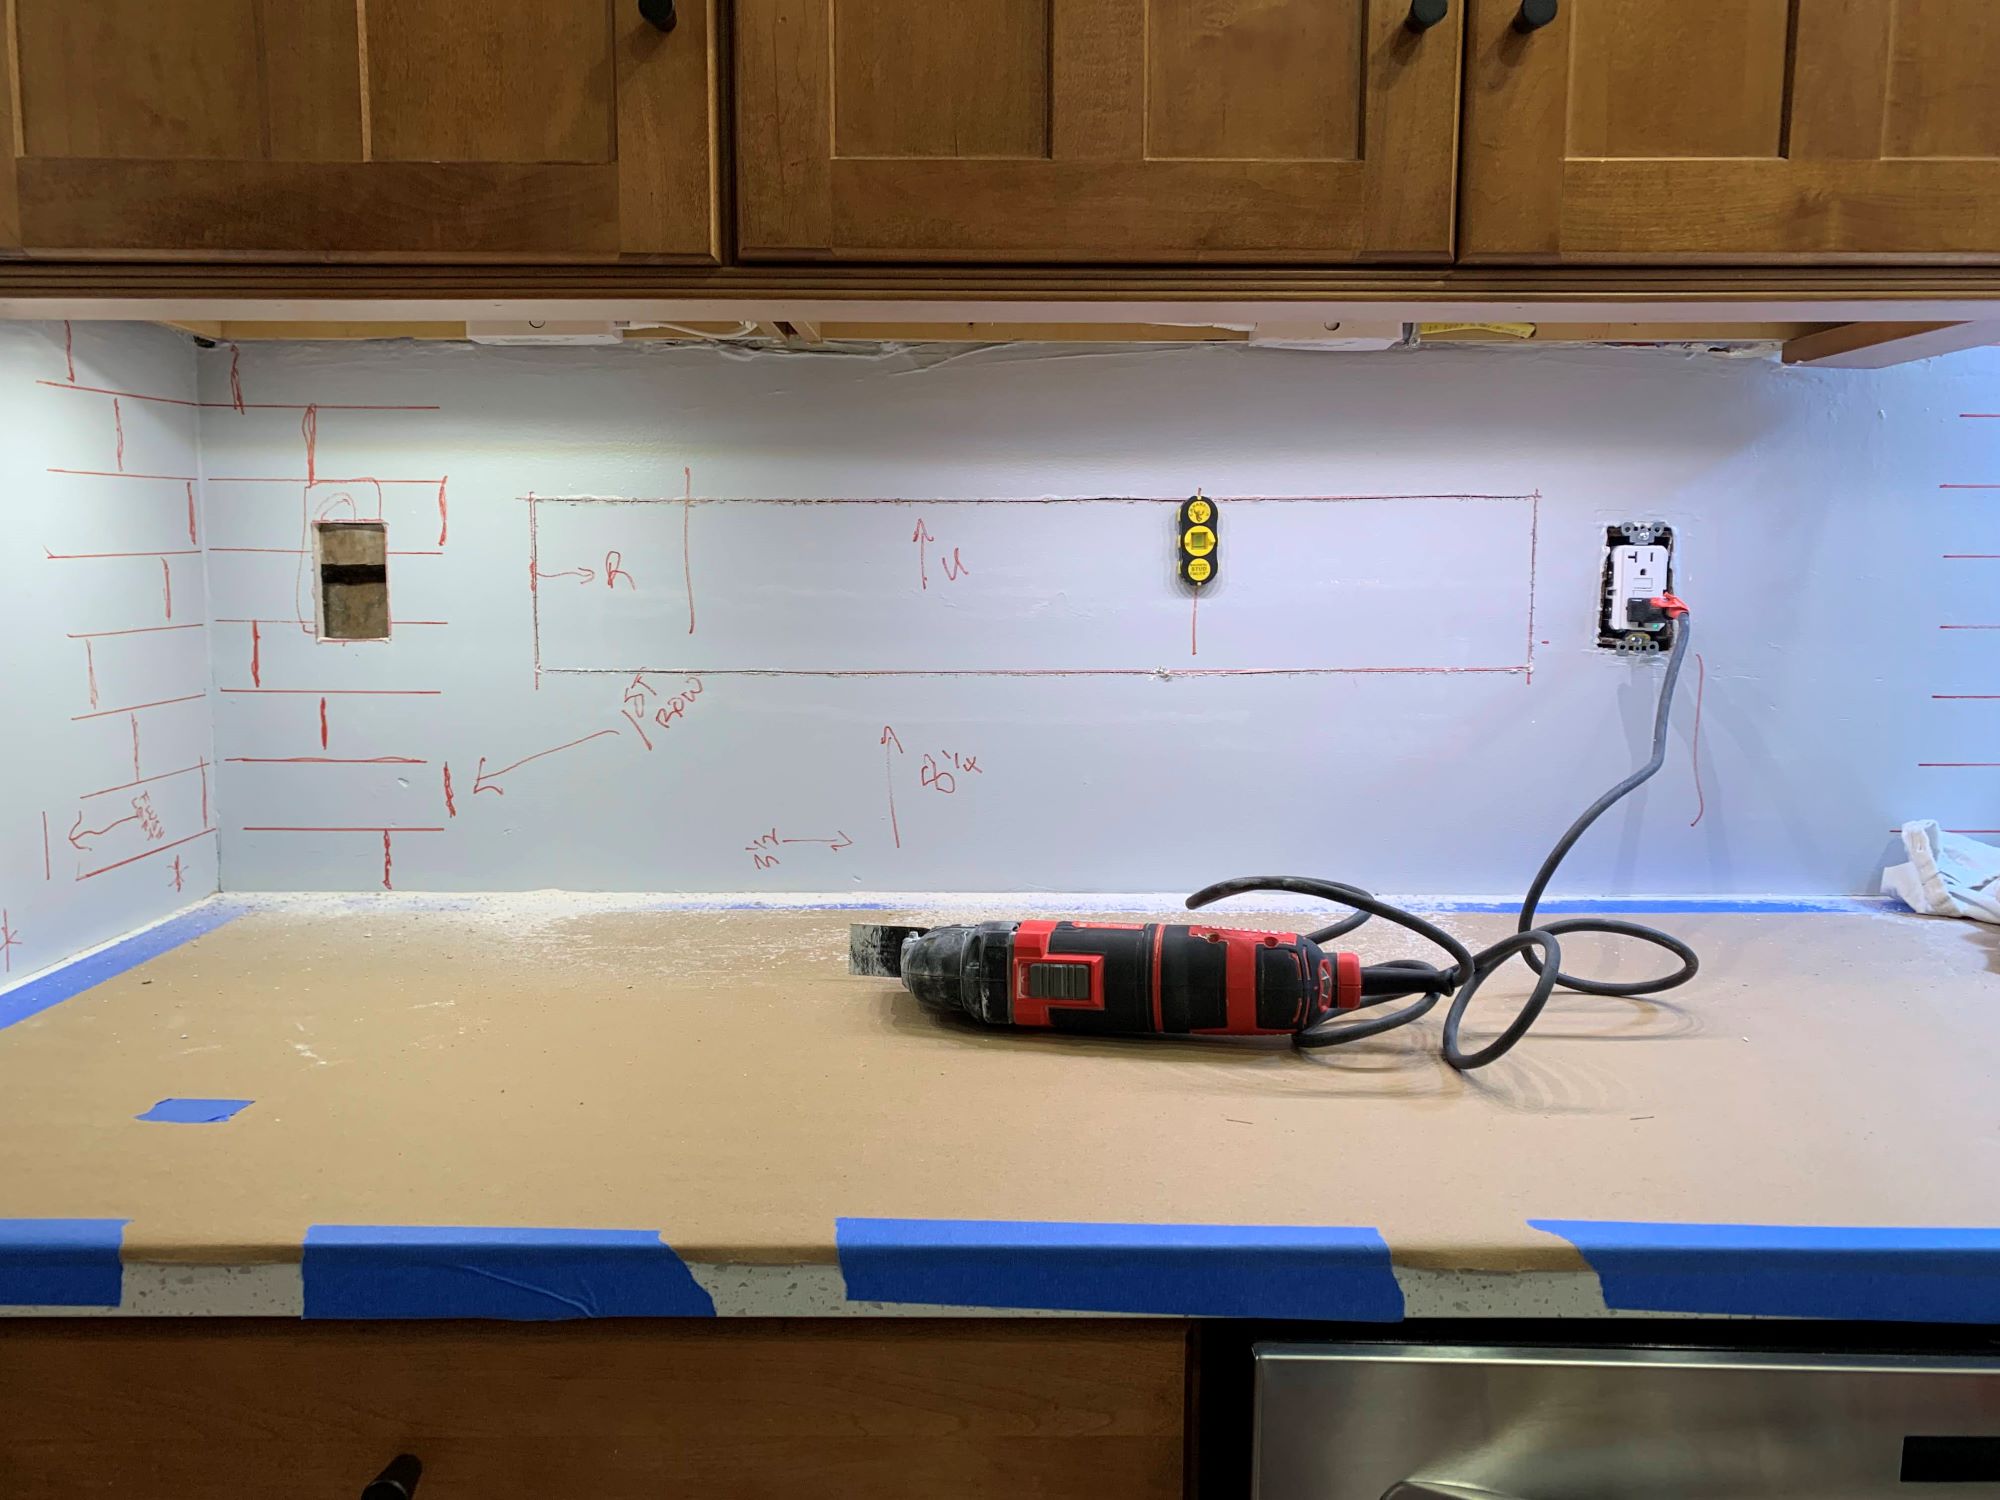
Step 2: Prepare the area
Before diving into the actual removal process, it's crucial to prepare the surrounding area to minimize mess and ensure a safe working environment. Here's a detailed guide on how to prepare the space for removing the backsplash:
-
Clear the Workspace: Begin by removing any items from the countertops and adjacent areas near the backsplash. Clearing the workspace will provide ample room to maneuver during the removal process and prevent any items from getting damaged or obstructing the work area.
-
Protect the Countertops and Appliances: Cover the countertops and any nearby appliances with a durable drop cloth or plastic sheeting. This protective layer will safeguard these surfaces from debris, dust, and potential damage during the removal process.
-
Turn Off Power Sources: If your backsplash includes electrical outlets or switches, it's essential to turn off the power supply to these areas. This precautionary measure ensures safety while working around electrical components and minimizes the risk of accidents.
-
Ventilation: Proper ventilation is key during the removal process, especially if you're using adhesive removers or grout dissolvers. Open windows and use fans to ensure adequate airflow, helping to dissipate any fumes and maintain a comfortable working environment.
-
Wear Protective Gear: Prioritize safety by donning safety goggles and gloves to shield your eyes and hands from debris, sharp edges, and any potential hazards during the removal process.
-
Create a Disposal Area: Designate a specific area for disposing of the removed tiles, grout, and any other debris. Place a sturdy trash bag or container nearby for easy disposal, keeping the work area organized and minimizing clutter.
-
Organize Tools and Materials: Lay out all the necessary tools and materials within easy reach. Having everything organized and readily accessible will streamline the removal process and prevent unnecessary interruptions to retrieve items.
By meticulously preparing the area before commencing the backsplash removal, you'll create a conducive and organized workspace, setting the stage for a smooth and efficient process. With the area properly prepped, you're now ready to proceed to the next steps of removing the backsplash.
Read more: How To Remove Counter Backsplash
Step 3: Remove the grout
Removing the grout is a crucial step in the process of eliminating a backsplash. The grout not only holds the tiles in place but also contributes to the overall aesthetic of the backsplash. To effectively remove the grout, follow these detailed steps:
-
Assess the Grout: Begin by examining the condition of the grout. If it's cracked, discolored, or damaged, it's likely easier to remove. However, if the grout is in good condition, it may require more effort to loosen and eliminate.
-
Use a Grout Saw: A grout saw is a specialized tool designed to remove grout. Carefully run the grout saw along the grout lines, applying gentle pressure to gradually loosen and remove the grout. Work systematically, focusing on small sections at a time to ensure thorough removal.
-
Apply Grout Dissolver (if necessary): In cases where the grout is stubborn and difficult to remove, consider using a grout dissolver. This solution helps to break down the grout, making it easier to scrape away. Follow the manufacturer's instructions when applying the grout dissolver, and use it sparingly to avoid damaging the surrounding areas.
-
Work Carefully: As you remove the grout, exercise caution to avoid damaging the adjacent tiles or the wall surface. Use the grout saw or a putty knife with precision, ensuring that the surrounding areas remain intact.
-
Clean the Grout Lines: Once the grout is successfully removed, clean the grout lines to eliminate any remaining debris or residue. A small brush or vacuum can be used to clear out the grout lines, preparing the area for the next phase of the removal process.
By meticulously removing the grout, you'll pave the way for the subsequent steps in the backsplash removal process. This meticulous approach ensures that the tiles can be safely and effectively loosened and eliminated, setting the stage for a successful backsplash transformation.
Step 4: Loosen the tiles
With the grout successfully removed, the next critical step in the process of removing a backsplash is to loosen the tiles from the wall. This step requires precision and care to ensure that the tiles are detached without causing damage to the surrounding areas. Here's a detailed guide on how to effectively loosen the tiles:
-
Assess the Adhesive: Before proceeding, assess the type of adhesive used to secure the tiles. Depending on the adhesive, the approach to loosening the tiles may vary. Common adhesives include mastic, thin-set mortar, or construction adhesive, each requiring specific techniques for removal.
-
Use a Putty Knife or Chisel: Begin by carefully inserting a putty knife or chisel behind a tile, working it gently to create a separation between the tile and the wall. Exercise caution to avoid applying excessive force, which could lead to tile breakage or wall damage.
-
Apply Even Pressure: Once the putty knife or chisel is in place, apply even pressure to gradually pry the tile away from the wall. Work methodically, starting from one corner of the tile and progressing along the edges. This approach helps to loosen the tile without sudden or uneven force that could result in breakage.
-
Utilize a Pry Bar: In instances where the tiles are particularly stubborn or firmly adhered, a pry bar can be used to provide additional leverage. Position the pry bar behind the tile and apply gentle pressure to create separation, taking care to avoid excessive force that could cause damage.
-
Work in Sections: Loosen the tiles in manageable sections, focusing on one tile at a time or small clusters of tiles. This systematic approach allows for better control and reduces the risk of accidental damage to adjacent tiles or the wall surface.
-
Exercise Patience: Loosening the tiles requires patience and precision. Avoid rushing the process, as haste can lead to unintended damage. Take the time to carefully work each tile free from the wall, ensuring a smooth and controlled removal.
By methodically loosening the tiles, you'll pave the way for the subsequent step of removing the tiles, setting the stage for a successful backsplash transformation. This meticulous approach ensures that the tiles can be safely and effectively eliminated, bringing you one step closer to achieving your desired home renovation goals.
Step 5: Remove the tiles
With the grout successfully removed and the tiles loosened from the wall, the next pivotal step in the backsplash removal process is the actual elimination of the tiles. This phase demands careful precision and attention to detail to ensure the tiles are detached without causing damage to the surrounding areas. Here's a comprehensive guide on how to effectively remove the tiles:
-
Begin with the First Tile: Select a starting point, preferably a corner or edge, and gently pry the first tile away from the wall using a putty knife or chisel. Apply controlled pressure to gradually detach the tile, taking care to avoid sudden movements that could lead to breakage.
-
Work Methodically: Once the initial tile is removed, proceed to the adjacent tiles, working in a systematic and organized manner. Use the same technique of inserting the putty knife or chisel behind each tile and applying even pressure to release it from the wall.
-
Utilize Pliers if Necessary: In cases where the tiles are firmly attached or resistant to removal, pliers can be employed to grip and carefully pull the tiles away from the wall. Exercise caution to prevent excessive force that could result in tile breakage or damage to the wall surface.
-
Dispose of the Removed Tiles: As each tile is successfully detached, place it in the designated disposal area, ensuring that the workspace remains organized and free of clutter. Dispose of the tiles responsibly, taking care to avoid any potential hazards or accidents.
-
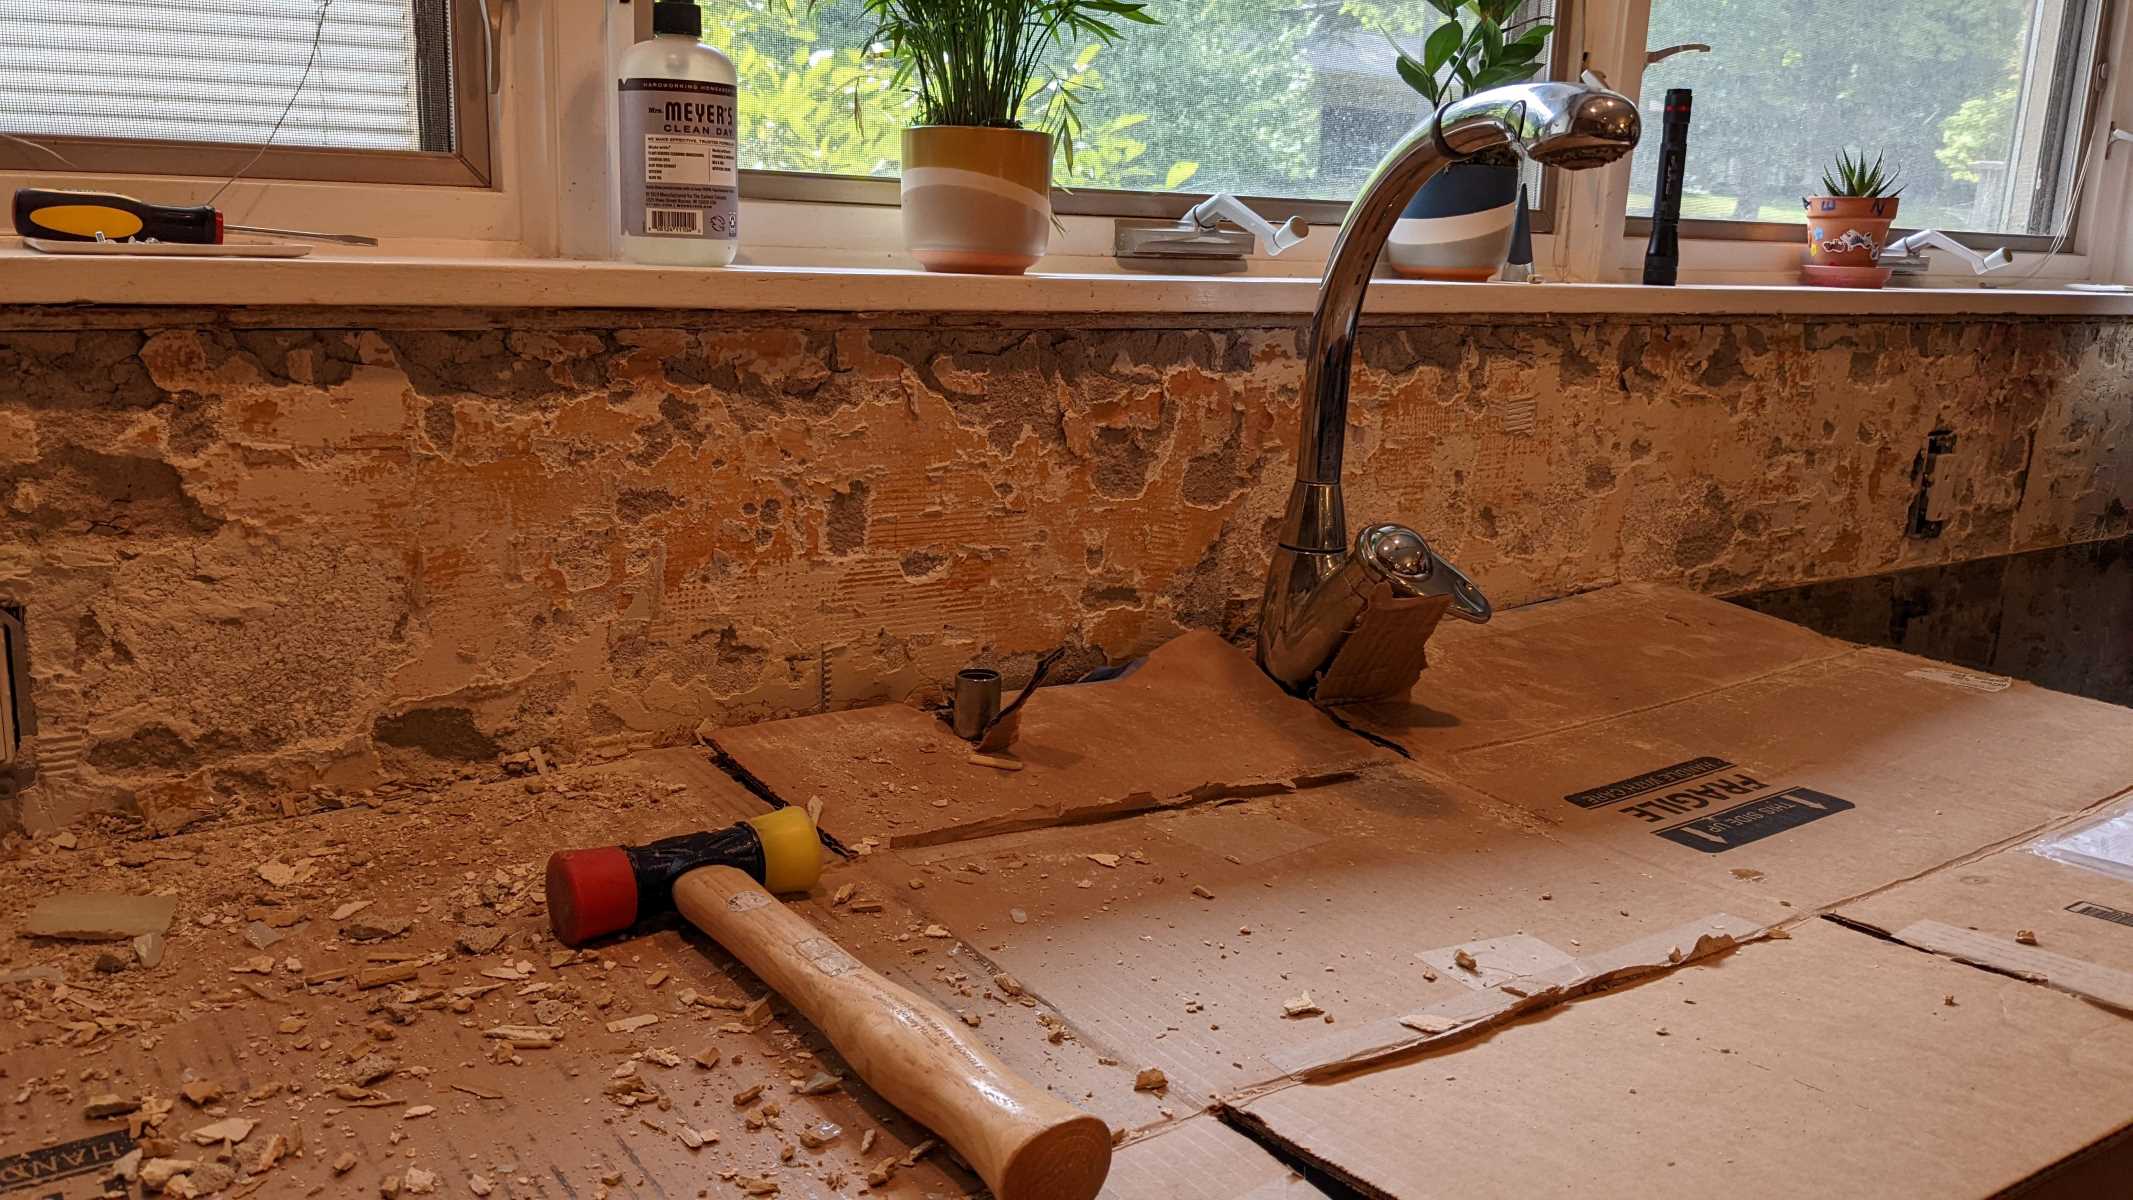
Inspect for Stubborn Adhesive: After removing the tiles, inspect the wall surface for any remaining adhesive or residue. If adhesive remnants are present, use an adhesive remover or a putty knife to gently eliminate any lingering traces, preparing the wall for the subsequent cleaning phase.
-
Exercise Patience and Precision: Throughout the tile removal process, exercise patience and precision to ensure that each tile is detached with care and attention to detail. Avoid rushing the process, as a methodical approach yields the best results and minimizes the risk of damage.
By meticulously removing the tiles, you'll successfully complete a significant phase of the backsplash removal process, bringing you closer to achieving your desired home renovation goals. With the tiles eliminated, the subsequent steps of cleaning the wall and making any necessary repairs can be undertaken, ultimately paving the way for the installation of a new backsplash or the completion of your home renovation project.
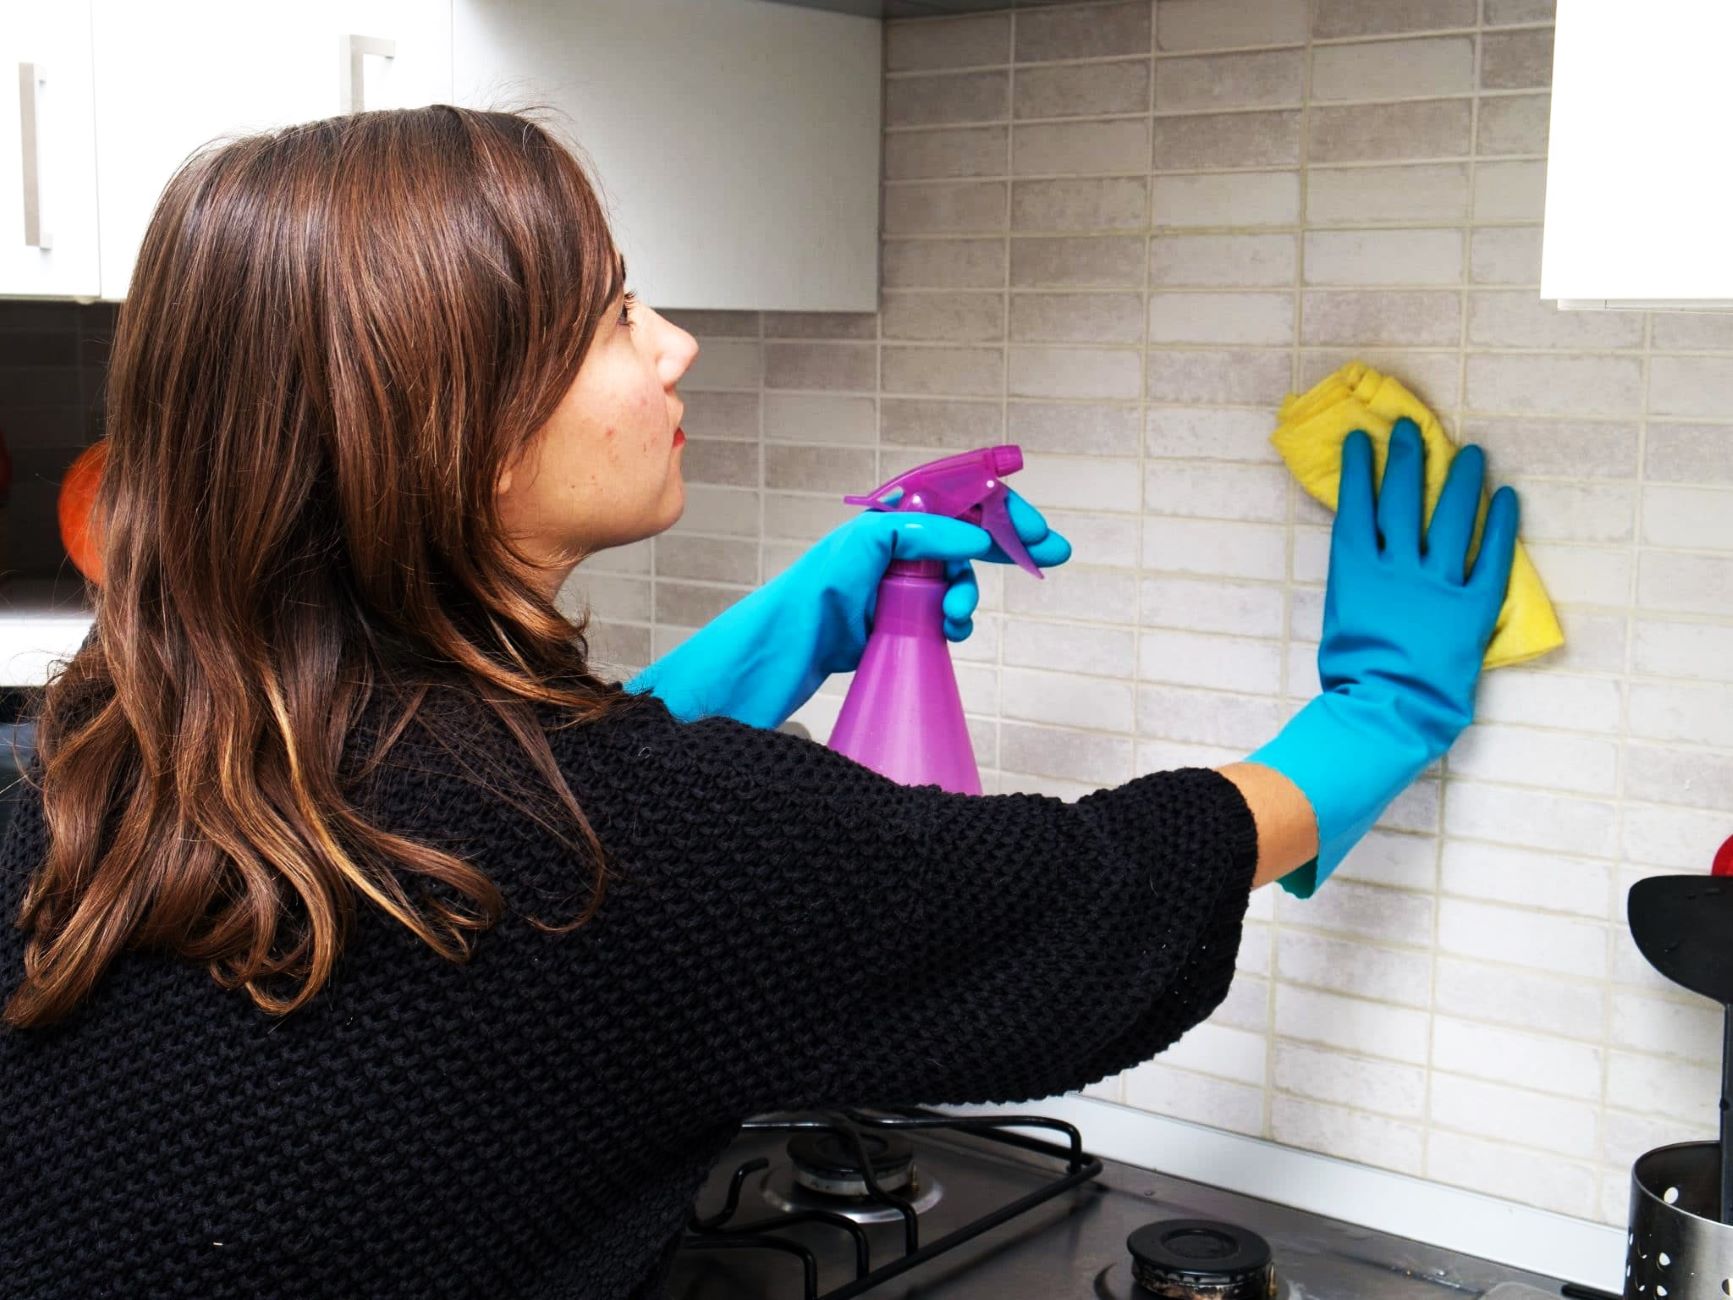
Step 6: Clean the wall
After successfully removing the tiles and any remaining adhesive, the next crucial step in the backsplash removal process is to thoroughly clean the wall surface. This phase is essential to prepare the area for any subsequent renovation or to restore the wall to its original state. Here's a detailed guide on how to effectively clean the wall after removing the backsplash:
-
Inspect the Wall Surface: Begin by carefully examining the wall to identify any residual grout, adhesive, or debris. Pay close attention to the grout lines and the areas where the tiles were previously installed. This inspection will guide the cleaning process and ensure that all remnants are effectively removed.
-
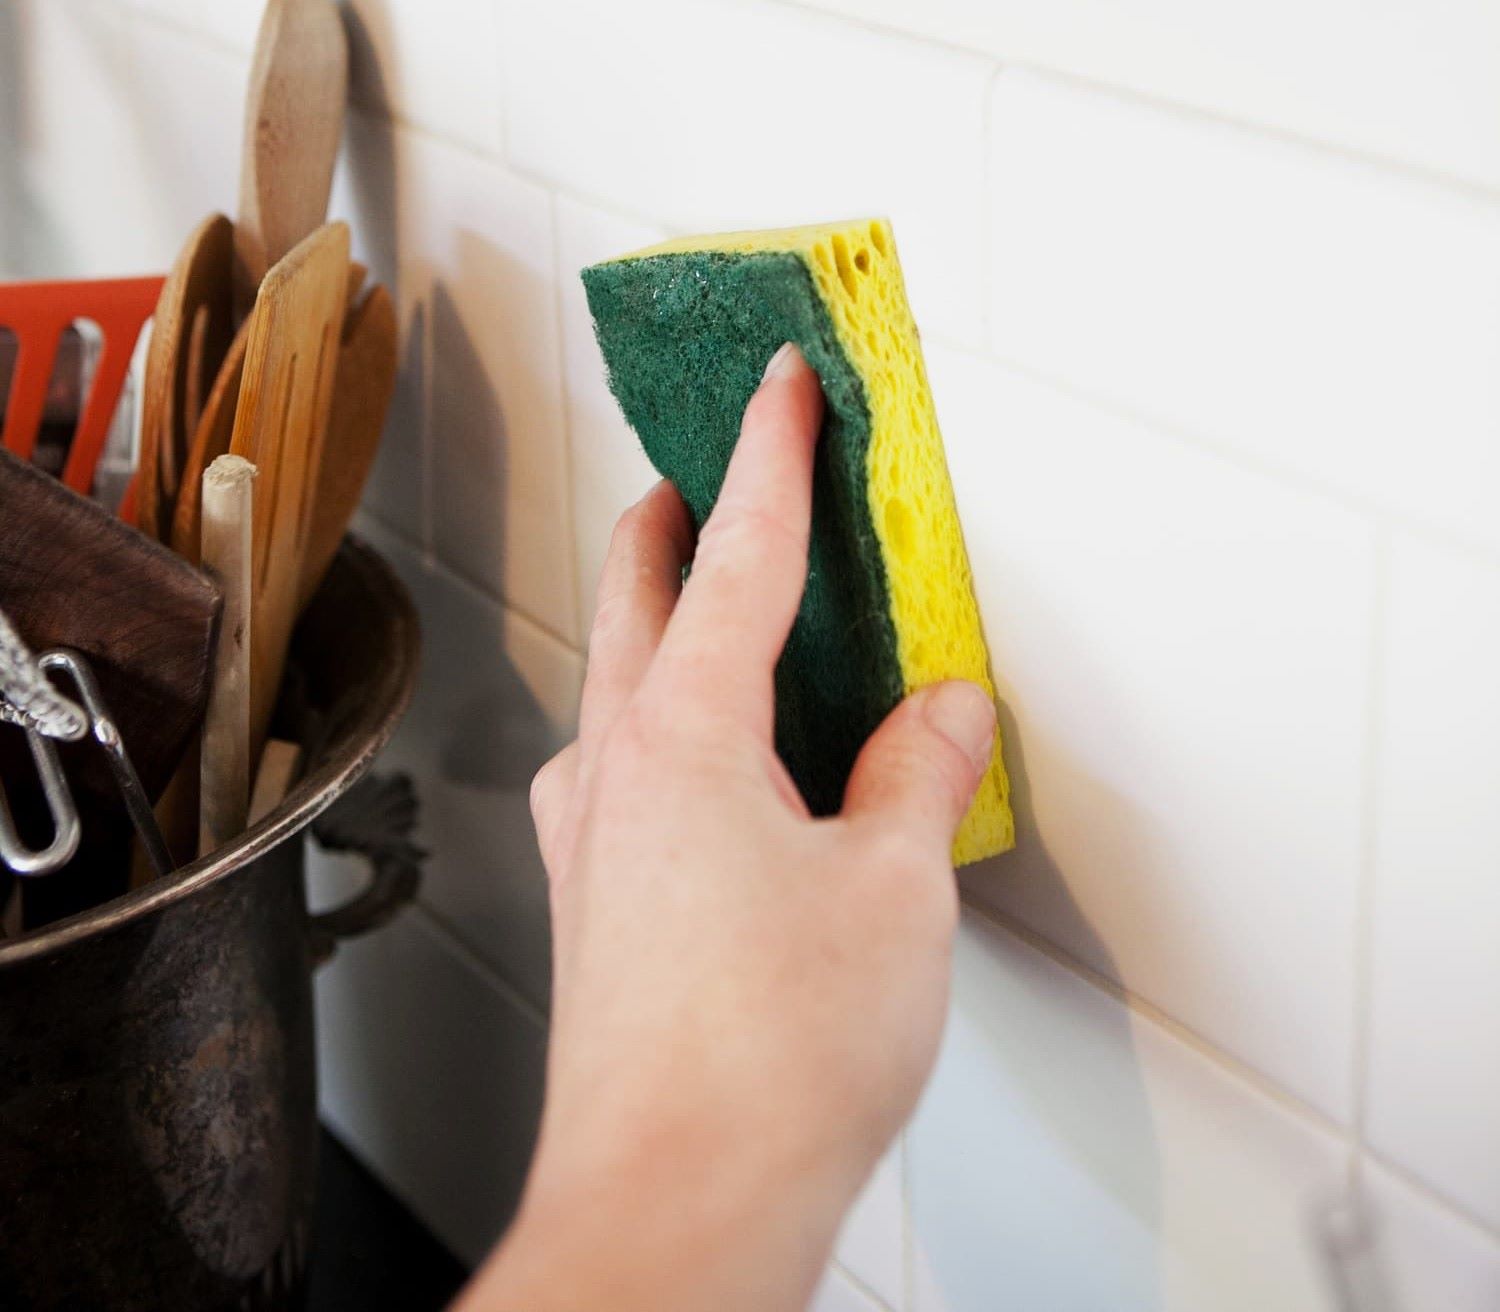
Use a Cleaning Solution: Prepare a mild cleaning solution by mixing warm water with a gentle dish soap or a specialized wall cleaner. Avoid using harsh chemicals that could potentially damage the wall surface. The cleaning solution should be gentle yet effective in removing any remaining grime or residue.
-
Apply the Cleaning Solution: Using a sponge or soft cloth, apply the cleaning solution to the wall surface, focusing on the areas where the tiles were previously installed. Work in small sections, ensuring thorough coverage and allowing the cleaning solution to penetrate any stubborn residues.
-
Scrub the Grout Lines: If grout remnants are present, use a small brush or an old toothbrush to gently scrub the grout lines. The goal is to eliminate any lingering grout or adhesive that may have accumulated during the tile removal process. Exercise patience and care to avoid damaging the wall surface.
-
Rinse the Wall: After applying the cleaning solution and scrubbing the grout lines, rinse the wall thoroughly with clean water. Use a separate sponge or cloth to remove any soapy residue, ensuring that the wall is left clean and free of cleaning solution.
-
Dry the Wall: Once the wall is thoroughly rinsed, use a clean, dry cloth or towel to dry the surface. It's essential to ensure that the wall is completely dry before proceeding with any repairs or the installation of a new backsplash.
-
Inspect for Residual Debris: After the wall has dried, inspect the surface once again to ensure that all debris, grime, and adhesive residues have been effectively removed. Address any remaining traces with gentle scrubbing or spot cleaning as needed.
By meticulously cleaning the wall after removing the backsplash, you'll create a pristine and ready-to-renovate surface. This thorough cleaning process sets the stage for any necessary repairs and the potential installation of a new backsplash, allowing you to proceed with your home improvement project with confidence and a clean canvas for your desired transformation.
Read more: How To Remove A Granite Backsplash
Step 7: Repair any damage
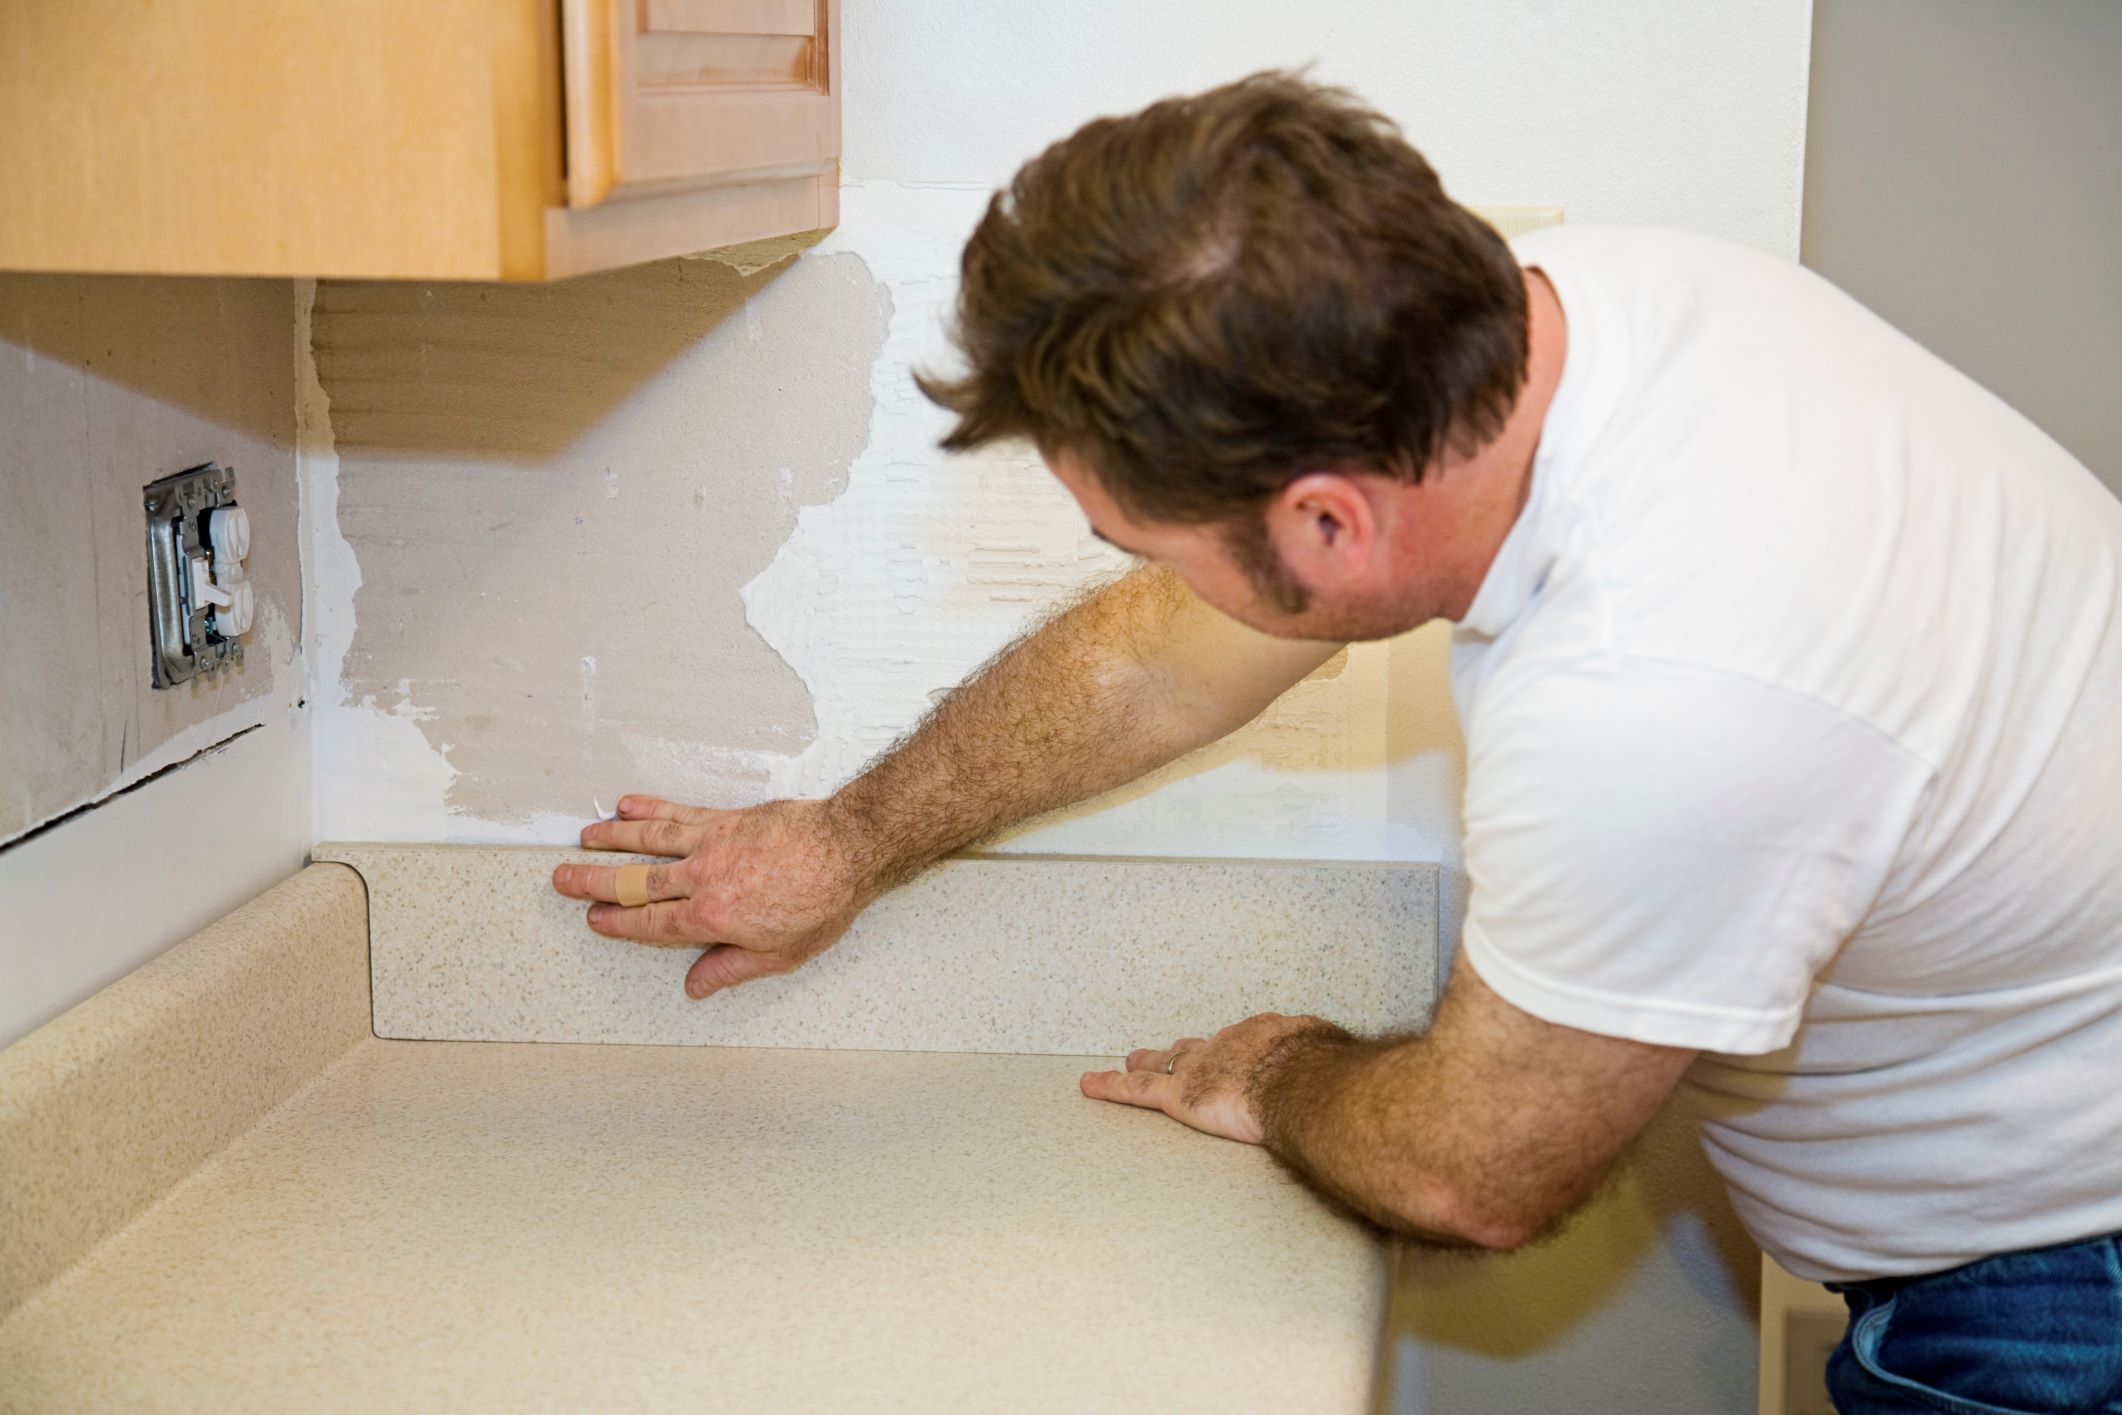
After removing the tiles and thoroughly cleaning the wall, it's essential to assess the condition of the wall surface for any damage that may have occurred during the backsplash removal process. Whether it's minor dings, scratches, or larger areas of damage, addressing these issues is crucial to ensure a smooth and flawless foundation for any subsequent renovation or the installation of a new backsplash.
Here's a detailed guide on how to effectively repair any damage to the wall surface:
-
Inspect for Damage: Carefully examine the wall to identify any visible damage, such as dents, scratches, or areas where the drywall may have been compromised. Pay close attention to the areas surrounding the previous tile installation, as these spots are most susceptible to damage.
-
Fill in Gaps and Holes: If there are small gaps, holes, or dents in the wall, use a high-quality spackling compound to fill in these imperfections. Apply the spackling compound with a putty knife, ensuring that it's smoothed out and level with the surrounding wall surface. Allow the compound to dry according to the manufacturer's instructions.
-
Sand the Repaired Areas: Once the spackling compound has dried, gently sand the repaired areas to create a seamless and even surface. Use fine-grit sandpaper to smooth out any rough edges and ensure that the repaired sections blend seamlessly with the rest of the wall.
-
Prime the Repaired Areas: Apply a coat of primer to the repaired sections of the wall. The primer helps to create a uniform surface and ensures that the repaired areas will seamlessly integrate with the rest of the wall. Allow the primer to dry completely before proceeding.
-
Paint or Texture Matching: Depending on the wall's original finish, paint or texture matching may be necessary to ensure a cohesive appearance. If the wall was previously painted, use matching paint to cover the repaired areas, blending them with the surrounding wall. For textured walls, replicate the texture using specialized techniques or tools to achieve a consistent look.
-
Final Inspection: After completing the repairs, conduct a final inspection of the wall to ensure that the damaged areas have been effectively addressed and seamlessly integrated with the rest of the surface. This meticulous approach ensures that the wall is restored to its original condition, ready for any subsequent renovation or the installation of a new backsplash.
By meticulously repairing any damage to the wall surface, you'll create a pristine and flawless backdrop for any future enhancements. This attention to detail ensures that the wall is in optimal condition, setting the stage for the successful completion of your home renovation project.
Step 8: Install a new backsplash (optional)
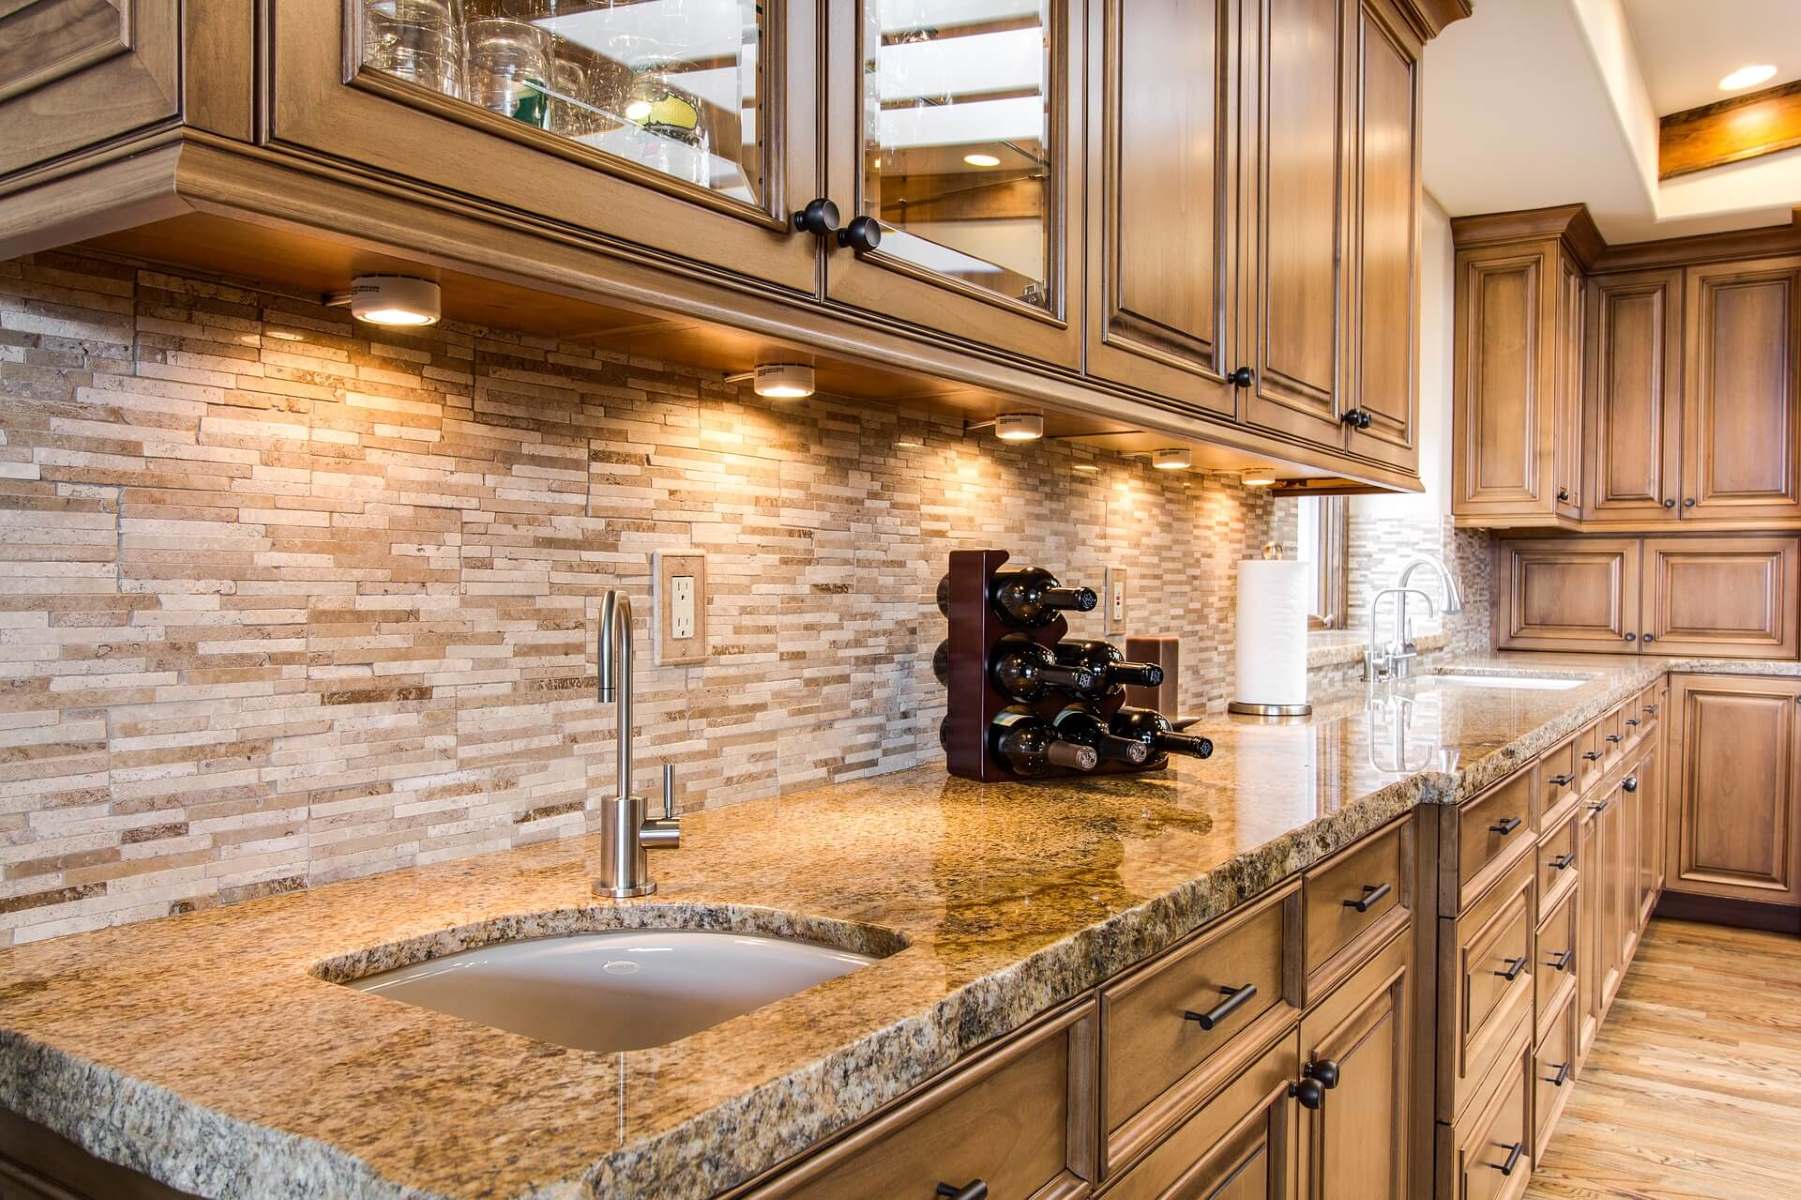
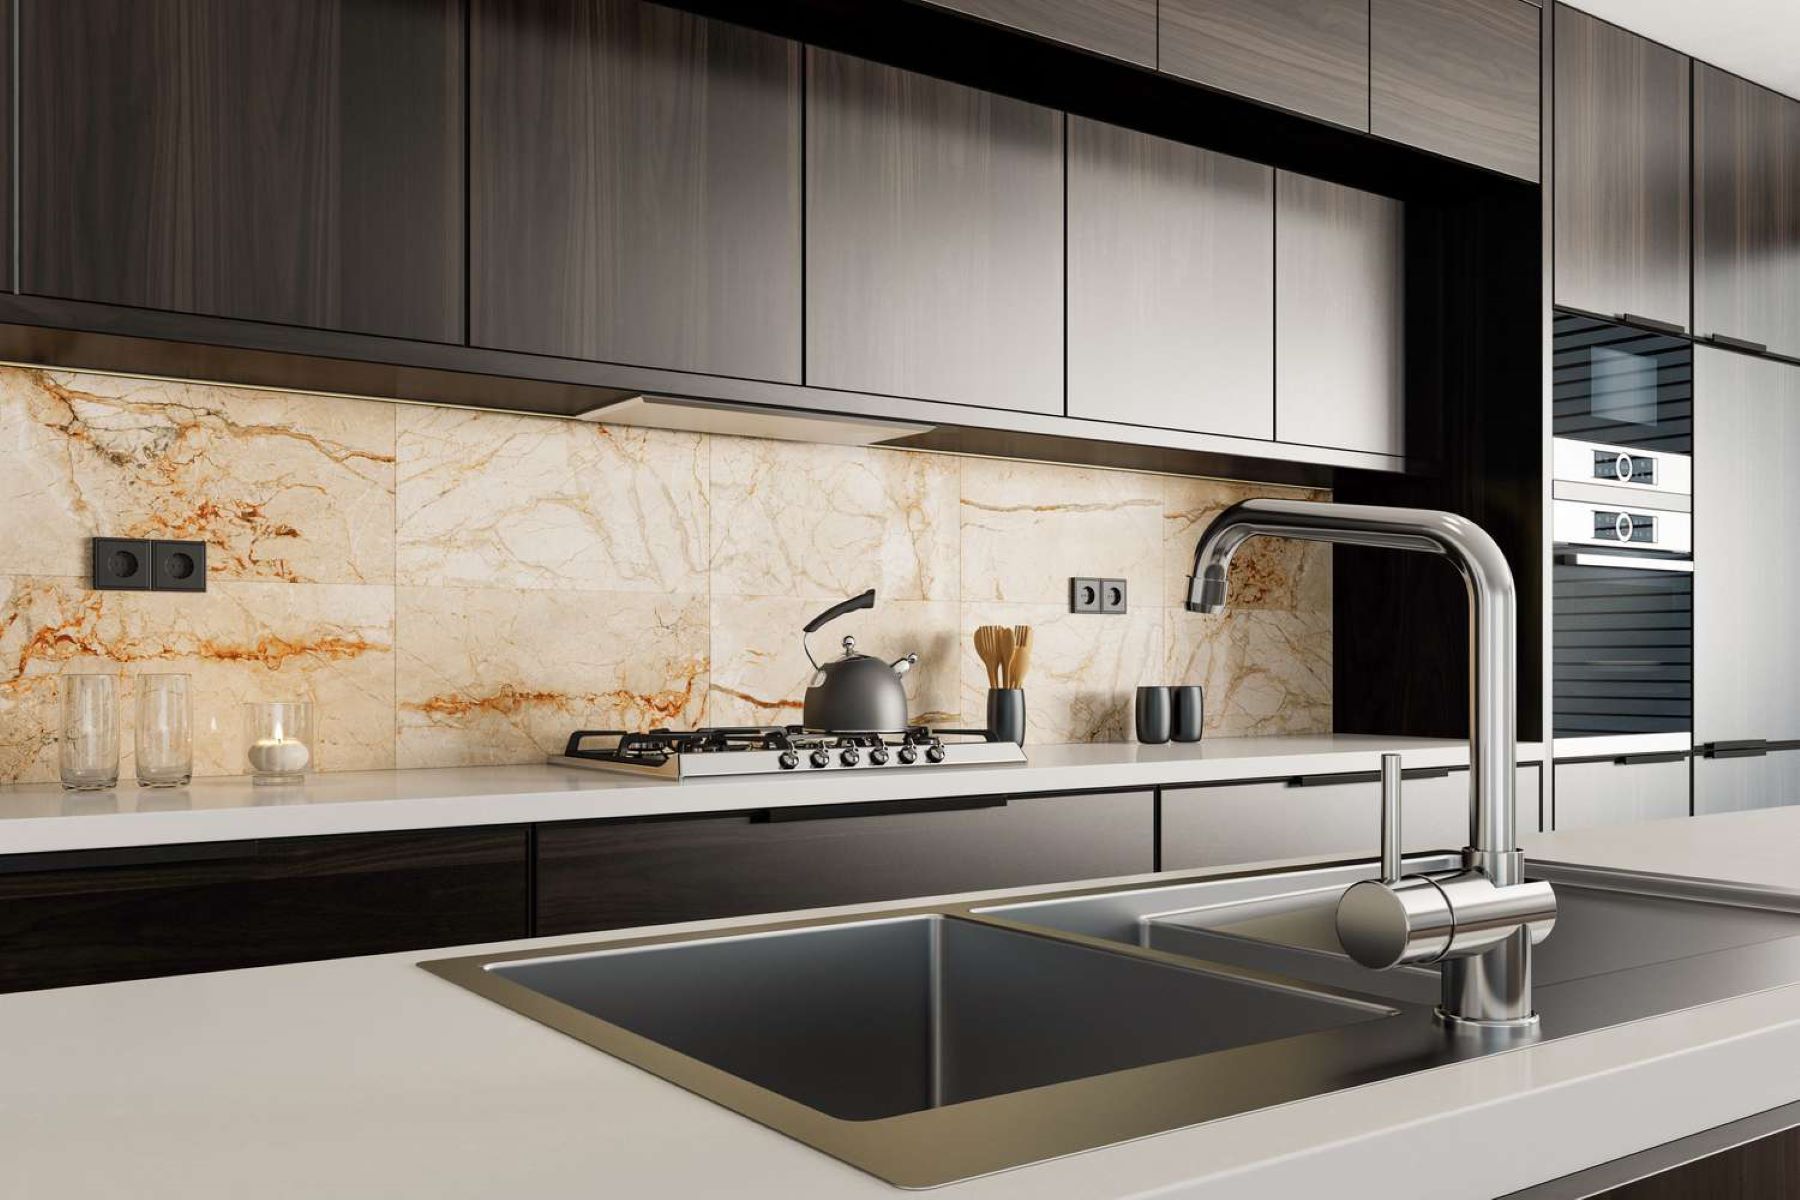
After successfully removing the old backsplash, you have the exciting opportunity to install a new one to revitalize and enhance the aesthetic appeal of your kitchen or bathroom. Whether you're aiming for a modern, sleek look or a timeless, classic design, the installation of a new backsplash allows you to infuse your personal style and creativity into the space. Here's a comprehensive guide on how to proceed with the installation of a new backsplash:
1. Select the New Backsplash Material:
Begin by exploring the wide array of backsplash materials available, including ceramic or porcelain tiles, glass mosaic tiles, natural stone, stainless steel, or even peel-and-stick options. Consider the overall design theme of your space, the level of maintenance required for each material, and your personal preferences to make an informed choice.
2. Measure and Prepare the Wall:
Accurately measure the area where the new backsplash will be installed to determine the quantity of materials needed. Prepare the wall surface by ensuring it is clean, dry, and free of any debris or remnants from the previous backsplash. If necessary, apply a suitable primer to promote adhesion and create a smooth base for the new installation.
Read more: How To Remove Grease From Backsplash
3. Plan the Layout:
Create a layout plan for the new backsplash, considering the placement of focal points, patterns, or borders if applicable. This planning phase allows you to visualize the final look and ensures a cohesive and balanced design once the installation is complete.
4. Apply the Adhesive:
Depending on the chosen backsplash material, apply the appropriate adhesive to the wall using a notched trowel. Ensure even coverage of the adhesive to facilitate secure adhesion of the new tiles or panels.
5. Install the New Backsplash:
Carefully place the new tiles or panels onto the adhesive, following the predetermined layout. Use tile spacers to maintain consistent spacing between the tiles and ensure a professional finish. If using mosaic tiles, consider using a mosaic tile adhesive to simplify the installation process.
6. Grout the Tiles:
Once the adhesive has set, apply grout to fill the spaces between the tiles. Choose a grout color that complements the backsplash material and enhances the overall aesthetic. After applying the grout, use a grout float to remove excess grout and achieve clean, uniform grout lines.
Read more: How To Remove Glass Tile Backsplash
7. Clean and Seal:
After the grout has cured, clean the surface of the new backsplash to remove any grout haze or residue. Depending on the backsplash material, consider applying a suitable sealant to protect the surface and facilitate easier maintenance.
8. Enjoy Your New Backsplash:
Step back and admire the transformation as your new backsplash takes center stage, adding character and charm to your kitchen or bathroom. Revel in the satisfaction of a successful installation and the visual impact of your carefully chosen backsplash material.
By following these steps, you can seamlessly transition from the removal of the old backsplash to the installation of a new one, infusing your space with renewed style and personality. Whether you opt for a bold statement or a subtle enhancement, the installation of a new backsplash offers endless possibilities for elevating the visual appeal of your home.
Frequently Asked Questions about How To Remove A Backsplash
Was this page helpful?
At Storables.com, we guarantee accurate and reliable information. Our content, validated by Expert Board Contributors, is crafted following stringent Editorial Policies. We're committed to providing you with well-researched, expert-backed insights for all your informational needs.


0 thoughts on “How To Remove A Backsplash”