Home>Renovation & DIY>Home Renovation Guides>How To Use Peel And Stick Backsplash
Home Renovation Guides
How To Use Peel And Stick Backsplash
Modified: March 23, 2024
Learn how to easily install peel and stick backsplash for your home renovation project with our comprehensive guide. Simplify your DIY kitchen or bathroom upgrade today!
(Many of the links in this article redirect to a specific reviewed product. Your purchase of these products through affiliate links helps to generate commission for Storables.com, at no extra cost. Learn more)
Introduction
Peel and stick backsplashes have revolutionized the world of home renovation, offering a convenient and cost-effective way to enhance the aesthetic appeal of kitchens and bathrooms. These innovative self-adhesive tiles come in a wide array of designs, colors, and materials, providing homeowners with the flexibility to transform their living spaces without the need for professional installation.
Whether you're a seasoned DIY enthusiast or a novice looking to embark on your first home improvement project, peel and stick backsplashes offer a hassle-free solution that can instantly elevate the look of any room. With their user-friendly application process and durable, easy-to-clean surfaces, these stylish tiles have become a popular choice for individuals seeking a quick and impactful upgrade.
In this comprehensive guide, we will delve into the intricacies of using peel and stick backsplashes, covering everything from selecting the right design to the installation process and maintenance tips. By the end of this article, you will have the knowledge and confidence to embark on your own peel and stick backsplash project, adding a touch of elegance and personality to your home.
So, let's roll up our sleeves and explore the exciting world of peel and stick backsplashes, where creativity meets convenience, and where your vision for a stunning, revamped space can become a reality.
Key Takeaways:
- Easily transform your kitchen or bathroom with peel and stick backsplashes, offering a wide range of designs and materials for a hassle-free DIY upgrade.
- Ensure a flawless installation by preparing the surface meticulously and following a step-by-step process, from centering the tiles to adding finishing touches.
Read more: What Is The Best Peel And Stick Backsplash
Choosing the Right Peel and Stick Backsplash
When it comes to selecting the perfect peel and stick backsplash for your home, the options are virtually limitless. From classic subway tiles to intricate mosaic patterns, there is a design to complement every aesthetic preference and interior style. Before diving into the myriad of choices, it's essential to consider a few key factors to ensure that the selected backsplash not only enhances the visual appeal of the space but also aligns with practical considerations.
Consider the Aesthetic Appeal
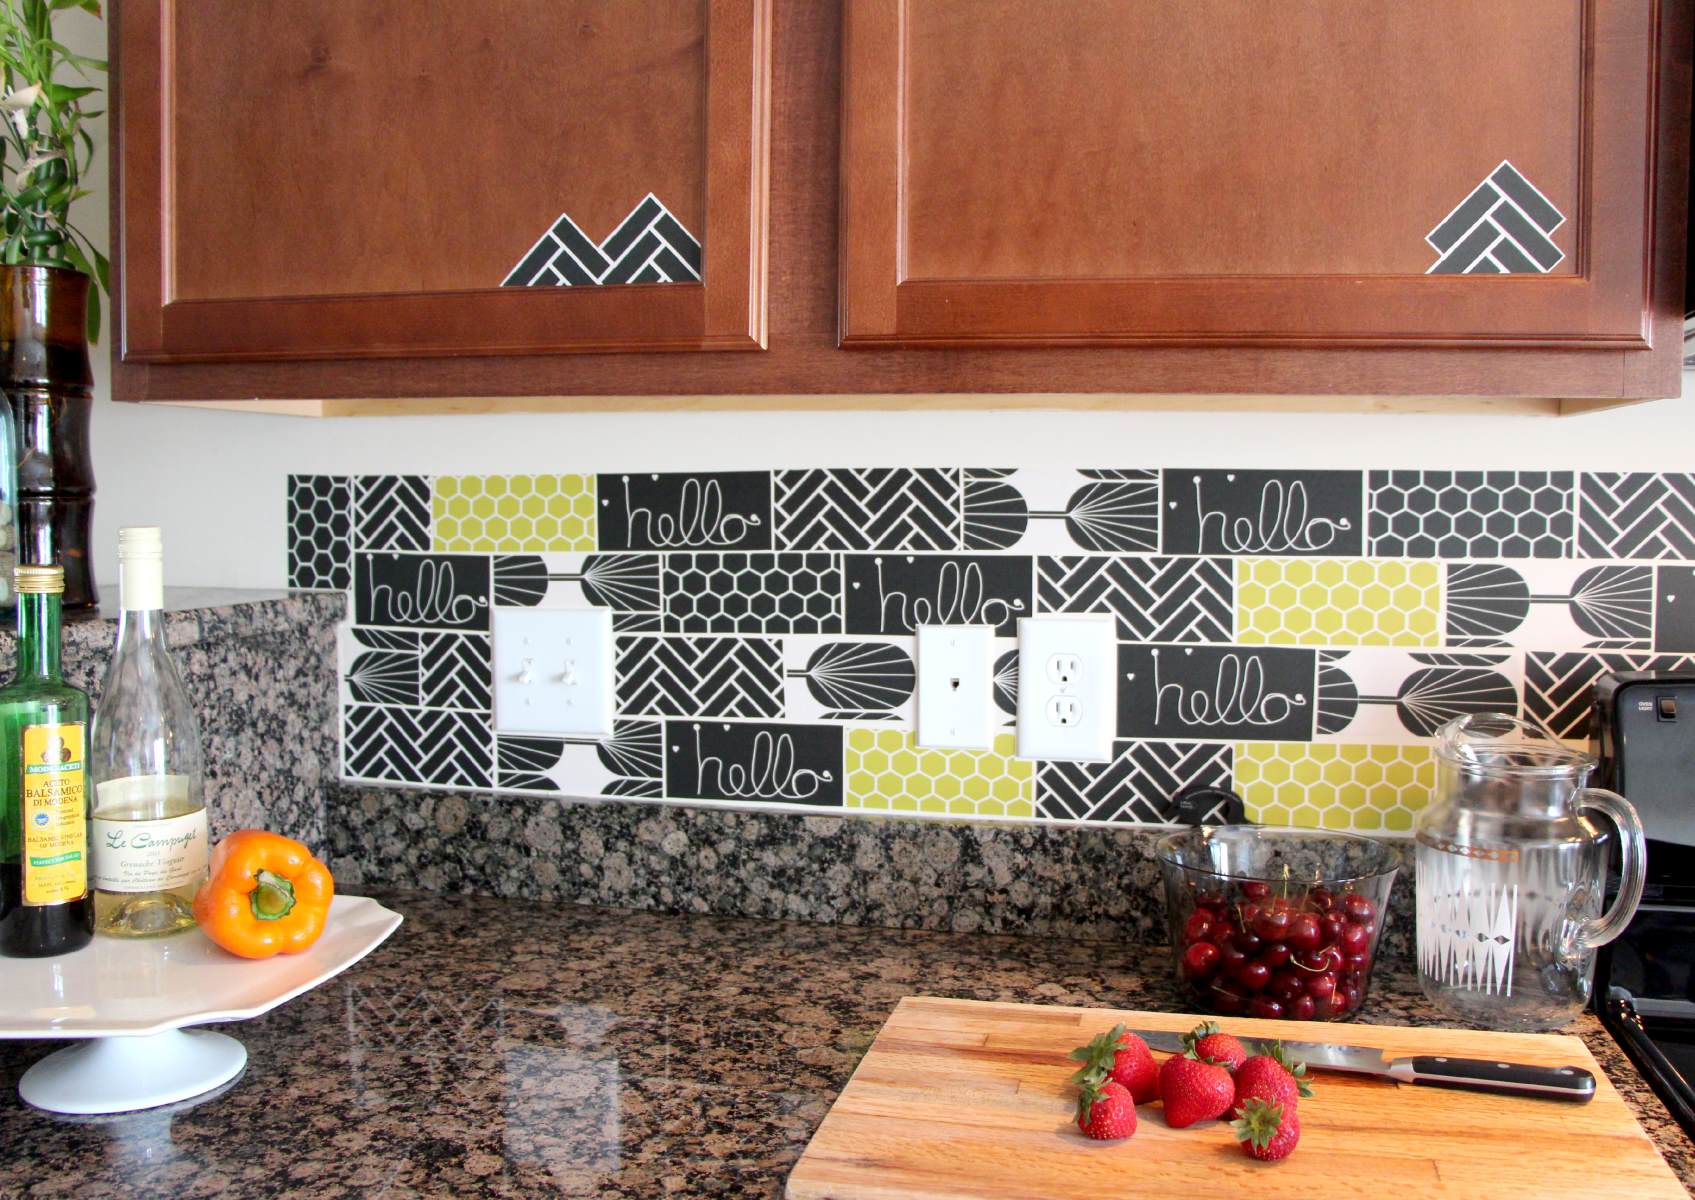
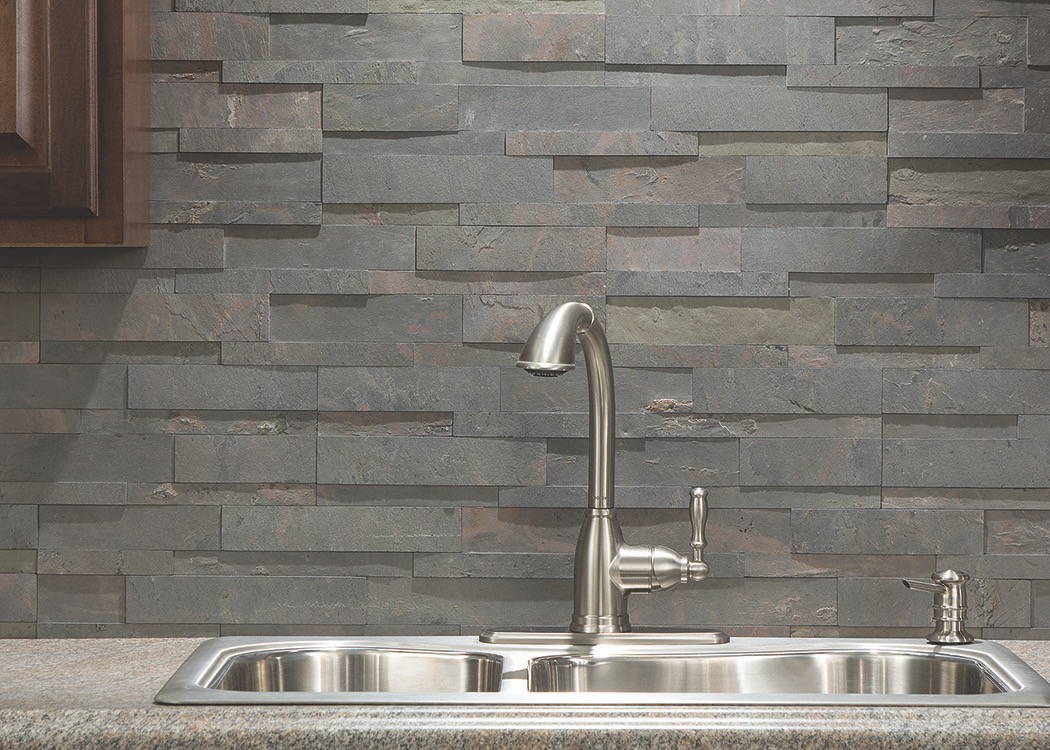
The first step in choosing the right peel and stick backsplash is to consider the overall aesthetic you wish to achieve. Are you aiming for a modern, sleek look or a rustic, farmhouse-inspired vibe? The design of the backsplash should harmonize with the existing decor and color scheme of the room. For a contemporary feel, consider geometric patterns or metallic finishes, while natural stone or textured tiles can add warmth and character to a traditional setting.
Evaluate the Material
Peel and stick backsplashes are available in a variety of materials, each with its unique characteristics. Glass tiles offer a glossy, reflective surface that can brighten up a space, while metal tiles exude an industrial-chic allure. For a timeless appeal, ceramic or porcelain tiles are durable and versatile, making them suitable for high-traffic areas such as kitchens. It's important to assess the practicality of the material in relation to the intended use of the backsplash.
Explore Color and Pattern Options
The color and pattern of the backsplash play a pivotal role in defining the ambiance of the room. Lighter hues can create an illusion of spaciousness and airiness, making them ideal for smaller kitchens or bathrooms. Alternatively, bold, vibrant colors can inject personality and energy into the space. When it comes to patterns, intricate designs can add a touch of sophistication, while simple, monochromatic tiles can exude a sense of understated elegance.
Read more: How To Cut Peel And Stick Backsplash Tiles
Take Measurements and Layout into Account
Before making a final decision, it's crucial to take accurate measurements of the area where the backsplash will be installed. This ensures that the chosen tiles will fit seamlessly and minimize the need for excessive cutting or adjustments during installation. Additionally, consider the layout and orientation of the tiles, as this can significantly impact the visual impact of the backsplash.
By carefully considering these aspects, you can confidently select a peel and stick backsplash that not only aligns with your design preferences but also enhances the functionality and allure of your living space.
Preparing the Surface
Before embarking on the installation of a peel and stick backsplash, thorough preparation of the surface is paramount to ensure a flawless and long-lasting result. The condition of the wall where the backsplash will be applied directly impacts the adhesion and overall appearance of the tiles. By following these essential steps, you can create an optimal foundation for the installation process.
Clean and Smooth the Wall Surface
Begin by thoroughly cleaning the wall surface where the peel and stick backsplash will be installed. Remove any grease, dirt, or residue using a mild detergent or a suitable cleaning solution. Ensure that the surface is completely dry before proceeding to the next step. Additionally, inspect the wall for any imperfections such as bumps, dents, or protruding nails. Smooth out the surface by sanding down any irregularities and fill in any gaps or holes with a suitable filler. A smooth, clean wall provides the ideal canvas for the adhesive to bond effectively with the peel and stick tiles.
Prime the Surface (If Necessary)
In some cases, particularly with porous or uneven surfaces, it may be beneficial to apply a primer before installing the peel and stick backsplash. A high-quality primer can enhance the adhesion of the tiles and promote a uniform surface for the best results. Be sure to select a primer that is compatible with both the wall material and the adhesive used for the backsplash. Allow the primer to dry completely according to the manufacturer's instructions before proceeding with the installation.
Read more: How To Put Up Peel And Stick Backsplash
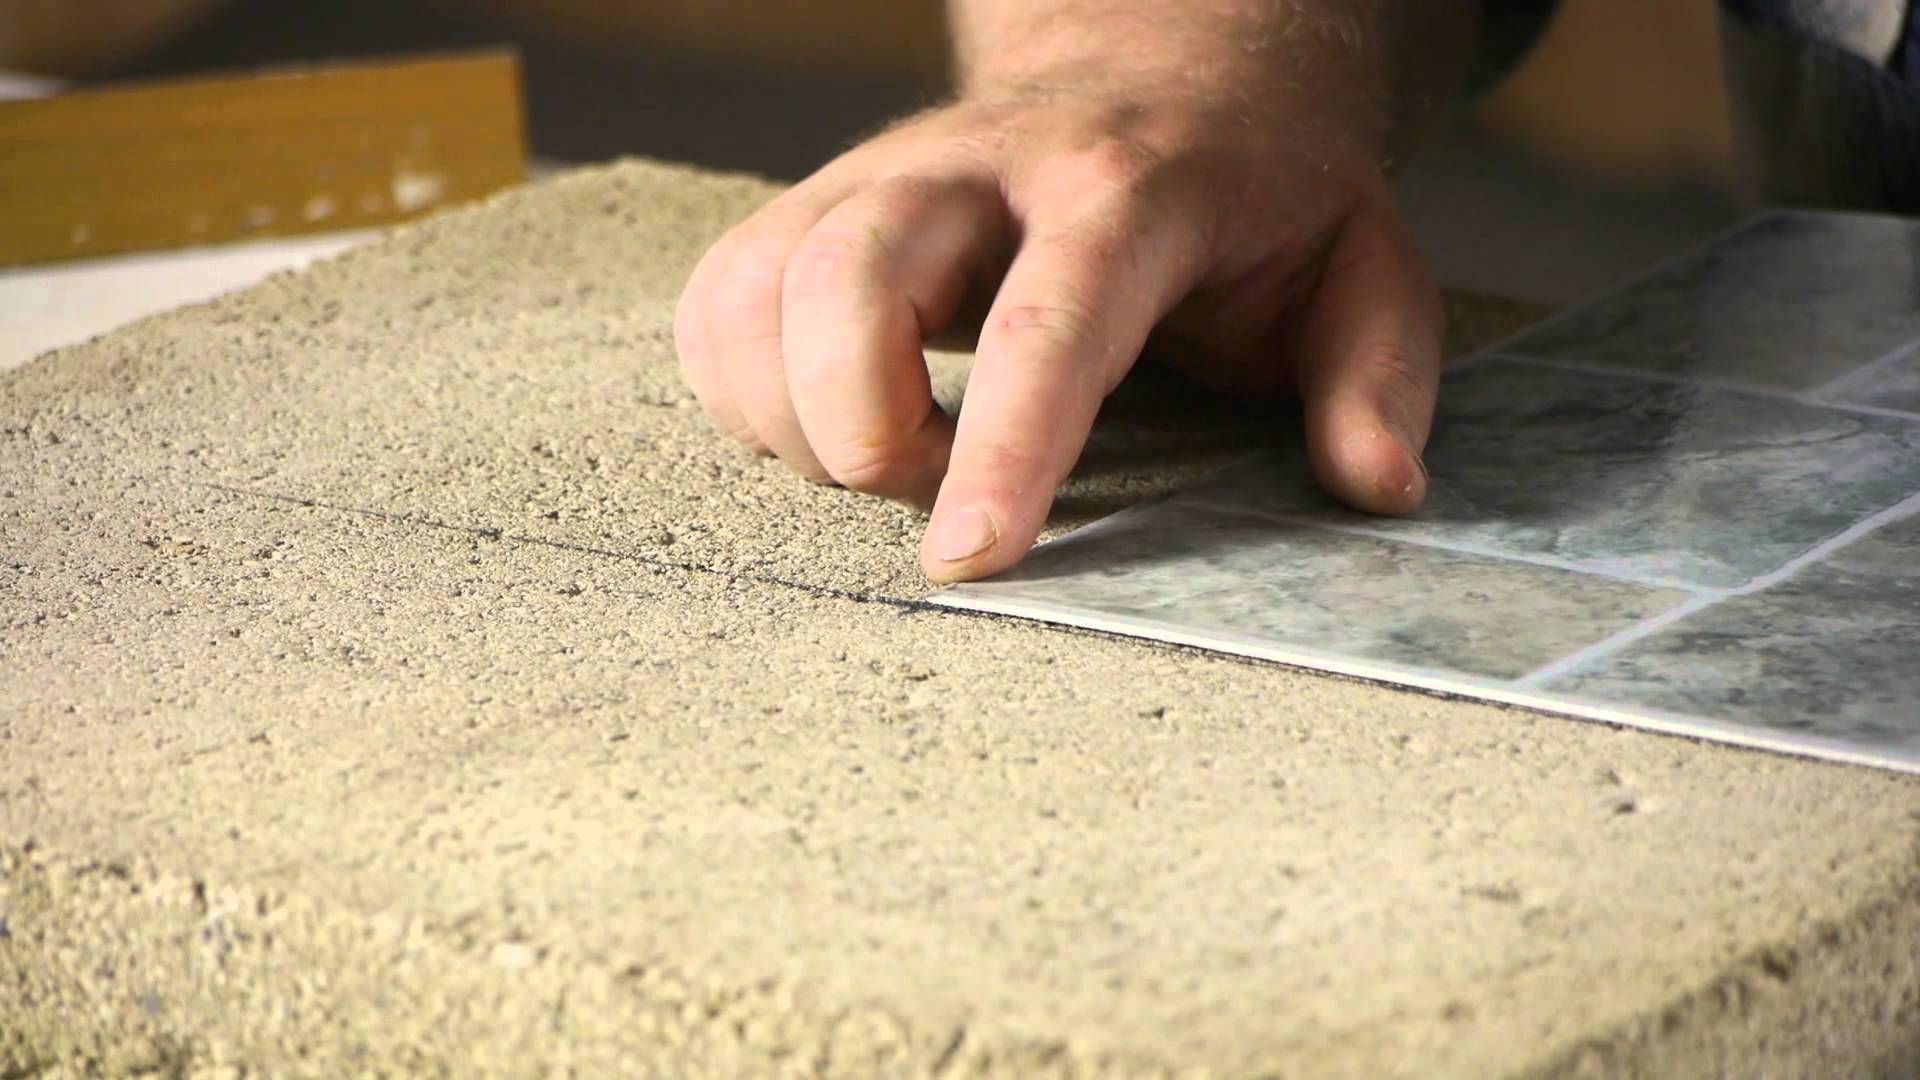
Mark Guidelines and Layout
To ensure a precise and visually appealing installation, it is advisable to mark guidelines and establish the layout of the backsplash beforehand. Use a level and a pencil to create vertical and horizontal guidelines that will serve as reference points during the installation process. This step is particularly crucial for maintaining straight lines and achieving a professional finish. Take into account any design elements or focal points in the room to determine the most aesthetically pleasing placement of the tiles.
By meticulously preparing the surface in this manner, you can set the stage for a successful peel and stick backsplash installation. A well-prepared surface not only facilitates the application of the tiles but also contributes to the overall durability and visual impact of the finished project.
Installing the Peel and Stick Backsplash
Installing a peel and stick backsplash is a rewarding and relatively straightforward process that can instantly transform the look of a kitchen or bathroom. With the right tools and a methodical approach, you can achieve professional-looking results without the need for extensive renovation. Here's a detailed guide to walk you through the installation process, from preparing the adhesive to applying the tiles with precision.
Gather the Necessary Tools and Materials
Before commencing the installation, ensure that you have all the essential tools and materials at hand. You will typically need a measuring tape, a pencil, a level, a utility knife, a straight edge or ruler, and a cutting mat. Additionally, have a clean, damp cloth or sponge ready for any immediate cleaning needs during the installation. It's also advisable to have a silicone caulk and a caulking gun for sealing the edges of the backsplash once the tiles are in place.
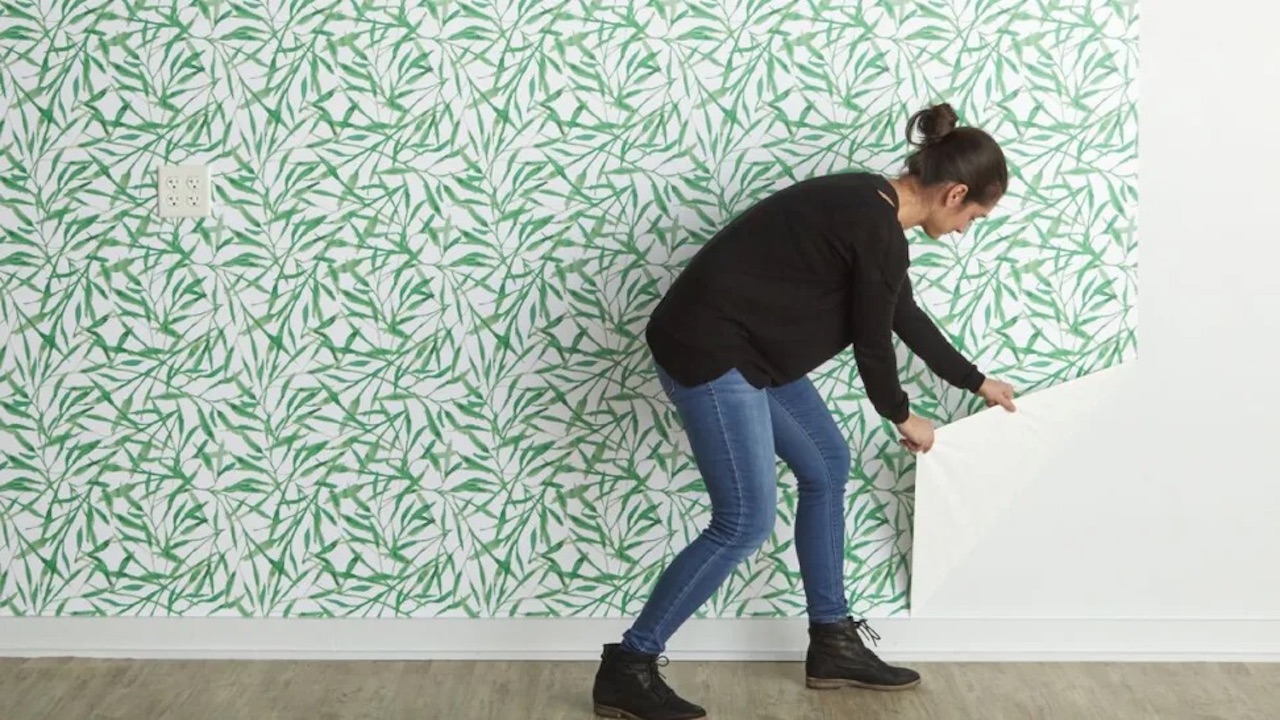
Start from the Center and Work Outward
Begin the installation process by identifying the center point of the area where the peel and stick backsplash will be applied. Mark this point with a pencil to serve as a reference for the initial tile placement. Working from the center outwards helps ensure a balanced and symmetrical layout, especially in spaces with focal points such as stovetops or sinks.
Read more: How Do You Cut Peel And Stick Backsplash?
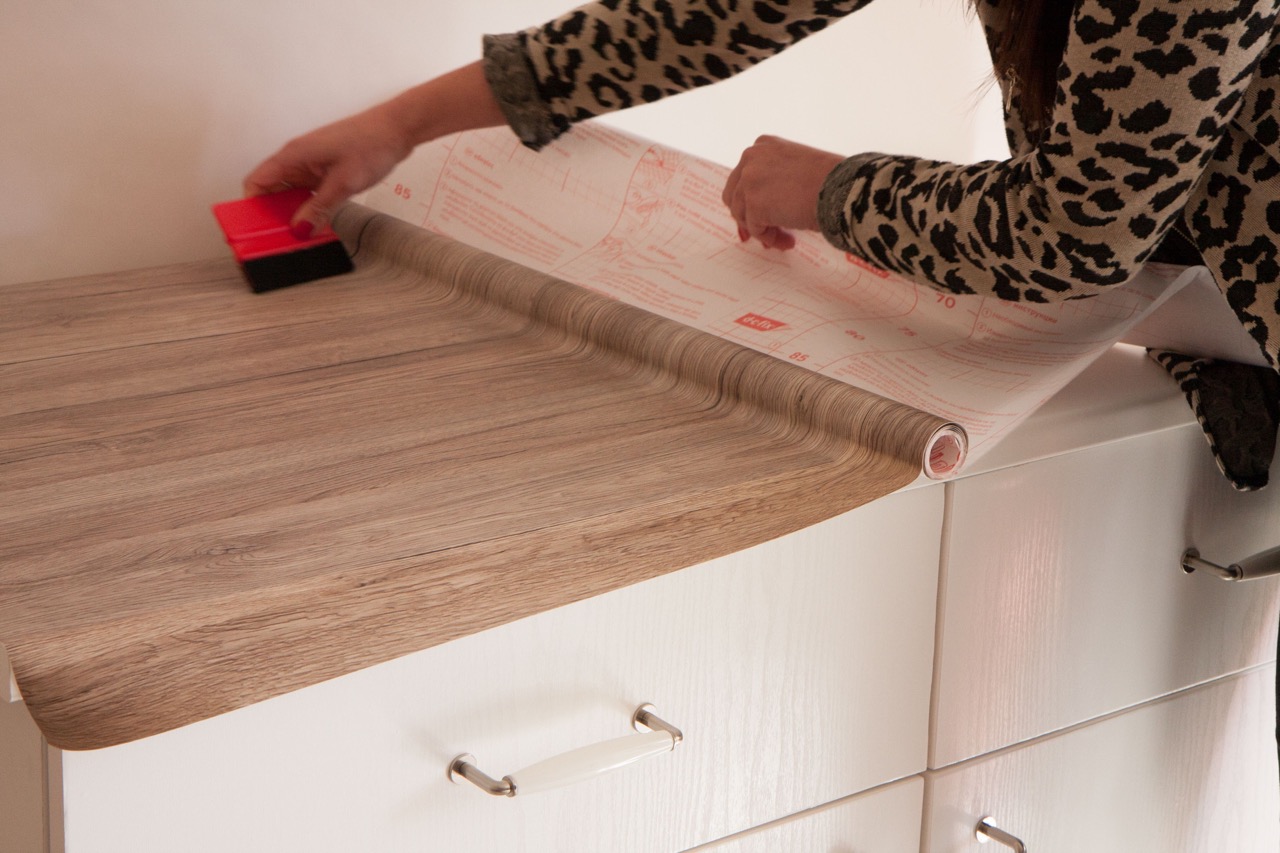
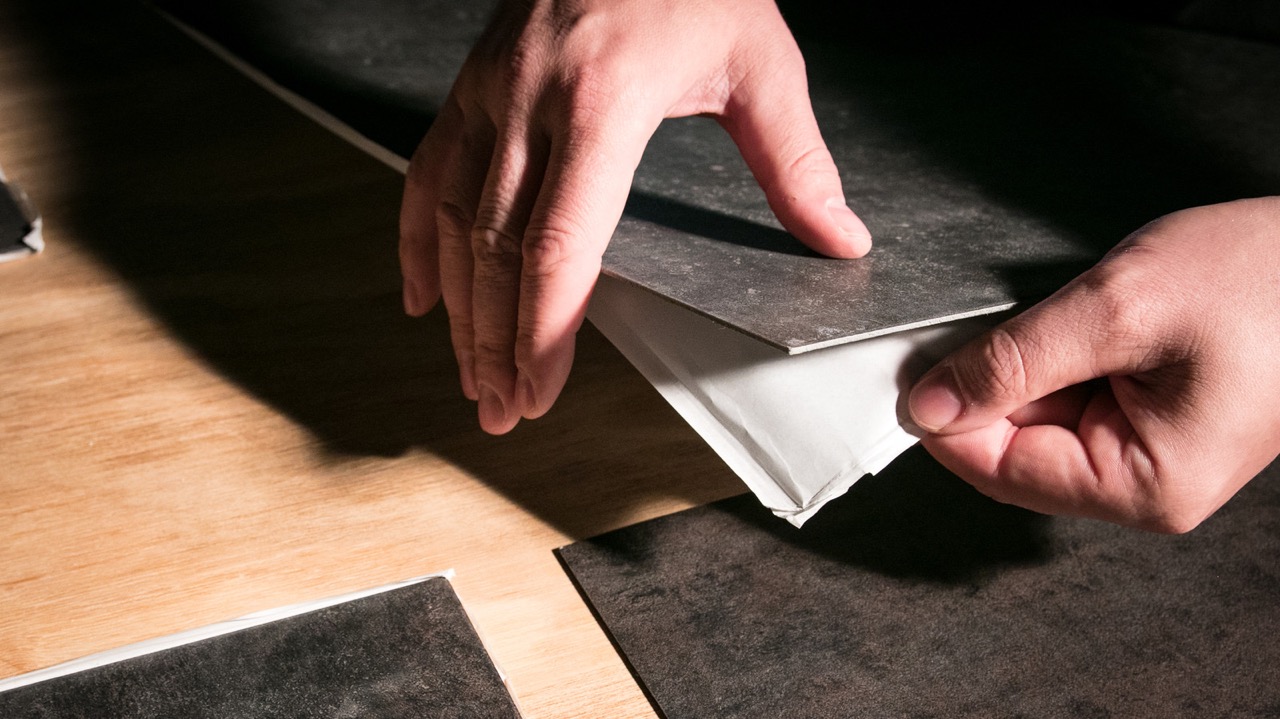
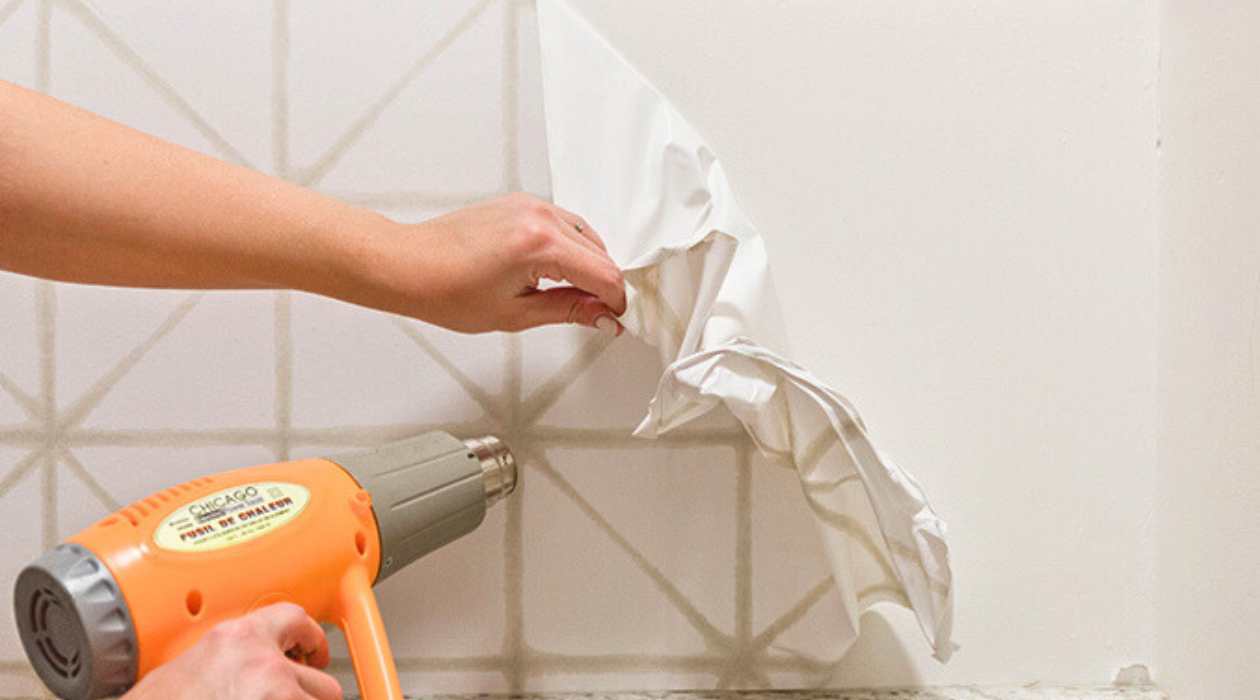
Peel and Stick Application
Peel the backing off the first tile and carefully align it with the marked center point. Press the tile firmly onto the wall, ensuring that it is level and securely adhered. Continue applying the tiles in a systematic manner, following the predetermined layout and guidelines. Use a level periodically to verify that the tiles are straight and aligned correctly.
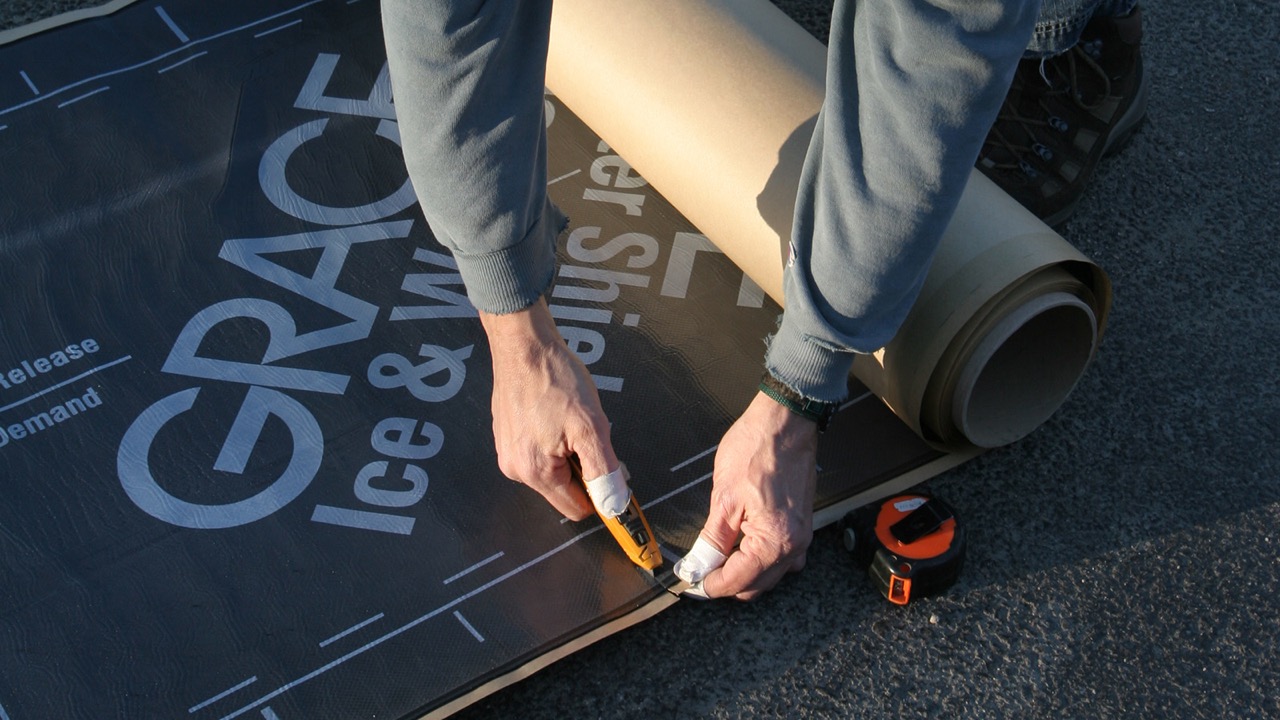
Cutting and Trimming
As you reach the edges and corners of the backsplash area, you may need to trim the tiles to fit the available space. Measure the dimensions accurately and use a utility knife or a pair of sharp scissors to cut the tiles to the required size. A straight edge or ruler can assist in achieving clean, precise cuts. Take your time to ensure that the trimmed tiles seamlessly integrate with the rest of the installation.
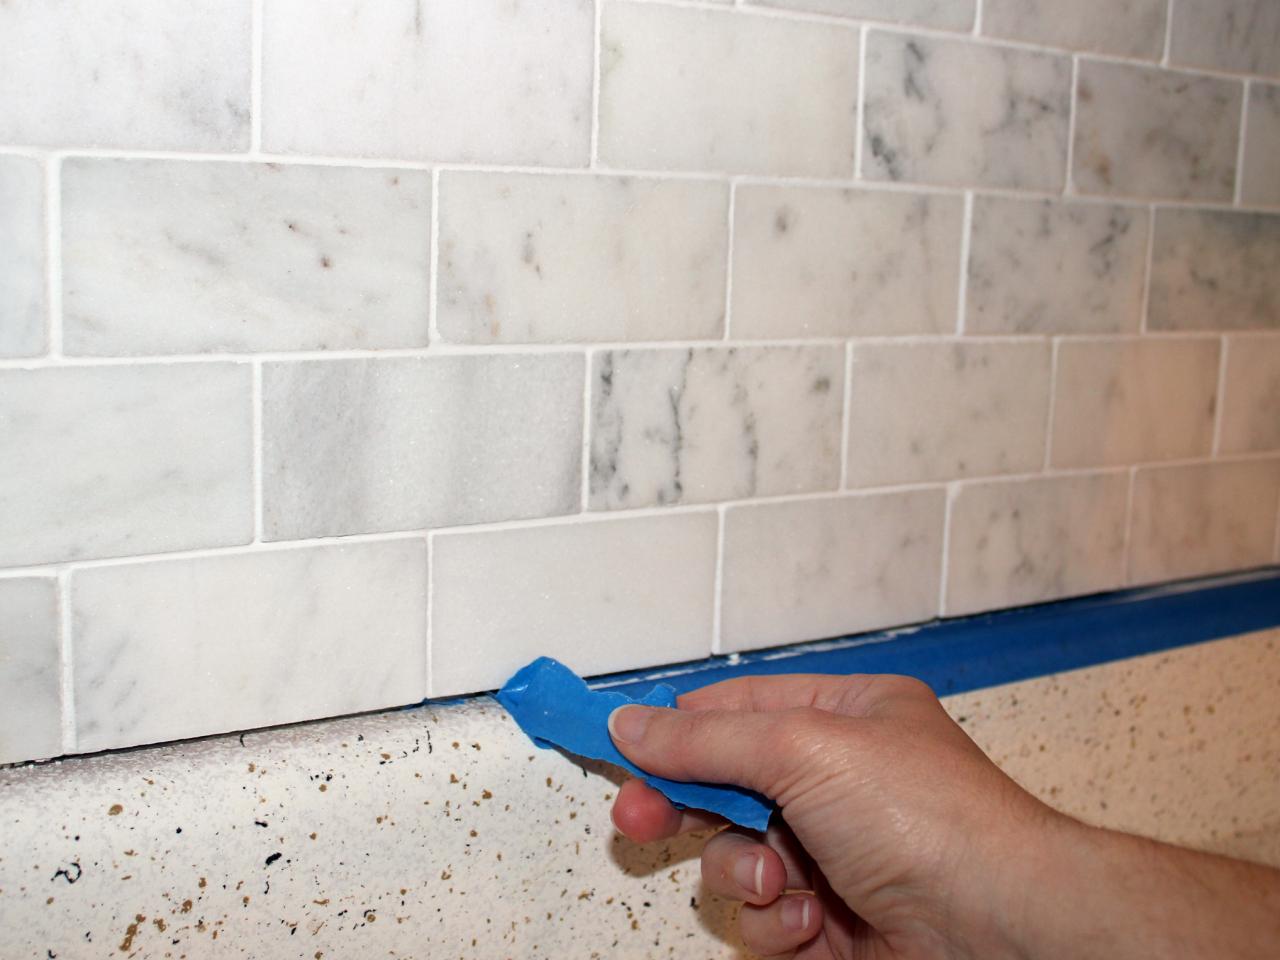
Sealing and Finishing Touches
Once all the tiles are in place, inspect the edges and corners for any gaps or uneven areas. Apply a bead of silicone caulk along the perimeter of the backsplash to seal the edges and enhance the overall durability of the installation. Wipe away any excess caulk with a damp cloth for a neat, polished finish.
By following these steps and exercising patience and precision, you can successfully install a peel and stick backsplash that adds a touch of elegance and charm to your living space. With the satisfaction of a DIY project well done, you can now step back and admire the remarkable transformation you've achieved.
Trimming and Finishing Touches
As you approach the final stages of installing a peel and stick backsplash, the process of trimming and adding finishing touches plays a crucial role in achieving a polished and professional outcome. This phase requires attention to detail and precision to ensure that the backsplash seamlessly integrates with the surrounding elements and exudes a cohesive, refined appearance.
Trimming the Tiles
When reaching the edges and corners of the backsplash area, it's inevitable that some tiles will need to be trimmed to fit the available space. This step demands careful measurement and accurate cutting to maintain a seamless and harmonious look. Using a measuring tape, determine the precise dimensions required for the trimmed tiles. A utility knife or a pair of sharp scissors can be employed to make the necessary cuts, ensuring that the tiles fit snugly and align seamlessly with the rest of the installation.
Achieving Clean, Precise Cuts
To achieve clean, precise cuts, it's advisable to use a straight edge or ruler as a guide when trimming the tiles. This helps maintain straight lines and ensures that the edges are uniform and visually appealing. Take your time during this process, as meticulous attention to detail can make a significant difference in the overall aesthetic of the backsplash. By carefully cutting and fitting the tiles, you can create a cohesive and professional-looking installation that enhances the visual appeal of the entire space.
Sealing and Polishing
Once all the tiles are in place and the trimming is complete, it's essential to inspect the edges and corners for any gaps or uneven areas. Applying a bead of silicone caulk along the perimeter of the backsplash serves multiple purposes. Not only does it seal the edges, providing protection against moisture and debris, but it also adds a polished, finished look to the installation. Using a caulking gun, carefully apply the silicone caulk, ensuring a continuous and even line along the edges. Any excess caulk can be wiped away with a damp cloth, leaving behind a clean and refined finish that elevates the overall appearance of the backsplash.
By meticulously attending to the trimming and finishing touches, you can elevate the visual impact of the peel and stick backsplash, creating a seamless and sophisticated addition to your kitchen or bathroom. The attention to detail and precision invested in this phase ensures that the installation not only looks impeccable but also stands the test of time, adding enduring charm and elegance to your living space.
Maintenance and Care
Proper maintenance is essential to preserve the beauty and functionality of a peel and stick backsplash, ensuring that it continues to enhance the aesthetic appeal of your kitchen or bathroom for years to come. By incorporating simple yet effective care practices into your routine, you can prolong the lifespan of the backsplash and keep it looking pristine. Here are some valuable tips for maintaining and caring for your peel and stick backsplash:
Regular Cleaning
Regular cleaning is key to maintaining the luster and cleanliness of the backsplash. Use a mild, non-abrasive cleaner and a soft cloth to wipe down the tiles, removing any accumulated grime, grease, or food splatters. Avoid harsh chemicals or abrasive scrubbers, as these can damage the surface of the tiles. Additionally, be mindful of the seams and edges, ensuring that they remain free of debris to maintain a seamless appearance.
Grout Maintenance
If your peel and stick backsplash features grout lines, it's important to keep them clean and well-maintained. Periodically inspect the grout for any signs of discoloration or mildew. A gentle scrub with a grout cleaner and a small brush can help to refresh the appearance of the grout, keeping it looking fresh and uniform.
Avoiding Excessive Moisture
While peel and stick backsplashes are designed to withstand moisture, excessive and prolonged exposure to water can compromise the adhesive and integrity of the tiles. Be mindful of water splashes from sinks and cooking areas, and promptly dry any moisture that comes into contact with the backsplash to prevent potential damage.
Protective Measures
Consider applying a clear, waterproof sealant over the backsplash to provide an additional layer of protection. This can help safeguard the tiles from moisture and stains, enhancing their longevity and resilience.
Read more: How Long Does Peel And Stick Backsplash Last
Preventing Damage
Exercise caution when placing or removing items near the backsplash to prevent accidental damage. Be mindful of sharp or abrasive objects that could scratch or chip the tiles. Additionally, avoid using excessive force when cleaning or scrubbing the surface, as this can compromise the integrity of the adhesive.
By incorporating these maintenance practices into your regular cleaning routine, you can ensure that your peel and stick backsplash remains a stunning focal point in your home. With proper care and attention, it will continue to exude charm and elegance, serving as a durable and visually captivating element in your living space.
Conclusion
In conclusion, the versatility, ease of installation, and visual impact of peel and stick backsplashes make them a compelling choice for homeowners seeking to revitalize their living spaces. The wide array of designs, materials, and colors available ensures that there is a perfect option to complement any interior style, from modern and sleek to rustic and cozy. By carefully considering factors such as aesthetic appeal, material durability, and layout, individuals can select a backsplash that not only enhances the visual allure of the room but also aligns with practical considerations.
The meticulous preparation of the wall surface sets the stage for a seamless and durable installation, ensuring that the adhesive bonds effectively with the tiles. The step-by-step installation process, from starting at the center and working outward to the precision trimming and finishing touches, empowers homeowners to embark on a DIY project with confidence. The satisfaction of witnessing the remarkable transformation brought about by a well-executed peel and stick backsplash installation is truly rewarding.
Furthermore, the maintenance and care tips provided offer valuable insights into preserving the beauty and functionality of the backsplash for the long term. By incorporating simple cleaning practices and protective measures, homeowners can ensure that their peel and stick backsplash remains a stunning focal point, adding enduring charm and elegance to their living space.
Ultimately, the allure of peel and stick backsplashes lies in their ability to combine convenience with style, offering a cost-effective and impactful solution for home renovation. Whether it's a kitchen adorned with sleek, modern tiles or a cozy bathroom featuring intricate mosaic patterns, the transformative power of peel and stick backsplashes is undeniable. With the knowledge and guidance provided in this comprehensive guide, homeowners are equipped to embark on their own DIY journey, adding a touch of elegance and personality to their homes with the installation of a stunning peel and stick backsplash.
Frequently Asked Questions about How To Use Peel And Stick Backsplash
Was this page helpful?
At Storables.com, we guarantee accurate and reliable information. Our content, validated by Expert Board Contributors, is crafted following stringent Editorial Policies. We're committed to providing you with well-researched, expert-backed insights for all your informational needs.

0 thoughts on “How To Use Peel And Stick Backsplash”