Home>Furniture & Design>Interior Design Trends>How To Remove Glass Tile Backsplash
Interior Design Trends
How To Remove Glass Tile Backsplash
Modified: October 27, 2024
Learn how to remove a glass tile backsplash and stay updated on the latest interior design trends. Get expert tips and advice for your home renovation projects.
(Many of the links in this article redirect to a specific reviewed product. Your purchase of these products through affiliate links helps to generate commission for Storables.com, at no extra cost. Learn more)
Introduction
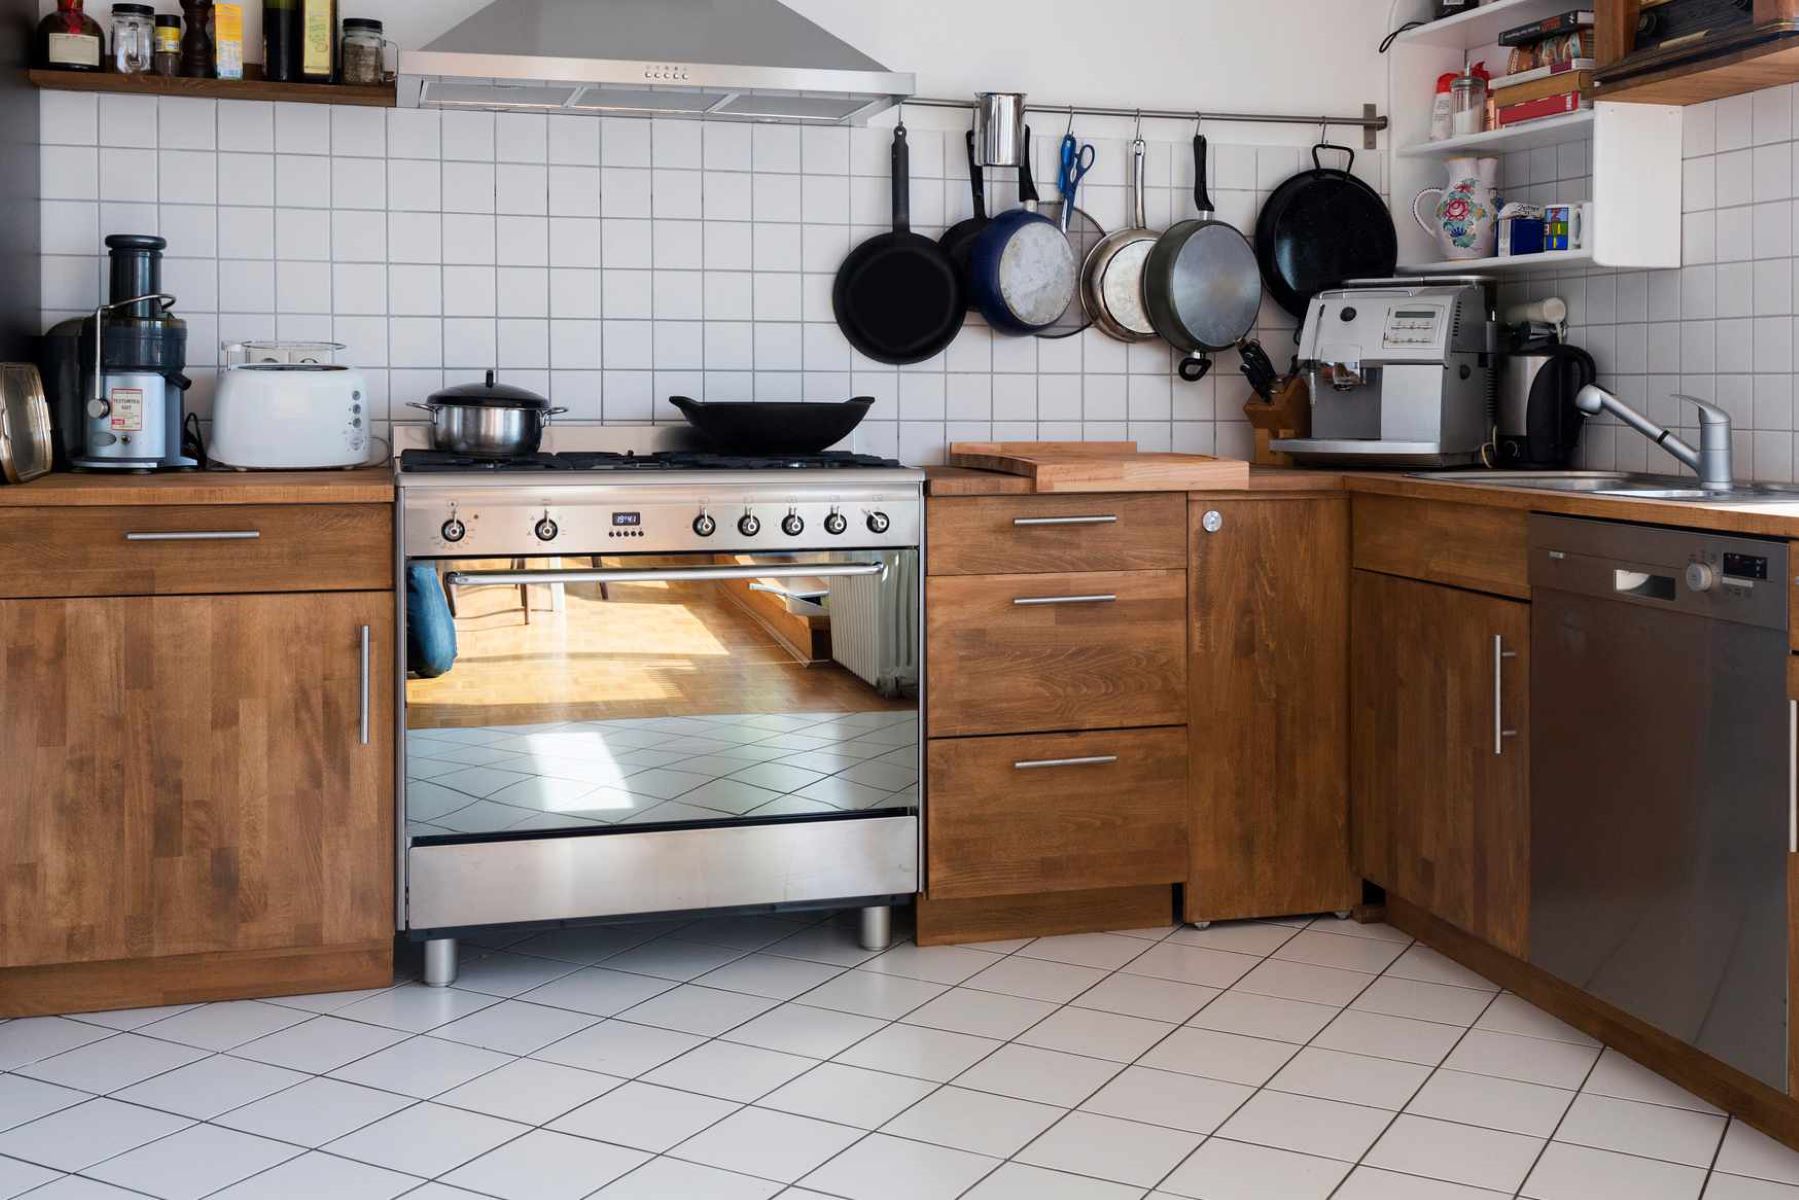
Removing a glass tile backsplash can breathe new life into your kitchen or bathroom, allowing for a fresh start and the opportunity to update the space with a modern aesthetic. Whether you're looking to replace the existing backsplash with a new design or simply seeking a change, the process of removing glass tile backsplash requires careful attention and the right tools. By following a systematic approach, you can successfully remove the glass tiles without damaging the underlying wall surface.
In this comprehensive guide, we will walk you through the step-by-step process of removing a glass tile backsplash, from gathering the necessary tools and materials to cleaning the wall and making any necessary repairs. By the end of this tutorial, you will have the knowledge and confidence to tackle this project with precision and achieve professional-looking results.
Removing a glass tile backsplash may seem daunting at first, but with the right guidance and a methodical approach, it can be a rewarding and satisfying endeavor. Whether you're a seasoned DIY enthusiast or a novice looking to take on a new home improvement challenge, this guide will equip you with the essential know-how to complete the task efficiently and effectively.
So, roll up your sleeves, gather your tools, and let's embark on this journey to transform your space by learning how to remove a glass tile backsplash with ease and precision.
Key Takeaways:
- Removing a glass tile backsplash requires careful preparation, patience, and the right tools. By following a systematic approach, you can successfully remove the tiles without damaging the wall surface, creating a fresh canvas for a new design.
- After removing the glass tile backsplash, you have the option to install a new backsplash, infusing your kitchen or bathroom with a fresh and personalized touch. This presents an exciting opportunity to elevate the visual impact of your space and express your unique style.
Read more: How To Clean Glass Backsplash Tiles
Step 1: Gather the necessary tools and materials
Before embarking on the task of removing a glass tile backsplash, it's crucial to gather all the essential tools and materials to ensure a smooth and efficient process. Here's a comprehensive list of items you'll need:
Tools:
- Safety goggles and gloves: Protect your eyes and hands from potential debris and sharp edges during the removal process.
- Putty knife or utility knife: Use this tool to carefully pry and loosen the tiles from the wall without causing damage.
- Grout saw or rotary tool with grout removal attachment: Essential for removing the grout surrounding the tiles, allowing for easier tile removal.
- Pry bar or chisel: Helpful for gently prying the tiles away from the wall once the grout has been removed.
- Hammer: Use a hammer to tap the pry bar or chisel gently, aiding in the removal of stubborn tiles.
- Bucket: A bucket will come in handy for collecting and disposing of the removed tiles and grout.
- Screwdriver: If your backsplash includes any electrical outlet covers, a screwdriver will be necessary for their removal.
Materials:
- Drop cloth or plastic sheeting: Cover the countertops and floor to protect them from debris and dust.
- Masking tape: Use masking tape to secure the drop cloth or plastic sheeting in place, ensuring it stays in position throughout the project.
- Cardboard or thin plywood: Place this protective barrier over the countertops to prevent accidental damage during the tile removal process.
- Grout removal solution: If you prefer a chemical-based grout remover, ensure you have the appropriate solution on hand.
- Trash bags: Use sturdy trash bags for the disposal of the removed tiles and grout, keeping the work area tidy.
- Cleaning solution and sponge: Prepare a cleaning solution to wipe down the wall after the tile removal, ensuring it's ready for any necessary repairs or the installation of a new backsplash.
By assembling these tools and materials before you begin, you'll be well-prepared to tackle the subsequent steps with confidence and efficiency. Proper preparation sets the stage for a successful glass tile backsplash removal project, allowing you to navigate the process smoothly and achieve professional-quality results.
Step 2: Prepare the work area
Preparing the work area is a crucial preliminary step before initiating the removal of a glass tile backsplash. This process involves safeguarding the surrounding space, minimizing potential damage, and creating an organized environment conducive to efficient work. Here's a detailed breakdown of how to prepare the work area effectively:
-
Clear the Surrounding Space: Begin by removing any items, such as small appliances, utensils, or decorative objects, from the countertops adjacent to the backsplash. Clearing the area will provide ample space for maneuvering during the removal process and prevent any items from getting in the way or sustaining damage.
-
Protect Countertops and Floors: Cover the countertops with a drop cloth or plastic sheeting to shield them from debris, scratches, or accidental damage. Additionally, lay a protective barrier, such as cardboard or thin plywood, over the countertops to prevent any tools or falling tiles from causing harm. Similarly, cover the floor with a drop cloth to catch any debris and make cleanup more manageable.
-
Secure the Work Area: Use masking tape to secure the drop cloth or plastic sheeting in place, ensuring it remains fixed throughout the project. This precaution will prevent the covering from shifting or slipping, maintaining a tidy and organized work environment.
-
Prepare for Grout Removal: If you're using a chemical grout removal solution, ensure adequate ventilation in the work area to disperse any fumes. Open windows and doors, and consider using a fan to improve air circulation. If you opt for a manual grout removal tool, such as a grout saw or rotary tool, have it readily accessible for the next phase of the process.
-
Organize Tools and Materials: Arrange the gathered tools and materials within easy reach of the work area. Having everything organized and readily available will streamline the removal process, allowing for seamless transitions between tasks without unnecessary interruptions.
By meticulously preparing the work area, you set the stage for a smooth and efficient glass tile backsplash removal process. This proactive approach minimizes the risk of damage to surrounding surfaces, ensures a safe and organized workspace, and facilitates a focused and methodical approach to the subsequent steps. With the work area properly prepared, you're now ready to proceed to the next phase of removing the grout surrounding the glass tiles.
Read more: How To Install Glass Tile Backsplash
Step 3: Remove the grout
Removing the grout surrounding the glass tiles is a critical step in the process of removing a glass tile backsplash. The grout serves as the adhesive that holds the tiles in place, and effectively removing it is essential for safely detaching the tiles from the wall. Here's a detailed guide on how to remove the grout effectively and efficiently:
-
Assess the Grout: Before initiating the grout removal process, carefully inspect the condition of the grout. Determine whether it is sanded or unsanded grout, as this will influence the method of removal. Additionally, assess the overall integrity of the grout to gauge the level of effort required for its removal.
-
Choose the Right Tool: Depending on the type and condition of the grout, select the appropriate tool for removal. A grout saw or a rotary tool with a grout removal attachment is commonly used for this purpose. The choice between manual and power tools depends on personal preference and the scale of the project.
-
Protective Measures: Prior to commencing the grout removal, ensure that the surrounding surfaces, including the countertop and adjacent walls, are adequately protected. Use masking tape to safeguard these areas from accidental scratches or damage during the grout removal process.
-
Commence Grout Removal: With the appropriate tool in hand, carefully and systematically begin removing the grout from between the glass tiles. Exercise caution to avoid damaging the tiles themselves. Work methodically, focusing on small sections at a time to ensure precision and minimize the risk of unintended damage.
-
Clearing the Debris: As you progress with the grout removal, periodically clear away the loosened grout debris using a vacuum or a brush. This will provide better visibility and access to the remaining grout, allowing for a more effective removal process.
-
Thoroughness is Key: Pay close attention to the corners and edges of the backsplash, as these areas often require extra care and precision during grout removal. Ensuring that all the grout is completely removed will facilitate the subsequent tile removal process.
By following these steps, you can effectively remove the grout surrounding the glass tiles, setting the stage for the next phase of the glass tile backsplash removal process. With the grout successfully removed, you are now ready to proceed to the subsequent step of loosening the tiles from the wall in preparation for their removal.
Step 4: Loosen the tiles
With the grout successfully removed, the next crucial step in removing a glass tile backsplash is to carefully loosen the tiles from the wall. This process requires precision and patience to avoid damaging the tiles or the underlying wall surface. Here's a detailed guide on how to effectively loosen the tiles in preparation for their removal:
-
Assess Tile Adhesion: Before proceeding with tile removal, assess the adhesion of the tiles to the wall. Gently attempt to wiggle or push on a few tiles to gauge their level of attachment. This initial assessment will provide insight into the effort required to loosen the tiles and identify any areas where the tiles may be more firmly adhered.
-
Utilize the Putty Knife or Chisel: Armed with a putty knife or chisel, carefully insert the tool behind the edge of a tile. Apply gentle pressure to create a slight separation between the tile and the wall. Avoid using excessive force, as this can lead to tile breakage or wall damage.
-
Work in Sections: Begin loosening the tiles in manageable sections, focusing on one area at a time. By working systematically, you can maintain control over the process and minimize the risk of unintended damage. Gradually progress across the backsplash, ensuring that each tile is loosened before moving on to the next.
-
Use Caution with Stubborn Tiles: In cases where certain tiles prove to be more stubborn, exercise extra care and patience. Applying gentle tapping with a hammer on the handle of the putty knife or chisel can help dislodge particularly resistant tiles without causing damage.
-
Protective Measures: Throughout the tile loosening process, be mindful of protecting the surrounding surfaces and adjacent tiles. Use a piece of cardboard or a thin plywood sheet to shield neighboring tiles from accidental damage caused by slipping tools or falling tiles.
-
Clearing the Work Area: As tiles are loosened, carefully collect and set them aside in a designated area, ensuring they are safely positioned to prevent breakage. Clear any debris or grout remnants from the work area to maintain a clean and organized space.
By following these steps, you can effectively loosen the glass tiles from the wall, paving the way for their safe and systematic removal. With the tiles successfully loosened, you are now prepared to proceed to the subsequent step of removing the tiles from the wall, bringing you closer to completing the glass tile backsplash removal process.
Step 5: Remove the tiles
With the glass tiles successfully loosened from the wall, the next pivotal step in the process of removing a glass tile backsplash is the systematic removal of the tiles. This phase demands precision and care to ensure the tiles are safely detached without causing damage to the underlying wall surface. Here's a detailed guide on how to effectively remove the glass tiles from the wall:
-
Begin at the Edge: Start by focusing on a corner or edge of the backsplash. Insert the putty knife or chisel behind the edge of the first loosened tile, applying gentle pressure to further separate it from the wall. Work methodically, ensuring that each tile is detached before moving on to the next.
-
Utilize the Pry Bar or Chisel: As you progress across the backsplash, employ a pry bar or chisel to carefully pry the tiles away from the wall. Exercise caution to avoid excessive force, as this can lead to tile breakage or damage to the wall surface. Work patiently, allowing the tiles to release gradually.
-
Work in Sections: Approach the tile removal process in manageable sections, focusing on one area at a time. By maintaining a systematic approach, you can effectively manage the removal process and minimize the risk of unintended damage. Continue to clear the work area of removed tiles to maintain an organized space.
-
Handle Stubborn Tiles with Care: In instances where certain tiles prove to be stubborn or firmly adhered, exercise patience and caution. Utilize the pry bar or chisel to gently coax these tiles away from the wall, avoiding abrupt movements that could lead to breakage or damage.
-
Collect and Dispose of Removed Tiles: As tiles are successfully removed, carefully collect and set them aside in a designated area. Ensure that the removed tiles are positioned safely to prevent breakage. Additionally, dispose of any debris or grout remnants in a responsible manner, maintaining a clean and tidy work environment.
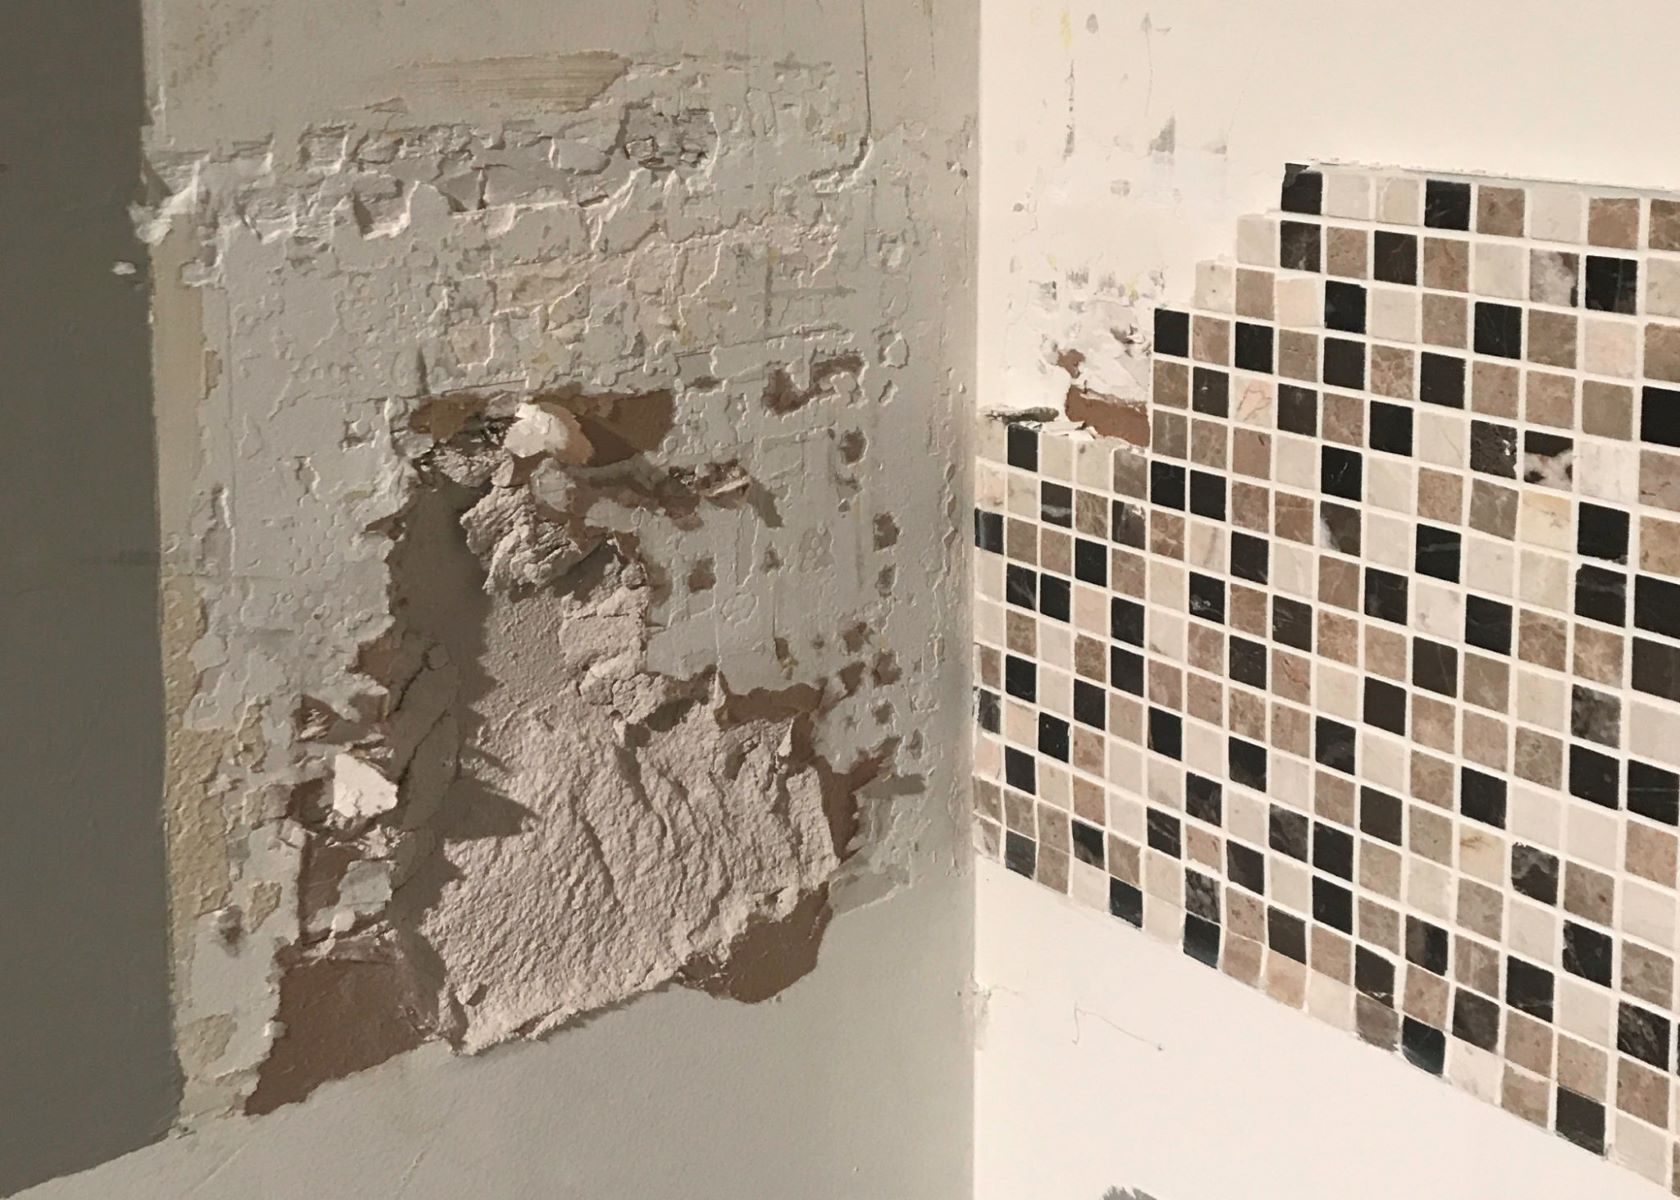
By following these steps, you can effectively remove the glass tiles from the wall, bringing you closer to the completion of the glass tile backsplash removal process. With the tiles safely detached, you are now prepared to proceed to the subsequent step of cleaning the wall and preparing it for any necessary repairs or the installation of a new backsplash.
Use a utility knife to cut through the grout lines and loosen the tiles. Then, carefully pry the tiles off the wall using a putty knife or a flat bar. Be sure to wear safety goggles and gloves to protect yourself from any sharp edges.
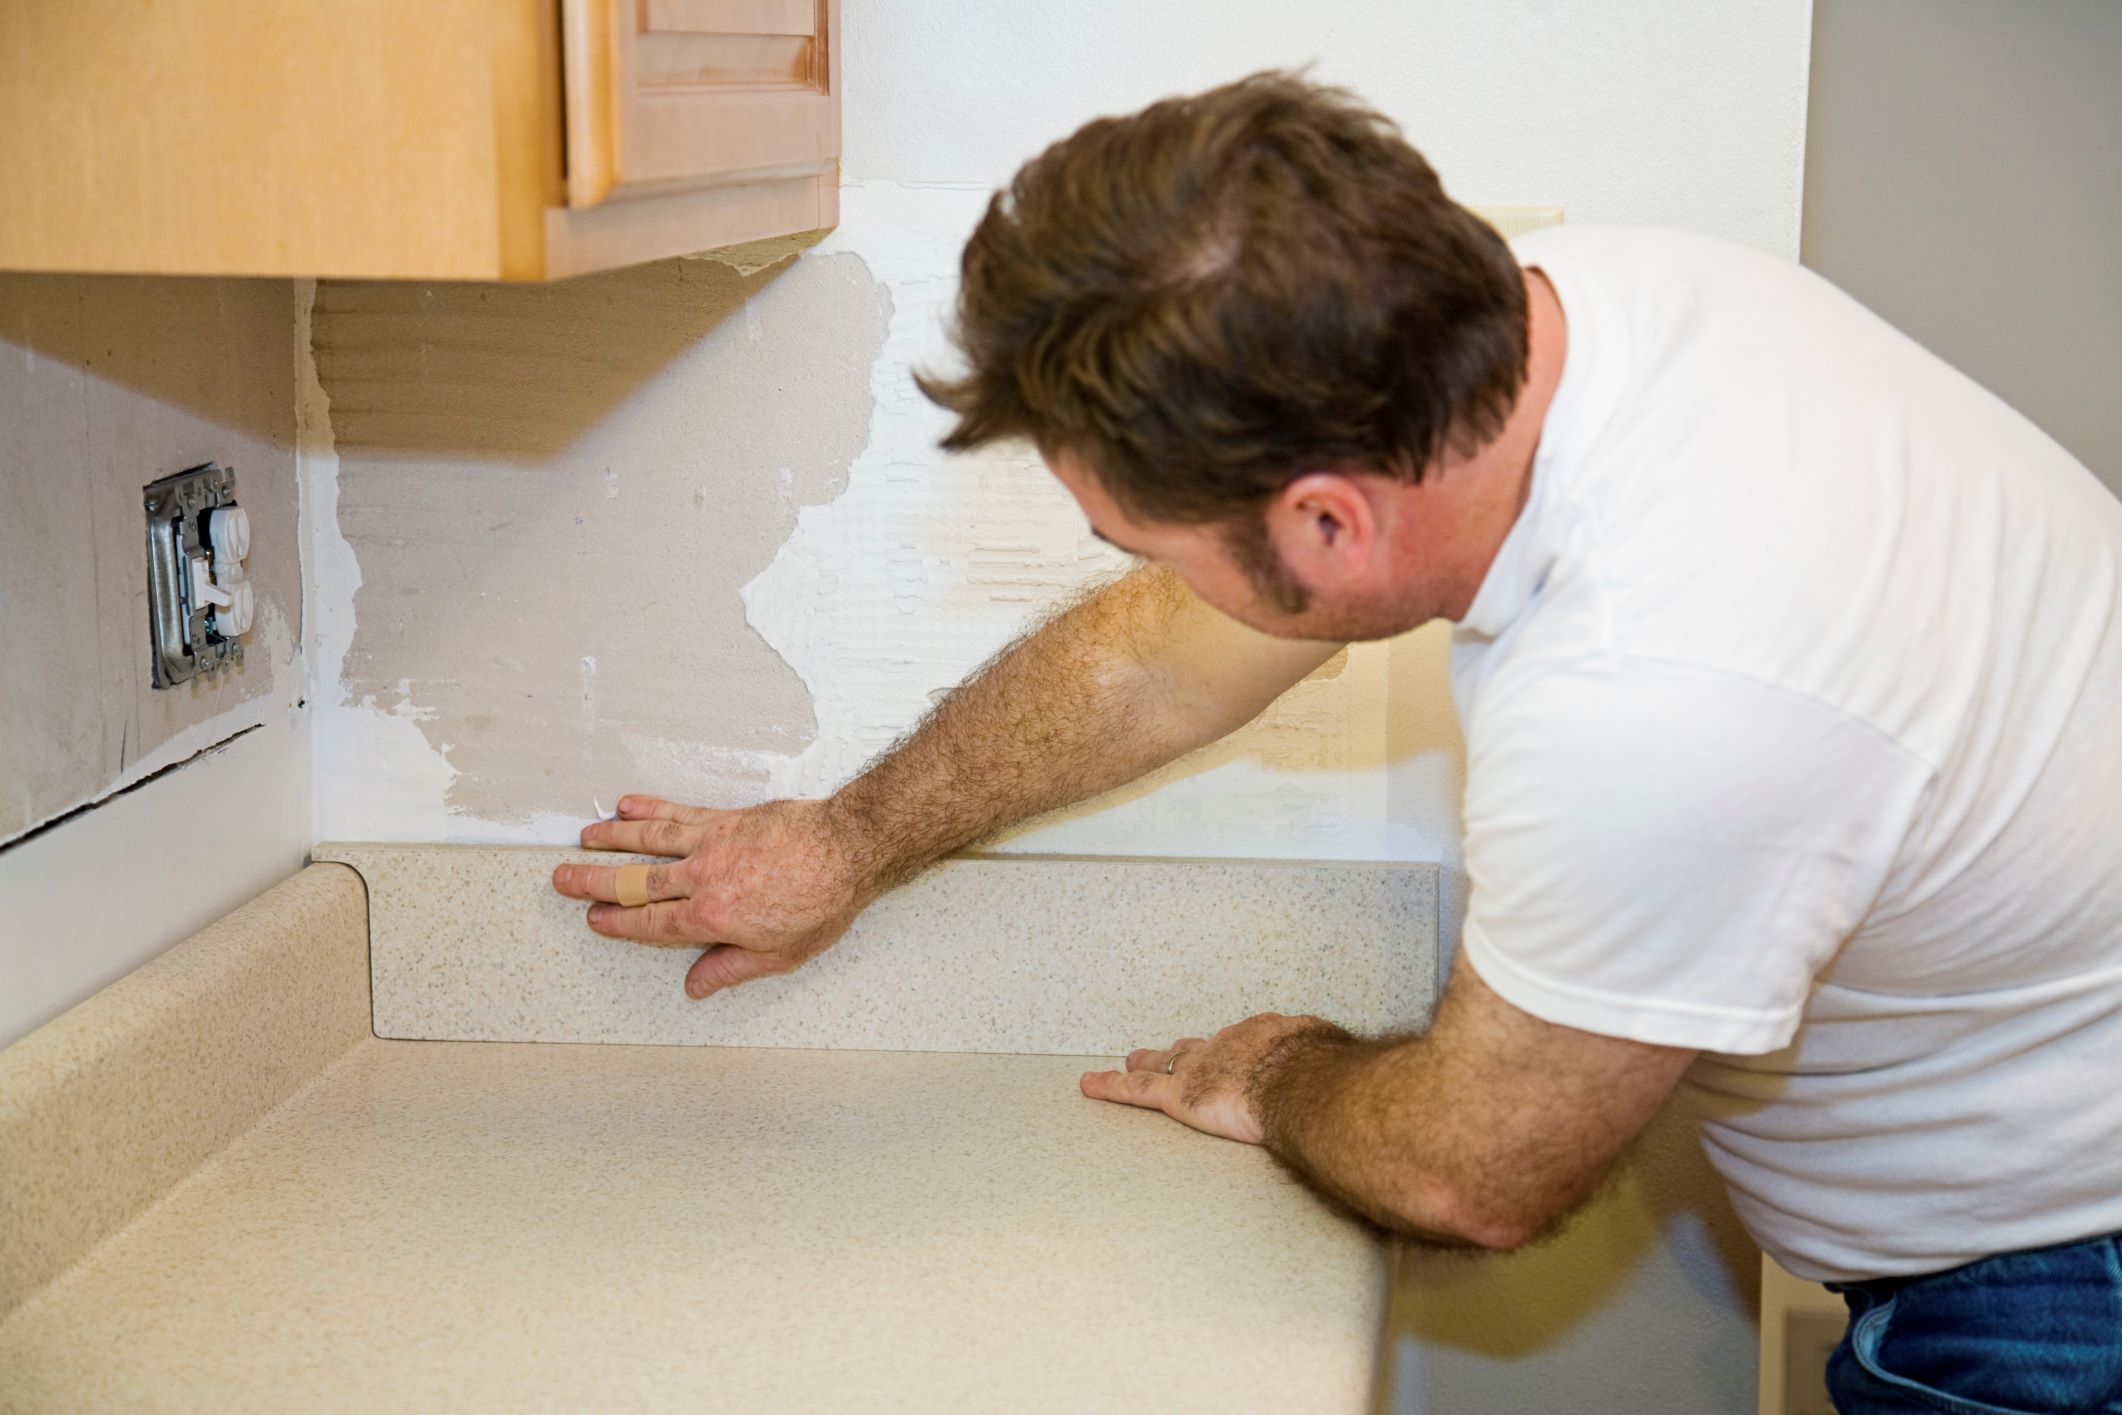
Step 6: Clean the wall
After the successful removal of the glass tiles, the next essential step in the process of removing a glass tile backsplash is to thoroughly clean the wall surface. This crucial task involves removing any residual grout, adhesive, or debris to ensure a smooth and pristine foundation for any necessary repairs or the installation of a new backsplash. Here's a detailed guide on how to effectively clean the wall after the tile removal:
-
Inspect the Wall: Begin by carefully inspecting the wall surface to identify any remaining grout, adhesive, or debris. Pay close attention to corners, edges, and any areas where tiles were firmly adhered, as these spots may require extra attention during the cleaning process.
-
Use a Putty Knife or Scraper: Armed with a putty knife or scraper, gently remove any residual grout or adhesive from the wall. Exercise caution to avoid damaging the wall surface, working methodically to ensure thorough removal without causing unintended harm.
-
Cleaning Solution and Sponge: Prepare a cleaning solution suitable for the wall surface, ensuring it is safe and effective for the specific material. Apply the cleaning solution to the wall using a sponge, working in small sections to ensure comprehensive coverage.
-
Scrubbing and Wiping: With the cleaning solution applied, use the sponge to scrub the wall surface, focusing on areas with stubborn grout or adhesive remnants. Wipe the wall with a clean, damp sponge to remove the loosened debris and cleaning solution, revealing a clean and refreshed surface.
-
Drying the Wall: Once the wall has been thoroughly cleaned, allow it to dry completely before proceeding with any necessary repairs or the installation of a new backsplash. Adequate drying time ensures that the wall is ready to receive any subsequent treatments or materials.
-
Final Inspection: After the wall has dried, perform a final inspection to ensure that all grout, adhesive, and debris have been effectively removed. Address any remaining remnants promptly to guarantee a pristine and smooth wall surface.
By following these steps, you can effectively clean the wall after the removal of the glass tiles, preparing it for any necessary repairs or the installation of a new backsplash. A clean and well-prepared wall surface sets the stage for the successful completion of the glass tile backsplash removal process, ensuring that the space is ready for its next transformation.
Read more: How To Put Up A Backsplash With Glass Tiles
Step 7: Repair any damage
After the meticulous process of removing the glass tile backsplash, it's essential to assess the wall for any damage that may have occurred during the removal process. Addressing any imperfections or blemishes is crucial to ensure a smooth and pristine surface for any future installations or treatments. Here's a detailed guide on how to effectively repair any damage resulting from the tile removal:
-
Inspect the Wall Surface: Begin by thoroughly inspecting the wall to identify any visible damage, such as small cracks, dents, or residual adhesive. Carefully run your hand over the surface to detect any irregularities that may require attention.
-
Fill in Gaps and Cracks: If you encounter small gaps or cracks in the wall, utilize a high-quality wall repair compound or spackling paste to fill in these imperfections. Apply the compound with a putty knife, ensuring that it is smoothed and leveled to seamlessly blend with the surrounding surface.
-
Sand and Smooth the Surface: Once the repair compound has dried, use fine-grit sandpaper to gently sand the repaired areas, creating a smooth and even surface. This step is essential for achieving a flawless foundation for any subsequent treatments or installations.
-
Address Larger Damage: In the case of more significant damage, such as larger cracks or holes, consider using a patching material or wall repair kit specifically designed for such repairs. Follow the manufacturer's instructions to effectively address and restore the damaged areas.
-
Prime the Repaired Areas: After the repairs have been completed and the surface is smooth and even, apply a high-quality primer to the repaired areas. Priming the surface prepares it for the application of paint or any future treatments, ensuring optimal adhesion and a uniform finish.
-
Allow for Adequate Drying Time: Once the repairs and priming are complete, allow the wall surface to dry thoroughly before proceeding with any additional treatments or installations. Adequate drying time is essential to ensure that the repaired areas are fully set and ready for the next steps.
By diligently addressing any damage resulting from the tile removal, you can effectively restore the wall to its optimal condition, setting the stage for any future enhancements or transformations. A well-repaired and pristine wall surface ensures that the space is ready for its next phase, whether it involves the installation of a new backsplash or any other desired modifications.
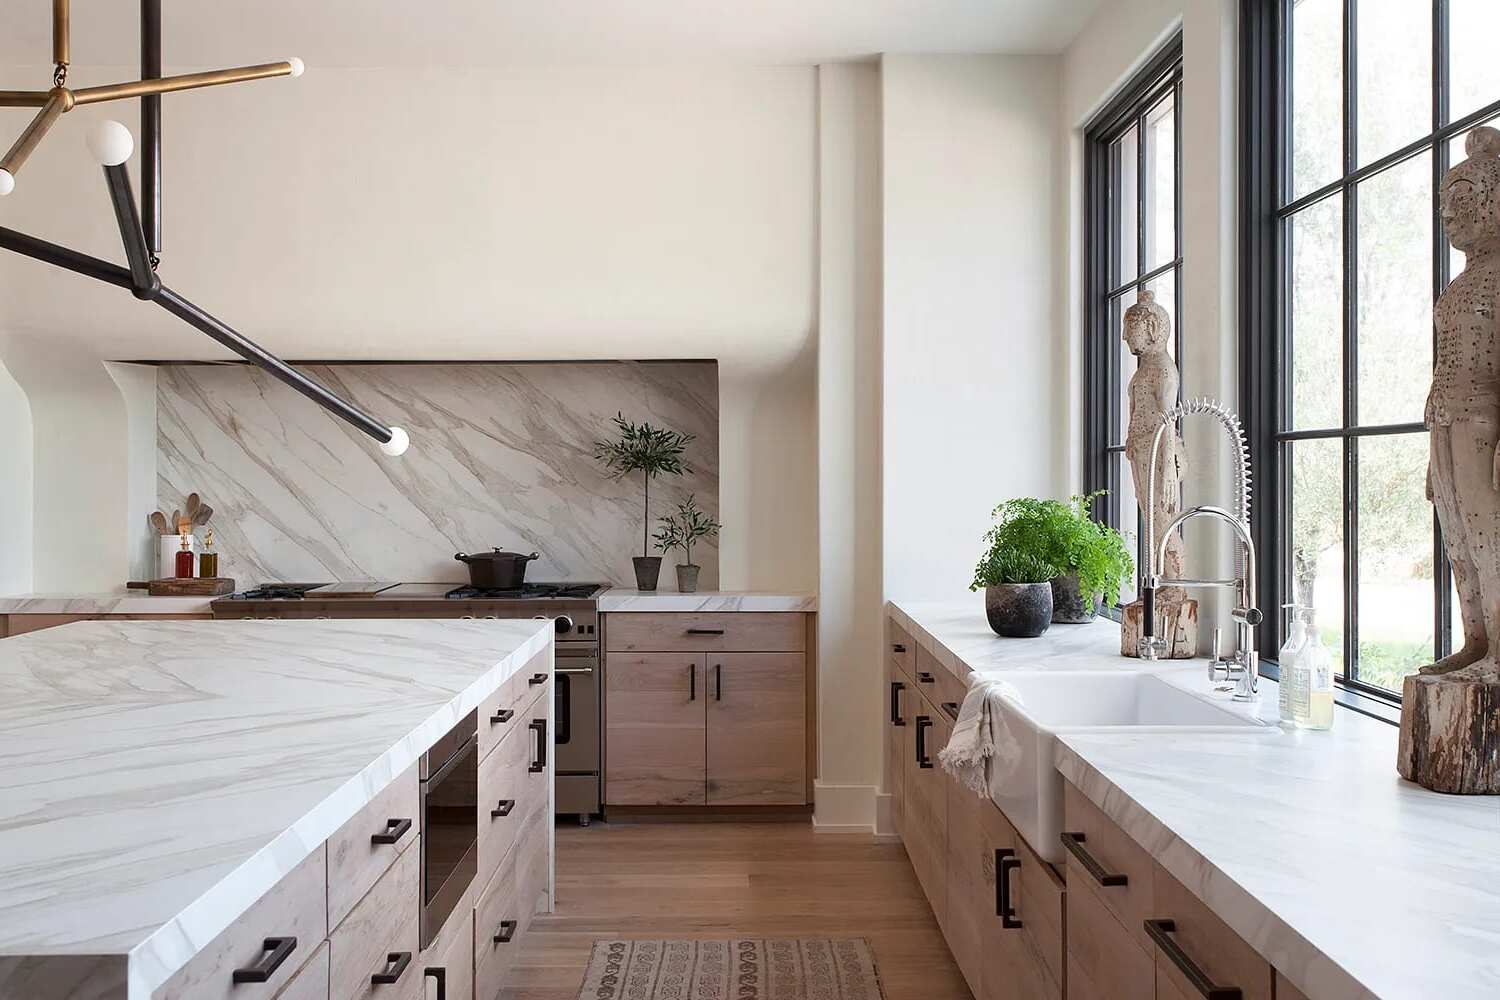
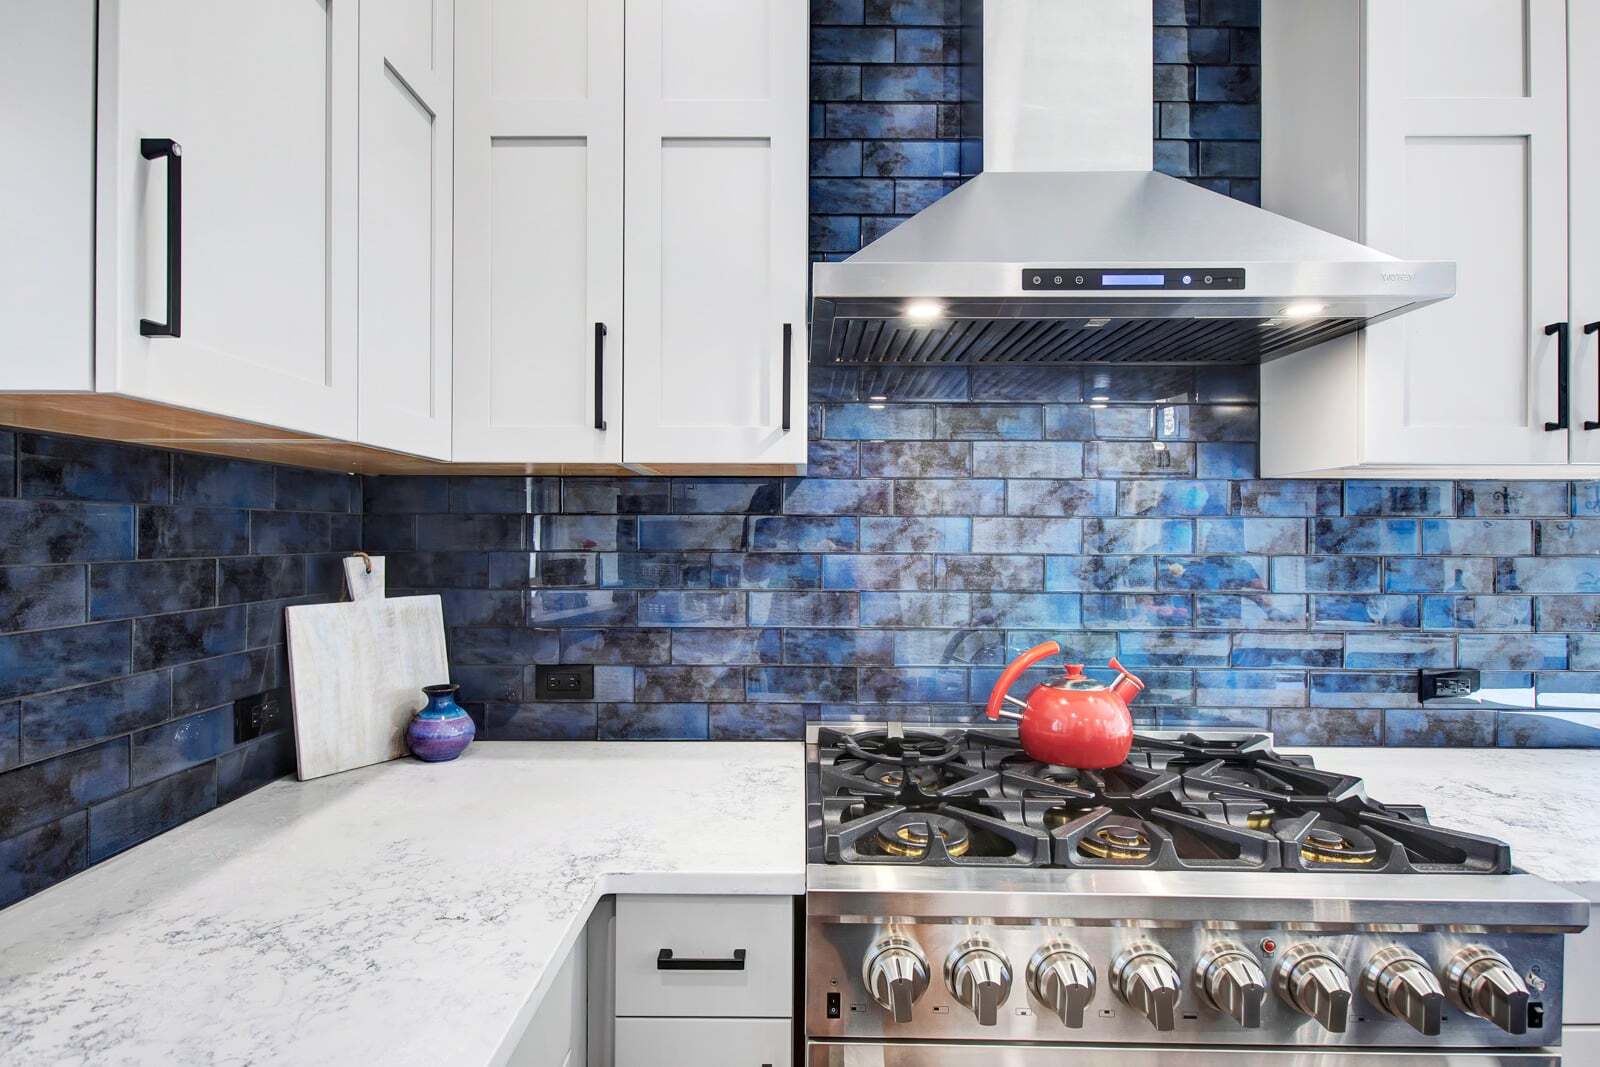
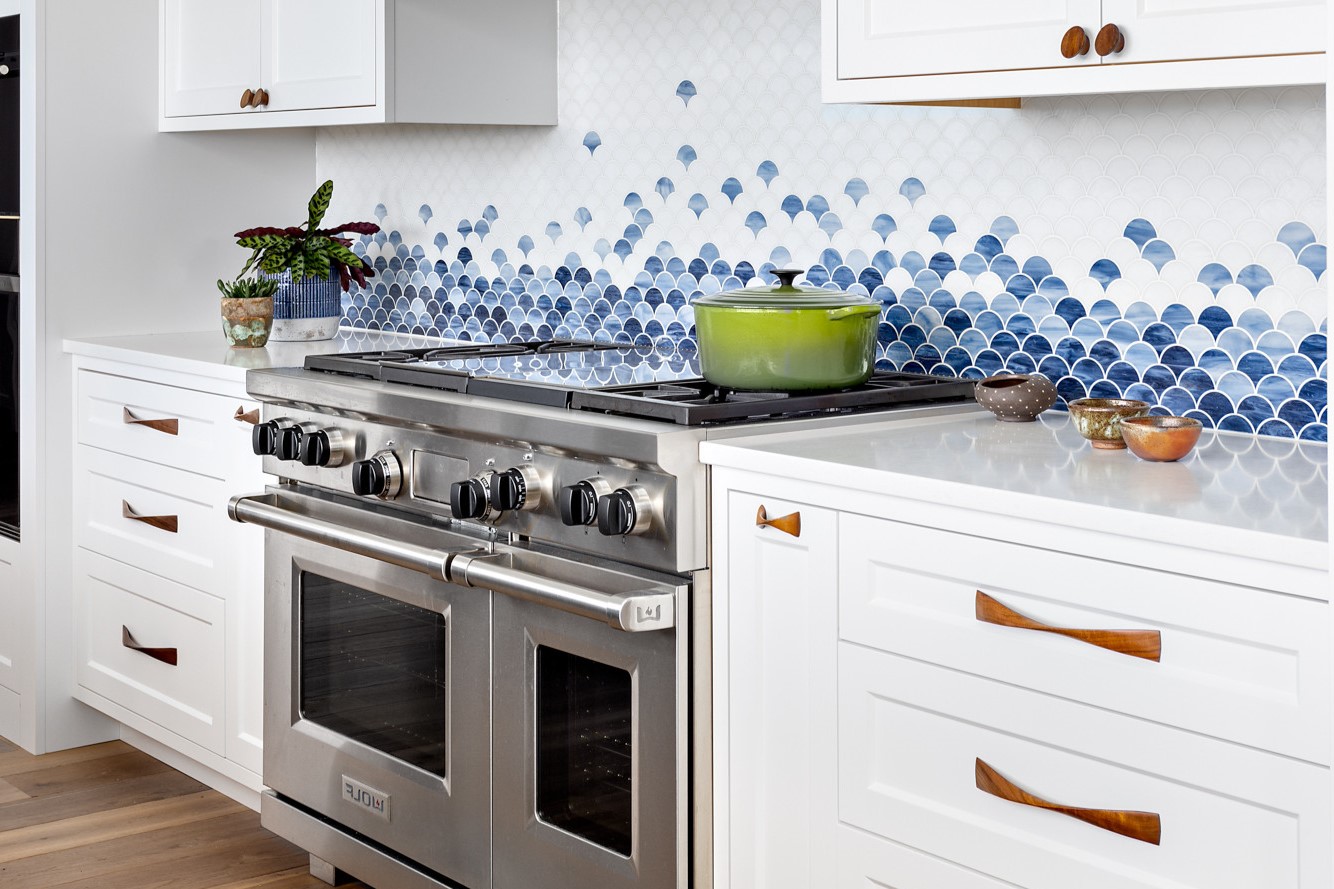
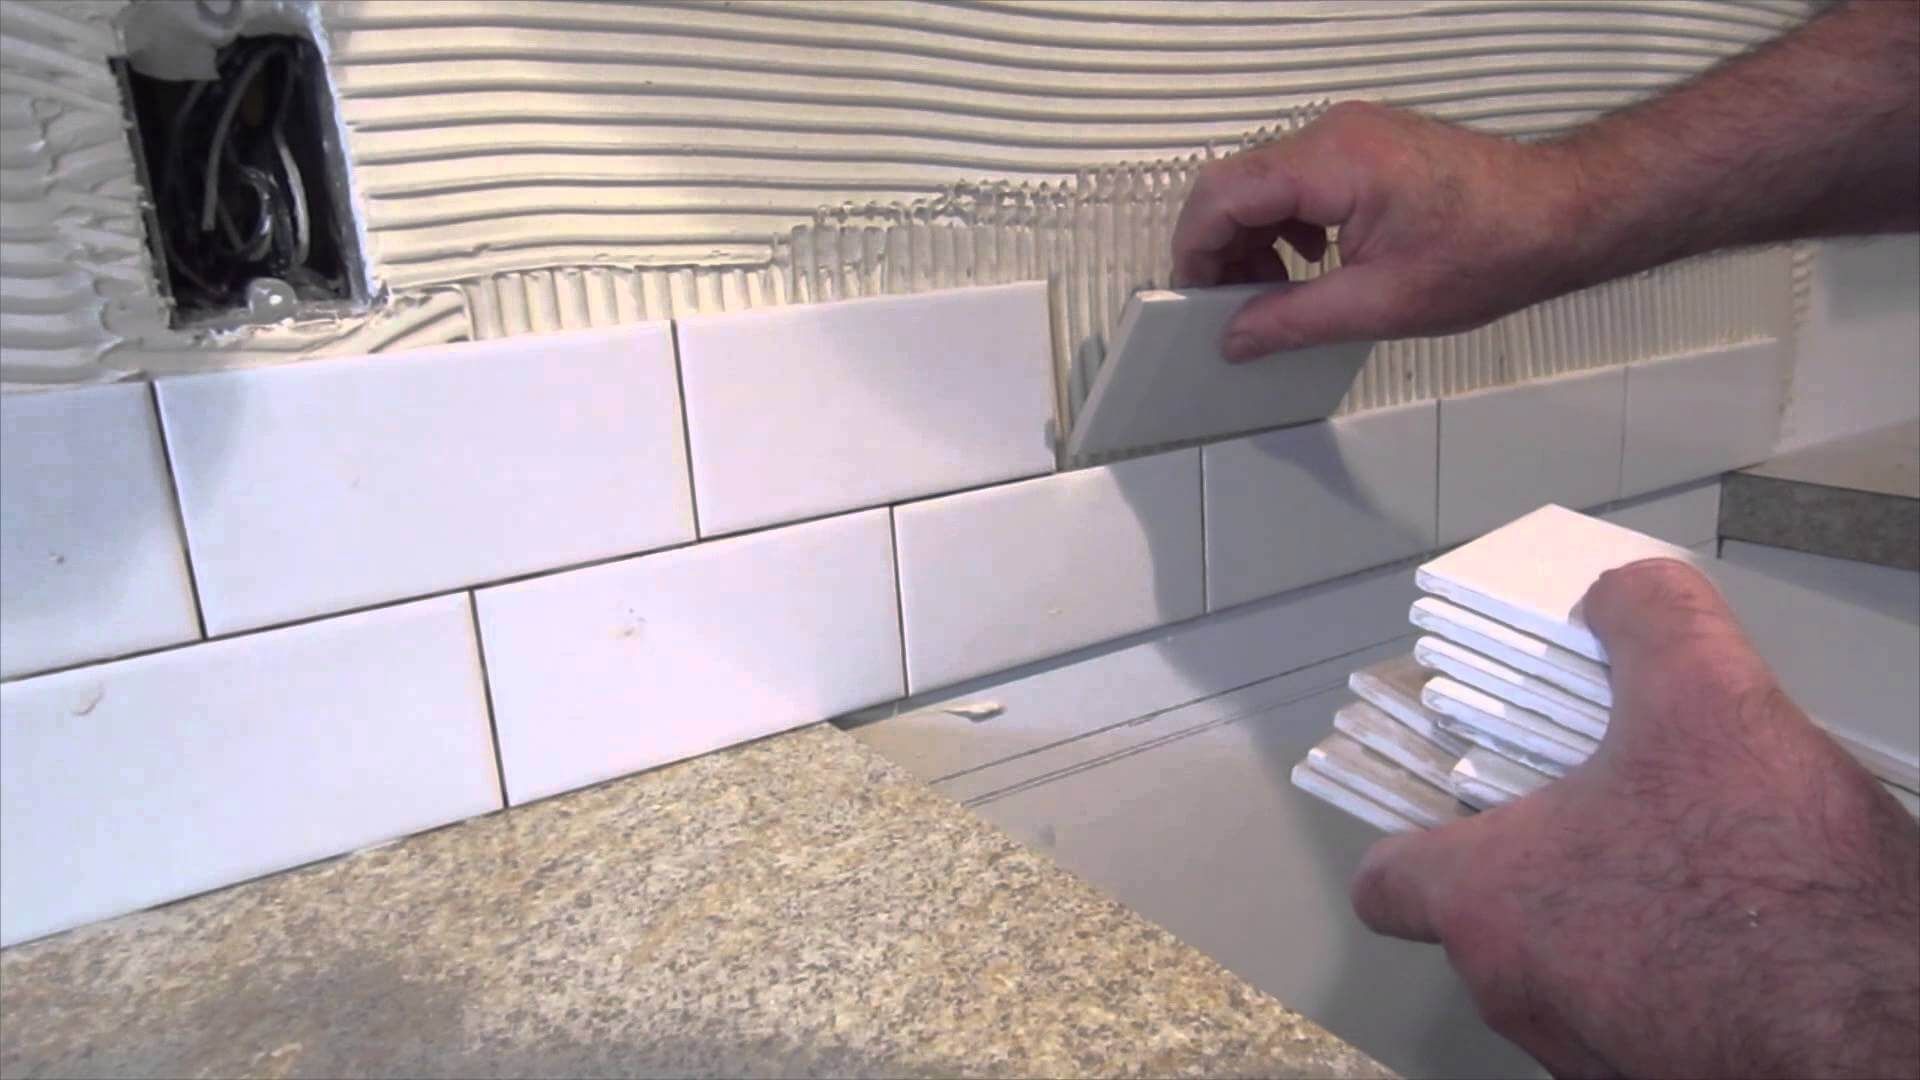
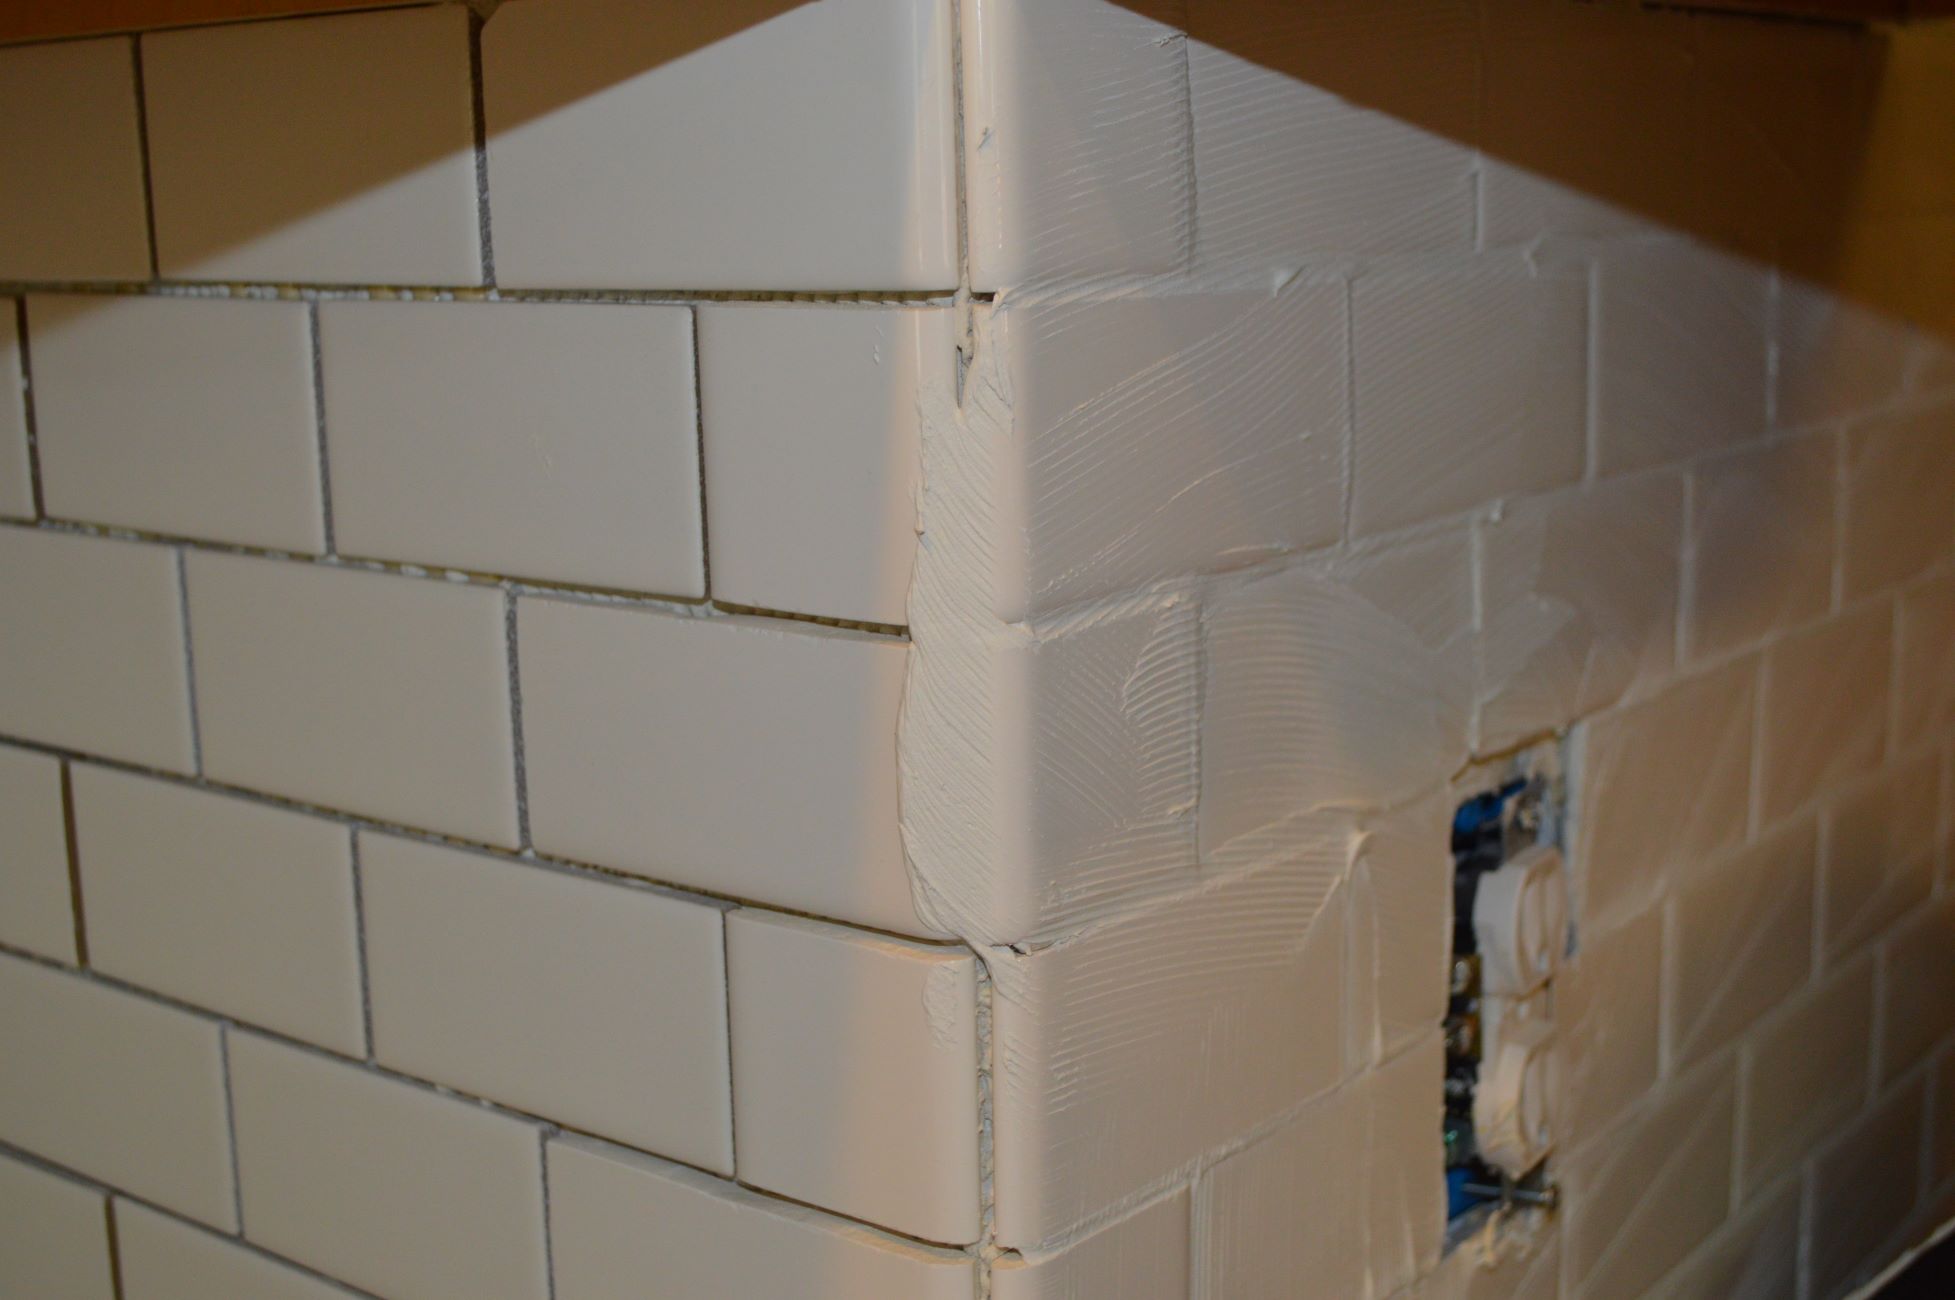
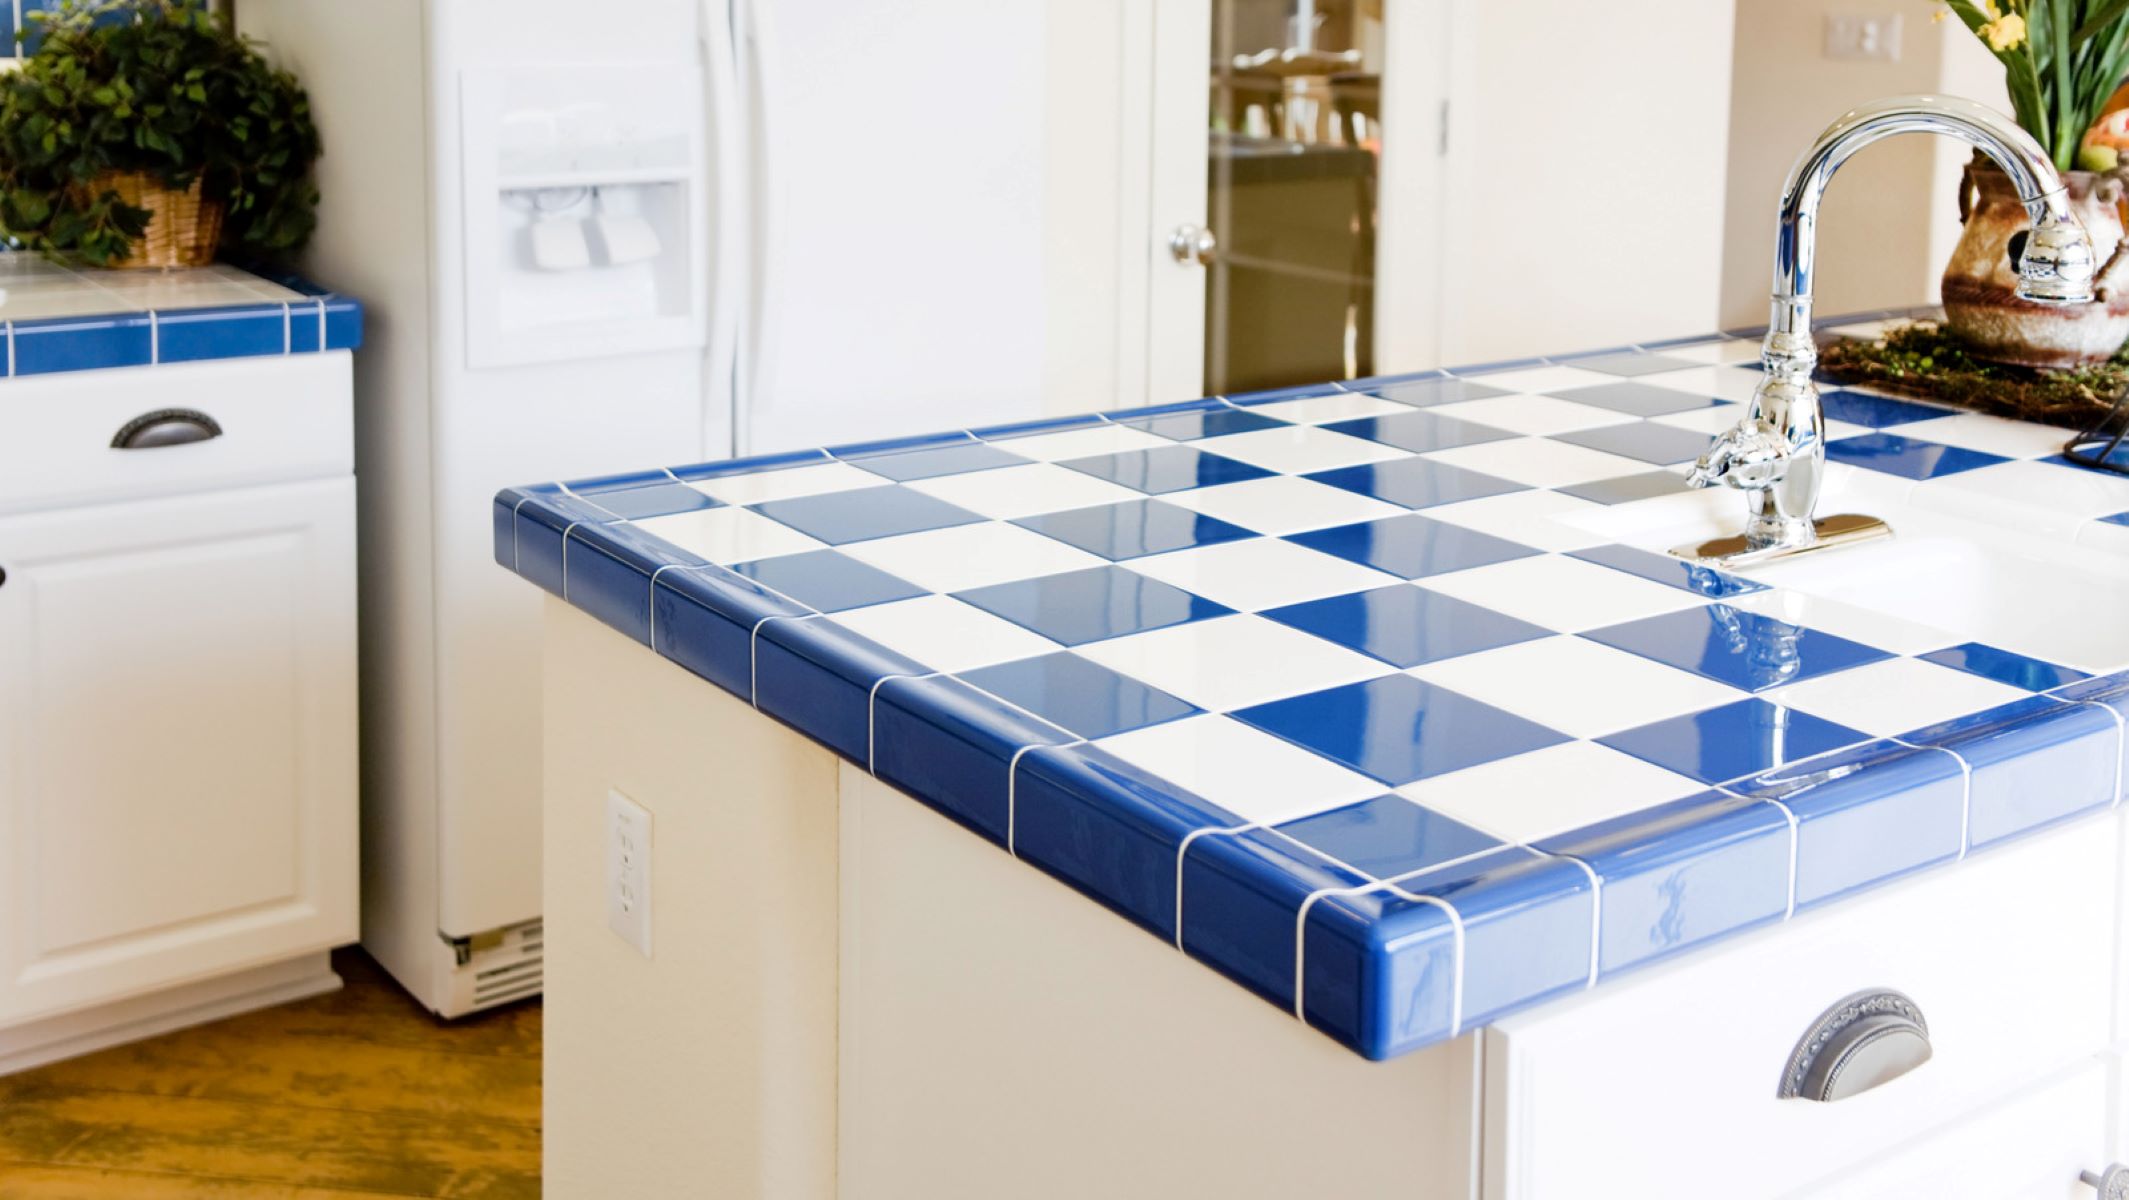
Step 8: Install new backsplash (optional)
After successfully removing the glass tile backsplash and preparing the wall surface, you have the option to embark on the exciting endeavor of installing a new backsplash. Whether you're seeking to refresh the space with a modern design, introduce a pop of color, or enhance the overall aesthetic appeal, installing a new backsplash presents an opportunity to elevate the visual impact of your kitchen or bathroom. Here's a detailed guide on how to proceed with the installation of a new backsplash:
-
Select the Backsplash Material: Begin by exploring various backsplash materials, such as ceramic or porcelain tiles, glass mosaic tiles, subway tiles, or even peel-and-stick options. Consider the overall style and color scheme of the space, as well as the practicality and maintenance requirements of each material.
-
Measure and Plan: Accurately measure the dimensions of the wall space to determine the quantity of tiles or material needed for the new backsplash. Create a layout plan, considering the arrangement of the tiles and any design elements, such as borders or decorative inserts, to ensure a cohesive and visually appealing result.
-
Prepare the Wall Surface: If the wall surface requires any additional preparation, such as priming or applying a backer board for tile installation, address these tasks before proceeding with the installation. A well-prepared surface is essential for the successful and long-lasting adherence of the new backsplash.
-
Apply Adhesive or Mortar: Depending on the chosen backsplash material, apply the appropriate adhesive or mortar to the wall surface using a notched trowel. Ensure even coverage to facilitate secure and uniform adhesion of the new backsplash.
-
Install the Backsplash Material: Carefully place the tiles or backsplash material onto the adhesive, following the predetermined layout plan. Use tile spacers to maintain consistent spacing between the tiles, ensuring a professional and polished appearance.
-
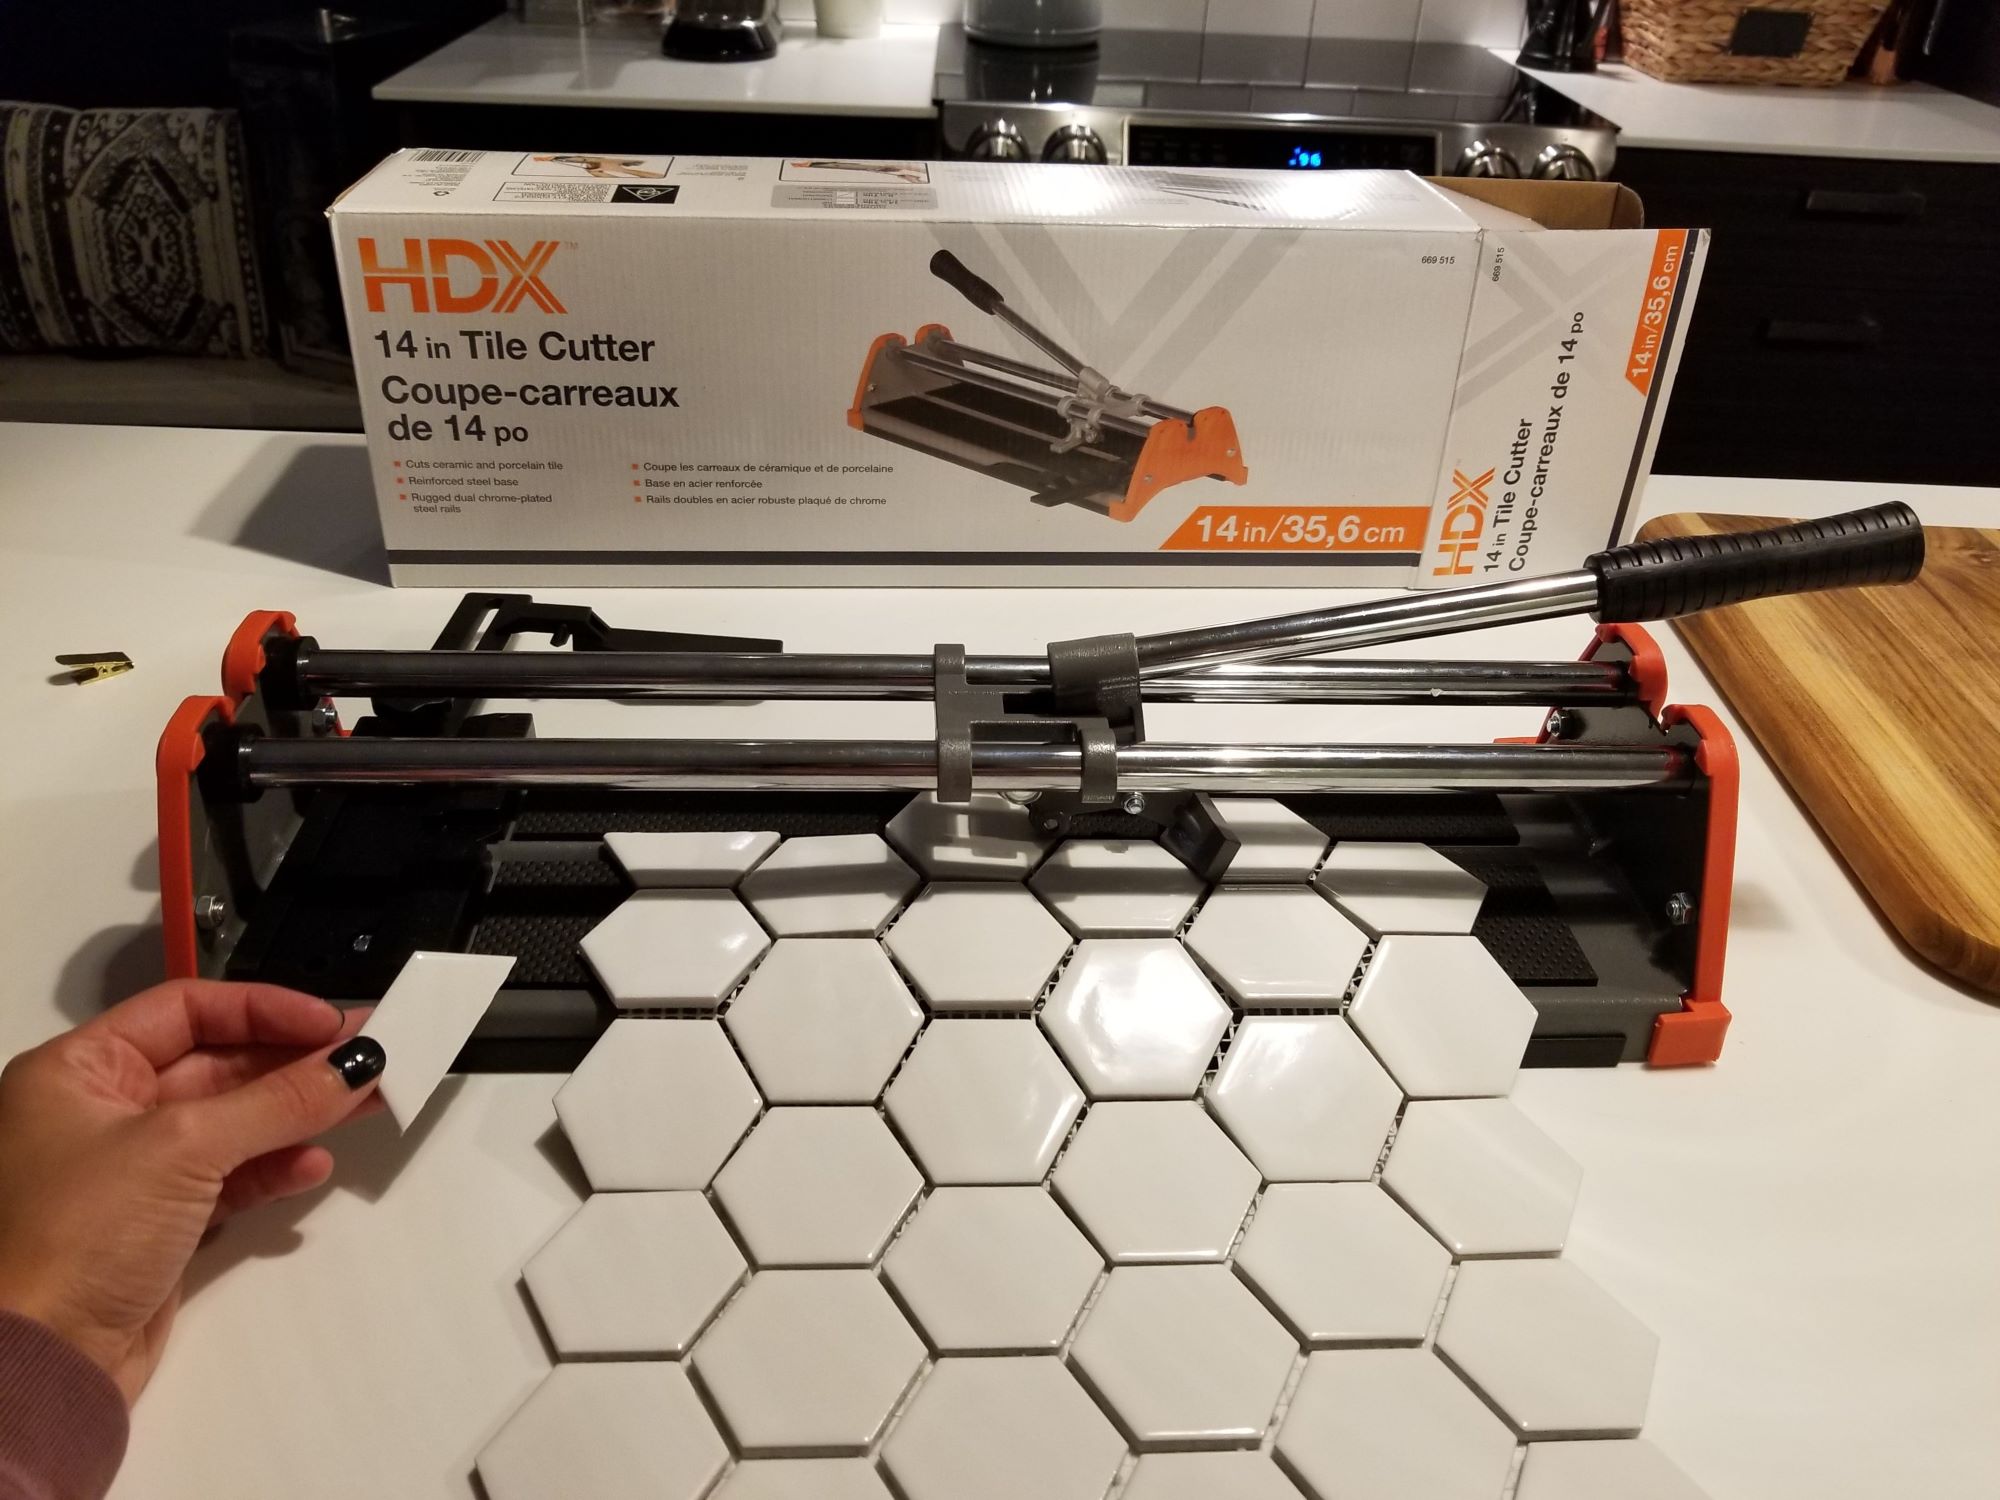
Cut and Trim Tiles as Needed: If the installation requires cutting or trimming of tiles to fit specific areas, utilize a tile cutter or wet saw to achieve precise and accurate cuts. Pay attention to detail to ensure a seamless and tailored fit for the new backsplash.
-
Grout the Backsplash: Once the adhesive has set and the tiles are firmly in place, apply grout to the spaces between the tiles using a grout float. Work in small sections, ensuring that the grout is evenly distributed and excess grout is promptly removed from the tile surfaces.
-
Clean and Seal the Grout: After the grout has set for the specified time, use a damp sponge to gently clean the tile surfaces and remove any grout haze. Once the grout is completely dry, apply a high-quality grout sealer to protect the grout from stains and moisture, enhancing its longevity and durability.
By following these steps, you can successfully install a new backsplash, infusing your kitchen or bathroom with a fresh and personalized touch. Whether you opt for a sleek and modern design, a timeless classic, or a vibrant and expressive statement, the installation of a new backsplash allows you to transform the space according to your unique style and preferences.
Frequently Asked Questions about How To Remove Glass Tile Backsplash
Was this page helpful?
At Storables.com, we guarantee accurate and reliable information. Our content, validated by Expert Board Contributors, is crafted following stringent Editorial Policies. We're committed to providing you with well-researched, expert-backed insights for all your informational needs.

0 thoughts on “How To Remove Glass Tile Backsplash”