Home>Renovation & DIY>Home Renovation Guides>How To Clean A Backsplash
Home Renovation Guides
How To Clean A Backsplash
Modified: August 28, 2024
Learn how to effectively clean your backsplash with our comprehensive home renovation guide. Keep your kitchen looking fresh and new.
(Many of the links in this article redirect to a specific reviewed product. Your purchase of these products through affiliate links helps to generate commission for Storables.com, at no extra cost. Learn more)
Introduction
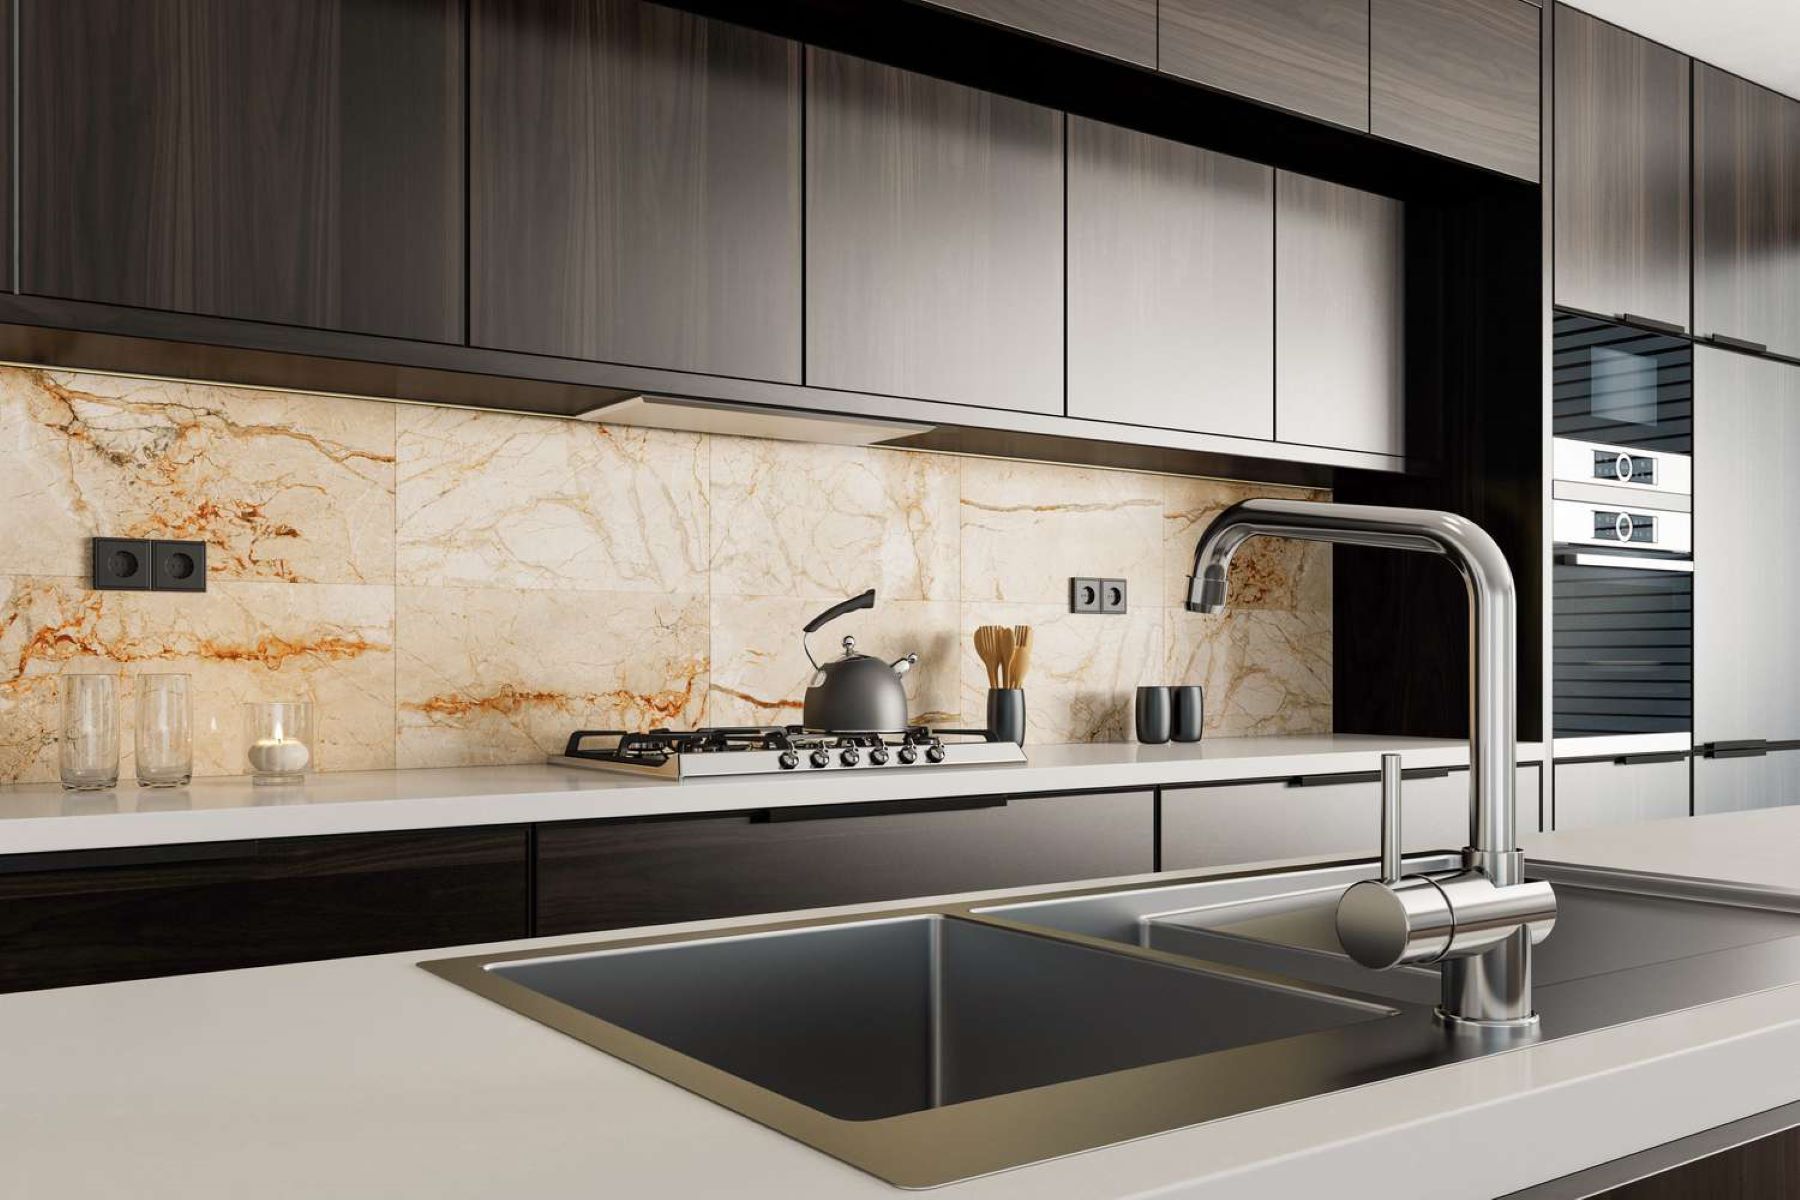
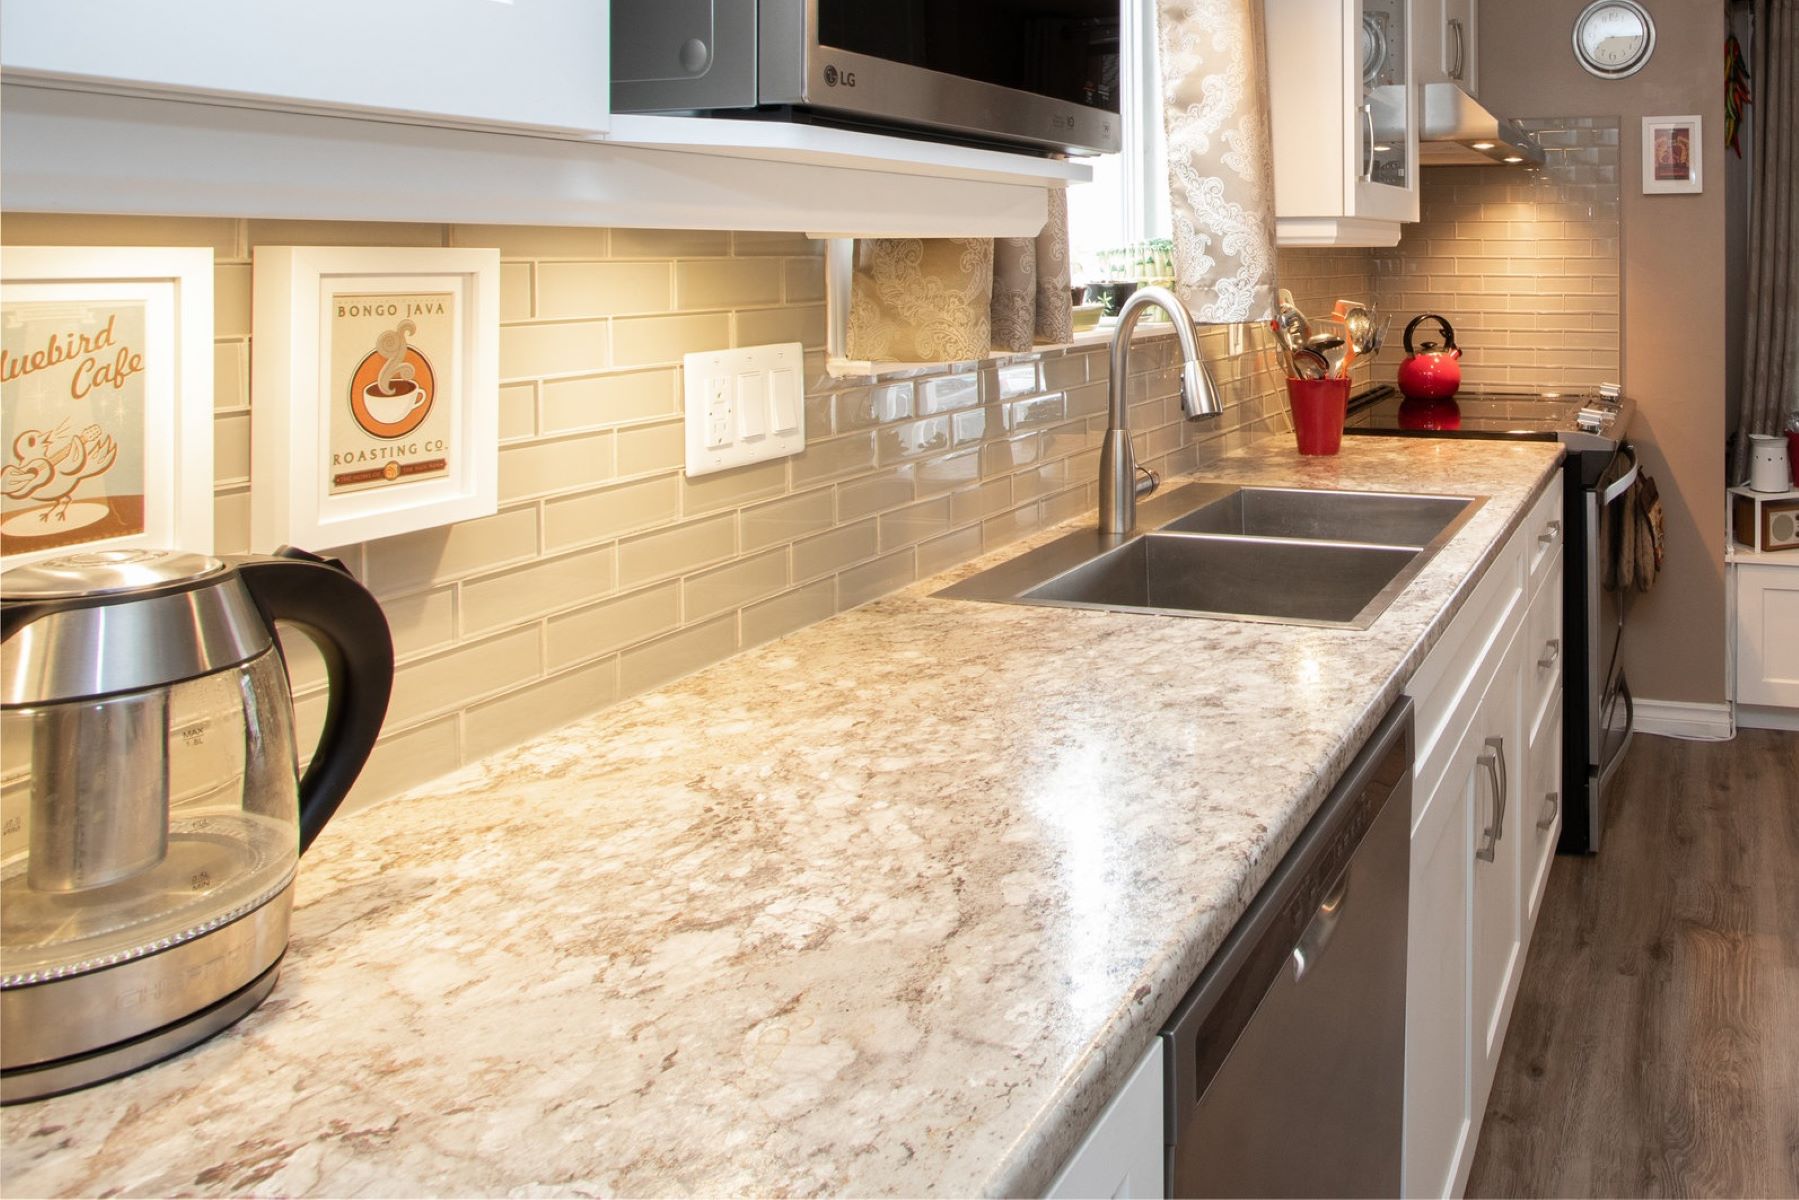
Cleaning a backsplash is an essential part of maintaining a sparkling kitchen or bathroom. Over time, backsplashes can accumulate grease, grime, and food splatters, detracting from the overall aesthetic of the space. Whether your backsplash is made of tile, stone, or another material, regular cleaning not only enhances its appearance but also promotes a hygienic environment.
A clean backsplash not only contributes to the visual appeal of your kitchen or bathroom but also reflects your attention to detail and commitment to cleanliness. Additionally, a well-maintained backsplash can prolong the lifespan of the material, saving you from costly repairs or replacements in the long run.
In this comprehensive guide, we will walk you through the step-by-step process of cleaning your backsplash effectively. From gathering the necessary supplies to implementing maintenance strategies, you will learn valuable tips and techniques to keep your backsplash looking pristine. Whether you are a seasoned homeowner or a novice in the realm of home maintenance, this guide will equip you with the knowledge and confidence to tackle this task with ease.
So, roll up your sleeves, put on your favorite cleaning playlist, and let's dive into the art of restoring your backsplash to its former glory. With the right approach and a bit of elbow grease, you'll soon be admiring a gleaming backsplash that enhances the beauty of your kitchen or bathroom.
Key Takeaways:
- Keep your backsplash sparkling by gathering the right supplies and preparing the area before cleaning. Regular maintenance ensures a hygienic and visually appealing kitchen or bathroom.
- Daily wipe downs, prompt spill cleanups, and periodic deep cleaning sessions are key to maintaining a pristine backsplash. Tailor your care based on the material for long-lasting beauty.
Read more: How To Clean Backsplash Grout
Step 1: Gather Your Supplies
Before embarking on the journey of cleaning your backsplash, it's crucial to assemble the necessary supplies. Having the right tools at your disposal will streamline the cleaning process and ensure optimal results. Here's a comprehensive list of supplies you'll need:
-
Cleaning Solution: Select a suitable cleaning solution based on the material of your backsplash. For tile backsplashes, a mild detergent or a mixture of water and vinegar works well. For natural stone backsplashes, opt for a pH-neutral cleaner to prevent damage.
-
Microfiber Cloth or Sponge: These gentle yet effective cleaning tools are ideal for wiping down the backsplash without causing scratches or abrasions.
-
Soft-Bristled Brush: A soft-bristled brush, such as a toothbrush or a dedicated grout brush, is essential for reaching crevices and grout lines, ensuring a thorough clean.
-
Protective Gloves: Shield your hands from the cleaning solution and potential debris by wearing protective gloves throughout the cleaning process.
-
Bucket: Use a bucket to prepare your cleaning solution and for rinsing the cloth or sponge during the cleaning process.
-
Warm Water: Have a supply of warm water ready for rinsing the backsplash after cleaning.
-
Old Towels or Rags: Keep a few old towels or rags handy to dry the backsplash after cleaning and rinsing.
-
Step Stool or Ladder: If your backsplash extends to a considerable height, a step stool or ladder will facilitate safe and convenient access during the cleaning process.
-
Protective Eyewear: While optional, protective eyewear can provide an extra layer of safety, especially when using cleaning solutions or reaching overhead areas.
By gathering these supplies before you begin, you'll set the stage for a smooth and efficient cleaning experience. With the right tools in hand, you'll be well-prepared to tackle the next steps in the process, ensuring that your backsplash receives the care and attention it deserves.
Step 2: Preparing the Backsplash
Before diving into the actual cleaning process, it's essential to prepare the backsplash to maximize the effectiveness of the cleaning efforts. Proper preparation sets the stage for a thorough and efficient cleaning experience, ensuring that no area is overlooked and that the cleaning solution can work its magic effectively.
Start by clearing the area surrounding the backsplash. Remove any items, such as small appliances, utensil holders, or decorative pieces, that may obstruct access to the backsplash. This step not only allows for unobstructed cleaning but also prevents these items from coming into contact with the cleaning solution, safeguarding them from potential damage.
Next, if your backsplash features electrical outlets or switches, take precautions to protect them from moisture. Cover the outlets and switches with plastic outlet covers or waterproof tape to prevent any cleaning solution or water from seeping into the electrical components. Safety should always be a top priority when working around electrical fixtures.
If your backsplash extends behind a stovetop, it's advisable to pay special attention to this area. Grease and food splatters are often more concentrated around cooking areas, requiring thorough cleaning. Before proceeding, ensure that the stovetop is turned off and cool to the touch. This precaution minimizes the risk of accidental burns and allows for safe and unobstructed access to the backsplash.
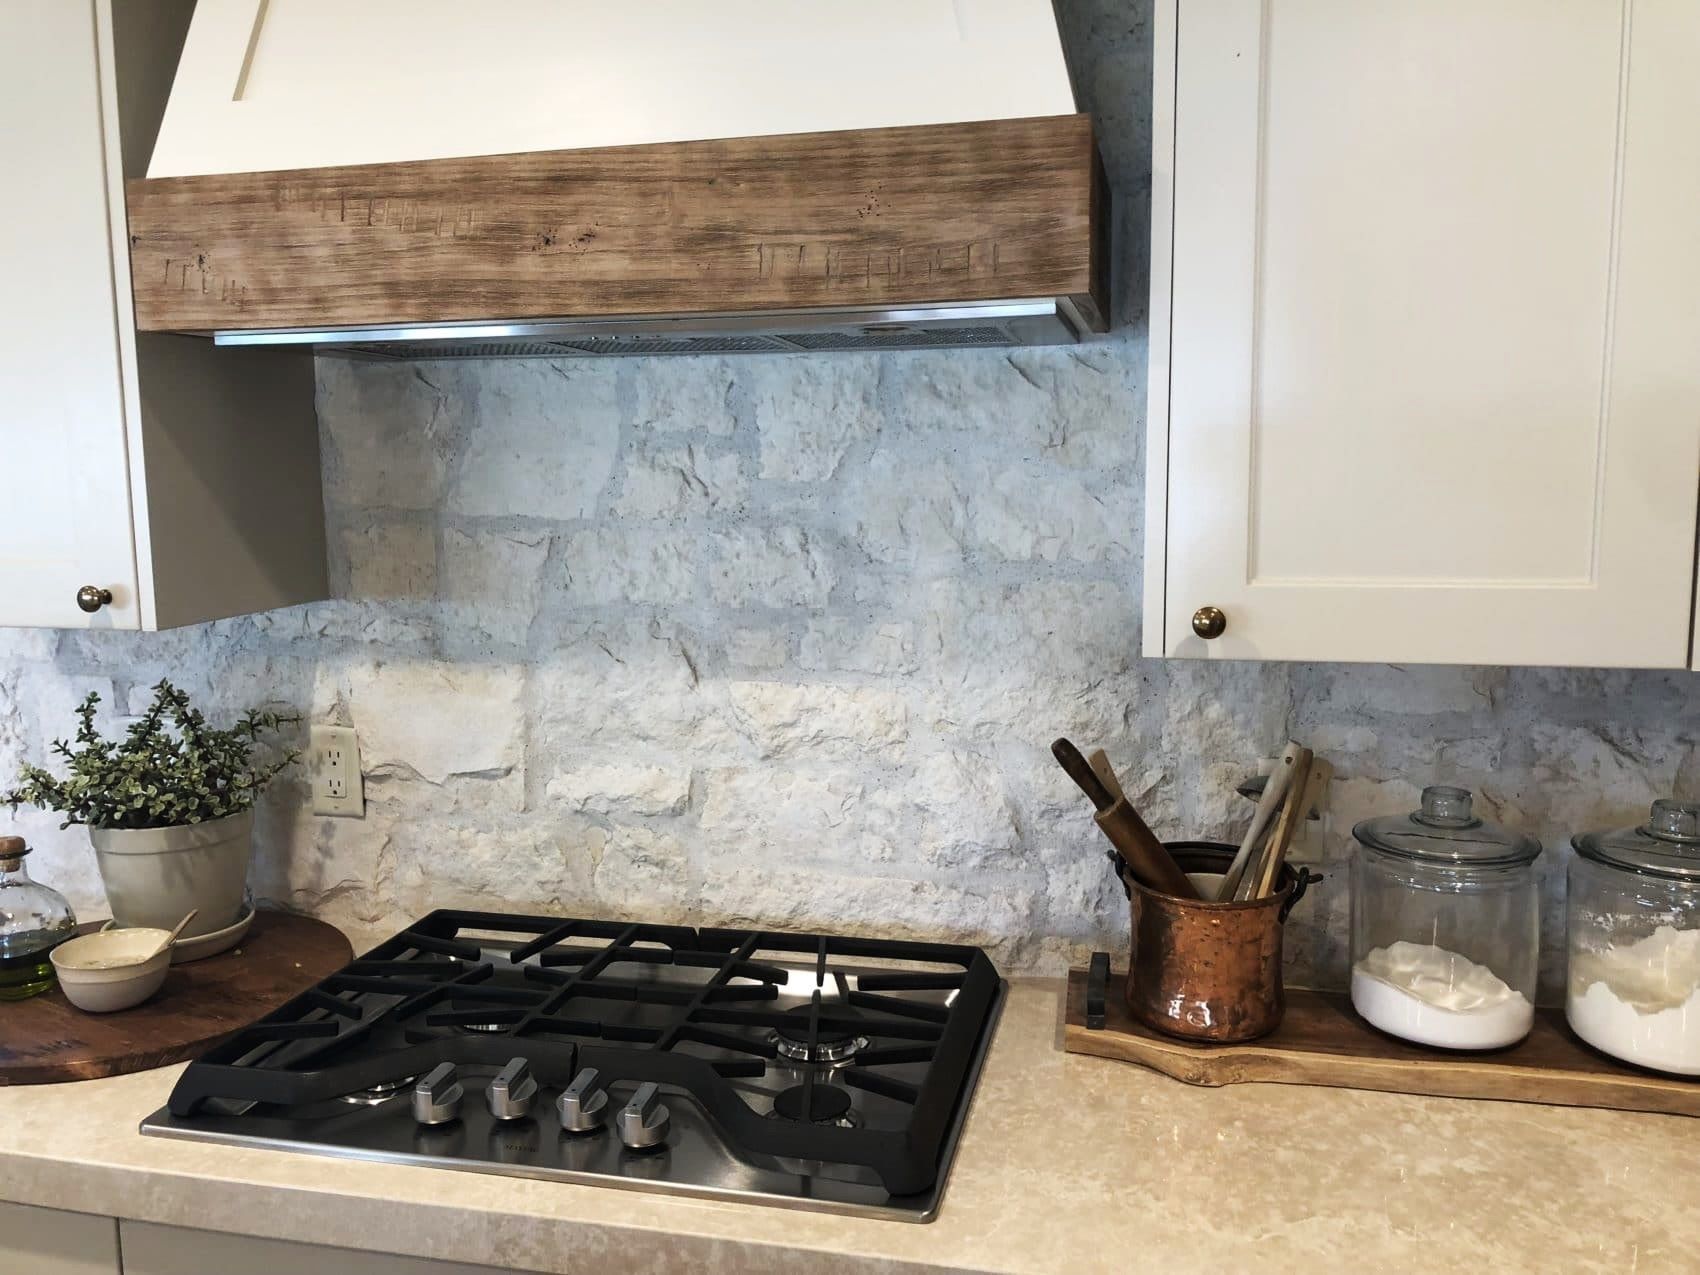
Lastly, if your backsplash is made of porous materials such as natural stone, it's important to take extra care to protect the surface. Porous materials are more susceptible to damage from harsh chemicals or abrasive cleaning tools. Before applying the cleaning solution, consider conducting a spot test in an inconspicuous area to ensure that the solution does not cause discoloration or damage to the material.
By taking these preparatory steps, you'll create an optimal environment for cleaning your backsplash. Clearing the area, protecting electrical fixtures, addressing high-traffic areas, and safeguarding porous materials will pave the way for a successful and safe cleaning process. With the stage set, you're now ready to move on to the next crucial step: cleaning the backsplash.
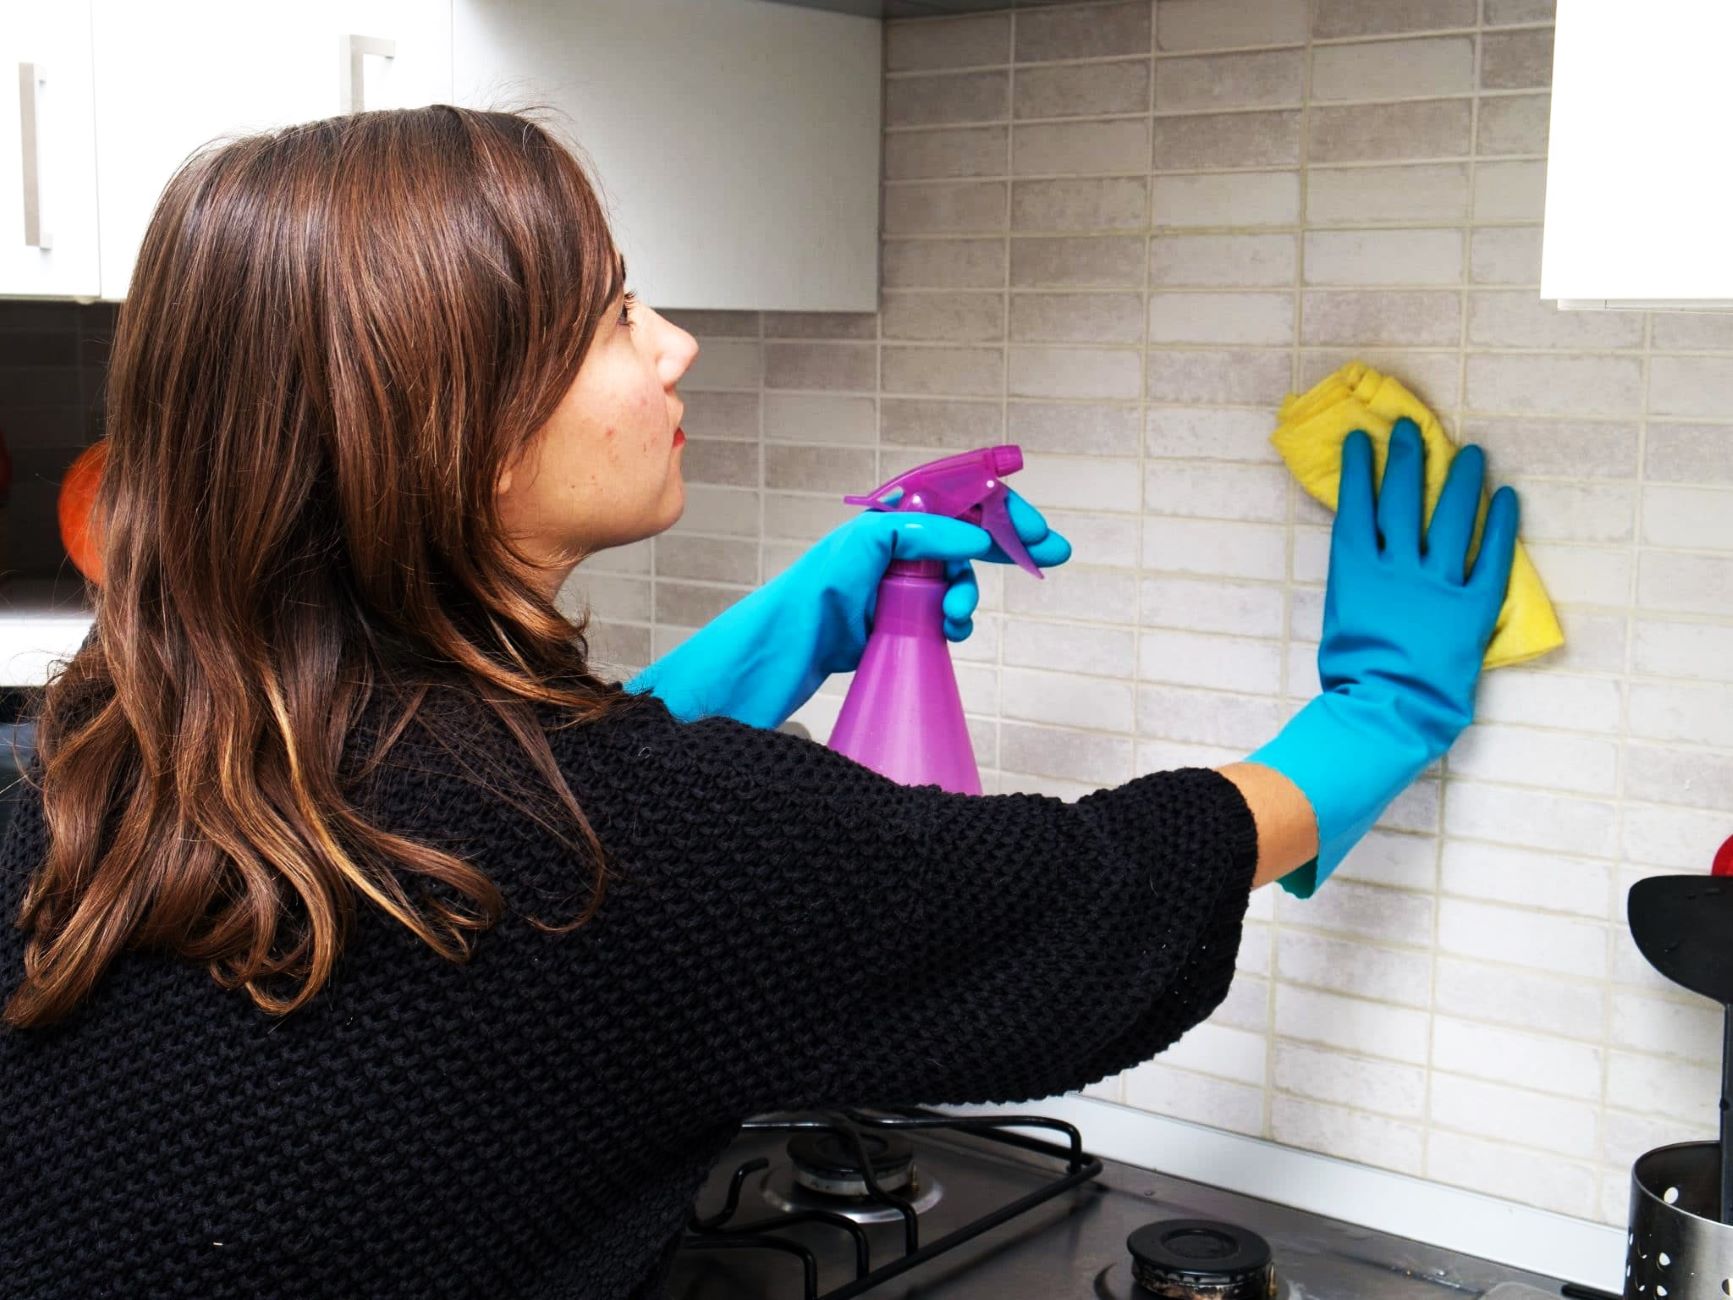
Step 3: Cleaning the Backsplash
With the backsplash prepared and the necessary supplies at hand, it's time to roll up your sleeves and embark on the pivotal step of cleaning the backsplash. This process involves the strategic application of the cleaning solution to effectively remove accumulated grime, grease, and stains, restoring the backsplash to its pristine state.
Begin by preparing the cleaning solution according to the manufacturer's instructions or by diluting the appropriate cleaner with warm water in the designated bucket. If you're using a homemade solution, such as a mixture of water and vinegar, ensure that it is well-blended before proceeding. Remember to wear protective gloves to shield your hands from the cleaning solution.
Dip the microfiber cloth or sponge into the cleaning solution, allowing it to absorb the liquid without dripping excessively. Starting from one end of the backsplash, gently wipe the surface in a consistent motion, applying moderate pressure to target stubborn spots while being mindful of the material's sensitivity. For tile backsplashes, pay attention to the grout lines, using a soft-bristled brush to dislodge dirt and grime effectively.
As you progress along the backsplash, periodically rinse the cloth or sponge in clean, warm water to remove accumulated residue and prevent cross-contamination. This practice ensures that you're not spreading dirt around and allows for a more thorough cleaning process. For intricate or hard-to-reach areas, such as behind faucets or around electrical fixtures, utilize the soft-bristled brush to access crevices and ensure comprehensive cleaning.
In areas where grease and food splatters are more prevalent, such as behind the stovetop, a bit of extra attention may be required. In such cases, a slightly more concentrated application of the cleaning solution and gentle agitation with the brush can effectively dislodge and lift stubborn residues. However, exercise caution when dealing with porous materials, adjusting the cleaning approach to suit the material's specific requirements.
Once the entire backsplash has been meticulously cleaned, take a moment to inspect the surface for any lingering spots or streaks. Address any remaining blemishes by revisiting them with the cleaning solution and a targeted application of gentle pressure. This attention to detail ensures that no area is overlooked, leaving you with a thoroughly clean and revitalized backsplash.
By following these meticulous steps, you'll effectively cleanse your backsplash, unveiling its original luster and enhancing the overall appeal of your kitchen or bathroom. With the cleaning process completed, it's time to move on to the next crucial step: rinsing and drying the backsplash.
Use a mixture of warm water and mild dish soap to clean your backsplash. Gently scrub with a soft cloth or sponge to remove any grease or grime. Rinse with clean water and dry with a microfiber cloth for a streak-free finish.
Step 4: Rinse and Dry
After the meticulous cleaning process, the next vital step in restoring your backsplash to its former glory is to thoroughly rinse and dry the surface. This crucial phase ensures the removal of any residual cleaning solution and grime, leaving behind a gleaming and spotless backsplash that exudes freshness and cleanliness.
Begin by filling a clean bucket with warm water. Using a separate microfiber cloth or sponge, dampen it in the warm water and gently wipe down the entire backsplash. This rinsing action serves to eliminate any lingering traces of the cleaning solution, effectively preventing streaking or residue buildup. As you progress, periodically rinse the cloth or sponge in the clean water to maintain its effectiveness and prevent cross-contamination.
Once the backsplash has been thoroughly rinsed, it's time to dry the surface to achieve a pristine finish. Grab a soft, dry microfiber cloth or a clean, lint-free towel and carefully blot the backsplash, starting from the top and working your way down. This method helps to absorb excess moisture and ensures a streak-free, polished result. Pay special attention to areas where water tends to accumulate, such as near the sink or behind the stovetop, to prevent water spots from forming.
If your backsplash features intricate patterns or textured surfaces, a gentle patting motion with the cloth can effectively dry these areas without disrupting their design. Additionally, for tile backsplashes with grout lines, use a dry, soft-bristled brush to gently remove any residual moisture from the grout, promoting a uniform and immaculate appearance.
As you proceed with the drying process, take a moment to inspect the backsplash for any remaining moisture or streaks. Address any lingering dampness by employing the dry cloth or towel to ensure that the entire surface is impeccably dry and free of water spots. This meticulous approach guarantees a flawless finish, allowing the backsplash to shine with renewed radiance.
With the rinsing and drying process completed, step back and admire the transformation. The backsplash, once marred by grime and stains, now stands as a testament to your dedication to cleanliness and maintenance. The combination of thorough cleaning, meticulous rinsing, and careful drying has revitalized the backsplash, elevating the aesthetic appeal of your kitchen or bathroom.
Now that the backsplash is immaculately clean and dry, it's time to explore the essential strategies for maintaining its pristine condition. By implementing these maintenance techniques, you'll ensure that your backsplash continues to exude brilliance and charm, enhancing the overall ambiance of your living space.
Read more: How To Clean A Stone Backsplash
Step 5: Maintaining a Clean Backsplash
Maintaining a clean backsplash is essential to preserve its pristine appearance and prolong its longevity. By implementing proactive strategies and incorporating regular maintenance into your cleaning routine, you can ensure that your backsplash continues to exude brilliance and charm, enhancing the overall ambiance of your living space.
-
Daily Wipe Downs: Incorporate a daily wipe down as part of your kitchen or bathroom cleaning routine. After cooking or using the sink, take a moment to gently wipe the backsplash with a clean, damp microfiber cloth. This quick and simple practice helps prevent the accumulation of grease, water spots, and other residues, preserving the backsplash's cleanliness.
-
Spill and Splatter Promptness: Address spills and splatters promptly to prevent them from adhering to the backsplash surface. Whether it's a sauce splatter or a water spill, swift action can minimize the likelihood of stubborn stains and simplify the cleaning process. A gentle wipe with a damp cloth can effectively remove fresh spills before they become ingrained.
-
Periodic Deep Cleaning: Schedule periodic deep cleaning sessions to maintain the backsplash's pristine condition. Depending on usage and environmental factors, aim to deep clean the backsplash at least once a month. This comprehensive cleaning session involves using a suitable cleaning solution to remove accumulated grime and stains, followed by thorough rinsing and drying.
-
Grout Maintenance: If your backsplash features grout lines, pay special attention to their maintenance. Periodically inspect the grout for signs of discoloration or mildew. In the case of discoloration, consider using a grout cleaner or a mixture of baking soda and water to restore its original appearance. Additionally, applying a grout sealer can help protect the grout from staining and moisture penetration.
-
Protective Measures: Take proactive measures to protect the backsplash from potential damage. When cooking, use splatter guards or stove shields to minimize the transfer of grease and food particles onto the backsplash. In bathrooms, ensure that toiletry products are stored securely to prevent spills and splatters that could affect the backsplash.
-
Material-Specific Care: Tailor your maintenance approach based on the material of your backsplash. For natural stone backsplashes, use pH-neutral cleaners and avoid acidic or abrasive substances that can compromise the material. Similarly, for tile backsplashes, pay attention to grout maintenance and consider resealing the grout periodically to enhance its durability.
By integrating these maintenance strategies into your cleaning routine, you can uphold the pristine condition of your backsplash, ensuring that it remains a focal point of beauty and cleanliness in your kitchen or bathroom. Consistent care and attention will not only preserve the backsplash's aesthetic appeal but also contribute to a hygienic and inviting living environment.
Conclusion
In conclusion, the process of cleaning a backsplash is not merely a chore but an opportunity to preserve the beauty and hygiene of your kitchen or bathroom. By following the comprehensive steps outlined in this guide, you have equipped yourself with the knowledge and techniques to transform a dull, stained backsplash into a gleaming focal point that enhances the overall ambiance of your living space.
From gathering the essential supplies to meticulously cleaning, rinsing, and drying the backsplash, you have embarked on a journey of restoration and revitalization. The preparatory steps, including clearing the area, protecting electrical fixtures, and addressing high-traffic areas, have set the stage for a thorough and effective cleaning process. Your dedication to these preparatory measures reflects your commitment to achieving optimal results and maintaining a safe environment throughout the cleaning endeavor.
The meticulous cleaning process, involving the strategic application of the cleaning solution and targeted removal of grime and stains, has breathed new life into your backsplash. Your attention to detail and perseverance in addressing stubborn spots have culminated in a backsplash that radiates cleanliness and charm. The rinsing and drying phase, with its focus on thorough removal of residual cleaning solution and meticulous drying, has elevated the backsplash to a state of immaculate brilliance.
As you move forward, the maintenance strategies outlined in this guide will serve as a roadmap for preserving the pristine condition of your backsplash. By incorporating daily wipe downs, addressing spills promptly, scheduling periodic deep cleaning sessions, and tailoring your approach based on the material of your backsplash, you are poised to uphold its beauty and cleanliness for the long term.
In essence, the journey of cleaning and maintaining a backsplash transcends the realm of household chores. It is a testament to your dedication to creating a welcoming and hygienic living environment. The gleaming backsplash stands as a reflection of your commitment to meticulous care and attention to detail, enhancing the overall aesthetic and functionality of your kitchen or bathroom.
So, as you step back and admire the transformation, take pride in the revitalized backsplash that now serves as a radiant backdrop to your daily culinary endeavors or moments of self-care in the bathroom. Your efforts have not only restored the backsplash but have also contributed to a space that exudes cleanliness, charm, and a sense of well-being.
Frequently Asked Questions about How To Clean A Backsplash
Was this page helpful?
At Storables.com, we guarantee accurate and reliable information. Our content, validated by Expert Board Contributors, is crafted following stringent Editorial Policies. We're committed to providing you with well-researched, expert-backed insights for all your informational needs.


0 thoughts on “How To Clean A Backsplash”