Home>Renovation & DIY>Home Renovation Guides>How To Remove Backsplash Grout
Home Renovation Guides
How To Remove Backsplash Grout
Modified: August 17, 2024
Learn how to remove grout from your backsplash with our comprehensive home renovation guide. Get expert tips and tricks for a successful DIY project.
(Many of the links in this article redirect to a specific reviewed product. Your purchase of these products through affiliate links helps to generate commission for Storables.com, at no extra cost. Learn more)
Introduction
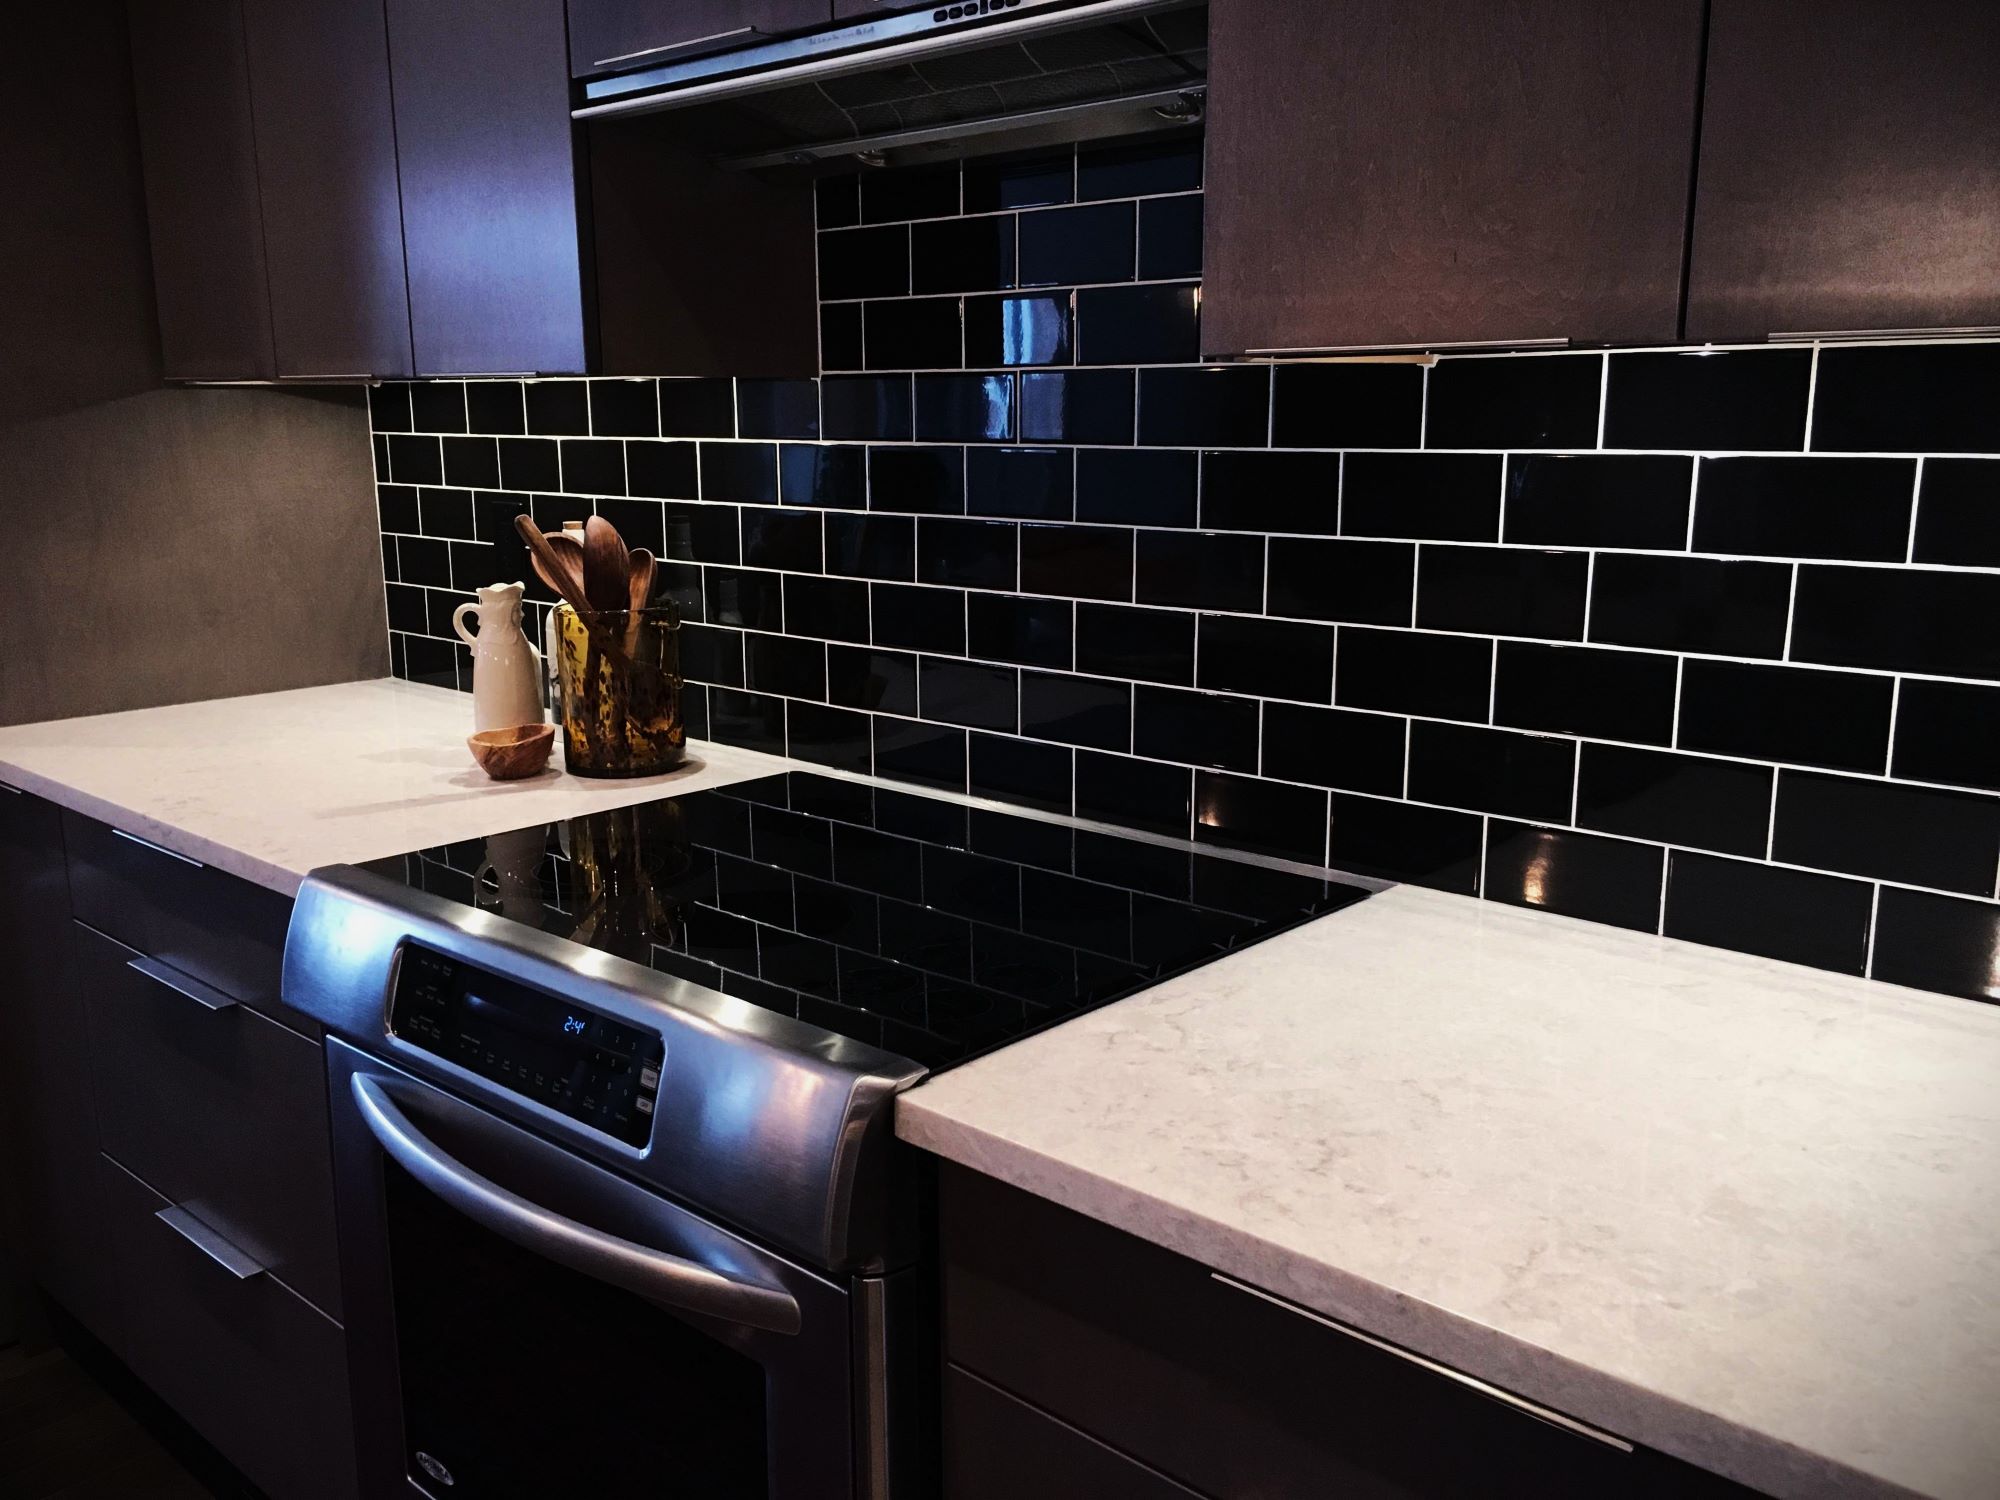
Removing grout from a backsplash can breathe new life into your kitchen or bathroom. Over time, grout can become discolored, cracked, or simply outdated, detracting from the overall aesthetic of the space. Whether you're preparing for a complete renovation or simply seeking to refresh the look of your backsplash, knowing how to remove grout effectively is a valuable skill for any DIY enthusiast.
In this comprehensive guide, we will walk you through the step-by-step process of removing grout from your backsplash. From gathering the necessary tools and materials to applying new grout or sealant, we've got you covered. By following these instructions, you can revitalize your backsplash and achieve a professional-looking finish without the need for expensive professional help.
So, roll up your sleeves and get ready to transform your space. With a bit of patience and the right techniques, you'll soon be on your way to a beautifully updated backsplash that enhances the overall appeal of your kitchen or bathroom. Let's dive into the details and learn how to remove backsplash grout like a seasoned pro.
Key Takeaways:
- Say goodbye to old, worn-out grout and hello to a fresh backsplash! Follow these steps to remove grout and apply new sealant for a professional-looking kitchen or bathroom update.
- With the right tools and a methodical approach, you can transform your space by removing old grout and applying new sealant. Enjoy the satisfaction of a DIY project well done!
Read more: How To Clean Backsplash Grout
Step 1: Gather the necessary tools and materials
Before embarking on the task of removing grout from your backsplash, it's essential to gather all the required tools and materials. Having the right equipment at hand will not only streamline the process but also ensure that you can work efficiently and effectively. Here's a comprehensive list of what you'll need:
Tools:
-
Grout saw or rotary tool: This tool is essential for cutting through the old grout. A grout saw with a carbide-grit blade or a rotary tool with a grout removal attachment will make the job much easier.
-
Safety goggles and dust mask: Protecting your eyes and respiratory system from grout dust and debris is crucial. Ensure you have a pair of safety goggles and a dust mask before you begin.
-
Utility knife: A sharp utility knife will come in handy for cutting through any caulk or silicone sealant around the edges of the backsplash.
-
Putty knife or chisel: Use a putty knife or chisel to carefully pry out any loose tiles or stubborn grout.
-
Grout float: This tool is necessary for applying new grout or sealant once the old grout has been removed.
-
Sponge and bucket: Keep a sponge and bucket of water nearby to clean the area as you work.
-
Shop vacuum: A shop vacuum will help you clean up grout dust and debris efficiently.
Materials:
-
Grout or sealant: Depending on your preference, you'll need to have new grout or sealant on hand to fill in the gaps once the old grout has been removed.
-
Caulk or silicone sealant: If your backsplash has caulk or silicone sealant around the edges, you may need to replace it after removing the old grout.
-
Protective gloves: It's important to protect your hands while working with grout and tools. A pair of durable gloves will prevent any injuries or skin irritation.
-
Drop cloths or plastic sheeting: Cover the surrounding countertops and surfaces with drop cloths or plastic sheeting to protect them from dust and debris.
By ensuring that you have all the necessary tools and materials ready, you can approach the task of removing grout from your backsplash with confidence and efficiency. With this preparation out of the way, you're now ready to move on to the next step in the process.
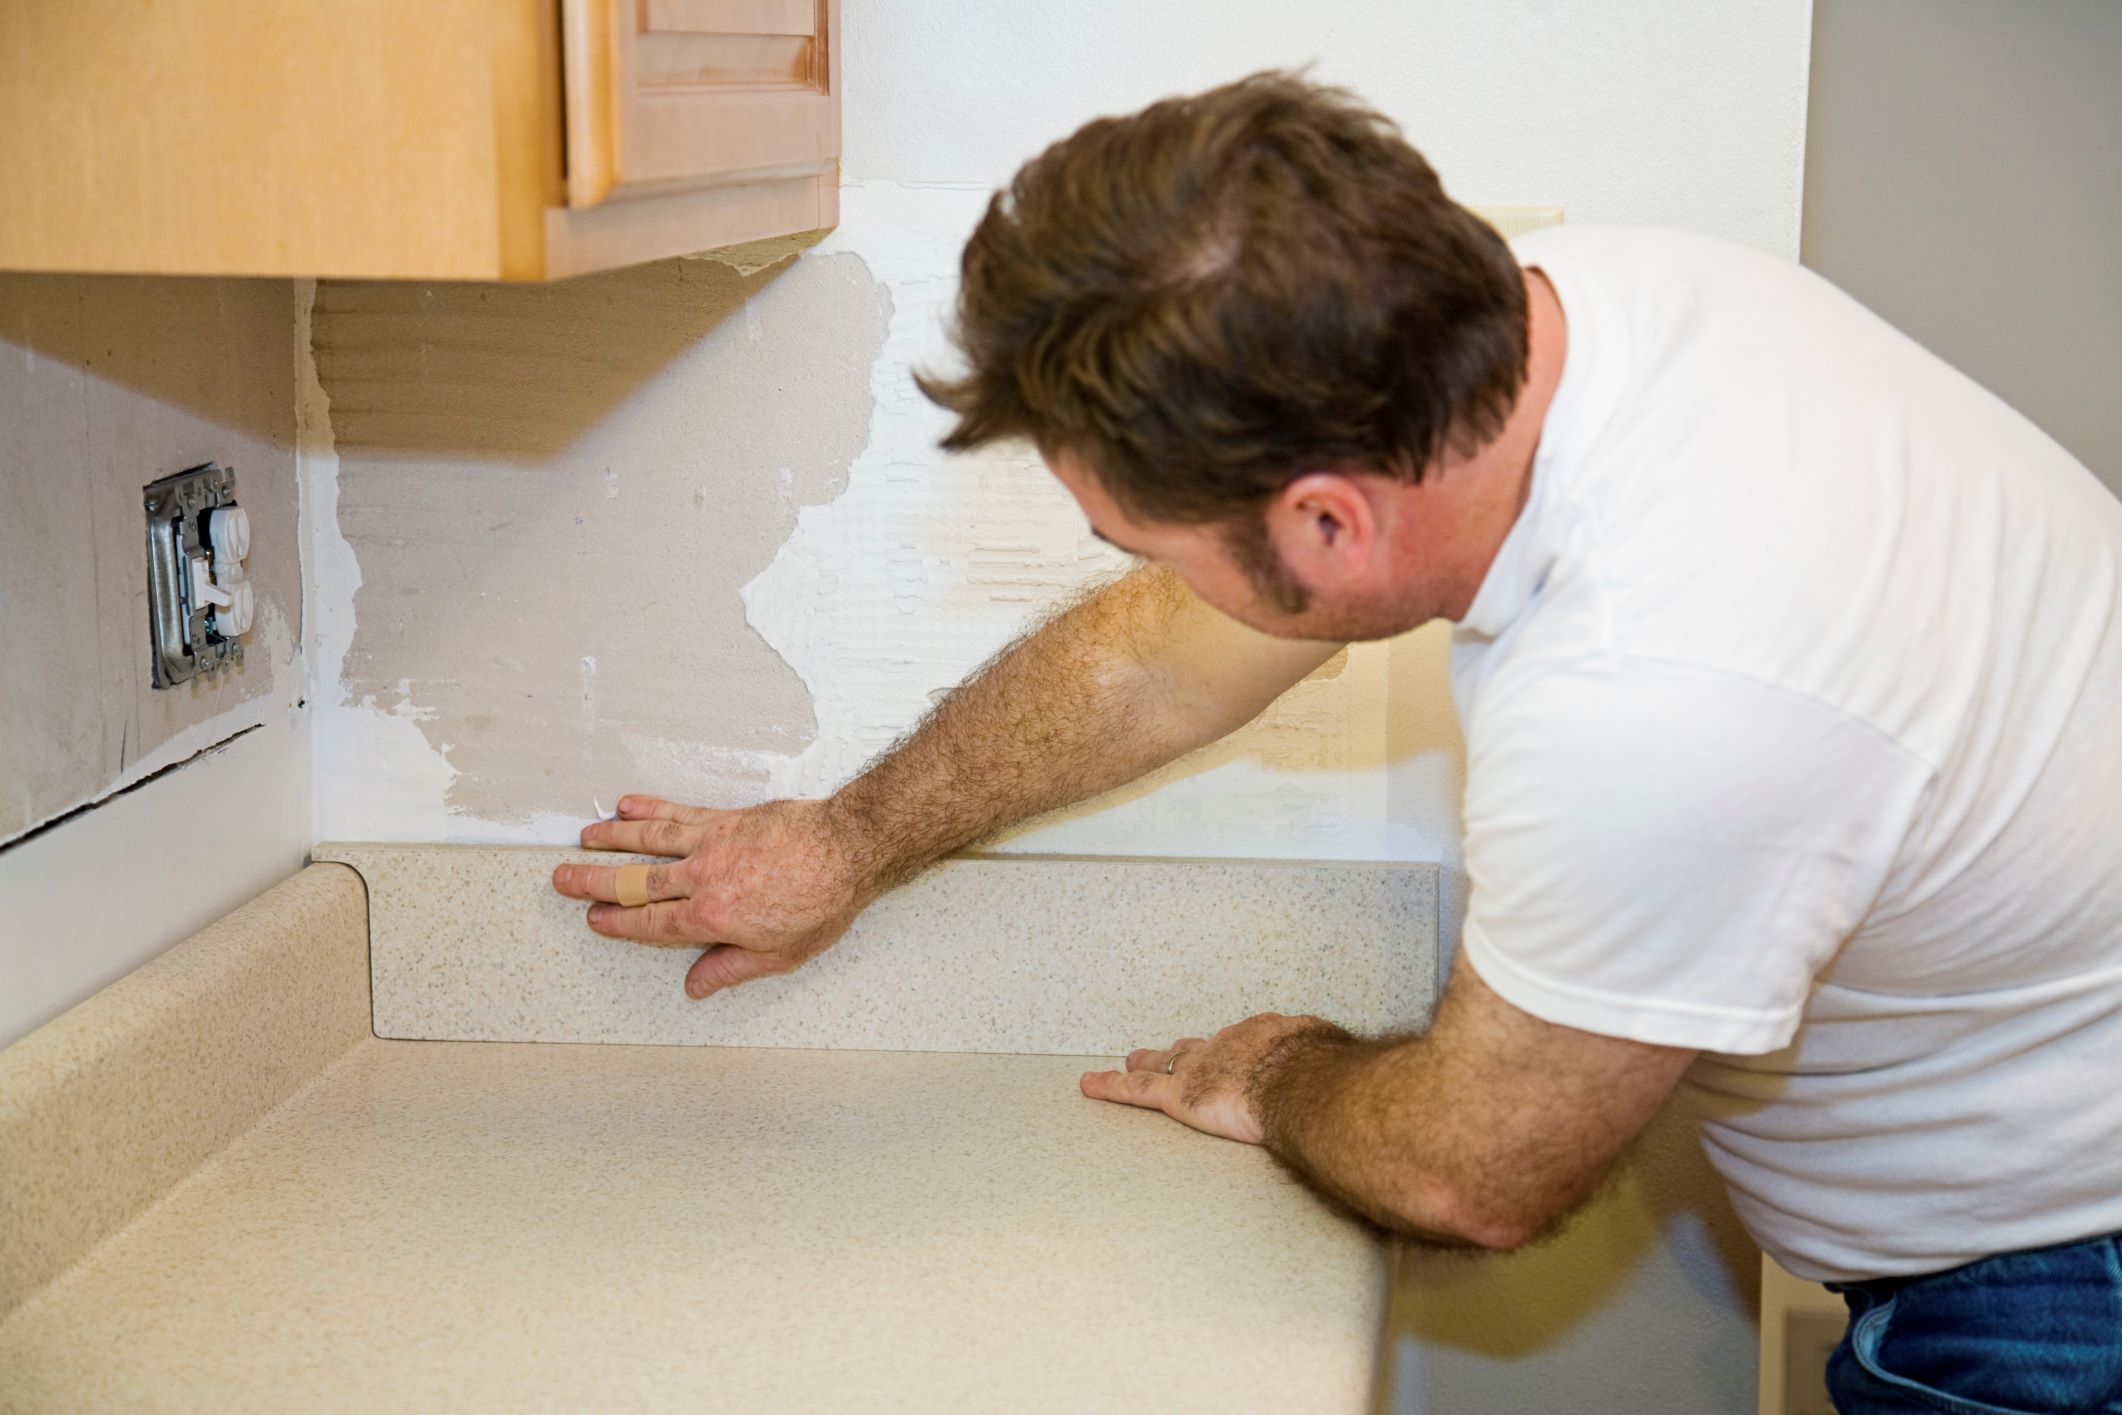
Step 2: Prepare the area
Before diving into the grout removal process, it's crucial to prepare the surrounding area to minimize mess and ensure a smooth workflow. Here's a detailed guide on how to prepare the area for removing grout from your backsplash:
Read more: How To Do Grout For Backsplash
Clear the Workspace
Start by removing any items, such as small appliances, utensils, or decorative items, from the countertops adjacent to the backsplash. Clearing the workspace will provide you with ample room to maneuver and work comfortably without the risk of damaging any items during the grout removal process.
Protect Countertops and Surfaces
Cover the countertops and adjacent surfaces with drop cloths or plastic sheeting to safeguard them from grout dust and debris. Secure the protective coverings in place using painter's tape to ensure they stay in position throughout the project.
Ventilate the Area
Proper ventilation is essential when working with grout and grout removal tools. Open windows and doors to allow fresh air to circulate through the space. If possible, set up a fan to further improve air circulation and help disperse any dust generated during the grout removal process.
Turn Off Power to Electrical Outlets
If your backsplash features electrical outlets, it's crucial to turn off the power supply to these outlets before proceeding. This precautionary measure ensures your safety while working near electrical components and minimizes the risk of accidents.
Read more: How To Grout Stone Backsplash
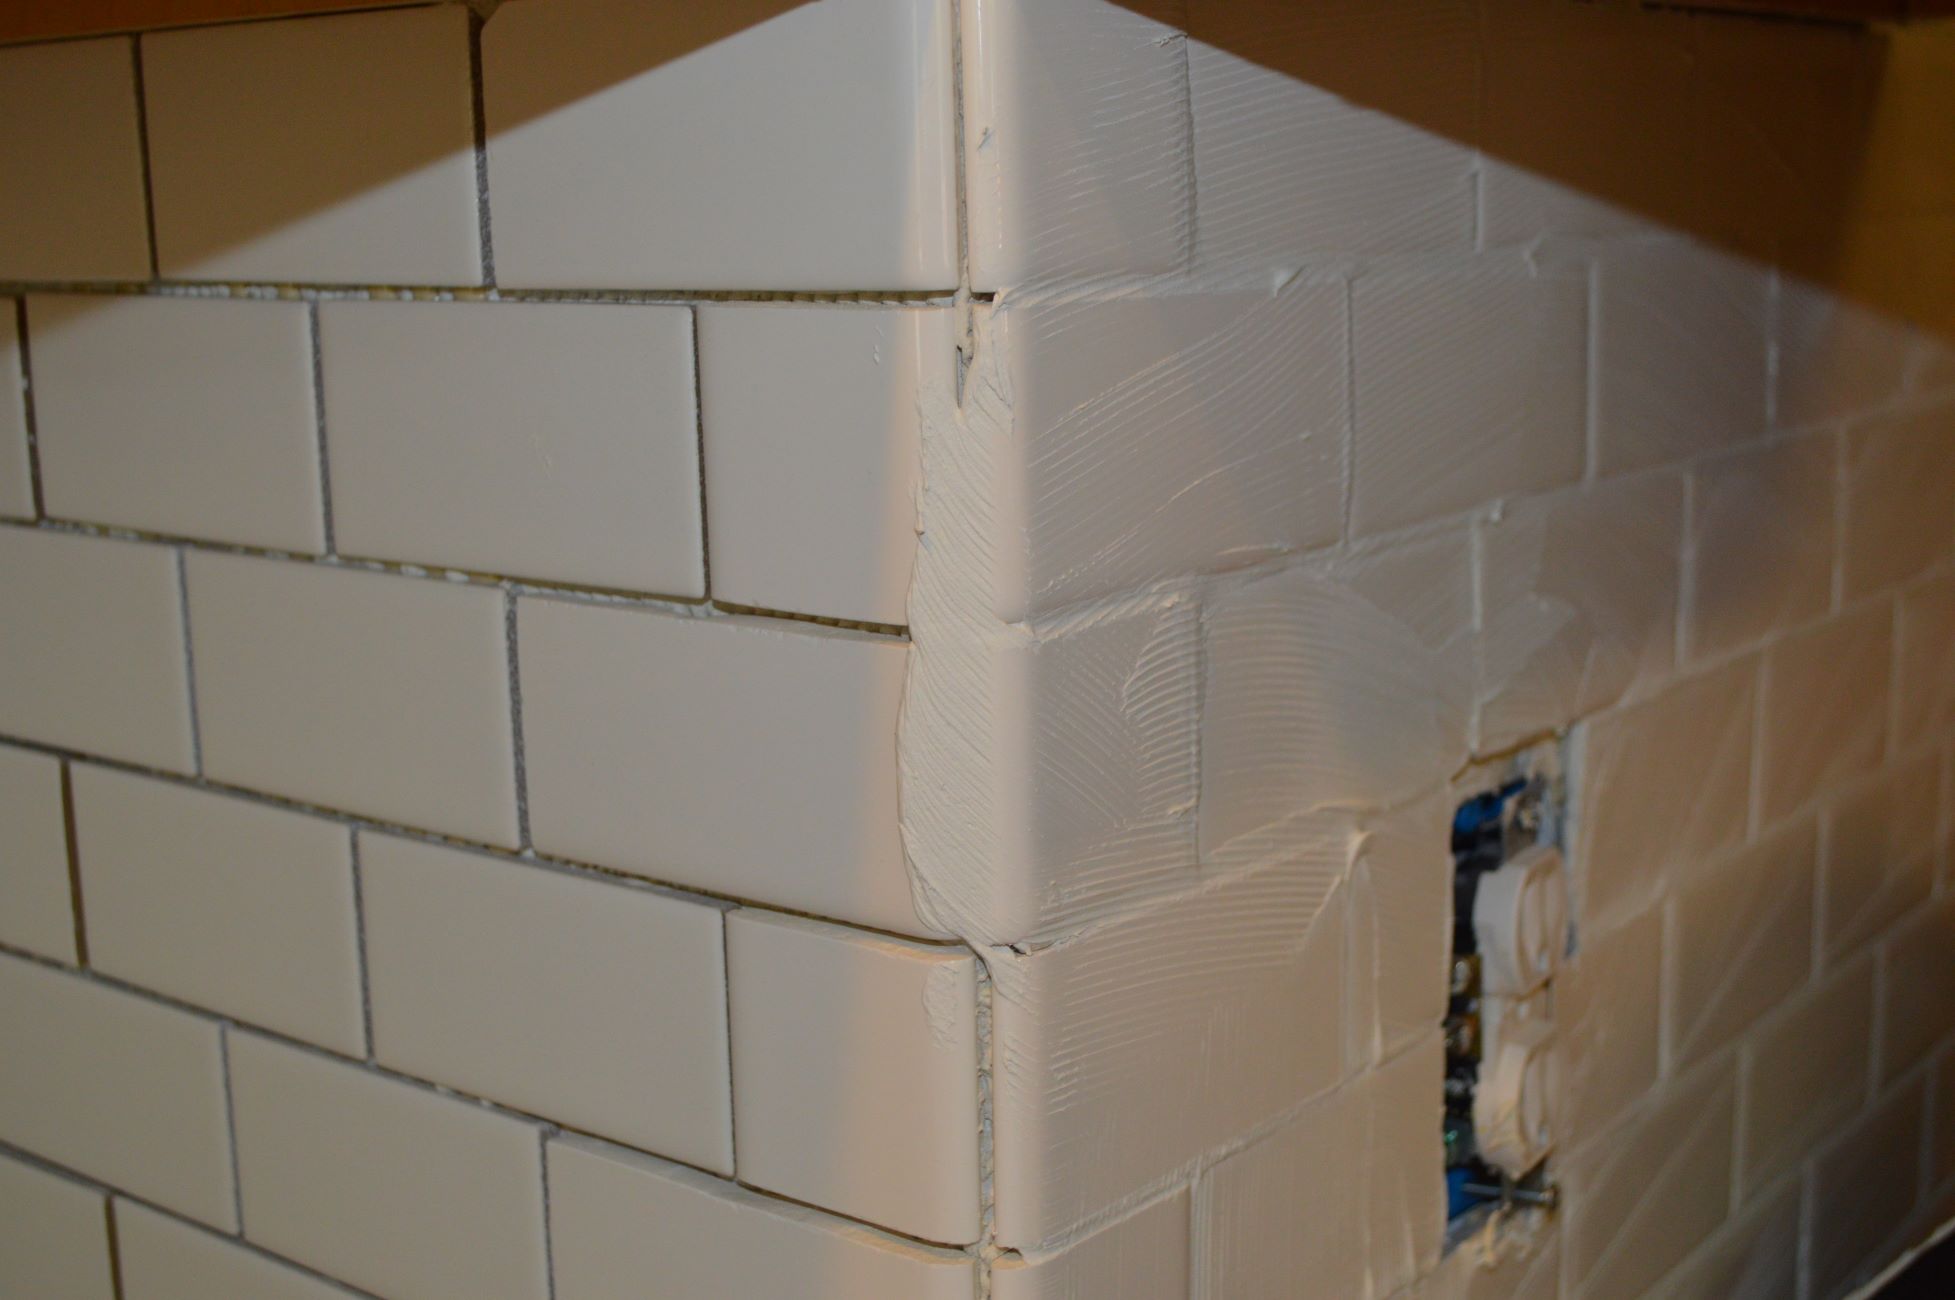
Remove Caulk and Sealant
Inspect the edges of the backsplash for any caulk or silicone sealant. Use a utility knife to carefully cut through and remove the old caulk or sealant, ensuring that the edges are clear and ready for grout removal. This step is essential for achieving a clean and precise grout removal process.
Gather Cleaning Supplies
Prepare a bucket of warm, soapy water and keep a sponge or cleaning cloth handy. You'll use these supplies to clean the area as you work, ensuring that any residual grout dust and debris are promptly removed to maintain a tidy workspace.
By thoroughly preparing the area before starting the grout removal process, you can create a conducive environment for efficient and hassle-free work. Taking the time to prepare the space will contribute to a smoother overall experience and set the stage for successful grout removal and replacement.
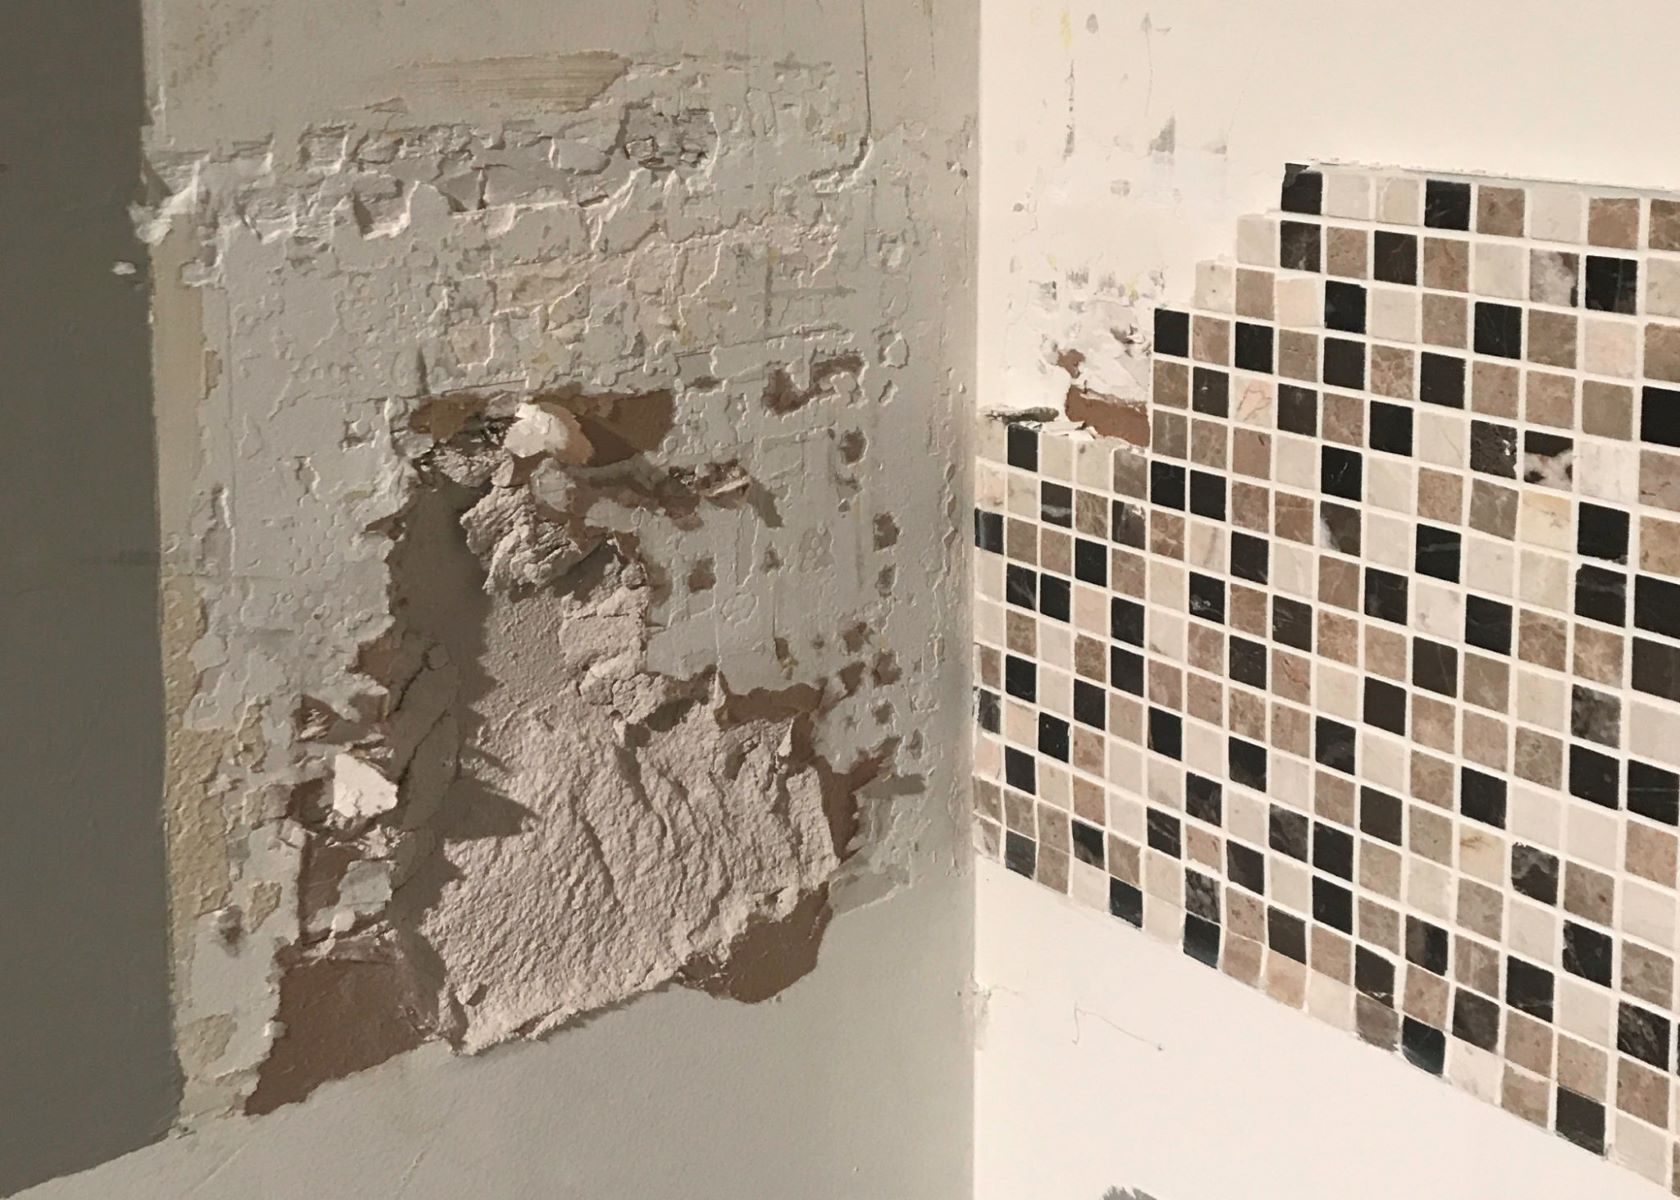
Step 3: Remove the old grout
With the workspace prepared and the necessary tools at your disposal, it's time to delve into the process of removing the old grout from your backsplash. This step requires patience, precision, and a systematic approach to ensure that the grout is effectively eliminated without causing damage to the tiles or surrounding surfaces. Here's a detailed guide on how to remove the old grout like a pro:
-
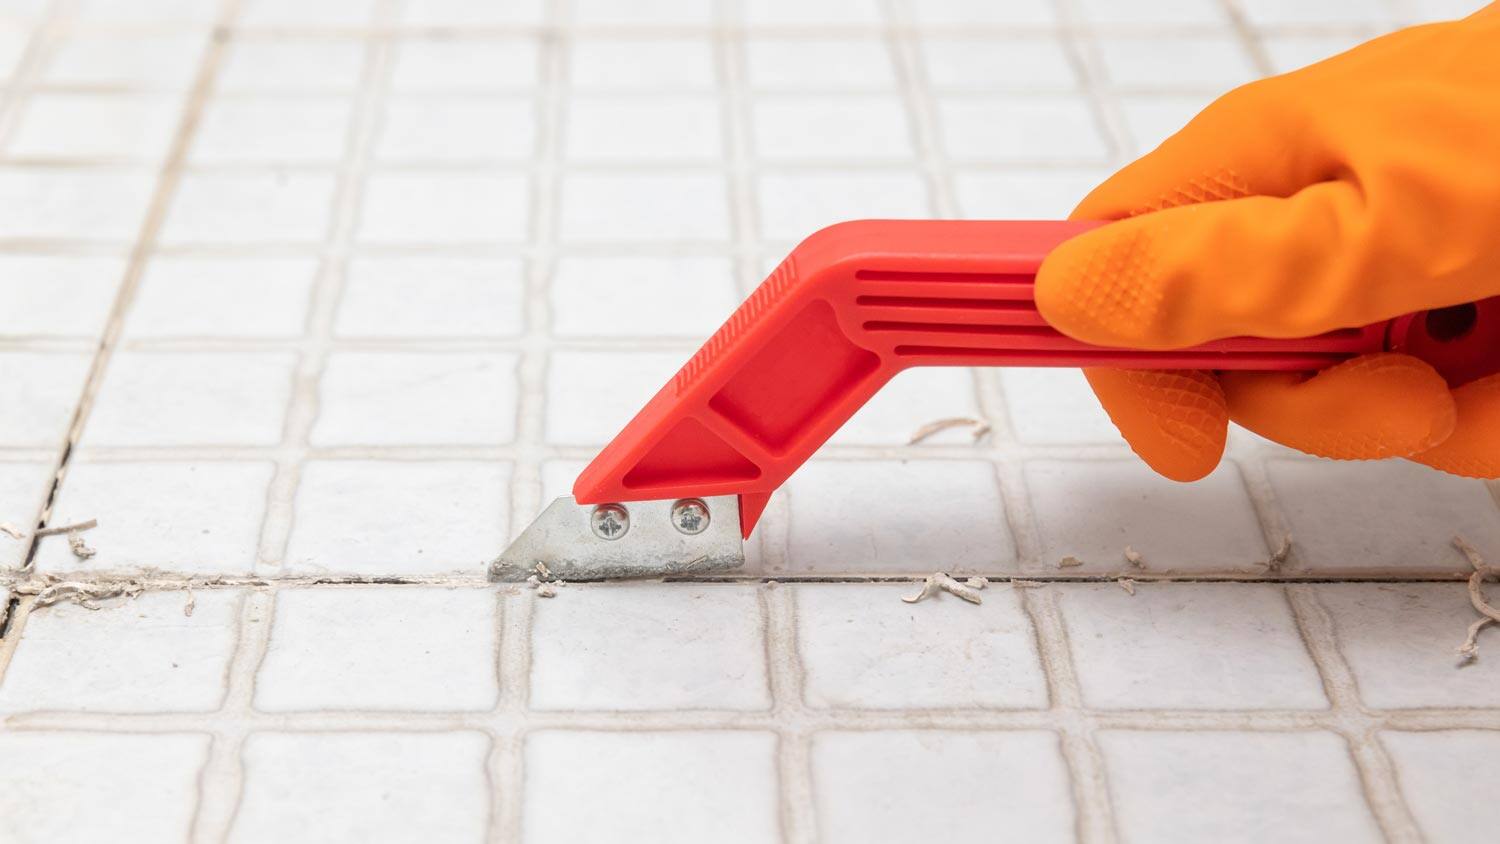
Begin with the Grout Saw or Rotary Tool:
- If you're using a grout saw, carefully position the blade in the grout line and apply gentle pressure to cut through the grout. Work methodically, focusing on small sections at a time to avoid exerting excessive force, which could potentially damage the tiles.
- For those using a rotary tool with a grout removal attachment, set the tool to a low speed and guide it along the grout lines, allowing the attachment to effectively grind away the old grout. Exercise caution to prevent the tool from slipping and causing unintended damage.
-
Work in Sections:
- Divide the backsplash into manageable sections and tackle one area at a time. This approach ensures that you can maintain control over the grout removal process and achieve consistent results throughout.
-
Clear Out the Debris:
- As you progress, use a shop vacuum to remove the loosened grout and debris from the grout lines. This step is crucial for maintaining visibility and preventing the accumulation of excess grout dust, which could hinder your progress.
-
Address Stubborn Grout:
- In cases where certain areas of the grout prove to be particularly stubborn, utilize a putty knife or chisel to carefully pry out the remaining grout. Exercise caution to avoid damaging the tiles during this process.
-
Clean the Grout Lines:
- Once the majority of the old grout has been removed, use a damp sponge or cloth to clean the grout lines thoroughly. This step helps to eliminate any residual grout dust and prepares the surface for the next stage of the process.
By following these steps and maintaining a methodical approach, you can effectively remove the old grout from your backsplash, setting the stage for the subsequent phases of the renovation process. With the old grout successfully eliminated, you're now ready to move on to the next crucial steps in revitalizing your backsplash.
Step 4: Clean the area
After successfully removing the old grout from your backsplash, it's essential to thoroughly clean the area to ensure that it is free from grout dust, debris, and any residual remnants of the previous grout. This critical step sets the stage for the application of new grout or sealant, ensuring a clean and pristine surface for the final phase of the renovation process.
Read more: How Long To Wait To Grout Backsplash
Clearing Grout Residue
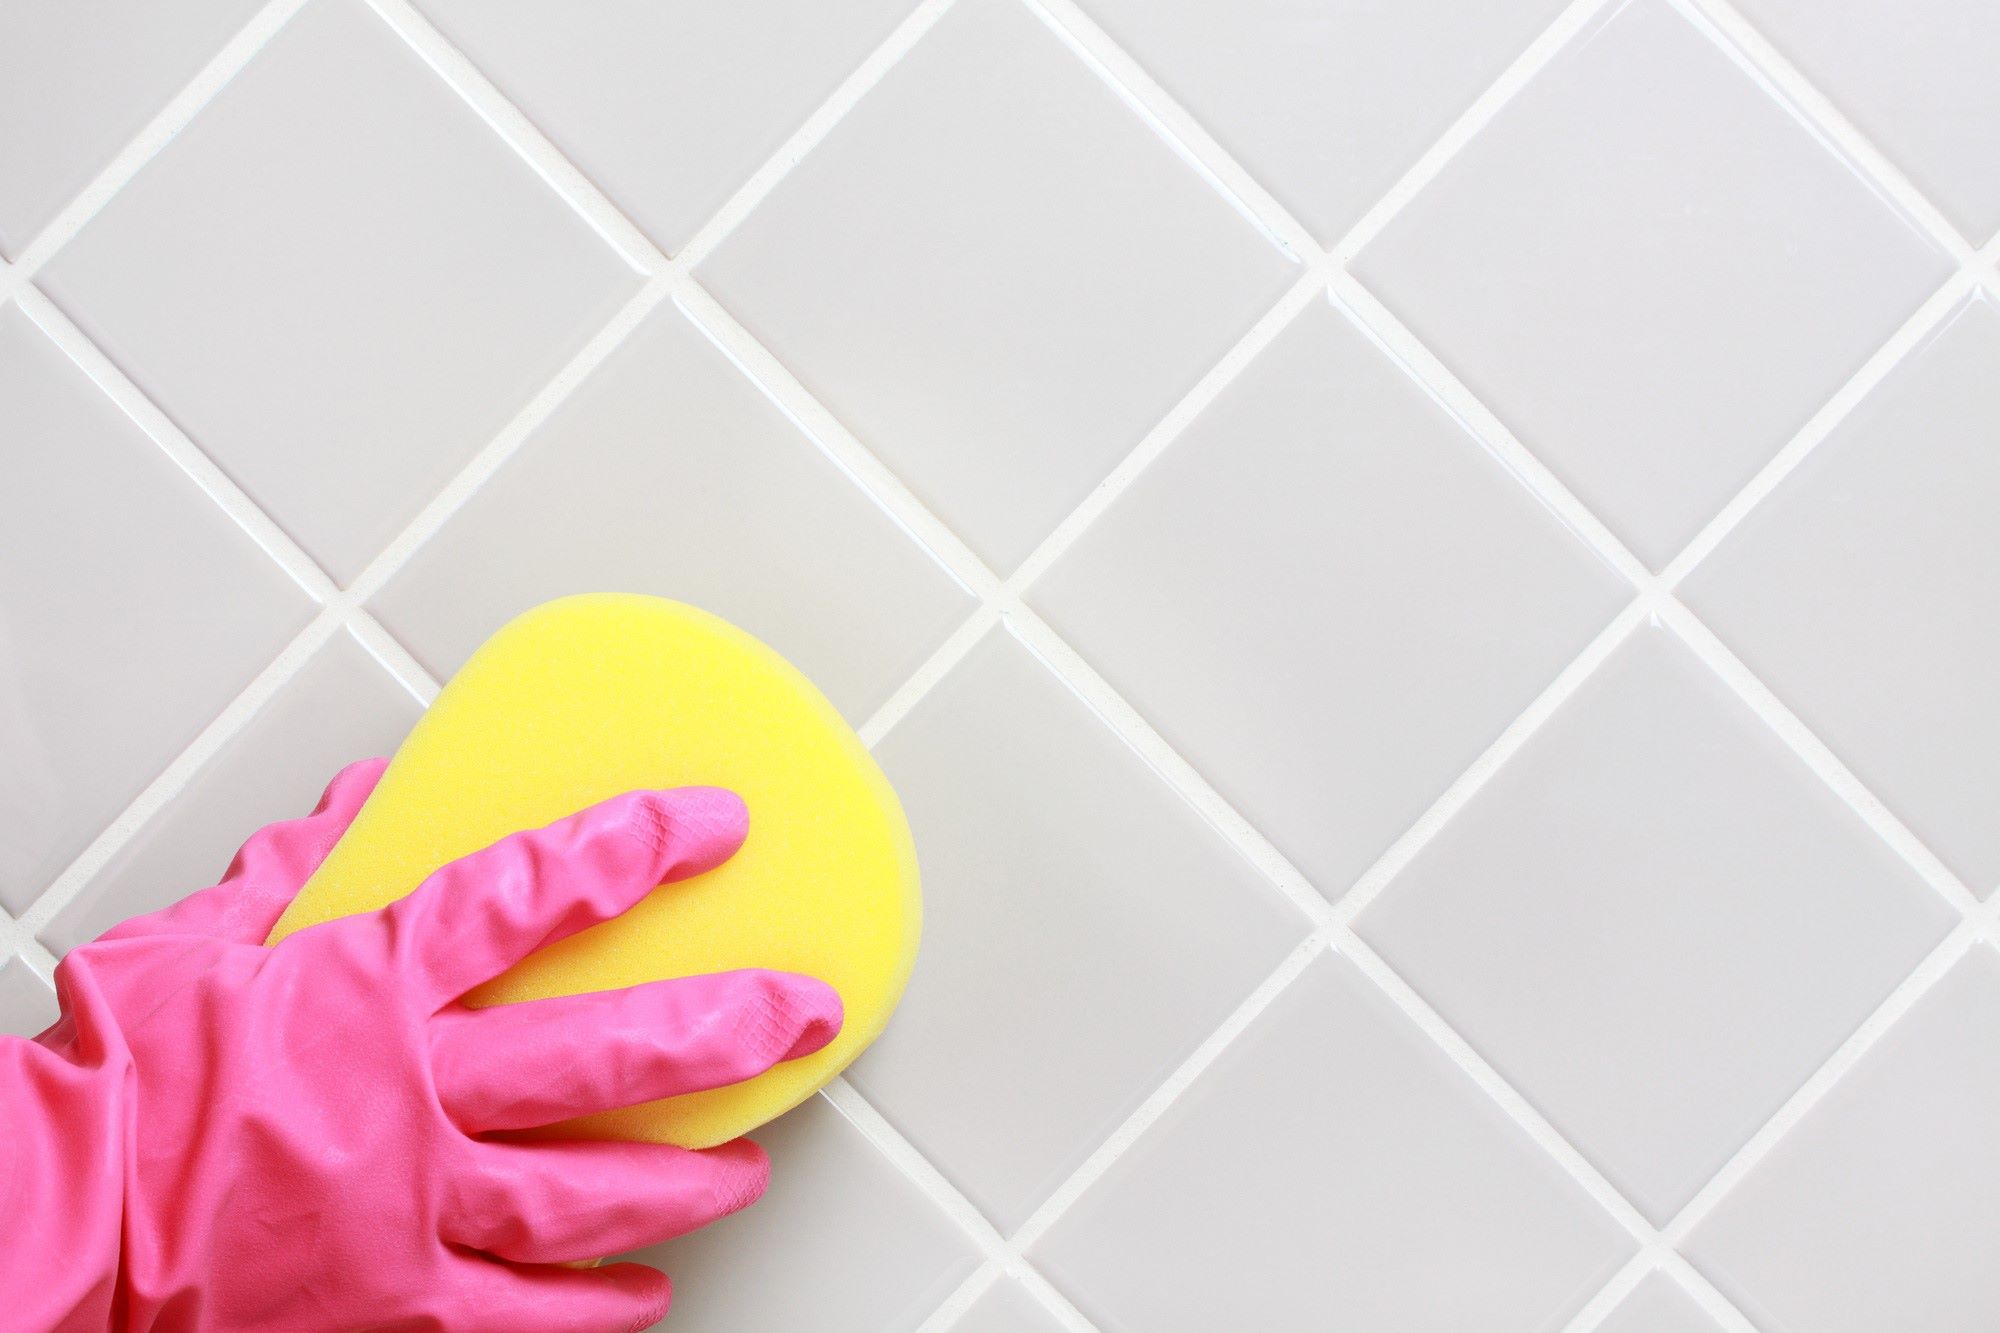
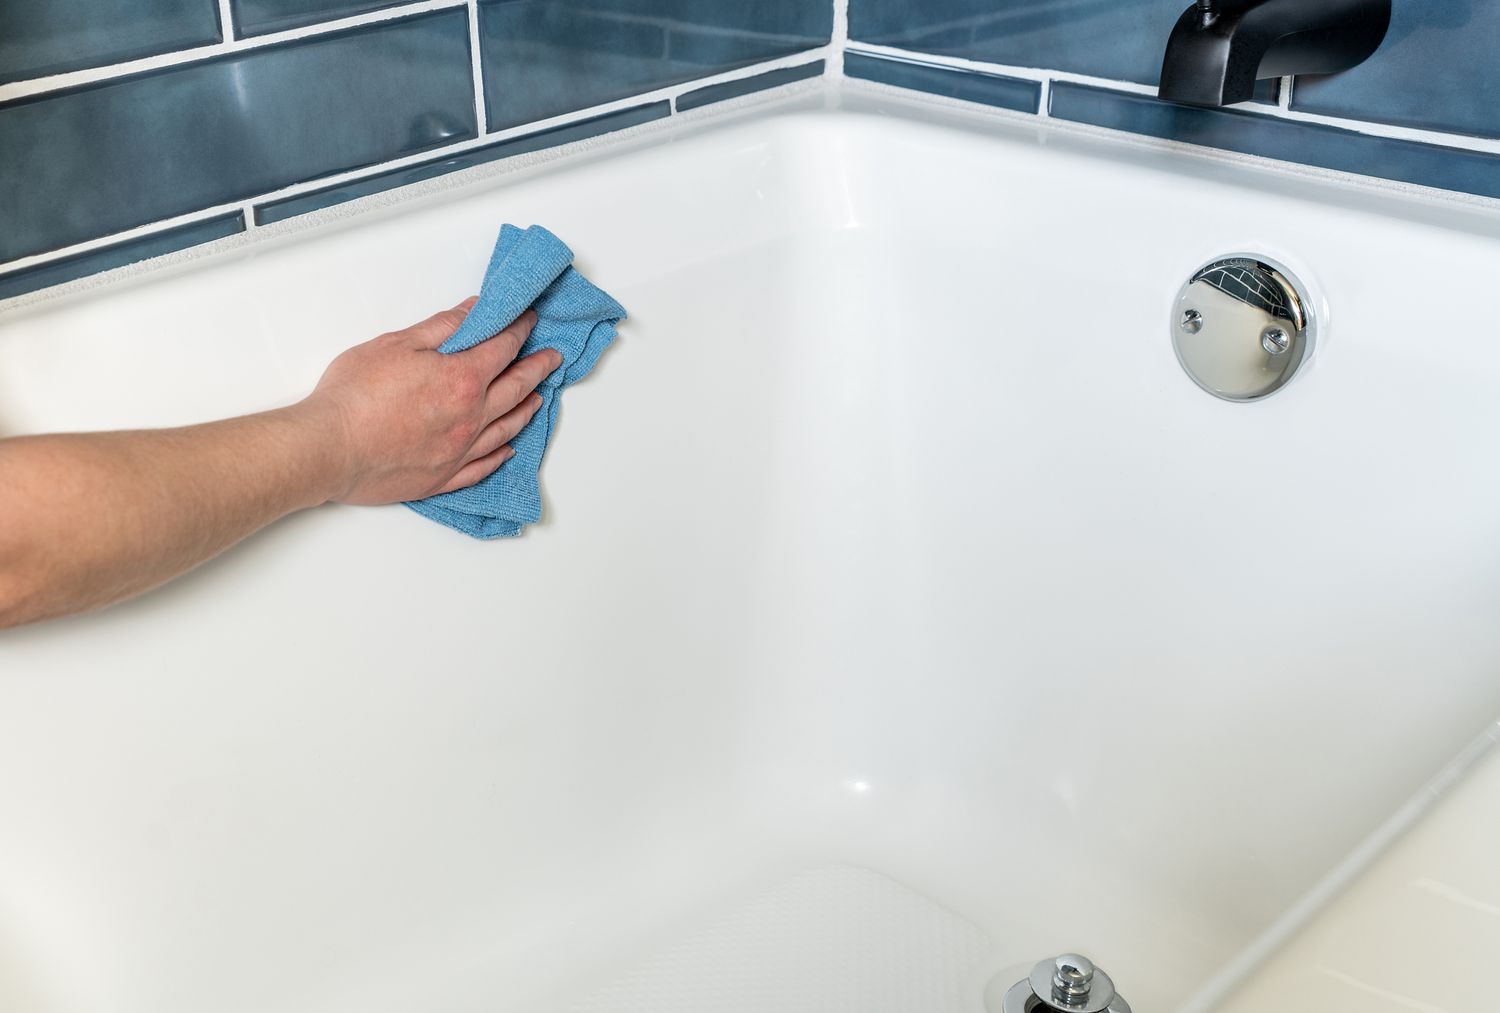
Using a damp sponge or cloth, carefully wipe down the entire backsplash area, paying close attention to the grout lines and tile surfaces. This process helps to remove any remaining grout dust and debris, leaving the area clean and ready for the next steps. Be thorough in your approach, ensuring that all surfaces are free from grout residue.
Rinsing and Drying
Once the initial cleaning is complete, rinse the sponge or cloth and go over the area again to ensure that all traces of grout dust are effectively removed. Following this, use a clean, dry cloth to dry the backsplash, ensuring that no moisture is left behind. This step is crucial for preparing the surface for the application of new grout or sealant, as it ensures optimal adhesion and a professional finish.
Inspecting the Cleanliness
Take a moment to inspect the cleaned area, paying attention to the grout lines and tile surfaces. Look for any lingering grout residue or areas that may require additional cleaning. Address any remaining debris promptly to guarantee that the surface is impeccably clean and ready for the next phase of the renovation process.
Final Touches
As a finishing touch, run your fingers along the grout lines and tile edges to ensure that they are free from any residual grout dust or debris. This tactile inspection allows you to detect any overlooked areas that may require further cleaning, ensuring that the entire backsplash is pristine and prepared for the application of new grout or sealant.
By meticulously cleaning the area after removing the old grout, you set the stage for a seamless transition to the final phase of the renovation process. This attention to detail ensures that the new grout or sealant will adhere effectively, resulting in a refreshed and polished backsplash that enhances the overall aesthetic of your kitchen or bathroom.
Read more: How To Put Grout On Glass Backsplash
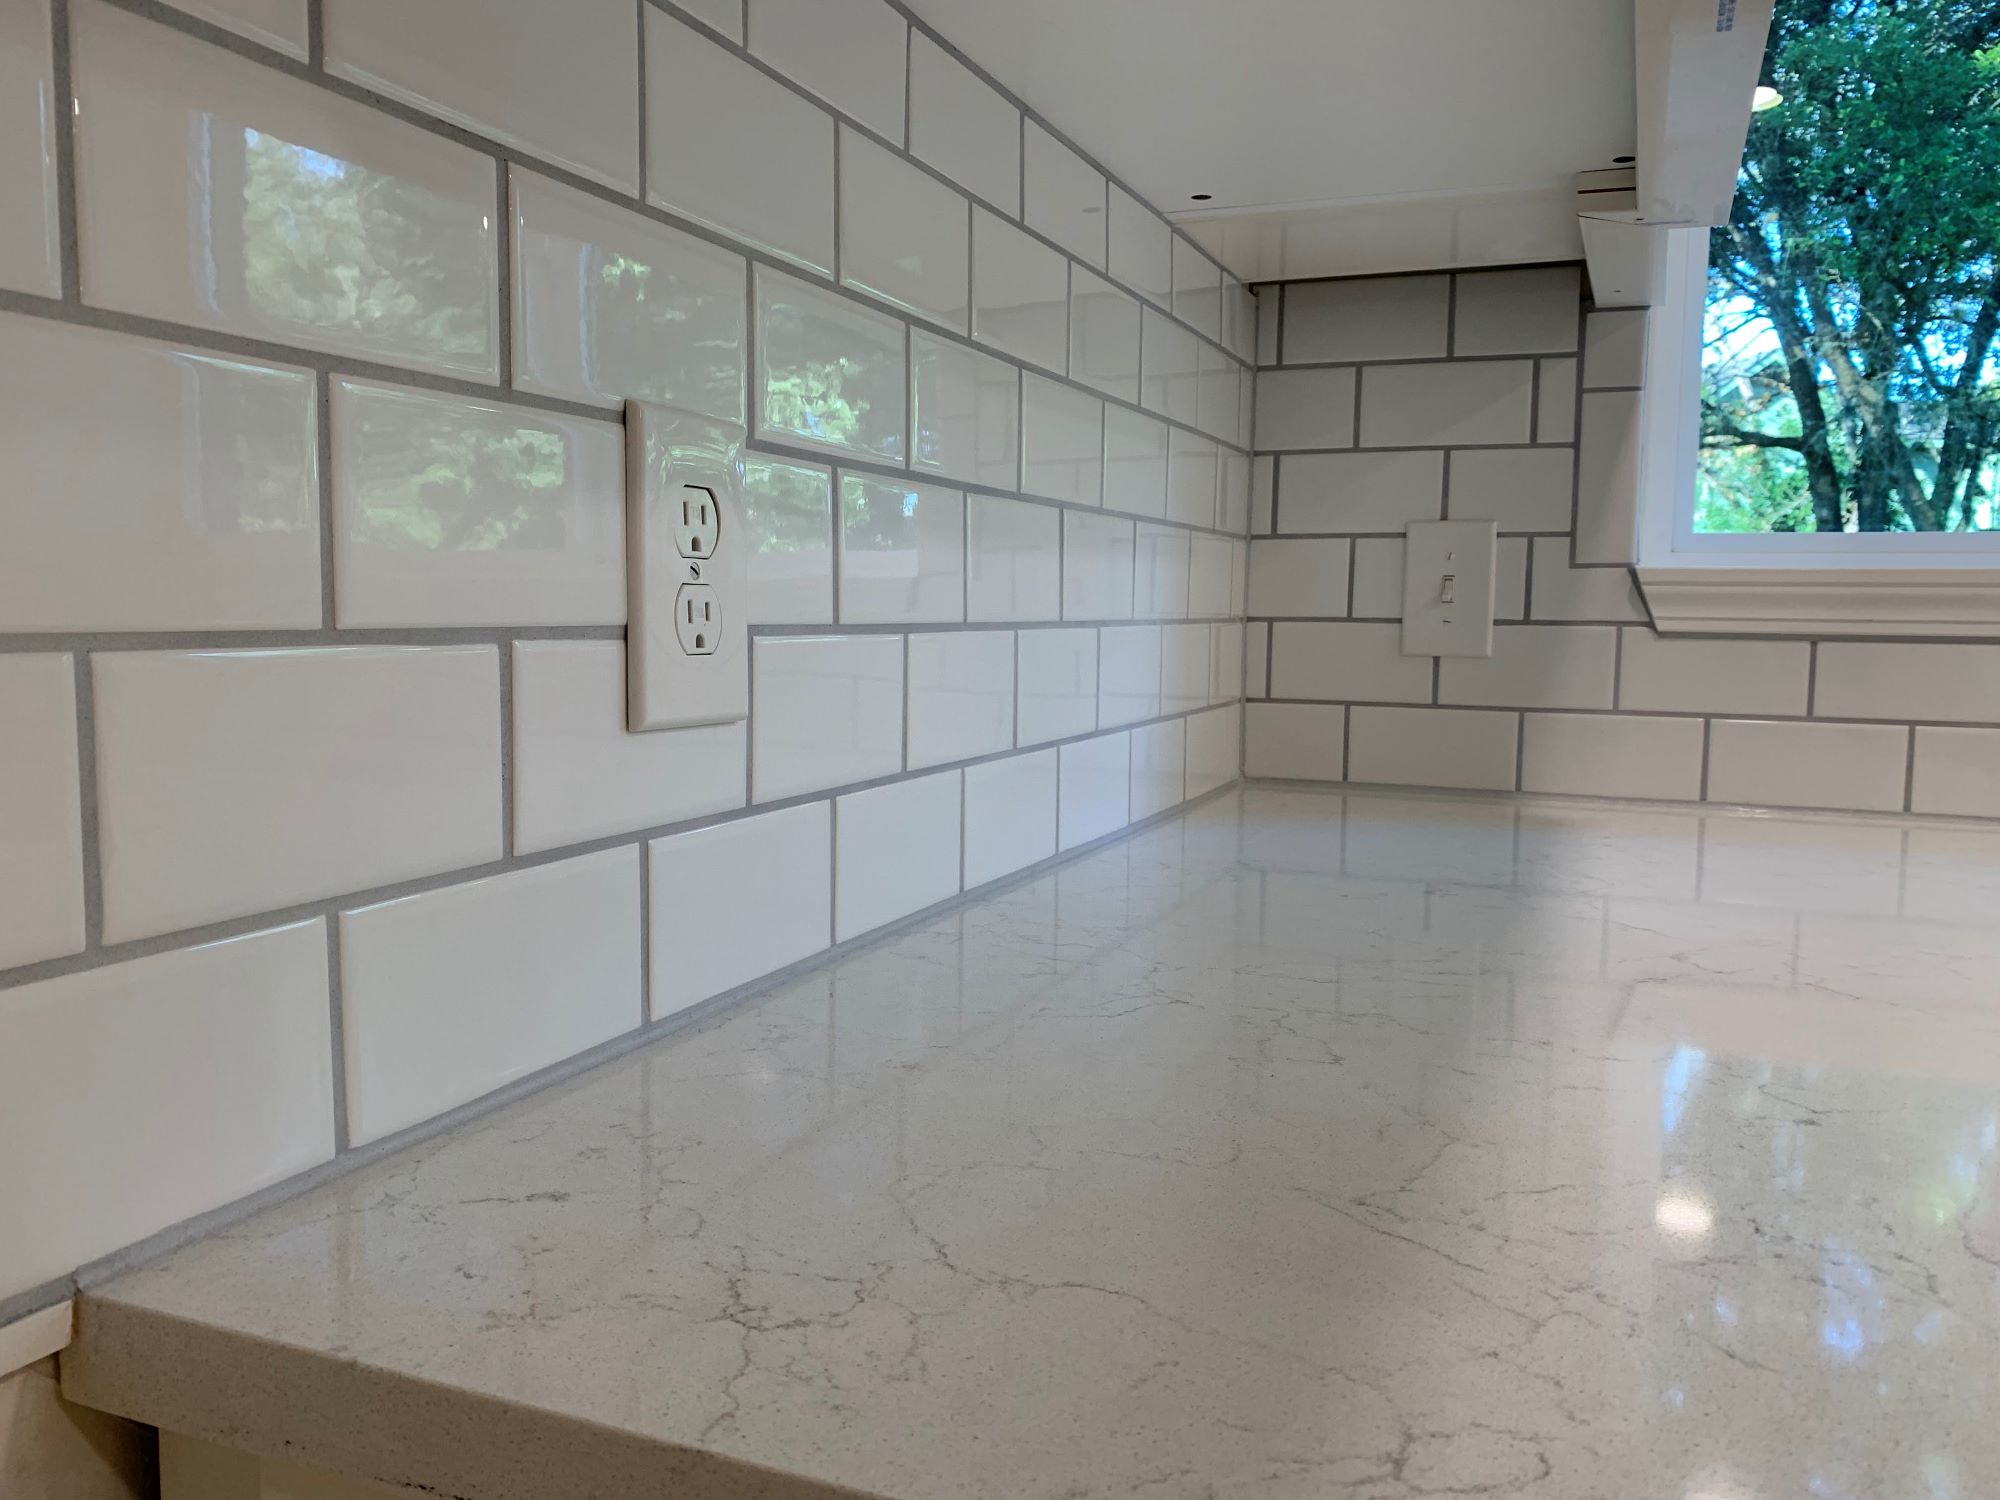
Step 5: Apply new grout or sealant
With the old grout successfully removed and the area meticulously cleaned, the final step in revitalizing your backsplash involves the application of new grout or sealant. This phase presents an opportunity to infuse a fresh and updated look into your kitchen or bathroom, elevating the overall aesthetic of the space. Whether you opt for traditional grout or modern sealant, the application process requires precision and attention to detail to achieve a professional finish.
Choosing the Right Product
Before proceeding with the application, it's essential to select the appropriate grout or sealant for your backsplash. Consider factors such as color, texture, and durability to ensure that the chosen product aligns with your aesthetic preferences and practical requirements. Whether you prefer the classic appeal of traditional grout or the sleek finish of sealant, make sure to choose a high-quality product that complements the design of your space.
Applying New Grout
If you've opted for traditional grout, carefully mix the grout according to the manufacturer's instructions, ensuring a smooth and lump-free consistency. Using a grout float, apply the new grout to the backsplash, pressing it firmly into the grout lines to fill the gaps evenly. Work methodically, focusing on small sections at a time to maintain control over the application process. Once the grout is in place, use the edge of the grout float to remove any excess grout from the tile surfaces, creating clean and defined grout lines.
Sealing with Sealant
For those choosing to use sealant, carefully apply the sealant along the grout lines, ensuring thorough coverage and a uniform finish. Use a sealant applicator or a small brush to achieve precision during the application process. Pay close attention to the edges and corners, ensuring that all areas are adequately sealed to prevent moisture penetration and maintain the integrity of the grout lines.
Read more: How To Pick Grout Color For Backsplash
Cleaning and Finishing Touches
After applying the new grout or sealant, use a damp sponge to gently wipe down the backsplash, removing any excess grout or sealant from the tile surfaces. Take care not to disturb the freshly applied grout or sealant during this process. Once the cleaning is complete, allow the grout or sealant to cure according to the manufacturer's recommendations, ensuring that it sets and adheres effectively.
By following these steps and exercising patience and precision, you can achieve a beautifully updated backsplash that enhances the visual appeal of your kitchen or bathroom. The application of new grout or sealant serves as the final flourish in the renovation process, culminating in a refreshed and polished backsplash that breathes new life into your space.
Conclusion
Congratulations on successfully completing the process of removing grout from your backsplash! By following the comprehensive steps outlined in this guide, you've taken a significant stride towards revitalizing the aesthetic appeal of your kitchen or bathroom. As you reflect on the journey from preparing the area to meticulously applying new grout or sealant, it's evident that your dedication and attention to detail have paid off.
The transformation of your backsplash is not merely a visual enhancement but a testament to your DIY prowess and commitment to creating a space that reflects your personal style. The removal of old grout, meticulous cleaning, and the application of new grout or sealant have collectively contributed to a refreshed and polished backsplash that exudes a renewed sense of elegance and charm.
As you admire the revitalized backsplash, take pride in the fact that you've acquired valuable skills and knowledge in home renovation. The ability to undertake such projects with confidence not only empowers you to personalize your living space but also serves as a source of inspiration for future endeavors.
Furthermore, the gratification of witnessing the tangible results of your efforts serves as a reminder of the transformative power of DIY projects. Your newly updated backsplash stands as a testament to your creativity, resourcefulness, and determination to elevate the ambiance of your home.
Moving forward, as you enjoy the refreshed allure of your backsplash, may this experience fuel your enthusiasm for future home improvement projects. Whether it's tackling a new renovation endeavor or sharing your newfound expertise with others, the journey of removing grout from your backsplash has undoubtedly enriched your DIY repertoire.
In closing, the revitalization of your backsplash is not just a testament to your craftsmanship but a reflection of the joy that comes from transforming a space into a personalized sanctuary. Embrace the sense of accomplishment that accompanies this achievement, and let it inspire you to continue infusing your living environment with creativity, character, and a touch of your unique flair. Cheers to your beautifully updated backsplash and the many more DIY triumphs that lie ahead!
Frequently Asked Questions about How To Remove Backsplash Grout
Was this page helpful?
At Storables.com, we guarantee accurate and reliable information. Our content, validated by Expert Board Contributors, is crafted following stringent Editorial Policies. We're committed to providing you with well-researched, expert-backed insights for all your informational needs.

0 thoughts on “How To Remove Backsplash Grout”