Articles
How To Organize A Tool Box
Modified: August 28, 2024
Learn the best techniques and tips for organizing your tool box with helpful articles. Get expert advice and keep your tools in order for easy access and efficiency.
(Many of the links in this article redirect to a specific reviewed product. Your purchase of these products through affiliate links helps to generate commission for Storables.com, at no extra cost. Learn more)
Introduction
Whether you’re a DIY enthusiast, a professional tradesperson, or simply someone who loves tinkering with tools, having an organized tool box is essential. A well-organized tool box not only improves efficiency and productivity, but it also ensures that you can find the right tool when you need it, saving you time and frustration.
In this article, we will guide you through the process of organizing your tool box effectively. We will provide you with step-by-step instructions, tips, and tricks to help you create a system that works for your specific needs. So, let’s dive in and discover how to create an organized tool box that will make your work easier and more enjoyable.
Key Takeaways:
- Organizing a tool box involves assessing, sorting, and arranging tools based on size, function, or project type. Proper labeling and regular maintenance ensure easy access and efficient workflow.
- A well-organized tool box saves time, reduces frustration, and enhances productivity. It requires thoughtful assessment, strategic grouping, and consistent maintenance to create an efficient and accessible workspace.
Read more: What Tool Box To Buy
Step 1: Assess Your Tools and Workspace
The first step in organizing your tool box is to assess the tools you have and evaluate your workspace. Begin by taking an inventory of all your tools and equipment. Sort them into categories such as hand tools, power tools, measuring tools, and so on. This will give you a clear idea of what you have and help determine the best method of organizing them.
Next, evaluate your workspace. Consider the size and layout of your tool box or storage area. Take note of any limitations or constraints that may affect how you organize your tools. For example, if you have a small tool box, you may need to prioritize which tools to include and consider alternative storage options for larger tools.
During this assessment, also consider the frequency and type of projects you typically work on. If you have specific tools or equipment that you use more frequently, it may be beneficial to keep them easily accessible in your tool box. Similarly, if you often work on specific types of projects, you can group related tools together for convenience.
By assessing your tools and workspace, you will gain a better understanding of the scope of your organization project and be better equipped to create an effective organization system.
Step 2: Sort and Group Similar Tools
Once you have assessed your tools and workspace, the next step is to sort and group similar tools together. This step is crucial in creating a logical and efficient organization system for your tool box.
Start by gathering all your tools and laying them out on a clean surface. Go through each tool and categorize them based on their function or type. For example, you can group all screwdrivers together, all wrenches together, and so on.
Sorting your tools into groups has several benefits. It allows you to easily identify which tools you have and helps prevent duplicates. It also makes it much easier to find and retrieve the tool you need when working on a specific project. Additionally, grouping similar tools together can help you identify any missing or misplaced tools.
When sorting your tools, take into consideration their size and shape. Larger tools may require separate compartments or designated spaces in your tool box, while smaller tools can be grouped together and stored in trays or organizers.
Remember to be consistent in your grouping method. Avoid mixing different types of tools in the same group, as this can lead to confusion and disorganization. Aim for clear categories that make sense to you and align with your specific needs and projects.
By sorting and grouping your tools, you are laying the foundation for a well-organized and functional tool box. This step will greatly simplify the process of locating and accessing your tools, saving you valuable time and effort.
Step 3: Decide on a Toolbox Organization System
Once you have sorted and grouped your tools, it’s time to decide on a toolbox organization system that works for you. There are several options to choose from, depending on your preferences and the size and layout of your toolbox.
One common organization system is to arrange tools by size. This involves placing larger and bulkier tools at the bottom or back of the toolbox and smaller tools towards the front or top. This system allows for easy access to commonly used tools and prevents smaller tools from getting lost or hidden behind larger ones.
Another option is to organize tools by function or type. This involves grouping similar tools together and allocating specific compartments or sections in the toolbox for each category. For example, you can have separate sections for screwdrivers, wrenches, and pliers. This system makes it easy to locate specific tools based on their functionality.
If you frequently work on different types of projects, you might prefer to organize your toolbox based on project types. This involves creating separate compartments or boxes within your toolbox for each project. You can group together the necessary tools, fasteners, and accessories for each project, making it convenient to grab everything you need for a specific task.
Consider the layout and design of your toolbox when deciding on an organization system. Some toolboxes come with built-in compartments or trays that can be utilized for specific tool types. Others may have adjustable dividers or removable trays that allow for customizable organization. Take advantage of these features to create a system that maximizes efficiency and minimizes clutter.
Ultimately, the organization system you choose should be intuitive, practical, and tailored to your specific needs. It should make it easy for you to find and retrieve tools, while also keeping them protected and secure during transportation.
By deciding on a toolbox organization system, you are establishing a framework that will guide how you arrange and store your tools, ensuring a streamlined and efficient workflow.
Step 4: Gather Necessary Supplies
Before you start organizing your toolbox, it’s important to gather the necessary supplies to support your organization system. Having the right supplies on hand will make the process smoother and ensure that your tools are properly stored and protected.
Here are some supplies you may need:
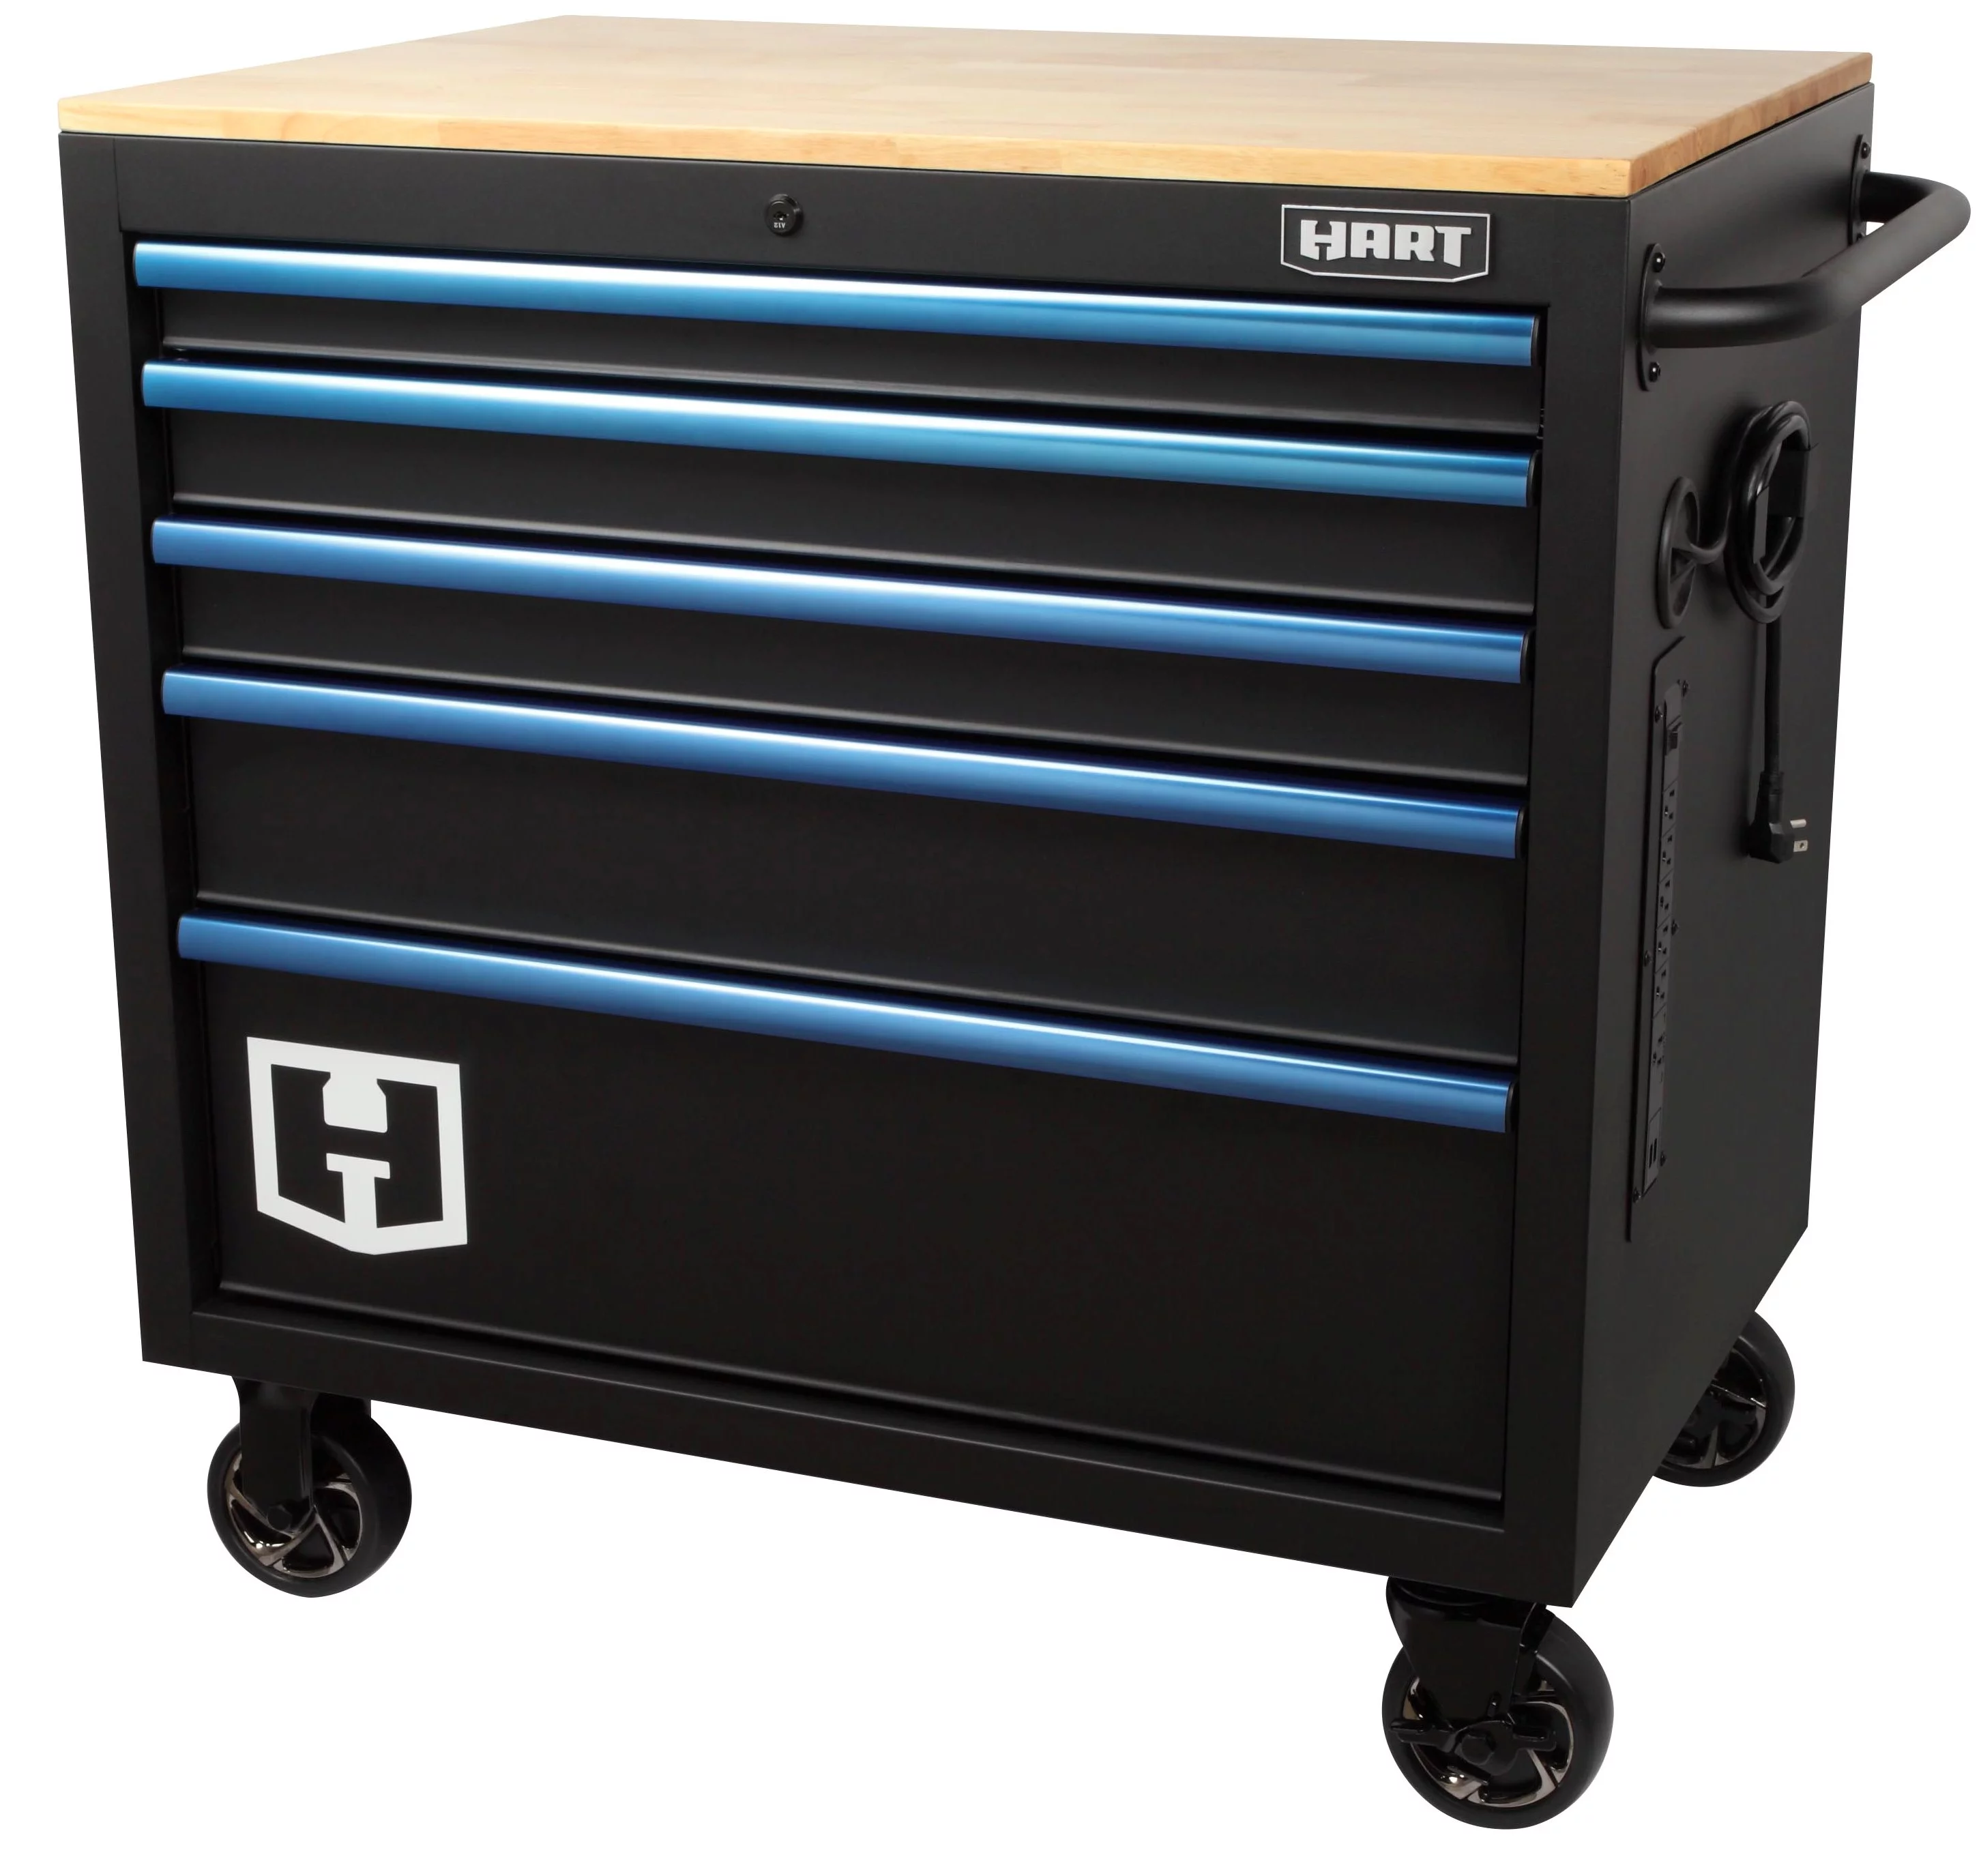
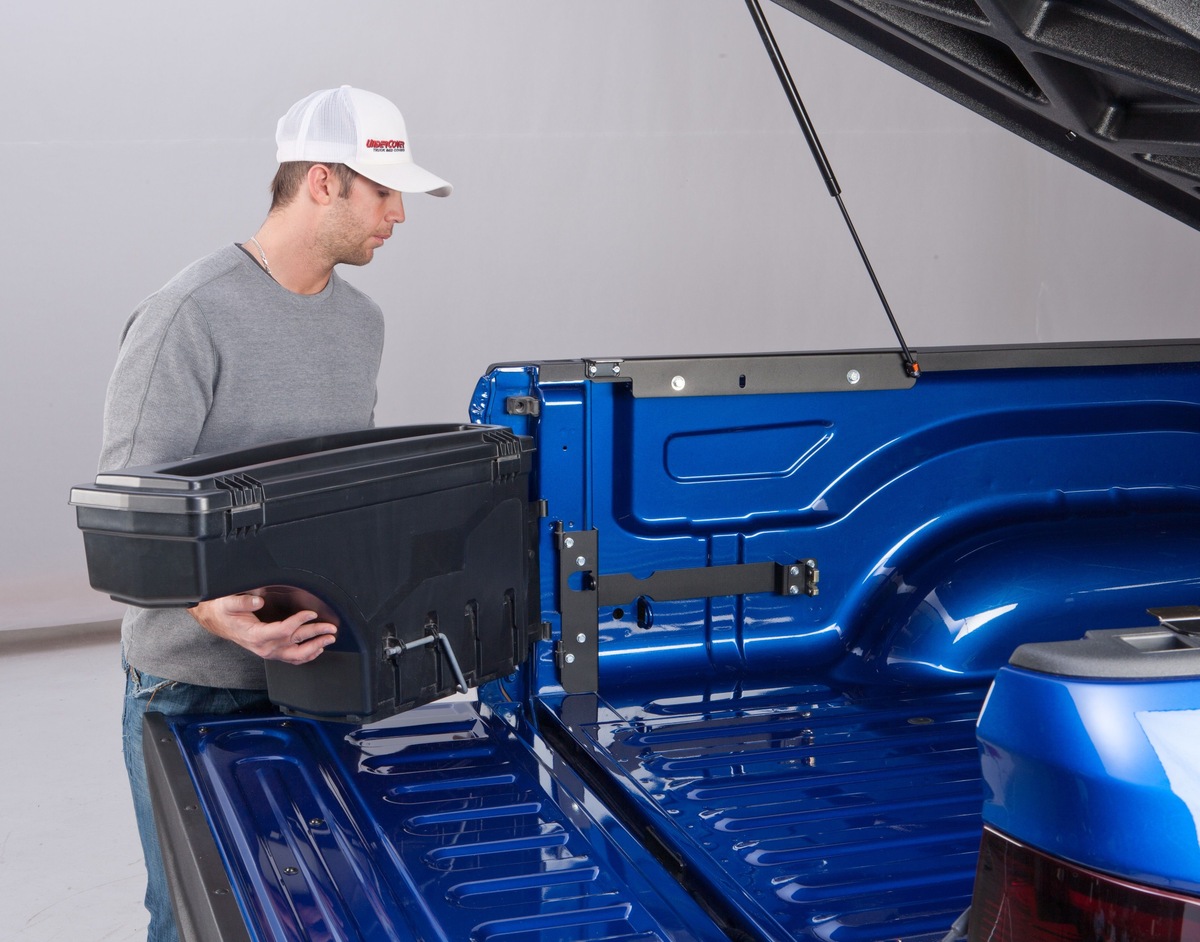
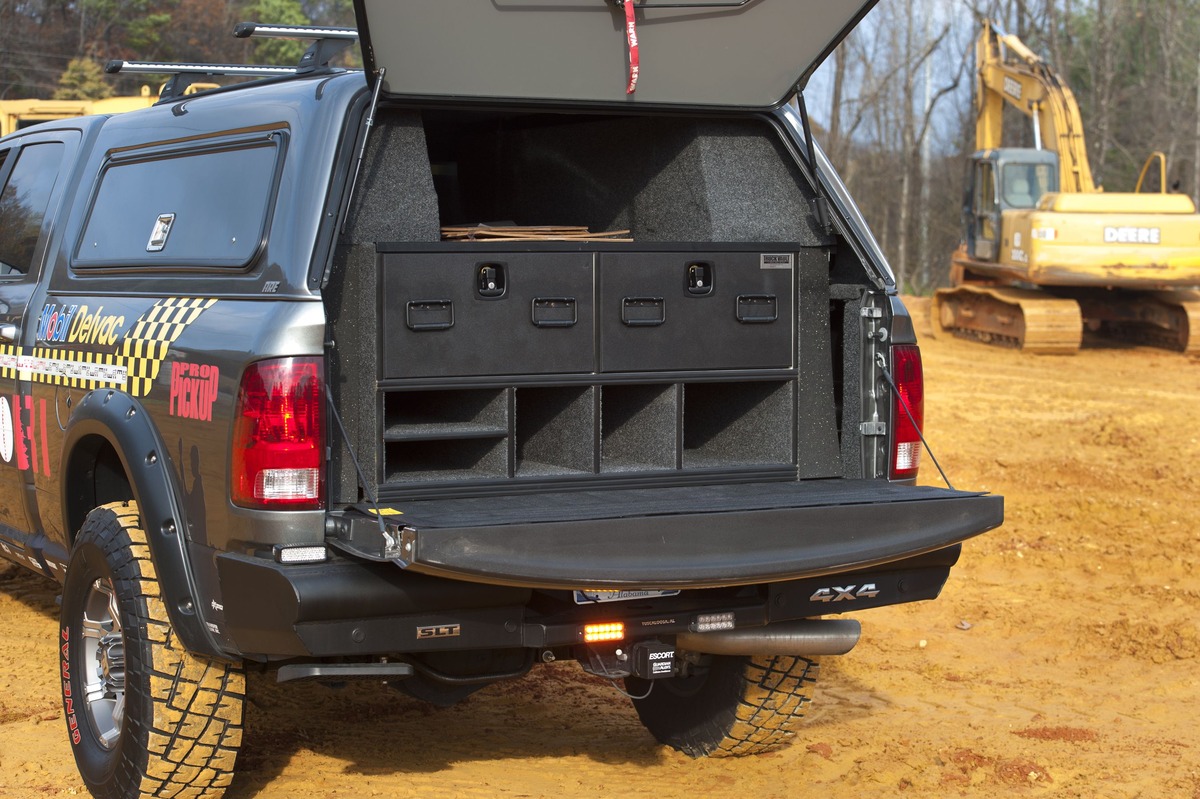
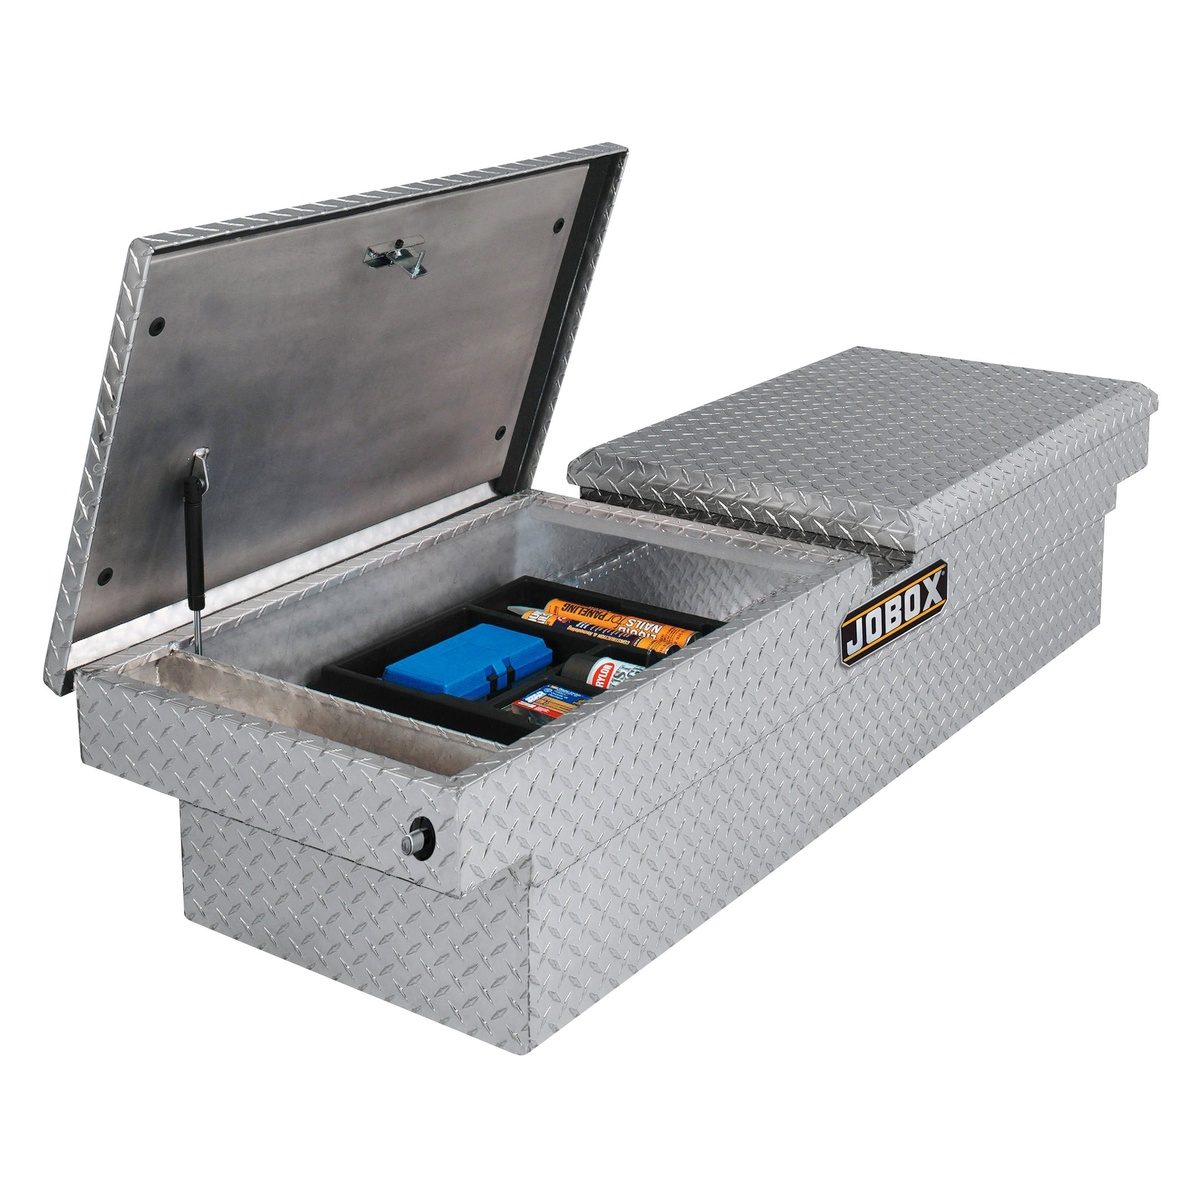
- Toolbox: If you don’t already have a toolbox, consider investing in one that suits your needs. Choose a toolbox with compartments, drawers, or trays that can accommodate your tools and allow for easy organization.
- Dividers and Trays: Depending on the size and layout of your toolbox, you may need dividers or trays to separate and organize different tool categories. Dividers can help create individual compartments for specific tools, while trays can hold smaller items or accessories.
- Labels: Labels are a great way to identify and locate specific tools within your toolbox. Use adhesive labels or a label maker to mark the compartments or sections where each tool belongs. Clear labeling will save you time and effort when searching for a particular tool.
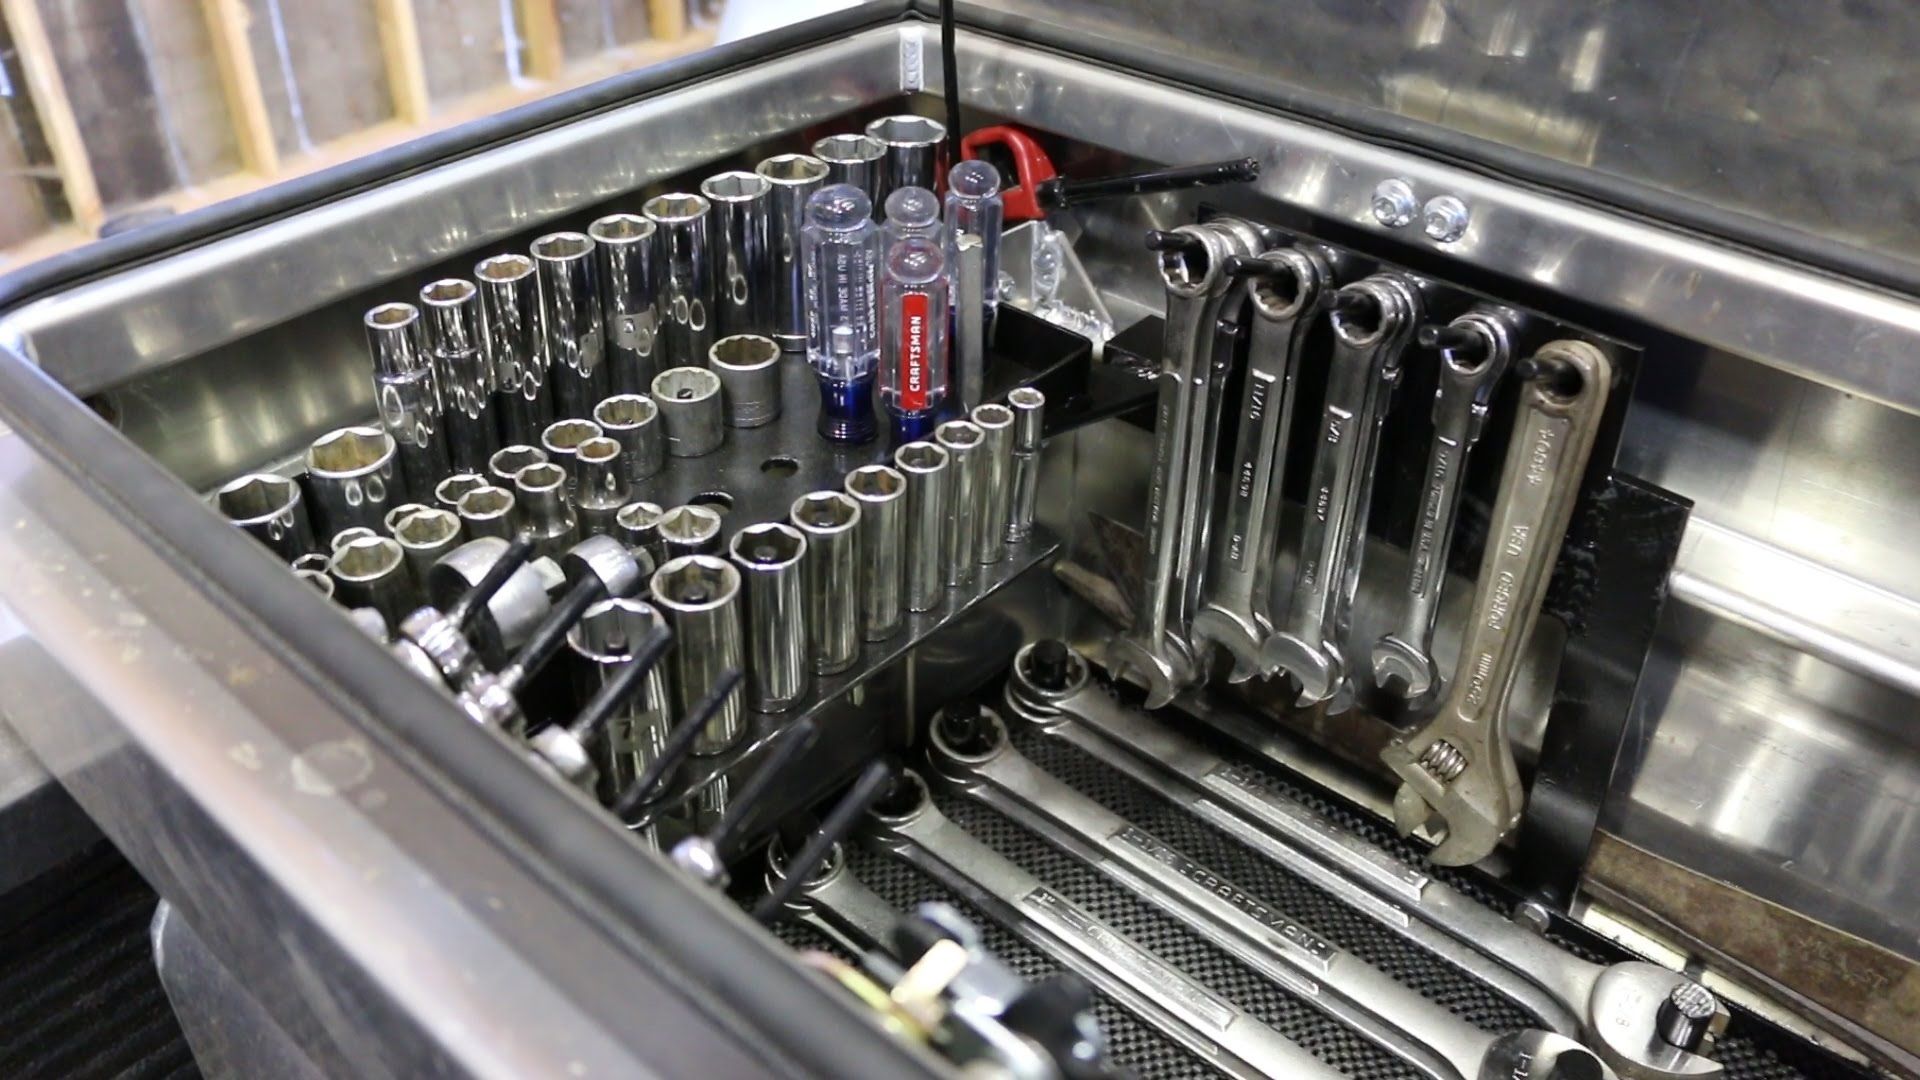
- Foam Inserts: Foam inserts are a popular tool organizing option as they provide cushioning and help keep your tools in place. You can cut foam inserts to fit the size and shape of your tools, creating custom slots in your toolbox to securely hold each tool.
- Cleaning Supplies: It’s a good idea to have cleaning supplies on hand to maintain your tools and toolbox. Keep a small brush or cloth to remove dirt and debris from your tools, and consider using rust-prevention solutions or lubricants to protect metal tools.
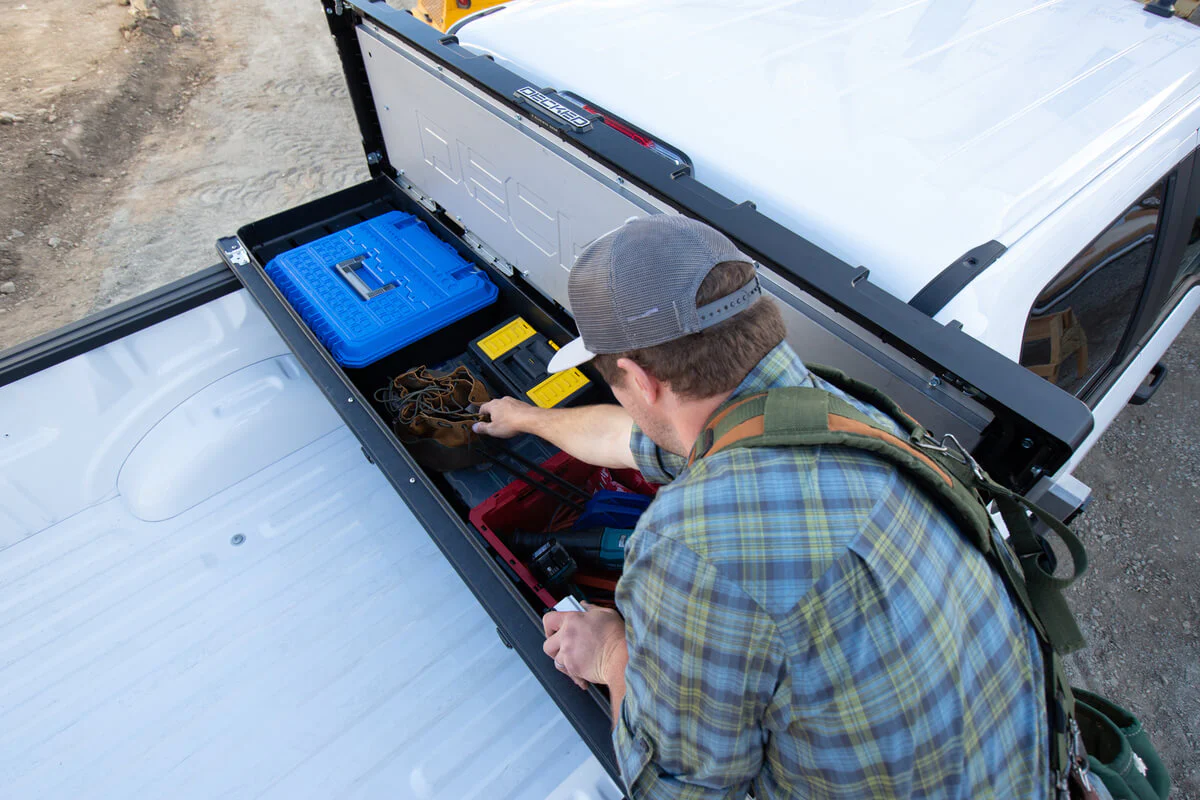
- Fasteners and Hooks: If your toolbox has a pegboard or wall-mounting option, consider using hooks or fasteners to hang larger tools. This can free up space within the toolbox and make it easier to access frequently used tools.
Take inventory of the supplies you currently have and make a list of any additional items you need to purchase. Having the right supplies will ensure that your toolbox organization system is effective and sustainable in the long run.
Use foam inserts to create custom compartments for each tool in your toolbox. This will keep everything organized and prevent tools from shifting during transport.
Read also: 14 Amazing Tool Box for 2025
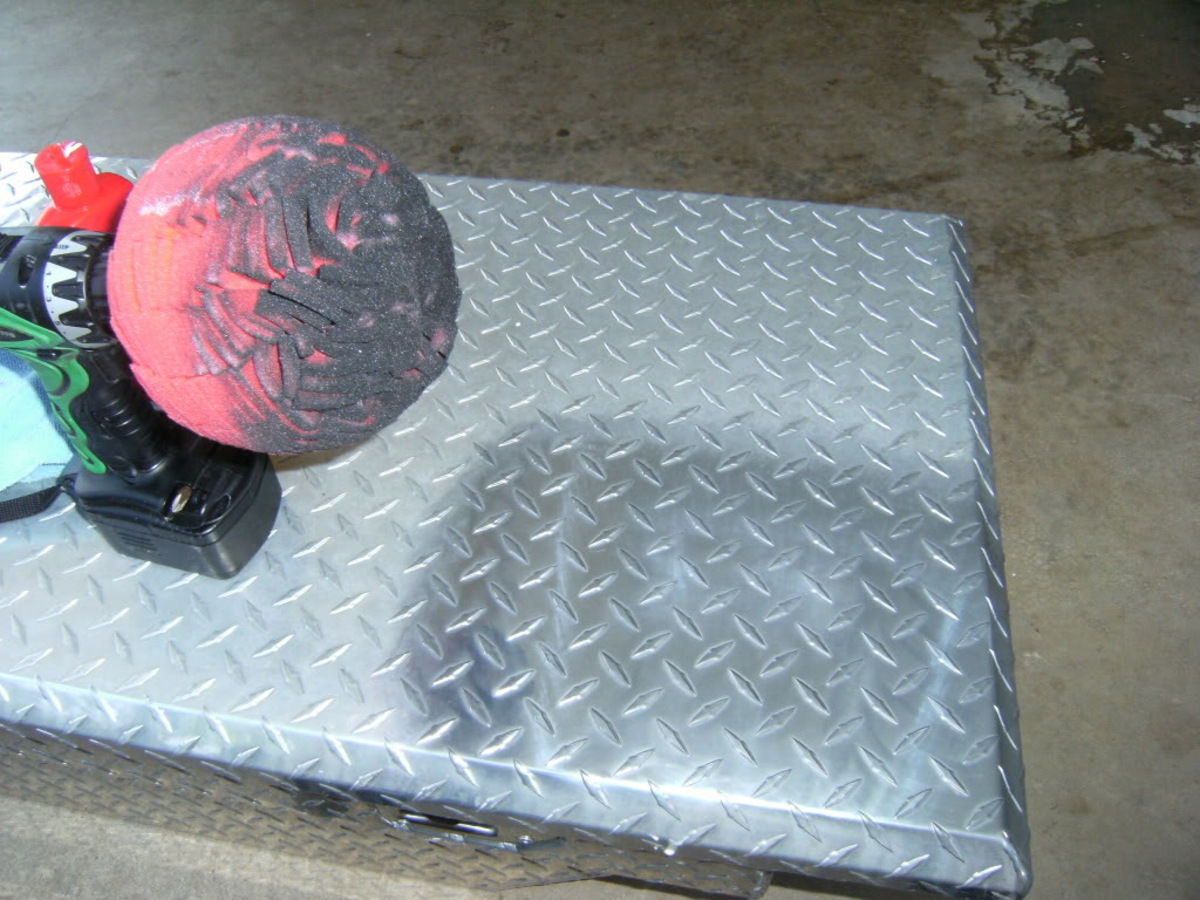
Step 5: Clean and Prepare the Toolbox
Before you start organizing your tools in the toolbox, it’s important to clean and prepare the space. This step ensures that your tools are stored in a clean and well-maintained environment, prolonging their lifespan and making them easier to locate.
Here’s how to clean and prepare your toolbox:
- Empty the Toolbox: Remove all the tools, accessories, and any other items from your toolbox. This will give you a clear and empty space to work with.
- Clean the Interior: Use a damp cloth or sponge to wipe down the interior surfaces of the toolbox. Remove any dust, debris, or grease that may have accumulated over time. For tough stains or sticky residue, you can use mild soap or a specialized cleaner recommended for the toolbox material.
- Inspect for Damage: While cleaning, take the opportunity to inspect the toolbox for any signs of damage, such as rust, dents, or broken latches. Address any necessary repairs or replacements before proceeding with the organization.
- Consider Toolbox Liners: If desired, you can add a liner to the interior of the toolbox. Toolbox liners help protect your tools from scratches and provide an added layer of cushioning. Choose a liner material that is durable and easy to clean.
- Arrange Compartments or Trays: If your toolbox has adjustable dividers or trays, position them in a way that aligns with your organization system. Create compartments of appropriate sizes to accommodate different tool categories.
Once you have completed these steps, your toolbox will be clean and ready for organizing your tools. Remember, maintaining a clean toolbox is key to preserving the condition of your tools and ensuring easy accessibility.
Step 6: Arrange Tools in the Toolbox
Now that you’ve prepared your toolbox, it’s time to arrange your tools in a systematic and efficient manner. Proper arrangement ensures that your tools are easily accessible and minimizes the risk of damage or loss.
Here are some tips for arranging tools in your toolbox:
- Consider Tool Size: Arrange your tools based on their size. Place larger tools at the bottom or back of the toolbox, and smaller tools towards the front or top. This prevents larger tools from obstructing smaller ones and allows for easier access.
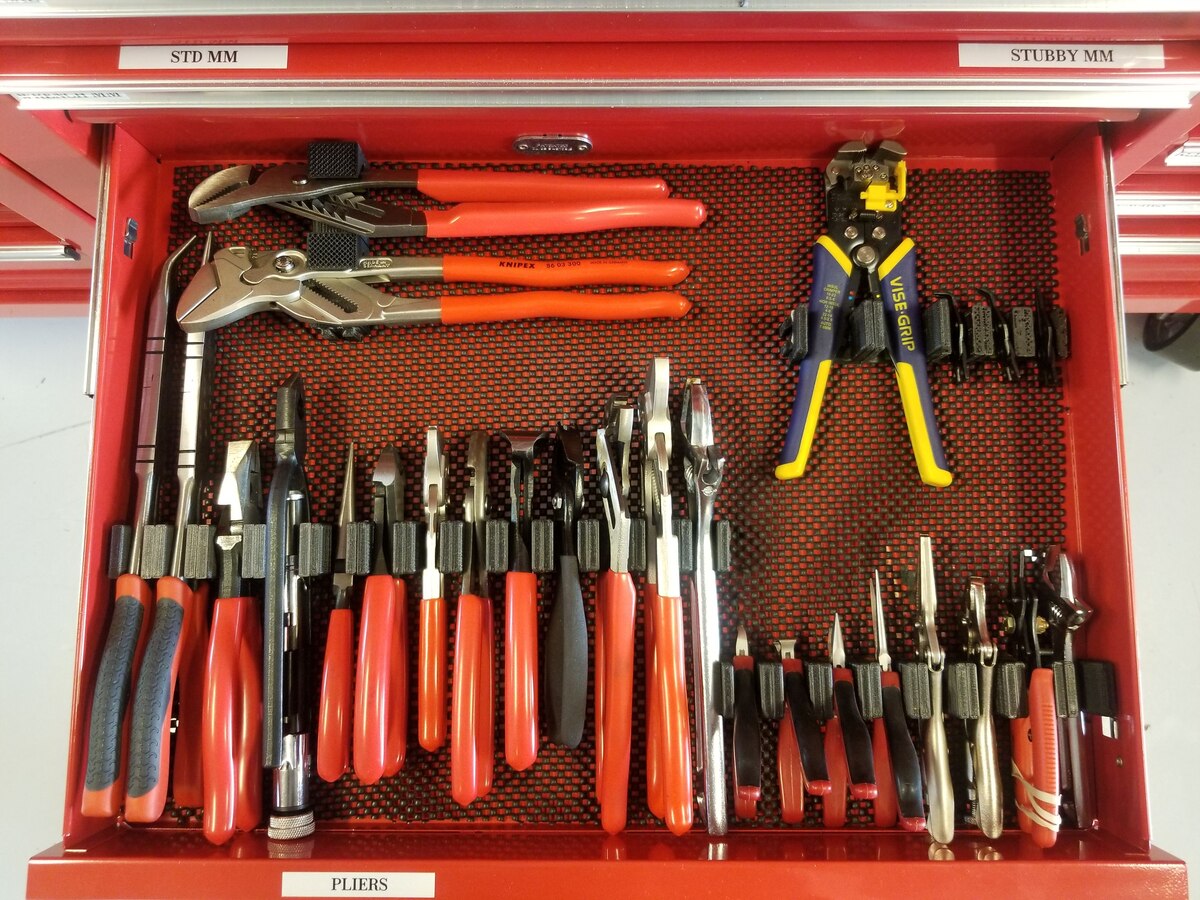
- Utilize Compartments or Trays: If your toolbox has built-in compartments or trays, make full use of them. Allocate specific sections for different tool categories. For example, have a designated area for screwdrivers, another for wrenches, and so on. This will keep your tools organized and prevent them from getting mixed up.
- Create Custom Slots: If your toolbox doesn’t come with dividers or trays, you can create custom slots using foam inserts or other organizing materials. Cut the foam insert to fit the size and shape of each tool, creating individual slots to hold them securely in place.
- Organize by Function: Arrange your tools based on their function or related tasks. Group together tools that are commonly used for specific types of projects. For example, place all plumbing tools together or electrical tools together. This makes it easier to locate the tools you need for a particular task.
- Create a Logical Flow: Arrange your tools in a way that flows logically. Consider the order in which you typically use the tools and arrange them accordingly. This will make your workflow more efficient and save you time when searching for tools during a project.
- Use Labels or Markers: Label each compartment or section of your toolbox to identify the tools it contains. This ensures that you and others can quickly find and return tools to their proper place. Labeling also helps maintain the organization of your toolbox over time.
Remember, the goal of arranging tools in your toolbox is to create an organized and easily accessible system. Find an arrangement that works for you and allows you to quickly locate the tools you need for your projects.
Step 7: Label and Identify Tools
Labeling and identifying your tools is an important step in maintaining the organization of your toolbox. Proper labeling ensures that you and others can easily locate specific tools and helps prevent tools from being misplaced or mixed up.
Here’s how you can label and identify your tools:
- Label Compartments: Use adhesive labels, a label maker, or permanent markers to label each compartment or section of your toolbox. Clearly indicate the type of tools that should be stored in each area. This makes it easy to identify where each tool belongs and ensures consistency in your organization system.
- Mark Tools: For tools that look similar or have interchangeable parts, consider marking them in a way that distinguishes one from the other. This can be done using colored tape, paint, or engraved markings. Marking tools not only helps identify them but also serves as a reminder to return them to their designated spot.
- Use Tool Identification Systems: There are various tool identification systems available, such as color-coding or using magnetic or adhesive labels. These systems can help organize and identify tools quickly, especially in larger toolboxes or shared work environments.
- Keep an Inventory List: Maintain an inventory list of the tools in your toolbox. This can be a simple handwritten list or a digital spreadsheet. Include details such as the tool name, size, and quantity. Keeping an inventory list helps you track your tools and identify any missing or misplaced items.
- Update Labels Regularly: As you acquire new tools or make changes to your toolbox organization, remember to update your labels accordingly. Regularly reviewing and updating labels will ensure that your toolbox remains organized and that all tools have a designated place.
By labeling and identifying your tools, you establish a clear system that makes it easy to locate and return tools to their proper places. Proper identification also helps maintain the overall organization of your toolbox over time.
Step 8: Maintain and Update Toolbox Organization
Once you have organized your toolbox, it’s important to establish a routine for maintaining and updating its organization. Regular maintenance ensures that your tools are always in their designated places, making it easy to find and access them when needed.
Here are some tips for maintaining and updating your toolbox organization:
- Clean and Tidy Up: Set aside time periodically to clean your toolbox and tidy up the contents. Remove any dirt, debris, or excess tools that may have accumulated. Wipe down the compartments, trays, and handles to keep your toolbox in optimal condition.
- Return Tools Immediately: Make it a habit to return each tool to its designated place as soon as you’re done using it. Avoid leaving tools lying around or piling them up in the toolbox. Returning them promptly will maintain the organization and save you time searching for them later.
- Regularly Review and Reorganize: Periodically review the organization of your tools and assess if any changes or adjustments need to be made. As you acquire new tools or complete different projects, you may need to reorganize or create new compartments to accommodate them.
- Inspect and Replace Damaged or Missing Tools: Regularly check your inventory list and inspect your tools for any damage or missing items. Replace any damaged tools and keep your inventory list updated to ensure accuracy and completeness.
- Update Labels and Identification: Update labels and identification markings when necessary. If you’ve made changes to your toolbox organization or acquired new tools, be sure to update the labels to reflect the correct locations and contents.
- Reassess Your Organization System: Regularly reassess your toolbox organization system to ensure it still meets your needs. As your tool collection grows or your projects change, you may need to adjust your organization method to optimize efficiency and accessibility.
Maintaining and updating toolbox organization is an ongoing process. By establishing good habits and regularly reviewing the organization, you’ll be able to keep your toolbox neat, functional, and ready for any project that comes your way.
Read also: 11 Amazing Tool Box Foam for 2025
Conclusion
Congratulations! You have successfully learned how to organize a tool box. By following the steps outlined in this article, you can create an organized and efficient system that will save you time and frustration in your work or DIY projects.
Starting with assessing your tools and workspace, you gained a clear understanding of what you have and the limitations of your tool box. Sorting and grouping similar tools allowed you to categorize them effectively, making it easier to locate and retrieve specific tools when needed.
Deciding on a toolbox organization system tailored to your needs ensures that your tools are arranged in a logical and intuitive manner. Gathering the necessary supplies and cleaning and preparing the toolbox set the stage for a well-organized space.
Once you embarked on arranging your tools in the toolbox, strategic placement based on size, function, or project type further enhanced the accessibility and efficiency of your workflow. Labels and identification methods helped you easily identify and locate tools, avoiding confusion and streamlining your work process.
Remember that maintaining and updating your toolbox organization is a crucial step in preserving its functionality. Regularly cleaning, returning tools to their designated places, and reviewing and updating the organization system will keep your toolbox in optimal condition and save you valuable time.
In conclusion, an organized tool box is not just a matter of aesthetics but a practical necessity. With a well-organized tool box, you can work more efficiently, reduce clutter, and focus on what you do best—creating and fixing with ease.
So, take the knowledge and tips you’ve gained from this article and put them into action. Enjoy the benefits of a well-organized tool box and make your work or DIY projects a breeze!
Got your toolbox sorted? Now let's step up your game with some smart picks for keeping all those gadgets in check. If you've admired today's guide, our next reads will surely catch your eye. From innovative tool storage solutions that'll simplify your setup to clever garage organization tricks that'll surprise you, we've got your next projects covered. Ready to transform your space into a model of efficiency and order? Check out our recommended reads and make your workspace envy-worthy.
Frequently Asked Questions about How To Organize A Tool Box
Was this page helpful?
At Storables.com, we guarantee accurate and reliable information. Our content, validated by Expert Board Contributors, is crafted following stringent Editorial Policies. We're committed to providing you with well-researched, expert-backed insights for all your informational needs.

0 thoughts on “How To Organize A Tool Box”