Articles
How To Use Ryobi Drill
Modified: August 30, 2024
Learn how to effectively use your Ryobi drill with these informative articles. From basic techniques to advanced tips, we've got you covered.
(Many of the links in this article redirect to a specific reviewed product. Your purchase of these products through affiliate links helps to generate commission for Storables.com, at no extra cost. Learn more)
Introduction
Welcome to our comprehensive guide on how to use the Ryobi Drill effectively. The Ryobi Drill is a versatile power tool that can be used for a wide range of applications, from drilling holes to driving screws and more. Whether you’re a seasoned DIY enthusiast or a beginner looking to tackle small projects around the house, this article will provide you with the knowledge and instructions you need to make the most out of your Ryobi Drill.
Before we dive into the specifics of using the Ryobi Drill, it’s important to prioritize safety. Power tools can be dangerous if not used properly, so always take the necessary precautions to protect yourself and others. Make sure to wear appropriate safety gear, such as safety goggles and gloves, and read the manual that comes with your Ryobi Drill for any specific safety instructions.
Now that we have covered the importance of safety, let’s take a look at the different components of the Ryobi Drill. Understanding the various parts of the drill will help you navigate its functions more effectively.
Key Takeaways:
- Prioritize safety by following the manufacturer’s guidelines, wearing protective gear, and securing workpieces when using the Ryobi Drill. Understanding its components and power source options will enhance your drilling and screwdriving experience.
- Beyond drilling and screwdriving, the Ryobi Drill offers versatility for sanding, wire brushing, mixing materials, and more. Proper maintenance, care, and troubleshooting will ensure the longevity and optimal performance of your drill.
Read more: How To Charge A Ryobi Drill
Safety Precautions
When using the Ryobi Drill, it’s important to follow these safety precautions to ensure your well-being and the well-being of others around you:
- Read the Manual: Before operating the Ryobi Drill, thoroughly read the instruction manual provided by the manufacturer. Familiarize yourself with the safety guidelines, warnings, and precautions specific to the drill model you have.
- Protective Gear: Always wear appropriate protective gear, including safety glasses or goggles, gloves, and ear protection. This will safeguard you from potential hazards such as flying debris, noise, and hand injuries.
- Secure Workpiece: Ensure that the workpiece you’re drilling or driving screws into is firmly secured. This will prevent it from moving during the operation and minimize the risk of accidents or injuries.
- Avoid Loose Clothing or Jewelry: Avoid wearing loose clothing, long sleeves, or jewelry that can get caught in the rotating parts of the drill. Tight-fitting clothes and tying back long hair are recommended to prevent accidents.
- Power Source Precautions: If your Ryobi Drill is corded, ensure that the power cord is in good condition, without any fraying or damage. If you are using a cordless drill, check that the battery is charged and functioning properly.
- Unplug or Remove Battery: Whenever you are changing drill bits, adjusting settings, or performing maintenance on the drill, it is crucial to unplug the cord from the power outlet or remove the battery. This prevents accidental activation of the drill, reducing the risk of injury.
- Use Proper Drill Bits: Use the appropriate drill bits designed for the material you are working with. Using the wrong drill bit can cause the bit to become dull, damage the workpiece, or even result in the bit breaking and causing injury.
- Proper Grip and Control: Hold the drill with a firm grip using both hands. Maintain proper control over the drill and avoid excessive force or overreaching, as this can cause loss of control and potential accidents.
- Clear Work Area: Before starting any drilling or driving operation, ensure that the work area is clear of any obstructions. Remove any loose objects or debris that could interfere with the drill or cause accidents.
- Avoid Overloading: Do not overload the drill by forcing it to perform tasks beyond its capacity. This can strain the motor and result in overheating or other malfunctions. If you encounter resistance while drilling, reduce speed or use a more suitable drill bit.
By following these safety precautions, you can ensure a safe and enjoyable experience when using the Ryobi Drill. Always prioritize safety and use common sense while operating any power tool, and do not hesitate to seek professional assistance or advice if needed.
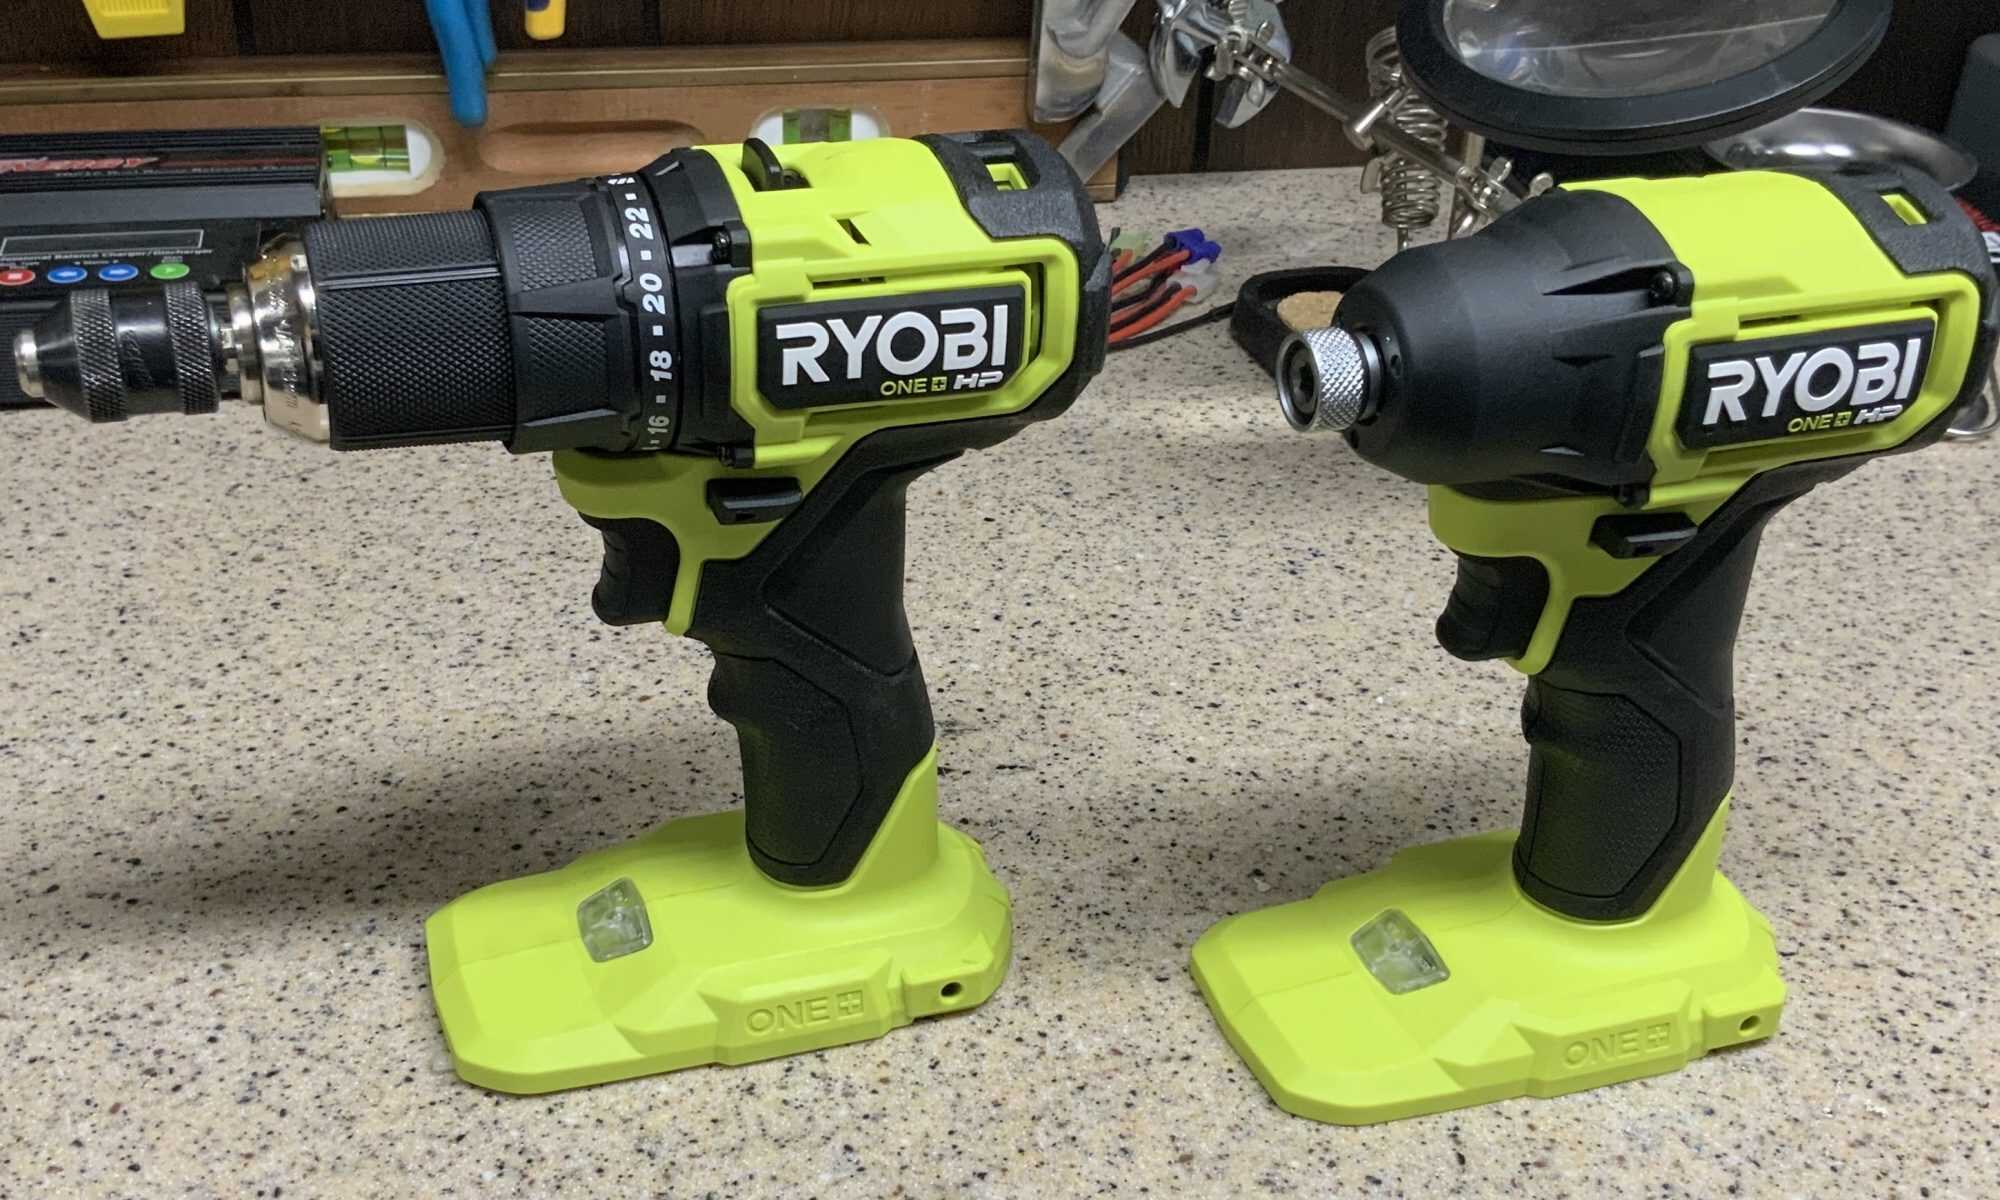
Components of Ryobi Drill
Understanding the different components of the Ryobi Drill is essential for proper operation and functionality. Here are the main components of the drill:
- Chuck: The chuck is the part of the drill that holds the drill bit in place. Ryobi Drills typically have a keyless chuck, which means you can tighten or loosen it by hand. This allows for quick and easy bit changes.
- Trigger Switch: The trigger switch is located on the handle of the drill and is used to control the drill’s speed. By squeezing the trigger, you activate the drill and increase the speed. Releasing the trigger stops the drill.
- Handle: The handle, also called the grip, provides a firm and comfortable grip for better control while using the drill. Some Ryobi Drills have an adjustable handle that can be repositioned for left or right-handed users.
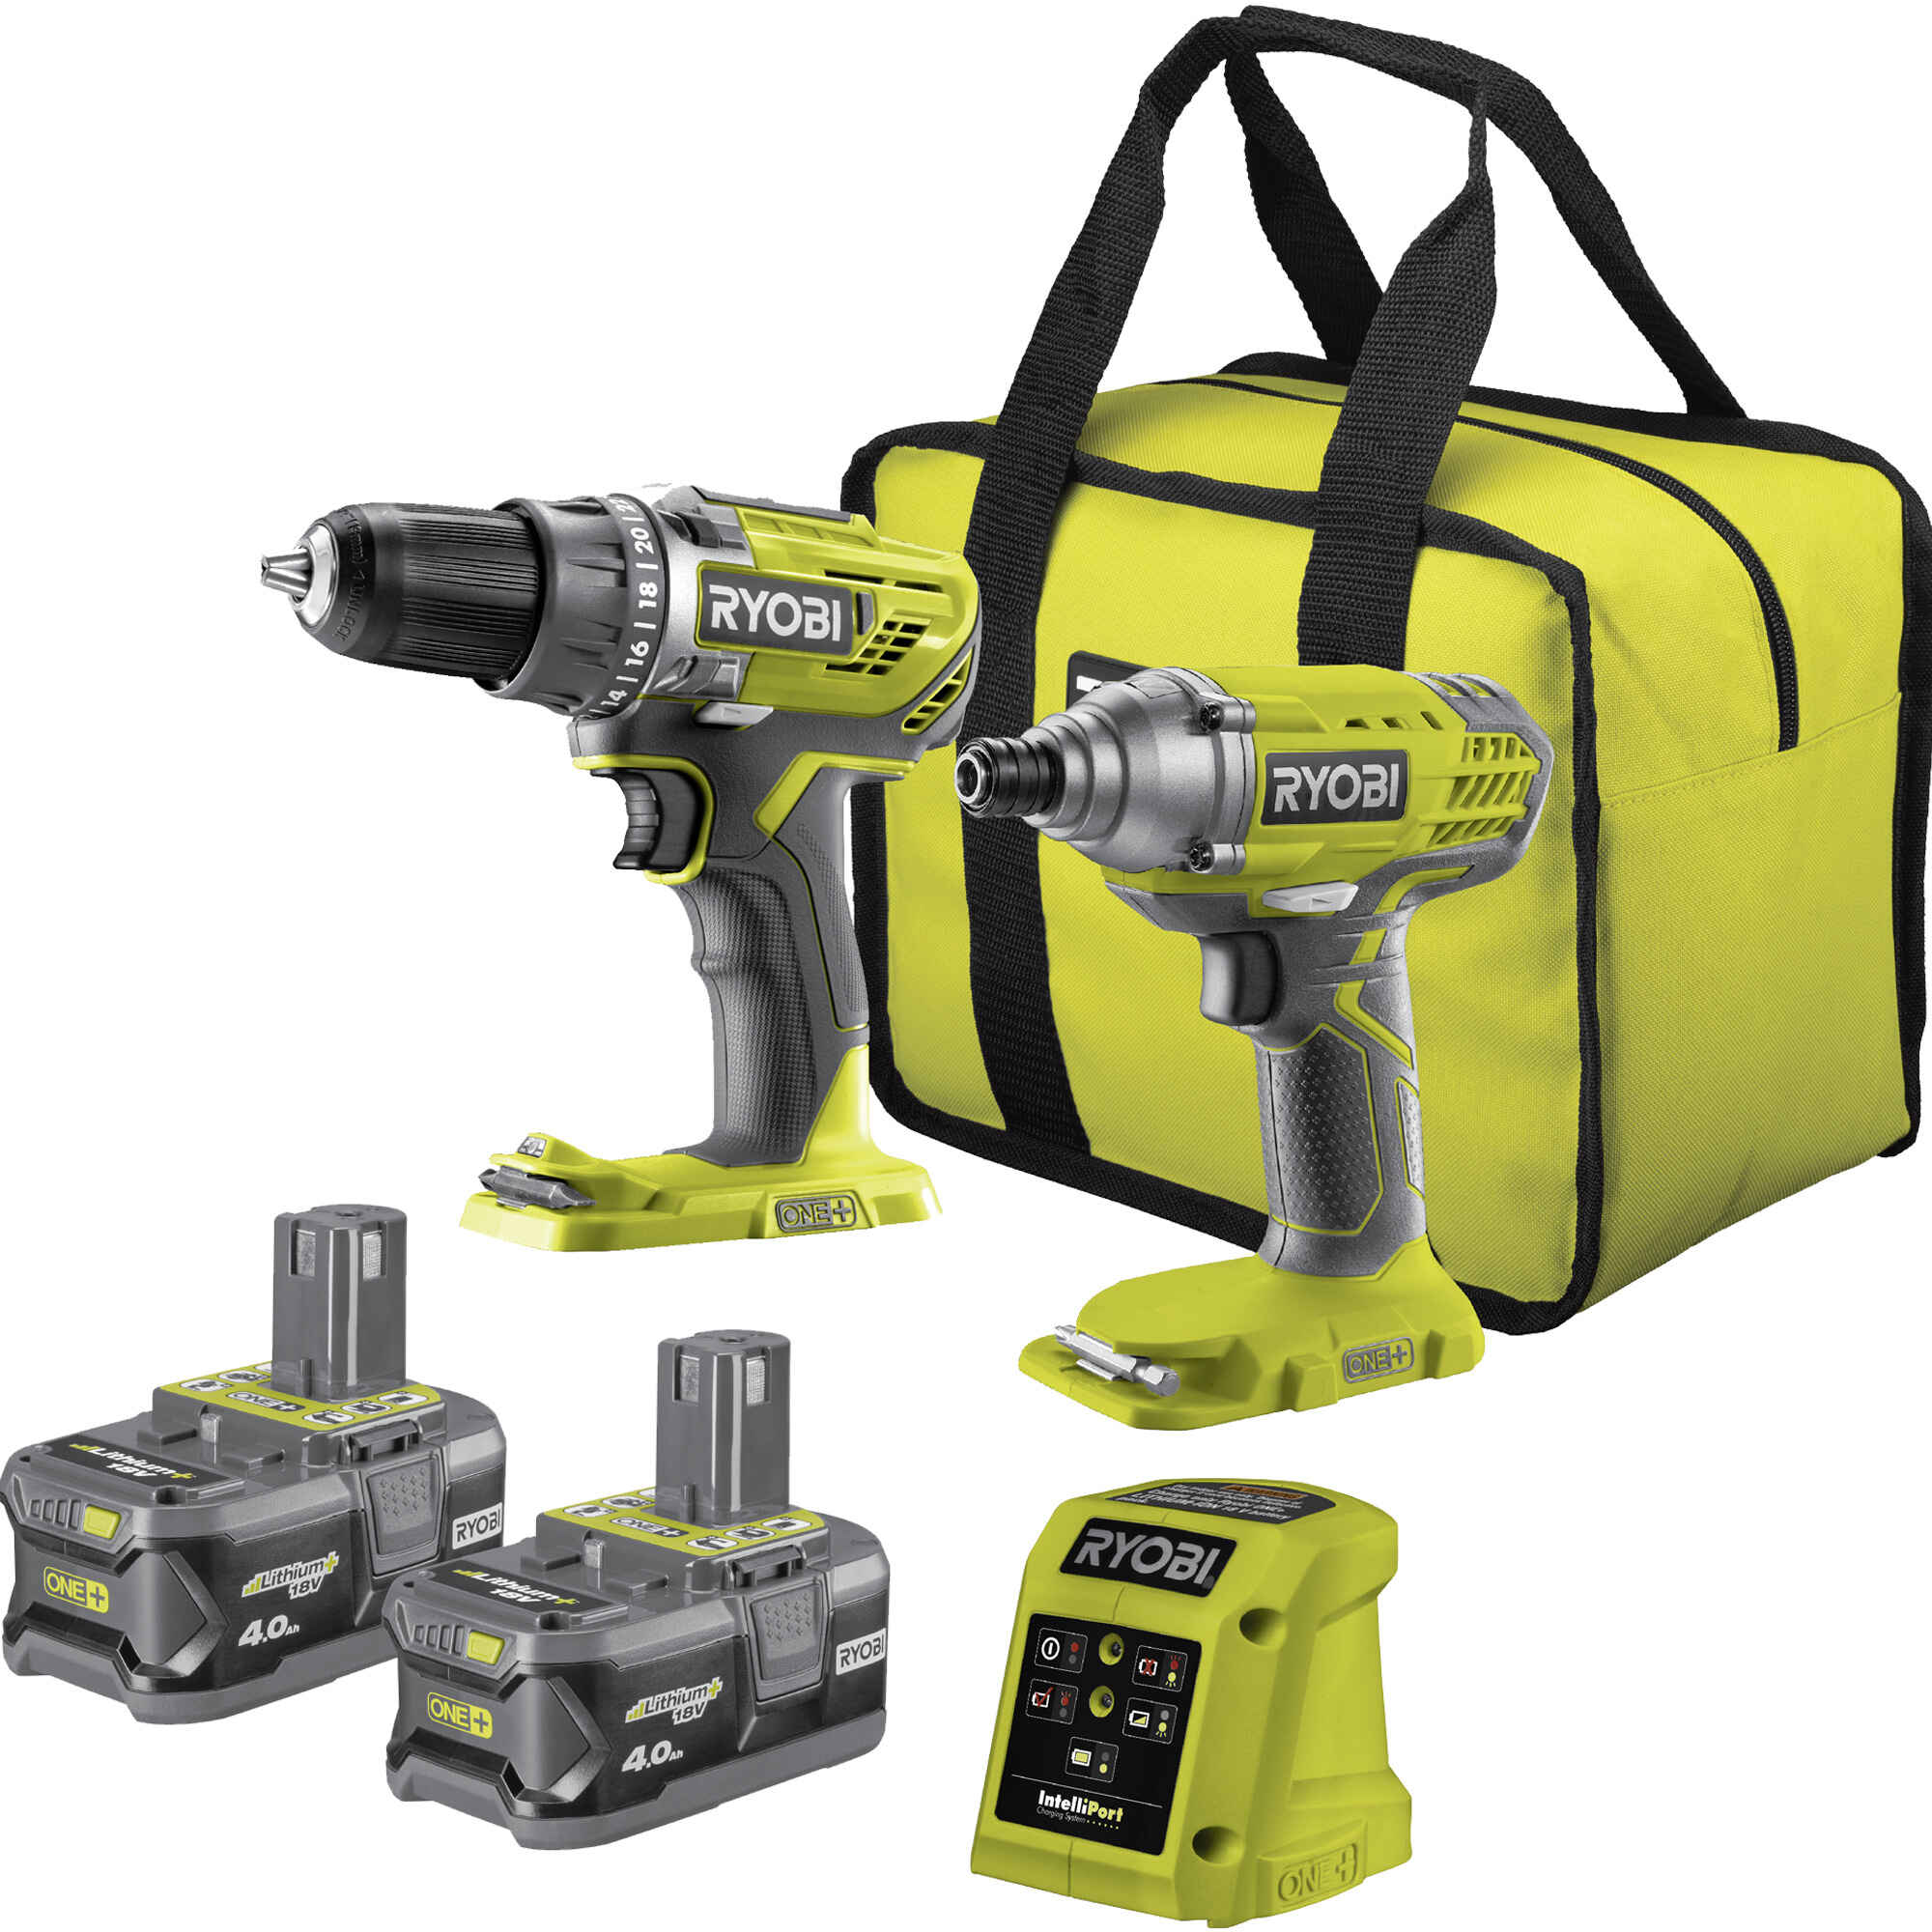
- Battery (Cordless Models): Cordless Ryobi Drills are powered by a rechargeable battery. The battery slots into the base of the drill and provides the necessary power for operation. Ensure that the battery is charged before using the drill.
- Motor: The motor is the heart of the Ryobi Drill and drives the rotation of the chuck. It converts electrical energy from the power source into mechanical energy to rotate the drill bit.
- Speed and Torque Adjustment: Ryobi Drills often have adjustable speed and torque settings. The speed setting determines the rotation speed of the chuck, while the torque setting controls the twisting force applied when driving screws or drilling into different materials.
- LED Light: Many Ryobi Drills are equipped with a built-in LED light near the chuck. This light illuminates the work area, providing better visibility in low-light conditions or when working in tight spaces.
- Forward/Reverse Switch: This switch allows you to change the direction of rotation of the drill. Selecting the forward mode rotates the chuck clockwise for drilling, while the reverse mode rotates it counterclockwise for tasks such as removing screws.
- Depth Gauge: Some Ryobi Drills come with a depth gauge, which allows you to set the drilling depth for more precise and consistent results. The depth gauge is usually adjustable and can be locked in place once the desired depth is set.
By familiarizing yourself with these components, you’ll be better equipped to understand the functions and operation of your Ryobi Drill. Next, let’s explore the different power source options available.
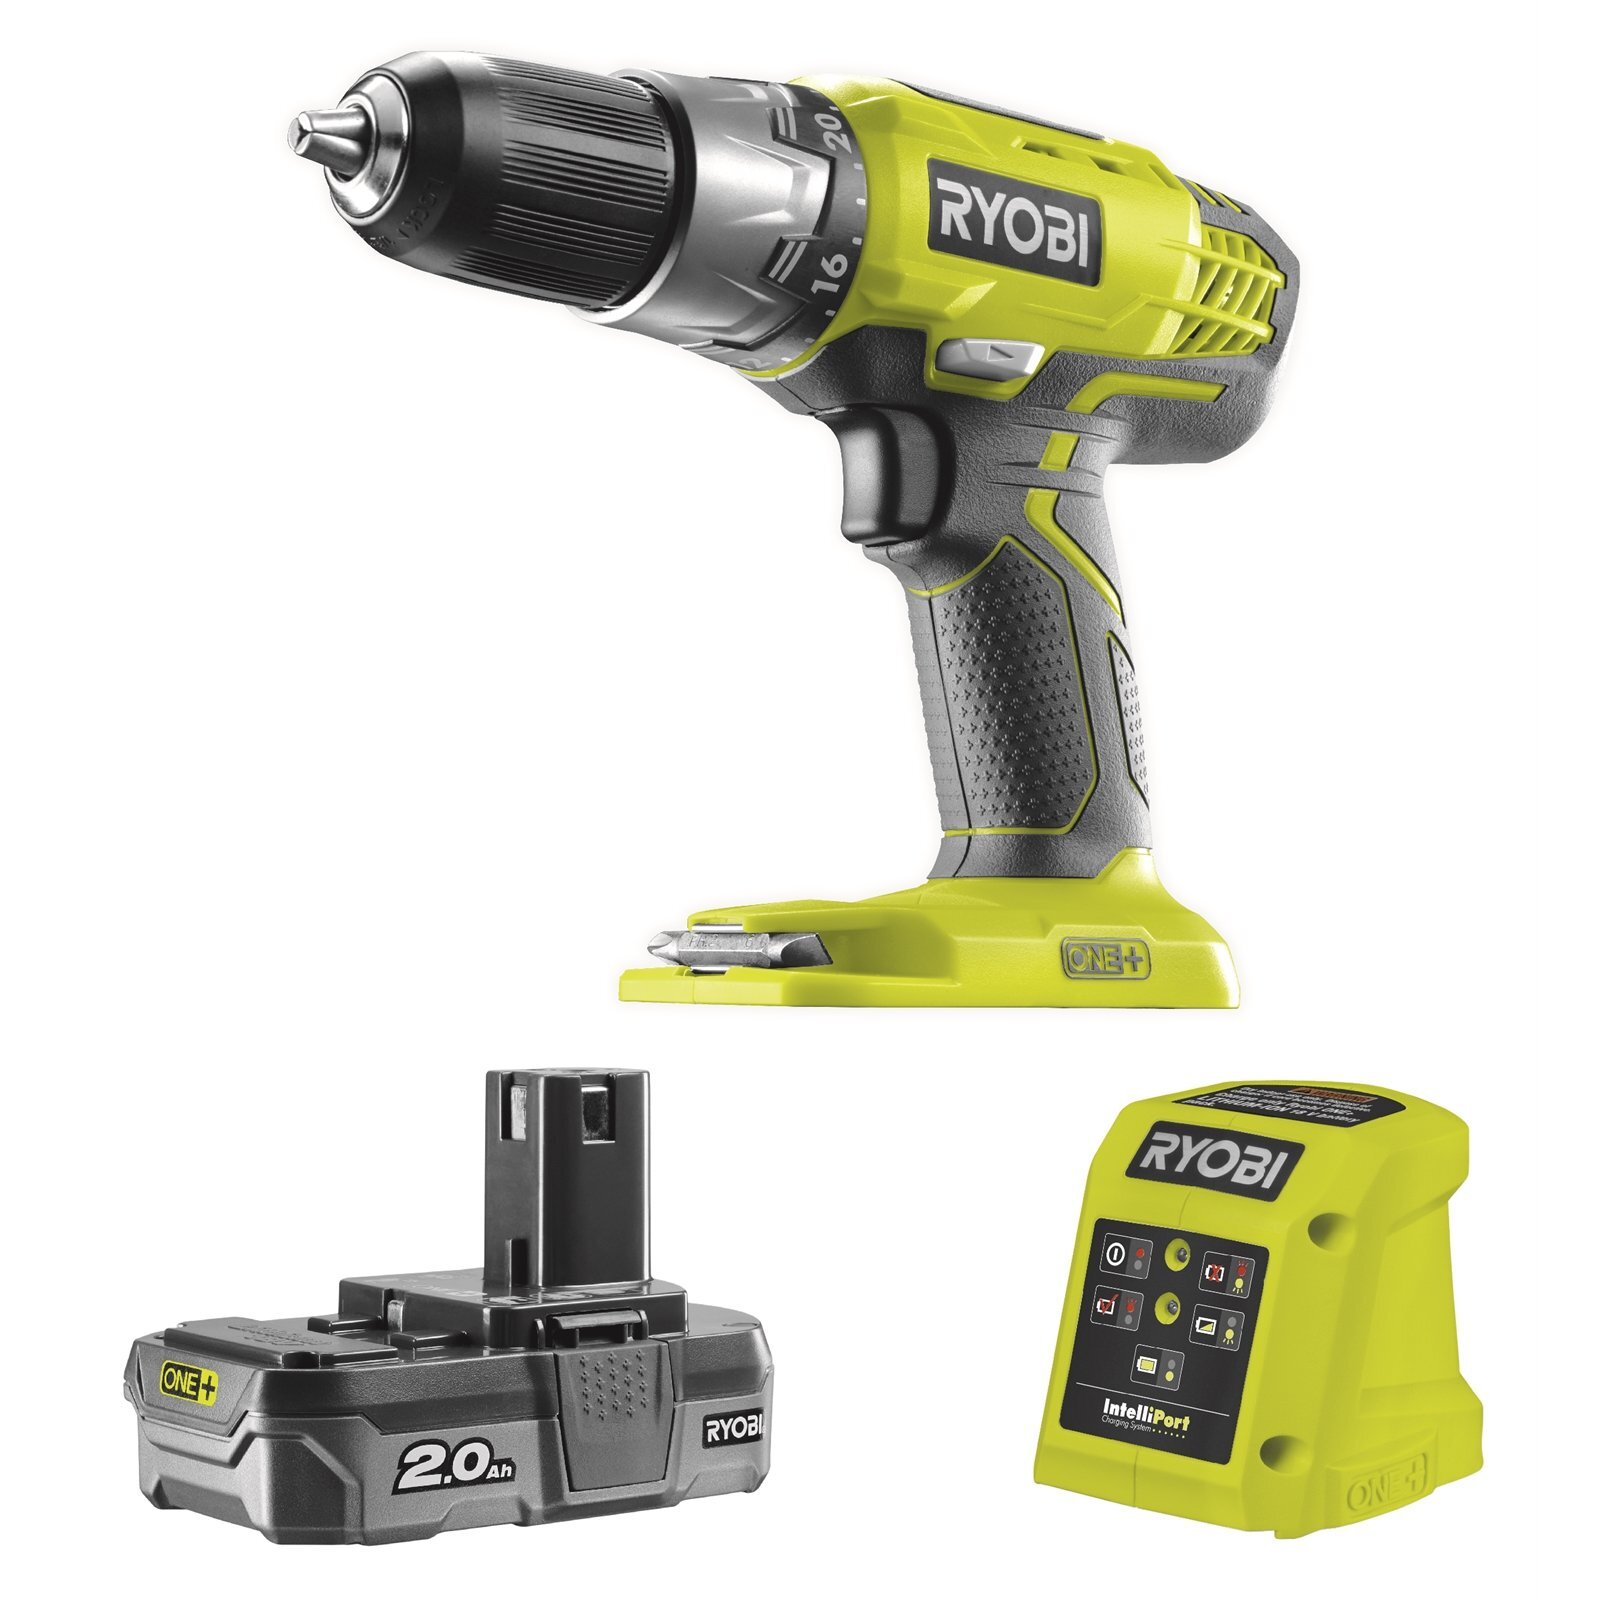
Power Source Options
Ryobi Drills offer different power source options to cater to different needs and preferences. Here are the main power sources available:
- Corded Drills: Corded Ryobi Drills require a power supply through an electrical outlet. These drills offer consistent power and are ideal for tasks that require long periods of usage without the need to worry about battery life. However, they may be less portable due to the cord length limitations.
- Cordless Drills: Cordless Ryobi Drills are powered by rechargeable batteries, providing greater mobility and flexibility. These drills are convenient to use and are not restricted by cord length or the availability of electrical outlets. They are perfect for projects that require movement or working in areas with limited access to power outlets.
- Hybrid Drills: Ryobi also offers hybrid drills, which can operate on both corded and cordless power sources. These drills come with a detachable cord that can be plugged into an electrical outlet for continuous power when needed. When mobility is required, the cord can be detached, and the drill can function as a cordless tool.
When choosing a power source for your Ryobi Drill, consider your specific needs and the nature of your projects. Corded drills are best suited for tasks that require long continuous use, such as heavy-duty drilling or working on construction sites. On the other hand, cordless drills provide convenience and are ideal for lighter projects or situations where mobility is a priority.
It’s worth noting that different cordless Ryobi Drill models may use different battery platforms. Ryobi offers a range of battery options, including lithium-ion batteries with varying capacities. Be sure to choose a battery that is compatible with your specific drill model and consider having extra batteries on hand to avoid interruptions during longer projects.
Now that you understand the power source options available for your Ryobi Drill, let’s move on to the next section: inserting and removing drill bits.
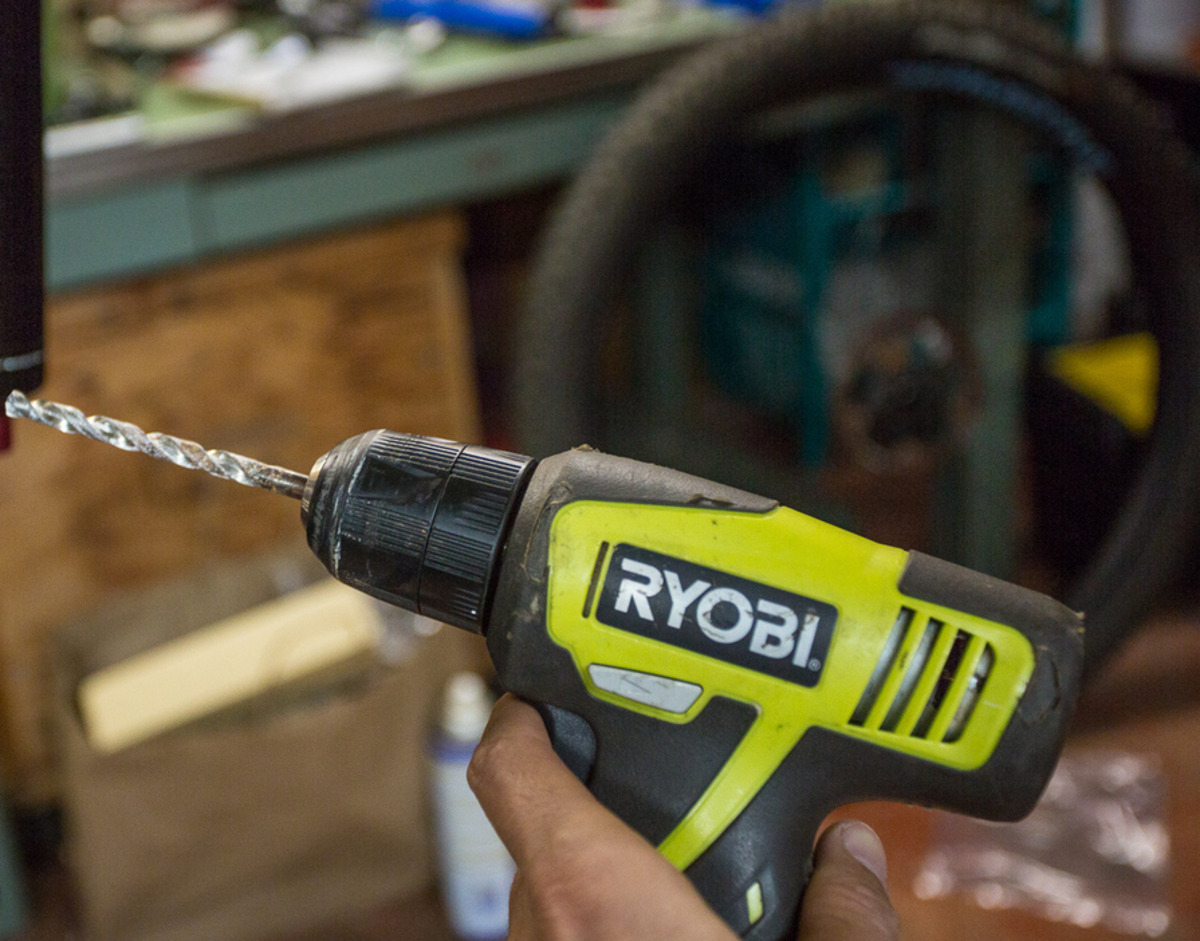
Inserting and Removing Drill Bits
Knowing how to properly insert and remove drill bits is essential for using your Ryobi Drill effectively. Follow these step-by-step instructions to ensure a secure and hassle-free process:
- Prepare the Drill: Before inserting or removing a drill bit, ensure that the Ryobi Drill is turned off and unplugged (for corded drills) or that the battery is removed (for cordless drills). This is to prevent any accidental activation or rotation of the chuck.
- Release the Chuck: To insert or remove a drill bit, you need to release the chuck. Hold the drill firmly with one hand and locate the chuck near the front of the drill. On most Ryobi Drills, the chuck is a keyless type that can be tightened or loosened by hand.
- Hold the Chuck Firmly: While keeping the drill in a stable position, use your free hand to grip the chuck firmly. This will prevent it from rotating while you insert or remove the drill bit.
- Insert or Remove the Drill Bit: For inserting a drill bit, align the shank of the bit with the opening of the chuck. Push the bit into the chuck as far as it will go, ensuring it is centered and secure. To remove a drill bit, rotate the chuck counterclockwise to loosen it. Once loose, you can pull the bit out of the chuck.
- Tighten the Chuck: After inserting a drill bit, tighten the chuck by rotating it clockwise using your hand. Ensure that it is firmly secured to avoid any wobbling or slipping during operation. The goal is to have a solid grip on the bit without over-tightening, which can damage the chuck or the bit.
- Double-Check Security: Before using the Ryobi Drill, double-check that the drill bit is securely fastened and does not wobble. Give it a slight tug to ensure it is properly seated and will not come loose during drilling. This step is crucial for safety and to ensure accurate drilling results.
It may take some practice to become proficient at inserting and removing drill bits. Remember that different types of drill bits, such as twist bits, spade bits, or hole saws, may require different techniques. Refer to the manufacturer’s instructions or the specific drill bit’s packaging for any additional guidelines or precautions.
With your drill bits securely in place, we can now move on to exploring how to use the Ryobi Drill in both forward and reverse modes.
Read more: How To Put Bit In Ryobi Drill
Using the Drill in Forward and Reverse Modes
The Ryobi Drill offers the versatility of both forward and reverse modes, allowing you to drill into materials as well as drive screws or remove them. Here’s how to use the drill in each mode:
- Forward Mode: The forward mode is used for drilling holes and driving screws into materials. To set the drill to the forward mode, locate the forward/reverse switch on the drill. By default, it is usually set to the forward position. If not, switch it to the forward position.
- Drilling: Ensure that the drill bit is securely inserted into the chuck. Place the tip of the drill bit on the desired drilling spot and apply gentle pressure. Start the drill by squeezing the trigger. As the drill rotates, gradually increase the pressure on the workpiece while maintaining a steady hand and keeping the drill perpendicular to the surface. Let the drill do the work and avoid forcing it, as this can cause overheating or breakage of the bit.
- Driving Screws: To drive screws, make sure you have the appropriate screwdriver bit inserted into the chuck. Place the tip of the screwdriver bit into the screw head and apply gentle pressure. Start the drill by squeezing the trigger. As the drill rotates, evenly apply pressure while driving the screw into the material. Be cautious not to over-tighten the screw, as this can strip the screw head or damage the material.
- Reverse Mode: The reverse mode is used to remove screws or back out a drill bit from a hole. To set the drill to the reverse mode, locate the forward/reverse switch and switch it to the reverse position.
- Removing Screws: Ensure that the appropriate screwdriver bit is inserted into the chuck. Place the tip of the screwdriver bit into the screw head and apply gentle pressure. Start the drill by squeezing the trigger. As the drill rotates in reverse, evenly apply pressure while backing out the screw. Take care to keep the drill aligned with the screw to avoid slipping and causing damage to the surrounding area.
Always exercise caution and maintain control when using the drill in forward or reverse modes. If you’re unsure about the appropriate speed or torque settings for your specific drilling or screwdriving application, consult the manufacturer’s guidelines or start with lower settings and adjust as needed.
Now that you know how to use the drill in both forward and reverse modes, let’s explore how to adjust the speed and torque settings to suit your needs.
Adjusting Speed and Torque Settings
The Ryobi Drill offers adjustable speed and torque settings to provide you with greater control and precision based on the task at hand. Here’s how to adjust these settings:
- Speed Settings: Locate the speed control switch or dial on your Ryobi Drill. This switch allows you to adjust the rotation speed of the chuck. Different models may offer variable speed control or preset speed options. Refer to your drill’s manual for specific instructions on how to adjust the speed setting.
- Variable Speed Control: If your drill model offers variable speed control, gently press the trigger to activate the drill. While the trigger is pressed, adjust the pressure on the trigger to increase or decrease the drill’s speed. This allows you to have more precise control over the drilling or screwdriving operation. For delicate or precise tasks, use a slower speed. For faster drilling or driving, apply more pressure on the trigger.
- Preset Speed Options: Some Ryobi Drills may have preset speed options that you can select using a switch or dial. These options are typically labeled with numbers or symbols representing different speeds or drilling applications. Simply turn the dial or switch to the desired speed option, and the drill will automatically adjust to the corresponding speed setting.
- Torque Settings: Adjusting the torque settings on your Ryobi Drill allows you to control the twisting force applied while driving screws or drilling into different materials. This helps prevent over-tightening or stripping of screws and ensures proper drilling results.
- Torque Adjustment Ring: Locate the torque adjustment ring on your drill, which is usually located near the chuck or on the handle. The ring may be marked with numbers or symbols representing different torque levels. Rotate the ring to the desired torque setting. Higher numbers or symbols indicate more torque, while lower numbers or symbols indicate less torque.
- Matching Torque to Application: When using the drill for different tasks, adjust the torque setting accordingly. For small screws or delicate materials, use a lower torque setting to avoid overdriving. For larger screws or tougher materials, use a higher torque setting to ensure sufficient driving force. As you gain experience, you’ll get a feel for the appropriate torque setting for each application.
Experiment with different speed and torque settings to find the right combination for your specific drilling or screwdriving needs. Remember to start with lower settings and gradually increase as necessary to avoid damaging the workpiece or compromising the integrity of the screw.
With your speed and torque settings adjusted, you’re ready to move on to drilling holes with your Ryobi Drill.
When using a Ryobi drill, always ensure the battery is fully charged before starting your project to avoid interruptions.
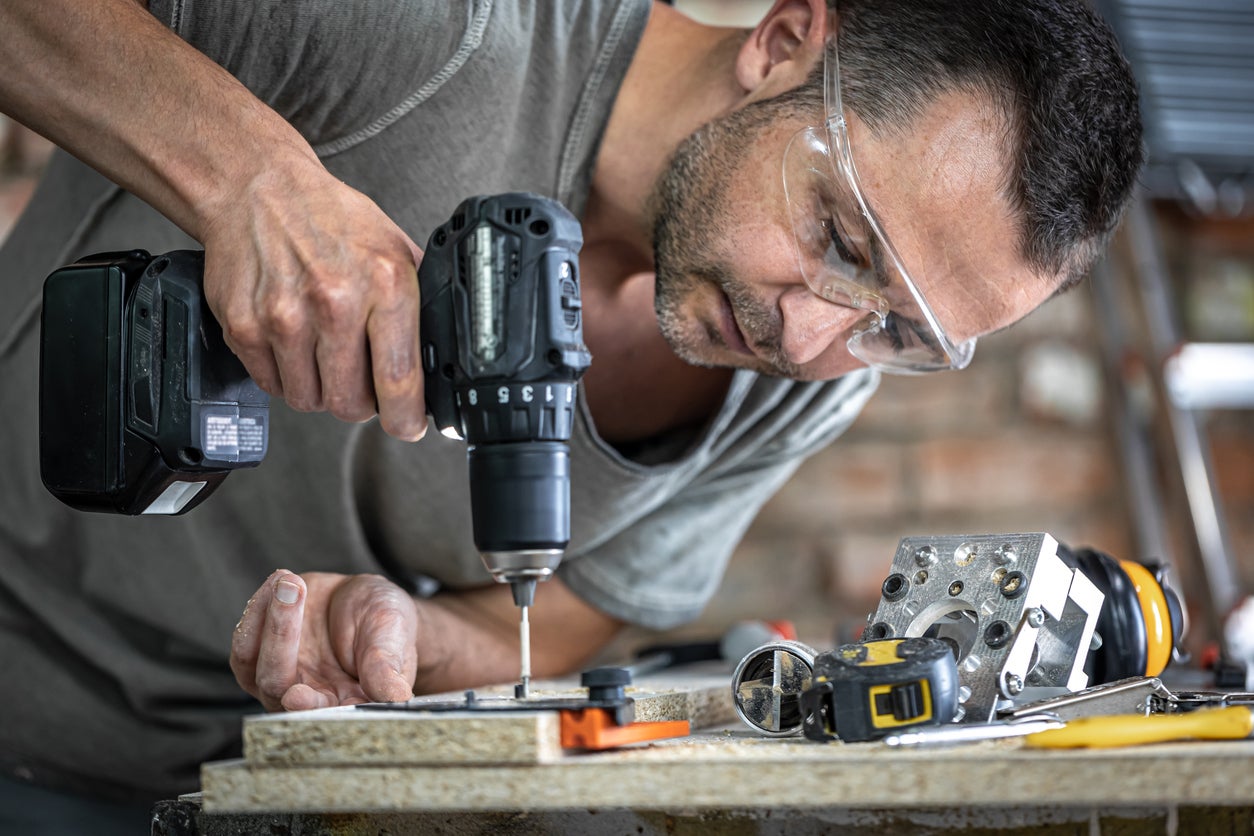
Drilling Holes
Drilling holes is one of the primary functions of the Ryobi Drill. Whether you’re working on a woodworking project or installing shelves, knowing how to drill holes efficiently and accurately is essential. Here’s a step-by-step guide to help you drill holes effectively:
- Prepare the Workpiece: Mark the spot where you want to drill the hole using a pencil or a center punch. This will help guide the drill and ensure precision.
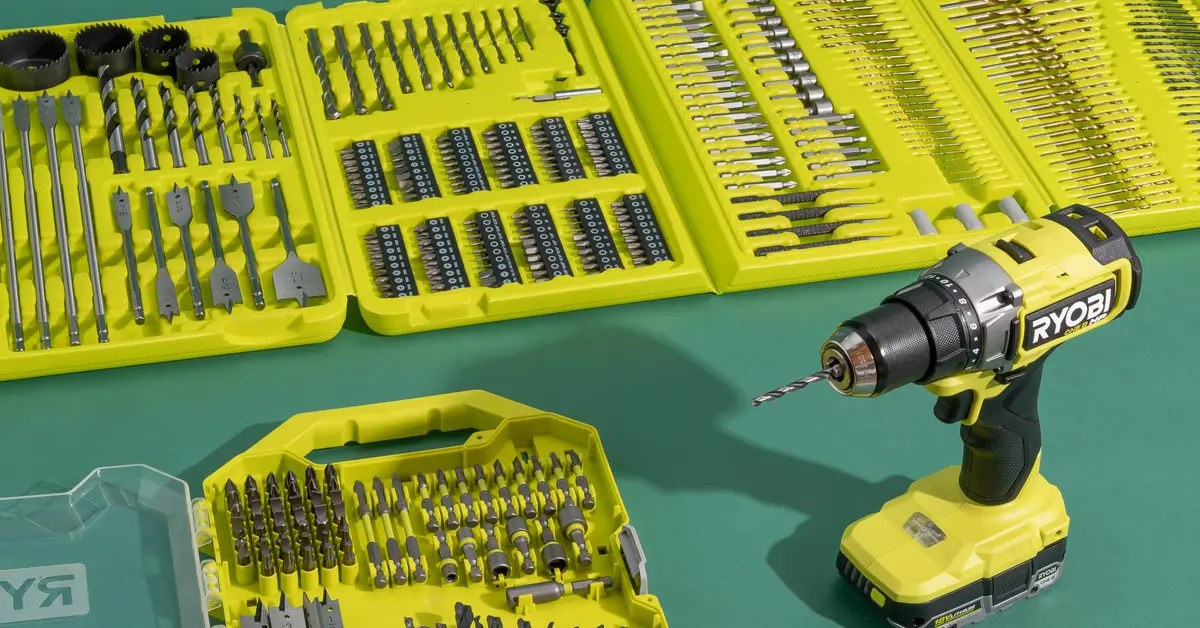
- Choose the Right Drill Bit: Select a drill bit suitable for the material you’re drilling into. Different drill bits are designed to work best with specific materials such as wood, metal, or masonry. Consult the drill bit manufacturer’s recommendations or refer to your drill’s manual for guidance.
- Secure the Workpiece: If the workpiece is small or unstable, you can use clamps or a vice to secure it. This will help prevent it from moving while drilling, ensuring accuracy and safety.
- Insert the Drill Bit: Follow the instructions mentioned earlier in this guide to insert the appropriate drill bit securely into the chuck. Ensure that the bit is centered and tightened correctly.
- Set the Speed and Torque: Adjust the speed and torque settings on your Ryobi Drill based on the material and the size of the hole you’re drilling. For larger holes or tougher materials, use a slower speed and higher torque to provide enough power for drilling.
- Position the Drill: Hold the drill firmly and position the tip of the drill bit precisely on the marked spot on the workpiece. Make sure the drill is perpendicular to the surface to ensure a straight hole.
- Start Drilling: Start the drill by squeezing the trigger gently. Apply steady and even pressure as you drill into the material. Let the drill bit do the work and avoid pushing too hard, as this can strain the motor or cause the bit to overheat.
- Control the Depth: If you need to drill to a specific depth, you can use a depth gauge or mark the drill bit with tape to act as a guide. Be mindful of the depth as you drill and periodically withdraw the bit slightly to remove excessive debris and prevent overheating.
- Clear Away Debris: Stop the drill occasionally to clear away the accumulated debris and dust. You can use a brush or compressed air to clean the drilled hole. Removing debris helps maintain the drill’s efficiency and prevents clogging or binding of the bit.
- Finish and Withdraw the Bit: Once you reach the desired depth or complete the hole, release the trigger to stop the drill. Slowly withdraw the drill bit from the hole while maintaining control over the drill. Take care not to pull too forcefully, as this can cause the bit to catch on the workpiece.
Remember to take breaks and let the drill cool down when necessary, especially during extended drilling sessions or when working with dense materials. Additionally, consider wearing a dust mask when drilling into materials that may produce dust or debris.
By following these steps, you’ll be able to drill holes accurately and efficiently using your Ryobi Drill. Next, we’ll discuss how to use the drill for driving screws into various materials
Driving Screws
The Ryobi Drill is a versatile tool that is not only designed for drilling holes but also for driving screws into various materials. Whether you’re assembling furniture, hanging shelves, or working on a woodworking project, driving screws accurately and securely is essential. Here’s a step-by-step guide on how to drive screws effectively with your Ryobi Drill:
- Choose the Right Screwdriver Bit: Select a screwdriver bit that matches the type and size of the screw you’re using. It’s important to use the correct bit to ensure a proper fit and prevent stripping or damaging the screw.
- Insert the Screwdriver Bit: Follow the instructions provided earlier in this guide to insert the screwdriver bit securely into the chuck of your Ryobi Drill. Ensure that the bit is centered and tightened securely.
- Position the Screw: Place the screw into the desired position on the workpiece. Ensure that the screw head is aligned with the screwdriver bit and that the Phillips or slotted groove is properly engaged with the bit.
- Set the Speed and Torque: Adjust the speed and torque settings on your Ryobi Drill based on the size and type of screw, as well as the material you’re driving the screw into. For larger screws or tougher materials, higher torque settings may be needed to drive the screw effectively.
- Hold the Drill Firmly: Grip the drill firmly with one hand on the handle and the other hand on the front of the drill for proper control and stability. Keep your fingers away from the rotating chuck and moving parts.
- Start Driving: Start the drill by squeezing the trigger gently, and let the drill rotate in the forward direction. Apply steady and even pressure on the screw as you drive it into the material. Avoid pushing too forcefully, as this can cause the screw to strip or the material to split.
- Control the Depth: If you require a specific depth for the screw, adjust the torque setting accordingly or use a depth stop attachment. This will prevent the screw from being driven too deep and ensure a flush finish or a specific countersink depth.
- Avoid Over-Tightening: Be mindful not to over-tighten the screw. Once the screw is fully driven into the material, release the trigger to stop the drill. Over-tightening can damage the screw or strip the material, so use your judgment or follow the manufacturer’s recommendations for the specific application.
- Switch to Reverse Mode: If you need to remove a screw, switch the forward/reverse switch on the drill to the reverse mode. Place the screwdriver bit into the screw head and gently squeeze the trigger to back out the screw.
- Repeat as Necessary: Repeat the process for driving screws into other locations on the workpiece or for additional screws in your project. Take breaks as needed to prevent the drill from overheating and allow the material to adjust.
Taking the time to drive screws properly ensures strong connections and reduces the risk of the screw loosening or damaging the material. By following these steps, you’ll be able to drive screws effectively with your Ryobi Drill.
Next, we’ll explore some other applications for your Ryobi Drill, so you can make the most out of this versatile tool.
Read more: How To Change Ryobi Drill Bit
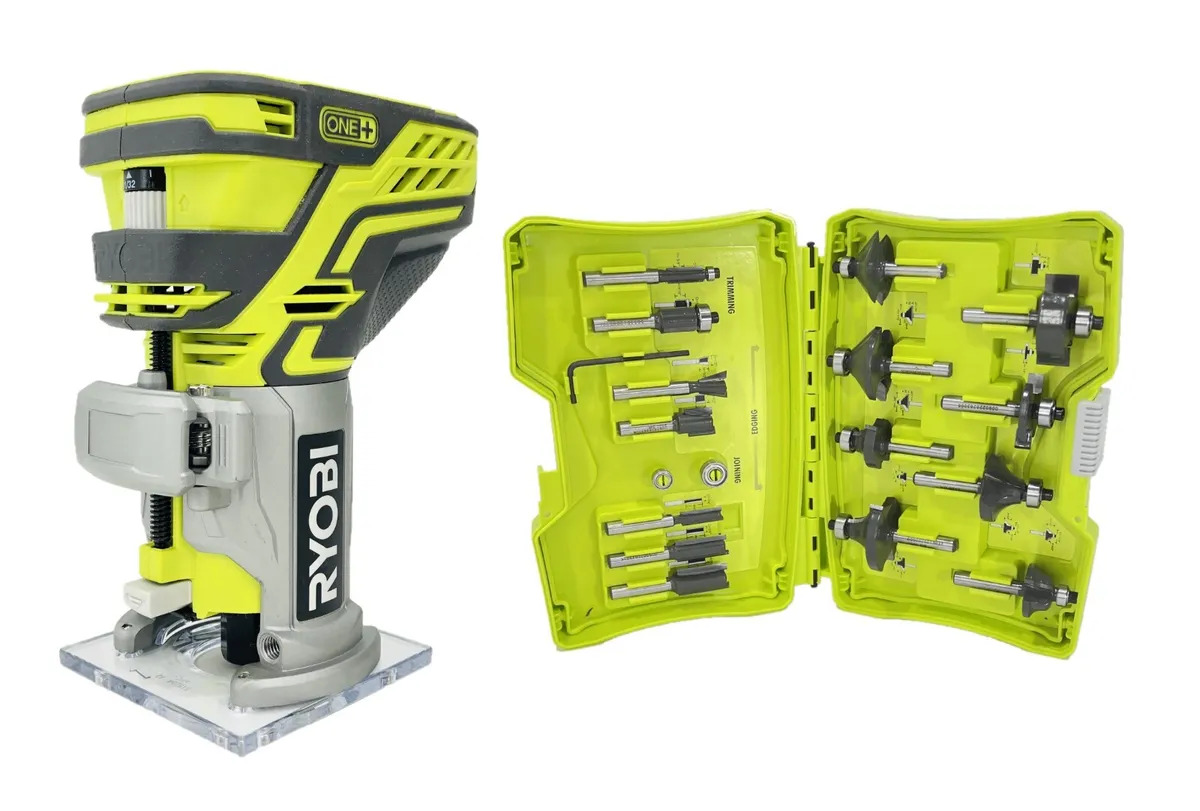
Using the Drill for Other Applications
The Ryobi Drill is a versatile tool that can be used for various applications beyond drilling holes and driving screws. Here are some other tasks you can accomplish with your Ryobi Drill:
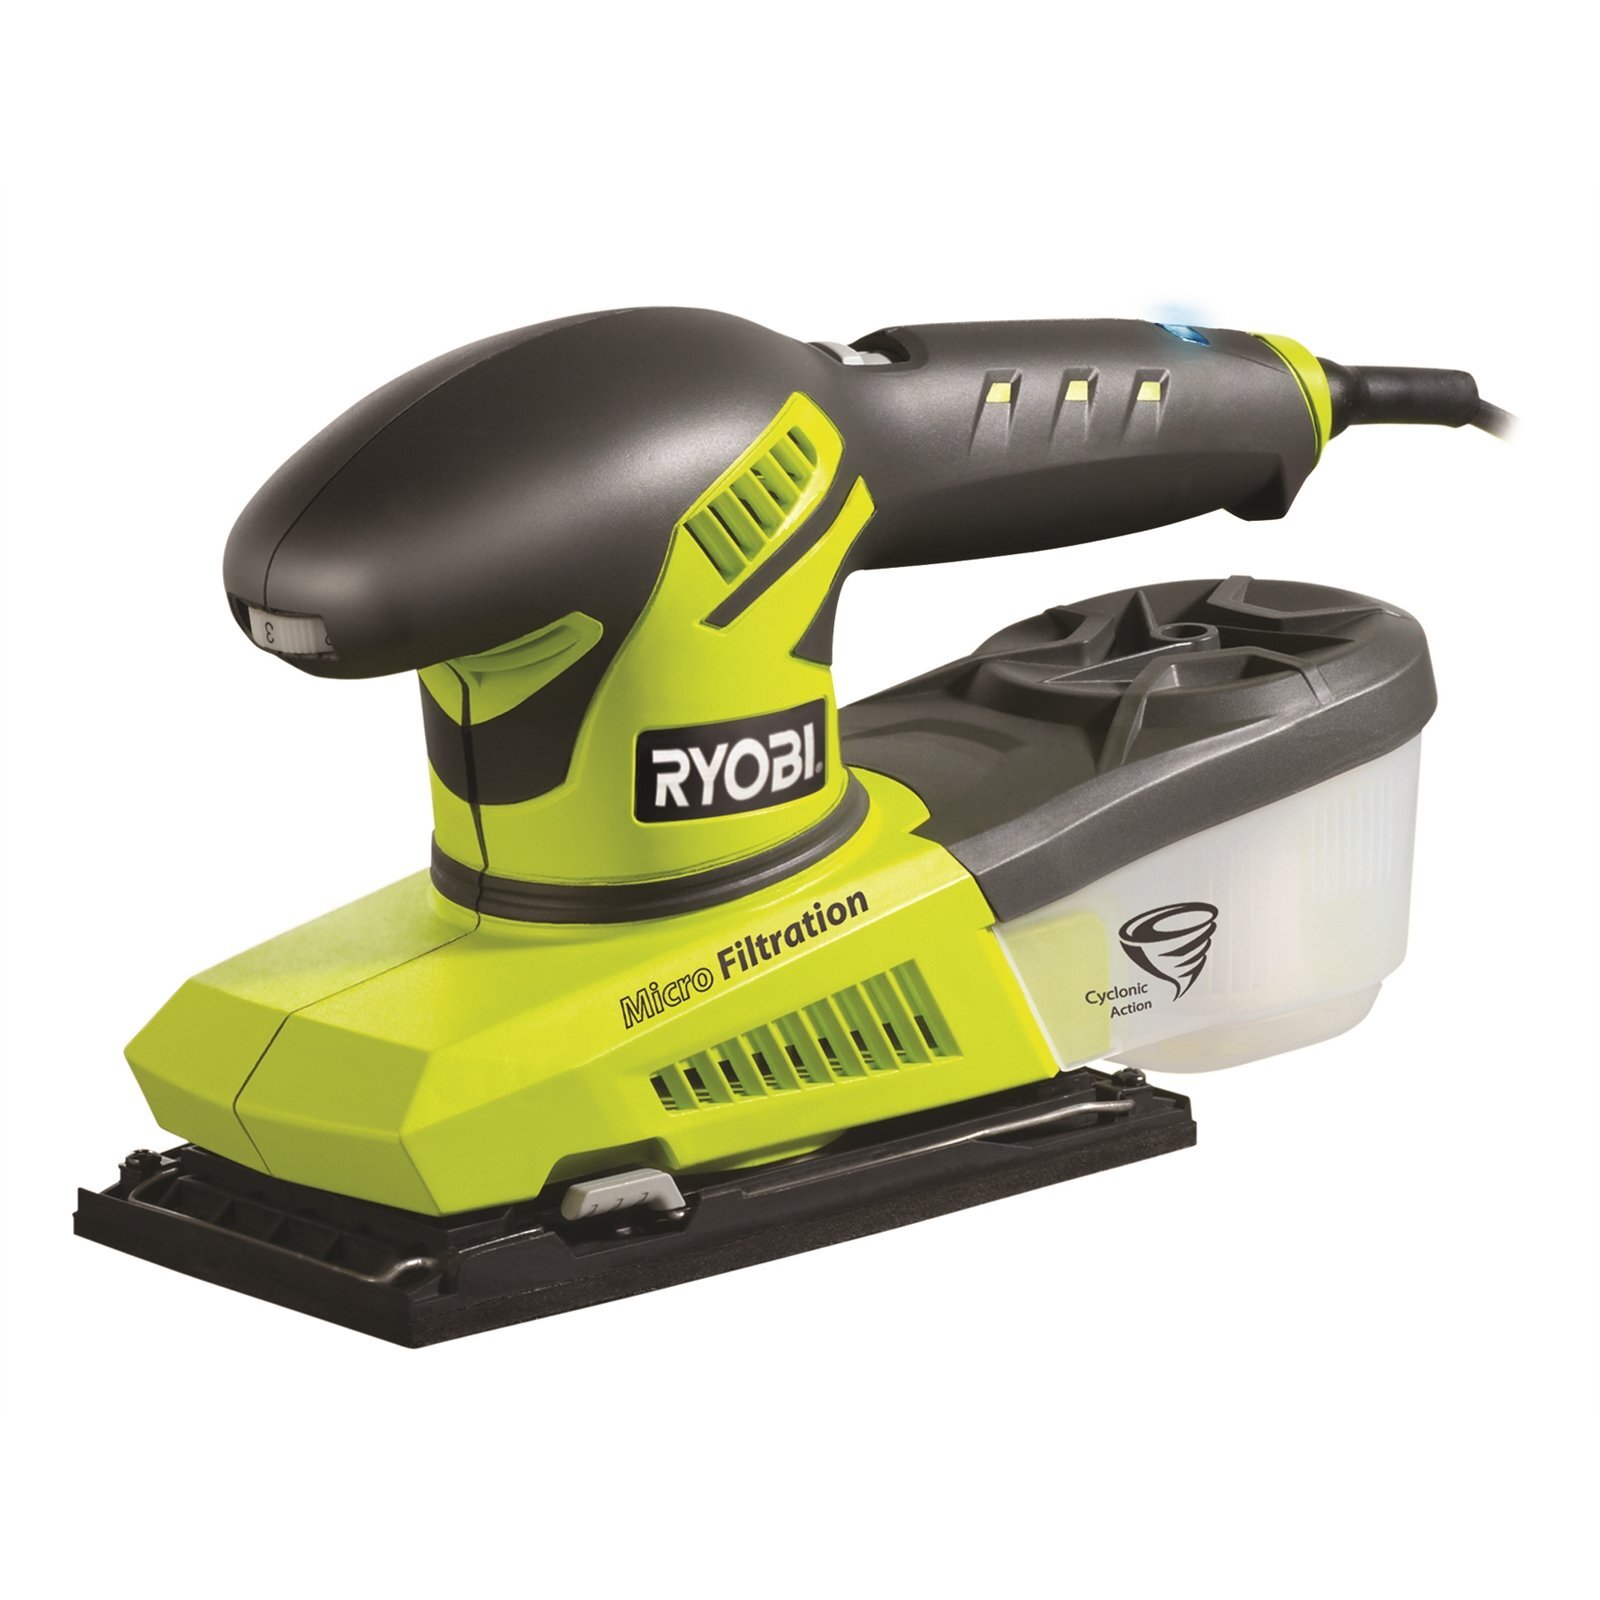
- Sanding: With the appropriate sanding attachment, such as a sanding pad or disc, your Ryobi Drill can be transformed into a power sander. This allows you to smooth surfaces or remove paint or varnish efficiently. Ensure the drill is set to a lower speed setting and follow proper sanding techniques.
- Wire Brushing: Attach a wire brush to your Ryobi Drill to remove rust, corrosion, or paint from metal surfaces. This is particularly useful for preparing surfaces before painting or refinishing.
- Mixing Paint or Mortar: Using a stirring attachment, your Ryobi Drill can be used to mix paint, mortar, or other materials. This saves time and effort compared to manual mixing, especially for larger batches.
- Polishing or Buffing: By attaching a polishing pad or buffing wheel, your Ryobi Drill can be used to polish or buff surfaces, such as metals or automotive finishes. This helps restore shine and luster to the material.
- Deburring: With a deburring attachment, your Ryobi Drill can remove sharp edges or burrs on metal or plastic materials, ensuring a smooth and safe finish.
- Hole Saw Applications: Hole saws are suitable for creating larger holes in materials like wood or drywall. By using a hole saw attachment on your Ryobi Drill, you can easily cut holes for plumbing, electrical, or ventilation installations.
- Installing or Removing Bolts: Your Ryobi Drill can be used for fastening or removing bolts quickly and efficiently. Ensure that you use the appropriate socket attachment that matches the size of the bolts you’re working with.
- Masonry and Concrete Tasks: With the right masonry or concrete drill bits, your Ryobi Drill can handle drilling into brick, concrete, or other masonry materials. Ensure that you use the correct bit and follow proper drilling techniques for these materials.
- Auxiliary Handles: Some Ryobi Drills come with auxiliary handles that can be attached for better stability and control during heavy-duty tasks. These handles provide additional grip and reduce fatigue during long drilling or screwdriving sessions.
Always ensure that you have the appropriate attachments and accessories for these applications. Follow the manufacturer’s instructions and safety guidelines for using your Ryobi Drill in different ways. Remember that each application may require specific techniques and adjustments to the drill’s speed, torque, or settings.
With these additional applications in mind, you can maximize the functionality of your Ryobi Drill and explore the wide range of tasks it can assist you with!
Next, let’s discuss some maintenance and care tips to ensure the longevity and optimal performance of your Ryobi Drill.
Maintenance and Care Tips
Proper maintenance and care are essential for keeping your Ryobi Drill in good working condition and prolonging its lifespan. Here are some maintenance and care tips to follow:
- Clean the Drill Regularly: After each use, wipe down the drill with a clean, dry cloth to remove any dust, dirt, or debris. This helps prevent buildup and ensures that the moving parts operate smoothly.
- Keep the Chuck Clean: Regularly check the chuck for any debris or buildup that may hinder its proper functioning. Use a small brush or compressed air to clean out any particles or dust that accumulate in the chuck.
- Lubricate Moving Parts: Apply a few drops of lubricating oil to the chuck and any other moving parts, as recommended by the manufacturer’s guidelines. This helps prevent rust and keeps the drill running smoothly.
- Inspect Power Cord (Corded Drills): If you have a corded Ryobi Drill, regularly check the power cord for any signs of wear or damage. If you notice any fraying or exposed wires, discontinue use and replace the cord immediately to avoid electrical hazards.
- Charge Batteries Properly (Cordless Drills): If you have a cordless Ryobi Drill, ensure that you follow the manufacturer’s instructions for charging the battery. Overcharging or leaving the battery depleted for extended periods can reduce its lifespan. Avoid exposing batteries to extreme temperatures.
- Store in a Clean and Dry Environment: When not in use, store your Ryobi Drill in a clean, dry area. This helps prevent dust and moisture from affecting the drill’s performance. If possible, keep it in a protective case or toolbox to prevent accidental damage.
- Protect from Impact: Avoid dropping or subjecting your Ryobi Drill to rough treatment or impact. This can cause internal damage and affect its performance. Handle the drill with care to ensure its longevity.
- Follow Service and Maintenance Schedule: Consult the drill’s manual for specific service and maintenance recommendations. This may include periodic inspections, tune-ups, or professional servicing. Adhering to the recommended schedule ensures that your drill continues to operate at its best.
By following these maintenance and care tips, you can keep your Ryobi Drill in optimal condition and extend its lifespan. Regular cleaning, lubrication, and proper storage will contribute to its smooth operation and reliable performance.
If you encounter any issues or have concerns about your Ryobi Drill’s performance, consult the manufacturer’s troubleshooting guide or seek professional assistance.
With proper maintenance in mind, you can enjoy using your Ryobi Drill for many projects to come!
Now that we’ve covered maintenance and care, let’s move on to troubleshooting some common issues that you may encounter with your Ryobi Drill.
Troubleshooting Common Issues
While the Ryobi Drill is a reliable tool, you may encounter occasional issues during its use. Here are some common problems and their possible solutions:
- Drill Not Powering On: If your Ryobi Drill doesn’t power on, first check the power source for corded drills or ensure the battery is adequately charged for cordless drills. Verify that the power cord is firmly connected or the battery is correctly inserted. If the issue persists, check the circuit breaker or try a different power outlet.
- Weak or Inconsistent Power: If you notice a decrease in power or the drill is not performing as expected, check the battery charge (for cordless drills) or the power source for corded drills. Overheating can also be a cause, so give the drill a break to cool down. Clean the chuck and moving parts, and check for any debris that may be interfering with the drill’s performance.
- Chuck Slipping: If the chuck is slipping, it may not be tightened properly. Turn off the drill and ensure the chuck is firmly tightened by hand. If the chuck continues to slip, the chuck may need to be replaced. Refer to the manufacturer’s instructions or contact customer support for further assistance.
- Excessive Vibration or Noises: Excessive vibration or unusual noises can indicate an issue with the drill. Check for loose screws, bolts, or attachments and tighten them if necessary. Inspect the drill for any visible damage or signs of wear. If the problem persists, discontinue use and consult a professional for inspection and repair.
- Poor Battery Life: If you’re experiencing short battery life on your cordless Ryobi Drill, check the charging process to ensure the battery is fully charged. Avoid overcharging or leaving the battery depleted for long periods. If the battery is old or worn, it may need to be replaced with a new one compatible with your drill model.
- Bit Getting Stuck: If your drill bit gets stuck in the chuck, ensure the chuck is in the unlocked position and try rotating it counterclockwise to release the bit. If the bit is still stuck, use a pair of pliers to grip the bit’s shank firmly and rotate it counterclockwise while holding the chuck in place.
- Overheating: If your Ryobi Drill feels excessively hot during use, it may be overheating. Give the drill a break to cool down and avoid using it for extended periods without breaks. Ensure the drill is not being overloaded or that the bit is not dull or damaged, causing excessive strain on the motor.
If you encounter any other issues or the troubleshooting steps don’t resolve the problem, refer to the manufacturer’s troubleshooting guide, consult the drill’s manual, or contact customer support for further assistance. They will be able to provide specific guidance and help you address any concerns with your Ryobi Drill.
Remember, safety should always be a priority. If you experience any unusual smells, smoke, sparks, or other signs of malfunction, immediately stop using the drill and seek professional assistance.
By addressing common issues promptly and following proper troubleshooting steps, you can keep your Ryobi Drill in optimal working condition and ensure continued performance for your projects.
Finally, let’s wrap up our comprehensive guide on using the Ryobi Drill effectively.
Conclusion
Congratulations! You have reached the end of our comprehensive guide on how to use the Ryobi Drill effectively. Through this guide, we have covered various topics to help you get the most out of your Ryobi Drill, from understanding its components to safely operating it for drilling holes, driving screws, and tackling other applications.
We started with safety precautions, emphasizing the importance of wearing protective gear and following the manufacturer’s guidelines to ensure a safe working environment. We then explored the different components of the Ryobi Drill and the power source options available, including corded, cordless, and hybrid models.
You learned how to insert and remove drill bits securely and adjust the speed and torque settings based on your specific tasks. We walked through the step-by-step processes for drilling holes and driving screws accurately, offering tips for controlling depth, avoiding over-tightening, and switching between forward and reverse modes.
But your Ryobi Drill isn’t limited to just drilling and screwdriving. We discussed how you can use it for sanding, wire brushing, mixing materials, polishing, deburring, hole saw applications, and more. By exploring these different applications, you can expand your tool’s versatility and tackle a wider range of projects.
We also provided essential tips on maintenance and care to keep your Ryobi Drill in excellent condition. Regular cleaning, lubrication, and proper storage will ensure its longevity and reliable performance. And in case you encounter any issues, we offered troubleshooting steps for common problems you may face.
Always remember to prioritize safety, consult the manufacturer’s instructions, and exercise caution when using your Ryobi Drill. If you’re ever unsure about any aspect, seek professional assistance or advice.
Now armed with the knowledge and instructions provided in this guide, you can confidently tackle various DIY projects, repairs, and woodworking tasks using your Ryobi Drill. Enjoy the convenience, versatility, and power that this tool offers!
With practice and experience, you’ll become familiar with the capabilities of your Ryobi Drill and discover new ways to unleash your creativity and expertise. So go ahead, grab your Ryobi Drill, and let your projects come to life!
Frequently Asked Questions about How To Use Ryobi Drill
Was this page helpful?
At Storables.com, we guarantee accurate and reliable information. Our content, validated by Expert Board Contributors, is crafted following stringent Editorial Policies. We're committed to providing you with well-researched, expert-backed insights for all your informational needs.


0 thoughts on “How To Use Ryobi Drill”