Articles
How To Use Ryobi Impact Drill
Modified: January 6, 2024
Learn how to effectively use the Ryobi Impact Drill with our informative articles. Gain valuable insights and enhance your drilling skills today!
(Many of the links in this article redirect to a specific reviewed product. Your purchase of these products through affiliate links helps to generate commission for Storables.com, at no extra cost. Learn more)
Introduction
Welcome to the world of power tools! If you’re a DIY enthusiast or a professional in the construction industry, you know the importance of having reliable tools that can get the job done efficiently. One such tool that has gained immense popularity is the Ryobi Impact Drill.
Designed to provide power and precision, the Ryobi Impact Drill is a versatile tool that can handle a wide range of tasks. Whether you’re driving screws into a wall, drilling into tough materials like concrete, or even removing stubborn bolts, the impact drill is your go-to companion.
In this article, we will guide you through the process of using the Ryobi Impact Drill effectively and safely. We’ll cover everything from familiarizing yourself with the drill’s features to operating it with ease. So, let’s dive in and discover how to make the most of this powerful tool!
Key Takeaways:
- Master the Ryobi Impact Drill by familiarizing yourself with its components, understanding its key features, and following proper operating procedures. Prioritize safety, prepare your workspace, and maintain the drill for optimal performance.
- The Ryobi Impact Drill empowers DIY enthusiasts and professionals with its versatile capabilities. From inserting the drill bit to using the impact mode, follow the step-by-step guide to operate the drill effectively and efficiently.
Read more: How To Use Ryobi Drill
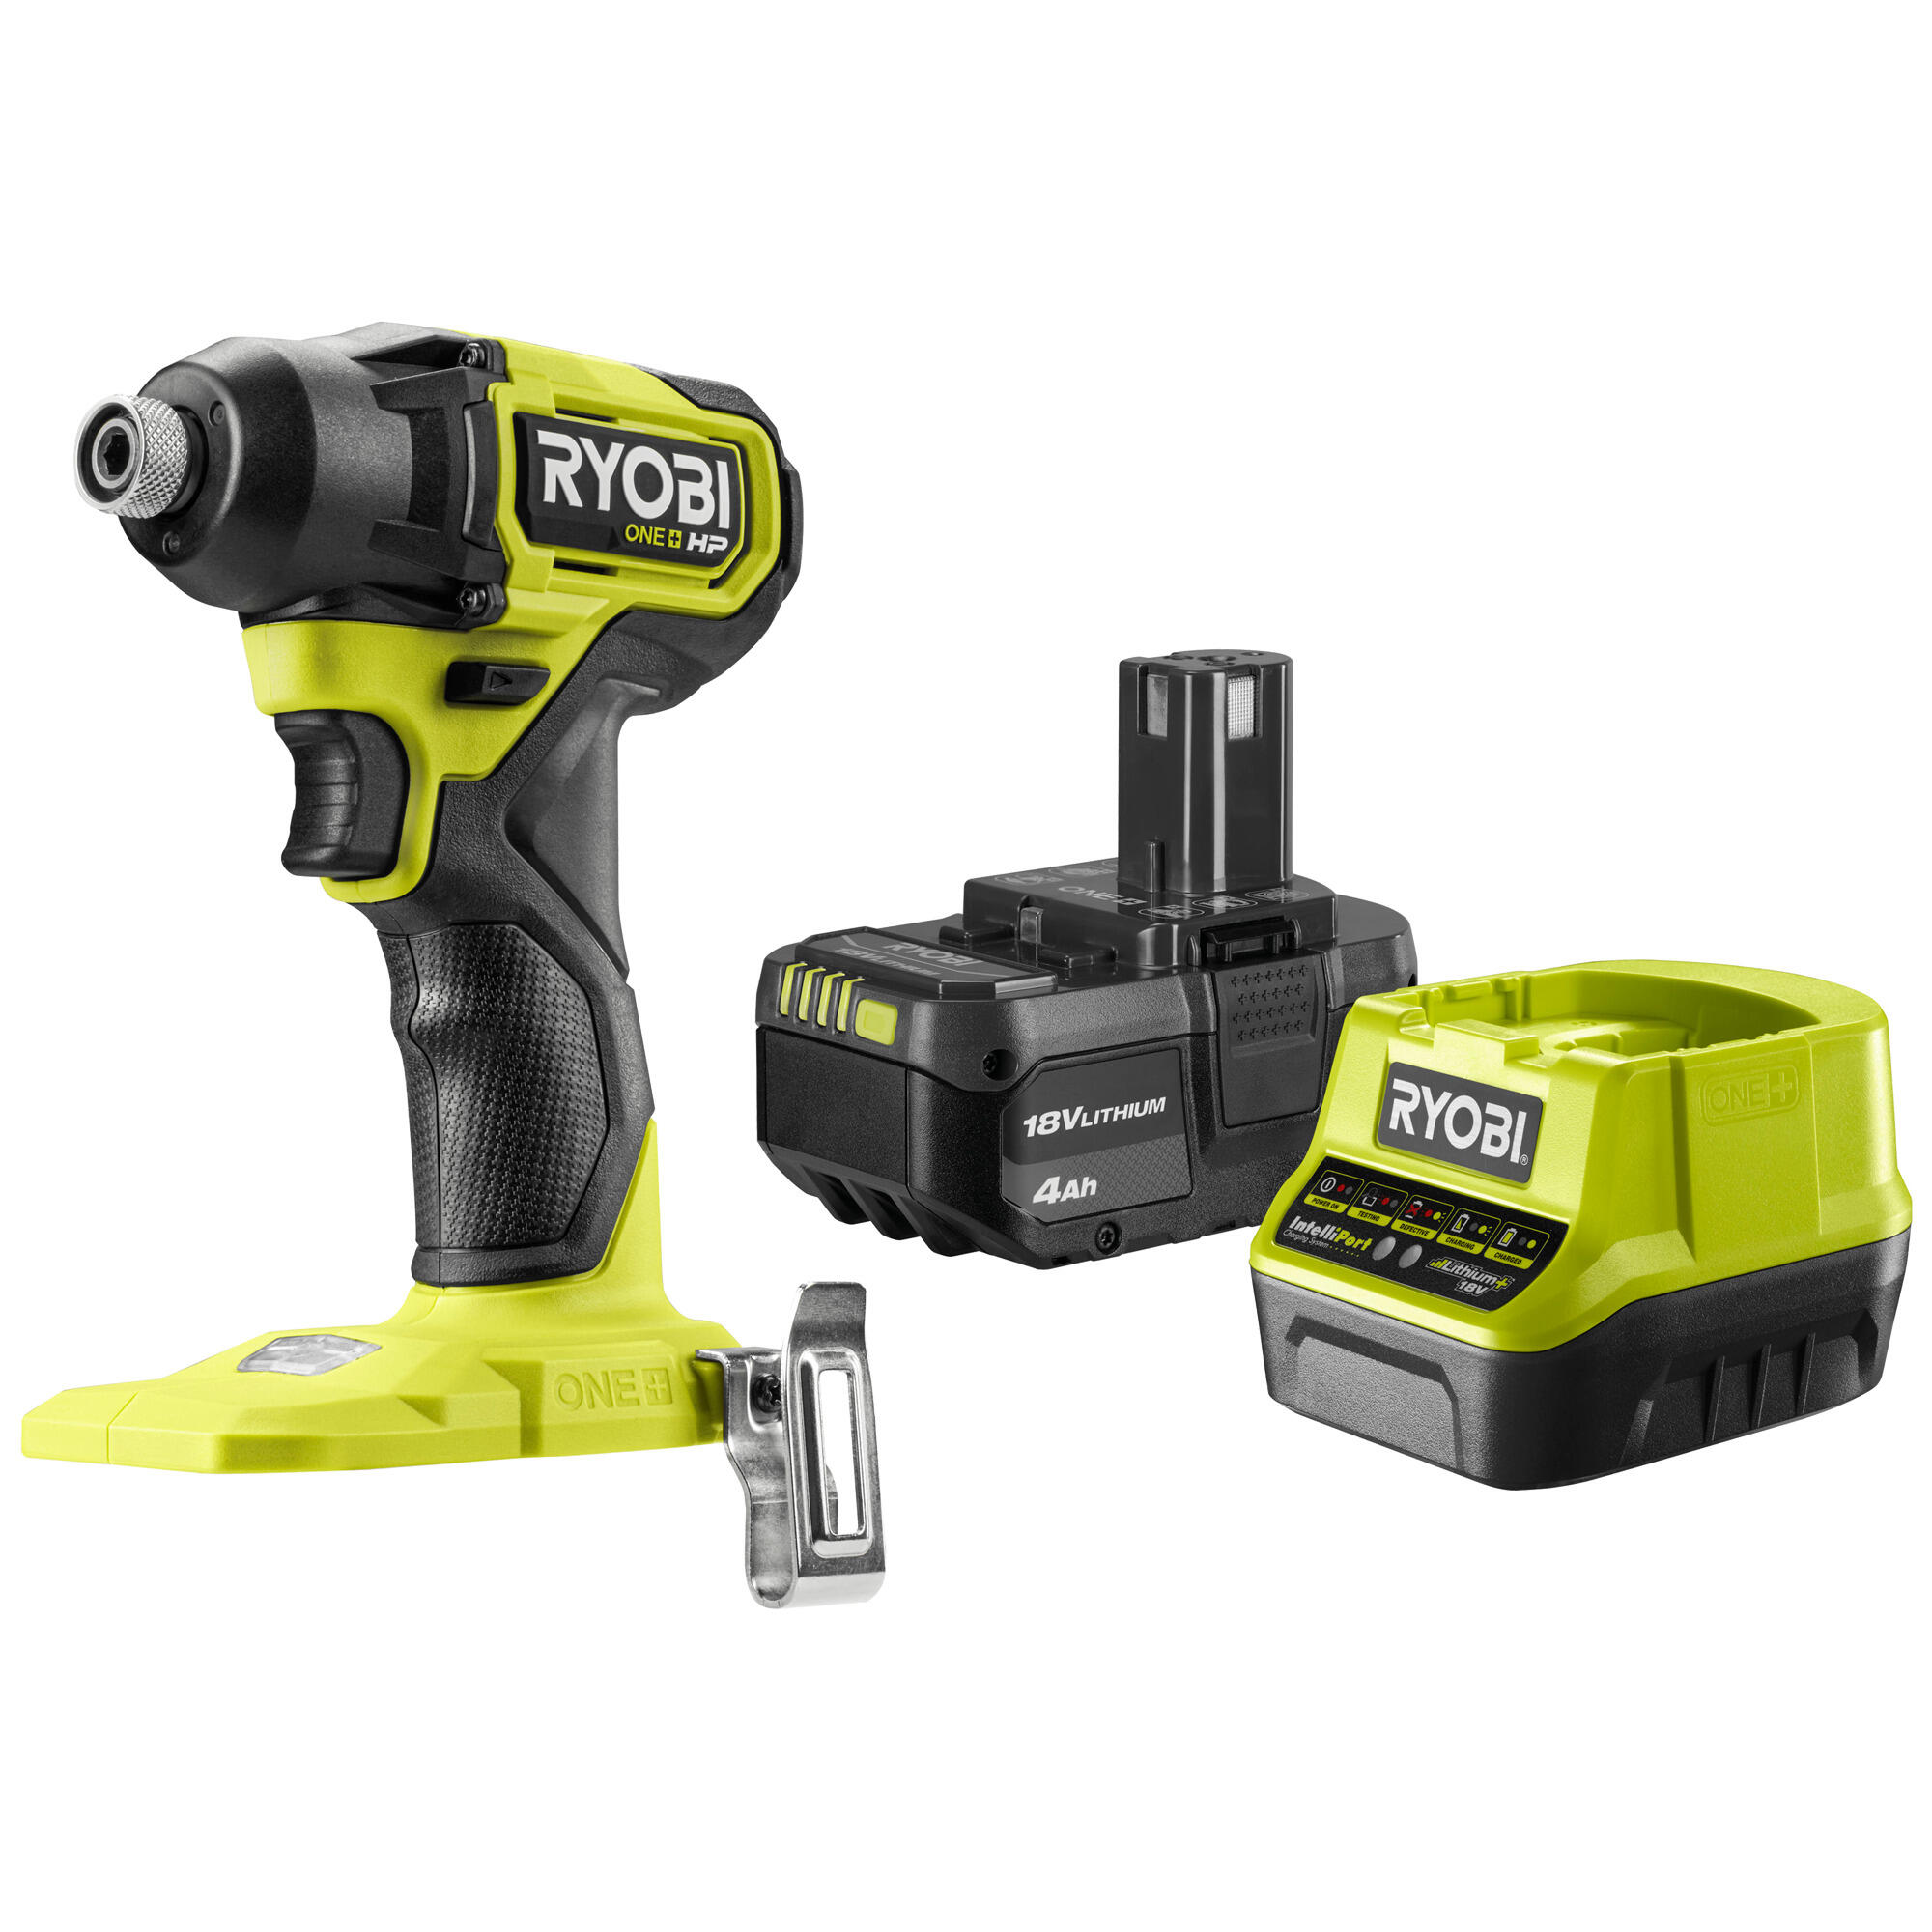
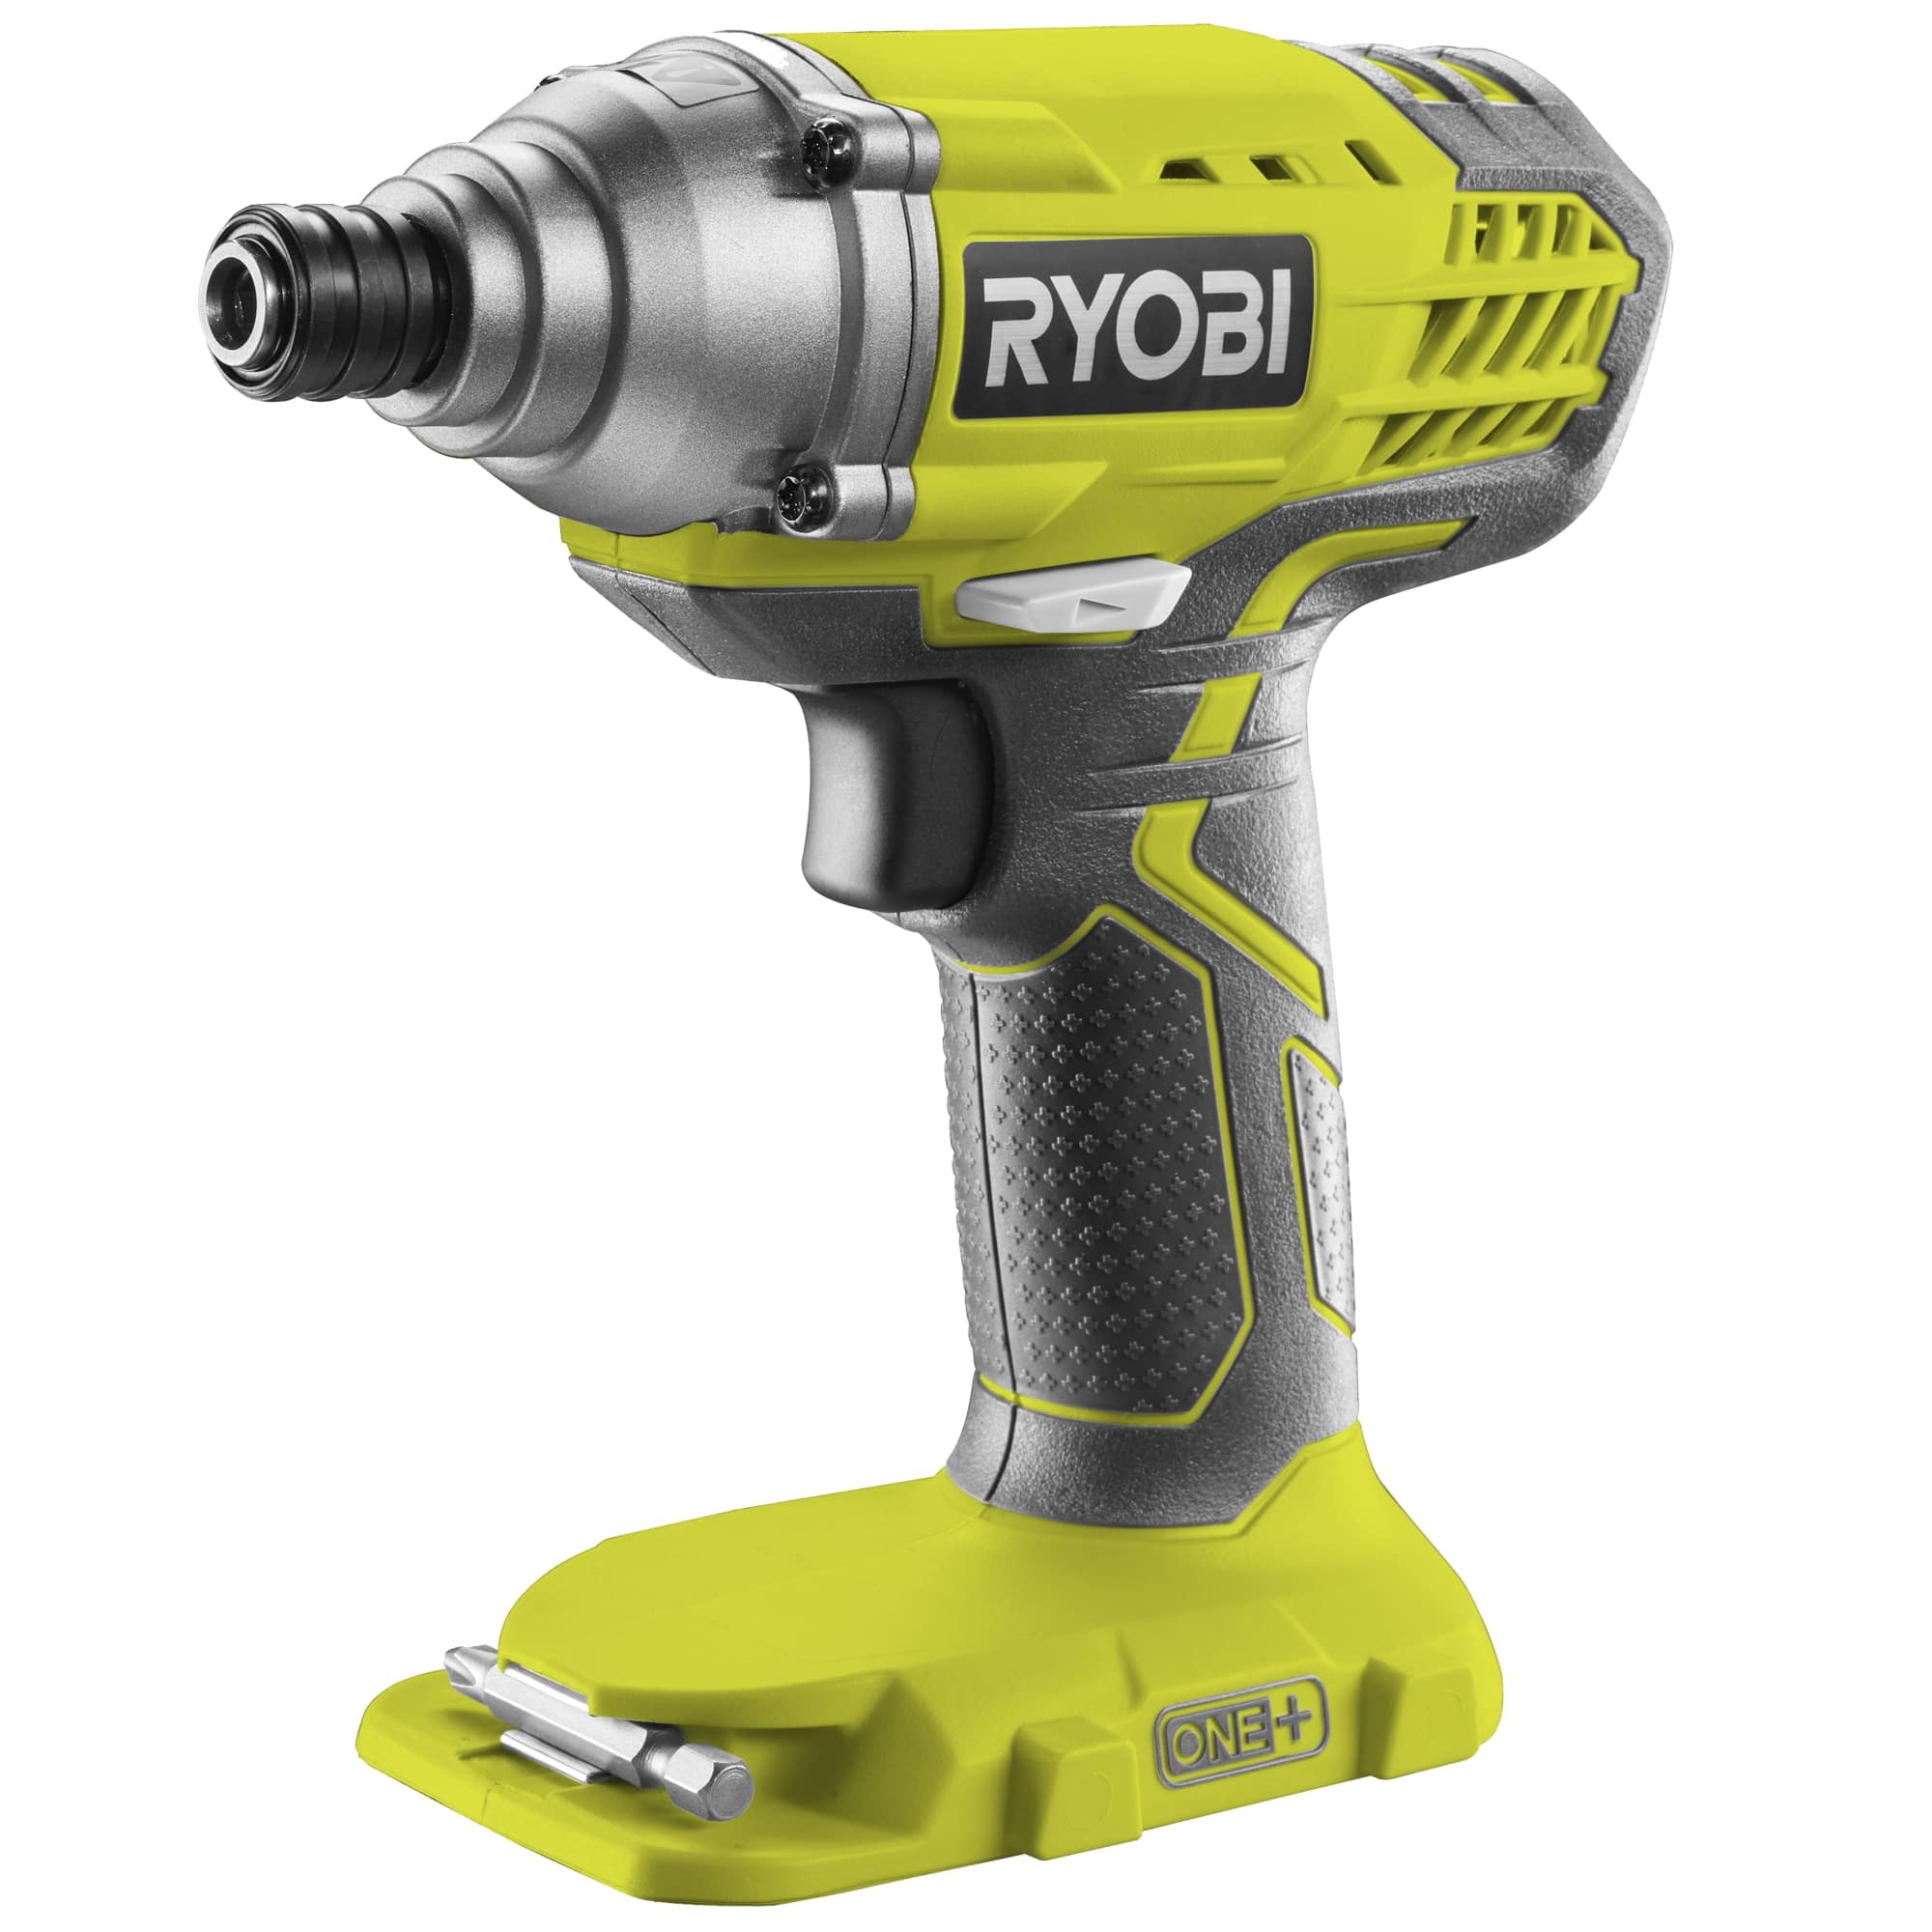
Step 1: Familiarizing Yourself with the Ryobi Impact Drill
Before you start using the Ryobi Impact Drill, it’s important to become familiar with its components and features. This will ensure that you can operate it confidently and make the most of its capabilities.
Here are some key aspects to consider:
- Grip: The drill features an ergonomic grip that provides comfort and reduces fatigue during extended use. Familiarize yourself with how the grip feels in your hand, ensuring a secure and comfortable hold.
- Trigger: The trigger is used to control the speed of the drill. Get a feel for the varying speeds by gently applying pressure to the trigger and observing how the drill responds.
- Forward/Reverse Switch: The forward/reverse switch allows you to change the direction of rotation of the drill bit. Practice flipping the switch to ensure it moves smoothly.
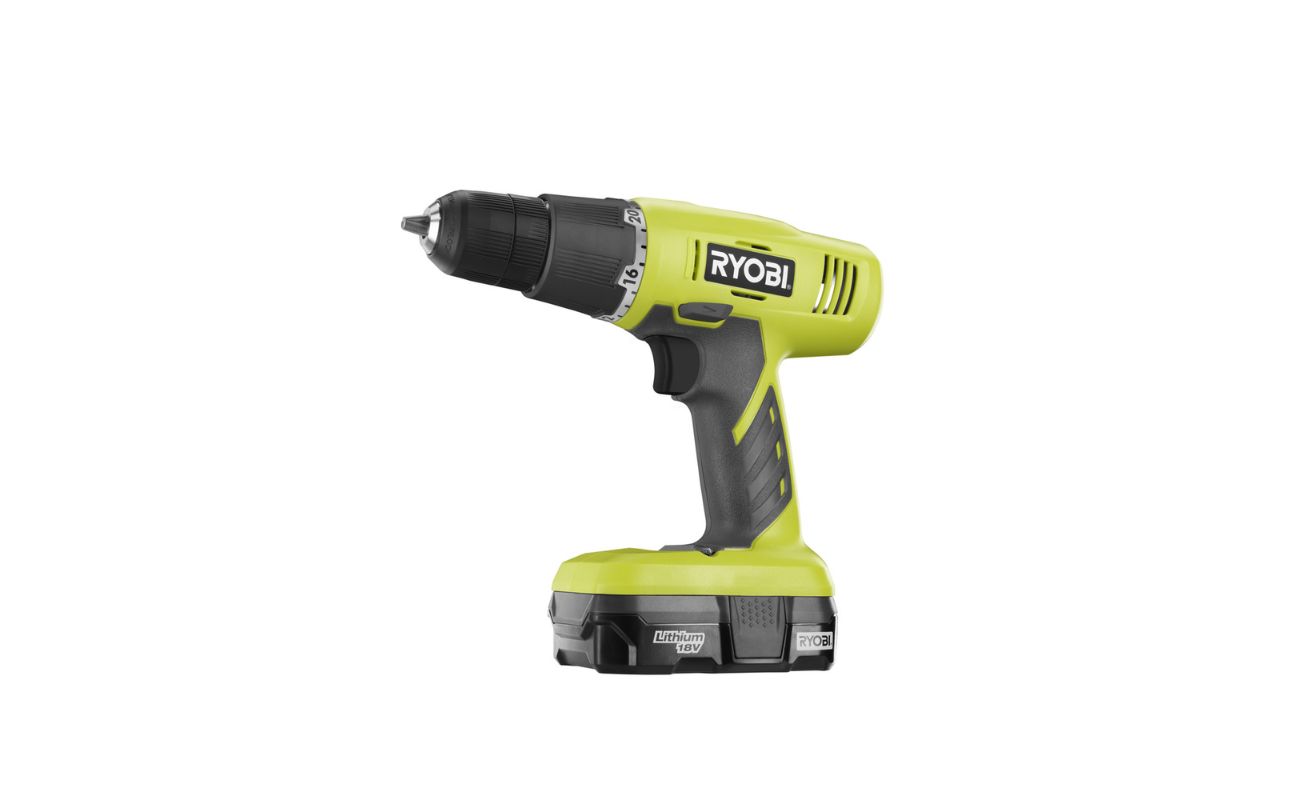
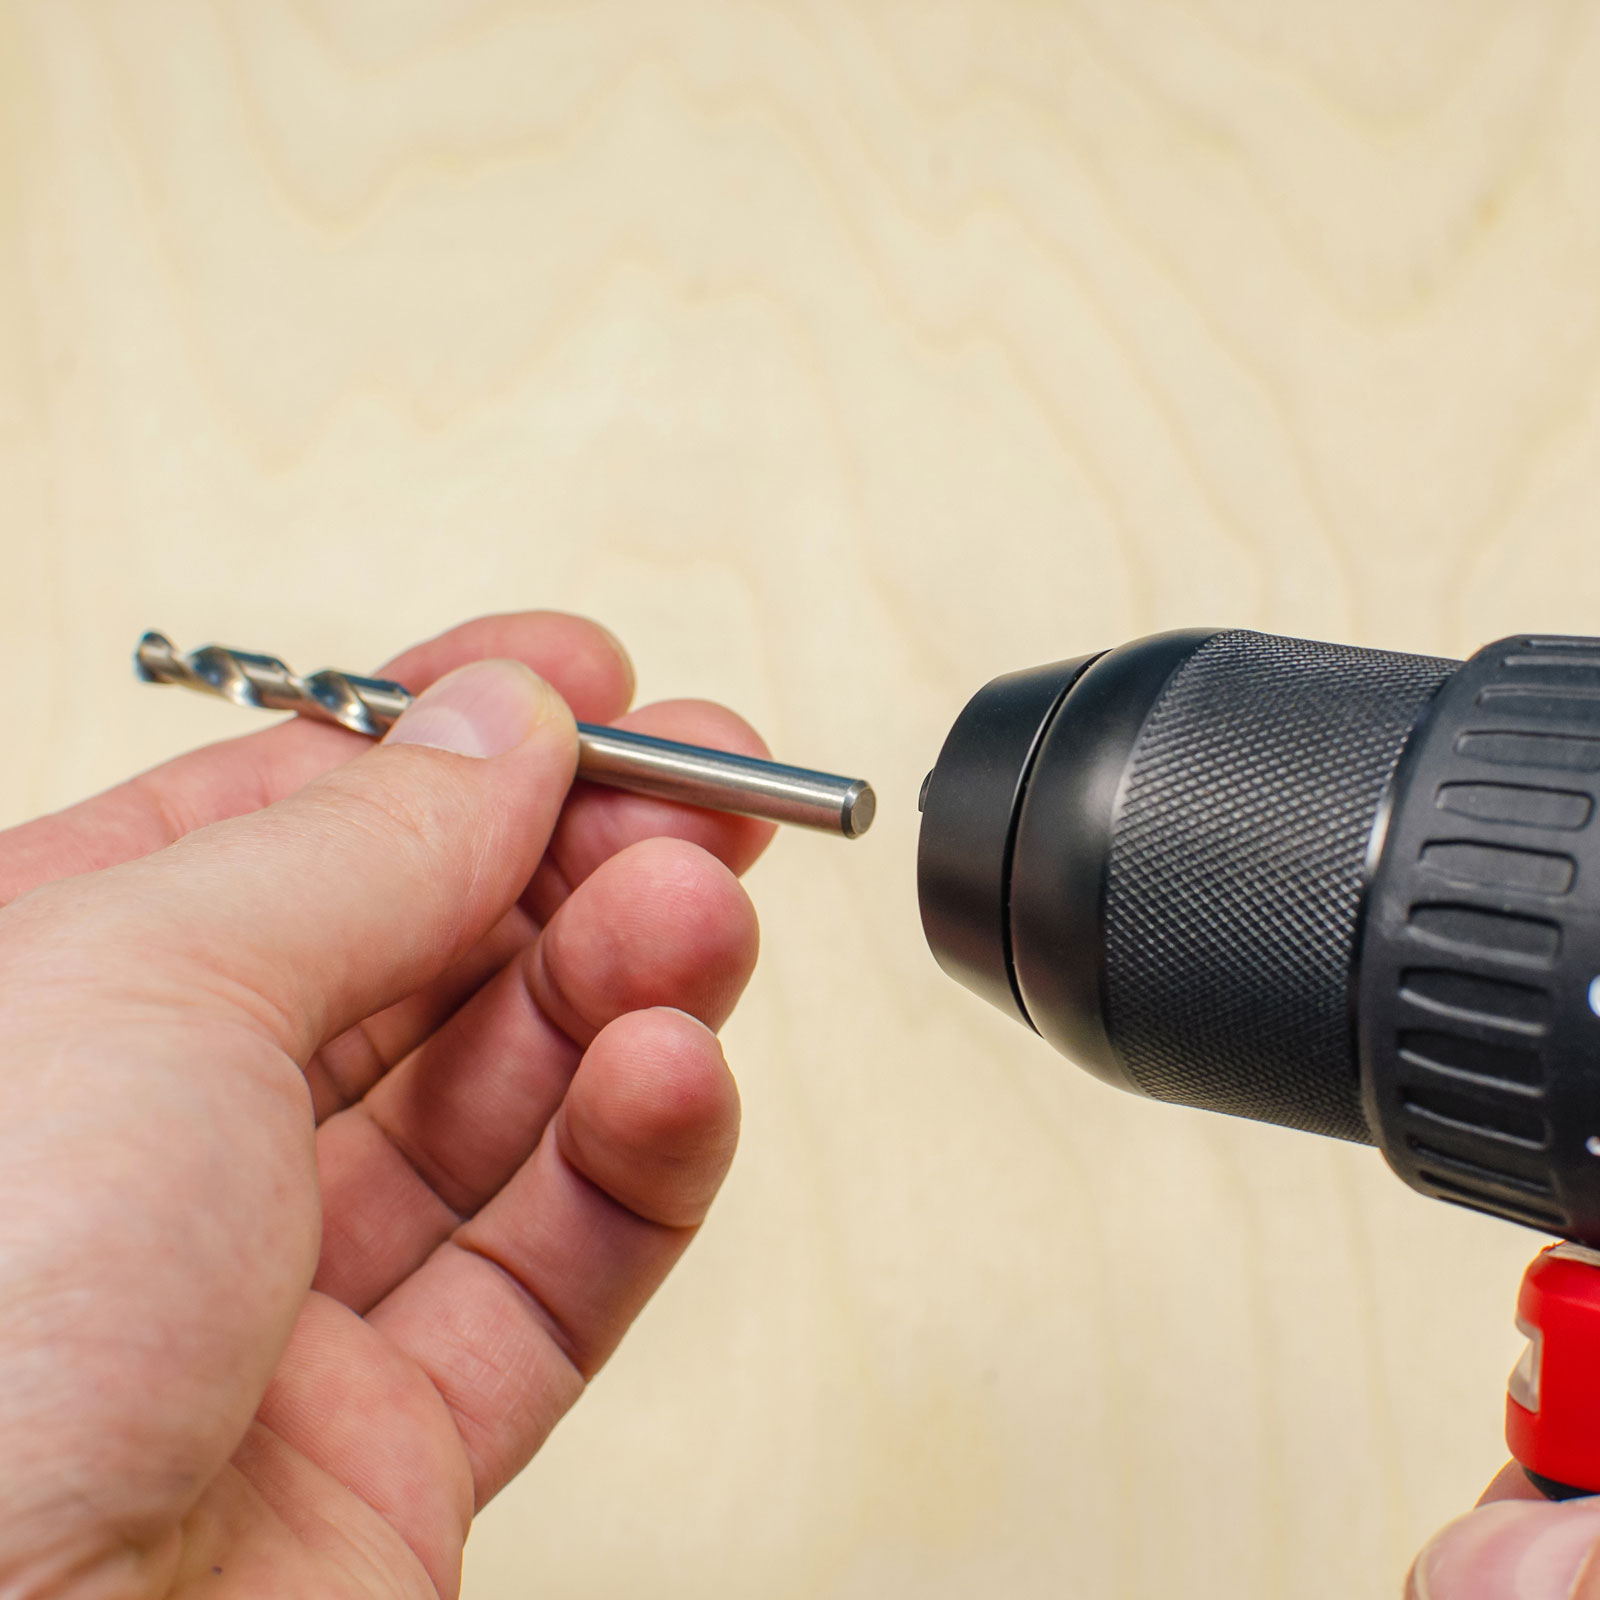
- Chuck: The chuck is where you insert and secure the drill bits. Familiarize yourself with how to open and close the chuck, ensuring that it securely holds the drill bit in place.
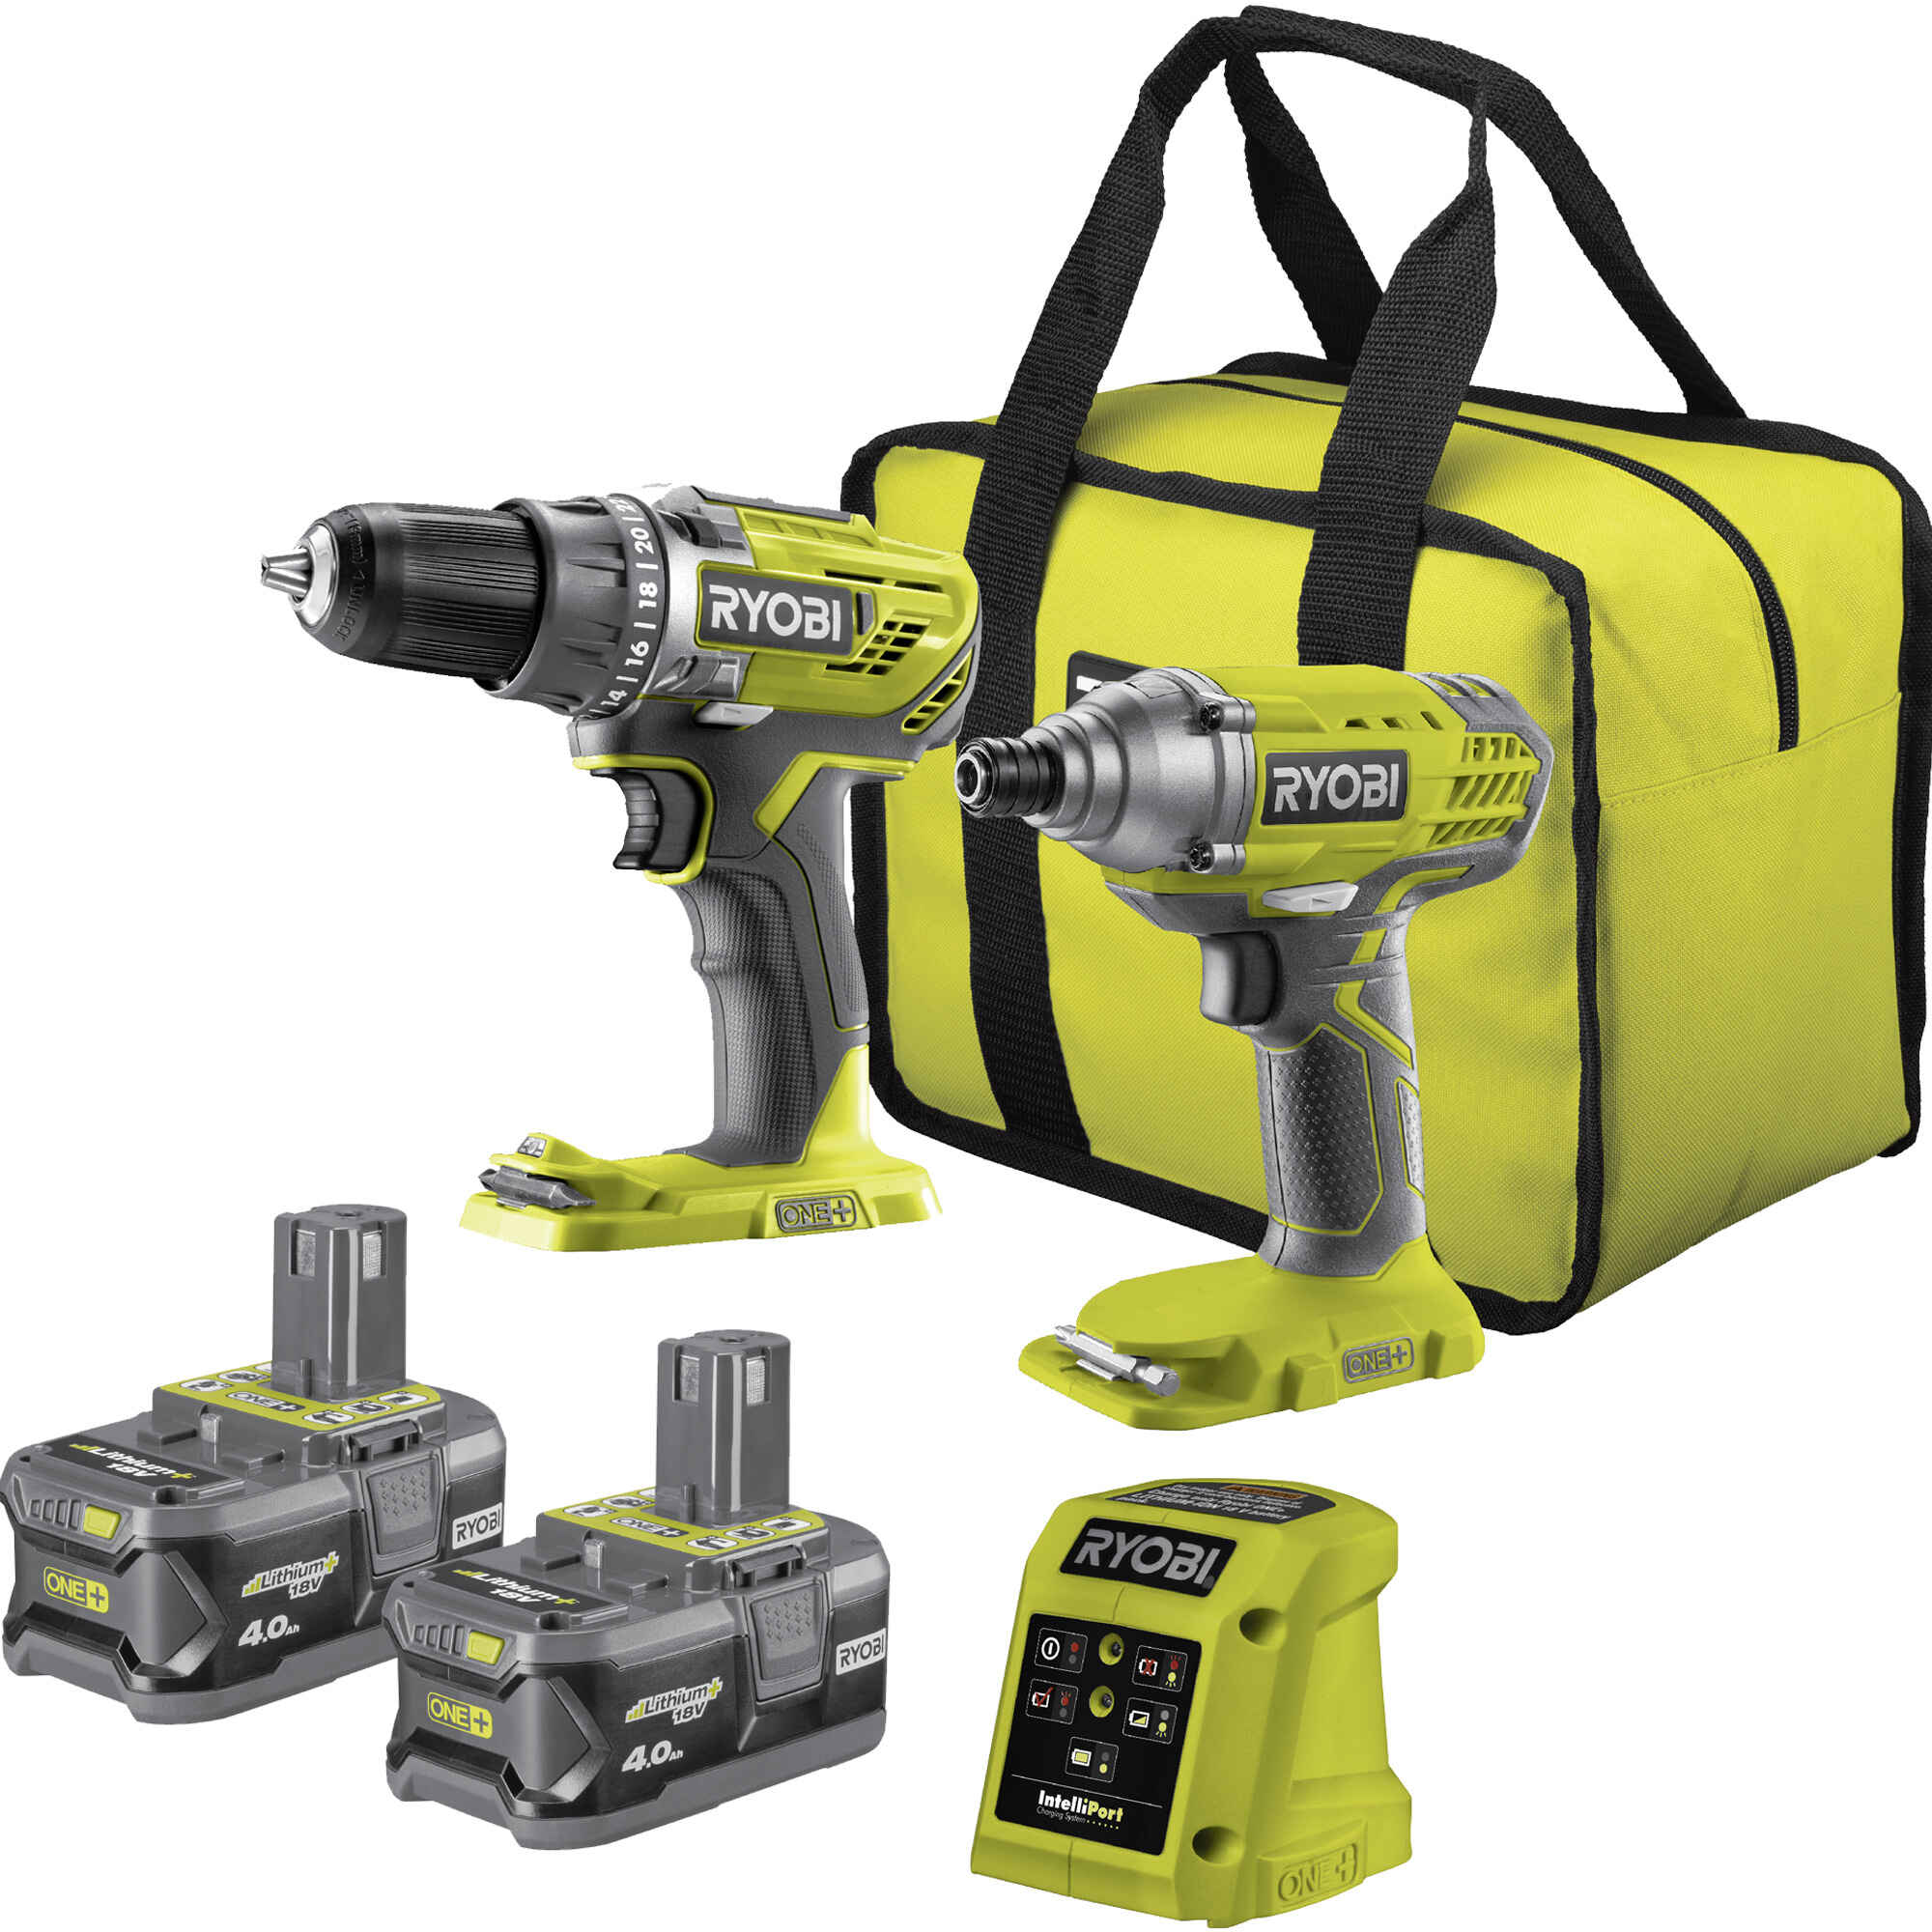
- Battery: The Ryobi Impact Drill is typically cordless and powered by a rechargeable battery. Take note of the battery life and how to insert and remove the battery, allowing for easy replacement when needed.
- LED Light: Many models of the Ryobi Impact Drill feature an LED light near the chuck. This light illuminates your work area, making it easier to see and work in dimly lit spaces.
By familiarizing yourself with these components and features, you’ll have a solid foundation for operating the Ryobi Impact Drill efficiently and safely. Once you’re comfortable with the drill’s design, it’s time to move on to the next step: understanding its key features.
Step 2: Understanding the Key Features of the Ryobi Impact Drill
To maximize the performance of the Ryobi Impact Drill, it’s essential to understand its key features. By familiarizing yourself with these features, you can harness the full potential of the drill and accomplish your tasks with ease.
Here are some important features to take note of:
- Variable Speed Control: The Ryobi Impact Drill offers variable speed control, allowing you to adjust the speed according to the task at hand. This feature is particularly useful when working with different materials or when precise control is required.
- Impact Mode: The impact mode is what sets the Ryobi Impact Drill apart from standard drills. It delivers high torque and rapid hammering action, making it ideal for tasks like driving screws into tough materials or drilling into masonry.
- Torque Settings: The drill may come with different torque settings that can be adjusted based on the specific job. Lower torque settings are suitable for delicate tasks, while higher settings are best for more demanding applications.
- Hammer Drill Function: Some models of the Ryobi Impact Drill have a hammer drill function, which allows for drilling into concrete, brick, and other dense materials. This function can be switched on or off as needed.
- Battery Life Indicator: Knowing the remaining battery life is crucial to avoid disruptions during a task. Some Ryobi Impact Drills have a battery life indicator that lets you keep track of the battery’s charge level.
- Clutch System: The clutch system prevents the drill from overdriving or stripping screws. Adjusting the clutch setting ensures that the drill stops automatically when the desired torque is reached, reducing the risk of damaging the material or the screw.
Understanding these key features will enable you to make informed choices while using the Ryobi Impact Drill. It’s important to read the user manual that comes with your drill model to get specific information on the features and functions it offers.
Now that you have a good understanding of the features, let’s move on to the next step: preparing for operation.
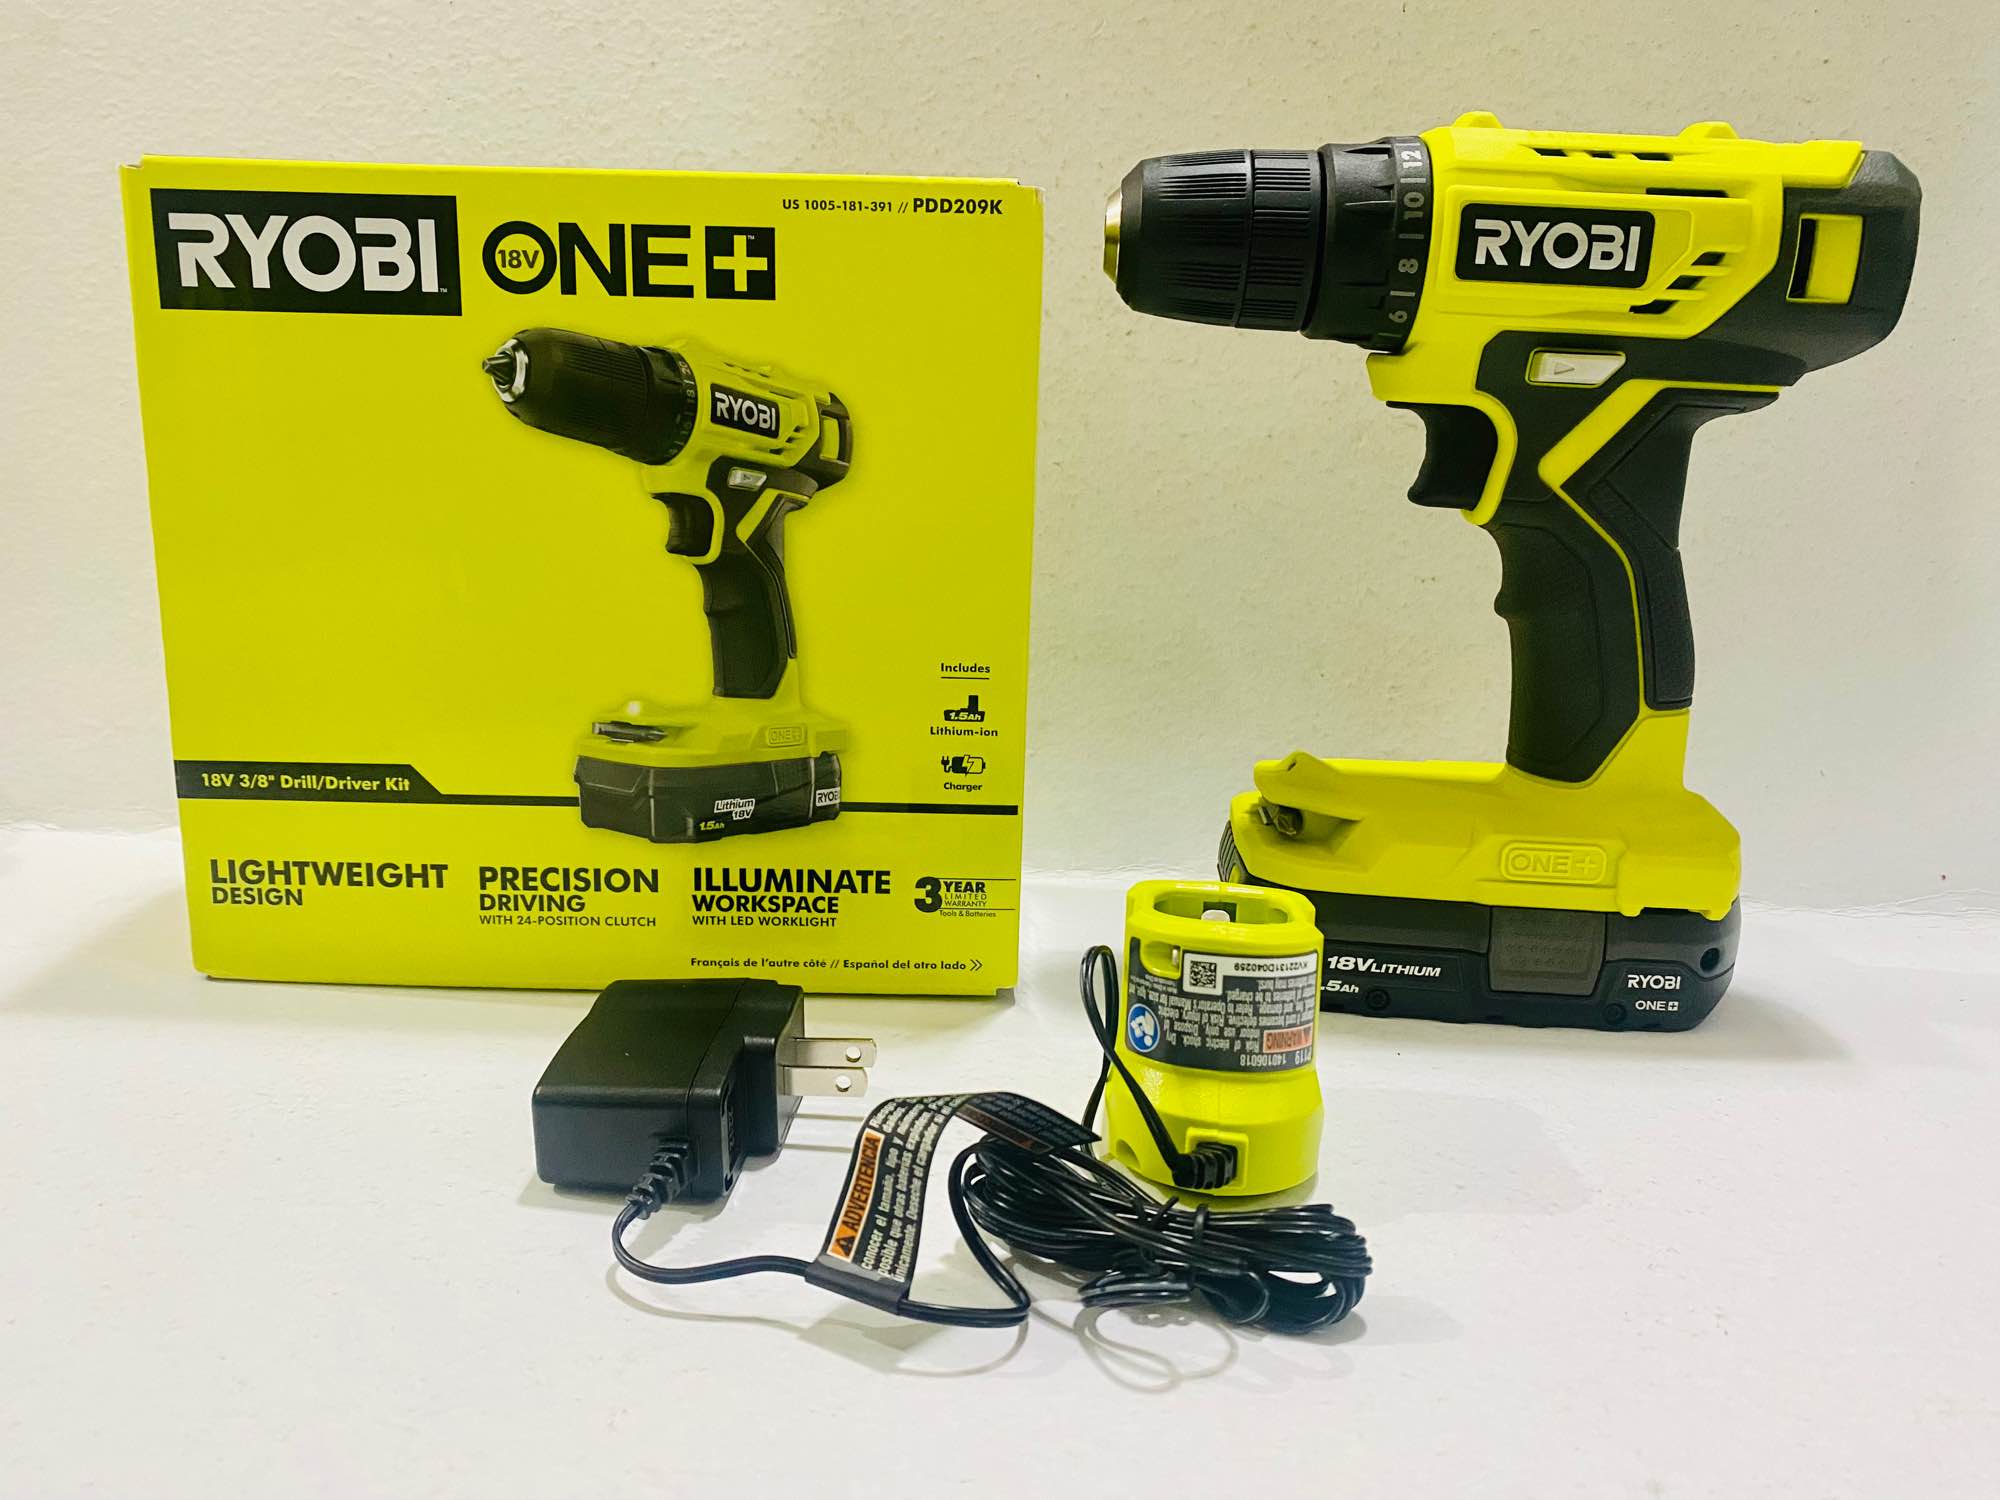
Step 3: Preparing for Operation
Before you begin operating the Ryobi Impact Drill, it’s essential to prepare yourself and your workspace. Taking the time to properly set up for the task at hand will promote safety and efficiency.
Here are some important steps to consider:
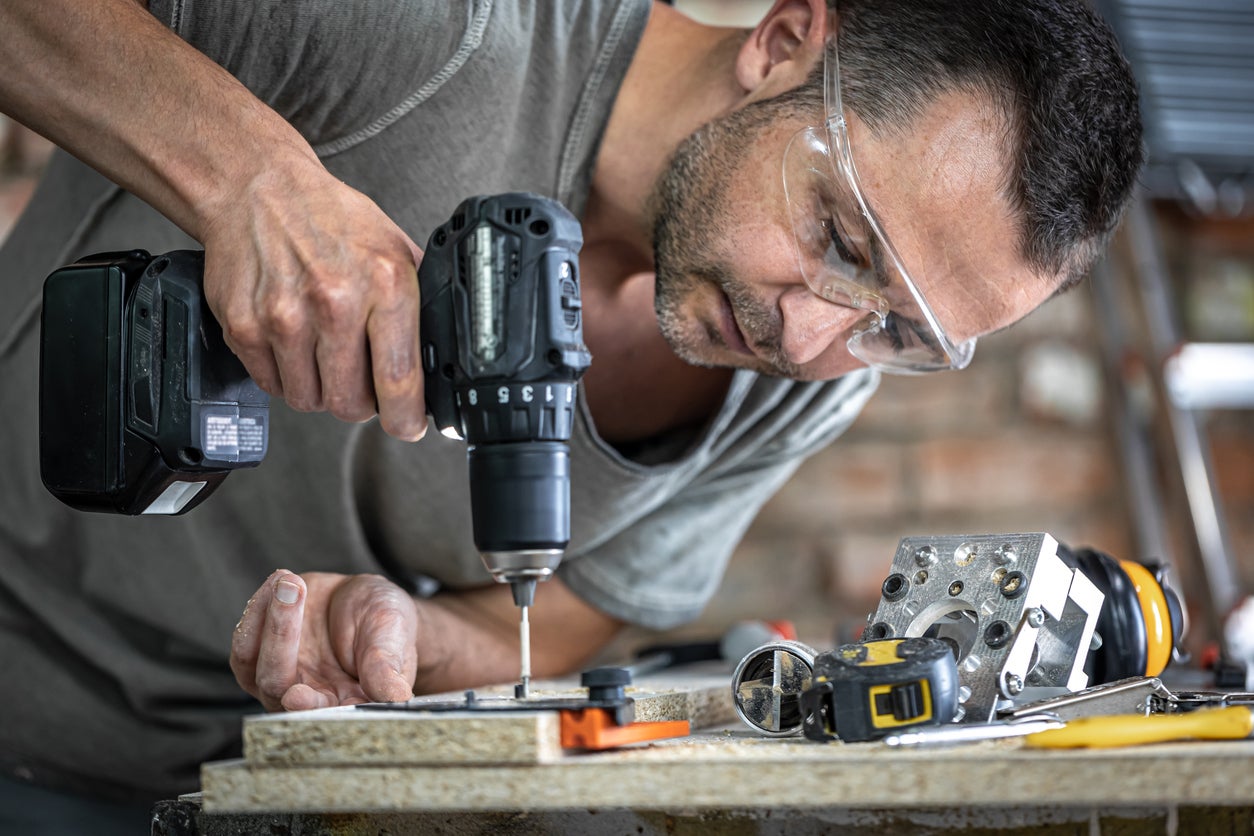
- Safety Gear: Always prioritize your safety by wearing the necessary protective gear. This may include safety glasses, ear protection, and work gloves. If you’re working with materials that produce dust or debris, consider wearing a dust mask as well.
- Secure Workpiece: Ensure that the workpiece you’re drilling into or driving screws into is securely held in place. This will prevent it from moving or slipping during the operation, reducing the risk of accidents.
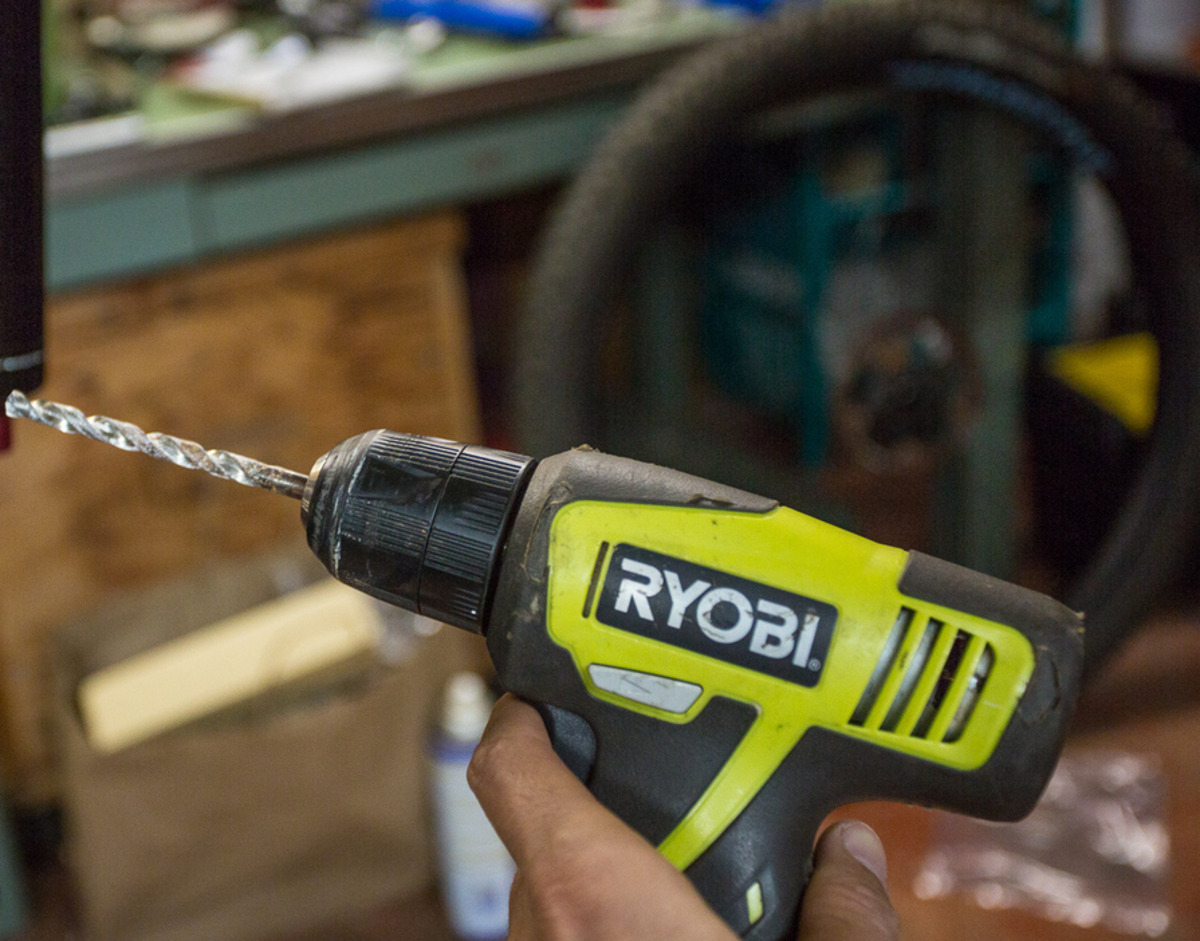
- Select the Right Drill Bit: Choose the appropriate drill bit for your task. Consider the material you’re working with and the desired outcome. Using the correct drill bit will ensure clean and accurate holes.
- Adjust the Clutch: Set the clutch to the desired torque level based on the task at hand. This will prevent the drill from overdriving screws or damaging the material.
- Check Battery Life: If you’re using a cordless Ryobi Impact Drill, check the battery’s charge level to ensure you have enough power to complete your work. If the battery is low, consider charging it or having a spare battery on hand.
- Clear the Workspace: Remove any obstacles or clutter from your workspace to avoid accidents or interference while operating the drill. Make sure you have enough space to move freely and safely.
- Secure Power Supply (if applicable): If you’re using a corded Ryobi Impact Drill, make sure the power cord is securely plugged in and that there are no exposed wires or damage to the cord.
By following these preparation steps, you’ll be setting yourself up for a smooth and productive operation with the Ryobi Impact Drill. Once everything is in place, it’s time to move on to the next step: operating the drill.
When using a Ryobi impact drill, always use the appropriate drill bit for the material you are working with. Using the wrong bit can damage the drill and the material.
Step 4: Operating the Ryobi Impact Drill
Now that you’re prepared, it’s time to put the Ryobi Impact Drill to work. Follow these steps to ensure safe and effective operation:
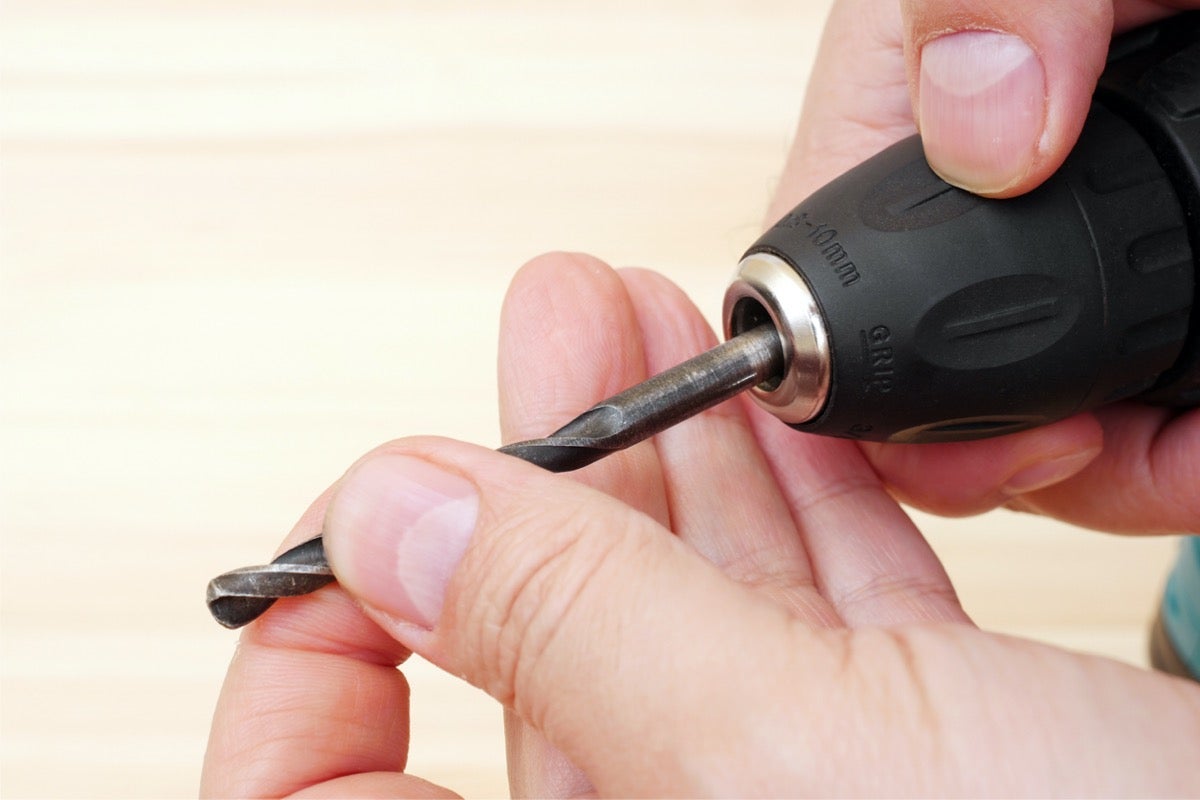
- Inserting the Drill Bit: Open the chuck by rotating it counterclockwise. Insert the appropriate drill bit into the chuck, making sure it is securely held in place. Tighten the chuck by rotating it clockwise until the drill bit is firmly fixed.
- Selecting the Desired Speed: Determine the appropriate speed for your task. For drilling, lower speeds are usually best, while higher speeds are suitable for driving screws. Adjust the speed control accordingly.
- Positioning the Drill: Position the drill perpendicular to the surface of the workpiece. Hold the grip firmly, keeping a balanced stance to maintain control throughout the operation.
- Applying Pressure: With the drill positioned, gently apply pressure to the workpiece. Gradually increase the pressure as the drill bit begins to make contact with the surface. Let the drill do the work and avoid forcing it.
- Using the Impact Mode (if applicable): If you need additional power and impact, switch on the impact mode. This mode is particularly useful when driving screws into dense materials or when using the drill as a hammer drill.
- Operating the Trigger: Start the drill by squeezing the trigger. Begin with a slow and steady pace, gradually increasing the speed if necessary. Release the trigger to stop the drill.
- Removing the Drill Bit: Once you have completed your task, switch off the drill and allow the bit to come to a complete stop. Open the chuck by rotating it counterclockwise and remove the drill bit.
Remember to work at a comfortable pace and maintain a firm grip on the drill throughout the operation. Take breaks as needed to avoid fatigue and prevent overheating of the drill.
By following these steps, you’ll be able to operate the Ryobi Impact Drill effectively and efficiently. With practice, you’ll become more comfortable with its features and be able to tackle a wide range of tasks with confidence.
Now that you know how to operate the drill, it’s time for the final step: maintaining and caring for your Ryobi Impact Drill.
Step 5: Maintaining and Caring for Your Ryobi Impact Drill
To ensure the longevity and performance of your Ryobi Impact Drill, proper maintenance and care are crucial. By following these maintenance guidelines, you can keep your drill in optimal condition:
- Cleaning: Regularly clean your drill to remove dust, debris, and any other build-up that may accumulate during use. Use a soft cloth or brush to gently wipe down the exterior of the drill. Pay particular attention to the chuck, as debris can affect its gripping ability.
- Lubrication: Apply a small amount of lubricating oil to the chuck periodically. This will help keep it moving smoothly and prevent rust or corrosion.
- Battery Care: If your Ryobi Impact Drill is cordless, proper care of the battery is essential. Follow the manufacturer’s recommendations on charging and storage. Avoid completely draining the battery and recharge it when it reaches around 20-30% capacity. Store the battery in a cool, dry place when not in use.
- Inspecting for Damage: Regularly inspect your drill for any signs of damage or wear. Check the cords (if applicable) for any fraying or exposed wires. If you notice any issues, have them addressed or repaired by a professional before using the drill.
- Storage: When not in use, store your Ryobi Impact Drill in a dry and secure location. Keep it away from extreme temperatures, moisture, and direct sunlight. Use the original packaging or a sturdy tool case to protect it from dust and potential damage.
- Regular Maintenance: Refer to the user manual for any additional maintenance recommendations specific to your Ryobi Impact Drill model. This may include checking and tightening screws, inspecting motor brushes, or replacing any worn or damaged parts as necessary.
By taking the time to maintain and care for your Ryobi Impact Drill, you can extend its lifespan and ensure optimal performance for years to come.
With a solid understanding of the key features, proper operation techniques, and regular maintenance, you’re now equipped to make the most of your Ryobi Impact Drill. Remember to prioritize safety at all times, follow the manufacturer’s instructions, and rely on your experience and intuition as you tackle various projects.
Happy drilling!
Conclusion
The Ryobi Impact Drill is a powerful and versatile tool that can greatly enhance your DIY projects or professional tasks. By familiarizing yourself with its components, understanding its key features, and following proper operating procedures, you can harness the full potential of this drill.
Throughout this article, we’ve covered the essential steps to effectively and safely use the Ryobi Impact Drill. We began by familiarizing ourselves with the drill’s design and key features. We then moved on to preparing for operation, ensuring that we have the proper safety gear, secure workpieces, and the right drill bits.
Next, we discussed the step-by-step process of operating the drill, including inserting and removing the drill bit, selecting the desired speed, and using the impact mode when necessary. Additionally, we emphasized the importance of maintaining and caring for your drill, including regular cleaning, lubrication, and proper battery care.
By following these guidelines, you can optimize the performance of your Ryobi Impact Drill and ensure its longevity. Remember to always prioritize safety, take breaks when needed, and refer to the user manual for specific instructions and maintenance recommendations.
With practice and experience, you’ll become more proficient in using the Ryobi Impact Drill and tackle a wide range of tasks with confidence. So, go ahead and embark on your projects with the power and precision of the Ryobi Impact Drill – your trusted companion for all your drilling and driving needs.
Frequently Asked Questions about How To Use Ryobi Impact Drill
Was this page helpful?
At Storables.com, we guarantee accurate and reliable information. Our content, validated by Expert Board Contributors, is crafted following stringent Editorial Policies. We're committed to providing you with well-researched, expert-backed insights for all your informational needs.

0 thoughts on “How To Use Ryobi Impact Drill”