Home>Renovation & DIY>Tools & Equipment>What Grit Sandpaper For 3D Prints

Tools & Equipment
What Grit Sandpaper For 3D Prints
Published: December 20, 2023
Discover the right grit sandpaper for 3D prints with our comprehensive guide. Get the best tools and equipment for perfecting your 3D printed creations.
(Many of the links in this article redirect to a specific reviewed product. Your purchase of these products through affiliate links helps to generate commission for Storables.com, at no extra cost. Learn more)
Introduction
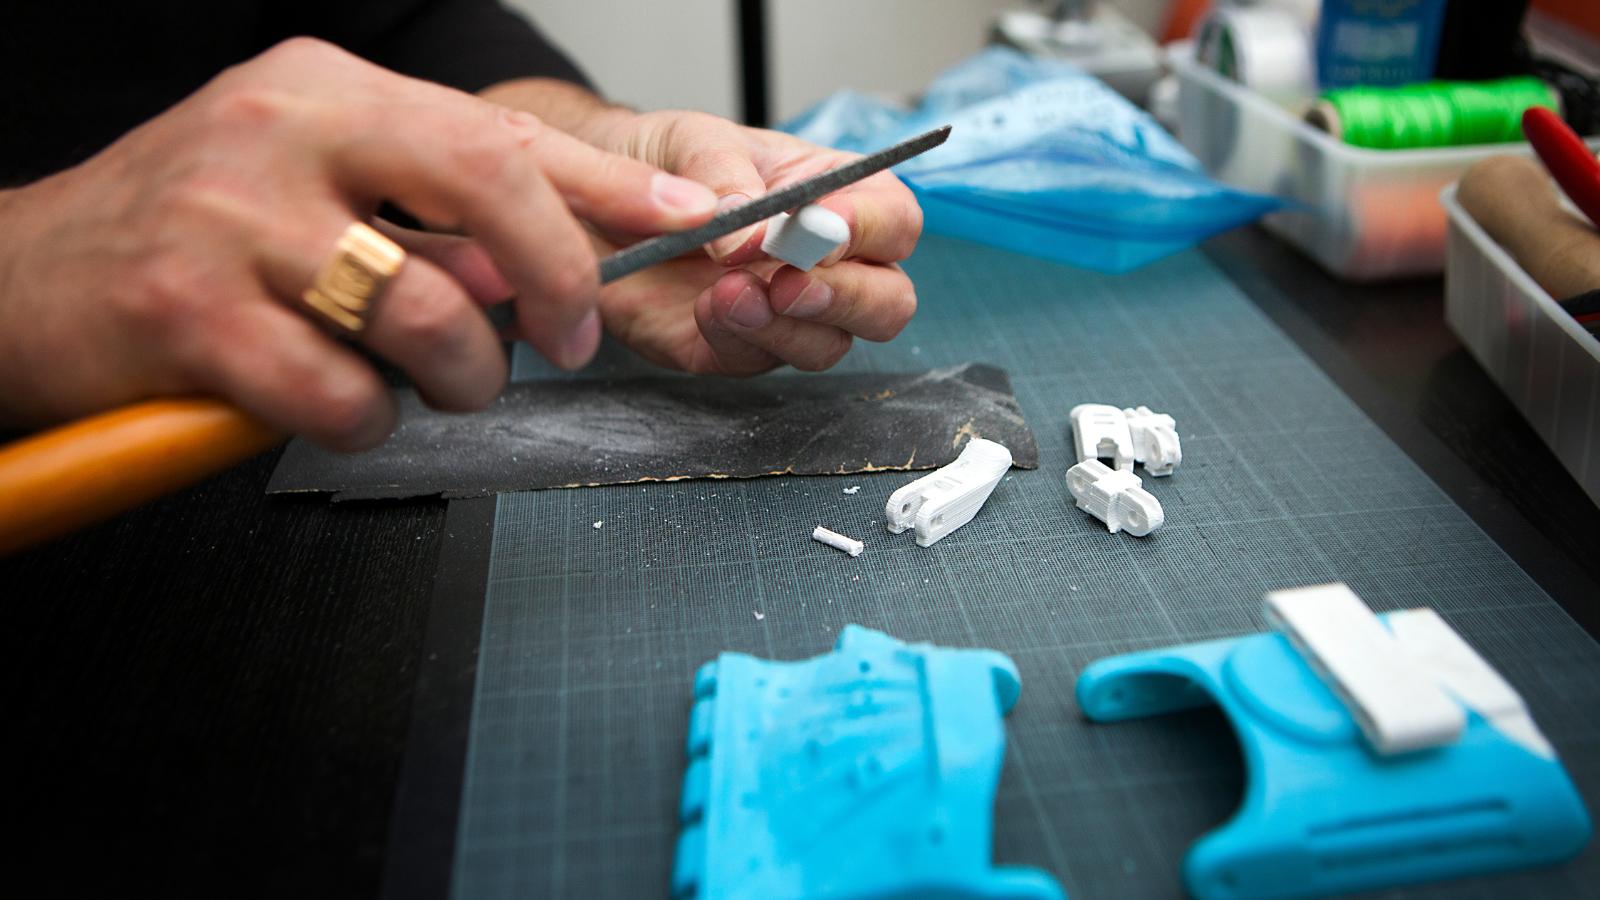
Welcome to the world of 3D printing! Whether you're a seasoned enthusiast or a newcomer to the realm of additive manufacturing, you've likely encountered the need for post-processing techniques to refine the surface finish of your 3D prints. One of the most essential tools in this arsenal is sandpaper, a versatile abrasive material that can transform rough, uneven surfaces into smooth, polished masterpieces.
In the quest for the perfect finish, understanding the nuances of grit sandpaper and its application is crucial. This article aims to demystify the world of grit sandpaper for 3D prints, equipping you with the knowledge to make informed decisions and achieve impeccable results.
So, grab your sandpaper and let's embark on a journey to discover the optimal grit for refining and perfecting your 3D creations.
Key Takeaways:
- Choose the right sandpaper grit for 3D prints based on the surface condition and desired smoothness. Coarse grit for initial leveling, medium for refining, and fine to extra fine for polishing.
- Employ even pressure, crosshatch sanding, and progressive grit transition techniques for impeccable 3D print surface finishes. Consider water-based sanding and final polishing for enhanced results.
Understanding Grit Sandpaper
Before delving into the specifics of sanding 3D prints, it’s essential to comprehend the concept of grit in sandpaper. Grit refers to the number of abrasive particles per square inch of the sandpaper. The higher the grit number, the finer the particles and the smoother the sandpaper. Conversely, lower grit numbers indicate coarser particles, resulting in more aggressive material removal.
Common grit ranges for sandpaper include coarse (40-60 grit), medium (80-120 grit), fine (150-180 grit), very fine (220-240 grit), and extra fine (280-320 grit). Understanding these distinctions is pivotal in achieving the desired finish on your 3D prints.
Coarse grit sandpaper is ideal for initial material removal, such as eliminating layer lines and prominent imperfections on 3D printed surfaces. As you progress to finer grits, the focus shifts to refining the surface texture, gradually eliminating scratches and achieving a smoother appearance. The choice of grit depends on the initial state of the print and the desired level of refinement.
Moreover, it’s important to note that sandpaper with higher grit numbers is not suitable for rapid material removal. Instead, it excels in the delicate art of smoothing and polishing, making it indispensable for achieving a flawless finish on 3D prints.
By comprehending the intricacies of grit sandpaper, you’ll be empowered to select the most suitable abrasive for each stage of the post-processing journey, ultimately elevating the visual and tactile appeal of your 3D printed creations.
Choosing the Right Grit Sandpaper for 3D Prints
When it comes to refining the surface of 3D prints, selecting the appropriate grit sandpaper is paramount. The choice of grit depends on the characteristics of the print, the desired level of smoothness, and the specific imperfections that need to be addressed.
For initial post-processing tasks, such as removing prominent layer lines and excess material, coarse grit sandpaper in the range of 40-60 grit is highly effective. This grit level swiftly levels the surface, preparing it for subsequent refinement. It’s crucial to exercise care during this phase to avoid over-sanding, which can compromise the dimensional accuracy of the print.
As the surface becomes more uniform, transitioning to medium grit sandpaper, typically in the range of 80-120 grit, allows for the gradual elimination of coarser scratches and imperfections. This stage sets the foundation for achieving a smoother finish, laying the groundwork for the subsequent refinement process.
When the surface is relatively uniform, fine grit sandpaper, ranging from 150-180 grit, comes into play. This finer abrasive is adept at smoothing out the remaining imperfections and preparing the surface for the final polishing stages. It refines the texture, ensuring that the print achieves a visually appealing and tactilely satisfying finish.
For the ultimate finishing touches, very fine and extra fine grit sandpaper, typically in the range of 220-320 grit, work wonders in polishing the surface to perfection. These high-grit abrasives excel in removing minute scratches and blemishes, culminating in a flawlessly smooth and lustrous surface.
By understanding the characteristics of different grit levels and their respective roles in the post-processing journey, you can make informed decisions when selecting sandpaper for your 3D prints. This knowledge empowers you to navigate the intricacies of surface refinement with confidence, ensuring that your prints attain the desired level of quality and visual appeal.
Use 220-400 grit sandpaper for smoothing 3D prints. Start with a coarser grit and gradually move to a finer grit for a smooth finish.
Sanding Techniques for 3D Prints
Effective sanding techniques are essential for achieving impeccable surface finishes on 3D prints. While the choice of grit sandpaper is crucial, the application of proper sanding techniques further determines the quality of the final outcome. Here are some key techniques to elevate your post-processing endeavors:
- Even Pressure: When sanding 3D prints, apply even pressure across the surface to ensure uniform material removal. Inconsistent pressure can lead to uneven smoothing and compromise the overall finish.
- Crosshatch Sanding: To eliminate visible scratches and achieve a uniform surface, employ a crosshatch sanding pattern. This technique involves sanding in one direction and then perpendicular to that direction, effectively blending the surface imperfections.
- Progressive Grit Transition: Begin with coarser grit sandpaper to address prominent imperfections and gradually transition to finer grits for surface refinement. This progressive approach ensures a systematic and thorough enhancement of the print’s surface.
- Water-Based Sanding: For certain 3D printing materials, such as resin-based prints, utilizing water-based sanding techniques can mitigate dust and enhance the smoothness of the surface. Wet sanding minimizes the risk of clogging the sandpaper and facilitates a cleaner, more controlled sanding process.
- Inspect and Repeat: Periodically inspect the sanded surface under adequate lighting to identify any remaining imperfections. If necessary, repeat the sanding process with a finer grit to further refine the surface and achieve the desired level of smoothness.
- Final Polishing: After completing the sanding process, consider employing polishing compounds or micro-mesh abrasives to elevate the surface finish to a pristine, glossy state. This final touch enhances the visual appeal and tactile quality of the 3D print.
By incorporating these sanding techniques into your post-processing routine, you can elevate the quality of your 3D prints, transforming them into refined, professional-grade creations. With patience, precision, and a keen eye for detail, the art of sanding becomes a pivotal step in the journey towards achieving flawless surface finishes on your 3D printed masterpieces.
Conclusion
As you conclude your exploration of grit sandpaper for 3D prints, it’s evident that the journey from raw print to refined masterpiece is intricately intertwined with the art of sanding. Understanding the nuances of grit sandpaper and its application empowers you to navigate the post-processing landscape with confidence and precision, ensuring that your 3D prints achieve the desired level of quality and visual appeal.
By grasping the significance of grit levels and their role in surface refinement, you are equipped to make informed decisions when selecting sandpaper for different stages of the post-processing journey. Whether it’s addressing prominent imperfections with coarse grit or achieving a flawlessly smooth finish with extra fine grit, your understanding of these nuances is pivotal in elevating the overall quality of your prints.
Furthermore, mastering the art of sanding techniques, such as applying even pressure, employing progressive grit transitions, and incorporating final polishing, enables you to refine the surfaces of your 3D prints with finesse and precision. These techniques, when executed with care and attention to detail, elevate your prints to professional standards, showcasing a level of craftsmanship that captivates and impresses.
As you embark on your post-processing endeavors, remember that the journey from raw print to refined masterpiece is a testament to your dedication to the craft. Embrace the transformative power of grit sandpaper, wield it with skill and finesse, and witness the metamorphosis of your 3D prints into polished, professional-grade creations that exude excellence.
With a keen eye for detail, a steady hand, and a thorough understanding of grit sandpaper and sanding techniques, you are poised to elevate your 3D printing journey to new heights, producing prints that stand as testaments to your commitment to excellence and precision.
Frequently Asked Questions about What Grit Sandpaper For 3D Prints
Was this page helpful?
At Storables.com, we guarantee accurate and reliable information. Our content, validated by Expert Board Contributors, is crafted following stringent Editorial Policies. We're committed to providing you with well-researched, expert-backed insights for all your informational needs.


0 thoughts on “What Grit Sandpaper For 3D Prints”