Home>diy>Architecture & Design>How To Create A CAD File For 3D Printing
Architecture & Design
How To Create A CAD File For 3D Printing
Modified: August 16, 2024
Learn how to create a CAD file for 3D printing with our step-by-step guide. Perfect for architecture design enthusiasts looking to bring their ideas to life.
(Many of the links in this article redirect to a specific reviewed product. Your purchase of these products through affiliate links helps to generate commission for Storables.com, at no extra cost. Learn more)
Introduction
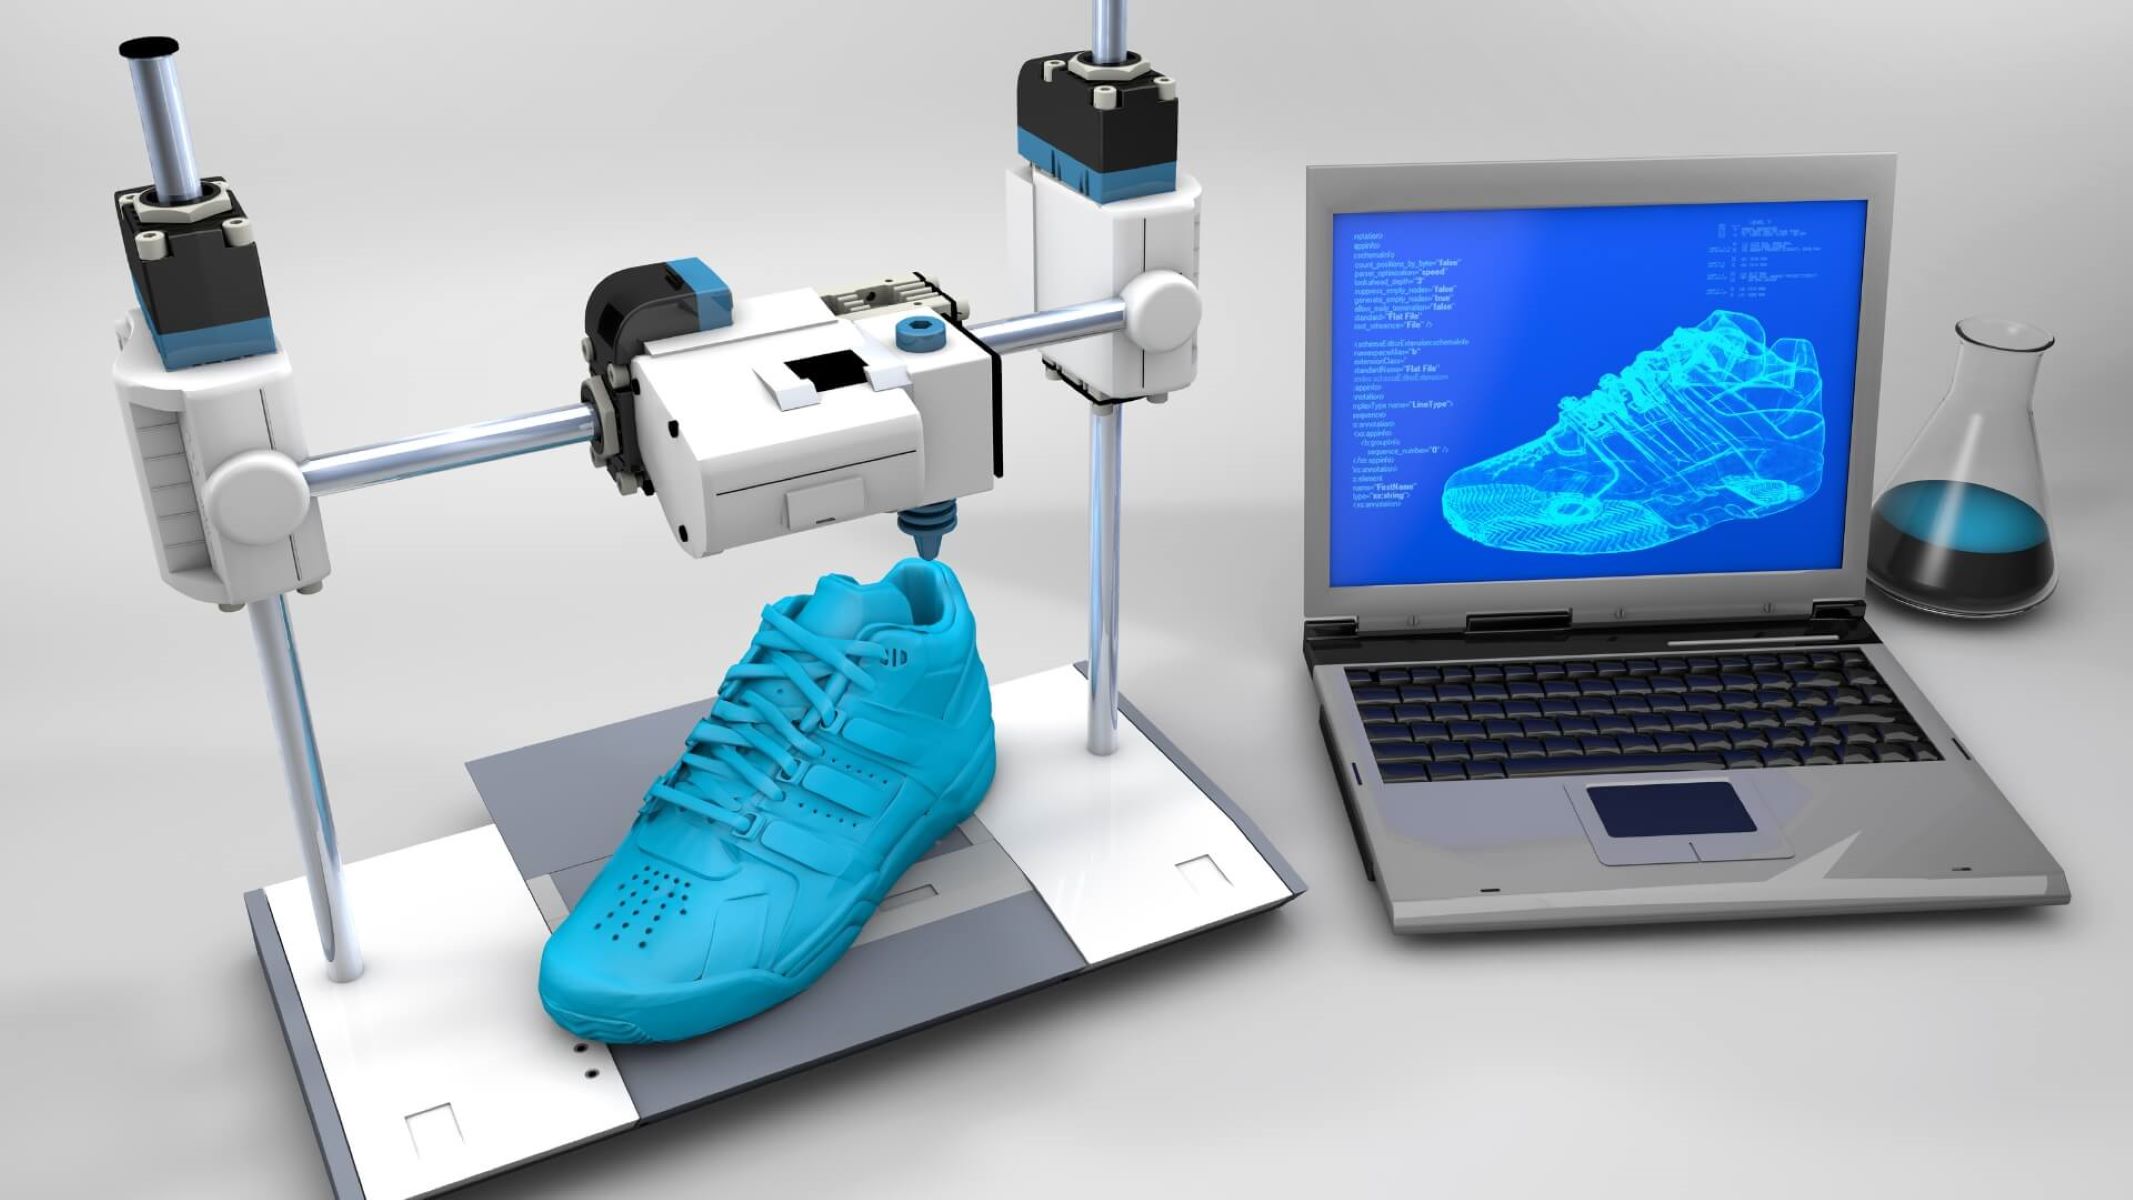
In today’s rapidly evolving technological landscape, 3D printing has emerged as a groundbreaking innovation with limitless possibilities. From architectural models to medical implants, the ability to transform digital designs into physical objects has revolutionized various industries. At the heart of the 3D printing process lies the CAD (Computer-Aided Design) file, which serves as the blueprint for the object to be printed.
Creating a CAD file for 3D printing is a vital step in the overall process, as it determines the quality and accuracy of the final printed object. Whether you’re a professional designer or an enthusiast looking to turn your creative ideas into reality, understanding the basics of CAD file creation is crucial.
This article will guide you through the process of creating a CAD file for 3D printing, from understanding the fundamentals to optimizing and validating the file. We will explore different software options and provide a step-by-step guide to help you navigate the intricacies of CAD file creation.
So, let’s dive into the world of CAD files and unravel the mysteries behind their creation for 3D printing!
Key Takeaways:
- Master the art of creating CAD files for 3D printing by understanding CAD fundamentals, software options, and step-by-step design processes. Optimize, validate, and export files for flawless 3D printed results.
- Unleash your creativity and bring designs to life through 3D printing by mastering CAD file creation. Explore software options, optimize designs, and ensure flawless prints through thorough validation and file exportation.
Read more: What Does CAD Stand For In 3D Printing
Understanding CAD Files
Before we delve into the process of creating a CAD file for 3D printing, it’s essential to have a clear understanding of what CAD files are and how they function.
In broad terms, a CAD file is a digital representation or design blueprint of an object. It contains all the necessary information, such as dimensions, shapes, and geometries, required to construct the object. CAD files serve as the virtual model that will be translated into a physical object through the 3D printing process.
CAD files are typically created using specialized software that allows users to draft, modify, and visualize objects in a three-dimensional space. These software tools provide a range of features and functionalities to aid in the design process, including precise measurements, shape manipulation, and advanced rendering capabilities.
There are various file formats used for CAD files, the most common being STL (Standard Tessellation Language) and OBJ (Object File Format). These formats store the geometrical data and surface information of the object, enabling it to be accurately translated into a 3D printable model.
Additionally, CAD files can be categorized into two main types: parametric and non-parametric. Parametric CAD files are built using dimensional and relational constraints, allowing for efficient modifications and updates to the design. This flexibility makes them ideal for complex and iterative projects. Non-parametric CAD files, on the other hand, do not have constraints and are often used for simple designs that require less flexibility.
Understanding the intricacies of CAD file formats, software capabilities, and design types will help you navigate the CAD creation process more effectively. Now that we have a foundational understanding of CAD files, let’s explore the software options available for creating them.
Software Options for Creating CAD Files
Creating a CAD file for 3D printing requires specialized software that allows users to design and manipulate objects in a virtual environment. There are several software options available, each with its own features and complexities. Let’s explore some popular choices for creating CAD files:
- AutoCAD: AutoCAD is one of the leading CAD software in the industry, known for its robust functionalities and versatility. It offers a comprehensive set of tools for 2D and 3D modeling, making it suitable for a wide range of applications.
- SolidWorks: SolidWorks is widely used in engineering and industrial design for its powerful parametric modeling capabilities. Its user-friendly interface and extensive library of features make it a popular choice for both professionals and enthusiasts.
- Fusion 360: Fusion 360, developed by Autodesk, is a cloud-based CAD software that combines design, simulation, and manufacturing capabilities. It offers a collaborative environment, making it ideal for teams working on complex projects.
- Tinkercad: Tinkercad is a beginner-friendly CAD software that simplifies the design process with its intuitive interface. It is a great option for those new to CAD and 3D printing, allowing them to quickly create basic designs without a steep learning curve.
- Onshape: Onshape is a cloud-based CAD software that enables real-time collaboration and seamless version control. It offers powerful modeling tools and is accessible from any device with an internet connection.
These are just a few examples of the software options available for creating CAD files. Each software has its own set of advantages and learning curves, so it’s important to evaluate your specific needs and skill level when choosing the right software for you.
Once you have selected the software that best suits your requirements, it’s time to dive into the process of creating a CAD file for 3D printing. In the next section, we will provide a step-by-step guide to help you navigate through the CAD creation process seamlessly.
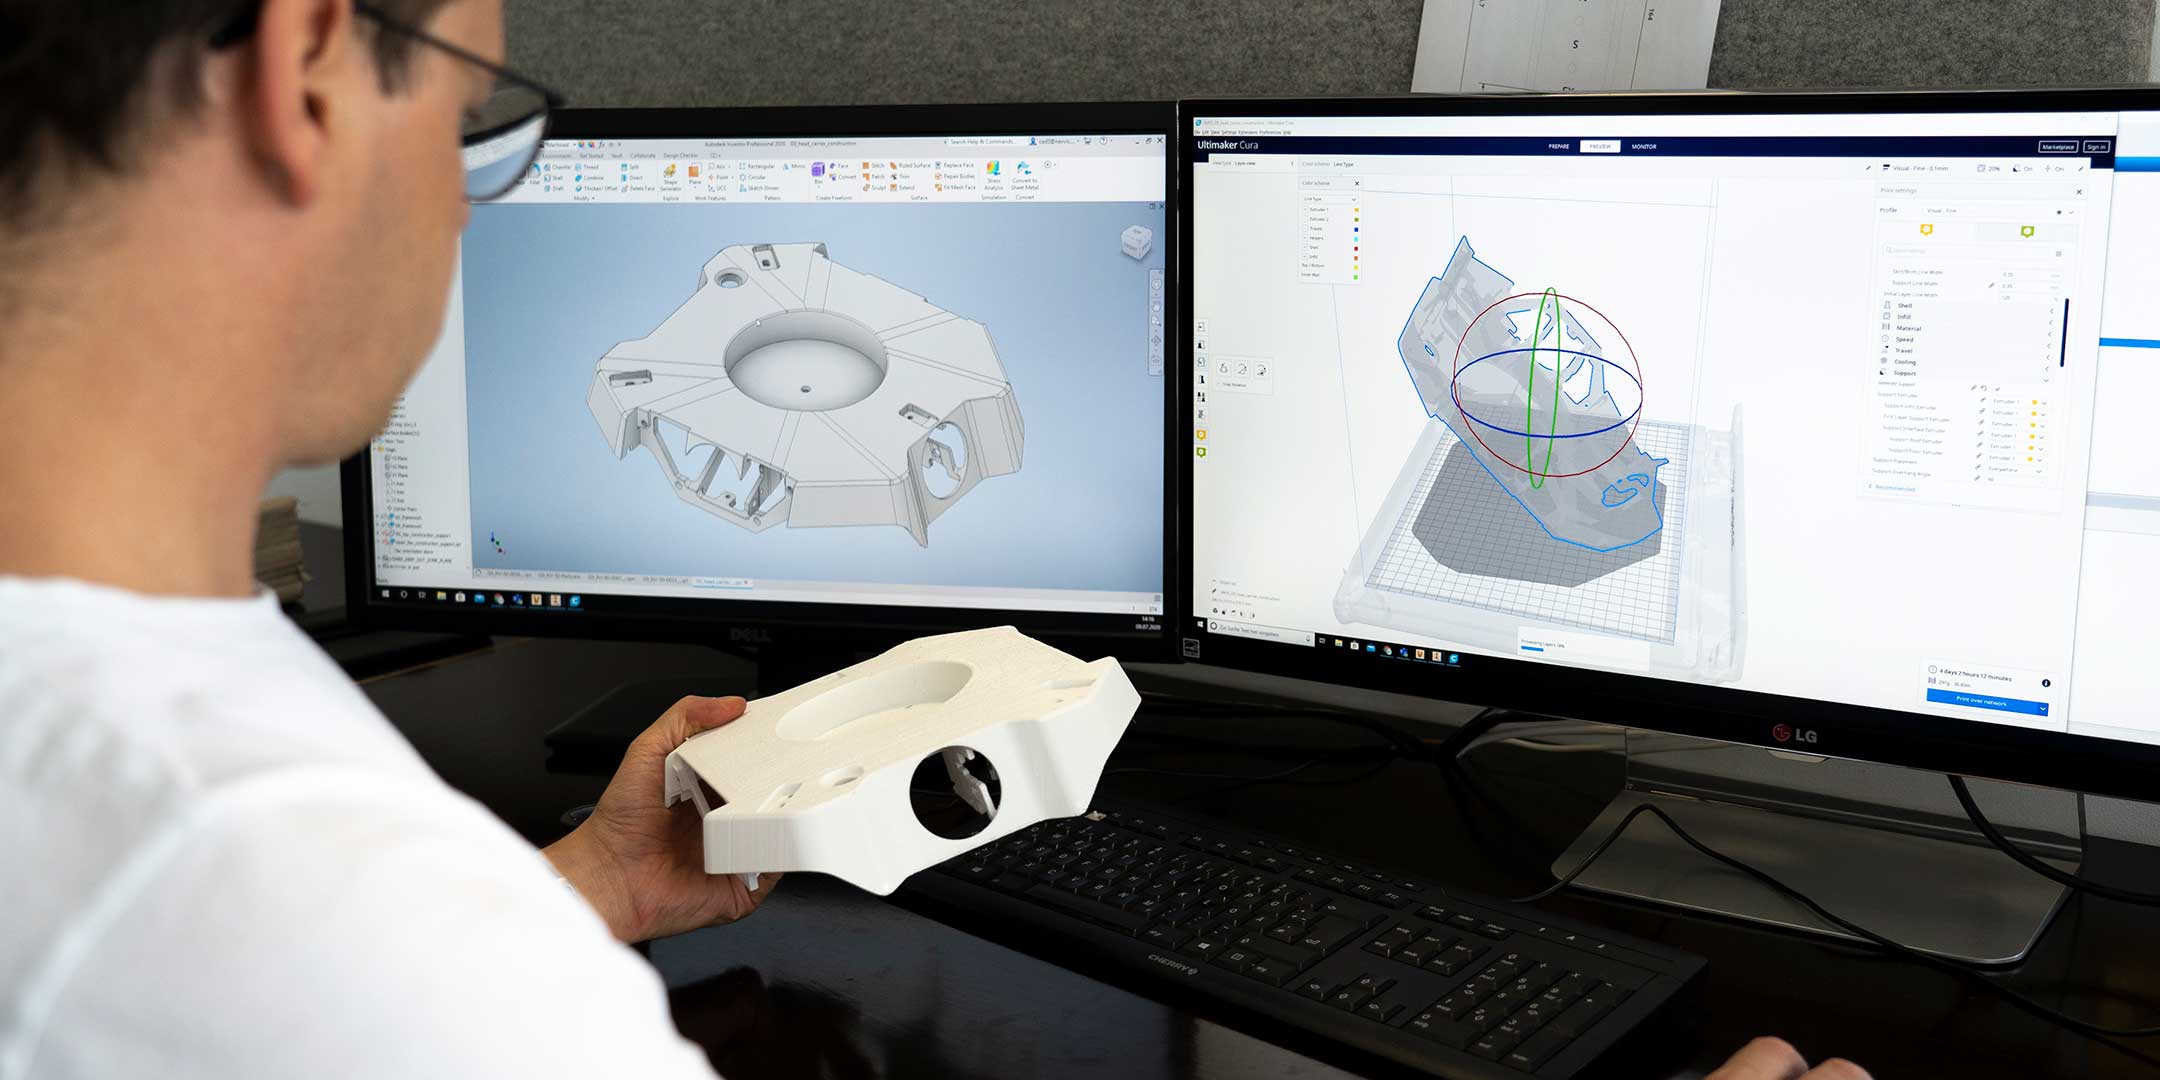
Step-by-Step Guide for Creating a CAD File for 3D Printing
Creating a CAD file for 3D printing requires attention to detail and a systematic approach. To help you through the process, here is a step-by-step guide:
- Define your design: Start by clearly defining the object you want to create. Sketch out the basic shape and dimensions on paper, or use design reference material for inspiration.
- Select the appropriate CAD software: Choose the CAD software that best suits your needs and budget. Familiarize yourself with the software interface and tools, and ensure it supports the file formats compatible with 3D printing.
- Create a new project: Open your chosen CAD software and create a new project. Set the units of measurement to match your design requirements (e.g., millimeters, inches).
- Build the basic shape: Use the software’s modeling tools to construct the basic shape of your object. Start with simple geometric shapes and gradually refine it, adding details and features as needed.
- Add dimensions and constraints: Use the software’s dimension and constraint tools to specify precise measurements and relationships between different elements in your design. This will ensure accuracy and ease of modification.
- Refine and optimize the design: Review your design and make any necessary adjustments to improve its functionality and aesthetics. Consider factors such as structural integrity, weight distribution, and support requirements for 3D printing.
- Check for errors: Use the software’s analysis tools to check for any potential errors or issues in your design. Look out for non-manifold geometry, intersecting surfaces, or other problems that may cause printing failures.
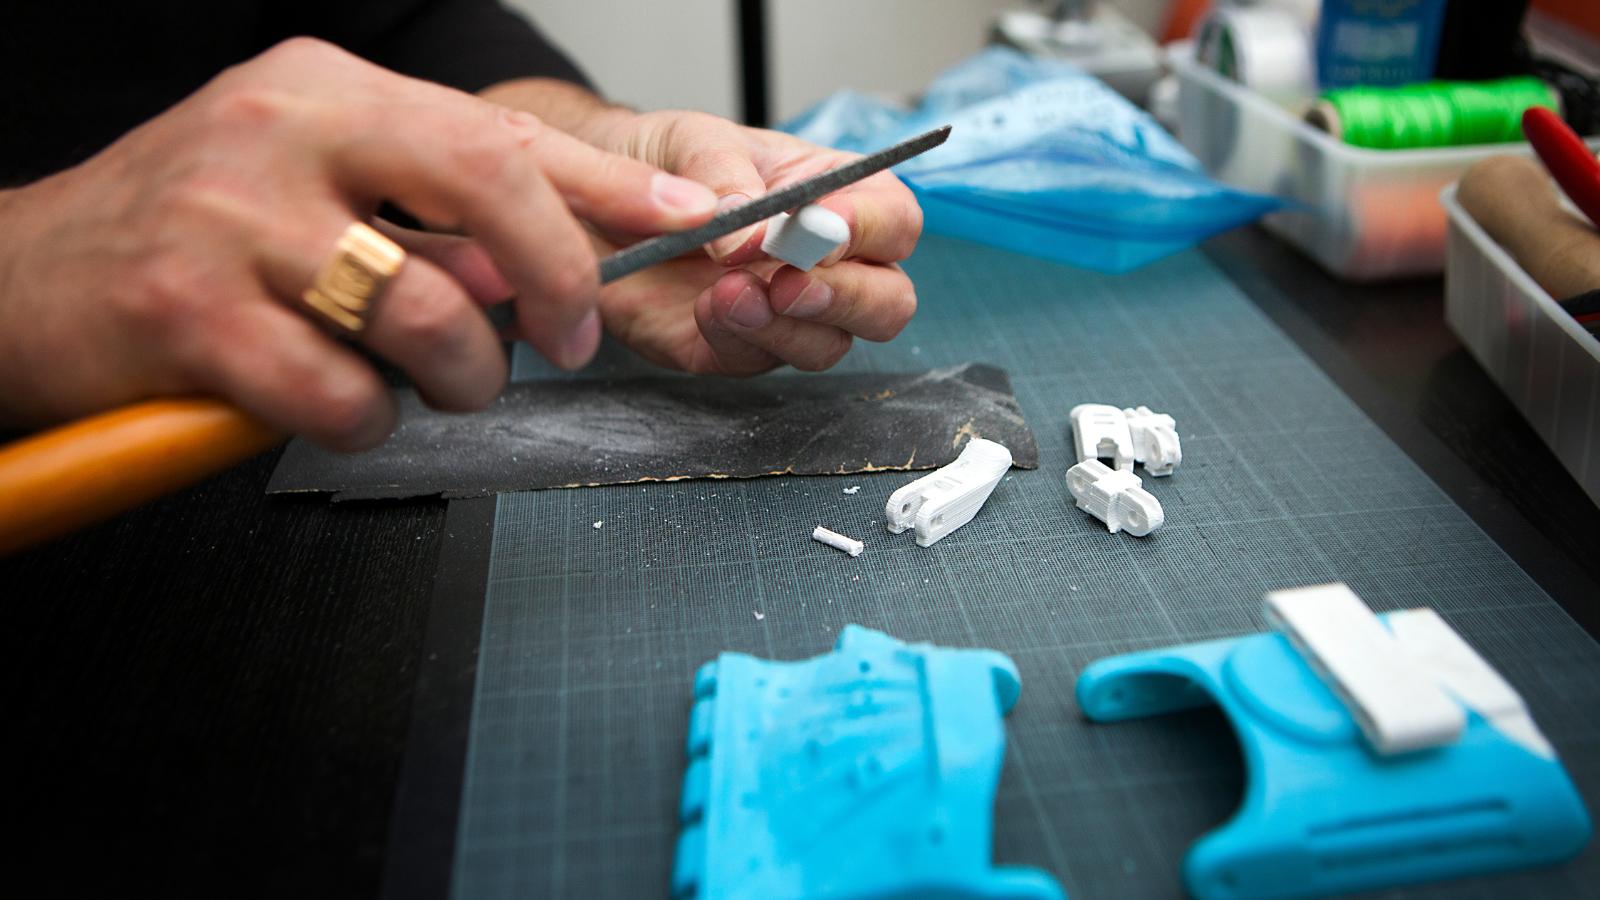
- Add finishing touches: Add any final details, textures, or decorations to enhance the visual appeal of your design. This step is optional but can elevate the overall look of your 3D printed object.
- Export the CAD file: Once you are satisfied with your design, export it as the appropriate file format for 3D printing. The most common formats are STL and OBJ, which store the geometric data required for the printing process.
Creating a CAD file for 3D printing requires practice and patience. Be prepared to iterate and refine your design as you gain more experience with the software and the 3D printing process.
With your CAD file now ready, the next step is to import and manipulate pre-existing 3D models. We will explore this in the next section.
Importing and Manipulating Pre-existing 3D Models
Creating a CAD file for 3D printing doesn’t always mean starting from scratch. In fact, many designers make use of pre-existing 3D models as a foundation for their designs. Importing and manipulating these models can save time and provide a starting point for customization. Here’s a guide on how to import and manipulate pre-existing 3D models:
- Find a 3D model: There are various online platforms and repositories where you can find pre-existing 3D models. Look for models that align closely with your desired design or serve as a starting point for modification.
- Ensure compatibility: Make sure that the 3D model you choose is compatible with your CAD software. Check the file format and verify that your software can import and edit it successfully.
- Import the 3D model: In your CAD software, locate the option to import 3D models. Select the file you downloaded and import it into your project.
- Position and scale the model: Once imported, position the 3D model in the desired location within your design. Use the scaling tools to adjust its size to fit your requirements.
- Modify the model: Depending on your design goals, you may need to modify the pre-existing 3D model. Utilize your software’s editing tools to make adjustments such as adding or removing features, resizing elements, or changing the overall shape.
- Integrate with your design: Blend the imported 3D model seamlessly into your overall design. Ensure that it aligns with your design’s aesthetic and functional requirements.
- Refine and optimize: Similar to creating a CAD file from scratch, review and optimize the imported model. Eliminate any errors, ensure watertight geometry, and make any necessary adjustments for 3D printing.
- Export the modified model: Once you are satisfied with the modifications, export the final design as a CAD file. Ensure that it is in a suitable format for 3D printing, such as STL or OBJ.
Importing and manipulating pre-existing 3D models can provide a great foundation for your designs. It allows for customization and saves valuable time during the CAD creation process. However, it’s important to respect any licensing agreements or usage restrictions associated with the pre-existing 3D models you use.
Now that you know how to import and manipulate pre-existing 3D models, let’s move on to the next step: optimizing CAD files for 3D printing.
When creating a CAD file for 3D printing, make sure to design with the printing process in mind, including considerations for support structures, wall thickness, and overall printability.
Optimizing CAD Files for 3D Printing
Creating a CAD file for 3D printing is not just about the design itself; it also involves optimizing the file to ensure efficient and successful printing. Optimizing CAD files for 3D printing involves several considerations to improve print quality, minimize printing time, and reduce the risk of errors. Here are some key optimization tips:
- Simplify complex geometry: Complex geometries can increase printing time and may result in print failures. Simplify your design by reducing unnecessary details and intricate features while maintaining the overall shape and functionality.
- Ensure wall thickness: Check that the walls of your design have sufficient thickness for the selected printing technology. Thin walls may lead to structural weaknesses and potential breakage.
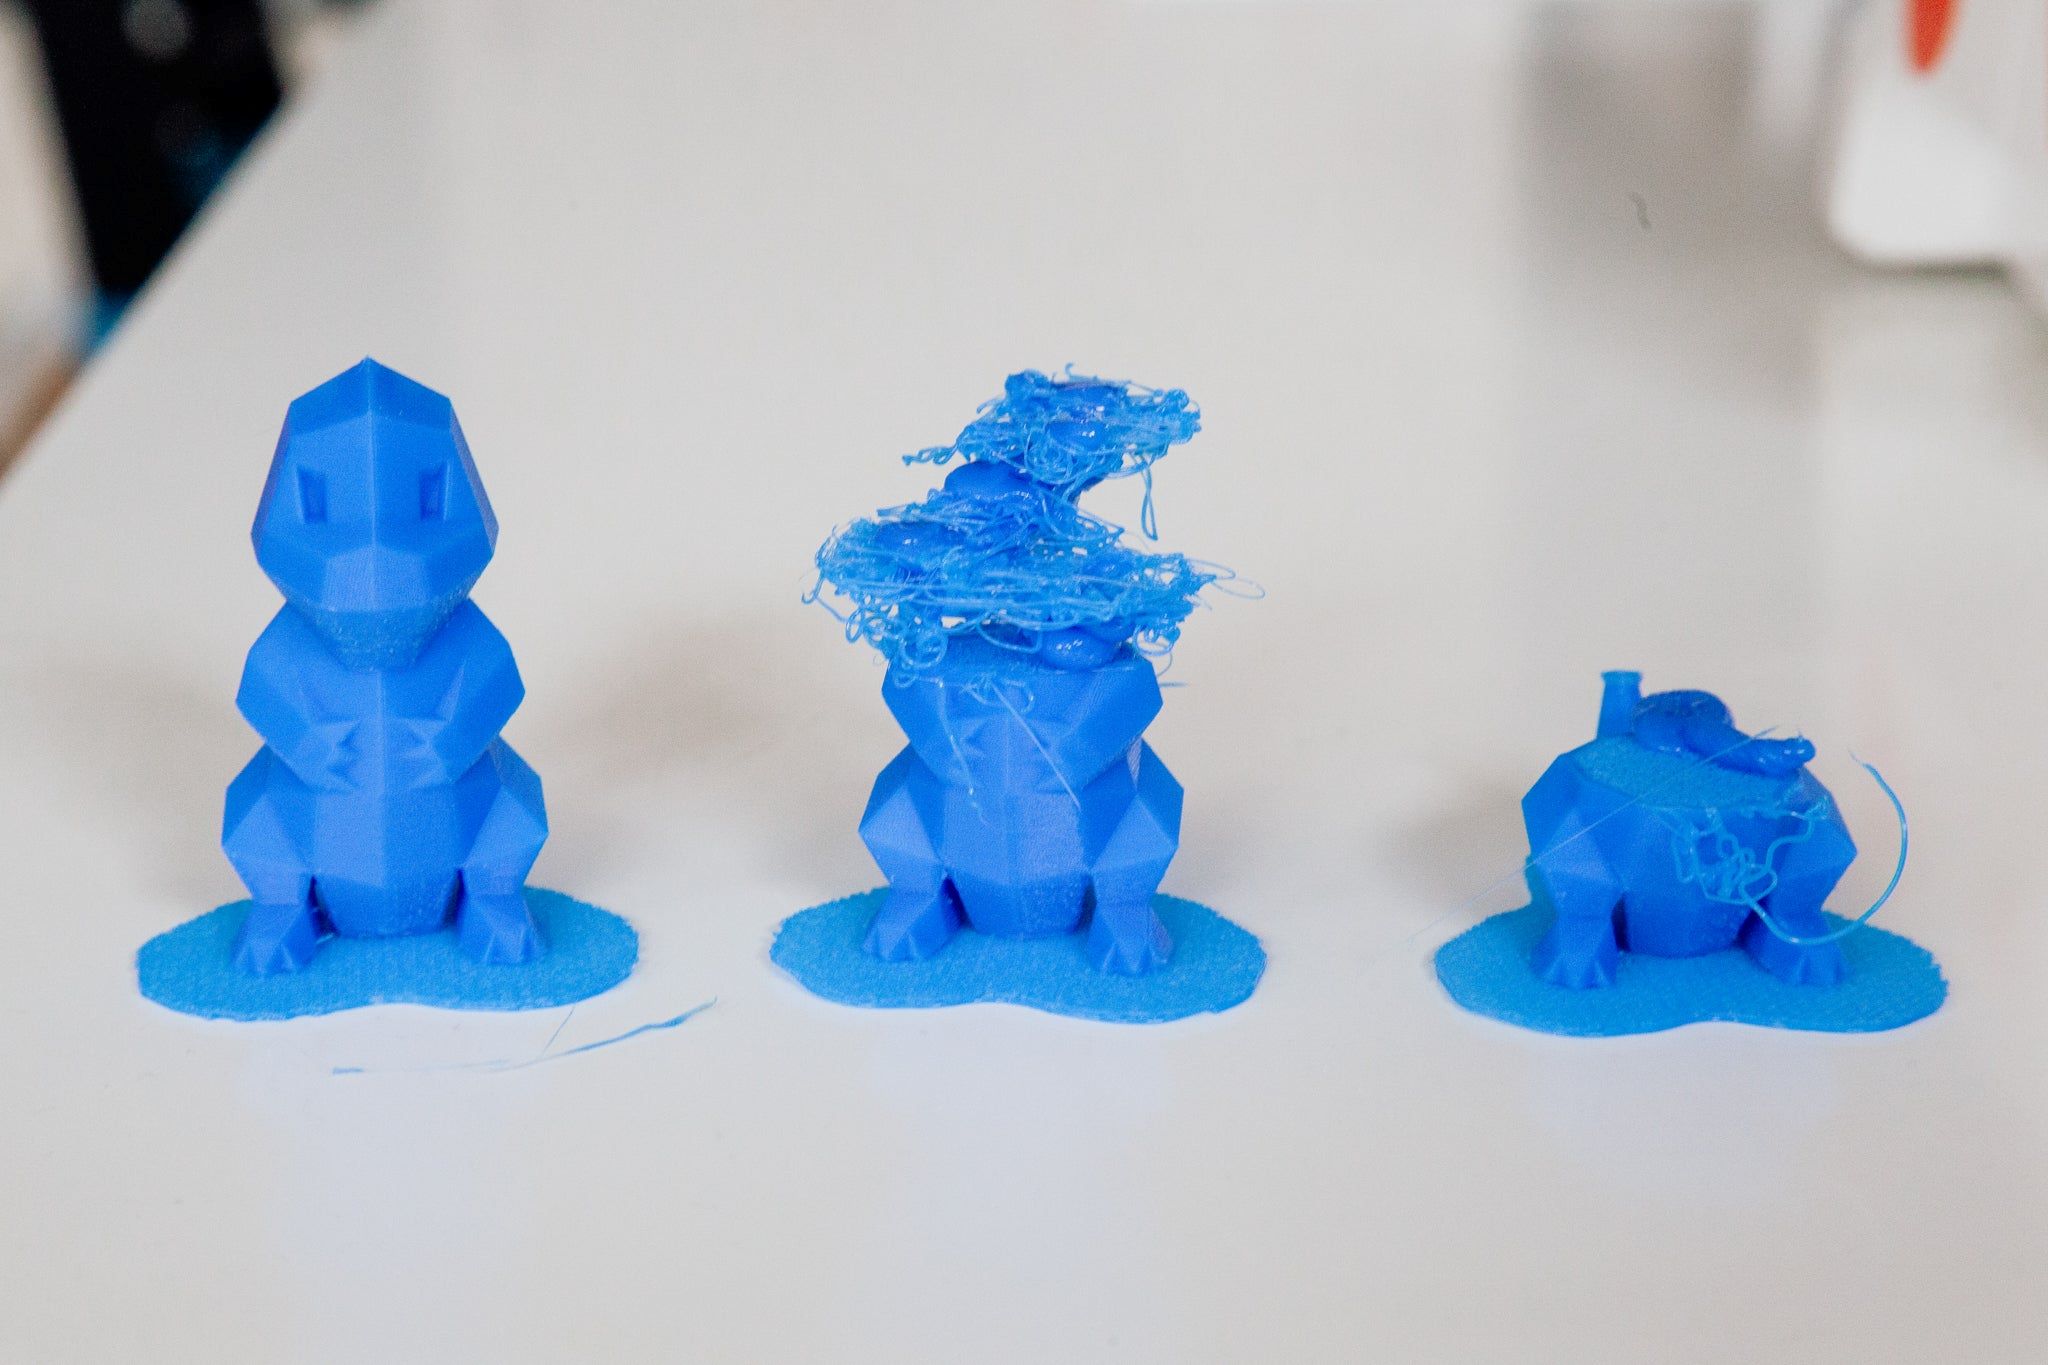
- Add support structures: For designs with overhangs or intricate features, consider adding support structures to ensure printability and prevent deformations. These structures can be easily removed after printing.
- Avoid self-intersecting geometries: Self-intersecting or overlapping geometries can cause printing errors. Use software tools to ensure that all parts of your design intersect correctly and do not overlap or intersect improperly.
- Check for non-manifold geometry: Non-manifold geometry refers to geometric inconsistencies in the CAD file, such as holes or gaps. Use the software’s analysis tools or plugins to identify and fix any non-manifold issues.
- Optimize file size: Large file sizes can be challenging to process and may increase print time. Reduce the file size by simplifying complex details, removing unnecessary elements, and exporting the file in the appropriate resolution.
- Create stable bases: Provide a stable base or platform for your design to minimize the risk of warping or detachment during the printing process. Ensure that the base is large enough and properly aligned with the build plate.
- Perform a test print: Before printing the final design, consider doing a test print with a scaled-down version. This will help you identify and address any issues or potential improvements before committing to a full-sized print.
By optimizing your CAD files for 3D printing, you can maximize the chances of success and obtain high-quality prints. Keep in mind that different printing technologies and materials may have specific requirements. Familiarize yourself with the specifications of your chosen 3D printer and adjust your CAD file accordingly.
Next, we will explore the importance of checking and validating CAD files for 3D printing to ensure flawless results.
Checking and Validating CAD Files for 3D Printing
When preparing a CAD file for 3D printing, it is crucial to thoroughly check and validate the file to avoid potential printing issues. By performing these checks, you can identify and fix any errors or inaccuracies that may negatively impact the final printed object. Here are essential steps for checking and validating CAD files for 3D printing:
- Verify dimensions and measurements: Check that the dimensions of your design are accurate and aligned with your intended specifications. Ensure that lengths, angles, and proportions are correct, and make adjustments if necessary.
- Check for manifold geometry: Non-manifold geometry can cause printing failures. Validate that your CAD file does not contain any gaps, holes, or overlapping surfaces that could result in improper prints. Use software analysis tools to identify and fix non-manifold issues.
- Inspect thin features: Review any thin or fragile parts of your design. Thin walls or delicate elements may not print successfully or may break easily. Consider adjusting these features to ensure printability and durability.
- Ensure adequate clearance: If your design comprises multiple moving parts or assemblies, verify that there is sufficient clearance between them. Lack of clearance can lead to interference and prevent parts from functioning as intended.
- Check for printability: Before printing, use simulation tools or plugins provided by your CAD software to preview how the object will print. This will help identify potential issues such as overhangs, unsupported structures, or areas prone to warping.
- Validate file format compatibility: Ensure that the CAD file format you are using is compatible with your chosen 3D printing software or slicer. Check for any restrictions or recommendations regarding file formats to ensure seamless processing.
- Perform a slicing preview: If you are using a separate slicing software, preview the sliced layers to ensure that the tool paths are generated correctly and that the layers align with your intended design.
- Review file resolution: Determine the appropriate resolution for your CAD file, considering factors such as printing technology and desired level of detail. Avoid unnecessarily high-resolution files, as they can increase file size and printing time without improving print quality.
By meticulously checking and validating your CAD files, you can avoid common issues during the printing process, such as distorted prints, failed prints, or unexpected results. Regularly reviewing and validating your files will ensure the best possible outcome when translating your digital designs into physical objects.
Once your CAD file has been thoroughly checked and validated, it’s time to export it in the appropriate format for 3D printing. This will be the focus of the next section.
Exporting CAD Files in Appropriate Formats
After creating and optimizing your CAD file for 3D printing, the final step is to export it in the appropriate format. The chosen file format should be compatible with your 3D printer and ensure accurate translation from the virtual model to the physical object. Here are some commonly used file formats for exporting CAD files:
- STL (Standard Tessellation Language): STL is the most widely used and standardized file format for 3D printing. It represents the surface geometry of the object using a mesh of triangles. Most 3D printers and slicing software accept STL files, making it highly compatible.
- OBJ (Object File Format): OBJ is another popular file format used for 3D printing. It supports both geometry and texture information, making it suitable for more detailed and complex designs. OBJ files can be imported into most 3D printing software.
- STEP (Standard for the Exchange of Product Data): STEP is a versatile file format that supports complete CAD data, including geometry, attributes, and assembly structures. It is commonly used for data exchange between different CAD software but may require further processing before 3D printing.
- IGES (Initial Graphics Exchange Specification): IGES is another widely supported file format for CAD data exchange. It allows the transfer of complete CAD models, including surfaces, curves, and annotations. However, like STEP files, IGES files may require additional processing for 3D printing.
- AMF (Additive Manufacturing File Format): AMF is specifically designed for Additive Manufacturing processes like 3D printing. It supports both geometry and material information, including multiple materials and colors. However, not all 3D printers and software fully support AMF files yet.
When exporting your CAD file, ensure that the exported format is compatible with your 3D printer or slicing software. Check if there are any specific requirements or recommendations regarding file formats. It’s also essential to consider the level of detail, accuracy, and color information needed for your design when choosing the appropriate format.
By exporting your CAD file in the correct format, you are ensuring a smooth transition from your virtual design to the physical object during the 3D printing process.
Now that you’ve mastered the art of exporting CAD files, you have all the knowledge needed to create your own designs and bring them to life through 3D printing!
Conclusion
Creating a CAD file for 3D printing is an exciting process that allows you to transform your creative ideas into tangible objects. Whether you’re a professional designer or an enthusiastic hobbyist, understanding the fundamentals of CAD file creation is essential for achieving successful and high-quality prints.
In this article, we have explored the key aspects of CAD file creation for 3D printing. We began by understanding the concept of CAD files and their significance as the blueprint for the 3D printed object. We then discussed various software options available for CAD file creation, ranging from industry-leading tools to beginner-friendly alternatives.
Following that, we provided a step-by-step guide for creating a CAD file, outlining the essential stages of the design process. We explored the importance of importing and manipulating pre-existing 3D models, allowing for customization and saving valuable time. We emphasized the significance of optimizing CAD files for 3D printing and provided tips for simplifying geometry, ensuring printability, and reducing errors.
Furthermore, we highlighted the necessity of checking and validating CAD files before 3D printing to avoid potential issues or failed prints. By verifying dimensions, ensuring manifold geometry, and performing slicing previews, you can increase the chances of obtaining flawless results.
Finally, we discussed the importance of exporting CAD files in appropriate formats, such as STL or OBJ, which are widely accepted by most 3D printers and software.
As you embark on your journey in CAD file creation for 3D printing, remember to continuously improve your skills, explore new software and techniques, and stay updated with the latest developments in the field. Embrace the iterative nature of design, learn from each print, and push the boundaries of your creativity.
With dedication, practice, and the knowledge you have gained from this article, you are now ready to unleash your imagination and bring your designs to life through the amazing world of 3D printing!
Frequently Asked Questions about How To Create A CAD File For 3D Printing
Was this page helpful?
At Storables.com, we guarantee accurate and reliable information. Our content, validated by Expert Board Contributors, is crafted following stringent Editorial Policies. We're committed to providing you with well-researched, expert-backed insights for all your informational needs.


0 thoughts on “How To Create A CAD File For 3D Printing”