Home>Technology>Smart Home Devices>What Is The Z Offset On A 3D Printer
Smart Home Devices
What Is The Z Offset On A 3D Printer
Modified: August 20, 2024
Learn how to adjust the Z offset on a 3D printer for precise printing results. Find expert tips and troubleshooting advice for smart home devices.
(Many of the links in this article redirect to a specific reviewed product. Your purchase of these products through affiliate links helps to generate commission for Storables.com, at no extra cost. Learn more)
Introduction
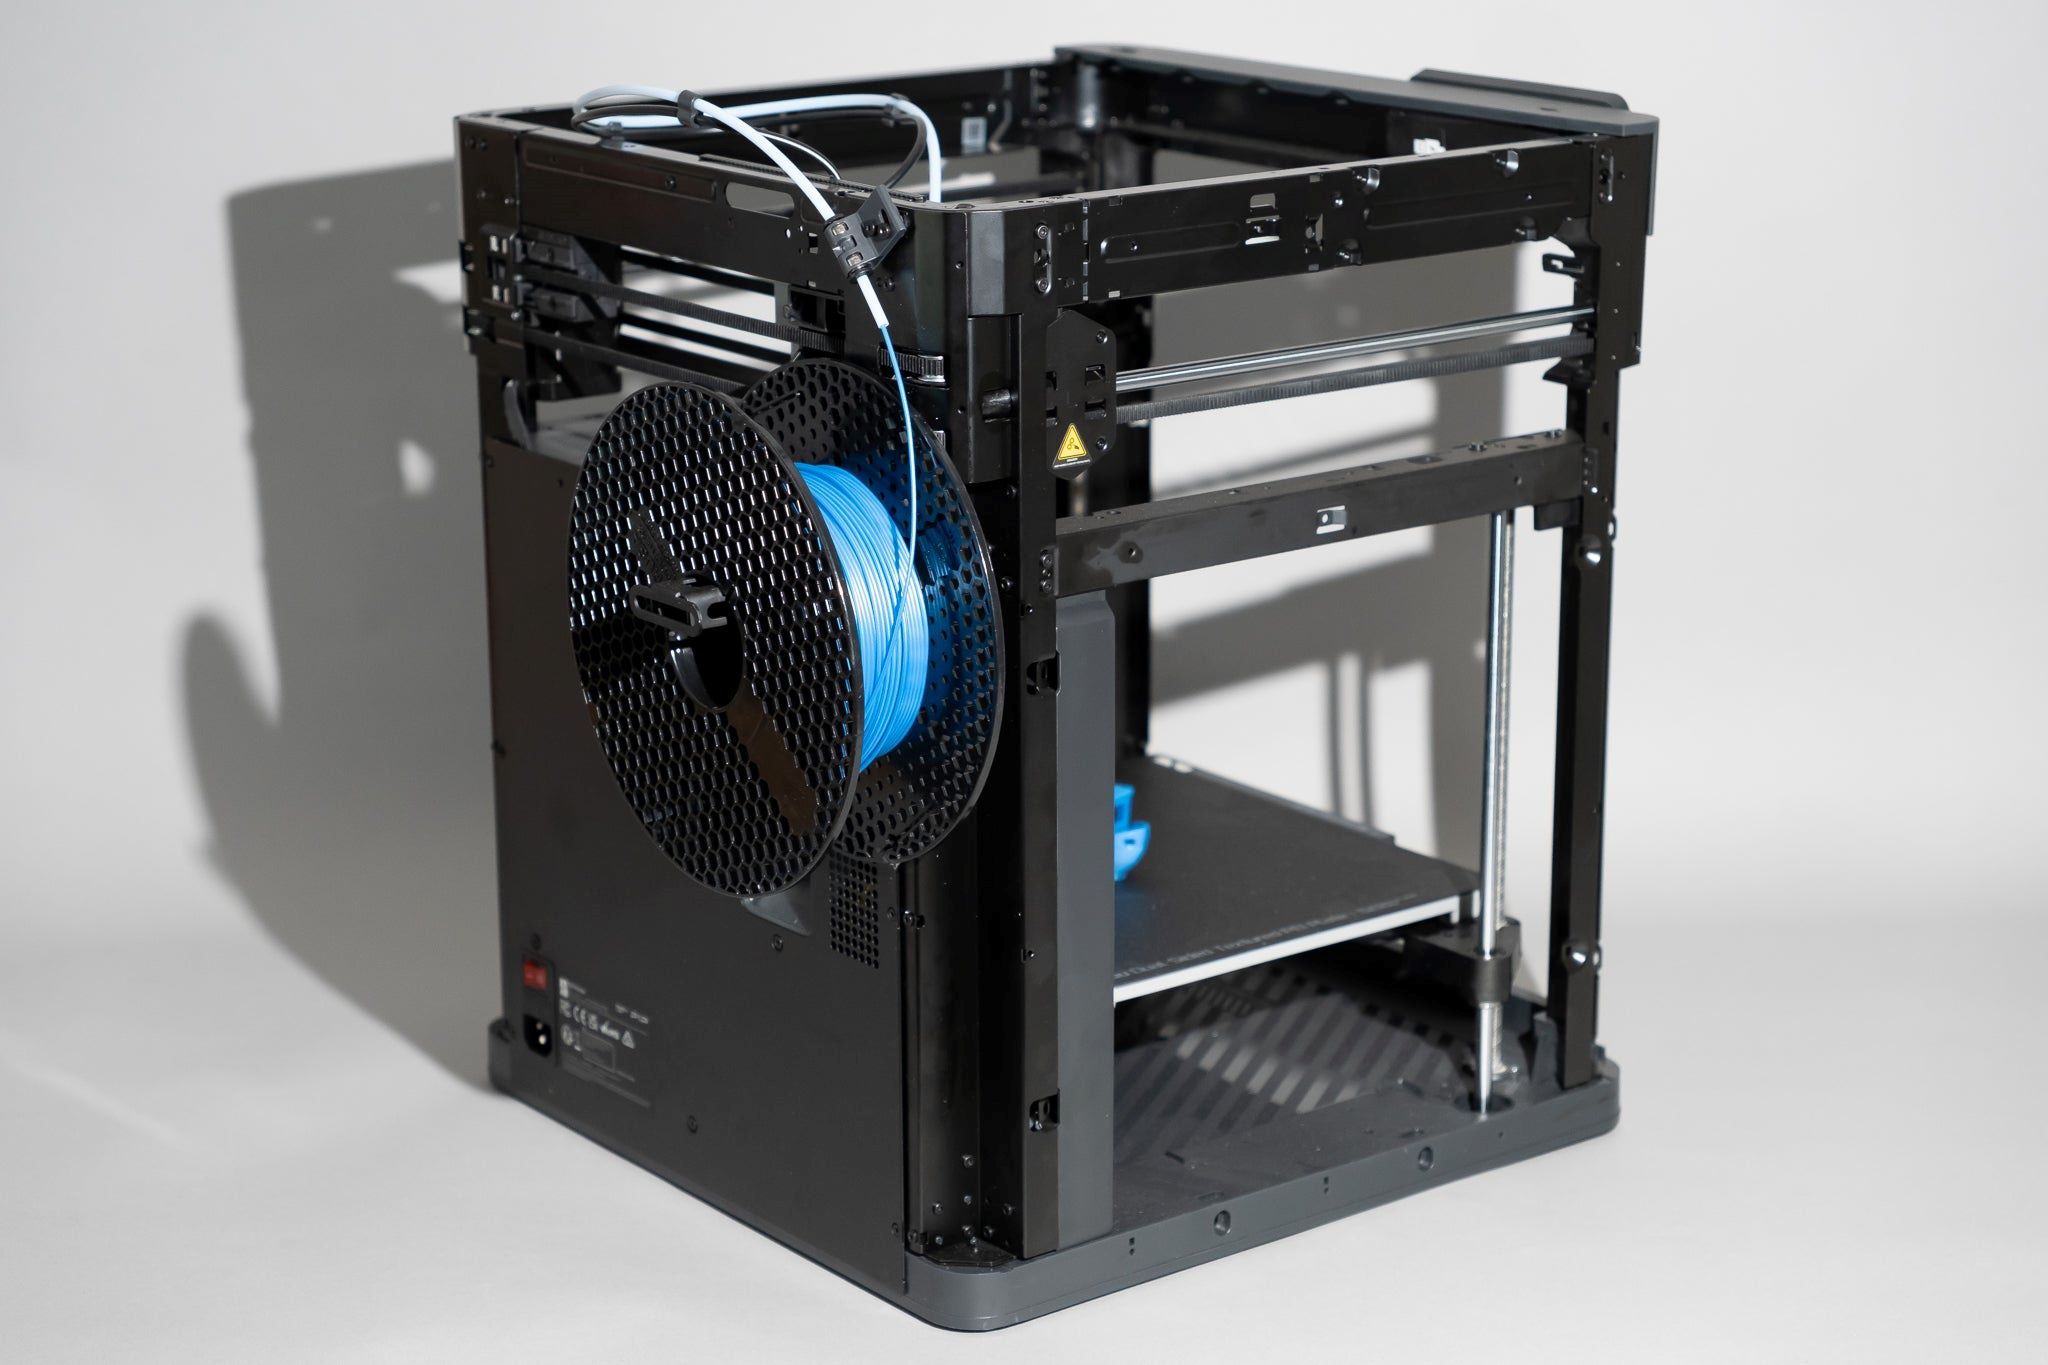
Welcome to the world of 3D printing, where precision meets creativity! As technology continues to evolve, 3D printing has emerged as a groundbreaking innovation, enabling enthusiasts and professionals alike to bring their designs to life with unparalleled accuracy and detail. One crucial aspect of 3D printing is the Z offset, a fundamental parameter that plays a significant role in achieving optimal print quality.
In this comprehensive guide, we will delve into the intricacies of the Z offset on a 3D printer, exploring its significance, adjustment methods, and common issues. Whether you are a seasoned 3D printing enthusiast or a novice eager to unravel the mysteries of this captivating realm, this article will equip you with valuable insights to enhance your printing experience.
So, let's embark on this enlightening journey to unravel the mysteries of the Z offset and its pivotal role in the realm of 3D printing. Whether you are a seasoned 3D printing enthusiast or a novice eager to unravel the mysteries of this captivating realm, this article will equip you with valuable insights to enhance your printing experience.
Key Takeaways:
- The Z offset is like the starting point for a 3D printer, making sure the first layer sticks to the bed. It’s super important for getting the print just right!
- Adjusting the Z offset is like fine-tuning a musical instrument. It helps fix problems like uneven printing and makes sure everything comes out just the way you want it.
Read more: What Is An Extruder On A 3D Printer
Understanding Z Offset
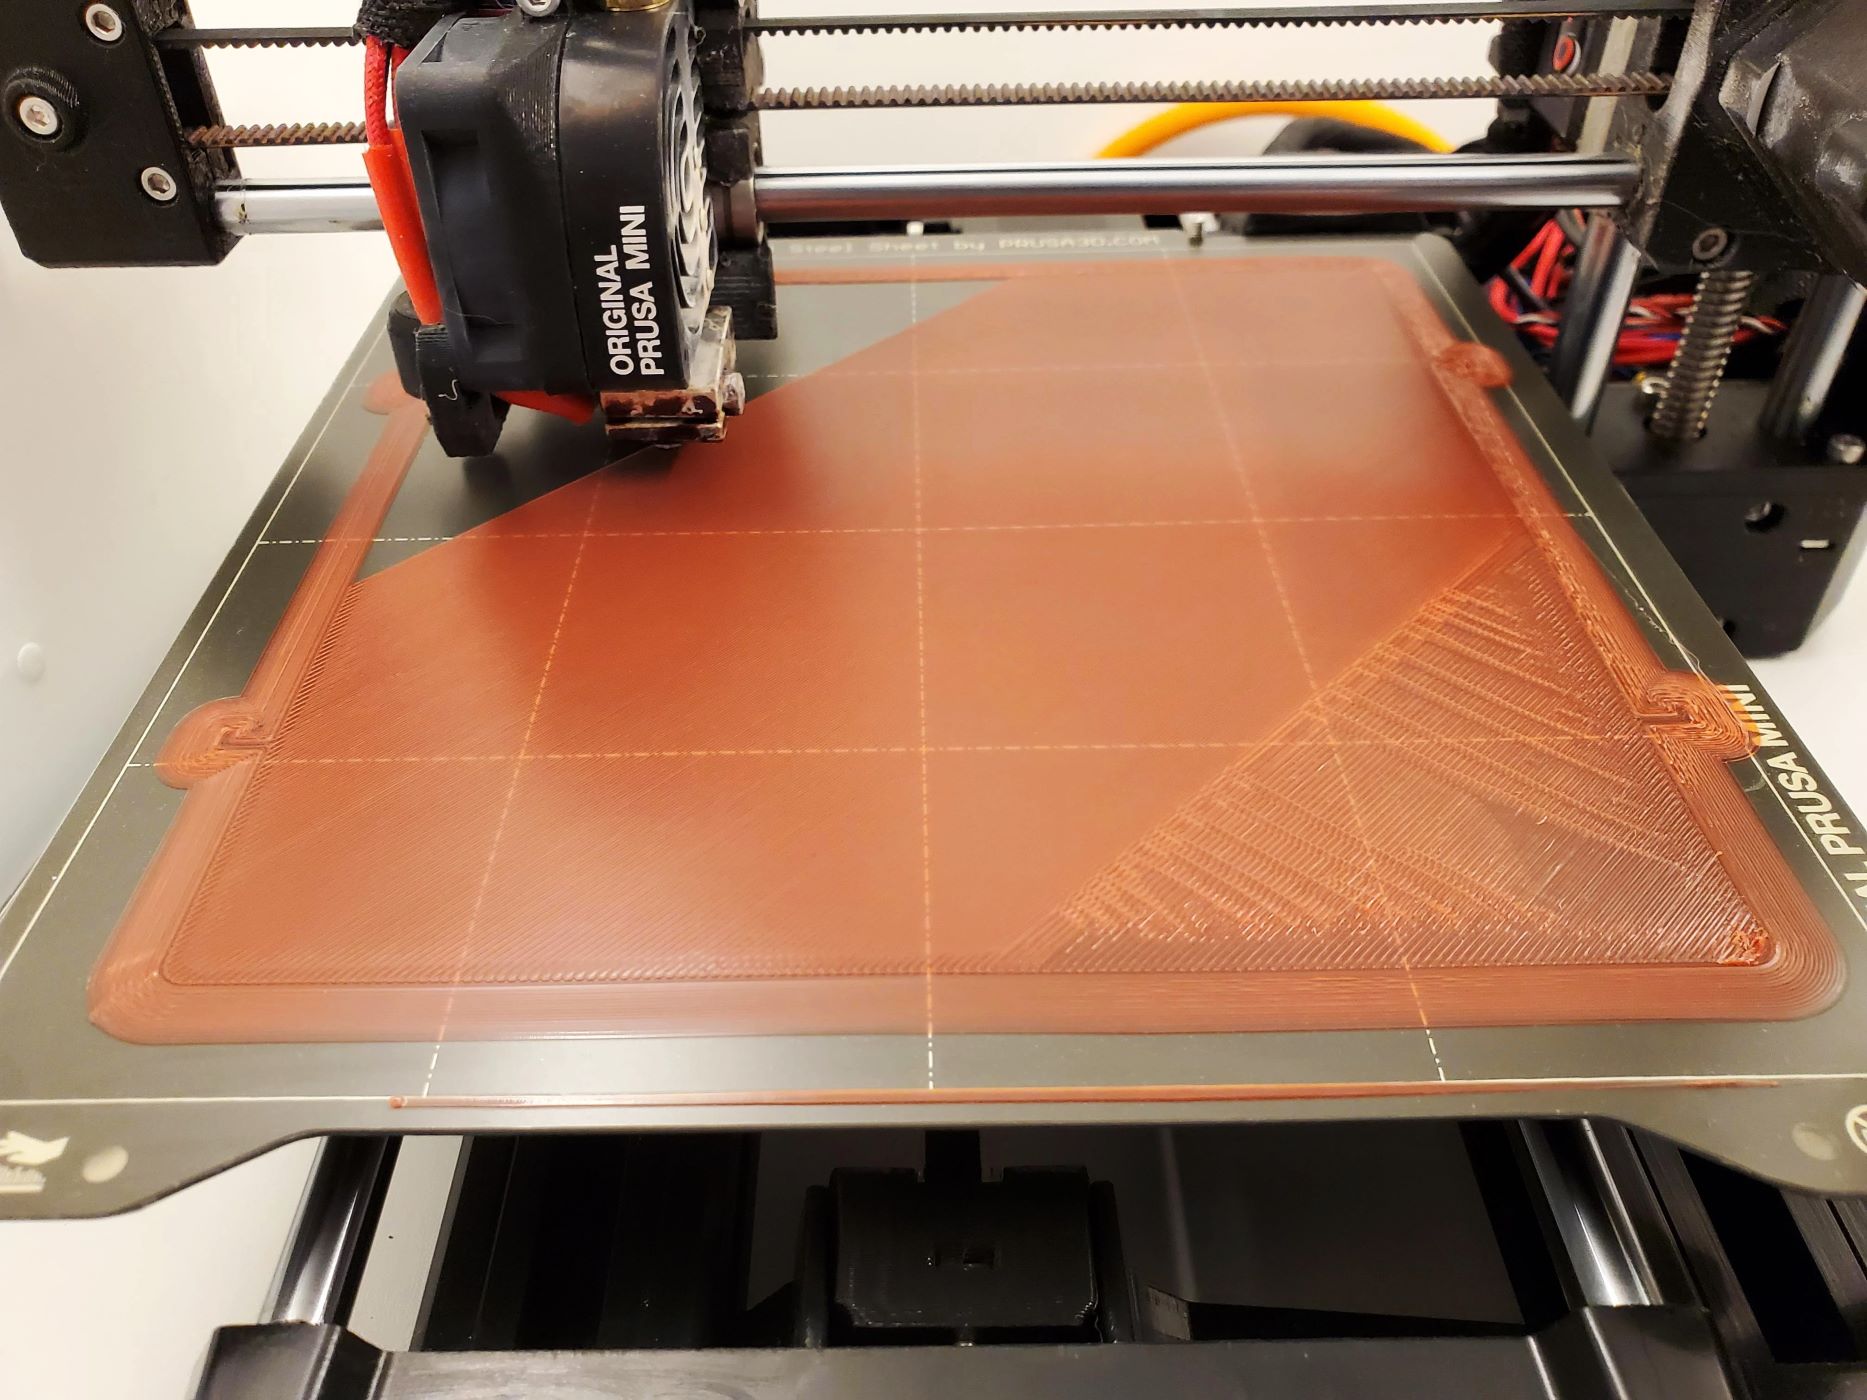
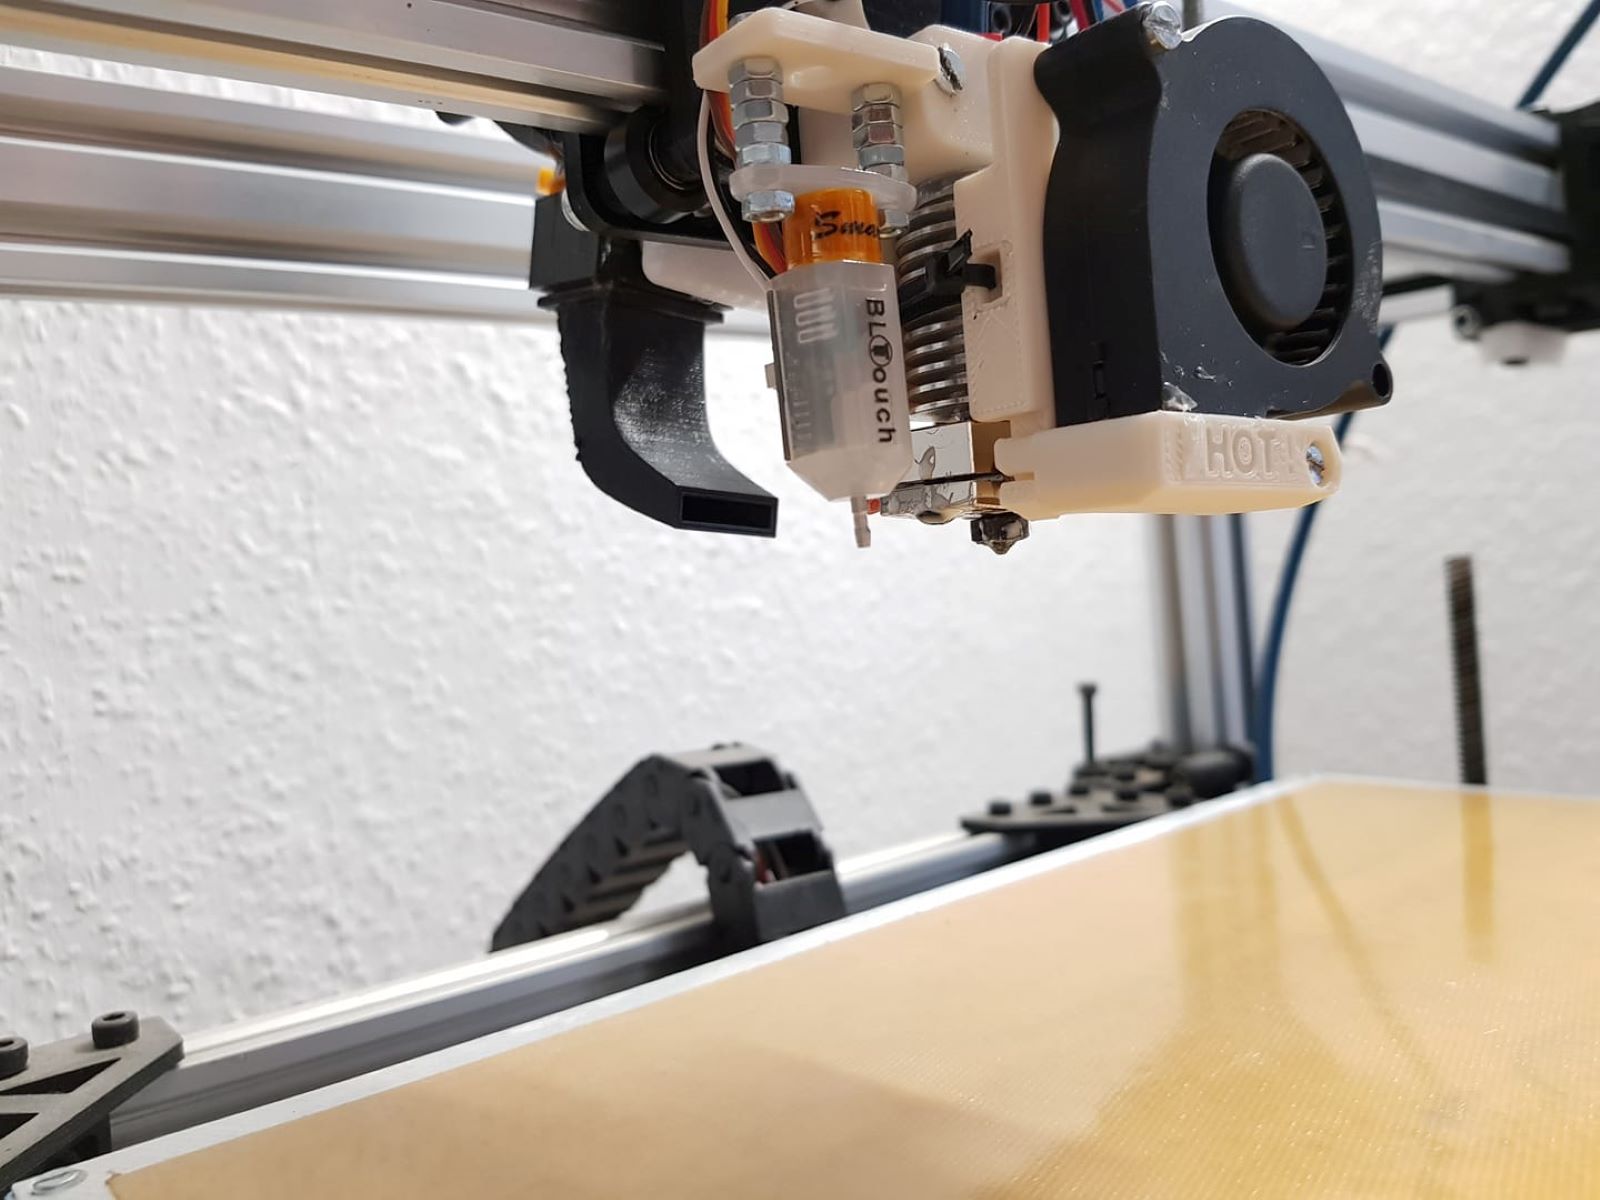
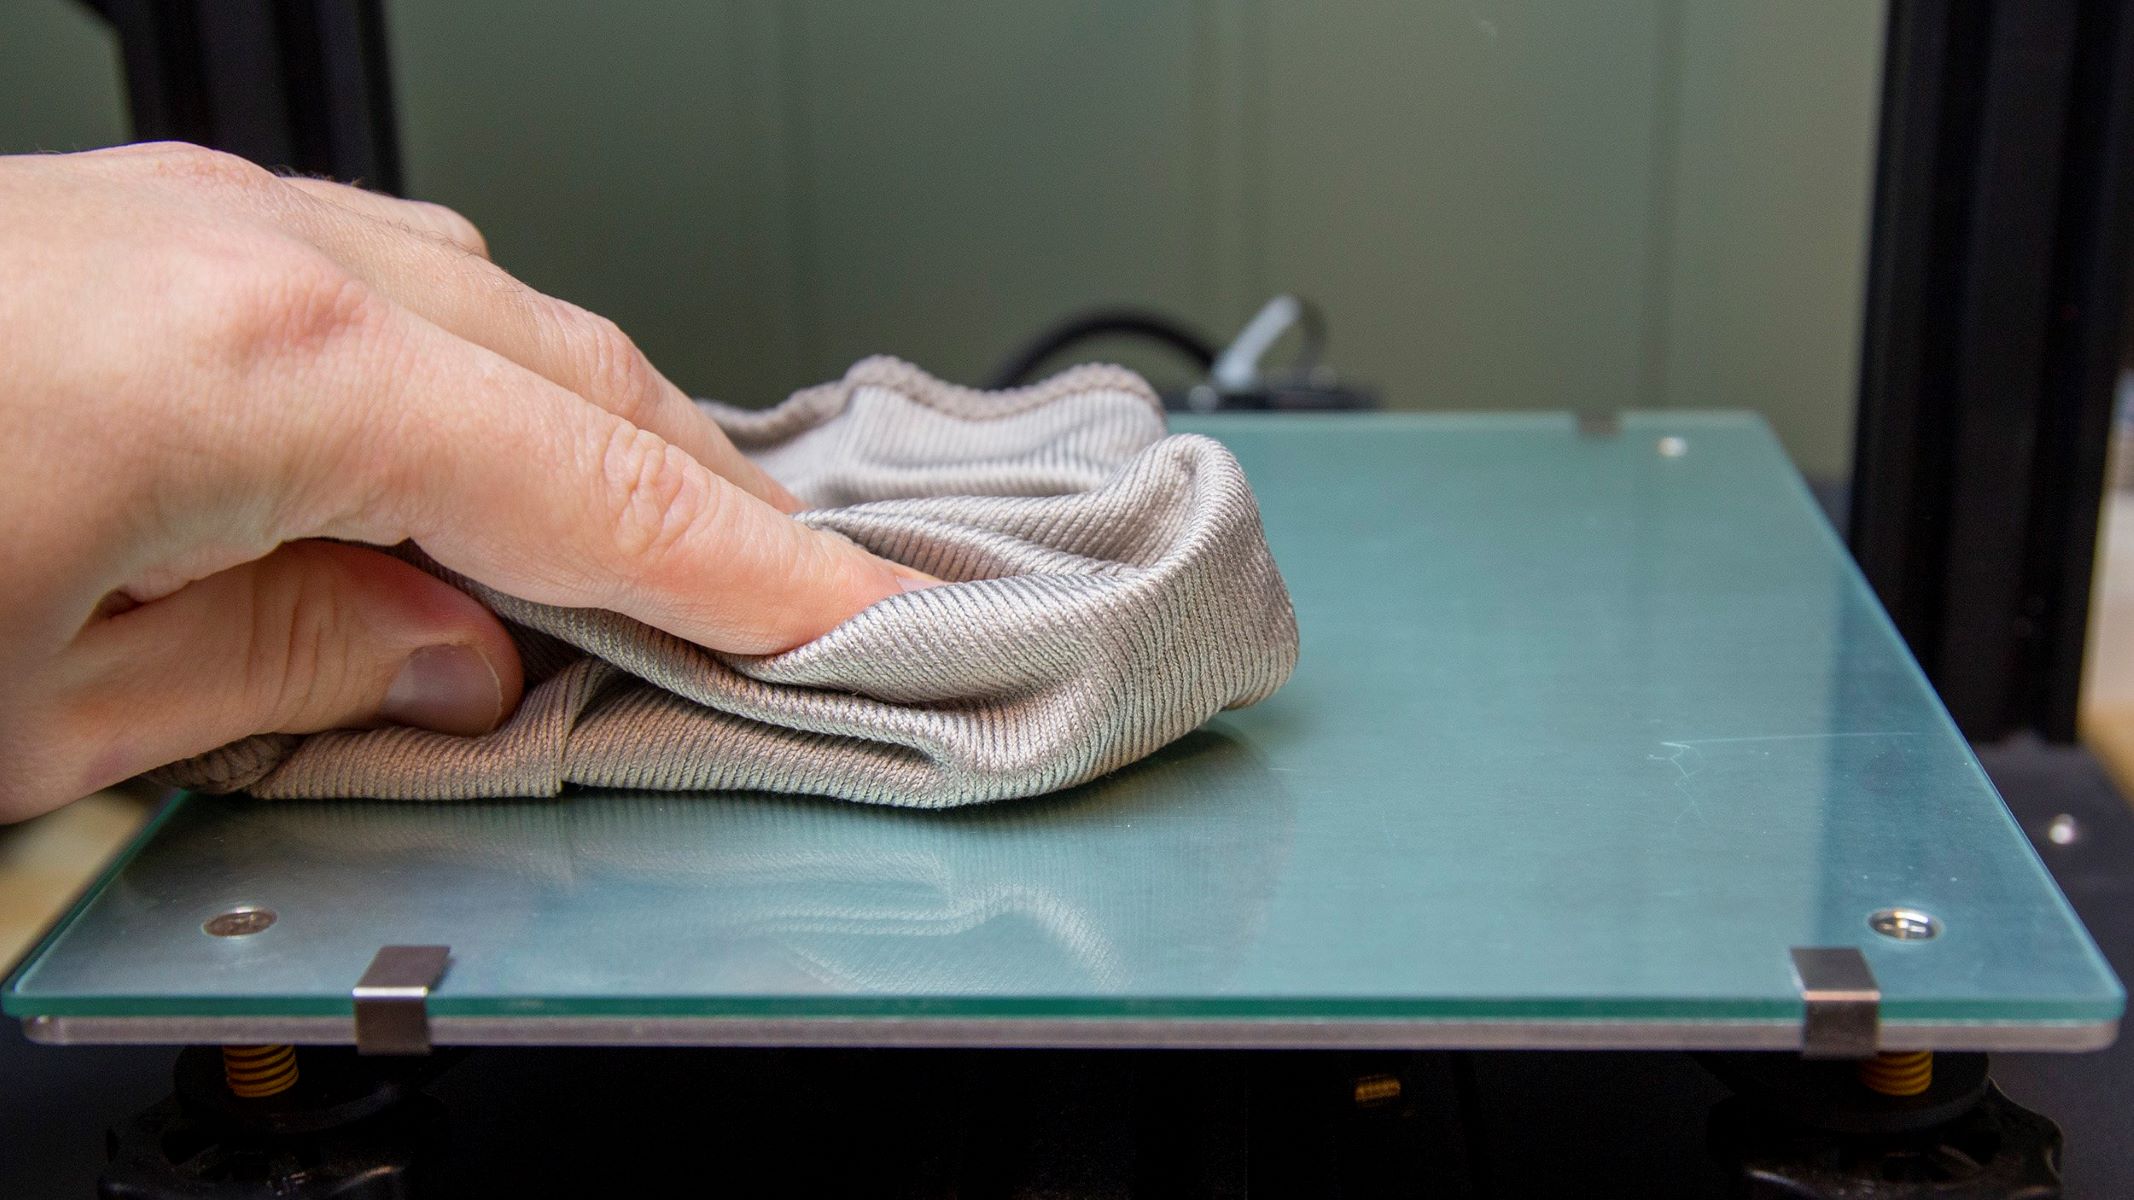
Before delving into the intricacies of the Z offset, it is essential to grasp the foundational concept of the printing process. In 3D printing, the Z axis refers to the vertical movement of the print head, which determines the layer height and overall precision of the printed object. The Z offset, also known as the nozzle offset, plays a critical role in ensuring that the initial layer adheres seamlessly to the print bed, thereby laying the groundwork for a successful print.
Essentially, the Z offset represents the distance between the print nozzle and the print bed when the printer is homed or at the starting position. This parameter is pivotal in achieving the optimal first layer adhesion, which is crucial for the overall stability and quality of the print. By fine-tuning the Z offset, users can effectively adjust the initial layer height, compensating for variations in the print bed surface and ensuring consistent adhesion across different printing scenarios.
Moreover, the Z offset directly influences the overall print quality, as it determines the precise positioning of the initial layer. A meticulously calibrated Z offset can mitigate issues such as uneven extrusion, warping, and adhesion failures, thereby enhancing the structural integrity and visual appeal of the printed objects.
Understanding the Z offset entails a nuanced appreciation of its impact on the printing process. By comprehending the intricacies of this parameter, users can harness its potential to optimize print quality and mitigate common printing challenges. In the subsequent sections, we will explore the significance of Z offset adjustments and the techniques to fine-tune this critical parameter, empowering you to elevate your 3D printing endeavors to new heights.
Importance of Z Offset in 3D Printing
The Z offset stands as a cornerstone of 3D printing, wielding profound significance in the quest for impeccable print quality and reliability. Its pivotal role reverberates throughout the printing process, influencing crucial aspects that directly impact the final output. Let’s unravel the multifaceted importance of the Z offset in the realm of 3D printing.
- First Layer Adhesion: The Z offset plays a decisive role in ensuring optimal adhesion of the initial layer to the print bed. By fine-tuning this parameter, users can mitigate the risks of adhesion failures, warping, and uneven extrusion, laying a solid foundation for the subsequent layers to unfold seamlessly.
- Print Quality and Precision: A meticulously calibrated Z offset directly contributes to the overall print quality and precision. By adjusting this parameter with precision, users can achieve consistent layer heights, thereby enhancing the structural integrity and visual appeal of the printed objects.
- Bed Surface Variations: In the realm of 3D printing, the surface of the print bed may exhibit subtle variations and imperfections. The Z offset serves as a crucial tool for compensating for these irregularities, enabling users to achieve uniform adhesion and print consistency across diverse printing scenarios.
- Print Reliability: An accurately configured Z offset fosters print reliability, minimizing the likelihood of print failures and errors. By optimizing this parameter, users can instill a greater sense of predictability and consistency into their printing endeavors, thereby reducing the need for reprints and troubleshooting.
By comprehending the pivotal role of the Z offset in 3D printing, users can harness its potential to elevate their printing experiences. The next section will unravel the techniques for adjusting the Z offset on a 3D printer, empowering enthusiasts and professionals to fine-tune this critical parameter with precision and confidence.
When calibrating your 3D printer, the Z offset determines the distance between the print bed and the nozzle. Adjust it carefully to ensure proper adhesion and print quality.
How to Adjust Z Offset on a 3D Printer
Adjusting the Z offset on a 3D printer is a nuanced process that demands precision and attentiveness. By mastering the art of fine-tuning this critical parameter, users can unlock the full potential of their 3D printing endeavors, enhancing print quality and reliability. Let’s embark on a journey to unravel the techniques for adjusting the Z offset with confidence and precision.
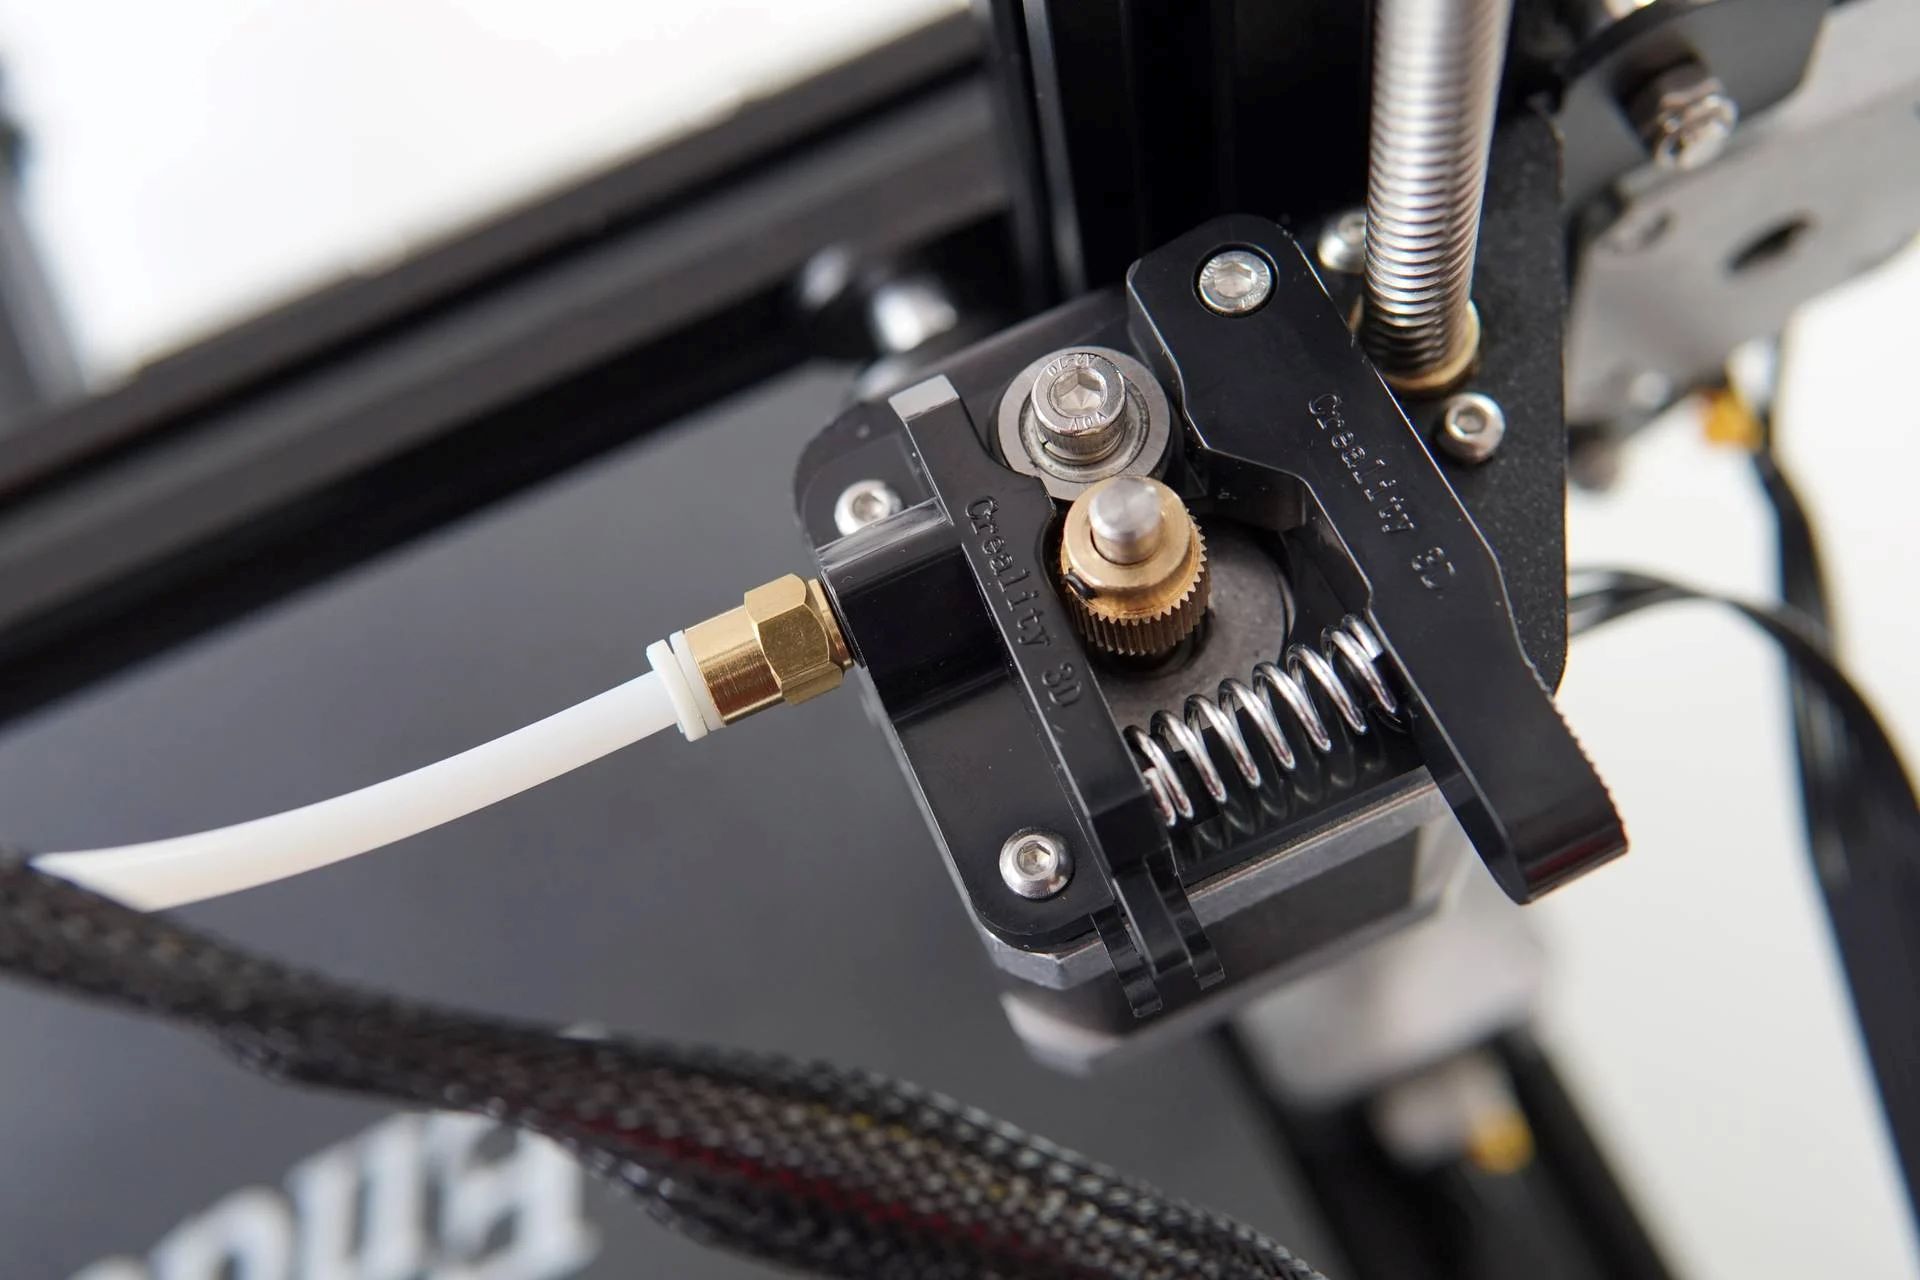
Manual Calibration: Many 3D printers offer the flexibility to manually adjust the Z offset, allowing users to fine-tune this parameter with precision. This process typically involves homing the printer, moving the print head to the desired starting position, and adjusting the Z offset through the printer’s interface or control panel. By iteratively tweaking the Z offset and evaluating the first layer adhesion, users can pinpoint the optimal setting for their specific printing scenario.
Software Settings: Some 3D printing software packages provide intuitive interfaces for adjusting the Z offset, enabling users to calibrate this parameter with ease. By navigating the software’s settings or configuration options, users can access the Z offset adjustment controls, allowing for seamless calibration without the need for manual intervention. This approach streamlines the calibration process, offering a user-friendly avenue for achieving precise Z offset adjustments.
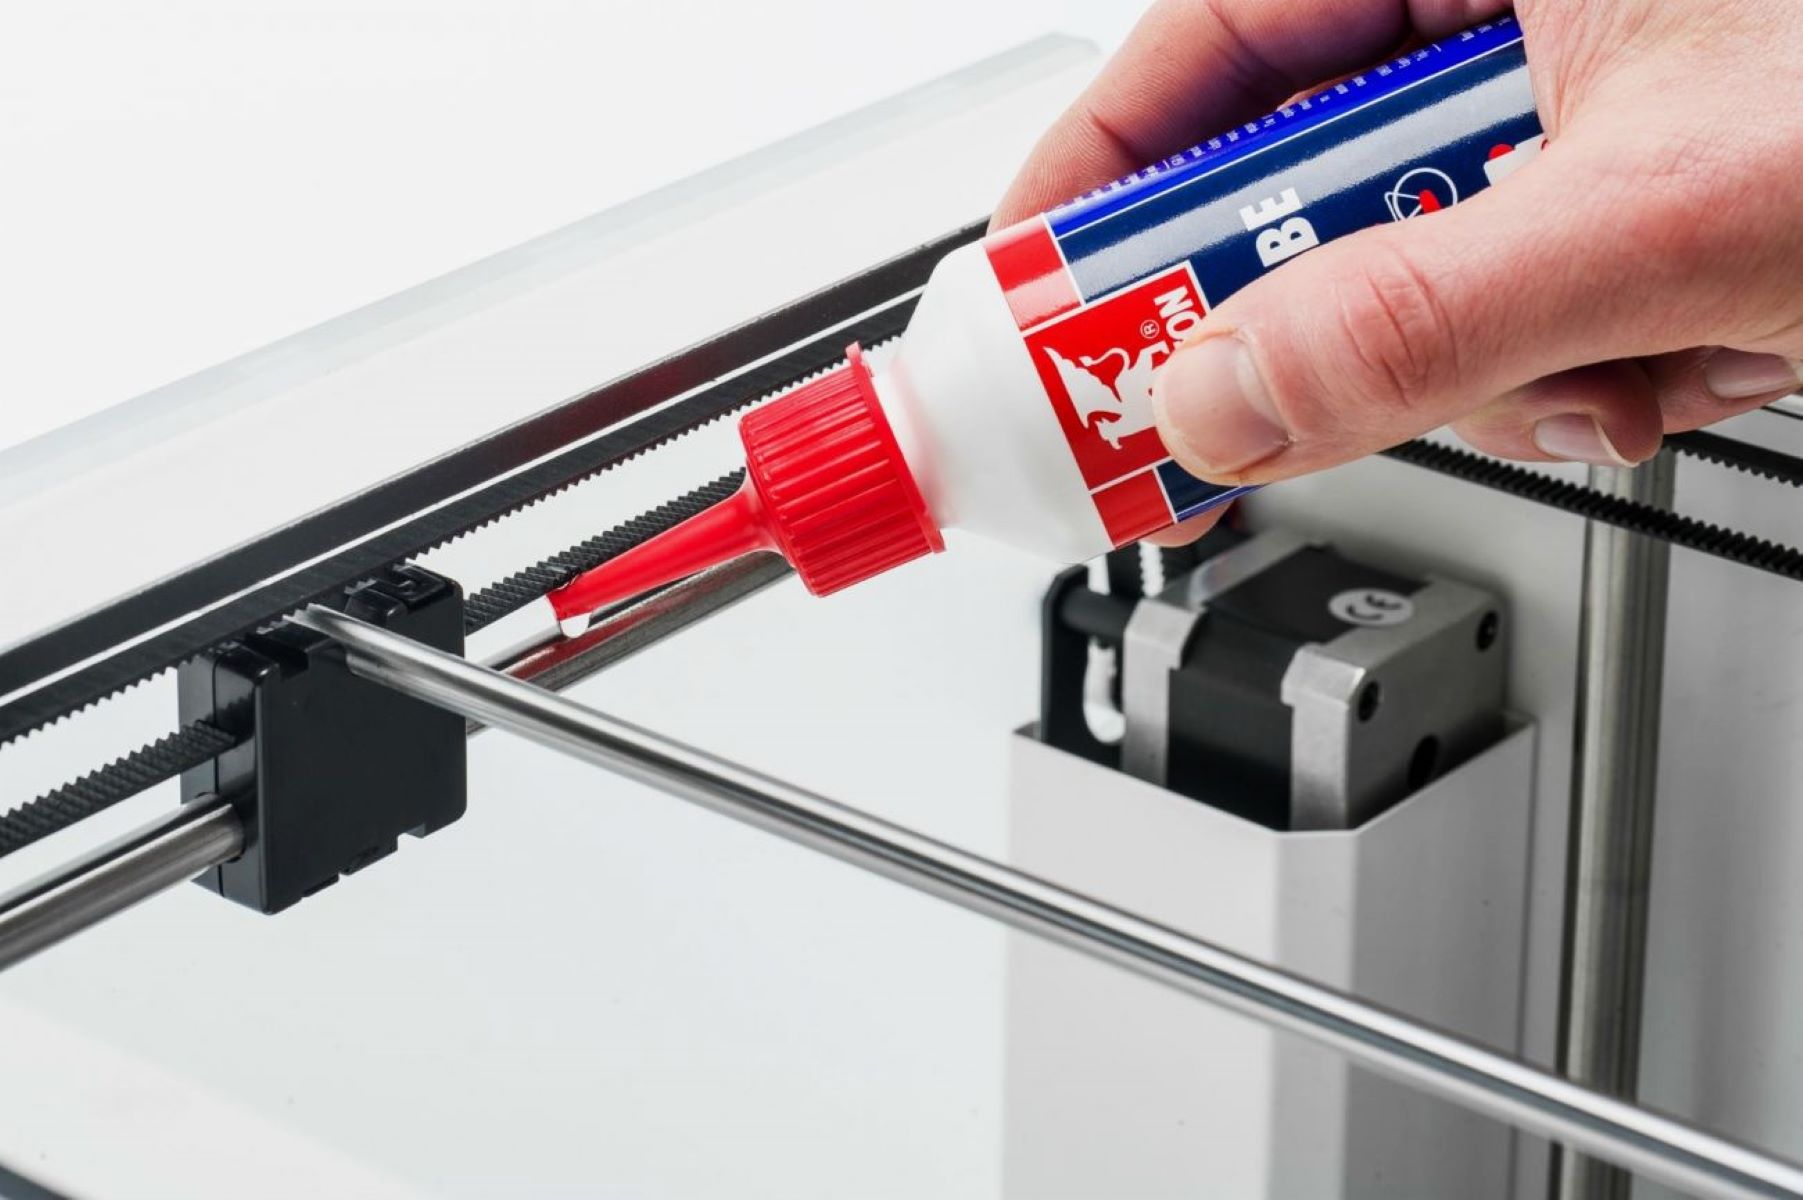
Hardware Modifications: In certain cases, users may opt to implement hardware modifications to fine-tune the Z offset. This can involve adjusting the physical position of the print bed or the Z axis limit switch to achieve the desired Z offset configuration. While hardware modifications demand a meticulous approach and technical acumen, they offer a tailored solution for achieving precise Z offset adjustments tailored to specific printing requirements.
By mastering the art of adjusting the Z offset, users can harness this critical parameter to optimize print quality, mitigate common printing challenges, and elevate their 3D printing experiences to new heights. The subsequent section will shed light on common issues related to the Z offset, empowering users to identify and address potential hurdles in their printing endeavors.
Common Issues Related to Z Offset
While the Z offset serves as a cornerstone of 3D printing, users may encounter a range of common issues that warrant attention and troubleshooting. By familiarizing themselves with these potential hurdles, users can navigate the intricacies of Z offset calibration with confidence and proactively address challenges that may arise during the printing process.
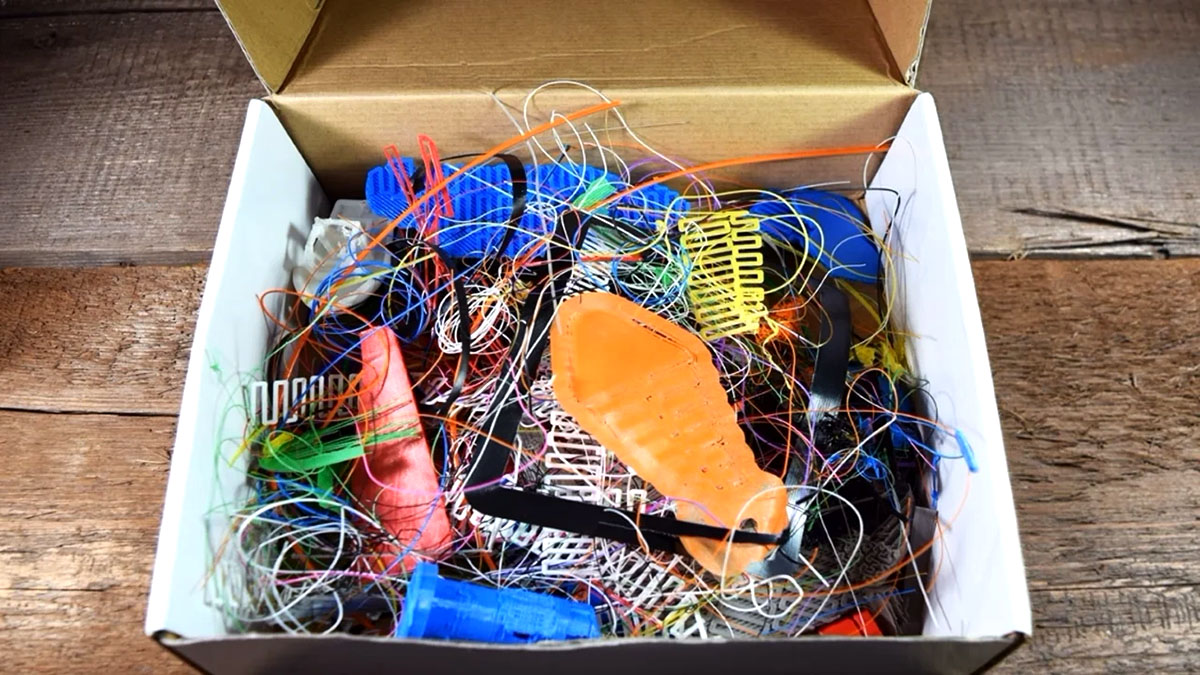
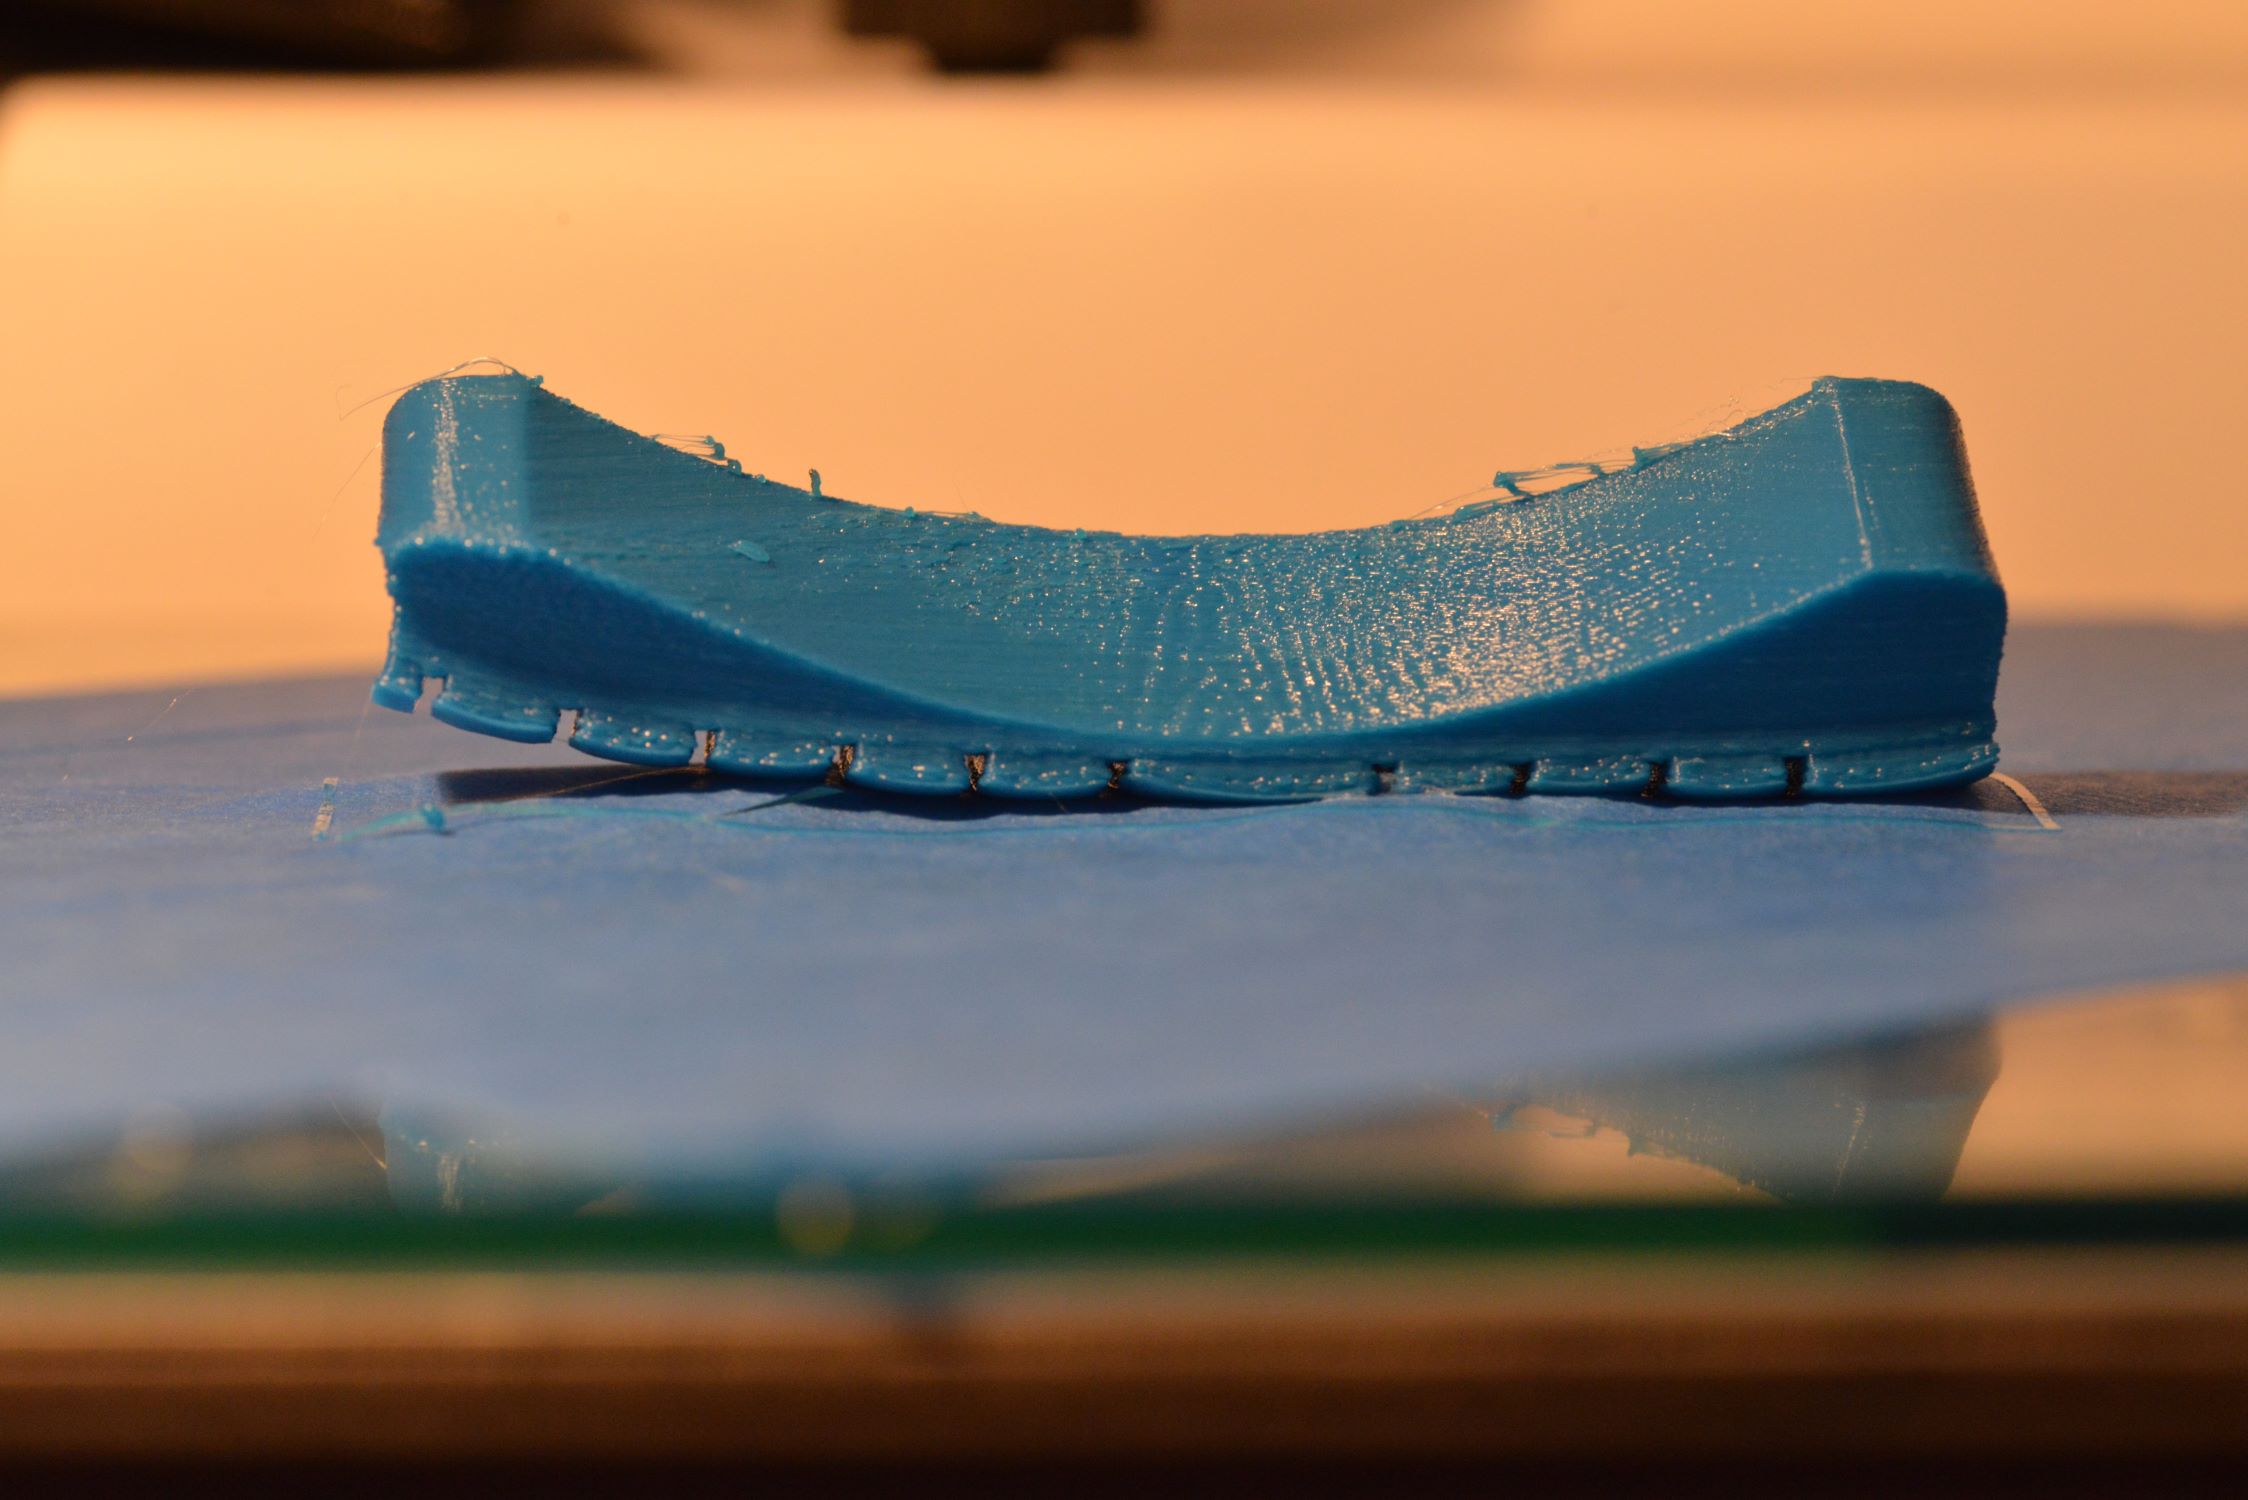
Poor First Layer Adhesion: Inadequate Z offset calibration can result in poor adhesion of the initial layer to the print bed, leading to issues such as warping, uneven extrusion, and print instability. Addressing this challenge requires meticulous Z offset adjustments to achieve optimal first layer adhesion, thereby laying a solid foundation for successful prints.
Extrusion Irregularities: A misconfigured Z offset can manifest as extrusion irregularities, leading to inconsistent layer heights and compromised print quality. By fine-tuning the Z offset with precision, users can mitigate extrusion challenges and achieve uniform layer deposition, enhancing the overall structural integrity and visual appeal of the printed objects.
Print Bed Variations: The surface of the print bed may exhibit subtle variations and imperfections, necessitating tailored Z offset adjustments to compensate for these irregularities. By addressing print bed variations through meticulous Z offset calibration, users can achieve uniform adhesion and print consistency across diverse printing scenarios, mitigating the impact of surface imperfections on print quality.
Print Reliability: An inaccurately configured Z offset can undermine print reliability, leading to a heightened risk of print failures and errors. By proactively addressing Z offset-related challenges and fine-tuning this critical parameter, users can instill a greater sense of predictability and consistency into their printing endeavors, reducing the need for reprints and troubleshooting.
By recognizing these common issues related to the Z offset, users can approach the calibration process with heightened awareness and a proactive mindset, empowering them to optimize print quality and reliability. In the concluding section, we will encapsulate the key insights gleaned from this exploration of the Z offset, reinforcing the pivotal role of this parameter in the realm of 3D printing.
Read more: What Is A Resin 3D Printer
Conclusion
The Z offset stands as a pivotal parameter in the realm of 3D printing, wielding profound influence over print quality, reliability, and precision. Through our exploration of the Z offset and its multifaceted significance, we have unveiled its critical role in ensuring optimal first layer adhesion, mitigating common printing challenges, and fostering print reliability. By comprehending the nuances of the Z offset and mastering the techniques for its adjustment, users can elevate their 3D printing experiences to new heights, unlocking the full potential of this transformative technology.
From its impact on print quality and precision to its role in compensating for print bed variations, the Z offset emerges as a linchpin of the printing process, shaping the foundational aspects that underpin successful prints. By embracing the art of Z offset calibration with precision and attentiveness, users can navigate common issues, such as poor first layer adhesion and extrusion irregularities, with confidence and proactively address potential hurdles that may arise during the printing process.
As the 3D printing landscape continues to evolve, the Z offset remains a cornerstone of print optimization, empowering enthusiasts and professionals to achieve impeccable print quality and reliability. By harnessing the potential of the Z offset and leveraging its influence on the printing process, users can embark on a journey of creativity, innovation, and precision, bringing their designs to life with unparalleled accuracy and detail.
In essence, the Z offset encapsulates the essence of precision and fine-tuning in 3D printing, offering a gateway to enhanced print quality, reliability, and consistency. By embracing the insights garnered from our exploration of the Z offset, users can embark on their 3D printing endeavors with a heightened sense of awareness and mastery, confidently navigating the intricacies of this transformative technology.
As we conclude this insightful journey into the realm of the Z offset, let us carry forth the wisdom gleaned from our exploration, empowering us to unlock the full potential of 3D printing and embark on a path of creativity, precision, and boundless innovation.
Frequently Asked Questions about What Is The Z Offset On A 3D Printer
Was this page helpful?
At Storables.com, we guarantee accurate and reliable information. Our content, validated by Expert Board Contributors, is crafted following stringent Editorial Policies. We're committed to providing you with well-researched, expert-backed insights for all your informational needs.


0 thoughts on “What Is The Z Offset On A 3D Printer”