Home>Renovation & DIY>Tools & Equipment>What Grit Sandpaper On Primer Before Paint
Tools & Equipment
What Grit Sandpaper On Primer Before Paint
Published: December 20, 2023
Find the right grit sandpaper to prepare primer for painting with our comprehensive guide. Get the best tools and equipment for your project.
(Many of the links in this article redirect to a specific reviewed product. Your purchase of these products through affiliate links helps to generate commission for Storables.com, at no extra cost. Learn more)
**
Introduction
**
When it comes to achieving a flawless and professional paint job, the importance of proper surface preparation cannot be overstated. Whether you are a seasoned DIY enthusiast or a professional painter, the process of sanding primer before applying paint is a crucial step that significantly impacts the final result. One of the key elements in this process is the selection of the appropriate grit sandpaper. Understanding the role of grit sandpaper in preparing primer for paint and knowing how to choose and use it effectively can make a substantial difference in the outcome of your painting project. In this comprehensive guide, we will delve into the nuances of grit sandpaper, its significance in the painting process, and the best practices for sanding primer to ensure a flawless finish. So, let's embark on this journey to unravel the mysteries of grit sandpaper and its pivotal role in the realm of painting.
Key Takeaways:
- Choosing the right grit sandpaper for sanding primer before painting is crucial. Coarser grits (120-220) level the surface, while finer grits (320-400) refine it for optimal paint adhesion.
- Sanding primer before painting ensures a smooth, uniform surface and promotes paint adhesion. Following proper sanding techniques and grit selection leads to professional-grade, long-lasting paint finishes.
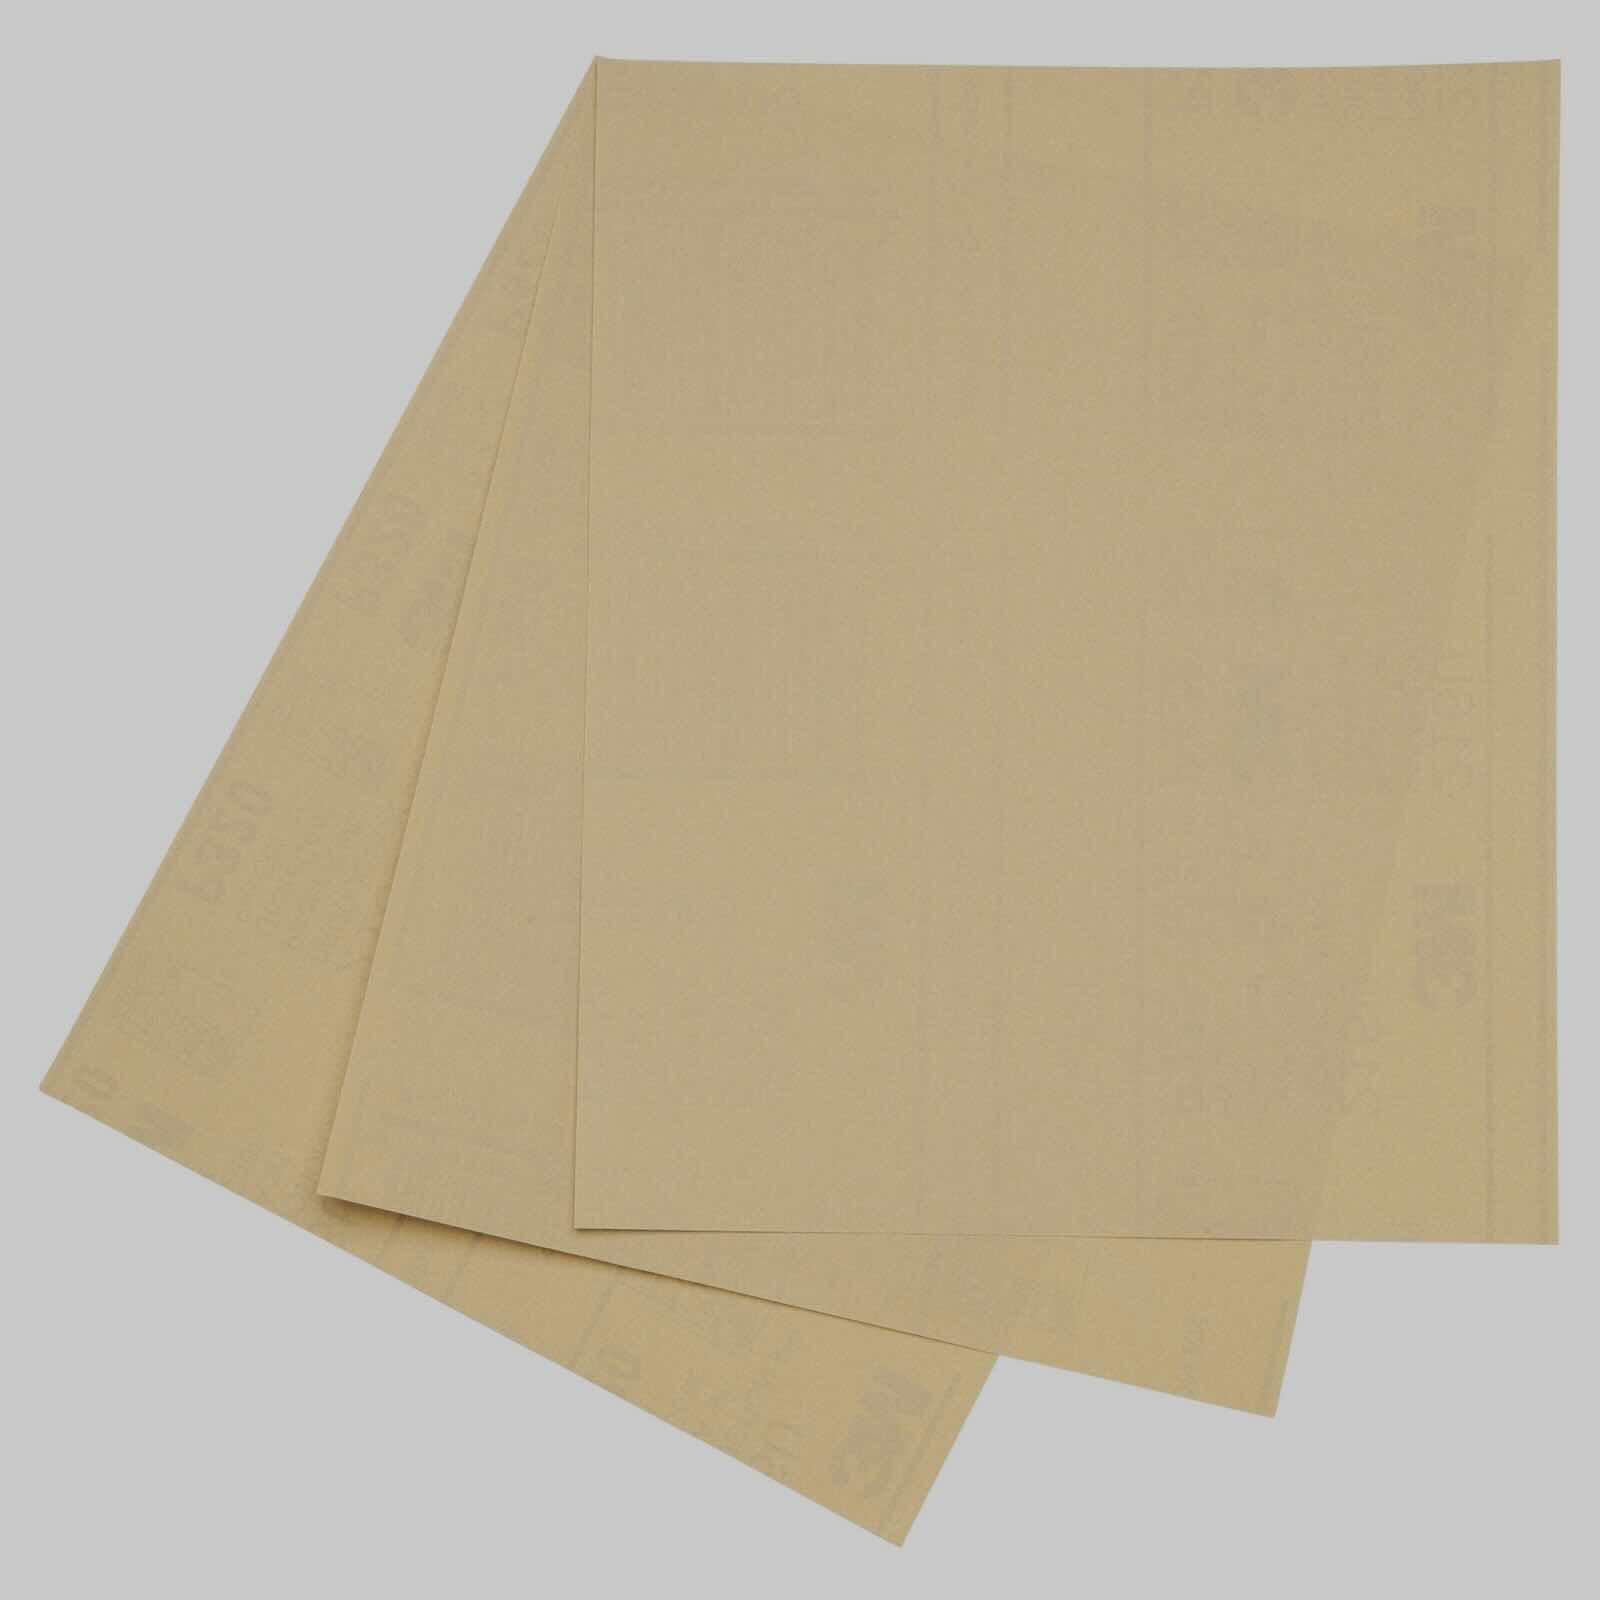
Understanding Grit Sandpaper
Before delving into the specifics of sanding primer before painting, it is essential to comprehend the significance of grit sandpaper and its role in the surface preparation process. Grit sandpaper is a versatile abrasive material used to smoothen, shape, and refine surfaces in preparation for painting, staining, or finishing. The term “grit” refers to the coarseness or fineness of the particles embedded in the sandpaper, which determines its abrasive quality. These abrasive particles, typically aluminum oxide or silicon carbide, are bonded to a backing material, forming the abrasive surface that is instrumental in removing imperfections, roughness, and old finishes from various surfaces.
Grit sandpaper is available in a range of grit sizes, each serving a distinct purpose in the surface preparation and finishing process. The grit size is denoted by a number, which indicates the number of abrasive particles per square inch of the sandpaper. Lower grit numbers signify coarser particles, while higher grit numbers denote finer particles. For instance, coarse sandpaper with a lower grit number, such as 60 or 80, is ideal for heavy material removal and rough surface leveling, while finer sandpaper with higher grit numbers, such as 220 or 320, is suitable for achieving smooth and polished surfaces.
Understanding the characteristics of different grit sandpapers and their respective applications is pivotal in achieving the desired surface texture and paint adhesion. The selection of the appropriate grit sandpaper is contingent upon the condition of the surface being prepared, the type of material, and the specific requirements of the painting or finishing project. By comprehending the nuances of grit sandpaper, painters and DIY enthusiasts can optimize the surface preparation process, leading to impeccable paint adhesion and a flawless finish.
Importance of Sanding Primer Before Painting
The process of sanding primer before painting is a critical preparatory step that significantly influences the adhesion, durability, and overall quality of the paint job. Primer, a preparatory coating applied to surfaces before painting, serves multiple essential functions, including enhancing adhesion, promoting uniformity, and providing added protection to the substrate. However, for the paint to adhere effectively and create a seamless, long-lasting finish, proper surface preparation is paramount. Sanding the primer accomplishes several crucial objectives that contribute to the overall success of the painting project.
First and foremost, sanding the primer creates a smooth and uniform surface by eliminating imperfections, uneven textures, and minor blemishes. This process ensures that the subsequent layers of paint adhere evenly and consistently, preventing the visibility of underlying flaws and inconsistencies. Additionally, sanding the primer promotes mechanical adhesion by creating a slightly roughened surface that allows the paint to grip firmly, minimizing the risk of peeling, flaking, or delamination over time. Moreover, it facilitates the removal of any residual dust, debris, or contaminants that may have settled on the primer, guaranteeing a clean and uncontaminated surface for the paint application.
Furthermore, sanding the primer promotes optimal paint adhesion, which is crucial for the longevity and durability of the paint finish. By creating a microscopically rough surface, the primer becomes more receptive to the paint, allowing for enhanced bonding and interlocking of the paint molecules with the substrate. This enhanced adhesion not only ensures a uniform and long-lasting finish but also minimizes the risk of paint failure, such as chipping, cracking, or peeling, even in high-traffic or harsh environmental conditions.
Overall, the importance of sanding primer before painting lies in its ability to create an ideal foundation for the paint, ensuring superior adhesion, uniformity, and longevity of the paint job. By meticulously sanding the primer, painters and enthusiasts can elevate the quality and durability of their paint projects, resulting in professional-grade finishes that stand the test of time.
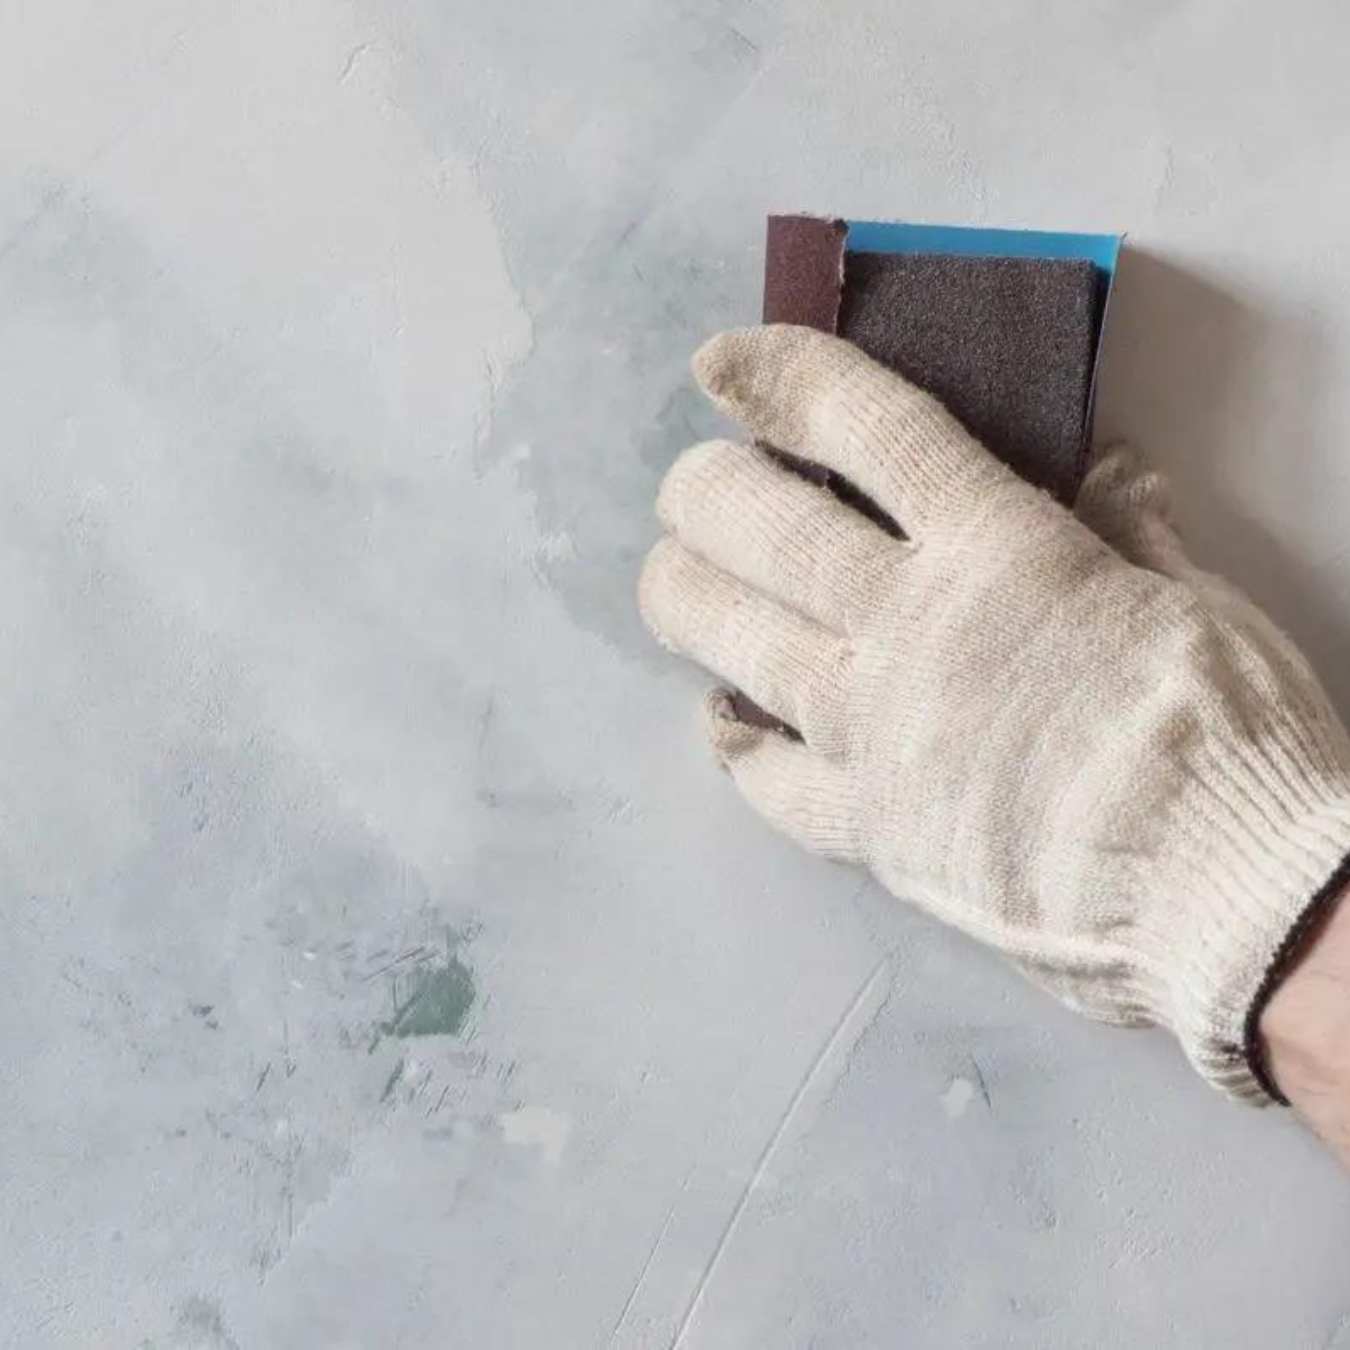
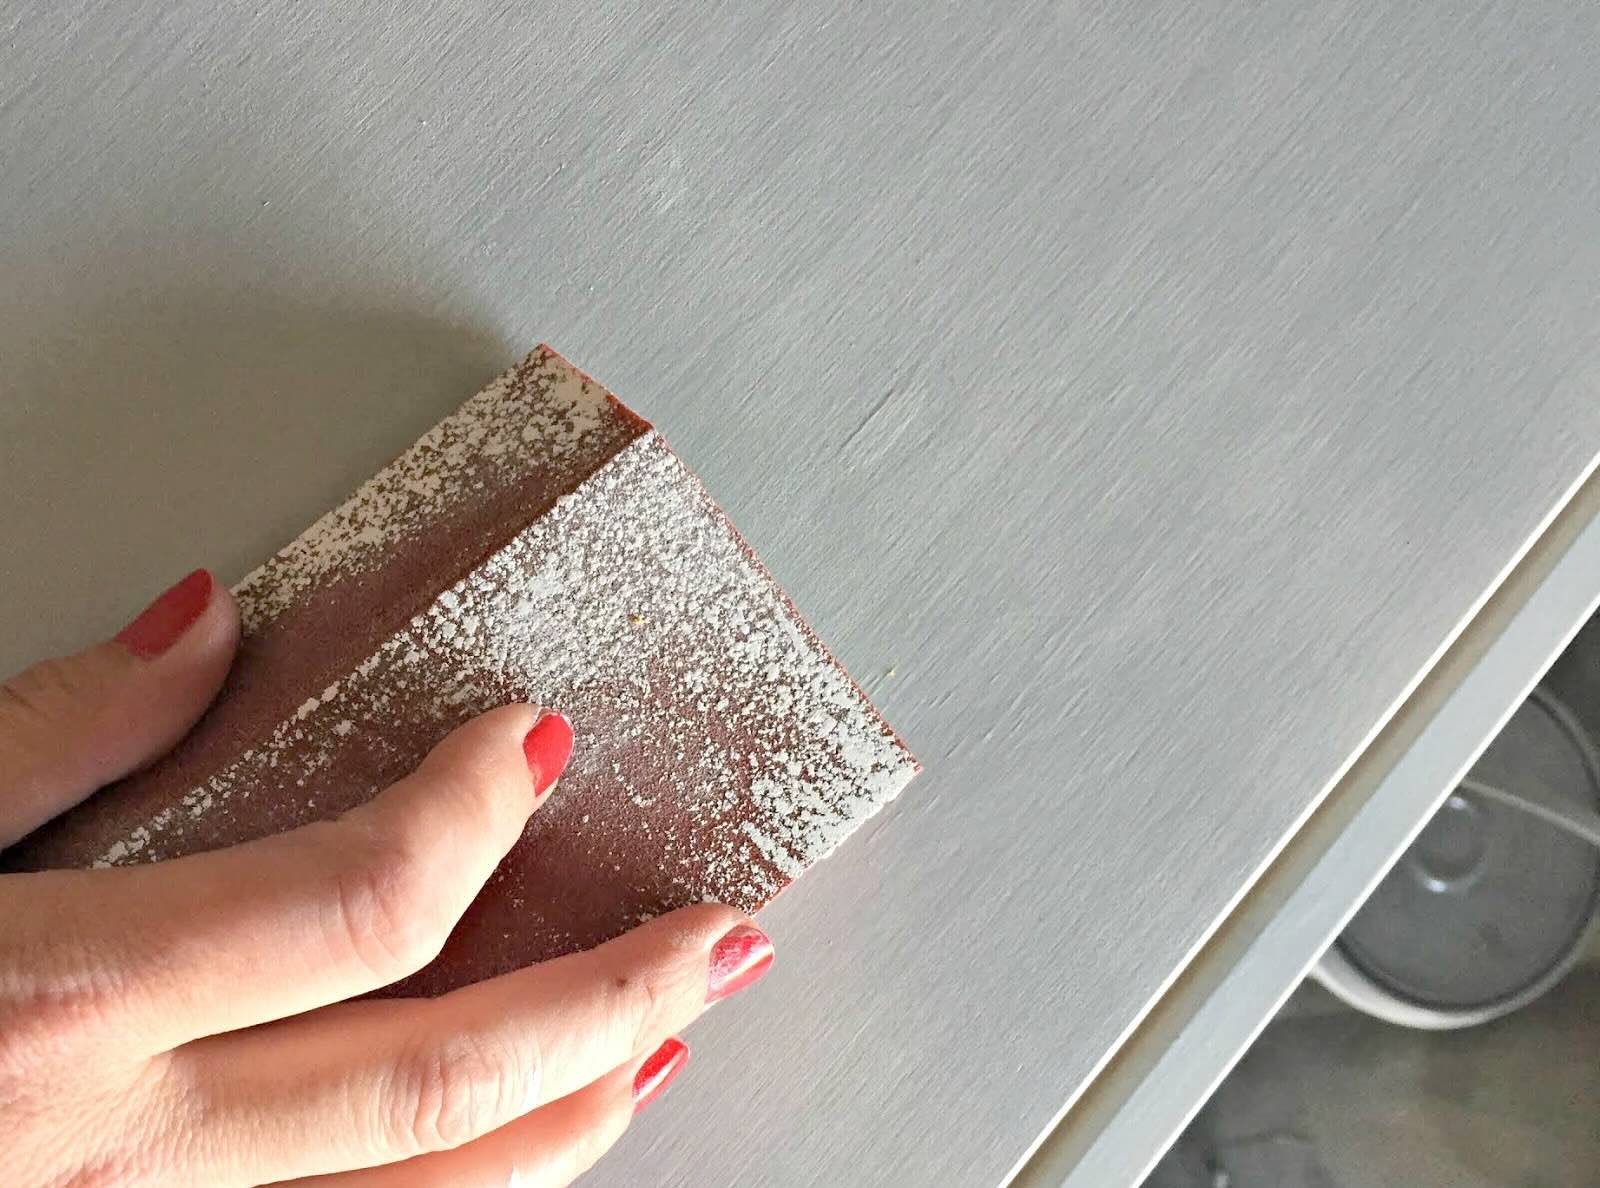
Use 320-400 grit sandpaper on primer before painting for a smooth finish. Sand in a circular motion, then wipe off the dust with a clean cloth before applying paint.
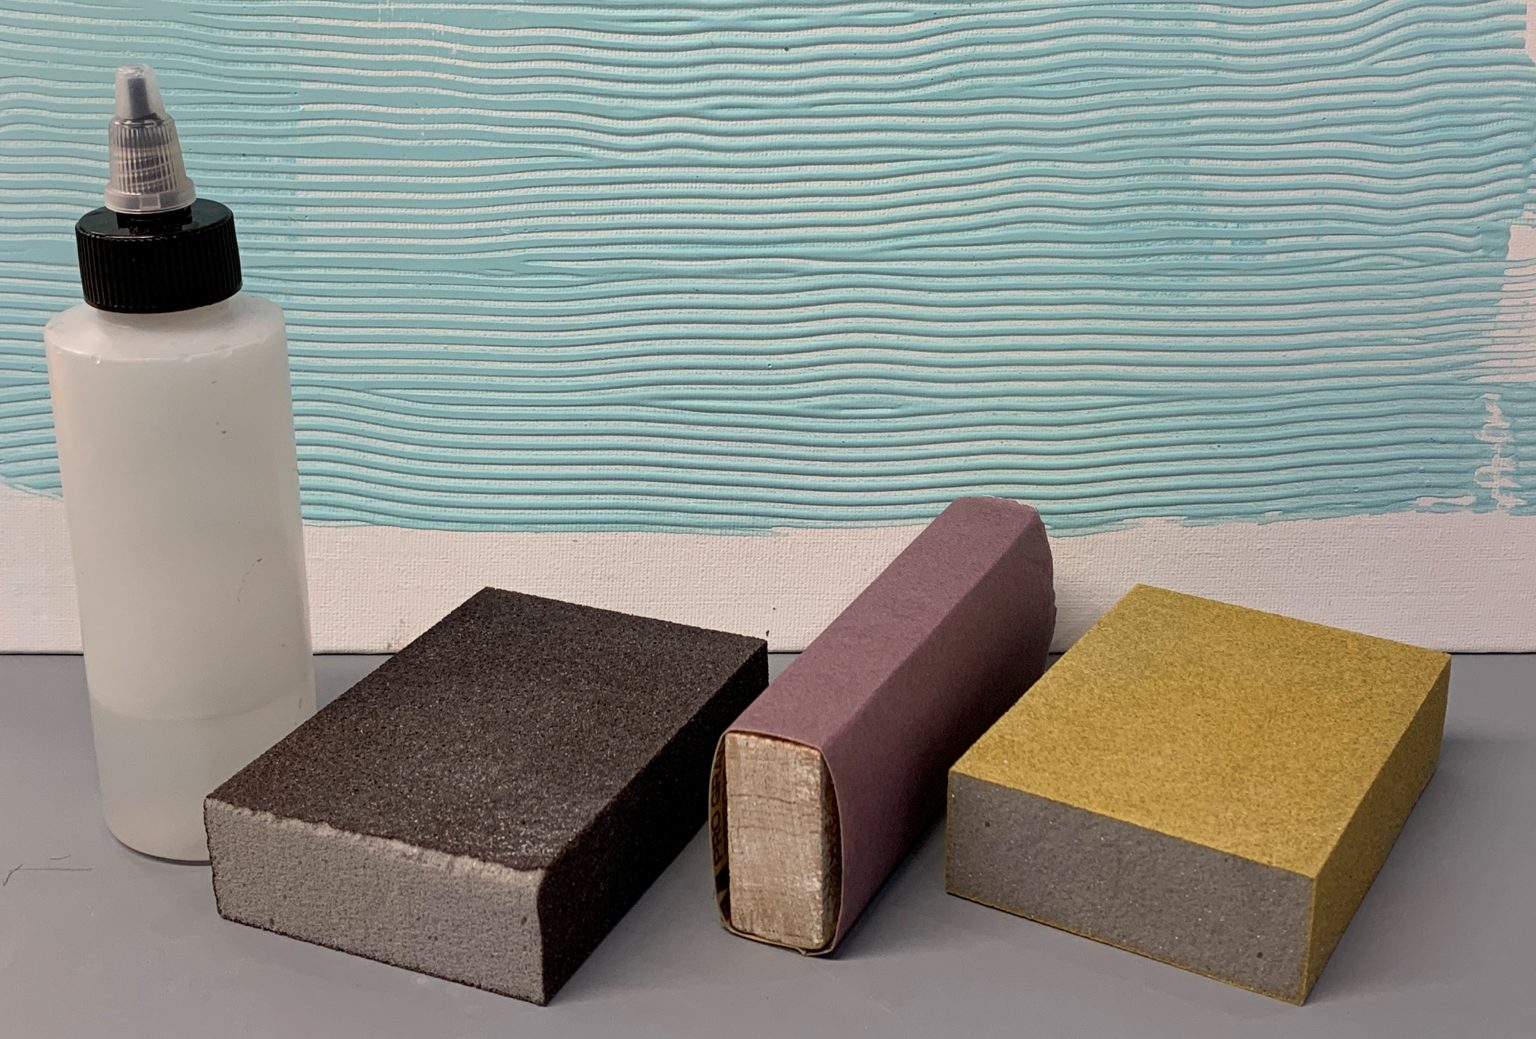
Choosing the Right Grit Sandpaper for Primer
When it comes to sanding primer before painting, selecting the appropriate grit sandpaper is paramount to achieving a flawless and durable paint finish. The choice of grit sandpaper is contingent upon the condition of the primer, the desired surface texture, and the type of paint being applied. Understanding the characteristics of different grit sizes and their corresponding applications is instrumental in optimizing the surface preparation process and ensuring optimal paint adhesion.
For initial sanding of primer that may have imperfections, rough textures, or visible blemishes, coarser grit sandpaper in the range of 120 to 220 is recommended. This coarser grit is effective in leveling the surface, smoothing out imperfections, and promoting uniformity in preparation for the paint application. Additionally, it facilitates the removal of any residual debris, ensuring a clean and uncontaminated surface for the subsequent paint layers.
Once the initial sanding with coarser grit sandpaper is completed, transitioning to finer grit sandpaper, typically in the range of 320 to 400, is essential for refining the surface texture and promoting enhanced paint adhesion. The finer grit sandpaper helps to further smoothen the primer, eliminate any remaining minor imperfections, and create a microscopically roughened surface that optimally bonds with the paint. This finer grit sanding stage is pivotal in achieving a seamless and professional-quality paint finish.
It is important to note that the selection of the right grit sandpaper is also influenced by the type of paint being used. For instance, when applying high-gloss or metallic paints that demand a flawless, mirror-like finish, utilizing ultra-fine grit sandpaper in the range of 800 to 1200 for the final sanding of the primer may be necessary. This ultra-fine grit ensures a supremely smooth and blemish-free surface, ideal for showcasing the reflective and lustrous properties of such specialty paints.
Ultimately, the key to choosing the right grit sandpaper for primer lies in understanding the condition of the primer, the desired level of surface refinement, and the specific requirements of the paint being applied. By employing the appropriate grit sandpaper at each stage of the sanding process, painters and enthusiasts can pave the way for impeccable paint adhesion and a flawless, professional-grade finish.
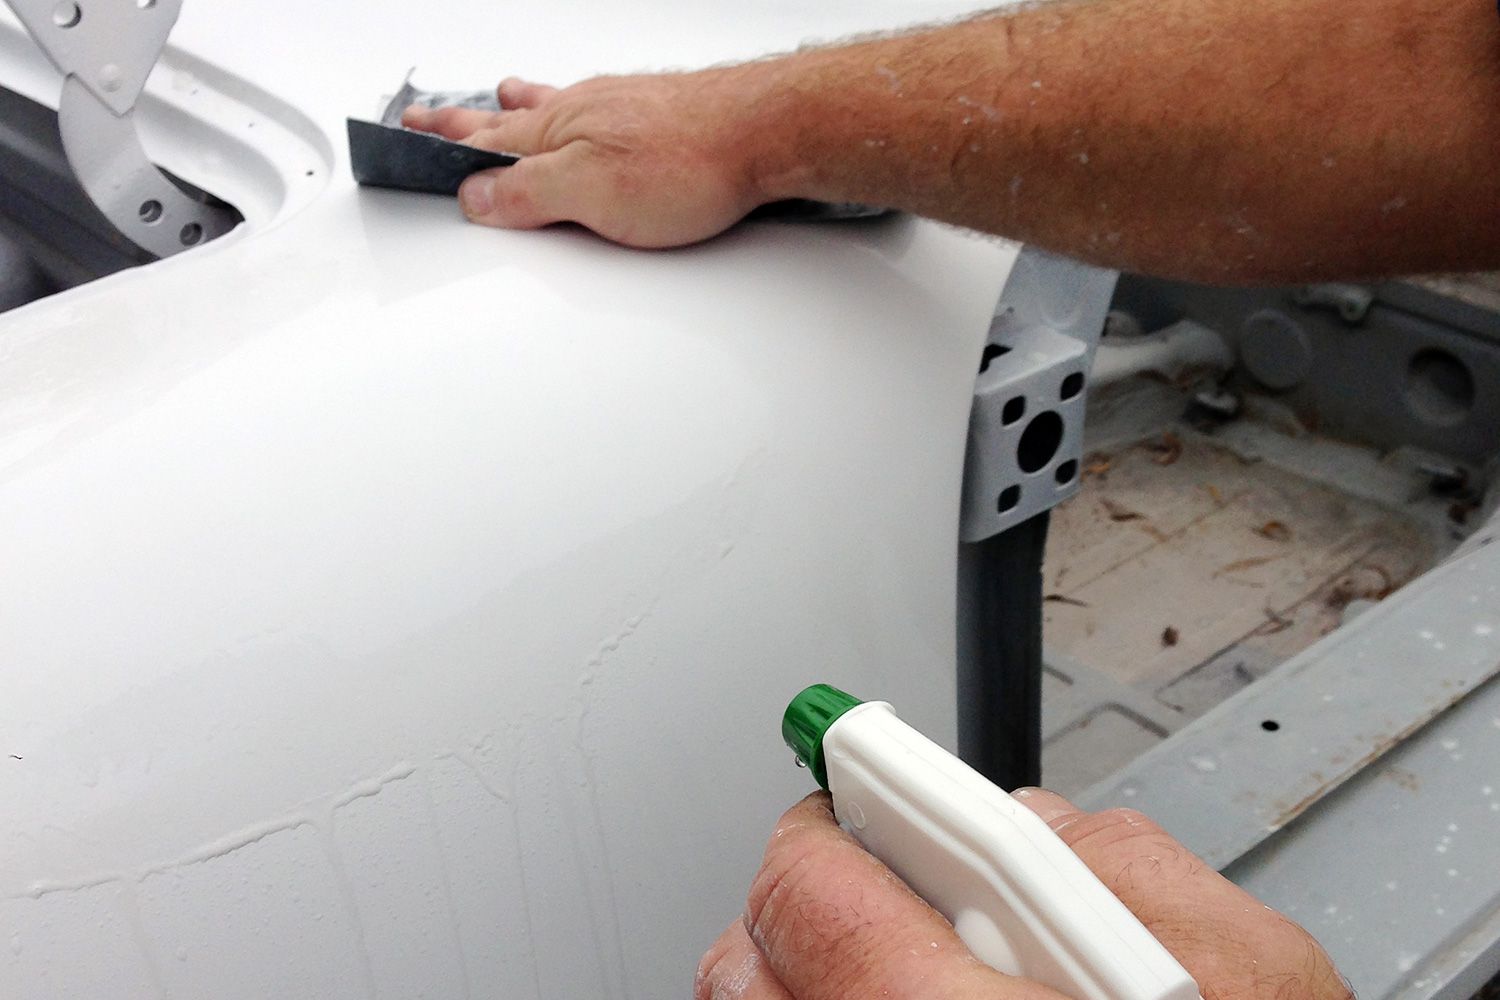
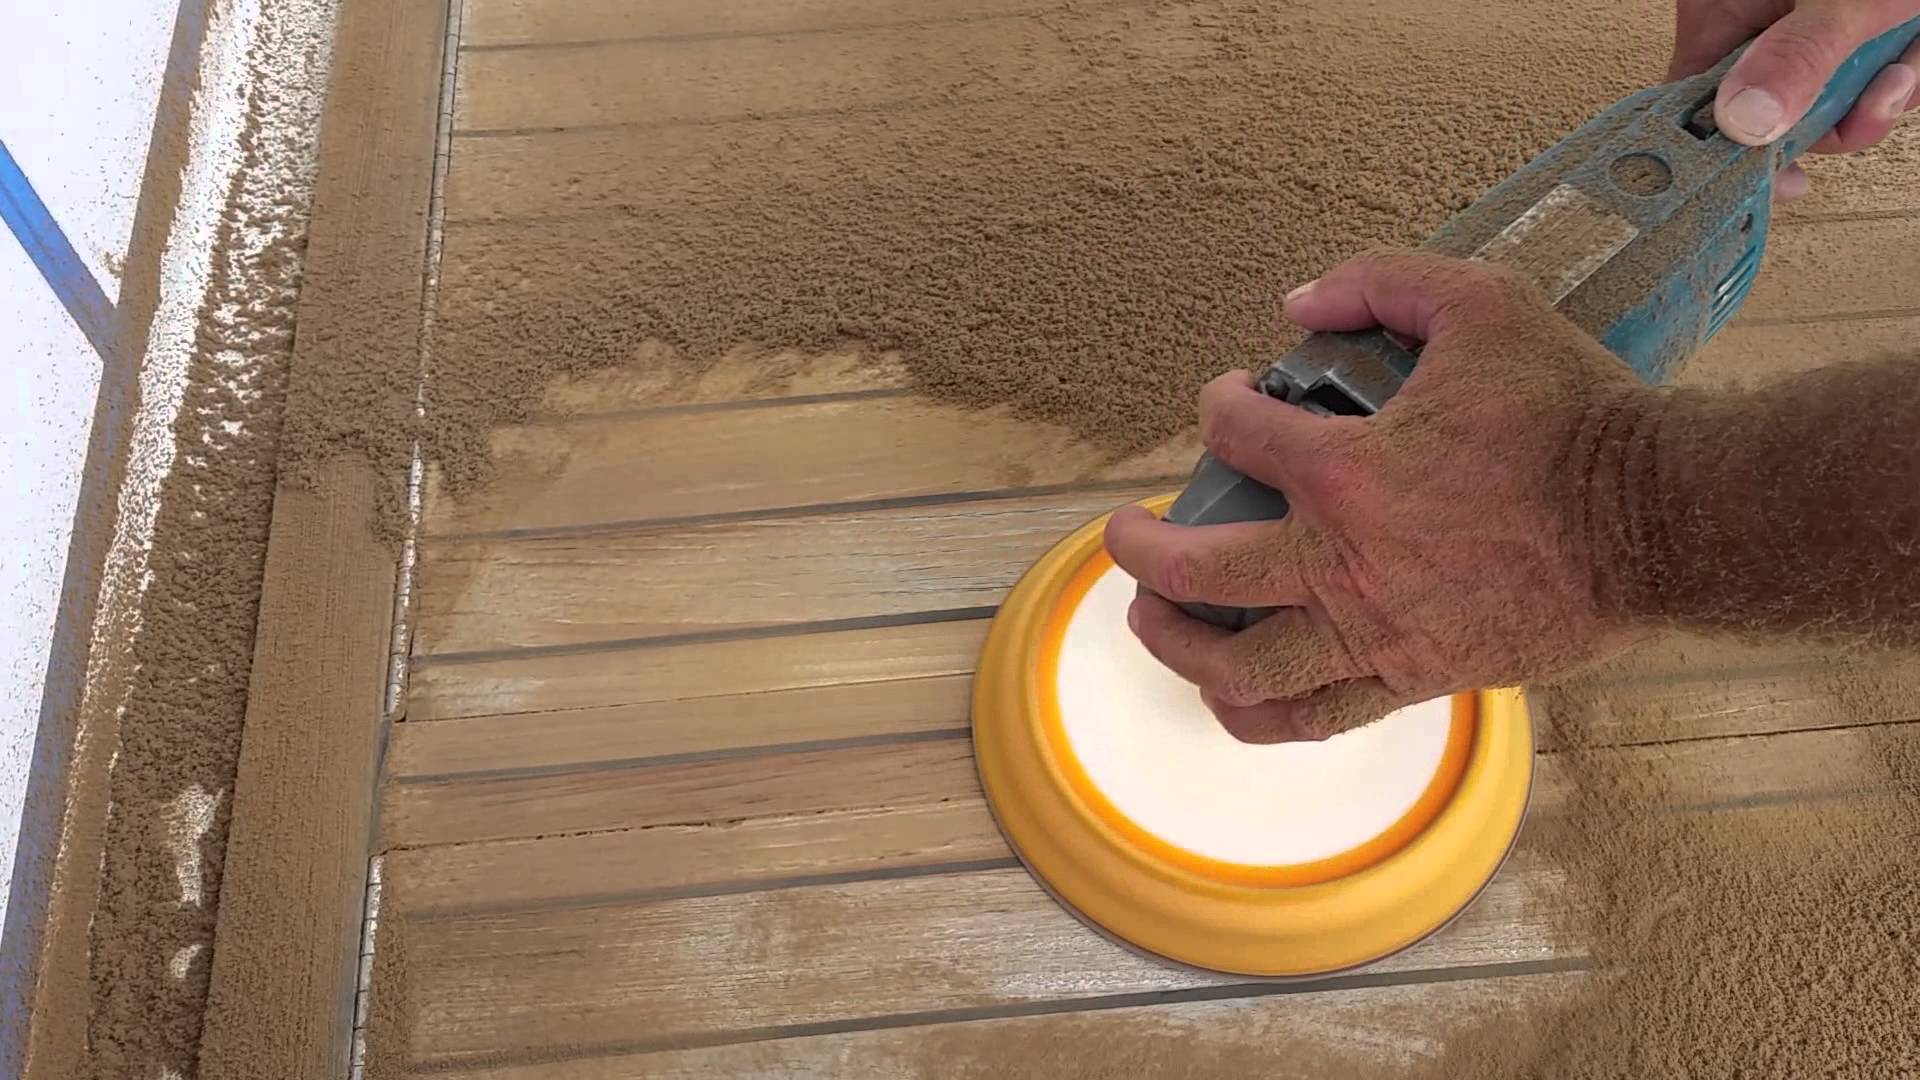
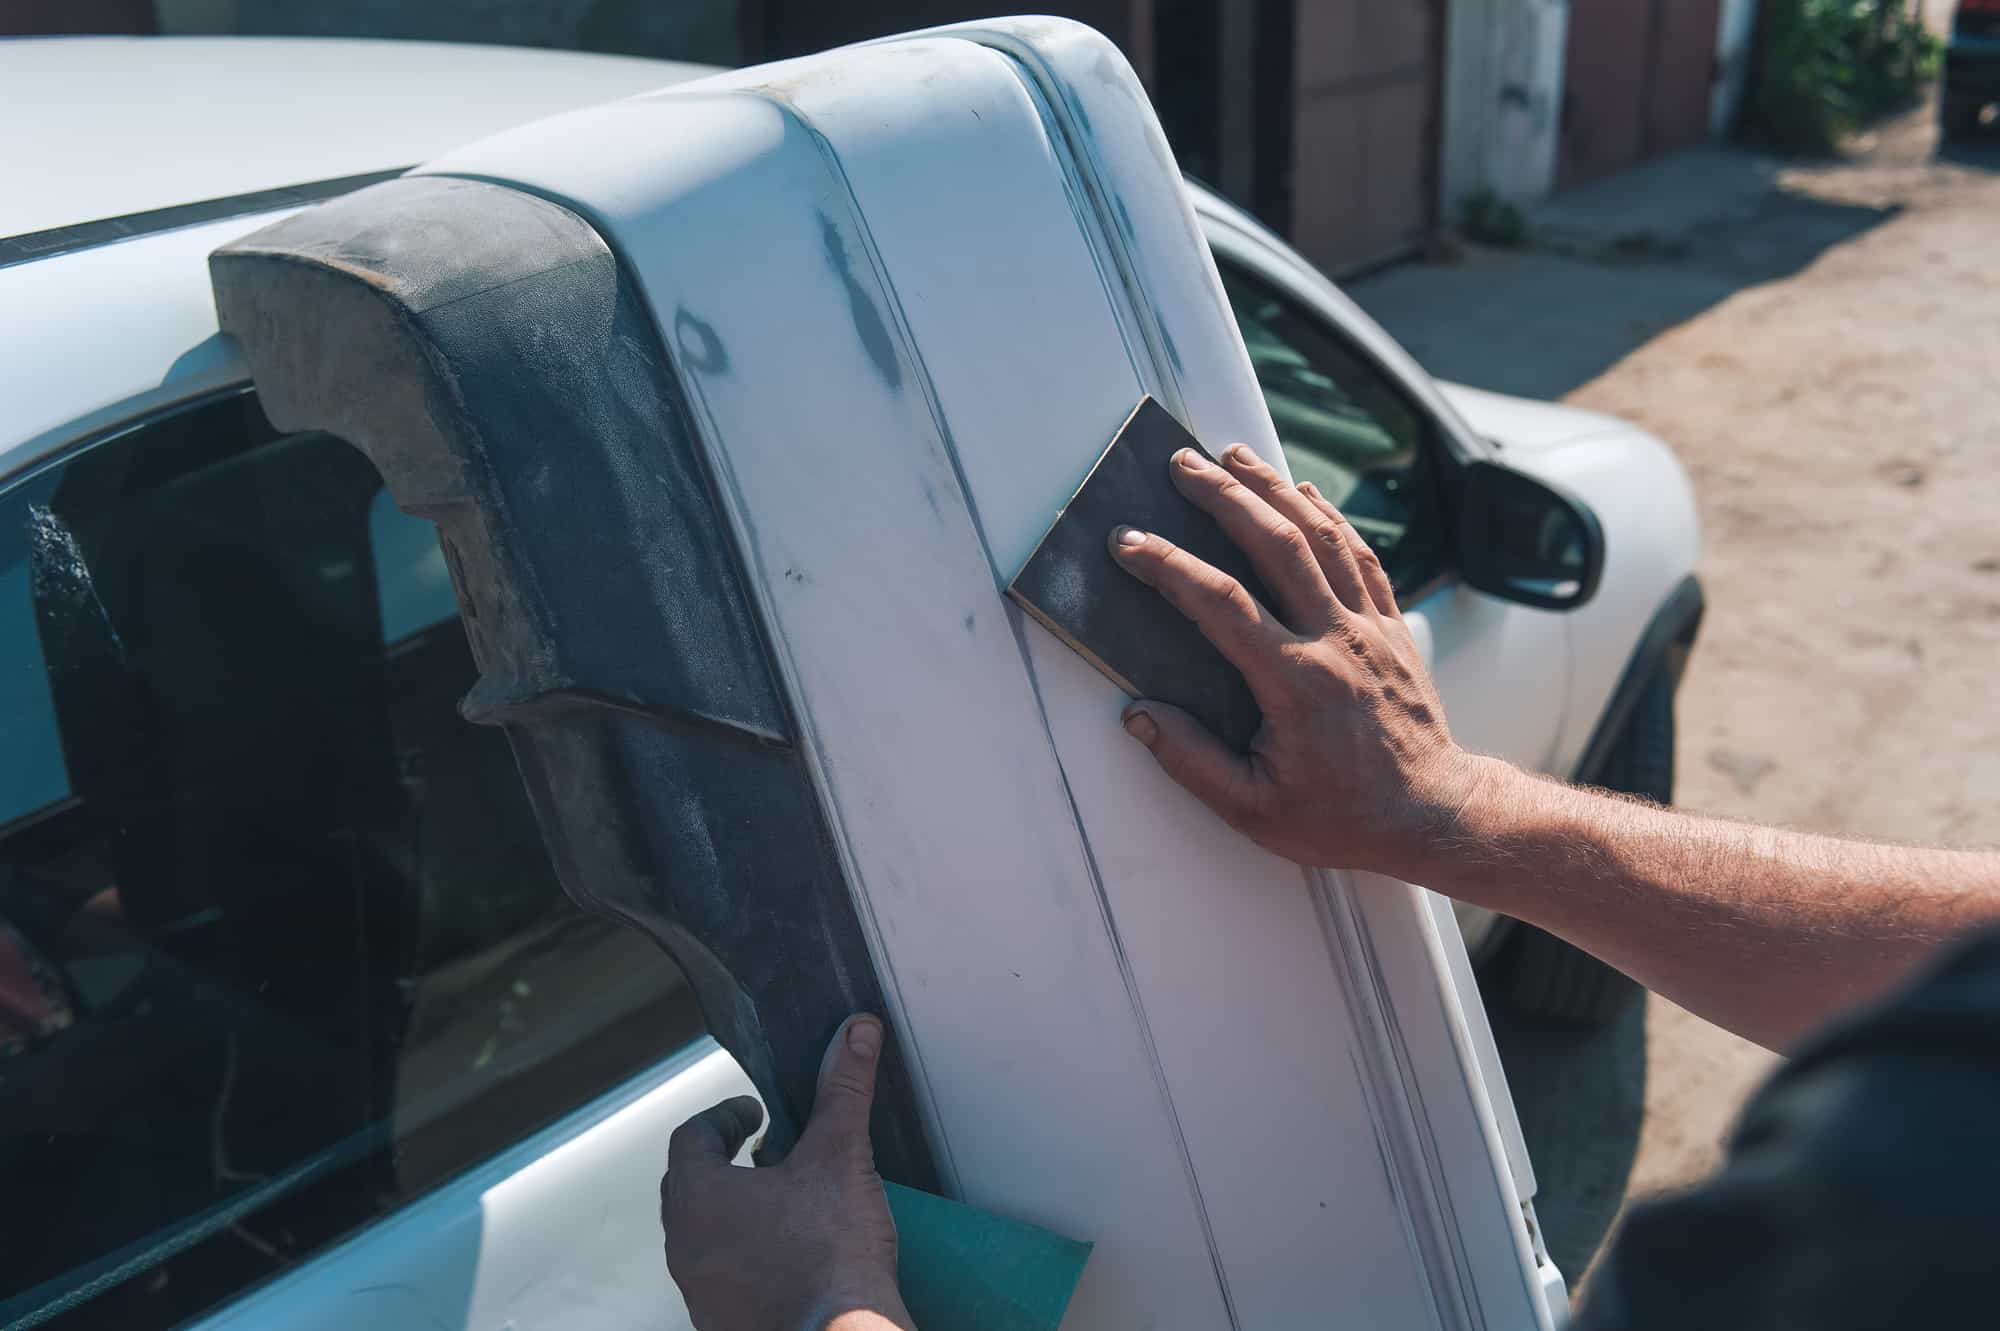
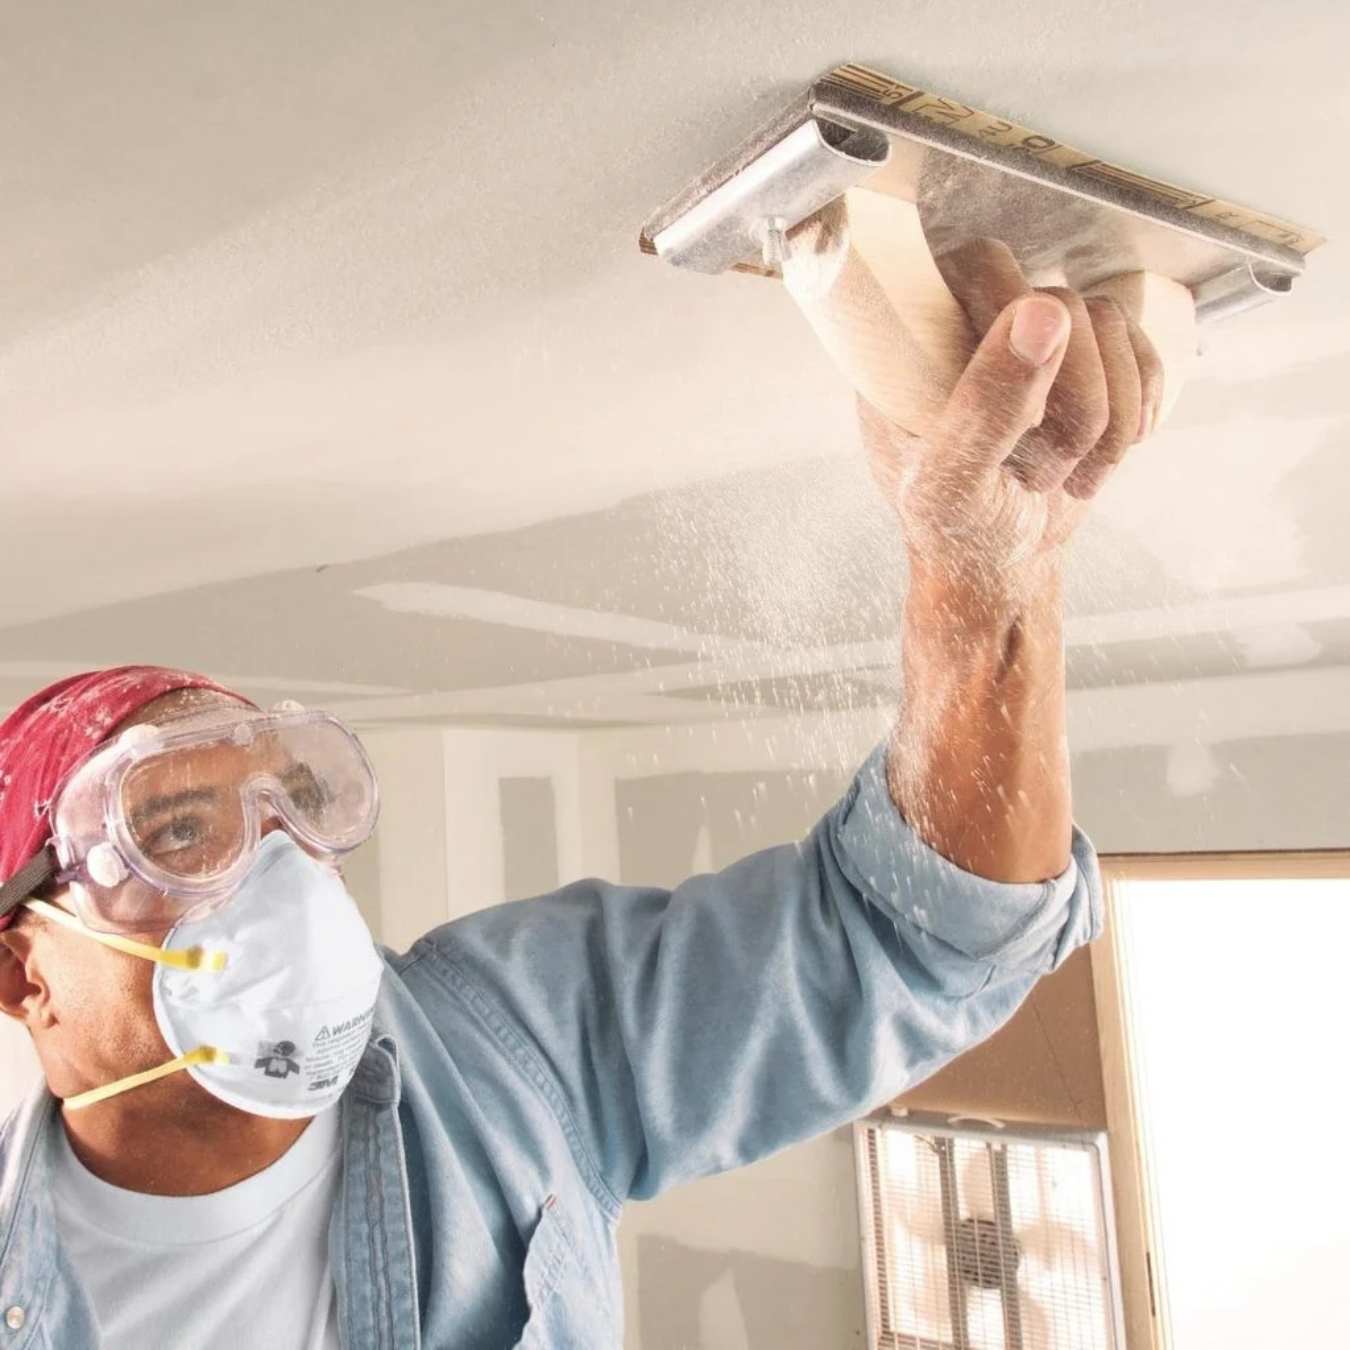
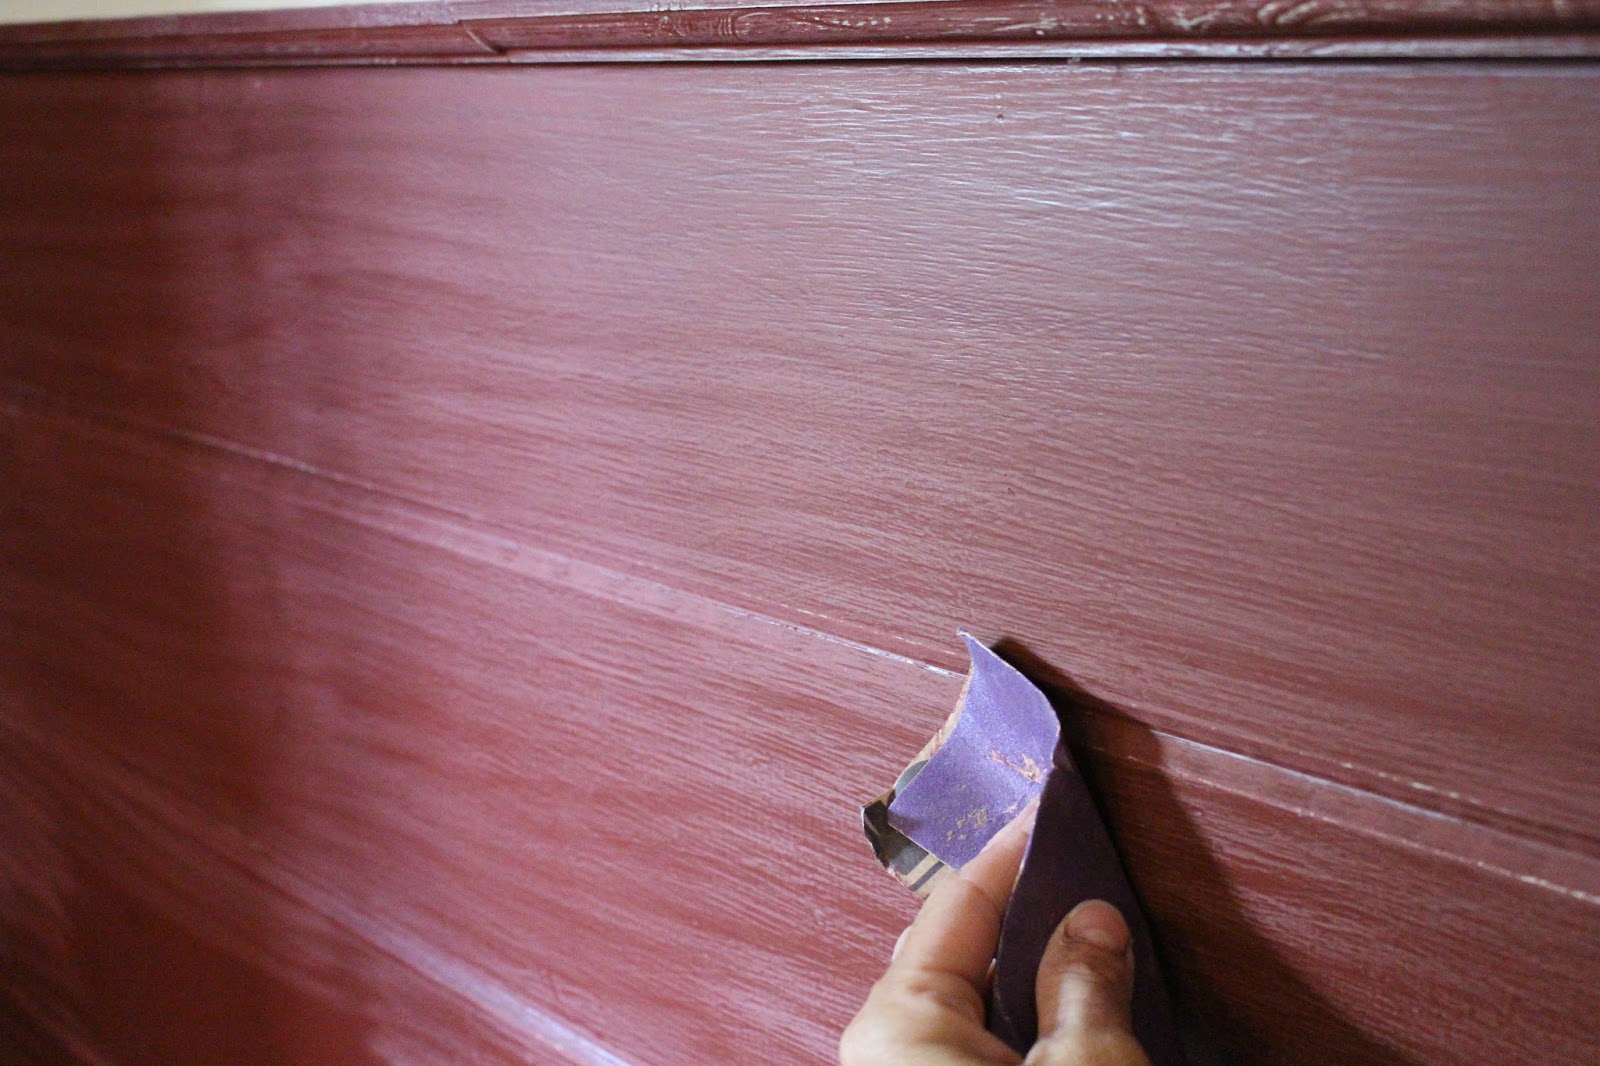
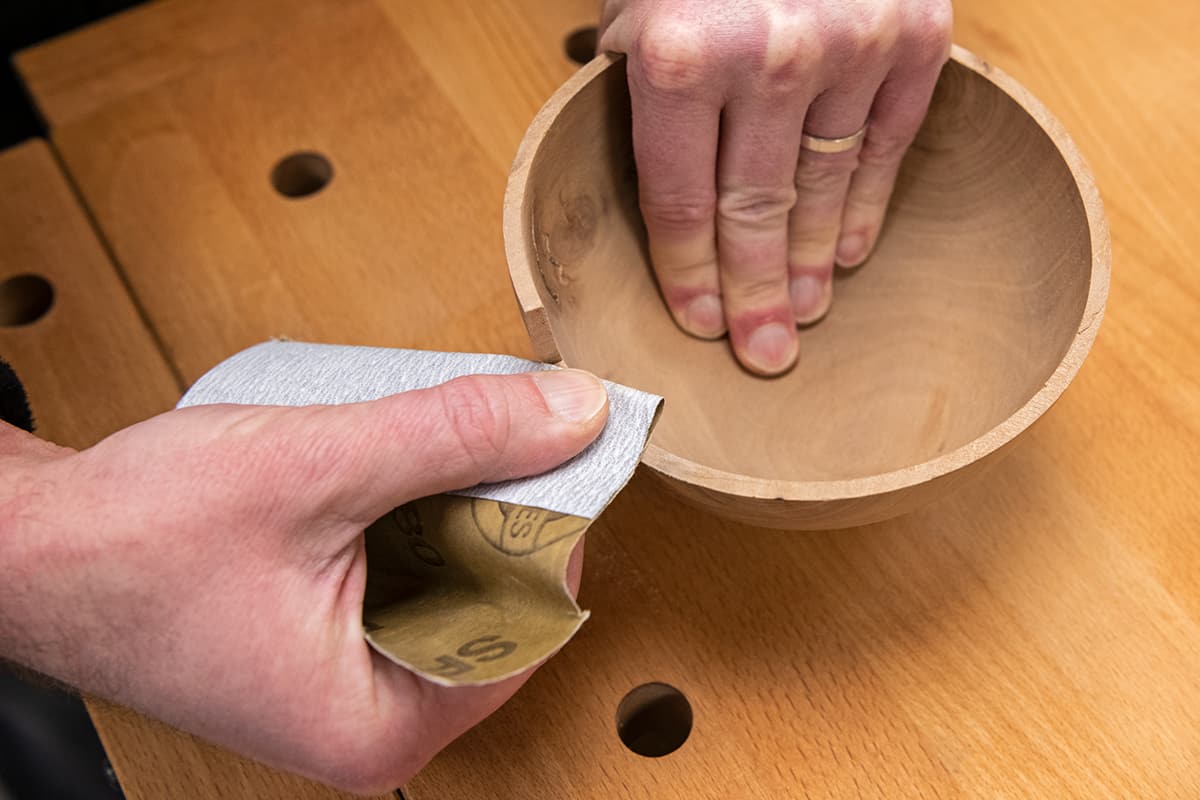
How to Sand Primer Before Painting
Sanding primer before painting is a meticulous process that demands attention to detail and adherence to best practices to ensure a flawless and durable paint finish. By following a systematic approach and employing the right techniques, painters and DIY enthusiasts can optimize the surface preparation process and set the stage for a professional-grade paint job.
1. Assess the Primer: Before commencing the sanding process, carefully inspect the primer for any visible imperfections, rough textures, or blemishes. This assessment will guide the selection of the appropriate grit sandpaper for the initial sanding stage.
2. Select the Right Grit Sandpaper: Choose the grit sandpaper based on the condition of the primer. For initial sanding to level the surface and remove imperfections, opt for coarser grit sandpaper in the range of 120 to 220. Subsequently, transition to finer grit sandpaper, typically in the range of 320 to 400, for refining the surface texture and promoting enhanced paint adhesion.
3. Prepare the Work Area: Ensure that the work area is well-ventilated and free of dust and debris. Use a tack cloth to remove any residual dust or particles from the primer before proceeding with the sanding process.
4. Sanding Technique: When sanding the primer, use light to moderate pressure and maintain a consistent motion, such as back-and-forth or circular strokes, to achieve uniformity. Avoid applying excessive pressure, as it may result in uneven sanding and compromise the integrity of the primer.
5. Check for Smoothness: Periodically inspect the sanded surface to ensure that it is smooth and free of imperfections. If any blemishes or rough spots persist, continue sanding with the appropriate grit sandpaper until the desired level of surface refinement is achieved.
6. Clean the Surface: Once the sanding process is complete, use a tack cloth or a clean, lint-free cloth to remove any sanding residue and ensure that the surface is pristine and ready for the paint application.
7. Final Inspection: Before proceeding with the painting process, conduct a final inspection of the sanded primer to verify that it exhibits a uniform, smooth texture and is free of any defects or contaminants that may hinder paint adhesion.
By meticulously following these steps and exercising care and precision throughout the sanding process, individuals can effectively prepare the primer for painting, setting the stage for a professional-quality paint finish characterized by optimal adhesion, durability, and visual appeal.
Read more: What Grit Sandpaper To Use Before Painting
Conclusion
In the realm of painting, the process of sanding primer before applying paint is a pivotal undertaking that significantly impacts the quality, durability, and aesthetic appeal of the final paint job. The selection of the appropriate grit sandpaper and the meticulous execution of the sanding process are instrumental in creating an ideal foundation for the paint, ensuring optimal adhesion and a flawless finish that withstands the test of time.
Understanding the nuances of grit sandpaper, from its coarseness to its abrasive qualities, empowers painters and DIY enthusiasts to make informed decisions when preparing primer for painting. By leveraging the right grit sandpaper at each stage of the sanding process, individuals can effectively address imperfections, refine surface textures, and promote enhanced paint adhesion, culminating in professional-grade results.
Furthermore, the importance of sanding primer before painting cannot be overstated. This preparatory step not only creates a smooth and uniform surface but also facilitates optimal paint adhesion, minimizing the risk of paint failure and ensuring a durable, long-lasting finish. By meticulously sanding the primer, individuals lay the groundwork for a paint job that exudes professionalism and visual appeal.
Ultimately, the art of sanding primer before painting is a fusion of precision, technique, and expertise. It is a testament to the meticulousness and dedication required to achieve superior paint finishes that elevate the aesthetics of surfaces and endure the rigors of time and use. By embracing the significance of grit sandpaper and adhering to best practices, individuals can embark on their painting endeavors with confidence, knowing that the foundation they have laid through proper surface preparation will yield exceptional and enduring results.
As we conclude this journey through the realm of grit sandpaper and its pivotal role in preparing primer for paint, let us carry forth this newfound knowledge and appreciation for the artistry of surface preparation, knowing that every stroke of the sandpaper paves the way for a masterpiece in paint.
Frequently Asked Questions about What Grit Sandpaper On Primer Before Paint
Was this page helpful?
At Storables.com, we guarantee accurate and reliable information. Our content, validated by Expert Board Contributors, is crafted following stringent Editorial Policies. We're committed to providing you with well-researched, expert-backed insights for all your informational needs.

0 thoughts on “What Grit Sandpaper On Primer Before Paint”