Home>Renovation & DIY>Tools & Equipment>What Grit Sandpaper For Furniture Before Painting
Tools & Equipment
What Grit Sandpaper For Furniture Before Painting
Published: December 20, 2023
Prepare your furniture for painting with the right grit sandpaper. Find out which tools and equipment you need for a flawless finish.
(Many of the links in this article redirect to a specific reviewed product. Your purchase of these products through affiliate links helps to generate commission for Storables.com, at no extra cost. Learn more)
Introduction
Welcome to the world of furniture restoration and DIY painting projects! Whether you’re a seasoned craftsman or a novice hobbyist, understanding the role of grit sandpaper in preparing furniture for painting is essential. The process of transforming a worn-out piece of furniture into a stunning, freshly painted masterpiece involves several crucial steps, one of which is sanding. This article will guide you through the intricacies of grit sandpaper and help you determine the ideal grit for preparing your furniture before painting.
As you embark on this creative journey, it’s important to equip yourself with the knowledge and tools necessary to achieve professional-quality results. By gaining a deeper understanding of grit sandpaper and its significance in the furniture painting process, you’ll be better prepared to tackle your project with confidence and precision.
So, grab your sandpaper and let’s delve into the world of furniture restoration and painting!
Key Takeaways:
- Choose the right grit sandpaper based on furniture condition: Coarse grit (40-60) for old finishes, medium grit (80-120) for refining, fine grit (150-180) for smoothness, and very fine/extra fine grit (220-320) for ultimate refinement.
- Prepare furniture for painting by cleaning, repairing imperfections, sanding with appropriate grit, priming, applying paint evenly, and protecting the finish for long-lasting, stunning results.
Read more: What Grit Sandpaper To Use Before Painting
Understanding Grit Sandpaper
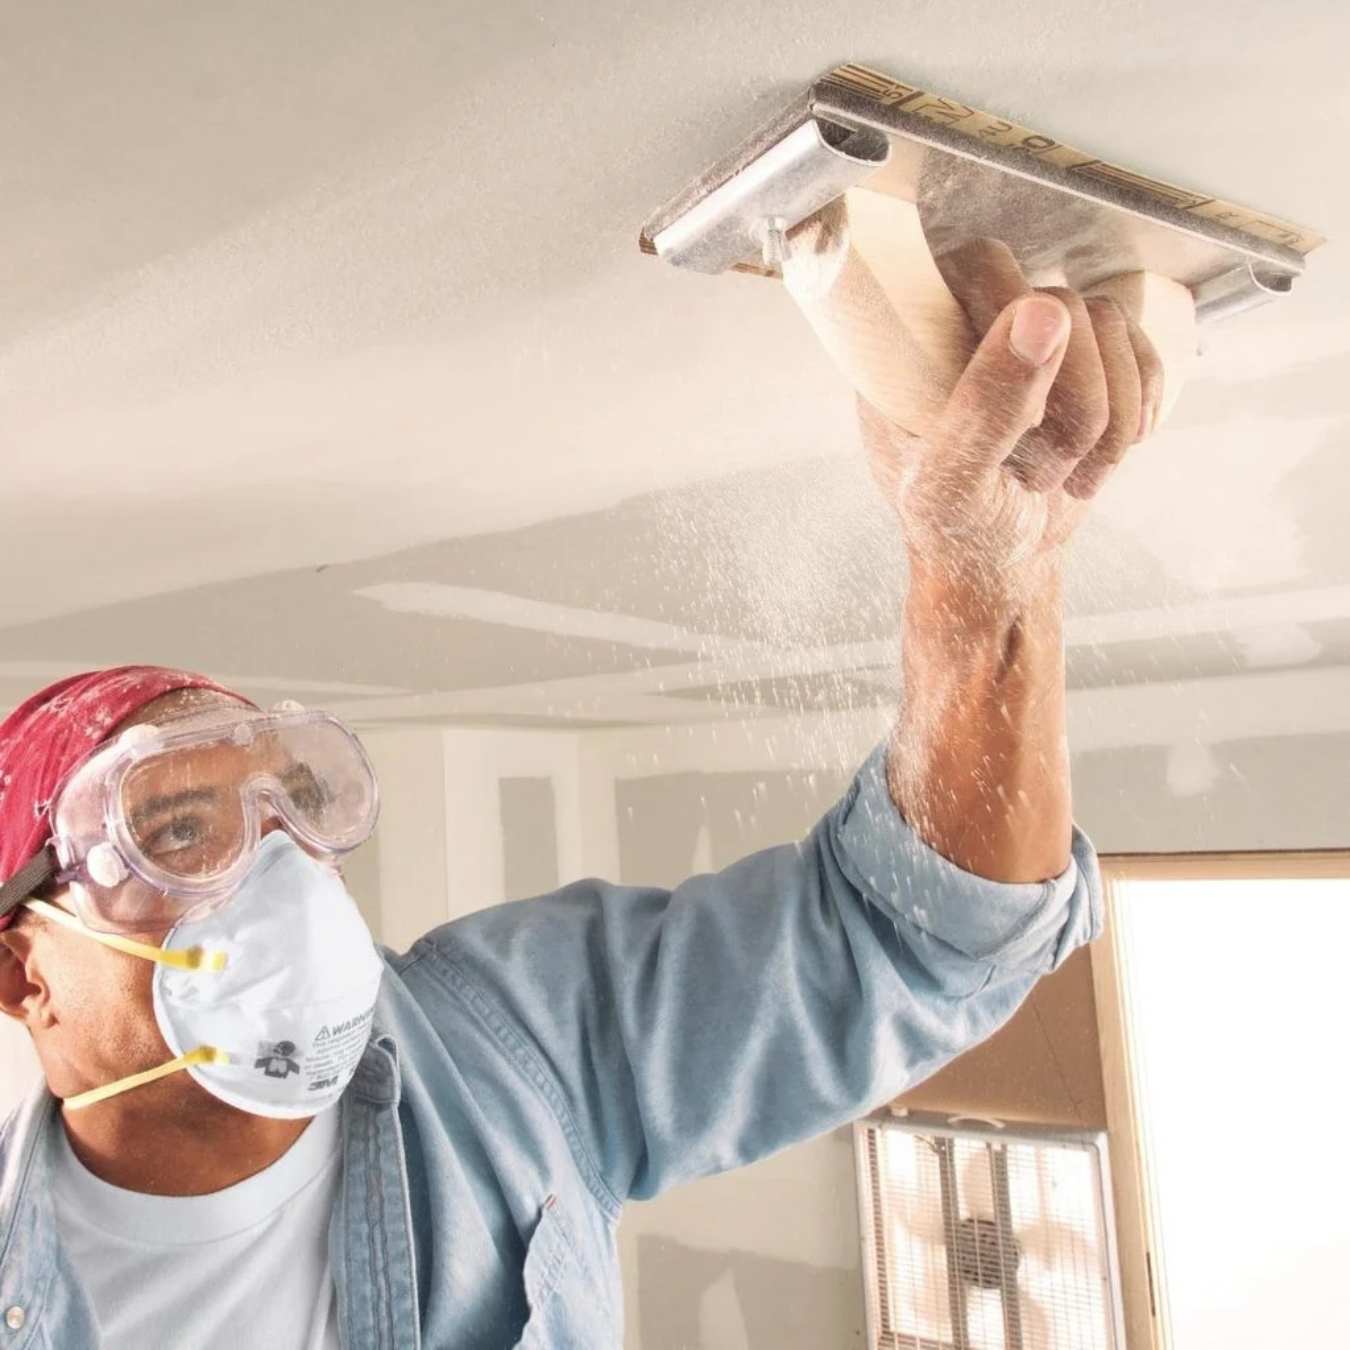
Before diving into the specifics of choosing the right grit sandpaper for furniture, it’s essential to comprehend the significance of grit and its impact on the sanding process. Grit, in the context of sandpaper, refers to the number of abrasive particles per square inch of the paper. The higher the grit number, the finer the sandpaper and the smoother the finish it produces.
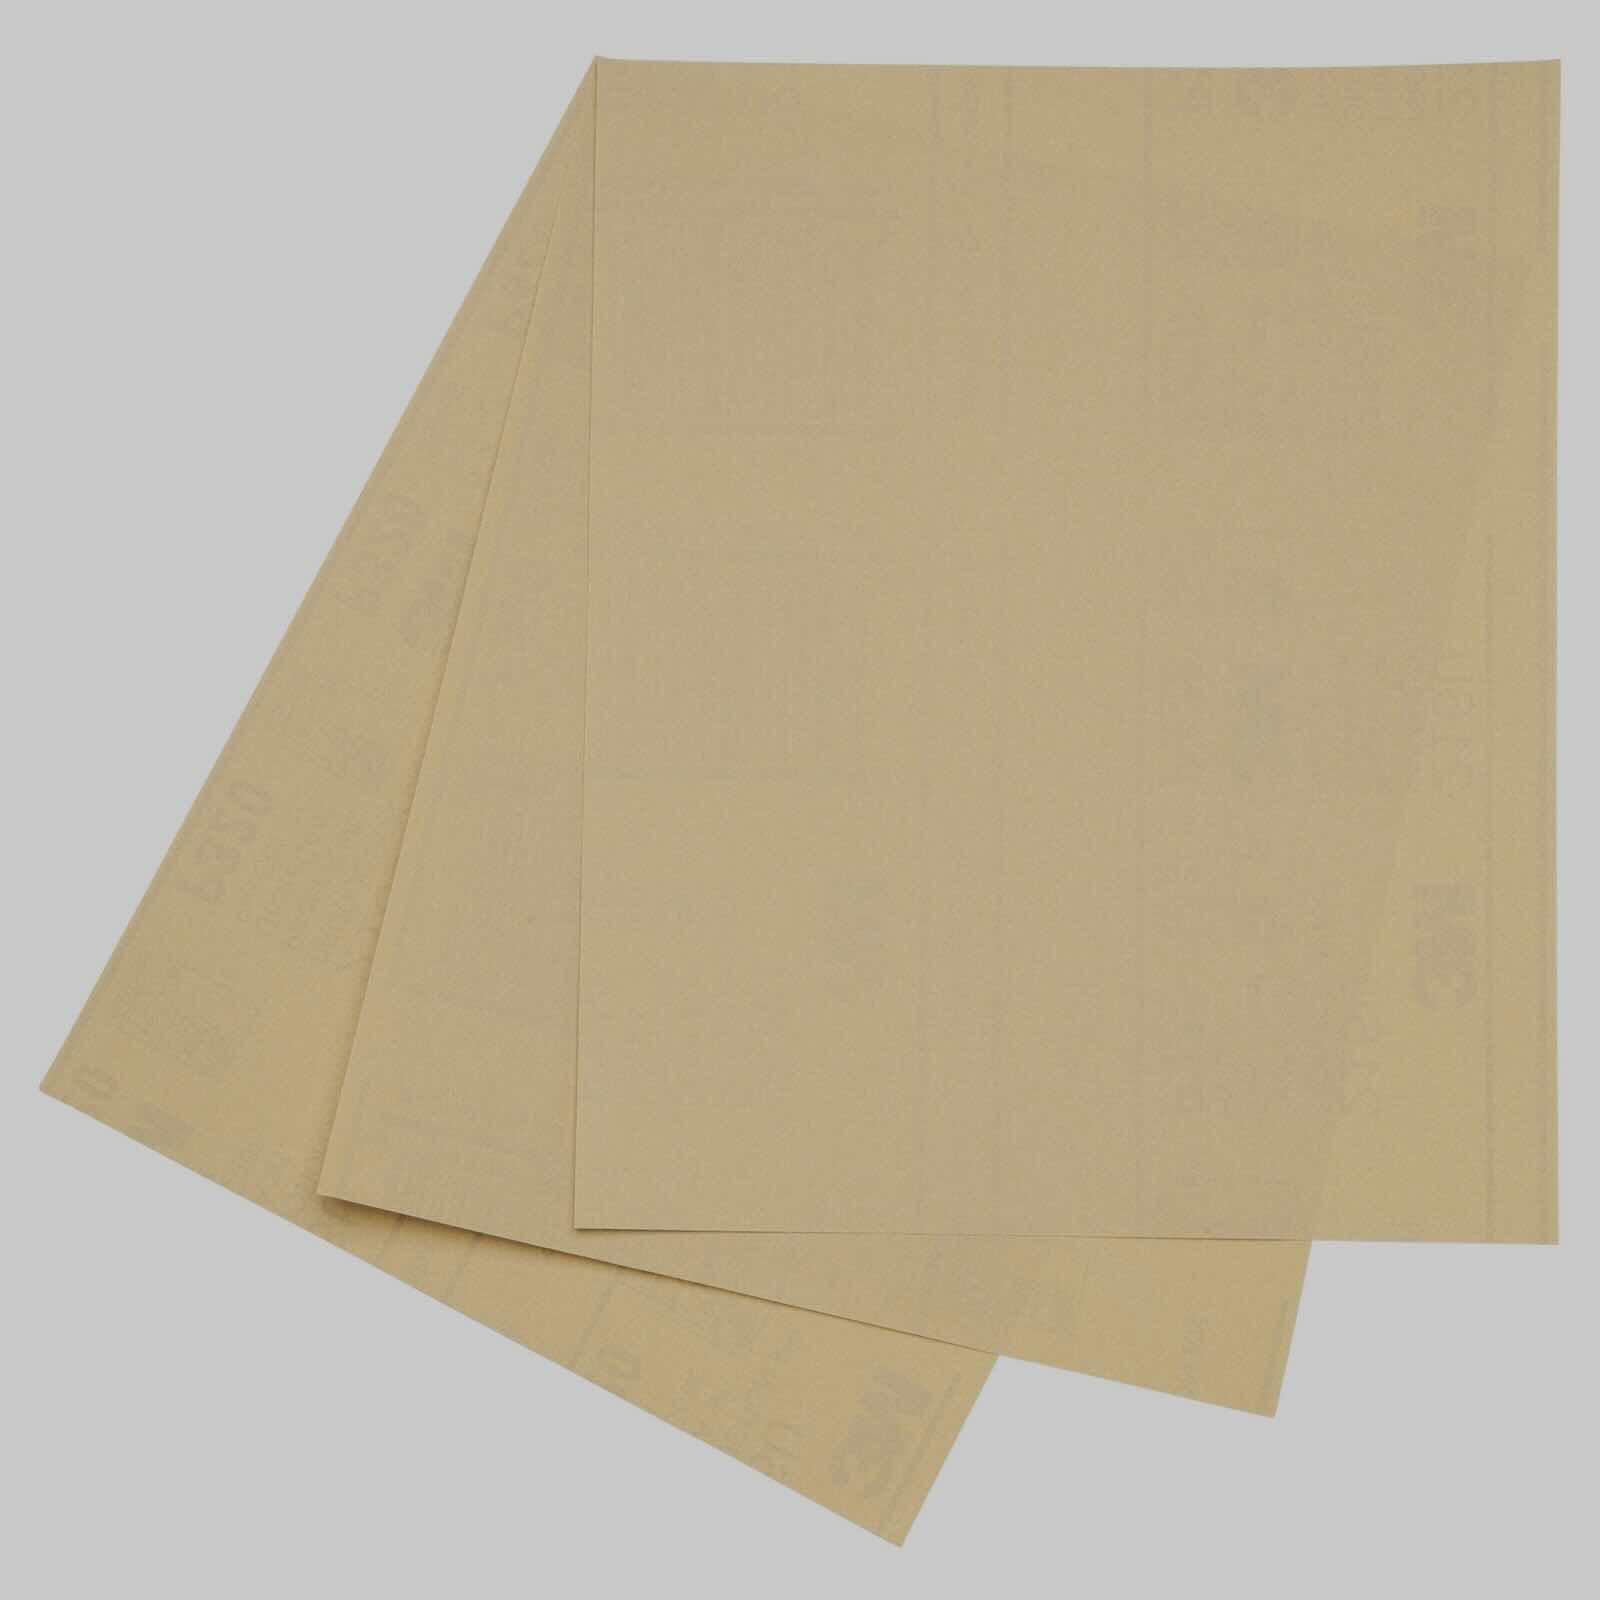
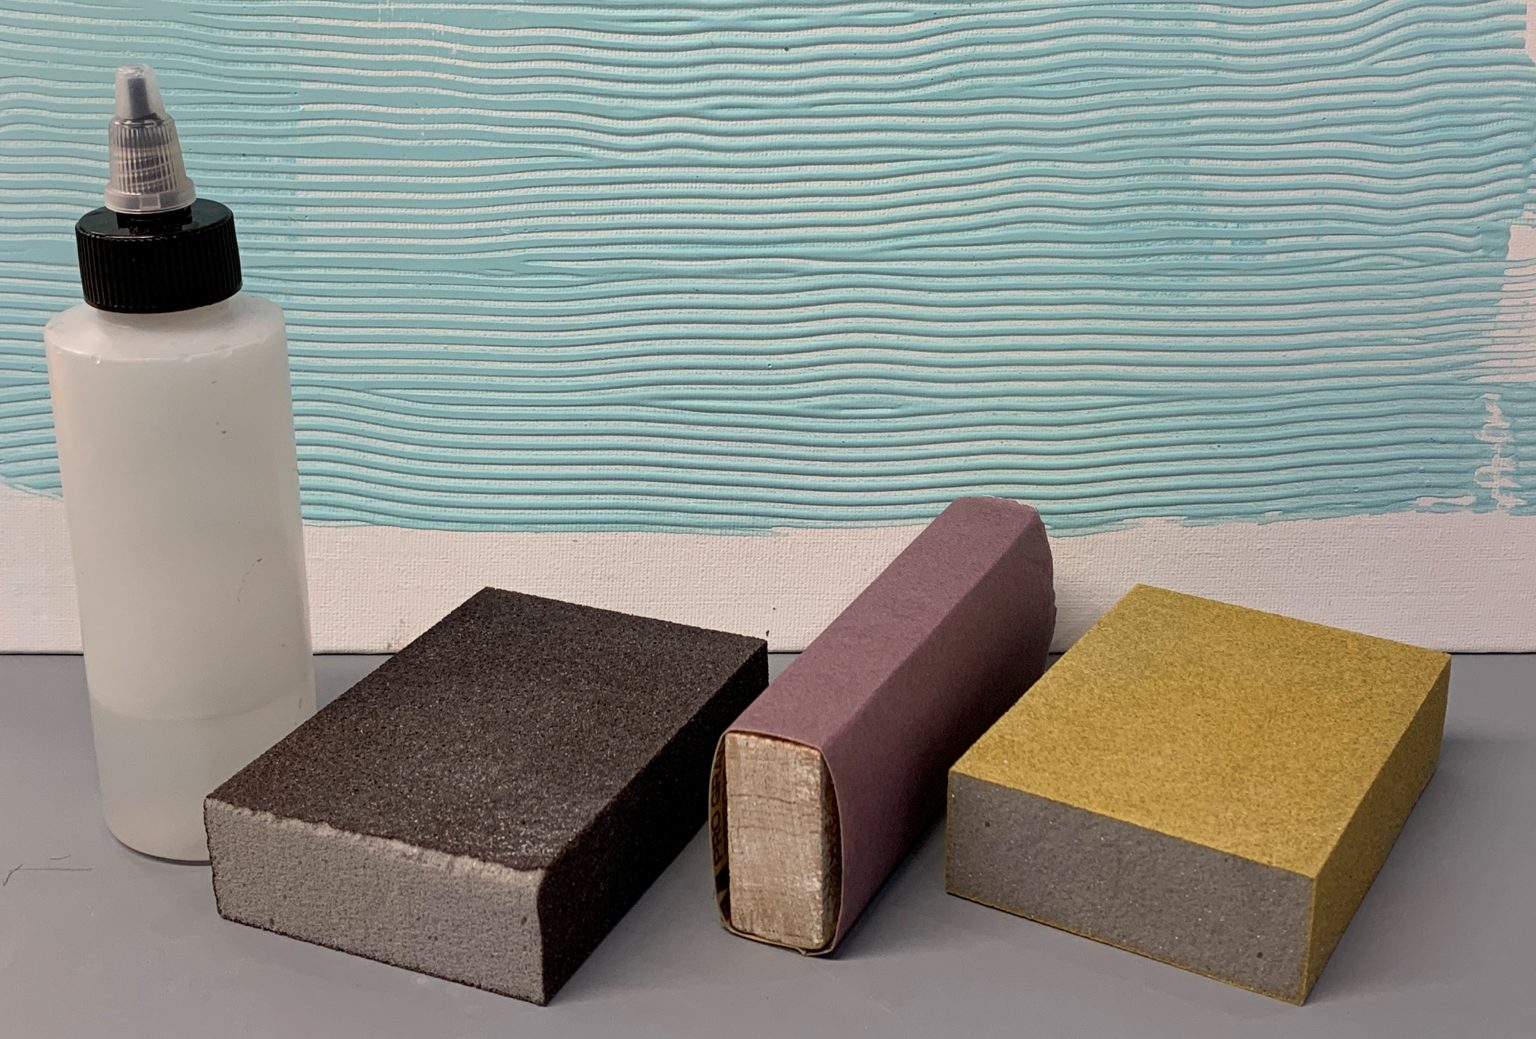
Common grit ranges include coarse (40-60), medium (80-120), fine (150-180), very fine (220-240), and extra fine (280-320). Each grit serves a distinct purpose, from heavy material removal to fine surface smoothing.
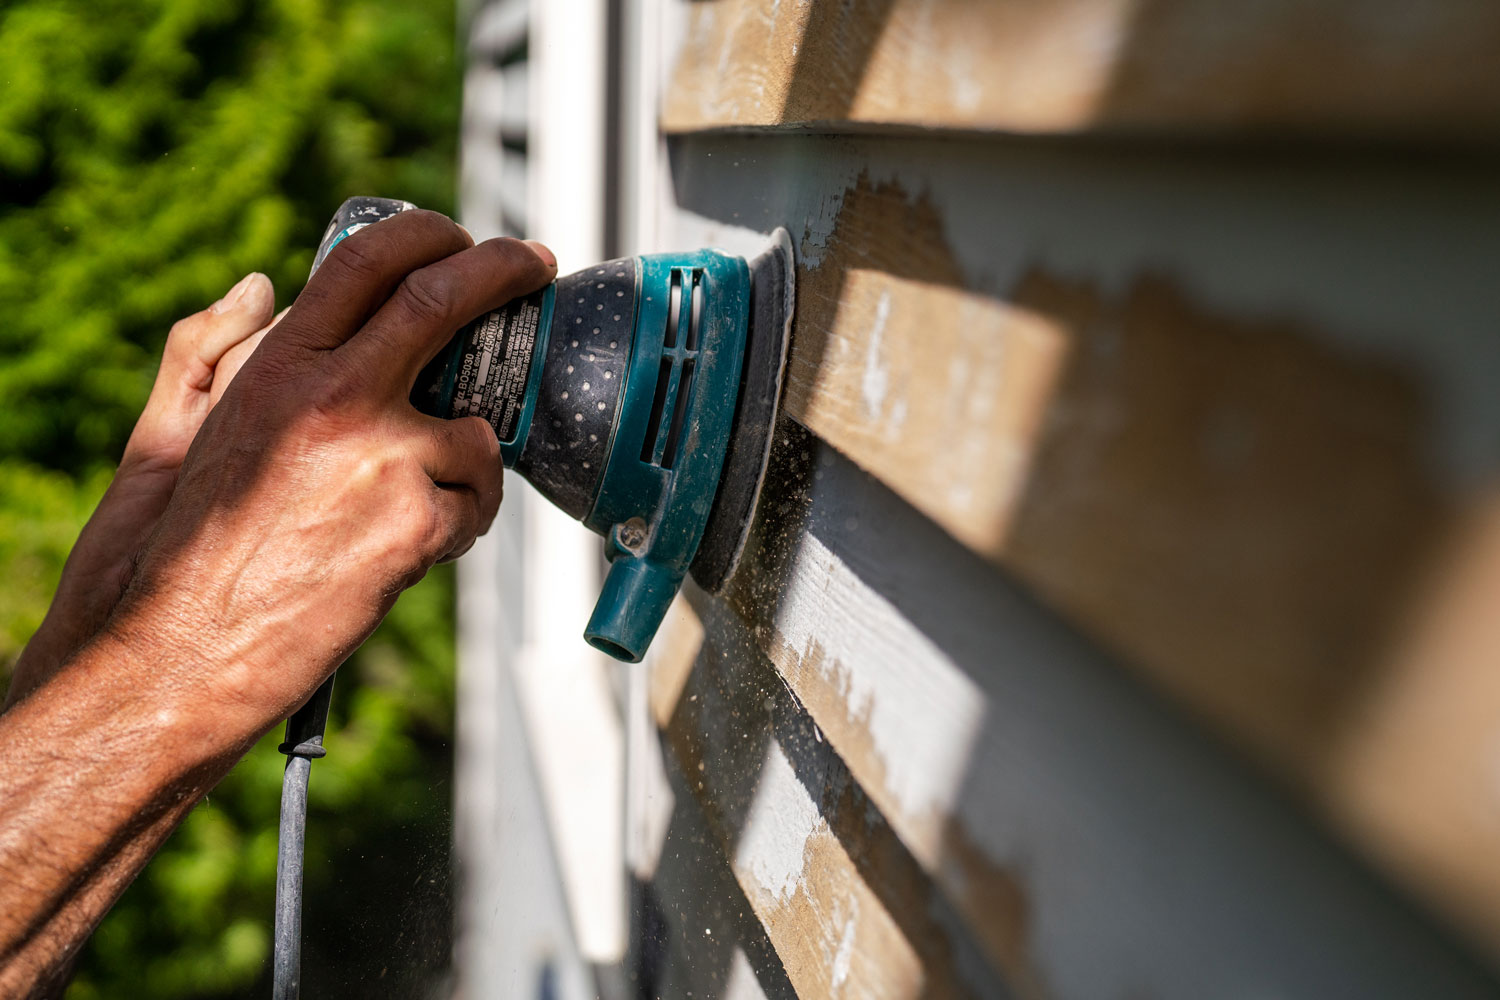
Coarse grit sandpaper, with its lower grit range, is ideal for removing old paint, varnish, or other finishes from furniture. It effectively eliminates imperfections and prepares the surface for the subsequent stages of the restoration process. As you progress to finer grits, the sandpaper becomes less abrasive, allowing for the gradual refinement of the surface texture.
Understanding the intricacies of grit sandpaper empowers you to make informed decisions when selecting the appropriate abrasive for each phase of your furniture restoration project. By recognizing the role of grit in achieving your desired finish, you can optimize the sanding process and enhance the overall quality of your painted furniture.
Choosing the Right Grit Sandpaper for Furniture
When it comes to preparing furniture for painting, selecting the right grit sandpaper is crucial for achieving a flawless finish. The choice of grit depends on the condition of the furniture and the desired outcome of the painting project. Here’s a comprehensive guide to help you determine the ideal grit for your furniture restoration endeavors:
- Coarse Grit (40-60): If your furniture bears multiple layers of old paint, stubborn varnish, or deep-seated imperfections, start with coarse grit sandpaper. This abrasive powerhouse efficiently strips away the existing finish, revealing a smooth, uniform surface ready for the next phase of restoration.
- Medium Grit (80-120): Once the bulk of the old finish has been removed, transition to medium grit sandpaper to further refine the surface. This grit range effectively smoothens the wood and eliminates any remaining blemishes, preparing the furniture for the subsequent stages of the painting process.
- Fine Grit (150-180): As you approach the final stages of surface preparation, fine grit sandpaper becomes instrumental in achieving a silky-smooth finish. This grit range is ideal for meticulously smoothing the wood surface, ensuring that the paint adheres evenly and flawlessly.
- Very Fine and Extra Fine Grit (220-320): For the ultimate surface refinement, very fine and extra fine grit sandpaper deliver unparalleled smoothness. These high-grit abrasives are perfect for removing minute imperfections and creating a pristine canvas for the application of paint, resulting in a professional-grade finish.
By tailoring your choice of grit sandpaper to the specific needs of your furniture, you can effectively streamline the restoration process and achieve exceptional results. Remember, the key to a successful painting project lies in the meticulous selection of grits to address the unique characteristics of your furniture.
Use 120-150 grit sandpaper to roughen the surface of furniture before painting. This helps the paint adhere better and creates a smooth finish.
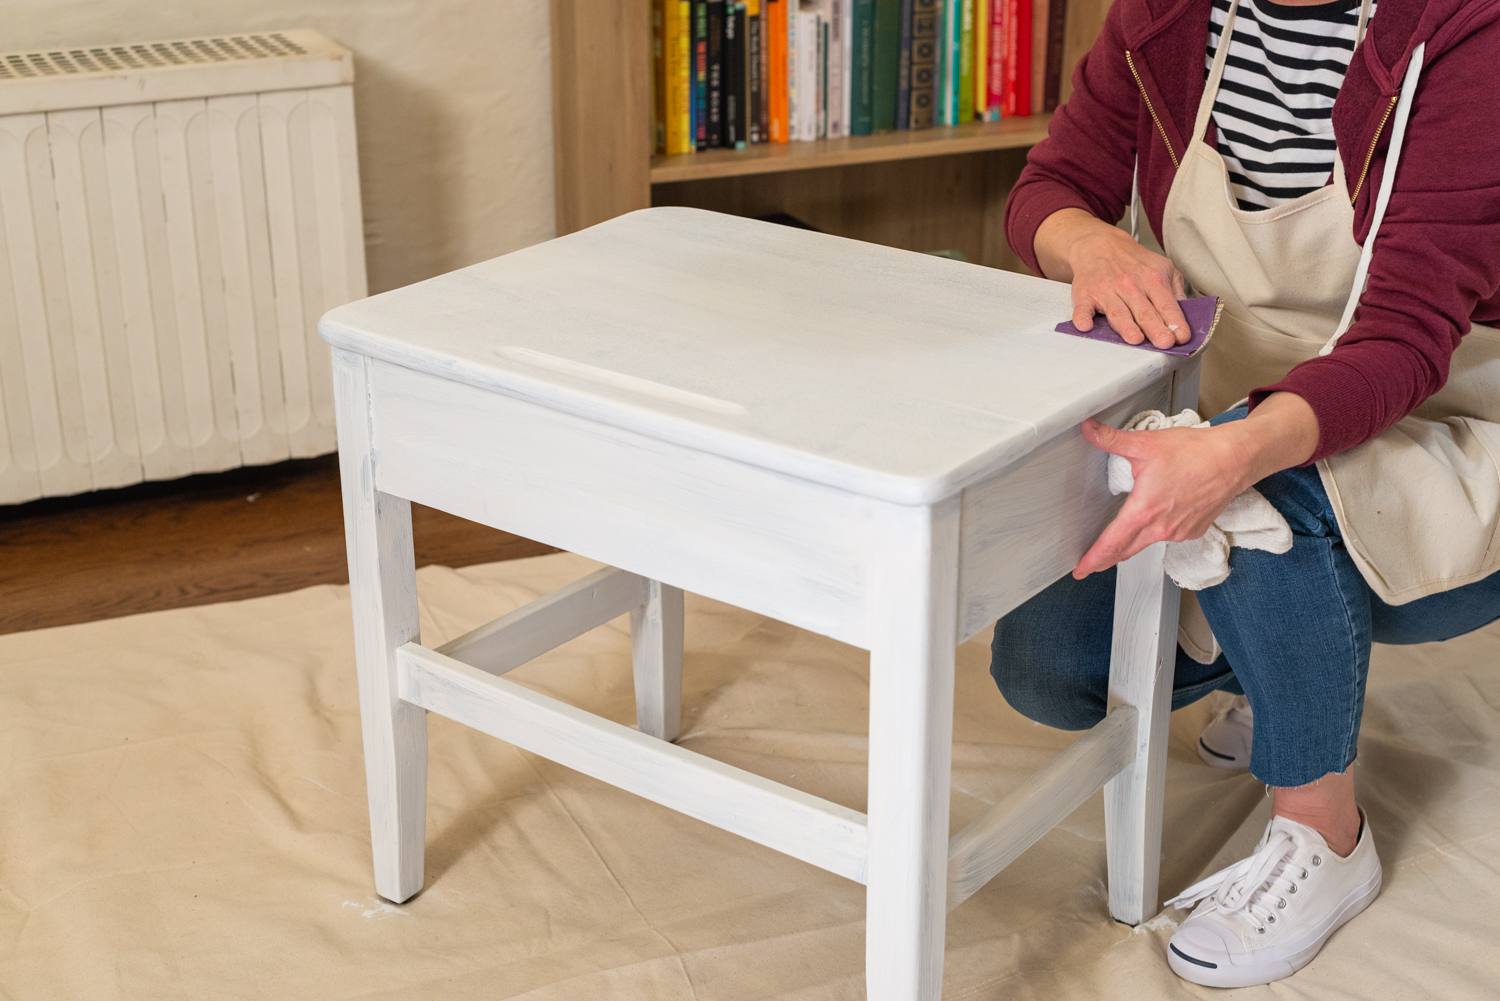
Preparing Furniture for Painting
As you embark on the exciting journey of reviving your furniture with a fresh coat of paint, meticulous preparation is essential to ensure a stunning and long-lasting finish. Here’s a step-by-step guide to preparing your furniture for painting:
- Clean the Surface: Begin by thoroughly cleaning the furniture to remove dust, dirt, and any residual grime. A mild detergent solution and a clean cloth can effectively eliminate surface contaminants, ensuring optimal paint adhesion.
- Inspect and Repair: Assess the furniture for any imperfections, such as dents, scratches, or loose joints. Address these issues by filling in gaps with wood filler, sanding down rough edges, and tightening loose components to restore the furniture’s structural integrity.
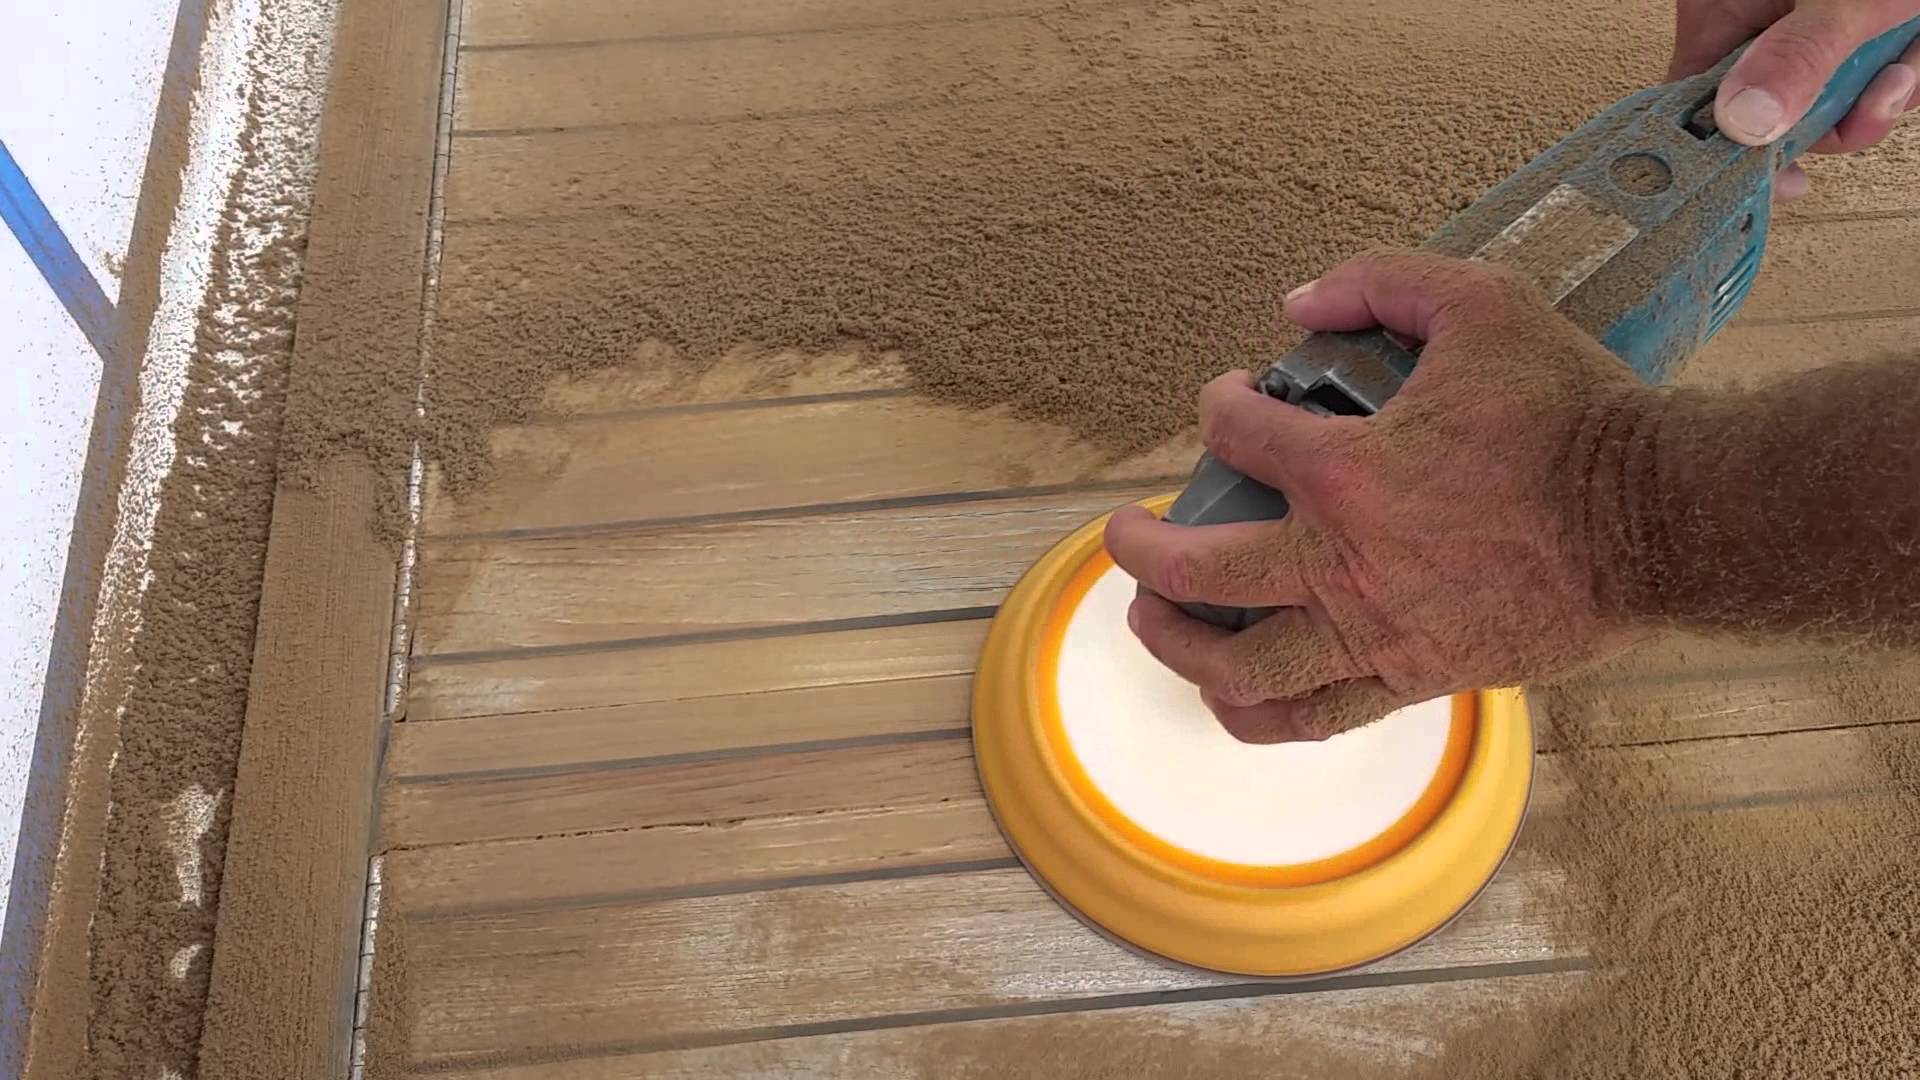
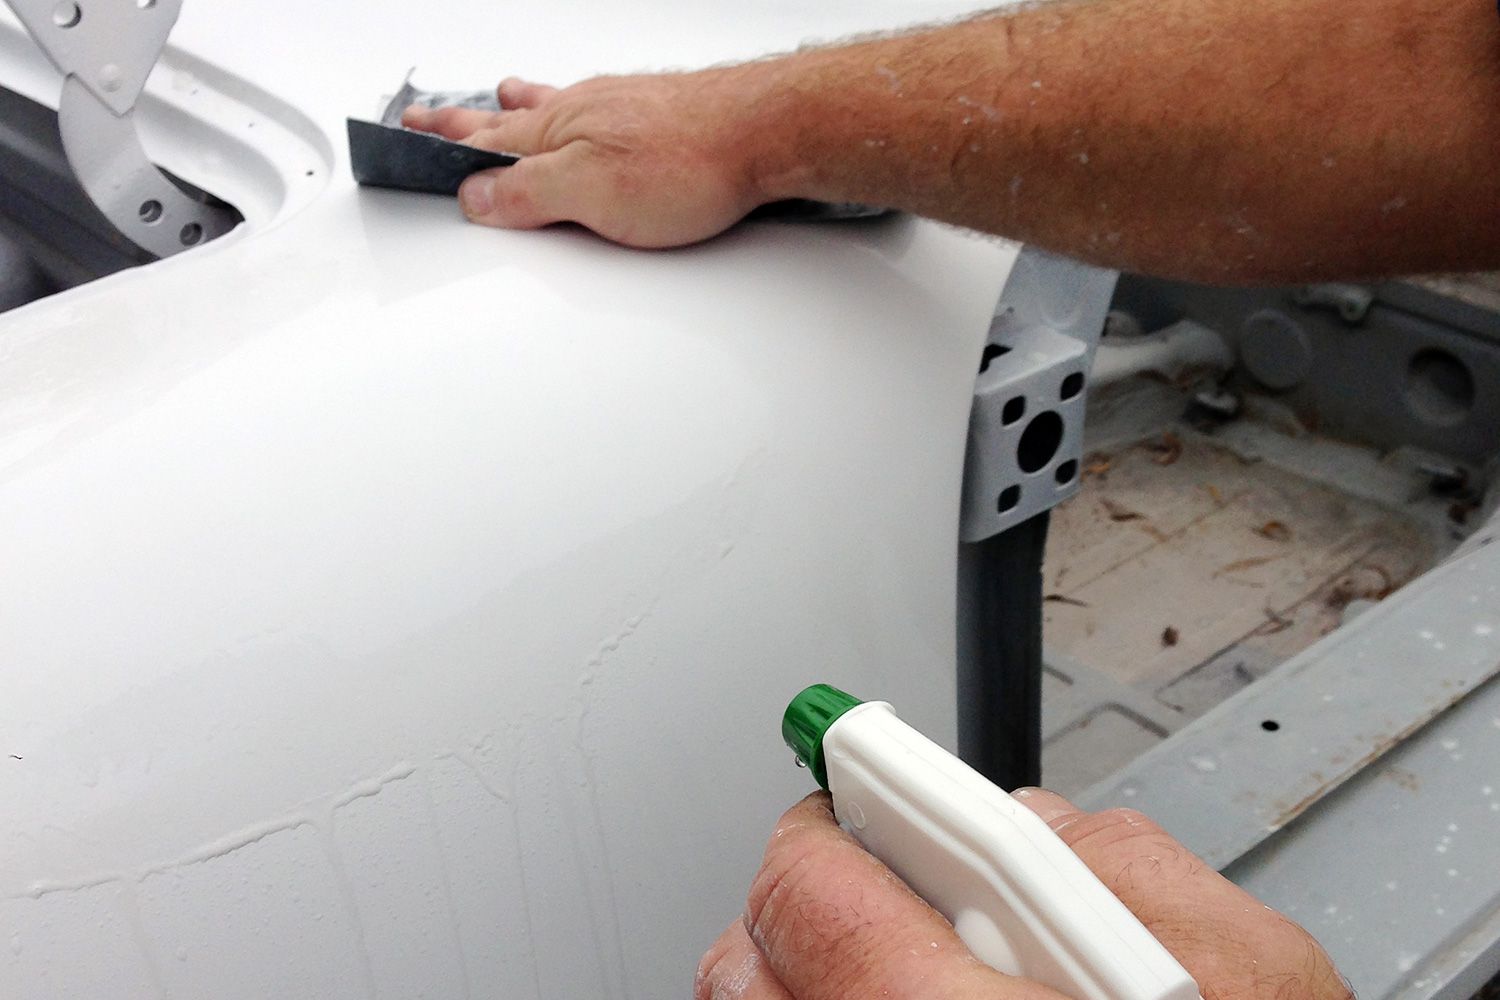
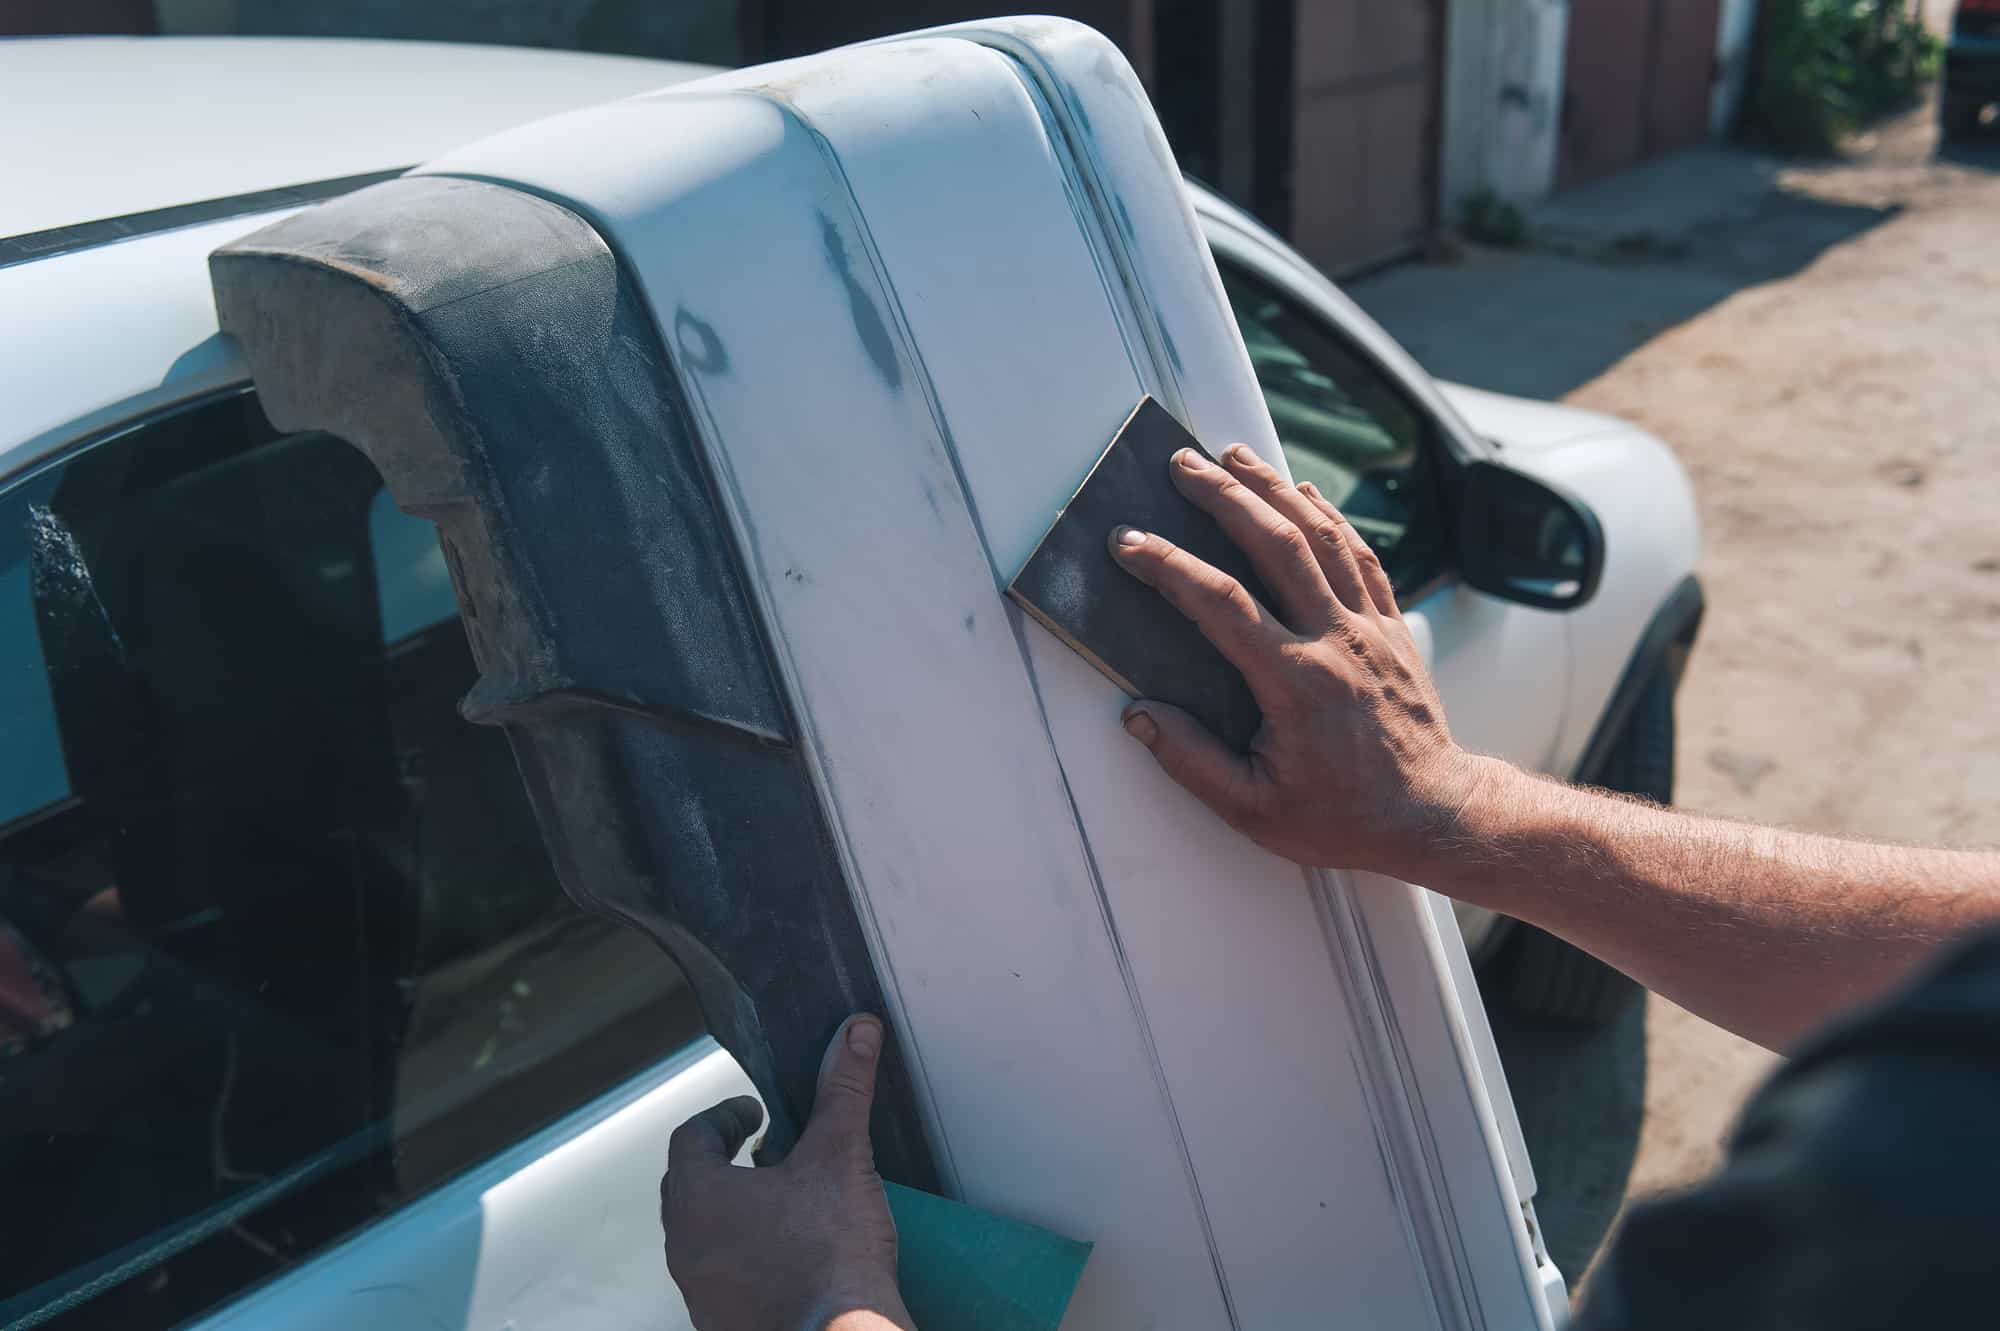
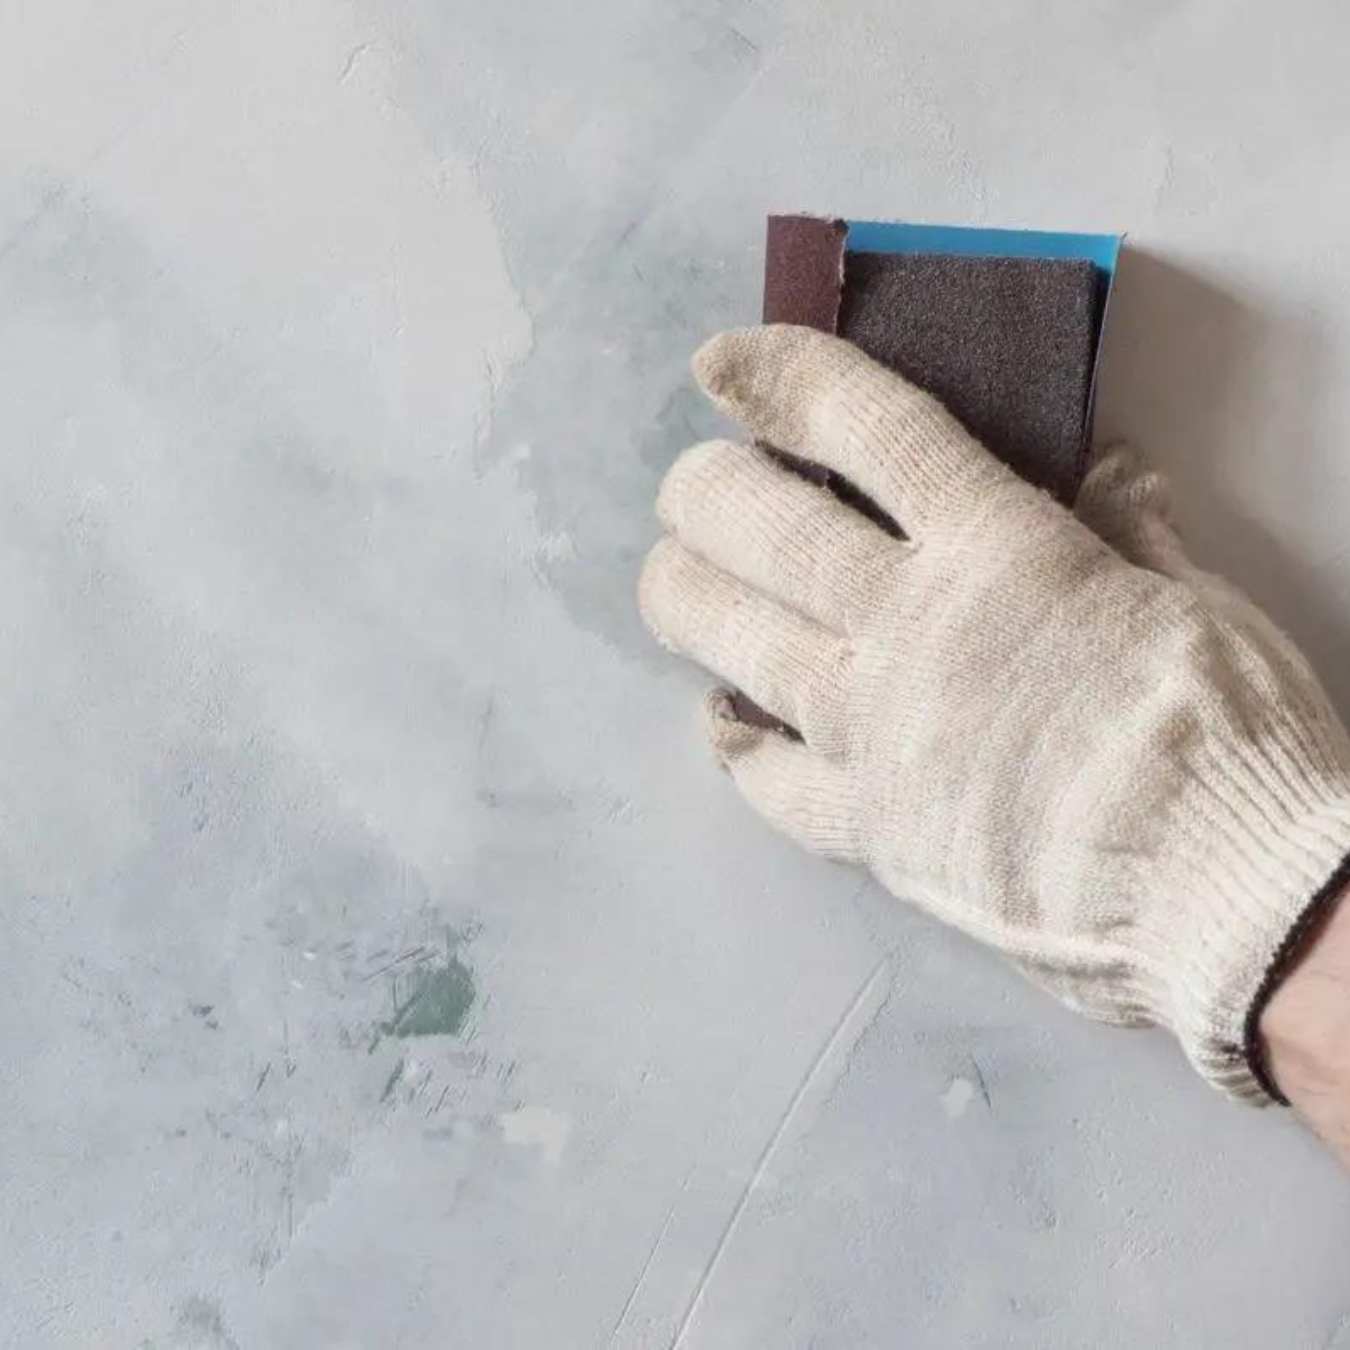
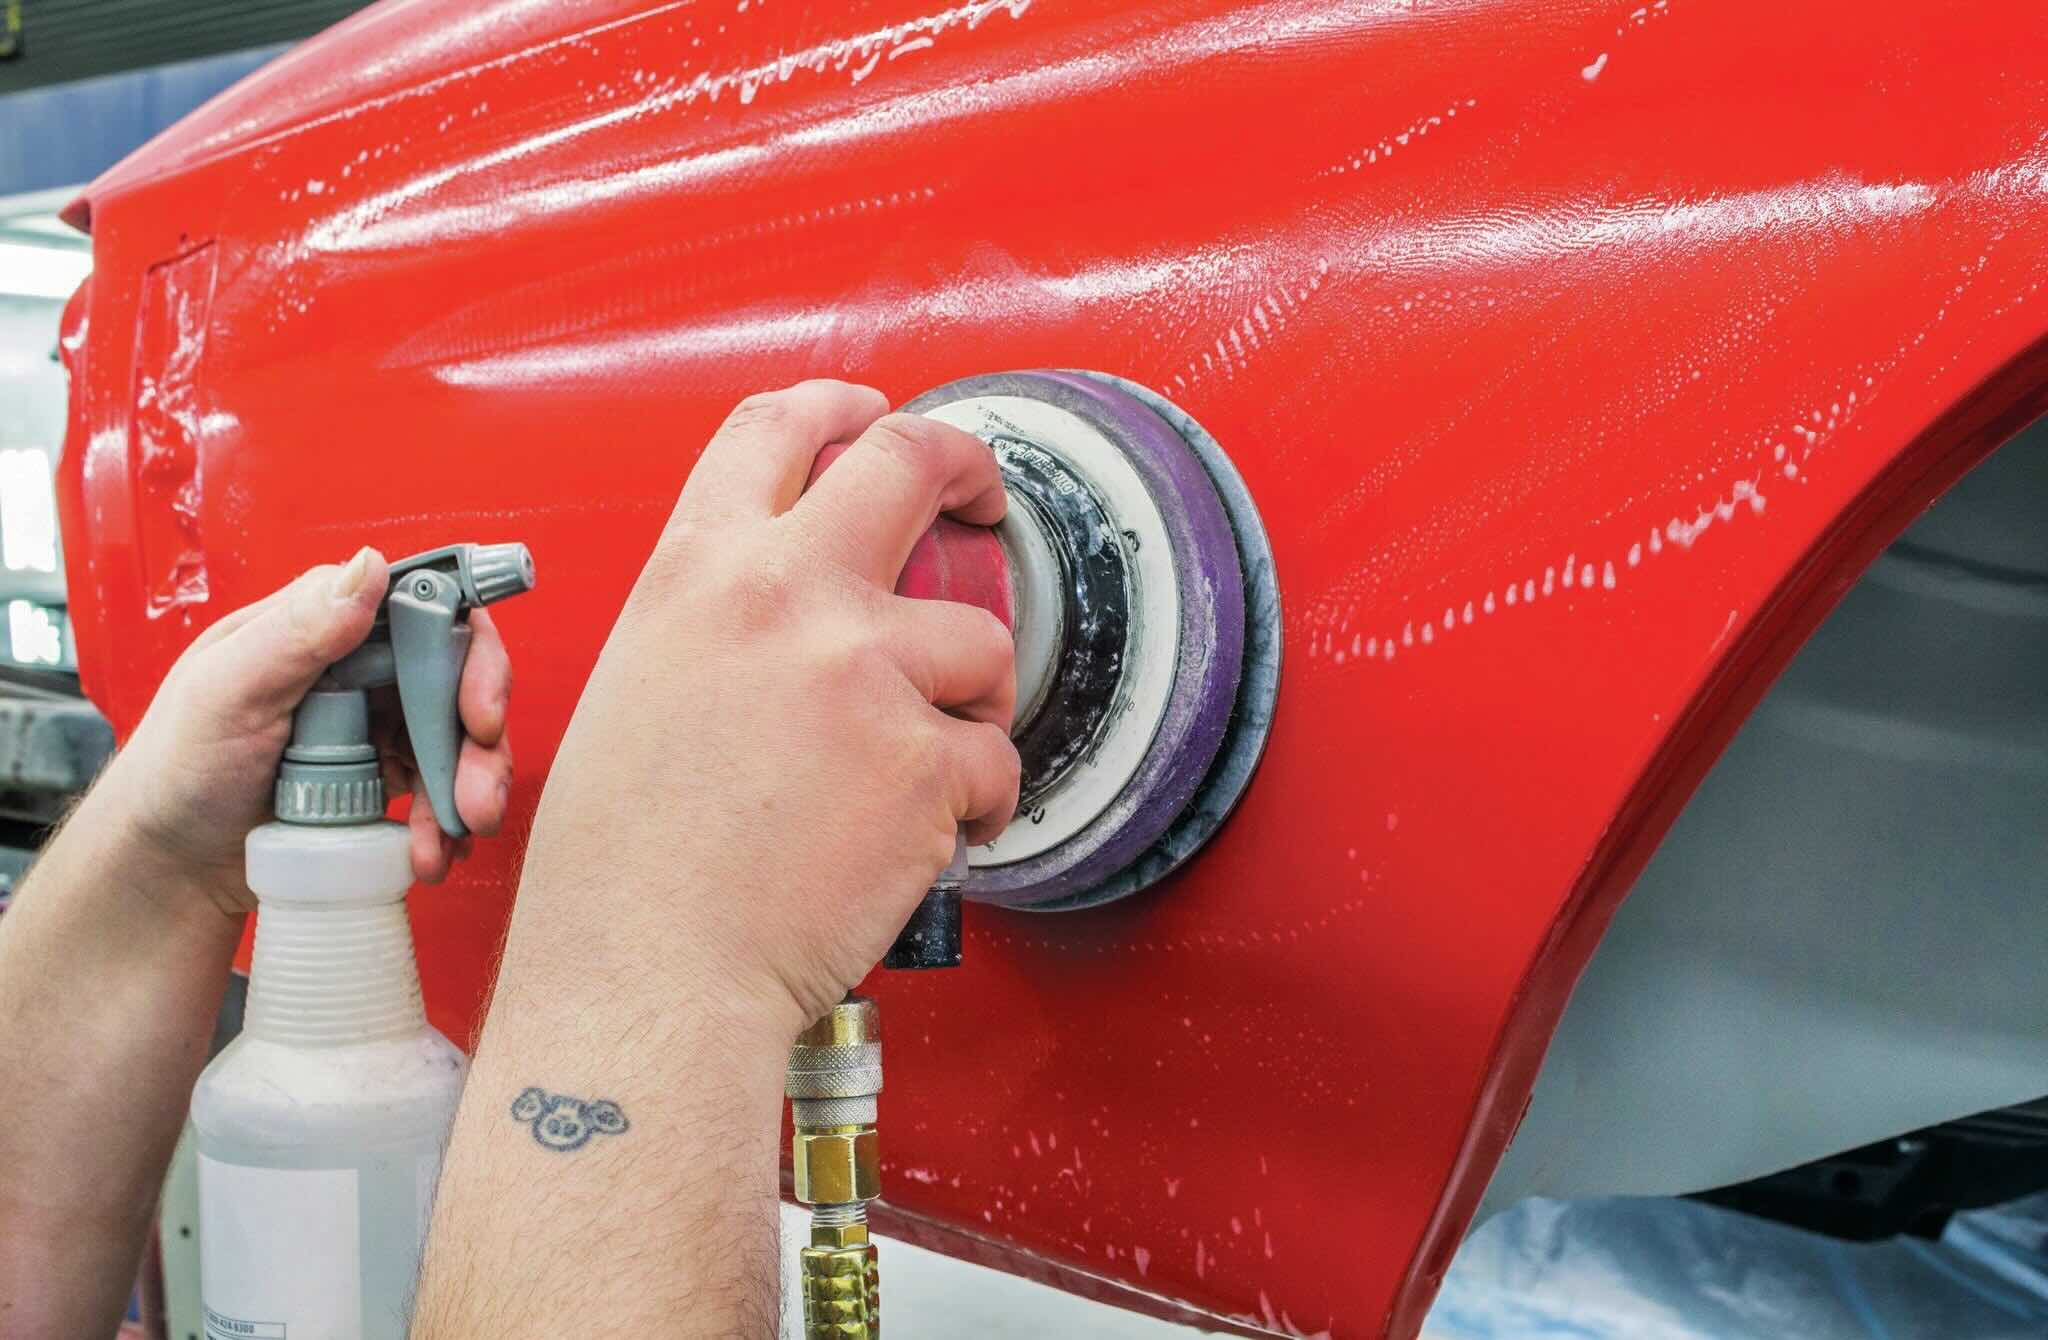
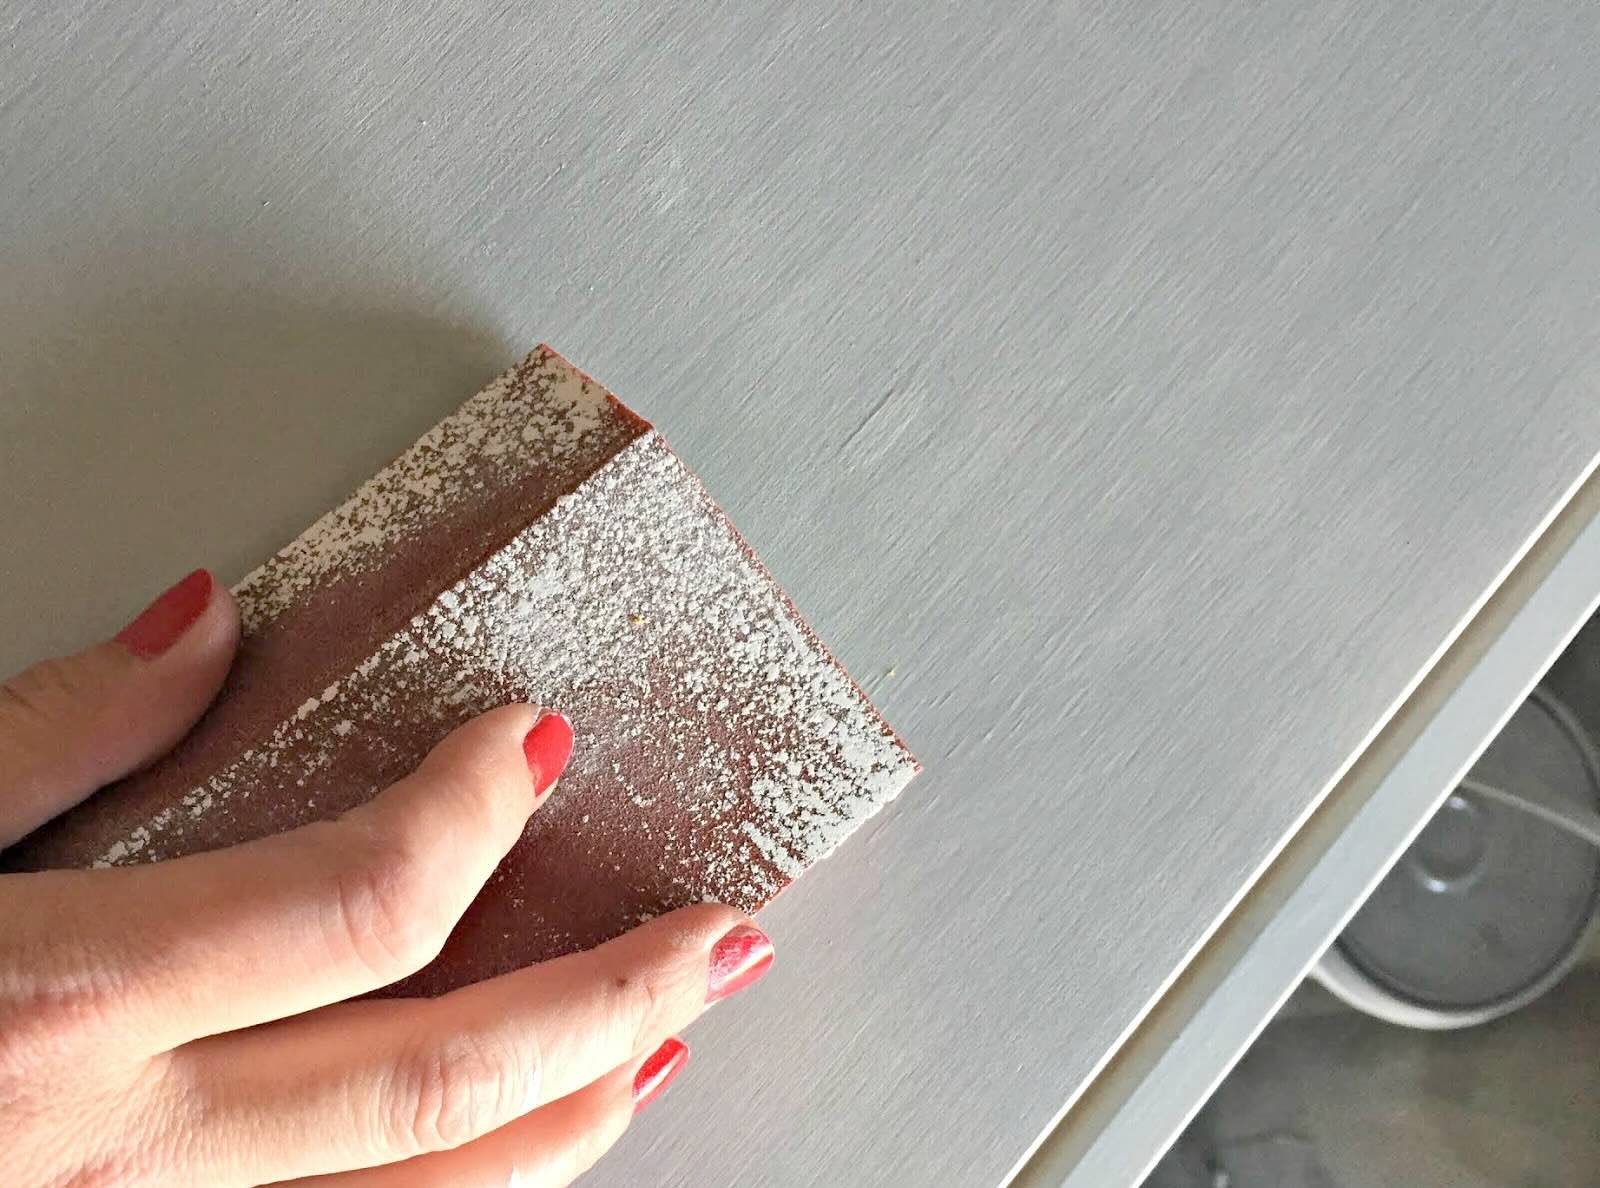
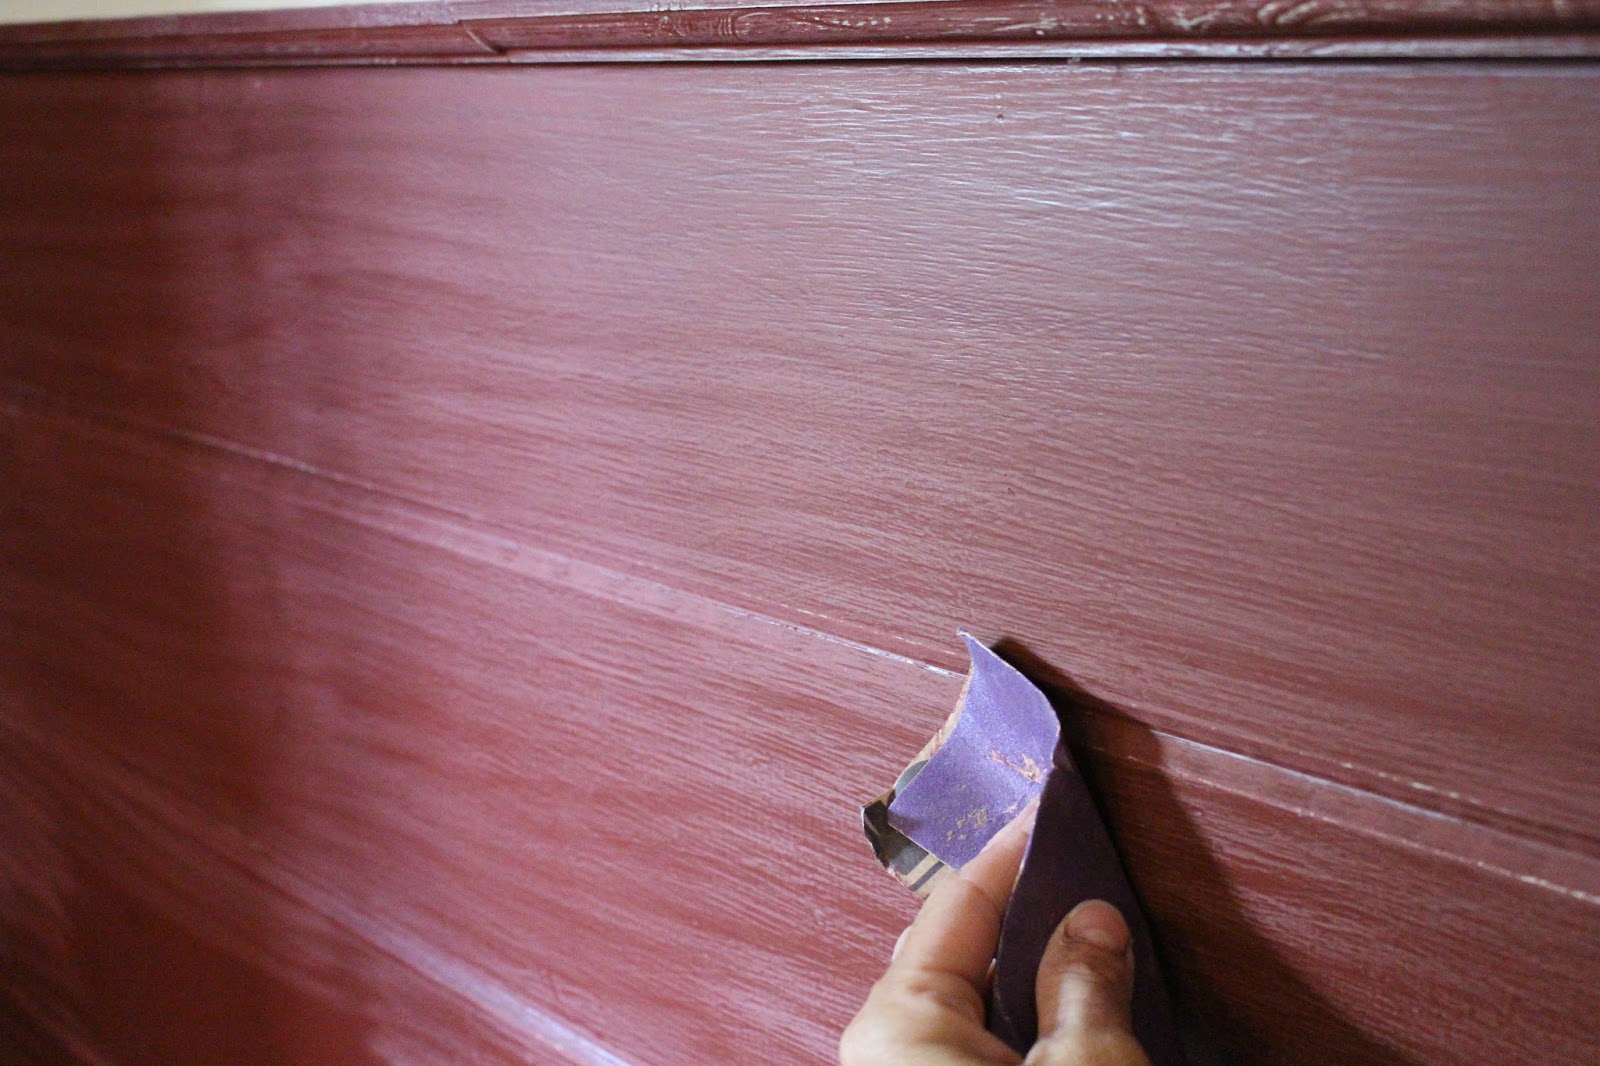
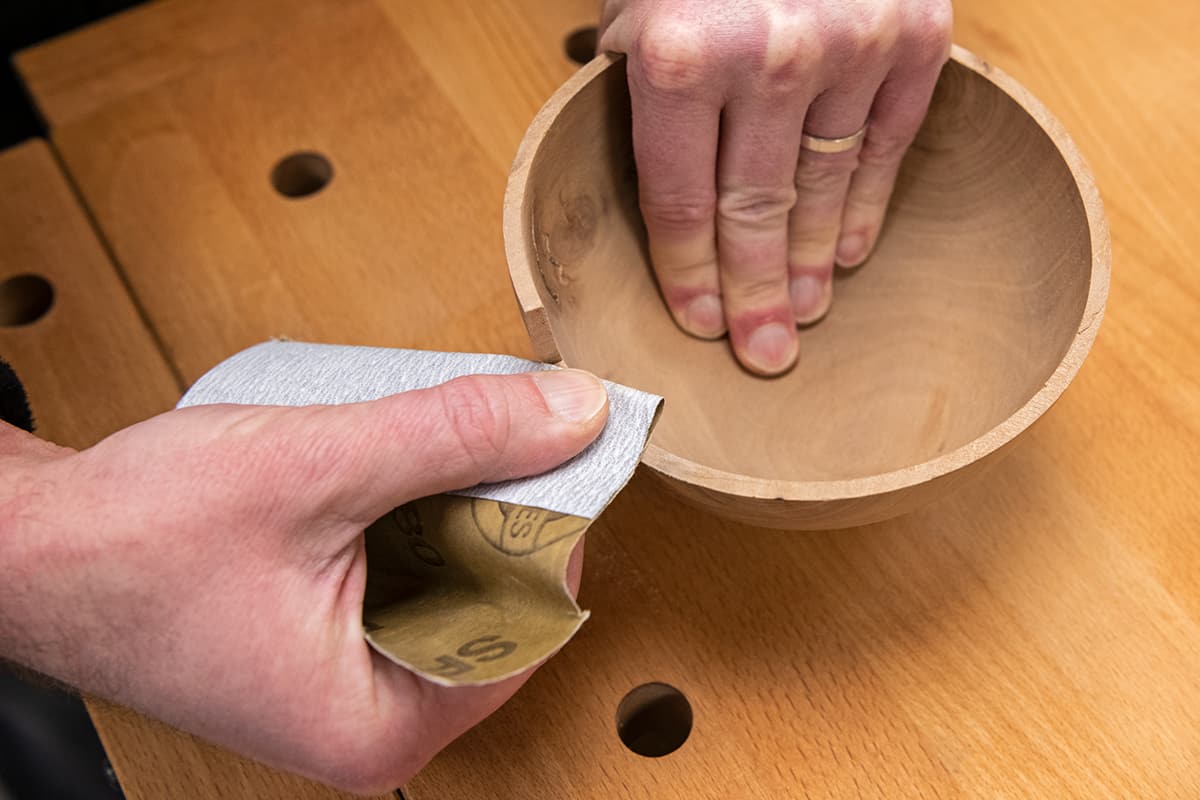
- Sand the Surface: Utilize the appropriate grit sandpaper, as determined by the condition of the furniture and the desired level of surface refinement. Begin with a coarser grit to remove old finishes and imperfections, gradually progressing to finer grits to achieve a smooth and uniform surface texture.
- Remove Sanding Residue: After sanding, thoroughly remove the sanding residue and dust using a tack cloth or a damp cloth. This crucial step ensures that the surface is clean and free of any debris that could compromise the paint application.
- Prime the Surface: Applying a high-quality primer is essential for promoting paint adhesion and enhancing the durability of the finish. Choose a primer that is suitable for the type of paint you intend to use and apply it evenly to the prepared surface.
- Apply the Paint: Once the primer has dried, it’s time to unleash your creativity with the application of paint. Whether you opt for bold, vibrant colors or subtle, elegant shades, ensure that each coat is applied evenly, allowing sufficient drying time between layers.
- Protect the Finish: After the paint has dried and cured, consider applying a clear protective finish, such as polyurethane or varnish, to safeguard the painted surface from wear and tear, enhancing its longevity and resilience.
By diligently following these preparatory steps, you can breathe new life into your furniture, infusing it with your personal style and transforming it into a captivating focal point in your living space. Remember, the key to a successful painting project lies in meticulous preparation and a touch of creative flair!
Conclusion
Congratulations on embarking on your furniture painting journey armed with a newfound understanding of the pivotal role of grit sandpaper in the restoration process. By comprehending the nuances of grit and its impact on surface preparation, you are well-equipped to elevate your painting projects to new heights of excellence.
As you navigate the world of furniture restoration, remember that the choice of grit sandpaper is not merely a technical decision; it is an art form in itself. Tailoring the grit selection to the unique characteristics of your furniture empowers you to transform worn-out pieces into stunning, revitalized works of art.
From the initial stages of stripping away old finishes to the final touches of achieving a flawless surface, the journey of preparing furniture for painting is a testament to your dedication to craftsmanship and creativity. Each stroke of the sandpaper and layer of paint breathes new life into your cherished furniture, infusing it with character and charm.
So, as you embark on your next furniture painting endeavor, embrace the transformative power of grit sandpaper and let your imagination soar. With each meticulous sanding and precise application of paint, you are not merely refurbishing furniture; you are crafting stories and memories that will endure for years to come.
May your painting ventures be filled with inspiration, innovation, and the joy of witnessing your vision come to life on the canvas of furniture. Here’s to the artistry of furniture restoration and the enduring allure of painted masterpieces!
Frequently Asked Questions about What Grit Sandpaper For Furniture Before Painting
Was this page helpful?
At Storables.com, we guarantee accurate and reliable information. Our content, validated by Expert Board Contributors, is crafted following stringent Editorial Policies. We're committed to providing you with well-researched, expert-backed insights for all your informational needs.

0 thoughts on “What Grit Sandpaper For Furniture Before Painting”