Home>Renovation & DIY>Tools & Equipment>What Grit Sandpaper To Use Between Paint Coats
Tools & Equipment
What Grit Sandpaper To Use Between Paint Coats
Published: December 20, 2023
Discover the best grit sandpaper for smoothing between paint coats. Find the right tools and equipment for a flawless finish.
(Many of the links in this article redirect to a specific reviewed product. Your purchase of these products through affiliate links helps to generate commission for Storables.com, at no extra cost. Learn more)
Introduction
So, you've just finished applying a fresh coat of paint to your project, and now you're wondering what comes next. Well, the key to achieving a smooth and professional finish lies in the often overlooked step of sanding between paint coats. This crucial process can make all the difference in the final result, ensuring that each subsequent layer of paint adheres properly and creating a flawless surface.
In this guide, we'll delve into the world of grit sandpaper and explore the best practices for sanding between paint coats. Whether you're a seasoned DIY enthusiast or a newbie in the realm of home improvement, understanding the nuances of grit sandpaper and knowing how to use it effectively will elevate the quality of your paint job to new heights.
So, let's roll up our sleeves and uncover the secrets of achieving a pristine paint finish through the art of sanding between coats.
Key Takeaways:
- Choose fine-grit sandpaper (150-180) for sanding between paint coats to achieve a smooth finish without damaging the underlying layers of paint.
- Properly sand between paint coats by using light to moderate pressure, inspecting the surface for imperfections, and applying the next coat of paint for a professional-quality finish.
Read more: What Grit Sandpaper To Use Before Painting
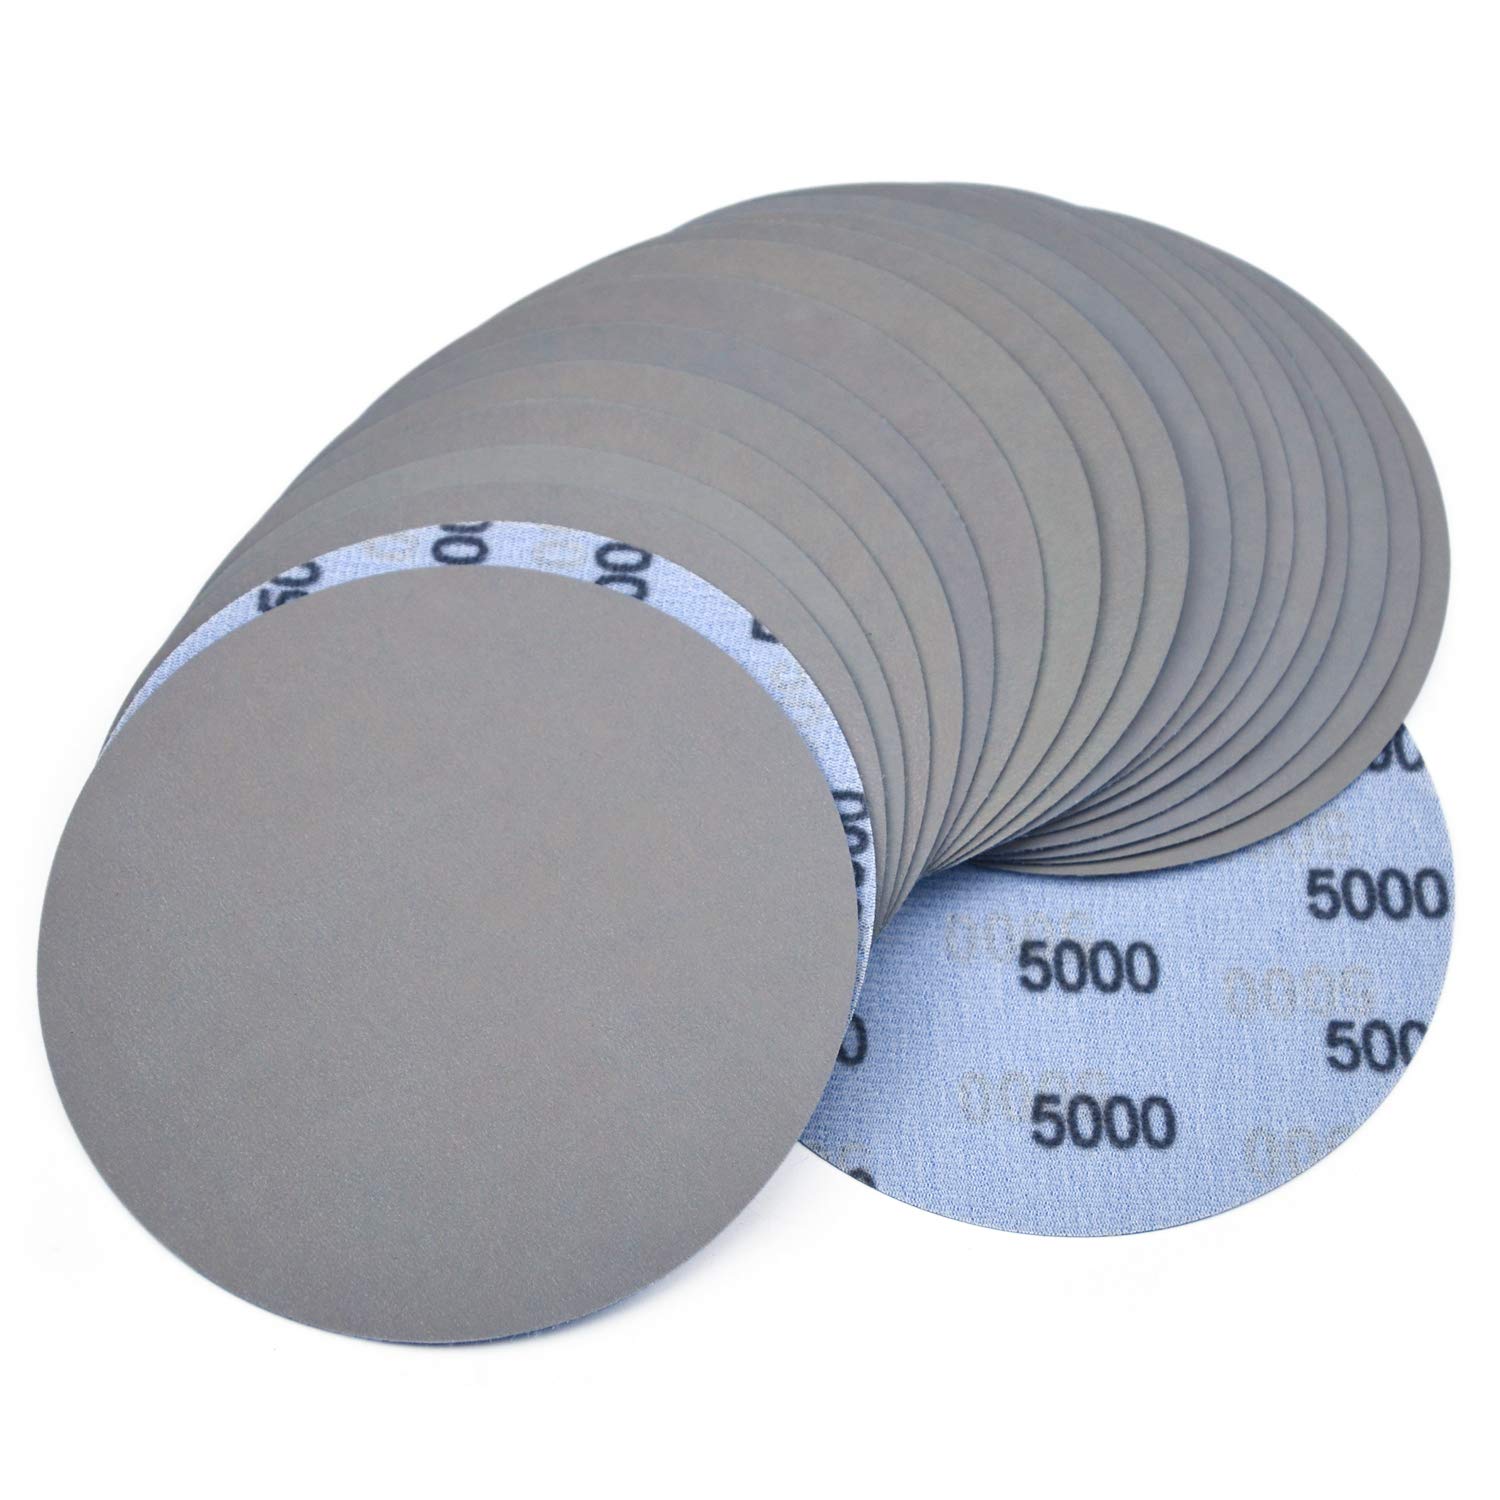
Understanding Grit Sandpaper
Before we dive into the specifics of sanding between paint coats, it's essential to grasp the concept of grit sandpaper. Grit refers to the number of abrasive particles per square inch of the sandpaper. The higher the grit number, the finer the sandpaper and the less aggressive its abrasive action. Conversely, lower grit numbers indicate coarser sandpaper with more abrasive particles, making it suitable for tougher jobs that require significant material removal.
Common grit ranges include:
- Coarse Grit (40-60): Ideal for heavy material removal, such as smoothing rough surfaces or stripping old paint.
- Medium Grit (80-120): Suitable for moderate material removal and initial smoothing of surfaces.
- Fine Grit (150-180): Used for light material removal, preparing surfaces for finishing, and sanding between coats of paint.
- Very Fine Grit (220-240 and above): Designed for finishing touches, smoothing bare wood, and achieving a polished surface.
Understanding the appropriate applications for different grit sandpapers is crucial for achieving the desired results. When it comes to sanding between paint coats, opting for a fine or very fine grit sandpaper is typically recommended. These finer grits are gentle enough to smooth the surface without causing damage to the underlying layers of paint.
Now that we've established the basics of grit sandpaper, let's explore the process of choosing the right grit for sanding between paint coats.
Choosing the Right Grit Sandpaper for Between Paint Coats
When it comes to sanding between paint coats, selecting the appropriate grit sandpaper is pivotal to the success of your project. The goal is to create a smooth and even surface that allows the subsequent coat of paint to adhere flawlessly. To achieve this, it’s essential to choose a grit that is effective at removing imperfections and creating a suitable texture for the next layer of paint.
For most paint projects, using a fine-grit sandpaper within the range of 150-180 is recommended for sanding between coats. This grit strikes a balance between gently abrading the surface to promote adhesion and minimizing the risk of damaging the underlying paint layers.
Here’s a quick guide to choosing the right grit sandpaper for sanding between paint coats:
- Assess the Surface: Before selecting a grit, assess the condition of the painted surface. If there are minor imperfections or rough patches, a fine-grit sandpaper will be effective in smoothing out these areas.
- Consider the Paint Type: Different types of paint may require varying degrees of sanding between coats. For most latex or acrylic-based paints, a fine-grit sandpaper is suitable. However, for oil-based paints or surfaces with multiple layers of paint, you may need to adjust the grit based on the level of smoothness desired.
- Opt for Fine Grits: As a general rule, lean towards using fine-grit sandpaper, such as 150-180, for sanding between paint coats. This grit range is effective at smoothing the surface without causing excessive abrasion.
- Test in an Inconspicuous Area: If you’re uncertain about the appropriate grit, conduct a test sanding in an inconspicuous area to gauge the impact of the sandpaper on the paint surface.
By considering these factors and selecting the right grit sandpaper, you can ensure that the surface is adequately prepared for the next coat of paint, setting the stage for a flawless and professional finish.
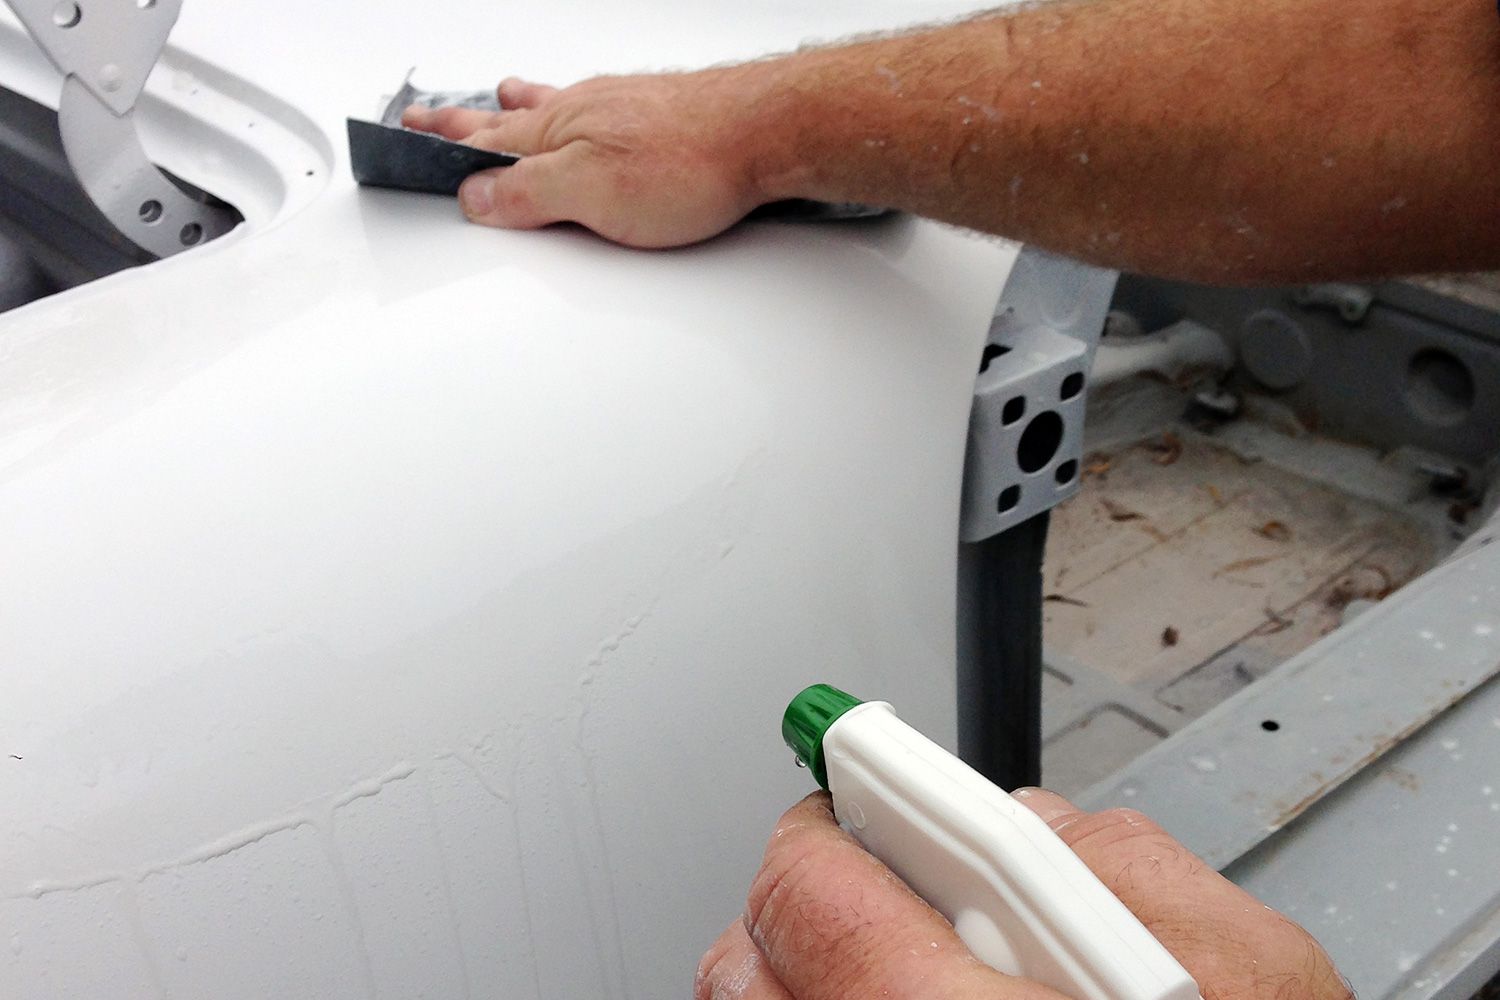
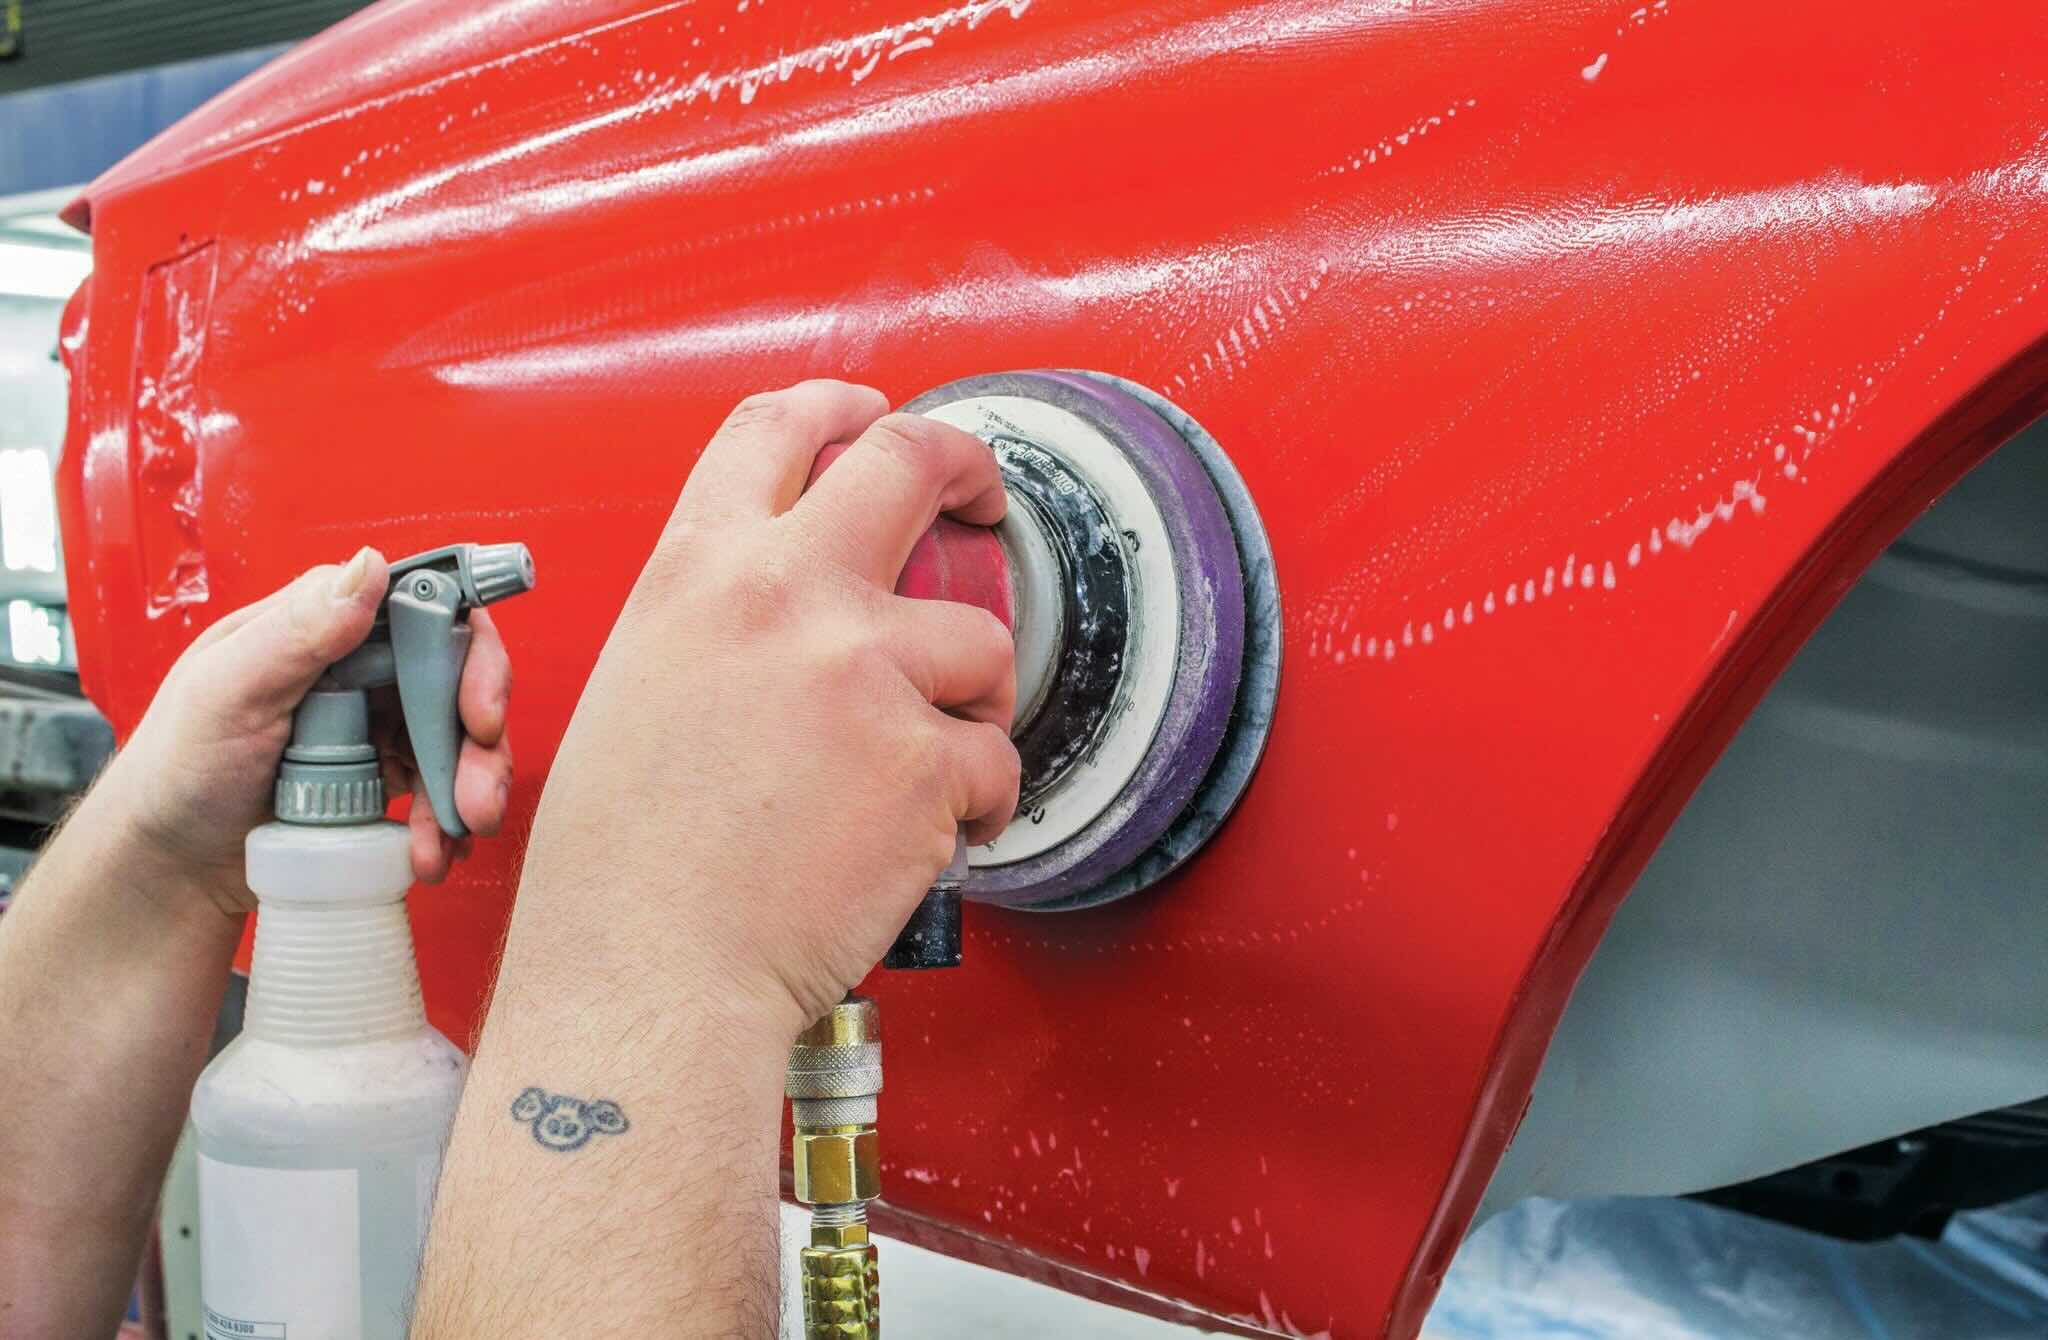
Use 220-320 grit sandpaper between paint coats to smooth out any imperfections without removing too much paint. Sand in a circular motion for an even finish.
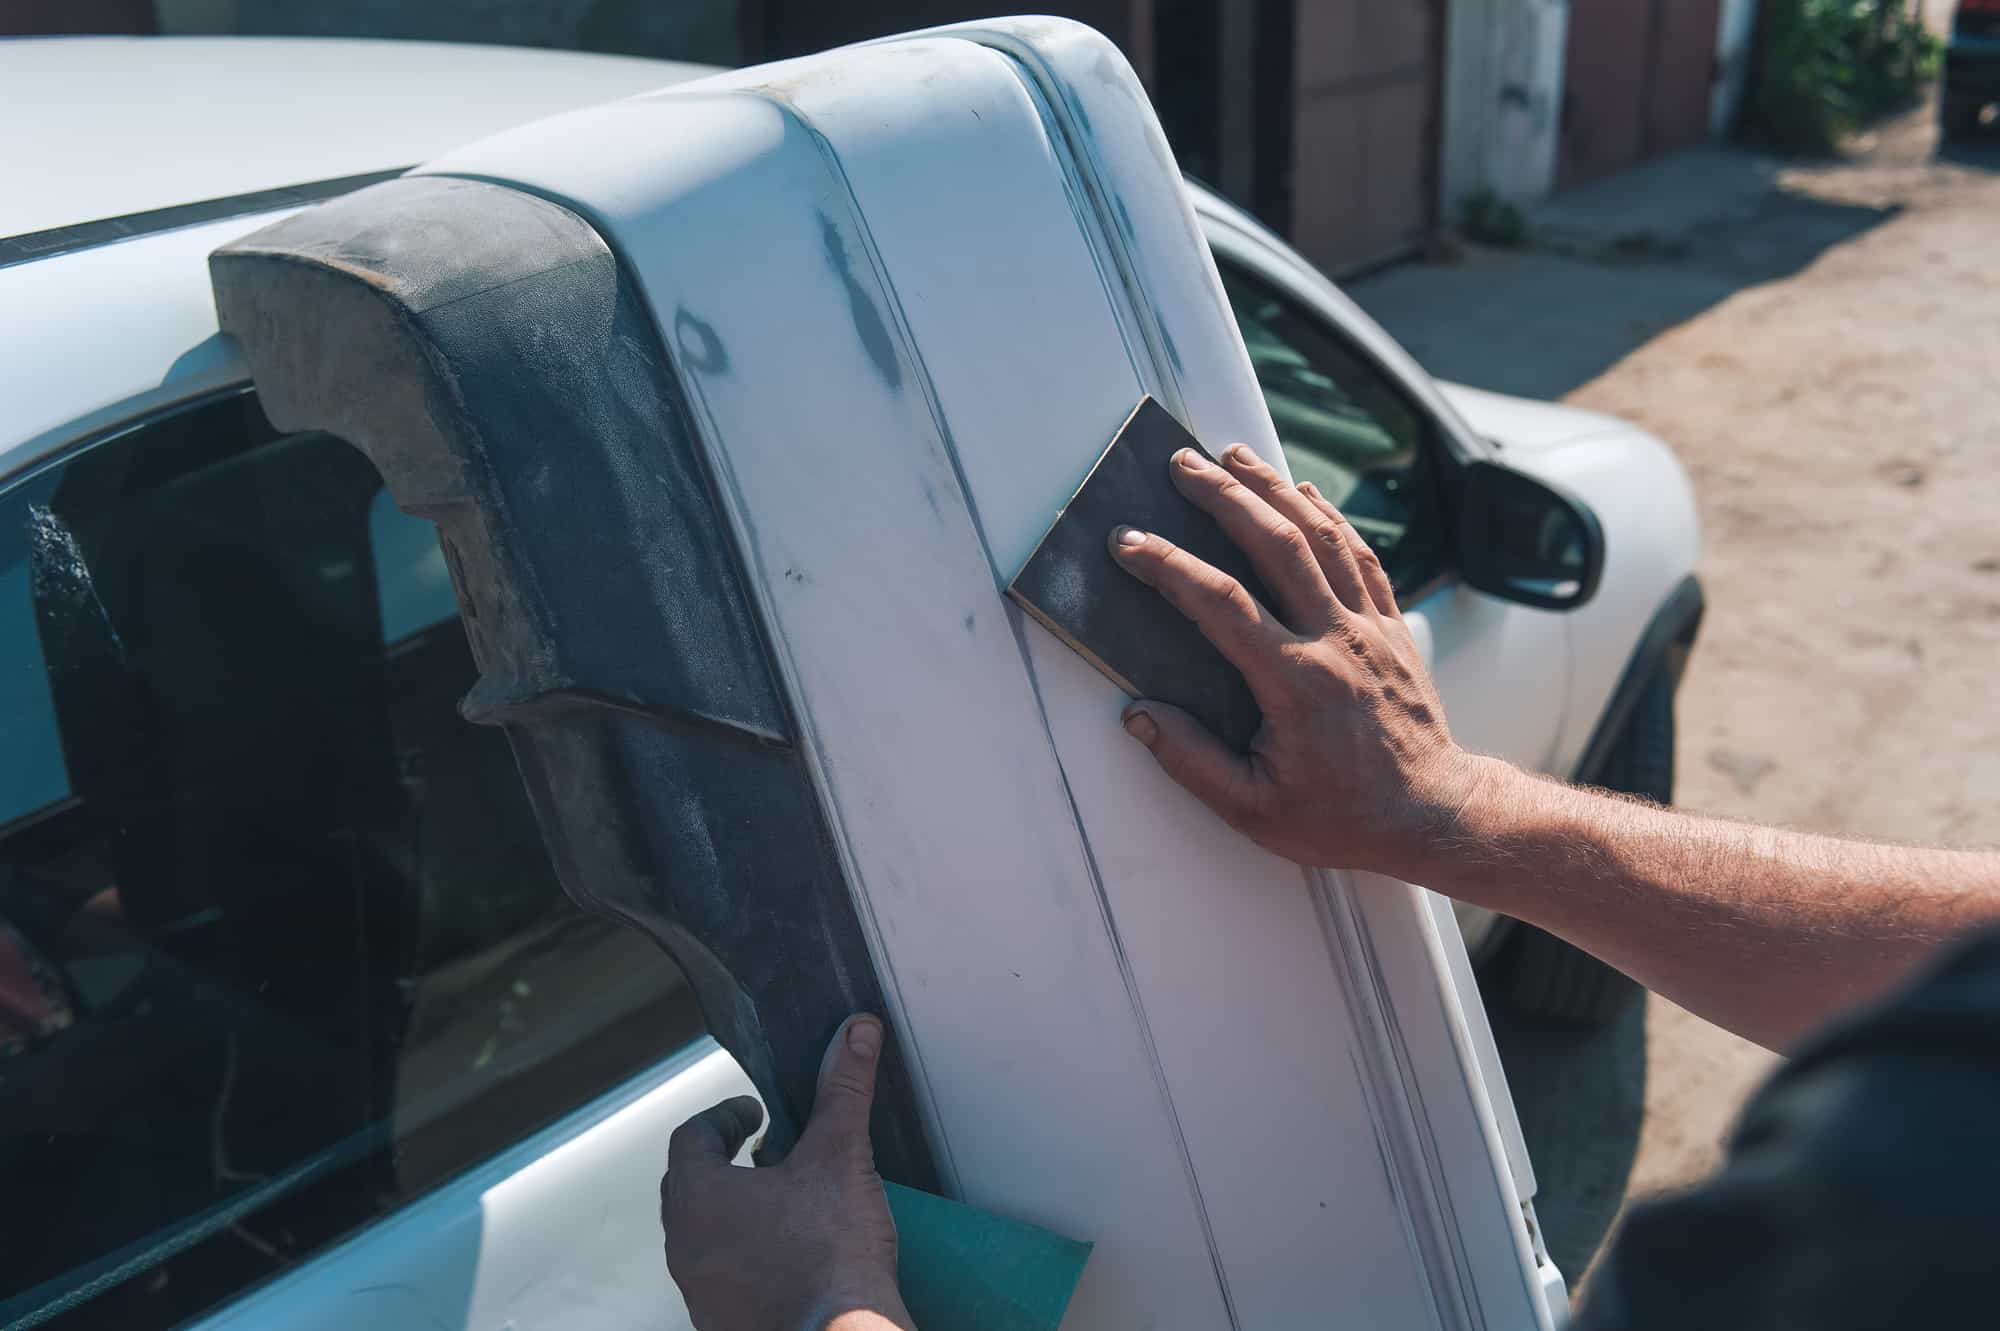
How to Properly Sand Between Paint Coats
Now that you understand the significance of choosing the right grit sandpaper for sanding between paint coats, it’s time to delve into the proper techniques for executing this crucial step. By following these guidelines, you can achieve a seamless and professional finish that enhances the overall quality of your paint job.
Here’s a step-by-step approach to properly sanding between paint coats:
- Allow Sufficient Drying Time: Ensure that the previous coat of paint has fully dried before attempting to sand. This typically ranges from 24 to 48 hours, depending on the type of paint and environmental conditions.
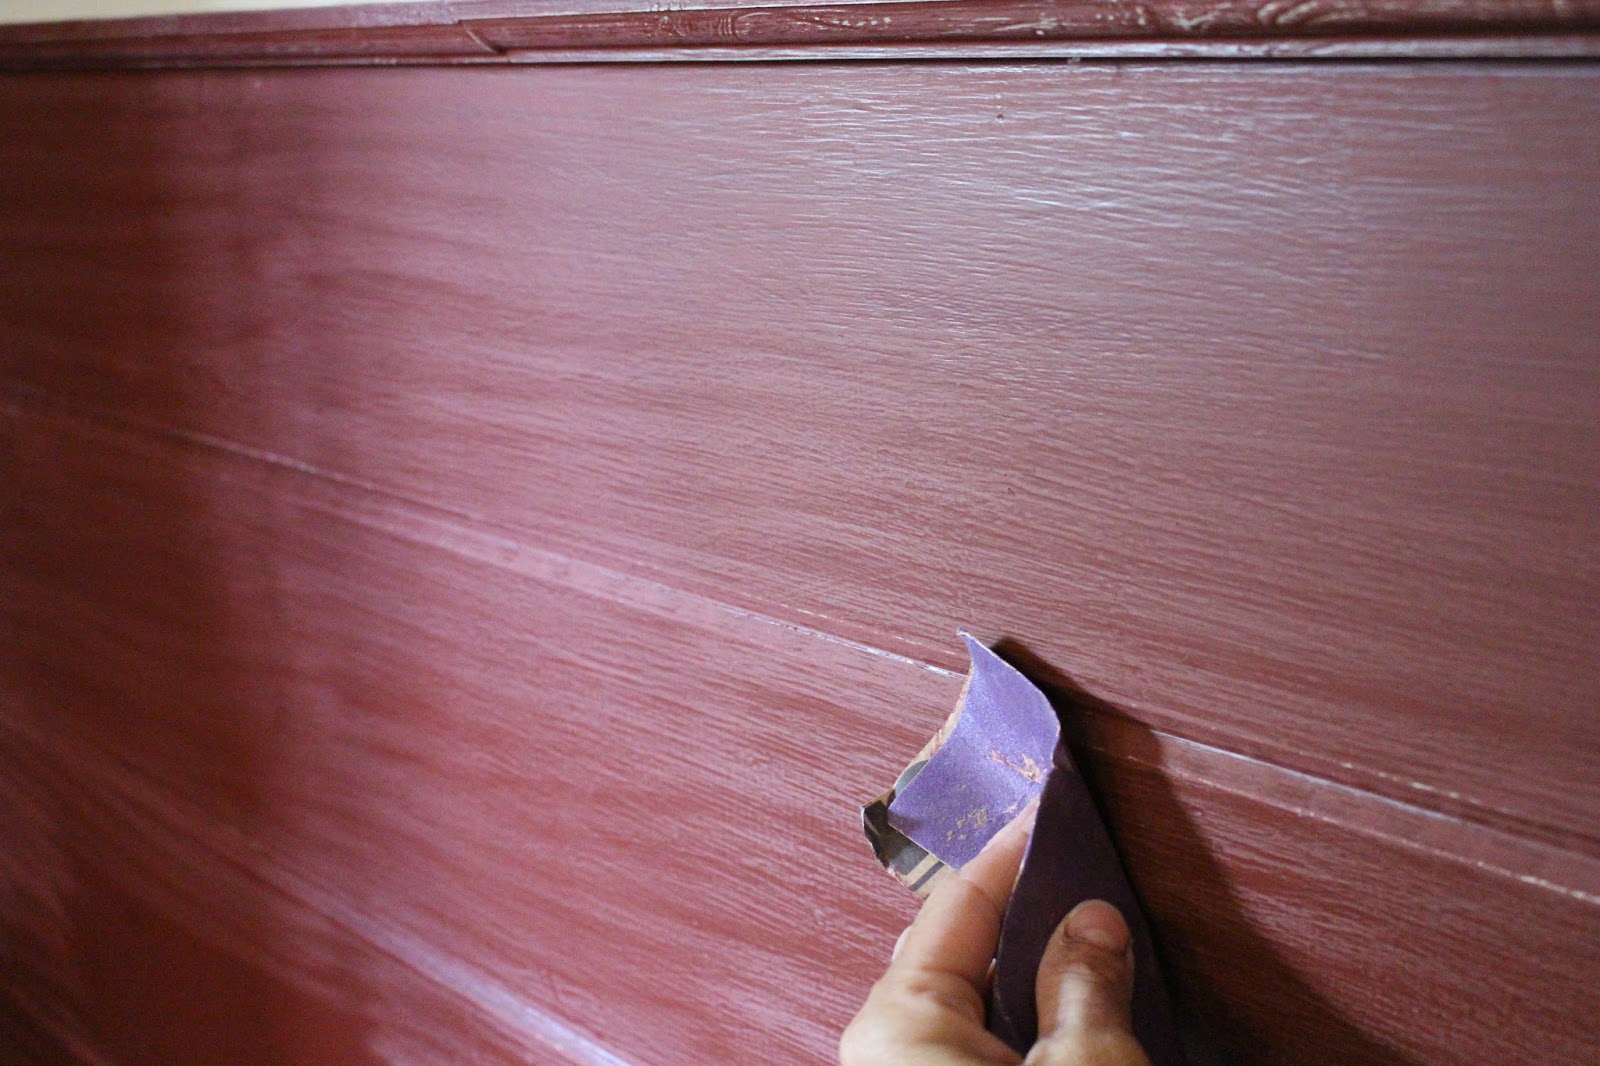
- Inspect the Surface: Before sanding, carefully inspect the painted surface for any imperfections, such as drips, bumps, or uneven textures. Mark these areas for targeted sanding.
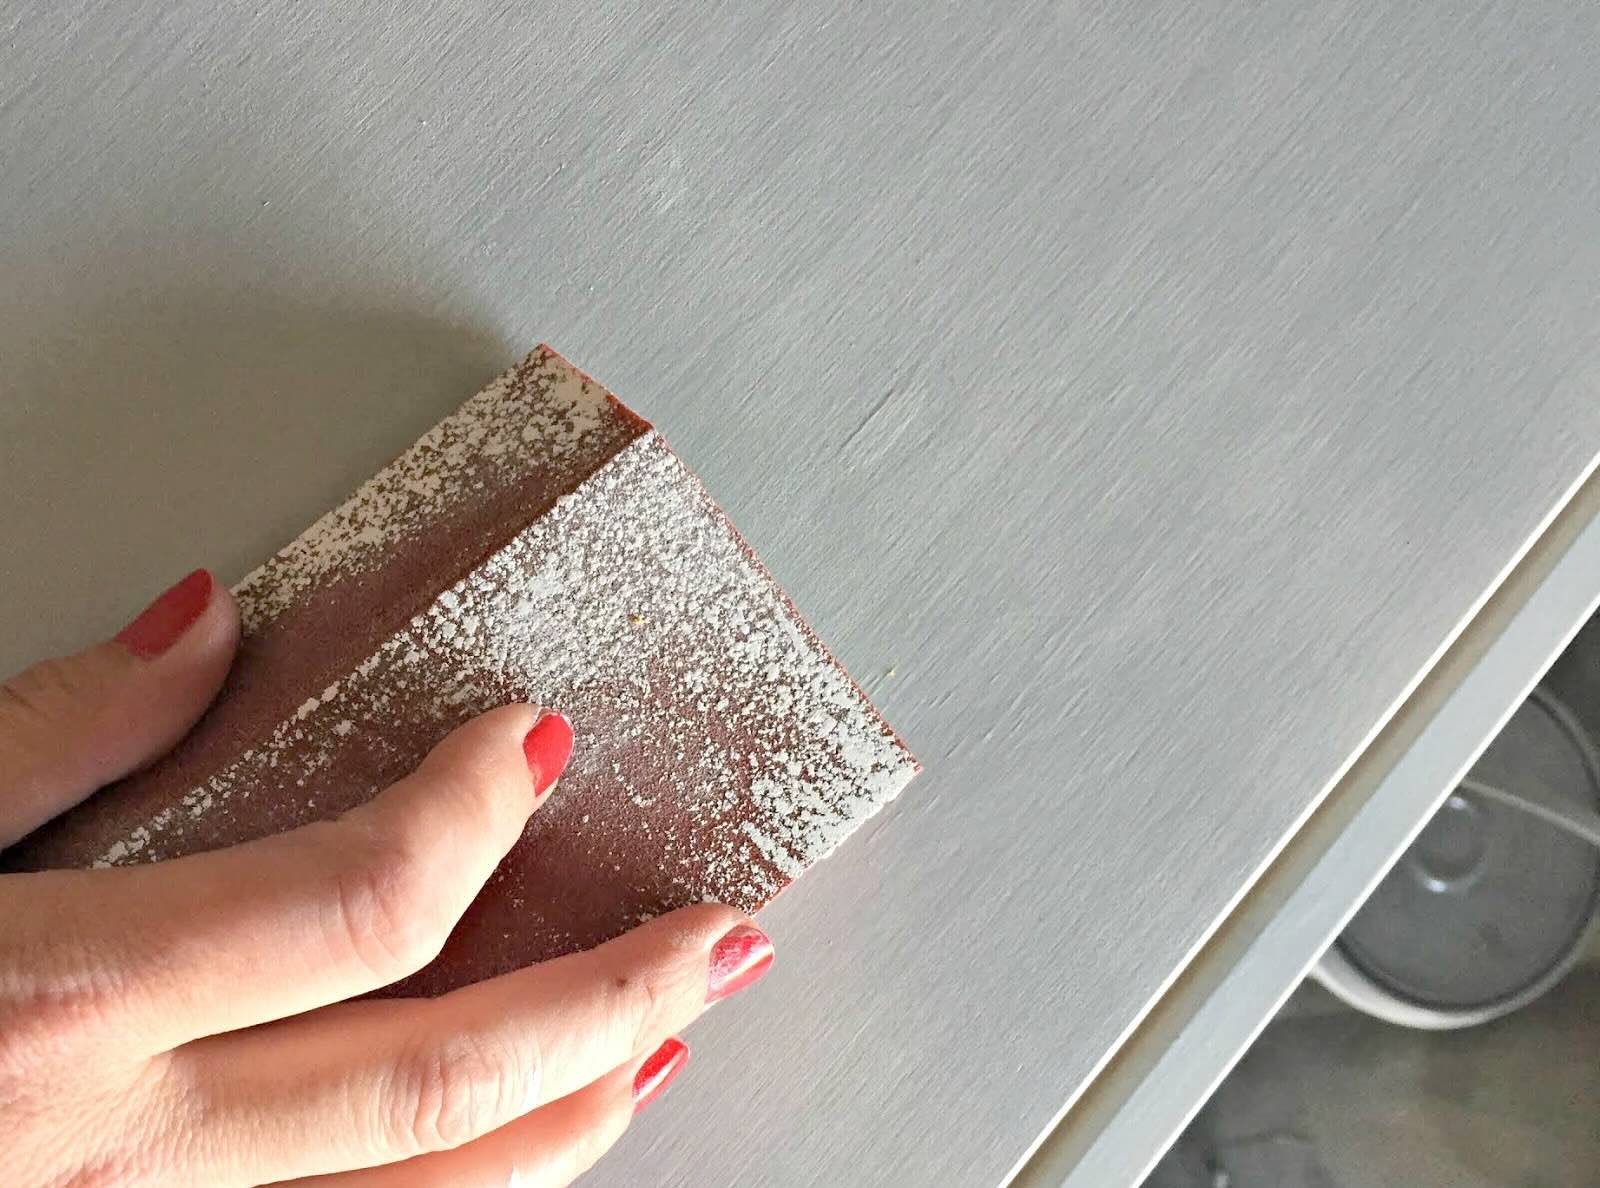
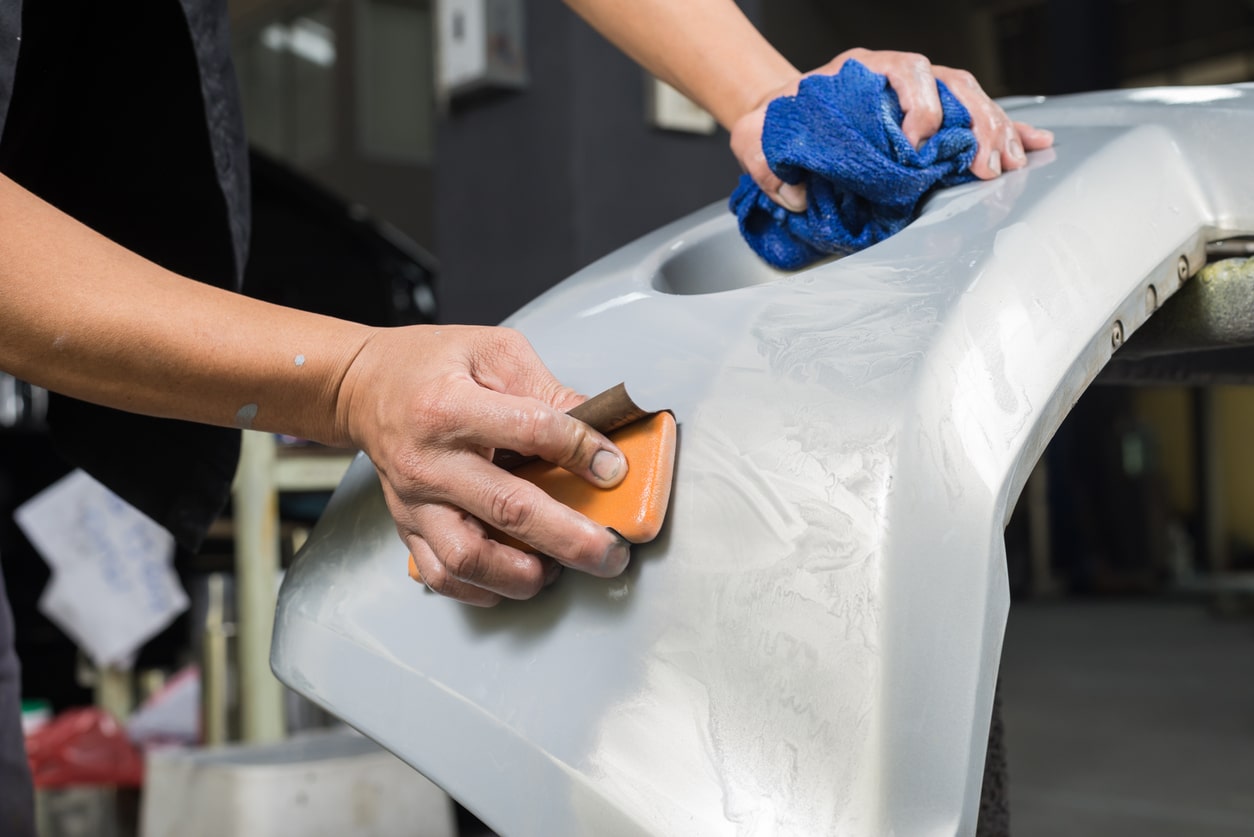
- Prepare the Sandpaper: Cut the fine-grit sandpaper into manageable pieces or use a sanding block to facilitate even pressure during sanding. This helps prevent uneven abrasion and promotes a consistent finish.
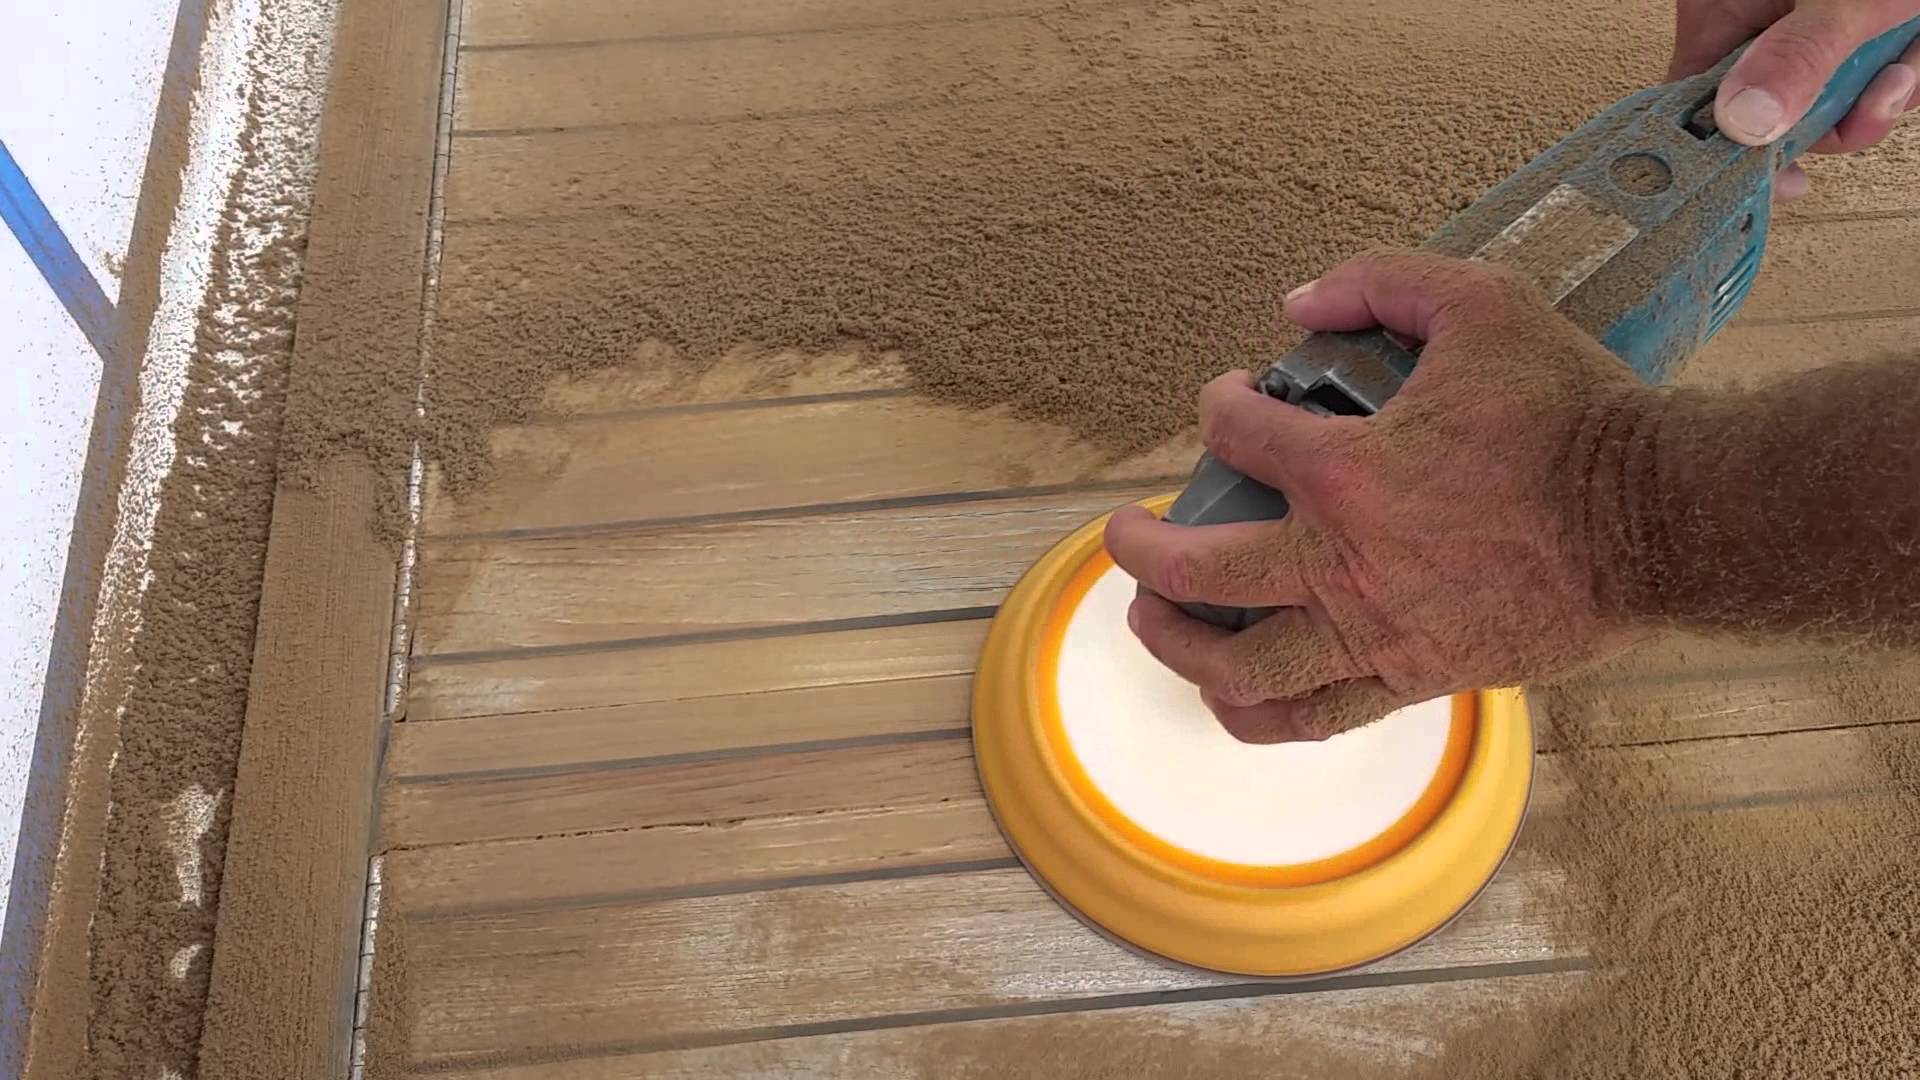
- Gently Sand the Surface: Using light to moderate pressure, sand the surface in a circular or back-and-forth motion, focusing on the identified imperfections and any rough areas. Be mindful not to oversand, especially near edges and corners, to avoid exposing the underlying layers of paint.
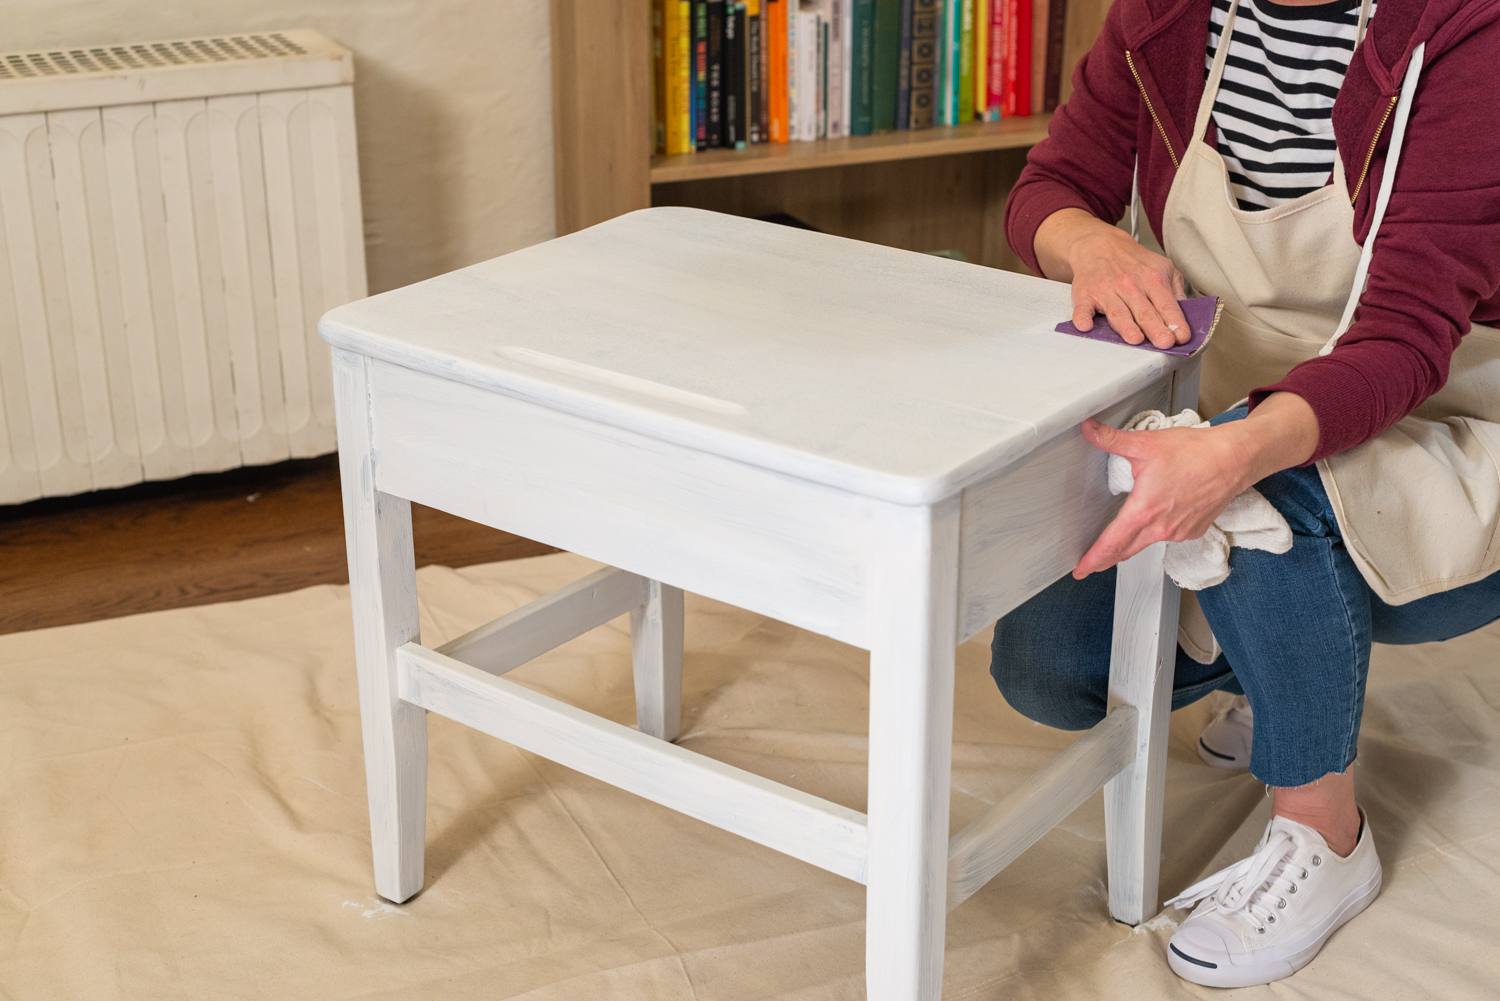
- Check for Smoothness: Periodically stop and run your hand over the sanded surface to assess its smoothness. The goal is to achieve a uniformly smooth texture across the entire area.
- Clean the Surface: Once satisfied with the smoothness, carefully wipe the sanded surface with a tack cloth or a damp, lint-free cloth to remove any dust or residue resulting from sanding.
- Apply the Next Coat of Paint: With the surface properly sanded and cleaned, you’re now ready to proceed with applying the next coat of paint. The smooth surface created through sanding will promote better adhesion and contribute to a professional-looking finish.
By adhering to these steps and exercising patience and precision, you can effectively sand between paint coats, ensuring that each layer contributes to a flawless and durable paint finish.
Conclusion
As we conclude our exploration of sanding between paint coats, it’s evident that this often underestimated step plays a pivotal role in achieving a professional and immaculate finish. By understanding the nuances of grit sandpaper and mastering the art of sanding, you can elevate the quality of your paint projects to new heights.
Choosing the right grit sandpaper, typically within the fine-grit range of 150-180, is essential for effectively smoothing the surface between paint coats. This ensures that the subsequent layers of paint adhere seamlessly, resulting in a uniform and flawless finish.
Additionally, employing proper sanding techniques, such as using light to moderate pressure and inspecting the surface for imperfections, is crucial for achieving the desired smoothness without damaging the underlying layers of paint.
By following the step-by-step approach outlined in this guide, you can confidently navigate the process of sanding between paint coats, setting the stage for a professional-quality paint job that exudes craftsmanship and attention to detail.
So, the next time you embark on a painting project, remember the significance of sanding between coats. Embrace the art of sanding, and witness how this seemingly small step can make a monumental difference in the overall outcome of your paint endeavors.
With the knowledge and techniques acquired, you’re now equipped to transform your painting ventures into refined works of art, characterized by smooth, flawless finishes that reflect your dedication to excellence.
Frequently Asked Questions about What Grit Sandpaper To Use Between Paint Coats
Was this page helpful?
At Storables.com, we guarantee accurate and reliable information. Our content, validated by Expert Board Contributors, is crafted following stringent Editorial Policies. We're committed to providing you with well-researched, expert-backed insights for all your informational needs.


0 thoughts on “What Grit Sandpaper To Use Between Paint Coats”