Home>Renovation & DIY>Tools & Equipment>What Grit Sandpaper To Use To Remove Stain From Wood
Tools & Equipment
What Grit Sandpaper To Use To Remove Stain From Wood
Modified: December 28, 2023
Find the right grit sandpaper for removing wood stain with our comprehensive guide. Get expert tips and recommendations on tools and equipment.
(Many of the links in this article redirect to a specific reviewed product. Your purchase of these products through affiliate links helps to generate commission for Storables.com, at no extra cost. Learn more)
Introduction
Read more: What Grit Sandpaper For A Wood Dresser
Understanding the Importance of Grit Sandpaper in Wood Stain Removal
When it comes to restoring the natural beauty of wood, removing stains is often a crucial step. Whether you're refinishing a vintage piece of furniture or revitalizing your hardwood floors, the process of removing the existing stain requires careful consideration and the right tools. One of the most essential tools for this task is grit sandpaper, which plays a pivotal role in achieving a smooth and pristine wood surface.
In the world of woodworking, the term "grit" is synonymous with the coarseness or fineness of the sandpaper. This characteristic is determined by the number of abrasive particles per square inch on the sandpaper's surface. Understanding the intricacies of grit sandpaper is fundamental to effectively removing stains from wood while preserving its integrity.
In this comprehensive guide, we will delve into the nuances of grit sandpaper and its significance in the process of removing stains from wood. From unraveling the concept of grit to elucidating the best practices for choosing the right grit sandpaper, this article will equip you with the knowledge and insights necessary to embark on your wood stain removal journey with confidence. So, let's embark on this enlightening exploration of grit sandpaper and its indispensable role in restoring the timeless allure of wood.
Key Takeaways:
- Choosing the right grit sandpaper is crucial for removing stains from wood. Coarser grits (60-100) are great for deep stains, while finer grits (150-220) smooth and polish the wood.
- Understanding the nature of the stain, the type of wood, and the condition of the surface helps in selecting the appropriate grit sandpaper. This ensures a precise and transformative wood restoration process.
Understanding Grit Sandpaper
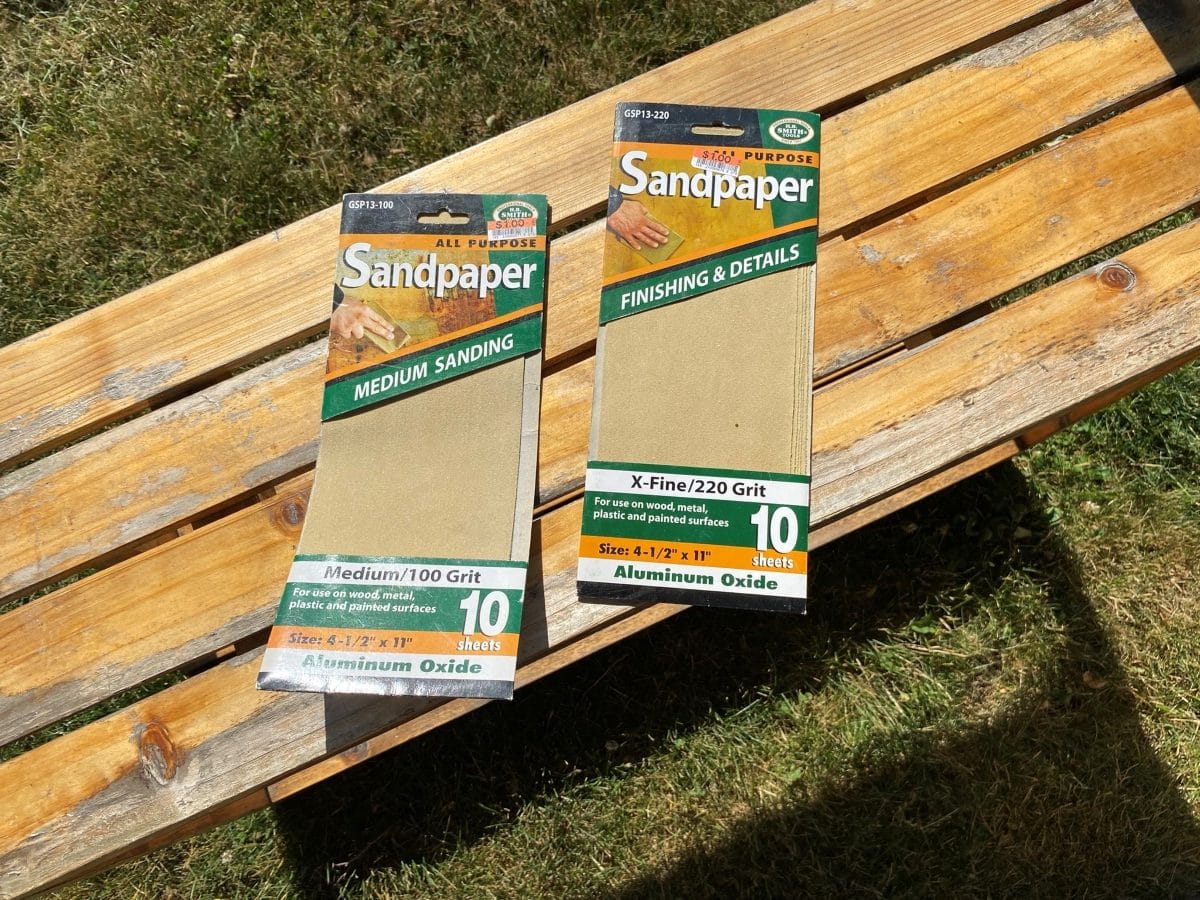
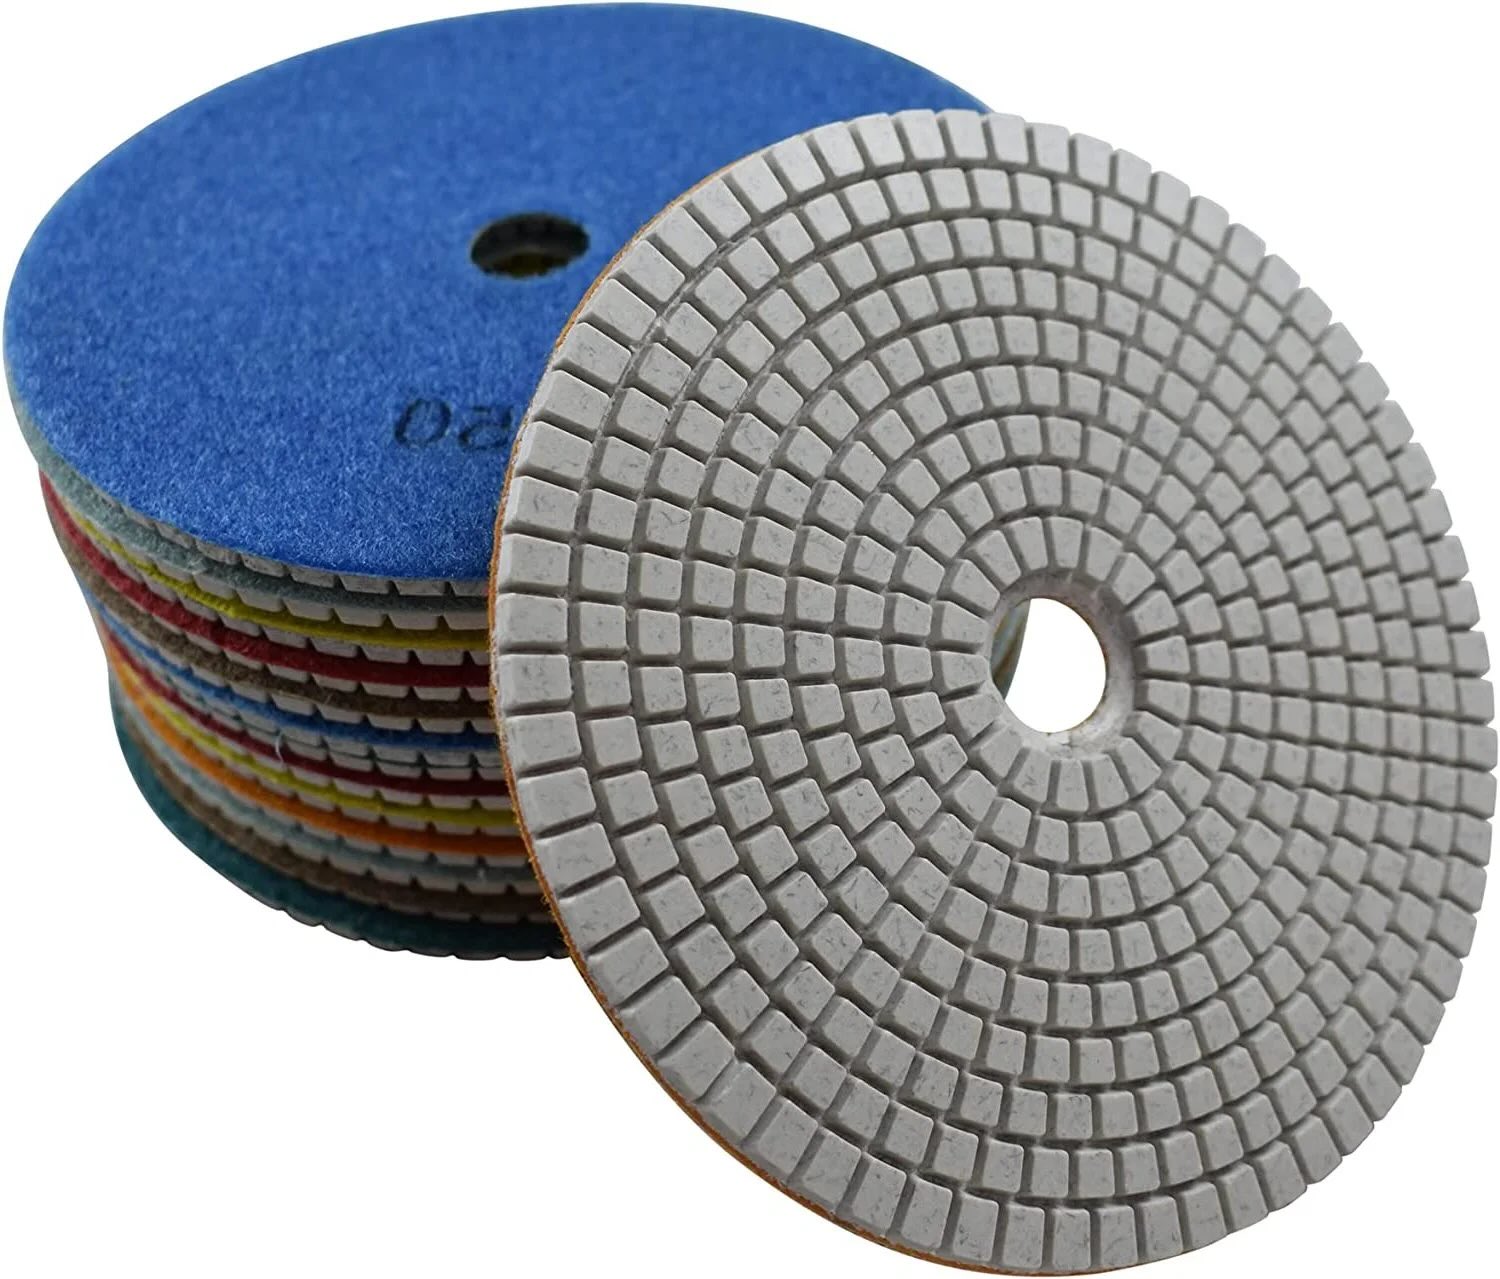
Before delving into the specifics of removing stains from wood, it is essential to grasp the intricacies of grit sandpaper. Grit, in the context of sandpaper, refers to the number of abrasive particles per square inch of the paper's surface. This metric serves as a measure of the coarseness or fineness of the sandpaper, playing a pivotal role in its abrasive power and the resulting texture it imparts on the wood.
Grit sizes typically range from as low as 24 to as high as 1,000 and beyond. Lower grit numbers indicate coarser sandpaper, featuring larger abrasive particles that are ideal for heavy material removal and leveling uneven surfaces. On the other hand, higher grit numbers signify finer sandpaper, with smaller abrasive particles that excel in smoothing and polishing wood surfaces.
Coarse grit sandpaper, such as 24 to 100, is adept at swiftly eliminating old finishes, paint, or stubborn stains from wood. As the grit number increases, the sandpaper becomes progressively finer, transitioning to the realm of medium grit (100 to 150) and fine grit (180 to 220). These finer grits are instrumental in refining the wood surface, eradicating imperfections, and preparing it for a new finish.
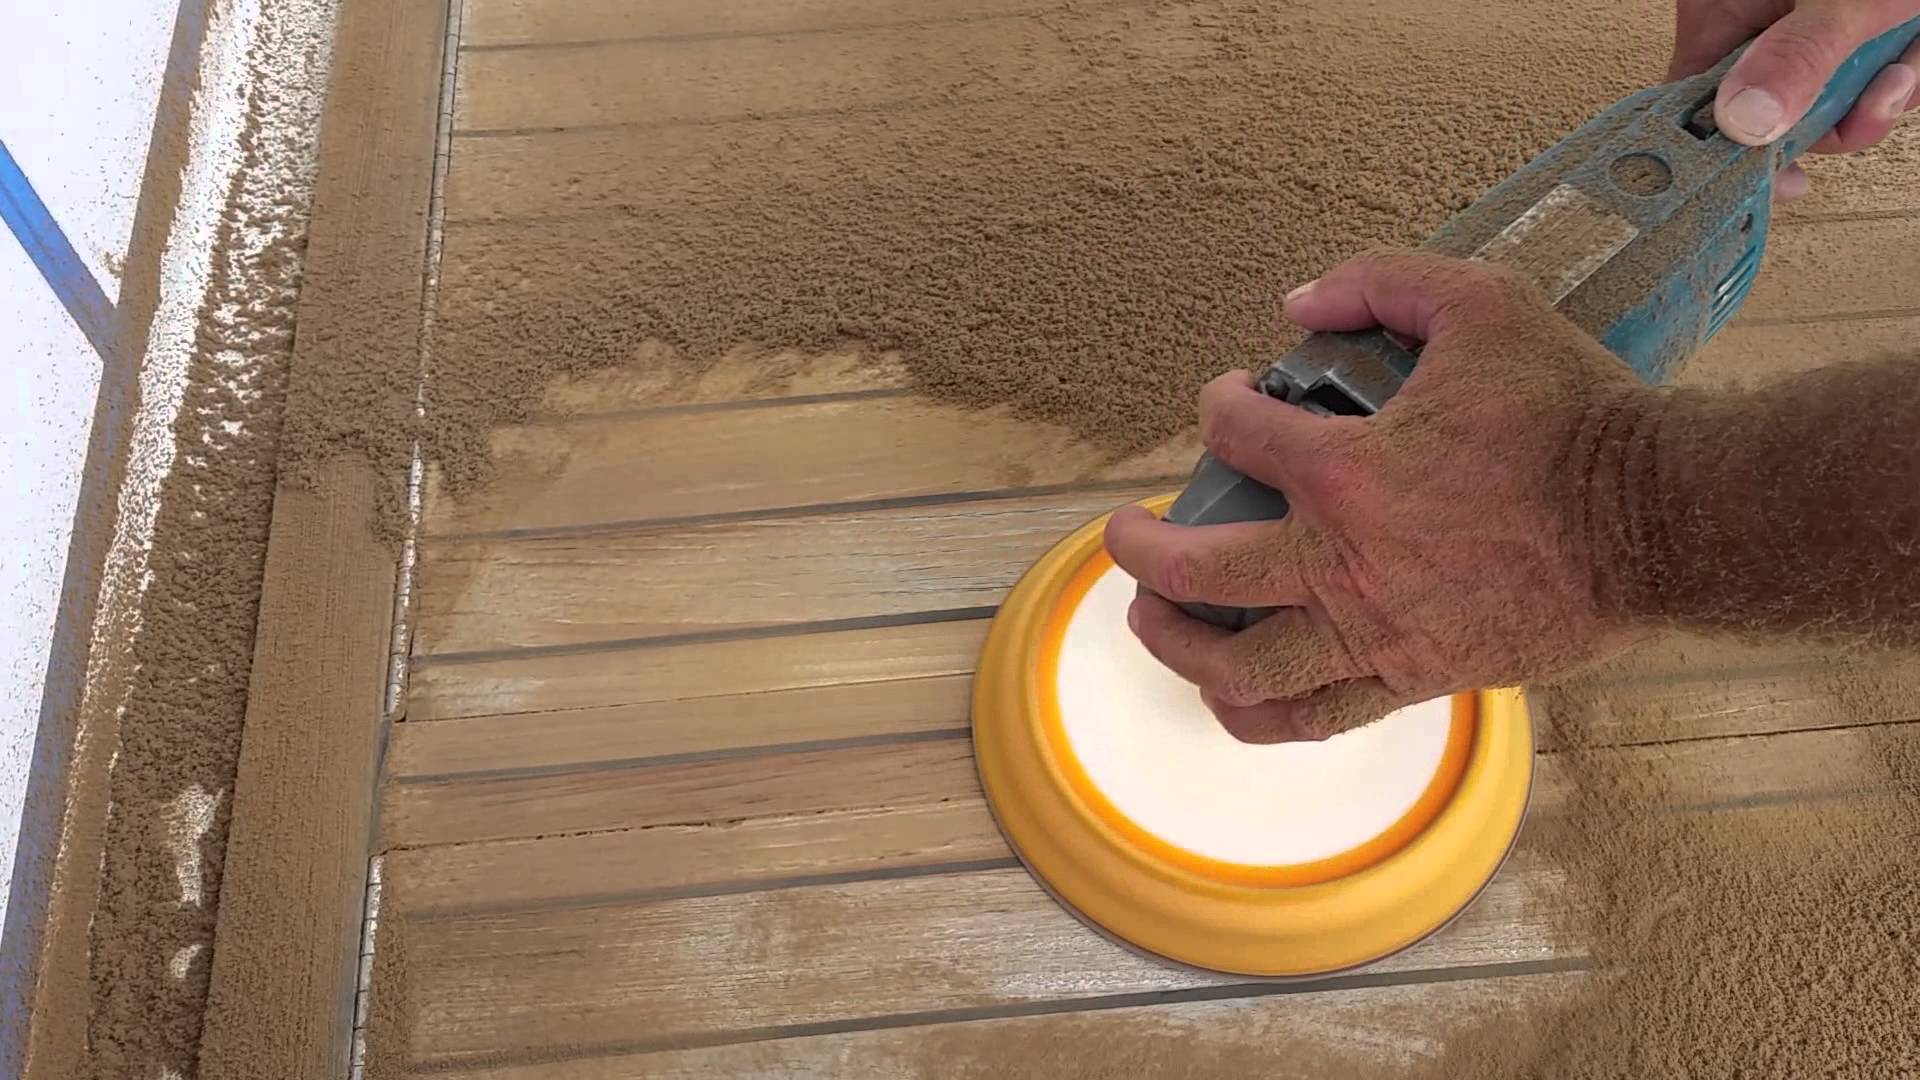
Moreover, ultra-fine grit sandpaper, ranging from 240 to 1,000 and beyond, is renowned for its ability to deliver a silky-smooth finish, ideal for achieving a flawless surface before applying a stain or clear coat. The nuanced variations in grit sizes empower woodworkers to meticulously tailor their sanding approach, ensuring that each stage of the process contributes to the desired end result.
Embracing a profound understanding of grit sandpaper enables artisans to navigate the intricacies of wood restoration with precision and finesse. By harnessing the diverse abrasive powers of grit sandpaper, one can seamlessly transition from the initial removal of stains to the meticulous refinement of the wood surface, ultimately unveiling its innate beauty in all its resplendent glory.
Removing Stain from Wood
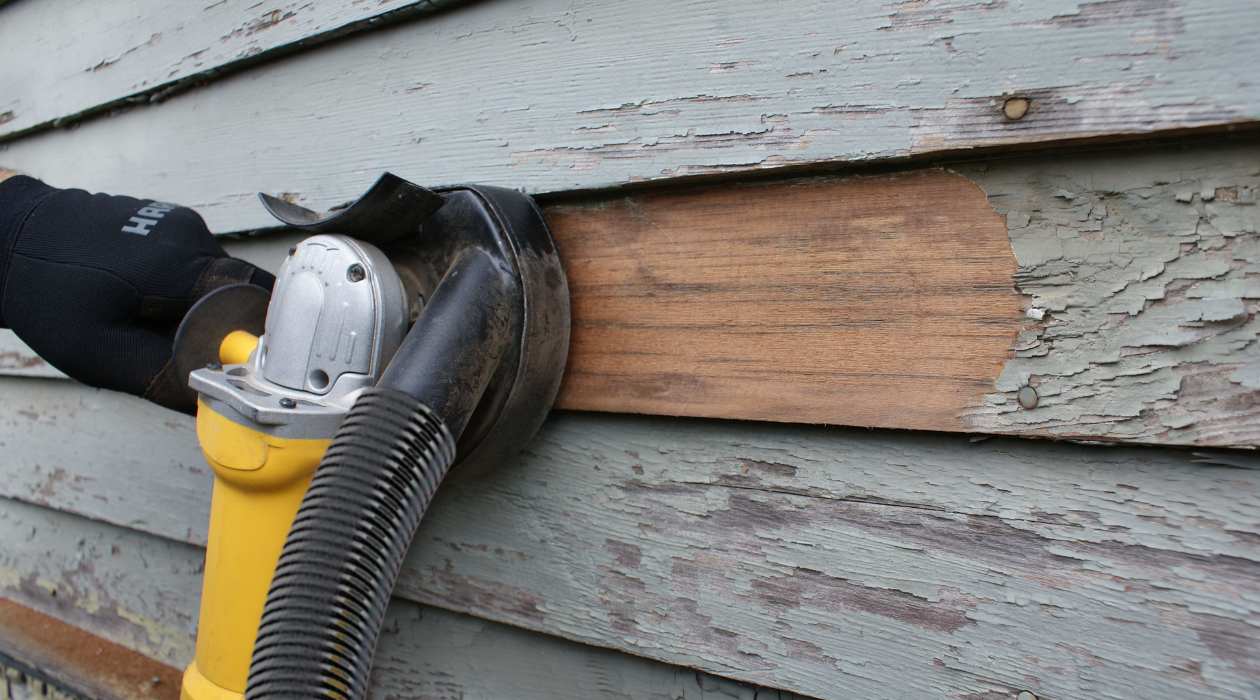
Removing stubborn stains from wood demands a systematic approach and the right set of tools. Whether the wood in question is a cherished antique piece or a beloved fixture in your home, the process of stain removal requires diligence and precision. Before delving into the intricacies of choosing the right grit sandpaper for this task, it is crucial to understand the fundamental steps involved in the stain removal process.
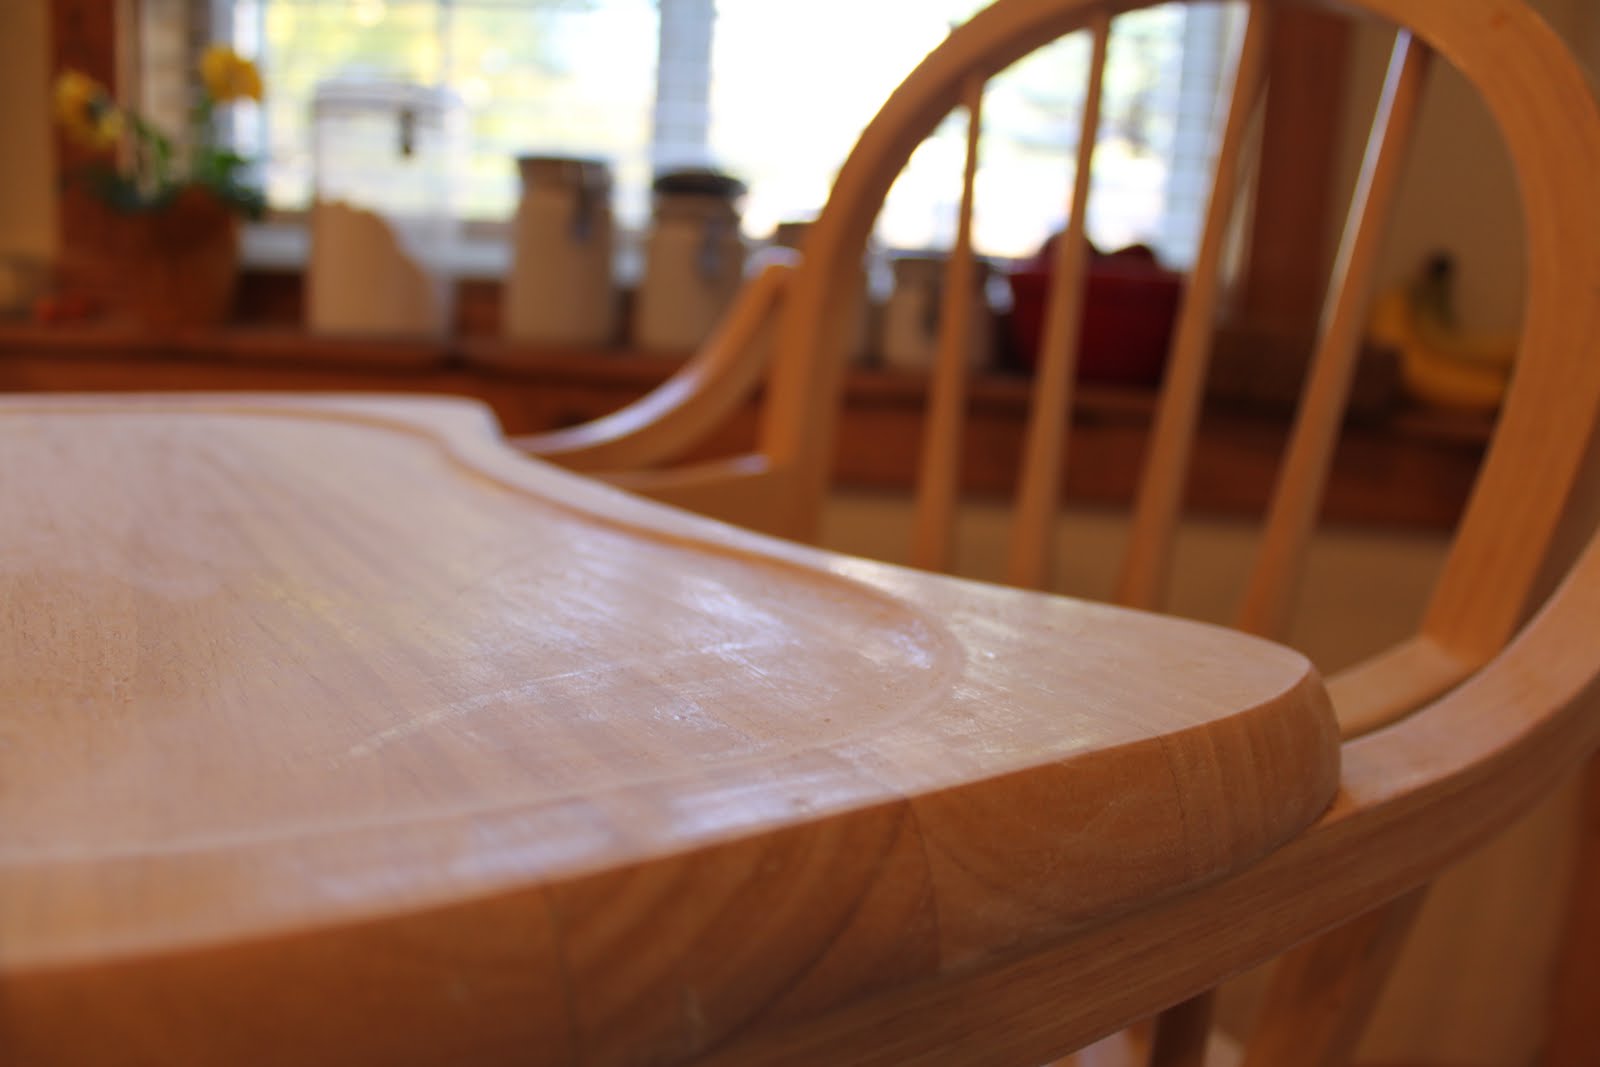
First and foremost, it is imperative to assess the nature of the stain and its depth within the wood. Surface stains, such as watermarks or light blemishes, may necessitate a different approach compared to deep-seated stains that have permeated the wood fibers over time. Identifying the type and intensity of the stain serves as a cornerstone for devising an effective removal strategy.
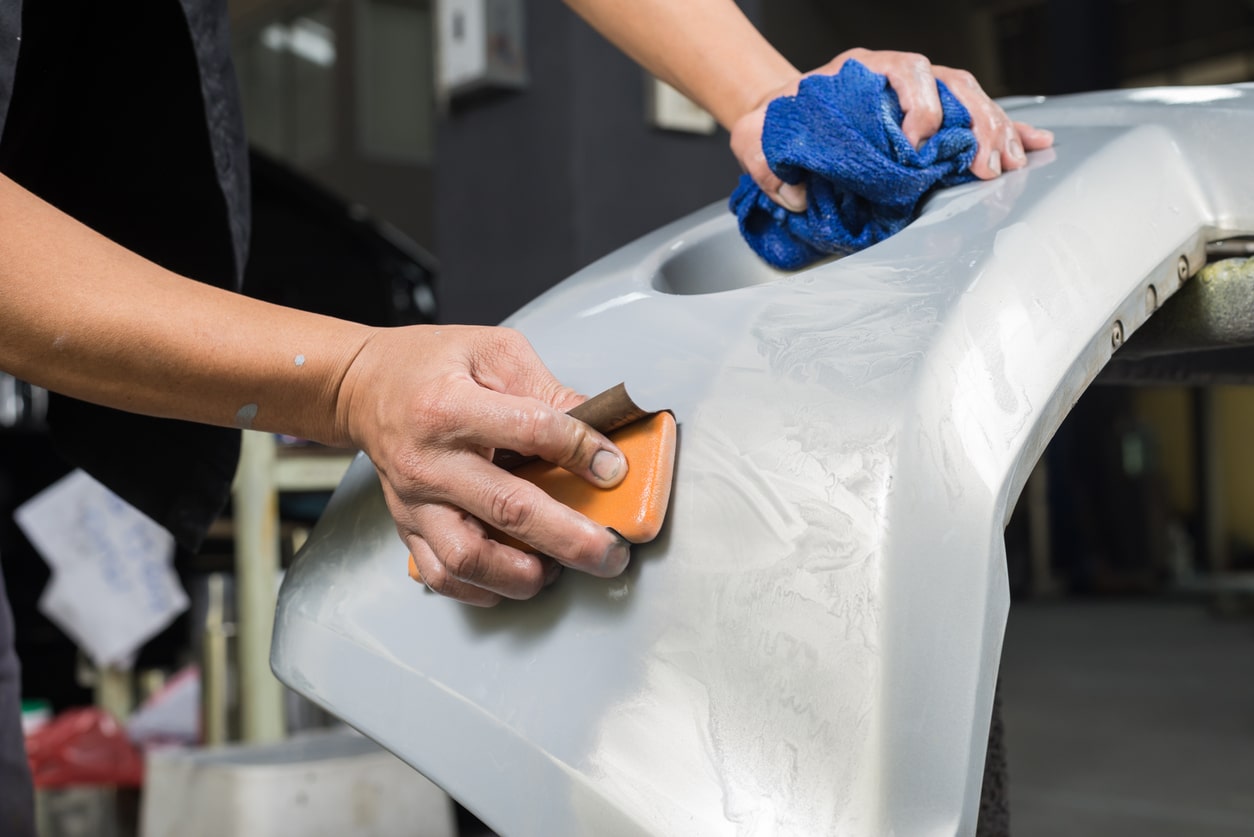
Once the nature of the stain has been determined, the next step involves the meticulous preparation of the wood surface for the removal process. This entails cleaning the wood to eliminate any surface contaminants that could impede the effectiveness of the stain removal technique. Additionally, assessing the condition of the wood and addressing any existing imperfections is essential to ensure a seamless and uniform stain removal process.
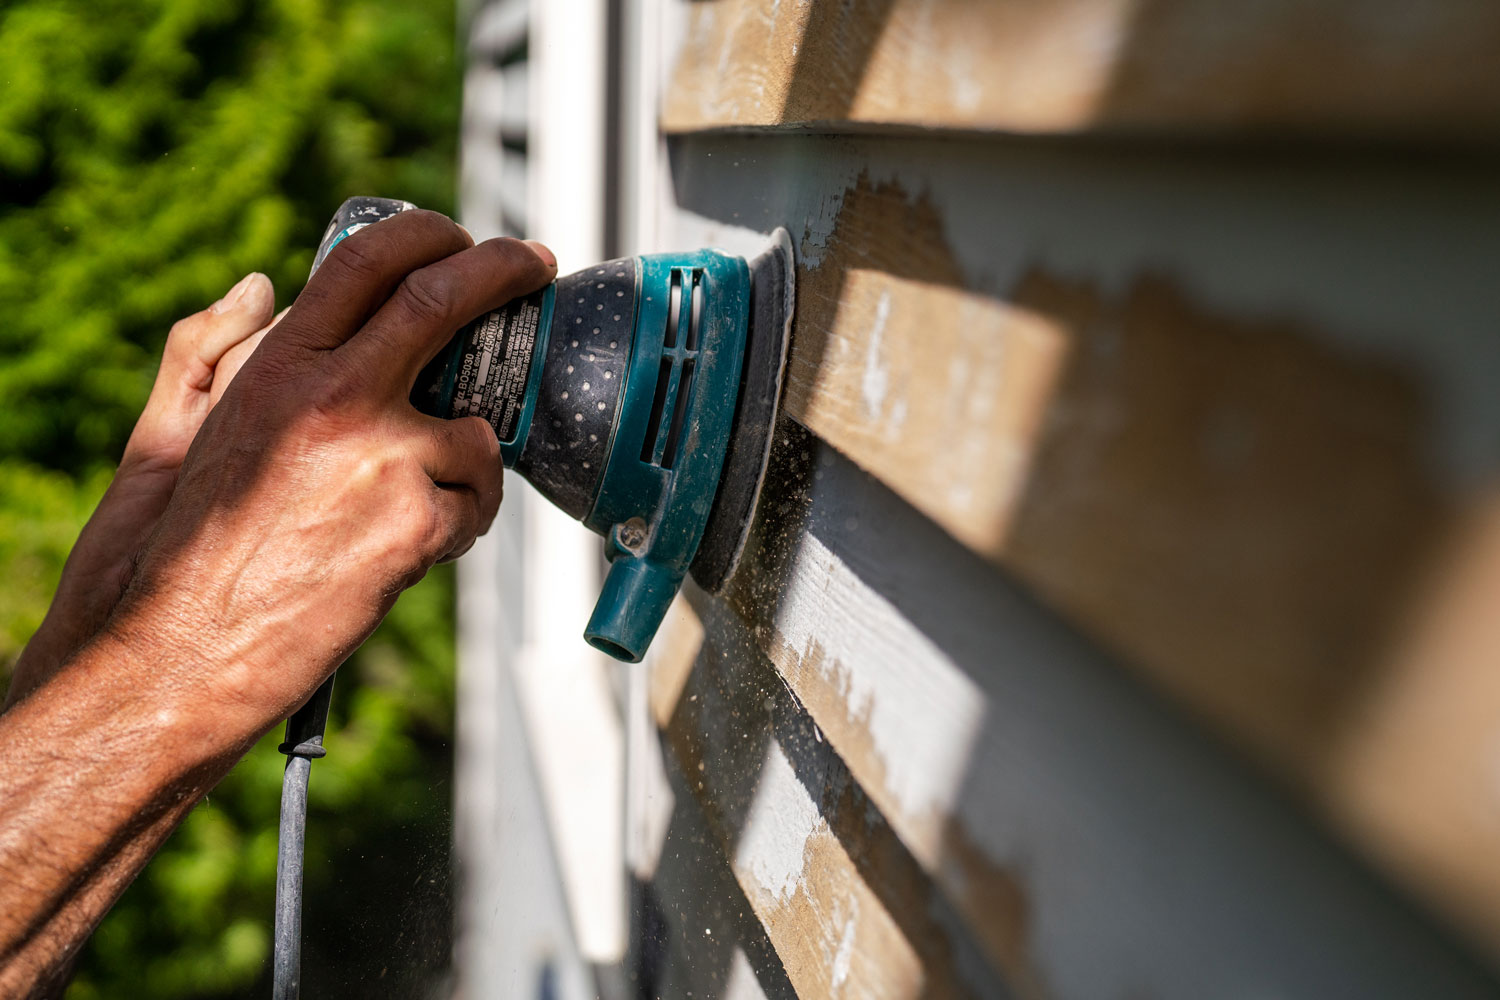
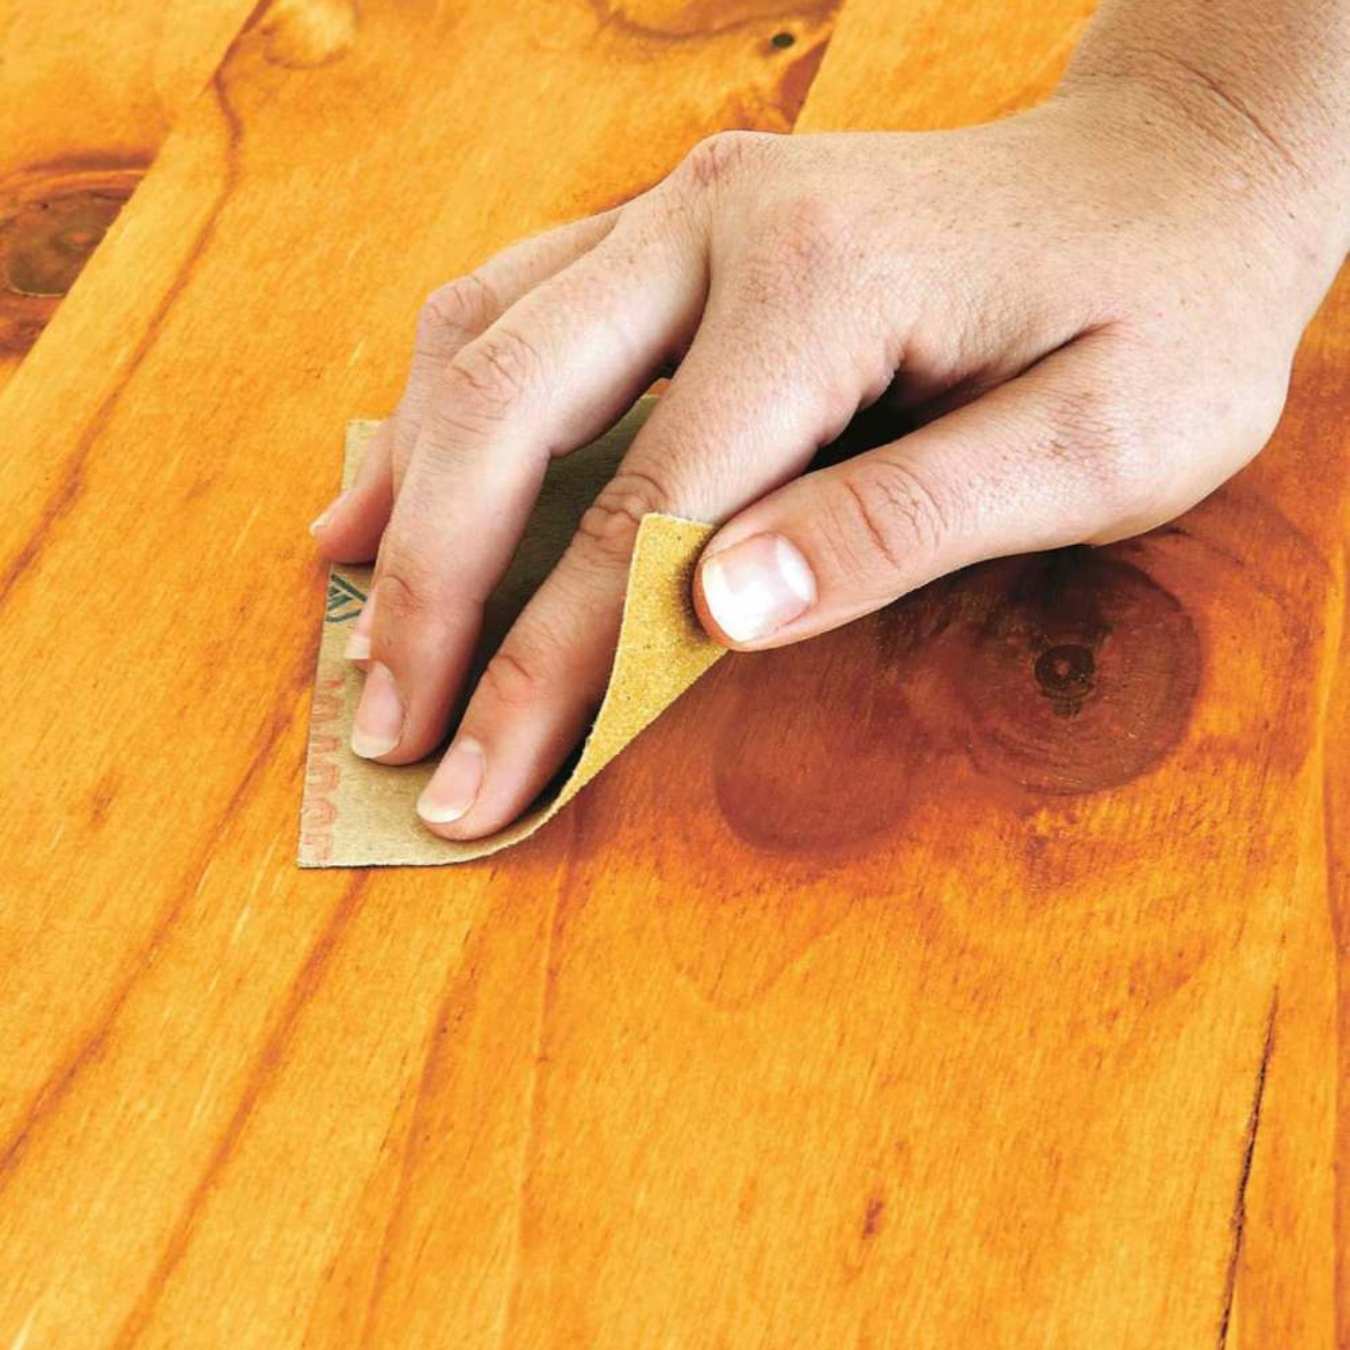
With the wood surface primed for the stain removal endeavor, the application of the appropriate grit sandpaper comes into play. Coarser grit sandpaper, such as 60 to 100, is well-suited for eliminating deep-seated stains and imperfections, effectively leveling the surface and preparing it for subsequent refinement. As the removal process progresses, transitioning to finer grits, such as 150 to 220, facilitates the meticulous smoothing and polishing of the wood, culminating in a pristine canvas ready for a new finish.
Throughout the stain removal journey, the utilization of the correct grit sandpaper at each stage is pivotal in ensuring that the wood is impeccably restored to its former glory. By harmonizing the inherent qualities of grit sandpaper with the specific requirements of the stain removal process, artisans can navigate this transformative endeavor with finesse and expertise, ultimately unveiling the timeless allure of the wood in all its resplendent splendor.
Use 80-100 grit sandpaper to remove stain from wood. Start with a coarser grit and gradually move to a finer grit for a smooth finish. Sand in the direction of the wood grain for best results.
Choosing the Right Grit Sandpaper
Embarking on a wood stain removal project necessitates a discerning approach to selecting the appropriate grit sandpaper. The choice of grit directly influences the efficacy of the stain removal process and the quality of the wood surface post-restoration. By understanding the nuances of grit selection, artisans can orchestrate a harmonious symphony of abrasive power, precision, and finesse, culminating in the impeccable restoration of the wood.
When contemplating the selection of grit sandpaper for stain removal, it is imperative to consider the nature and intensity of the stains embedded within the wood. Deep-seated or stubborn stains may warrant the initial use of coarser grits, such as 60 to 100, to effectively eliminate the blemishes and prepare the wood for subsequent refinement. Conversely, lighter stains or surface imperfections may necessitate the utilization of finer grits, such as 150 to 220, to meticulously smooth and polish the wood surface.
Furthermore, the type of wood being restored plays a pivotal role in determining the ideal grit sandpaper for the stain removal process. Softer woods, such as pine or cedar, may require a more delicate approach, entailing the use of finer grits to prevent undue abrasion and preserve the wood’s natural allure. In contrast, hardwoods like oak or mahogany may withstand coarser grits during the initial stages of stain removal, owing to their inherent durability and resilience.
Another crucial factor in the grit selection process is the condition of the wood surface. If the wood harbors substantial imperfections or unevenness, coarser grits prove instrumental in leveling the surface and preparing it for subsequent refinement. As the surface becomes progressively smoother, transitioning to finer grits facilitates the meticulous polishing and restoration of the wood, culminating in a flawless finish.
Ultimately, the art of choosing the right grit sandpaper for wood stain removal is a delicate balance of understanding the unique characteristics of the wood, the nature of the stains, and the desired end result. By harmonizing these elements and leveraging the diverse abrasive powers of grit sandpaper, artisans can embark on a transformative journey of wood restoration, breathing new life into cherished pieces and spaces with precision, expertise, and unwavering finesse.
Read more: What Grit Sandpaper For Pine Wood
Conclusion
As we conclude this insightful exploration of grit sandpaper and its indispensable role in removing stains from wood, it becomes evident that the art of wood restoration is a harmonious interplay of precision, expertise, and the right tools. Grit sandpaper, with its diverse abrasive powers and nuanced coarseness, stands as a stalwart companion in the transformative journey of reviving the innate beauty of wood.
From the initial assessment of the stain to the meticulous selection of the appropriate grit sandpaper, every facet of the stain removal process demands a discerning approach and a profound understanding of the wood’s inherent characteristics. By seamlessly transitioning from coarser grits to finer ones, artisans can orchestrate a symphony of abrasion and refinement, ultimately unveiling a wood surface that exudes timeless allure and resplendent beauty.
Moreover, the art of choosing the right grit sandpaper for wood stain removal transcends the realm of mere restoration, evolving into an exquisite fusion of craftsmanship and reverence for the intrinsic elegance of wood. Whether it’s the seasoned woodworker embarking on a grand restoration project or the passionate DIY enthusiast seeking to breathe new life into a beloved piece, the judicious selection of grit sandpaper paves the way for a transformative odyssey of wood restoration.
As we bid adieu to this enriching discourse, let us carry forth this newfound wisdom into our endeavors, infusing each restoration project with the precision, finesse, and unwavering dedication it deserves. With grit sandpaper as our steadfast ally, we embark on a journey where the timeless allure of wood is rekindled, one meticulous stroke at a time, ultimately culminating in resplendent beauty that transcends the constraints of time and space.
Frequently Asked Questions about What Grit Sandpaper To Use To Remove Stain From Wood
Was this page helpful?
At Storables.com, we guarantee accurate and reliable information. Our content, validated by Expert Board Contributors, is crafted following stringent Editorial Policies. We're committed to providing you with well-researched, expert-backed insights for all your informational needs.


0 thoughts on “What Grit Sandpaper To Use To Remove Stain From Wood”