Home>Renovation & DIY>Tools & Equipment>What Grit Sandpaper To Use On Car
Tools & Equipment
What Grit Sandpaper To Use On Car
Modified: January 5, 2024
Discover the best grit sandpaper to use on your car with our comprehensive guide. Find the right tools and equipment for a flawless finish.
(Many of the links in this article redirect to a specific reviewed product. Your purchase of these products through affiliate links helps to generate commission for Storables.com, at no extra cost. Learn more)
Introduction
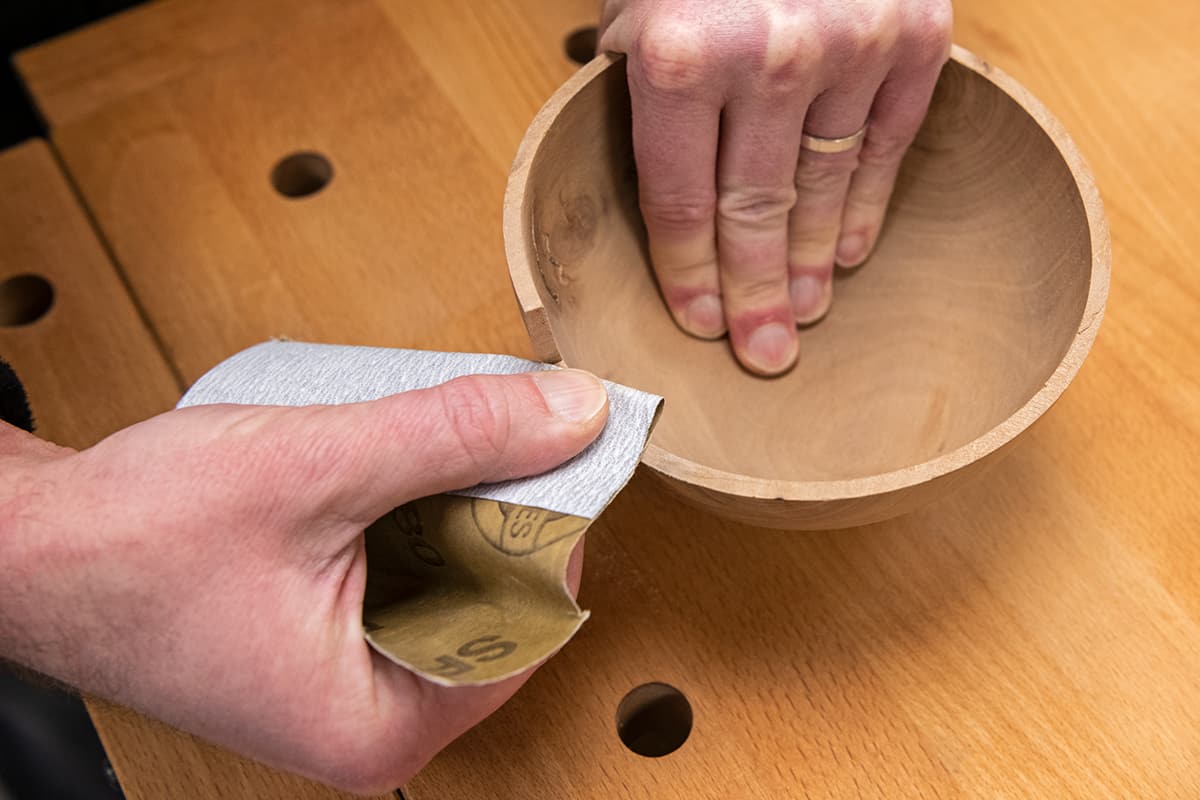
When it comes to restoring the luster of your car's exterior, sanding plays a crucial role in achieving a smooth and flawless finish. However, the process can be quite intricate, and choosing the right grit sandpaper is essential for optimal results. Whether you're sanding bare metal, primer, or between coats, understanding the varying grit levels is paramount.
In this comprehensive guide, we will delve into the nuances of grit sandpaper selection for different stages of car restoration. From demystifying grit levels to providing practical tips for each sanding phase, this article aims to equip you with the knowledge needed to elevate your car restoration endeavors. So, let's embark on this insightful journey and unravel the art of selecting the perfect grit sandpaper for your car restoration projects.
Key Takeaways:
- Choose coarse grit (40-60) sandpaper for removing rust and old paint from your car. Transition to medium grit (80-120) for smoothing and preparing the surface for primer.
- Use fine grit (150-180) sandpaper for sanding between paint coats and very fine grit (220-400) for the final sanding before painting. This ensures a smooth and flawless finish for your car.
Read more: What Grit Sandpaper For Rust On Car
Understanding Grit Levels
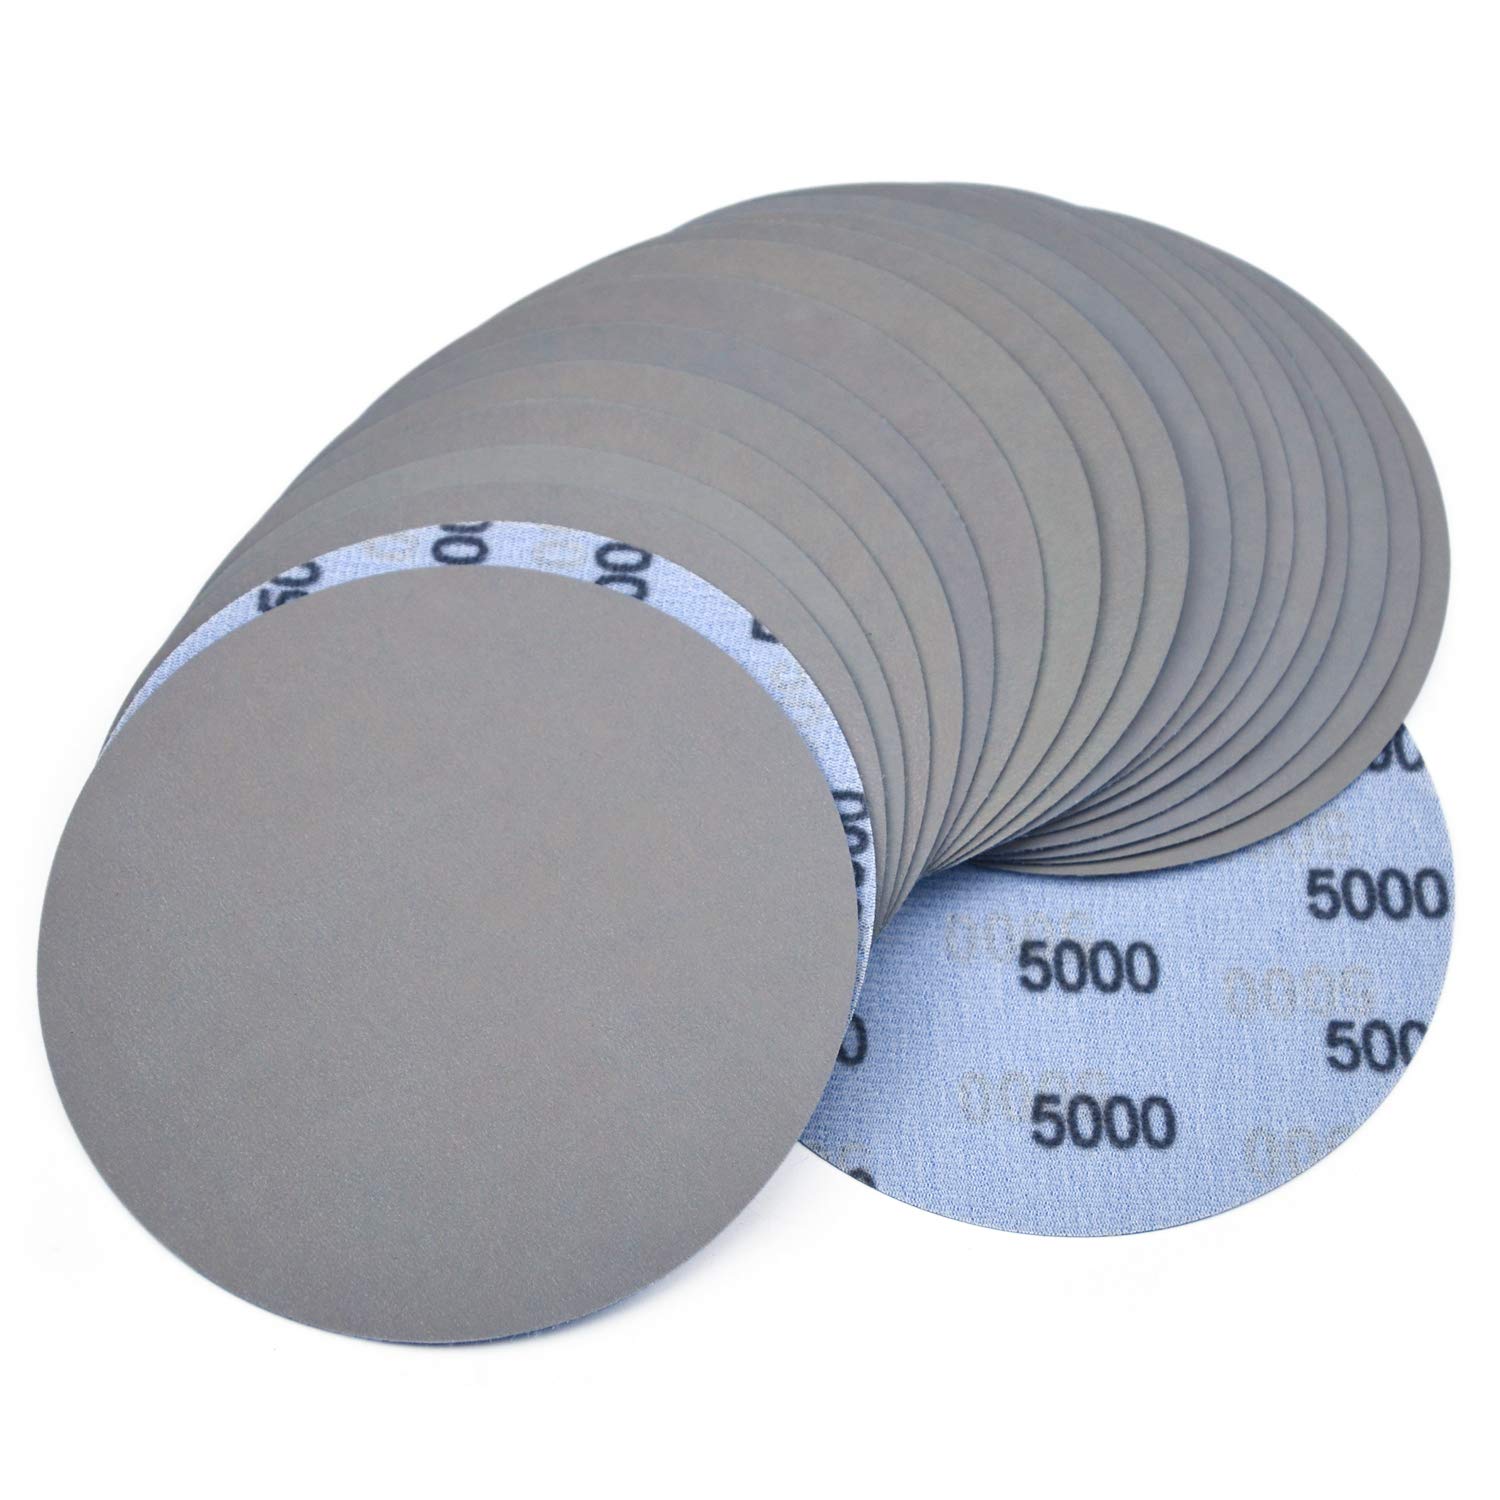
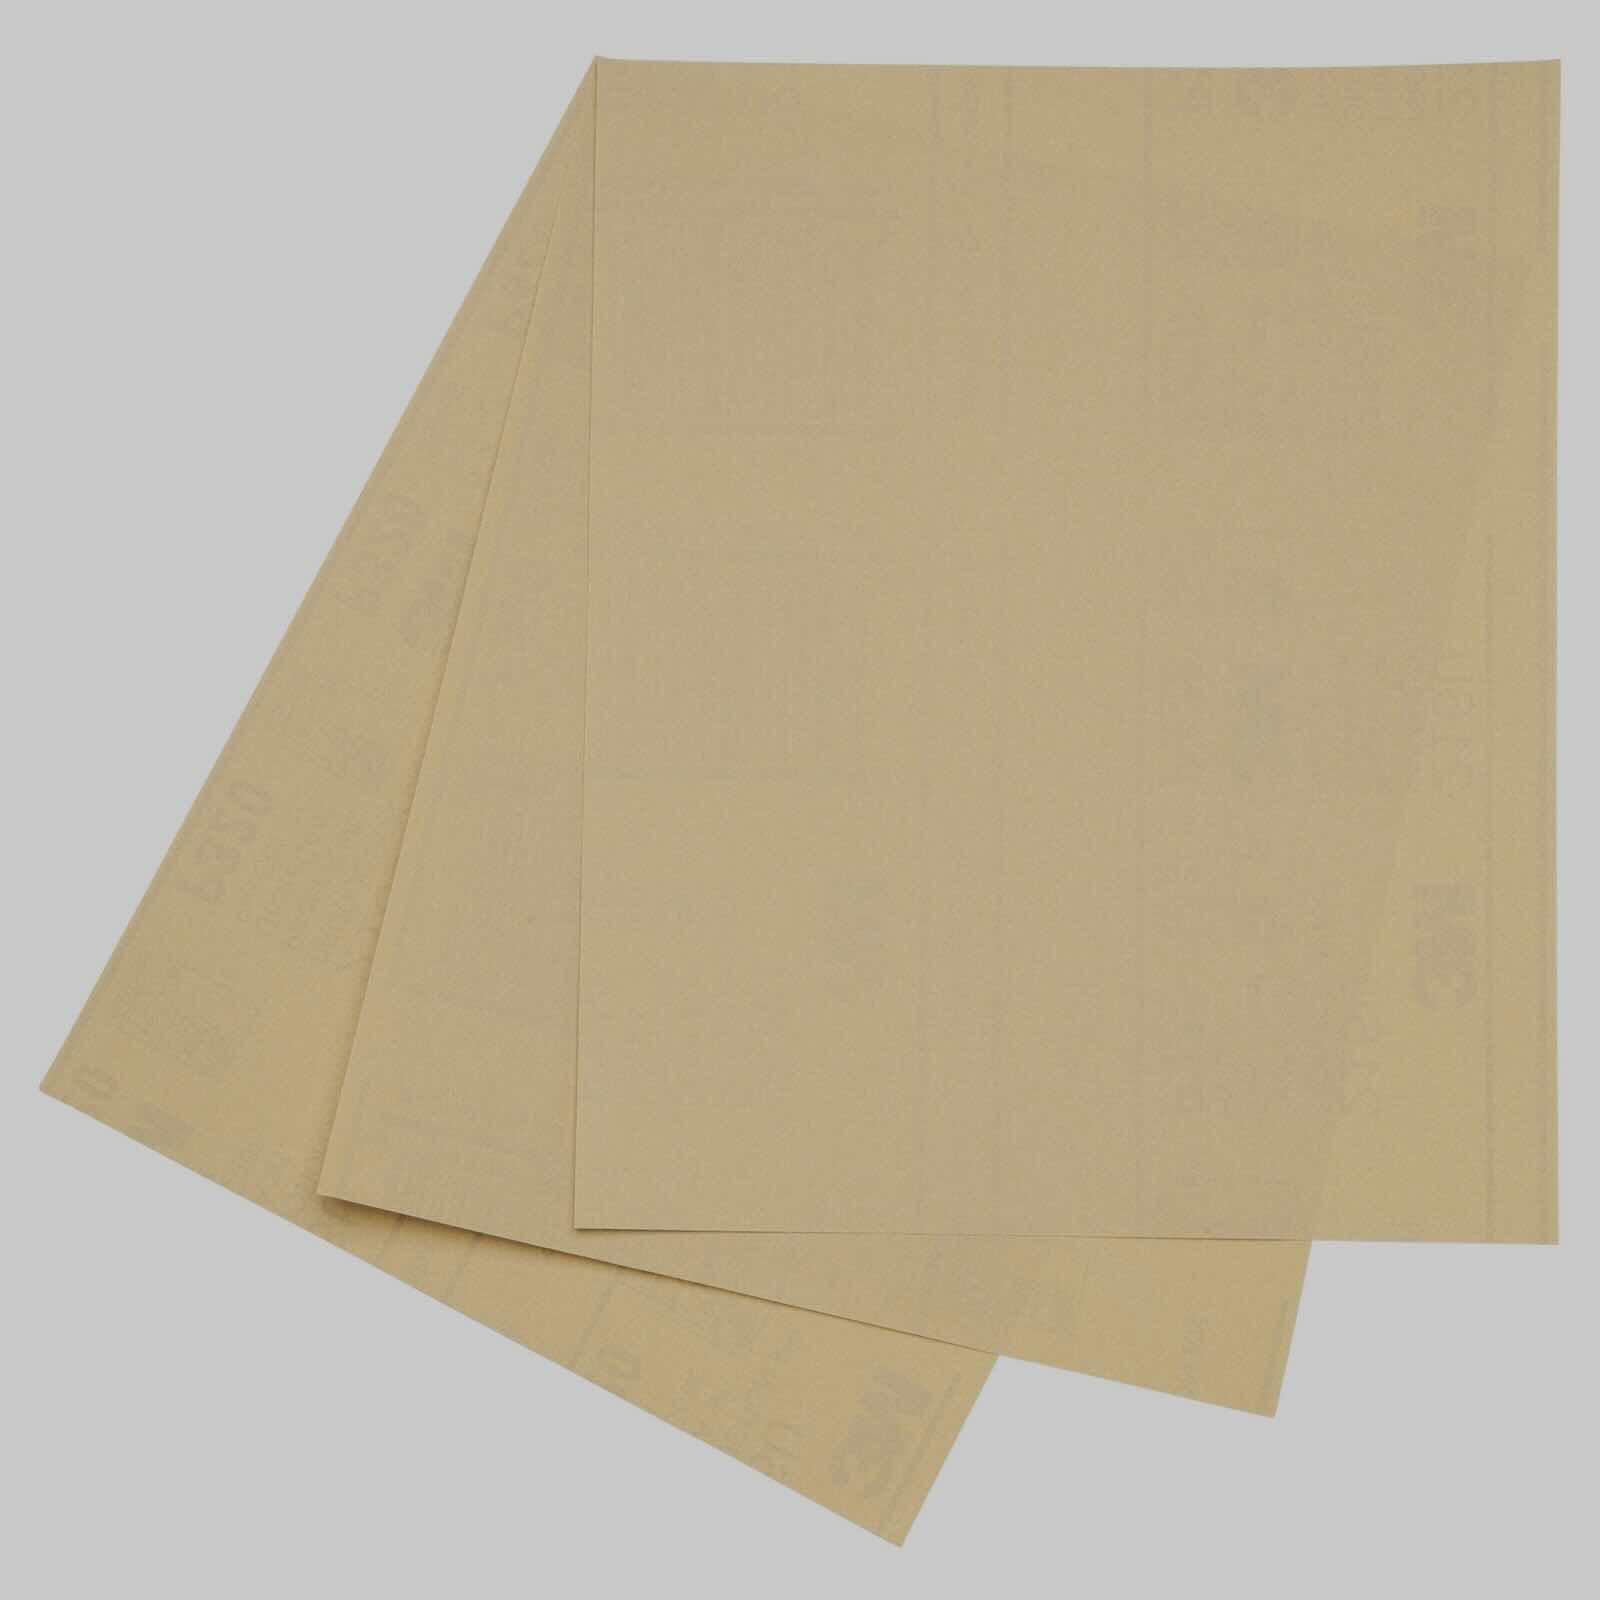
Grit levels are a fundamental aspect of sandpaper, determining its coarseness or fineness. The grit number, typically imprinted on the back of the sandpaper, signifies the number of abrasive particles per square inch. Lower grit numbers indicate coarser sandpaper, while higher numbers denote finer grits.
Here’s a breakdown of common grit levels and their respective uses:
- Coarse Grit (40-60): Ideal for removing rust, paint, and corrosion from metal surfaces. It’s the go-to option for initial sanding and shaping.
- Medium Grit (80-120): Suitable for smoothing rough surfaces and preparing them for primer application. It effectively removes scratches and imperfections.
- Fine Grit (150-180): Used for sanding between primer coats and for final sanding before painting. It helps achieve a smooth, blemish-free surface.
- Very Fine Grit (220-400): Reserved for ultra-smooth finishing, such as sanding the final clear coat. It aids in achieving a glossy, mirror-like finish.
Understanding these grit levels is pivotal in selecting the right sandpaper for each stage of your car restoration process. By matching the grit to the specific requirements of the task at hand, you can ensure a seamless and professional-grade finish.
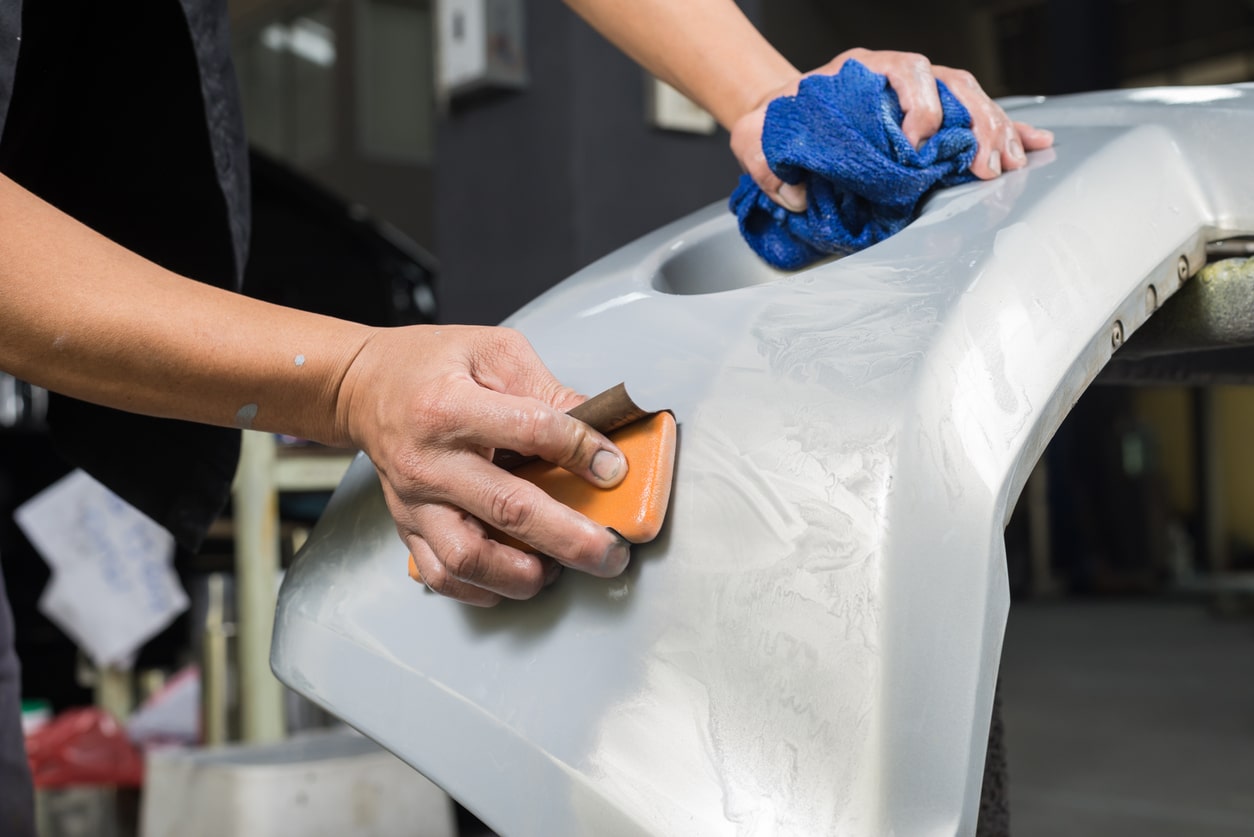
Sanding Bare Metal
When tackling the task of sanding bare metal on your car, it’s essential to employ the appropriate grit sandpaper to effectively smooth and prepare the surface for further treatment. Given the presence of imperfections, rust, or old paint, using the right grit level is crucial for achieving a pristine foundation.
For initial metal sanding and paint removal, opt for a coarse grit sandpaper in the range of 40-60. This grit level is adept at swiftly eliminating rust, corrosion, and old paint layers, allowing you to reveal the bare metal underneath. The coarse grit’s abrasive nature facilitates efficient material removal, enabling you to address surface irregularities and imperfections effectively.
Once the initial rough sanding is complete, transition to a medium grit sandpaper, typically ranging from 80-120. This step is pivotal for refining the surface, smoothing out the roughness left by the coarse grit, and preparing the bare metal for the application of primer. The medium grit effectively eliminates scratches and further enhances the metal’s readiness for subsequent treatments.
By adhering to this sequential approach of starting with a coarse grit and progressing to a medium grit, you can ensure that the bare metal surface is impeccably prepped for the subsequent stages of your car restoration process. This methodical sanding process sets the stage for achieving a flawless and enduring finish that showcases the true beauty of your car’s metal body.
Sanding Primer
Once the primer has been applied to the car’s surface, sanding becomes a critical step in the refinement process. The goal of sanding primer is to create a smooth and uniform base for the paint, ensuring impeccable adhesion and a flawless final finish. Selecting the appropriate grit sandpaper for this stage is essential to achieve the desired results.
When sanding primer, opt for a medium grit sandpaper within the range of 80-120. This grit level strikes the ideal balance between material removal and surface refinement, allowing you to effectively smooth the primer while maintaining its integrity. The medium grit is adept at eliminating imperfections, leveling the surface, and preparing it for the subsequent coats of paint.
As you progress through the sanding process, periodically inspect the surface to ensure that it is uniformly smooth and free of blemishes. The goal is to achieve a seamless transition between the primer and the underlying surface, creating an optimal canvas for the paint application. Additionally, be mindful of not sanding too aggressively, as this can compromise the integrity of the primer coat.
By employing the appropriate grit sandpaper and exercising precision during the sanding process, you can elevate the quality of the primer surface, setting the stage for a professional-grade paint finish. This meticulous approach to sanding primer not only enhances the aesthetic appeal of the car but also contributes to the longevity and durability of the paint job.
Use 320-400 grit sandpaper for smoothing out rough spots or imperfections on the car’s surface before painting. This grit is fine enough to avoid causing deep scratches.
Sanding Between Coats
As you progress through the painting process, sanding between coats is a crucial step that contributes to the refinement and seamless integration of the successive paint layers. This iterative sanding process ensures that each coat adheres impeccably to the underlying layer, resulting in a uniform and flawless finish. Selecting the appropriate grit sandpaper for sanding between coats is pivotal in achieving optimal results.
For sanding between paint coats, opt for a fine grit sandpaper within the range of 150-180. This grit level is well-suited for smoothing the surface, eliminating minor imperfections, and promoting adhesion between the paint layers. The fine grit facilitates the removal of any dust particles, orange peel texture, or minor blemishes, resulting in a refined and uniform surface for the subsequent coat of paint.
When sanding between coats, exercise precision and restraint to avoid compromising the integrity of the underlying paint layers. The goal is to create a smooth and even surface while preserving the integrity of the existing paint. Periodically inspect the sanded surface to ensure that it exhibits the desired level of smoothness and uniformity before proceeding with the next coat of paint.
By adhering to this meticulous approach of using fine grit sandpaper for sanding between coats, you can elevate the quality and visual appeal of the paint finish. This iterative refinement process contributes to the seamless integration of the paint layers, culminating in a professional-grade finish that exudes sophistication and durability.
Read more: What Grit Sandpaper To Wet Sand A Car
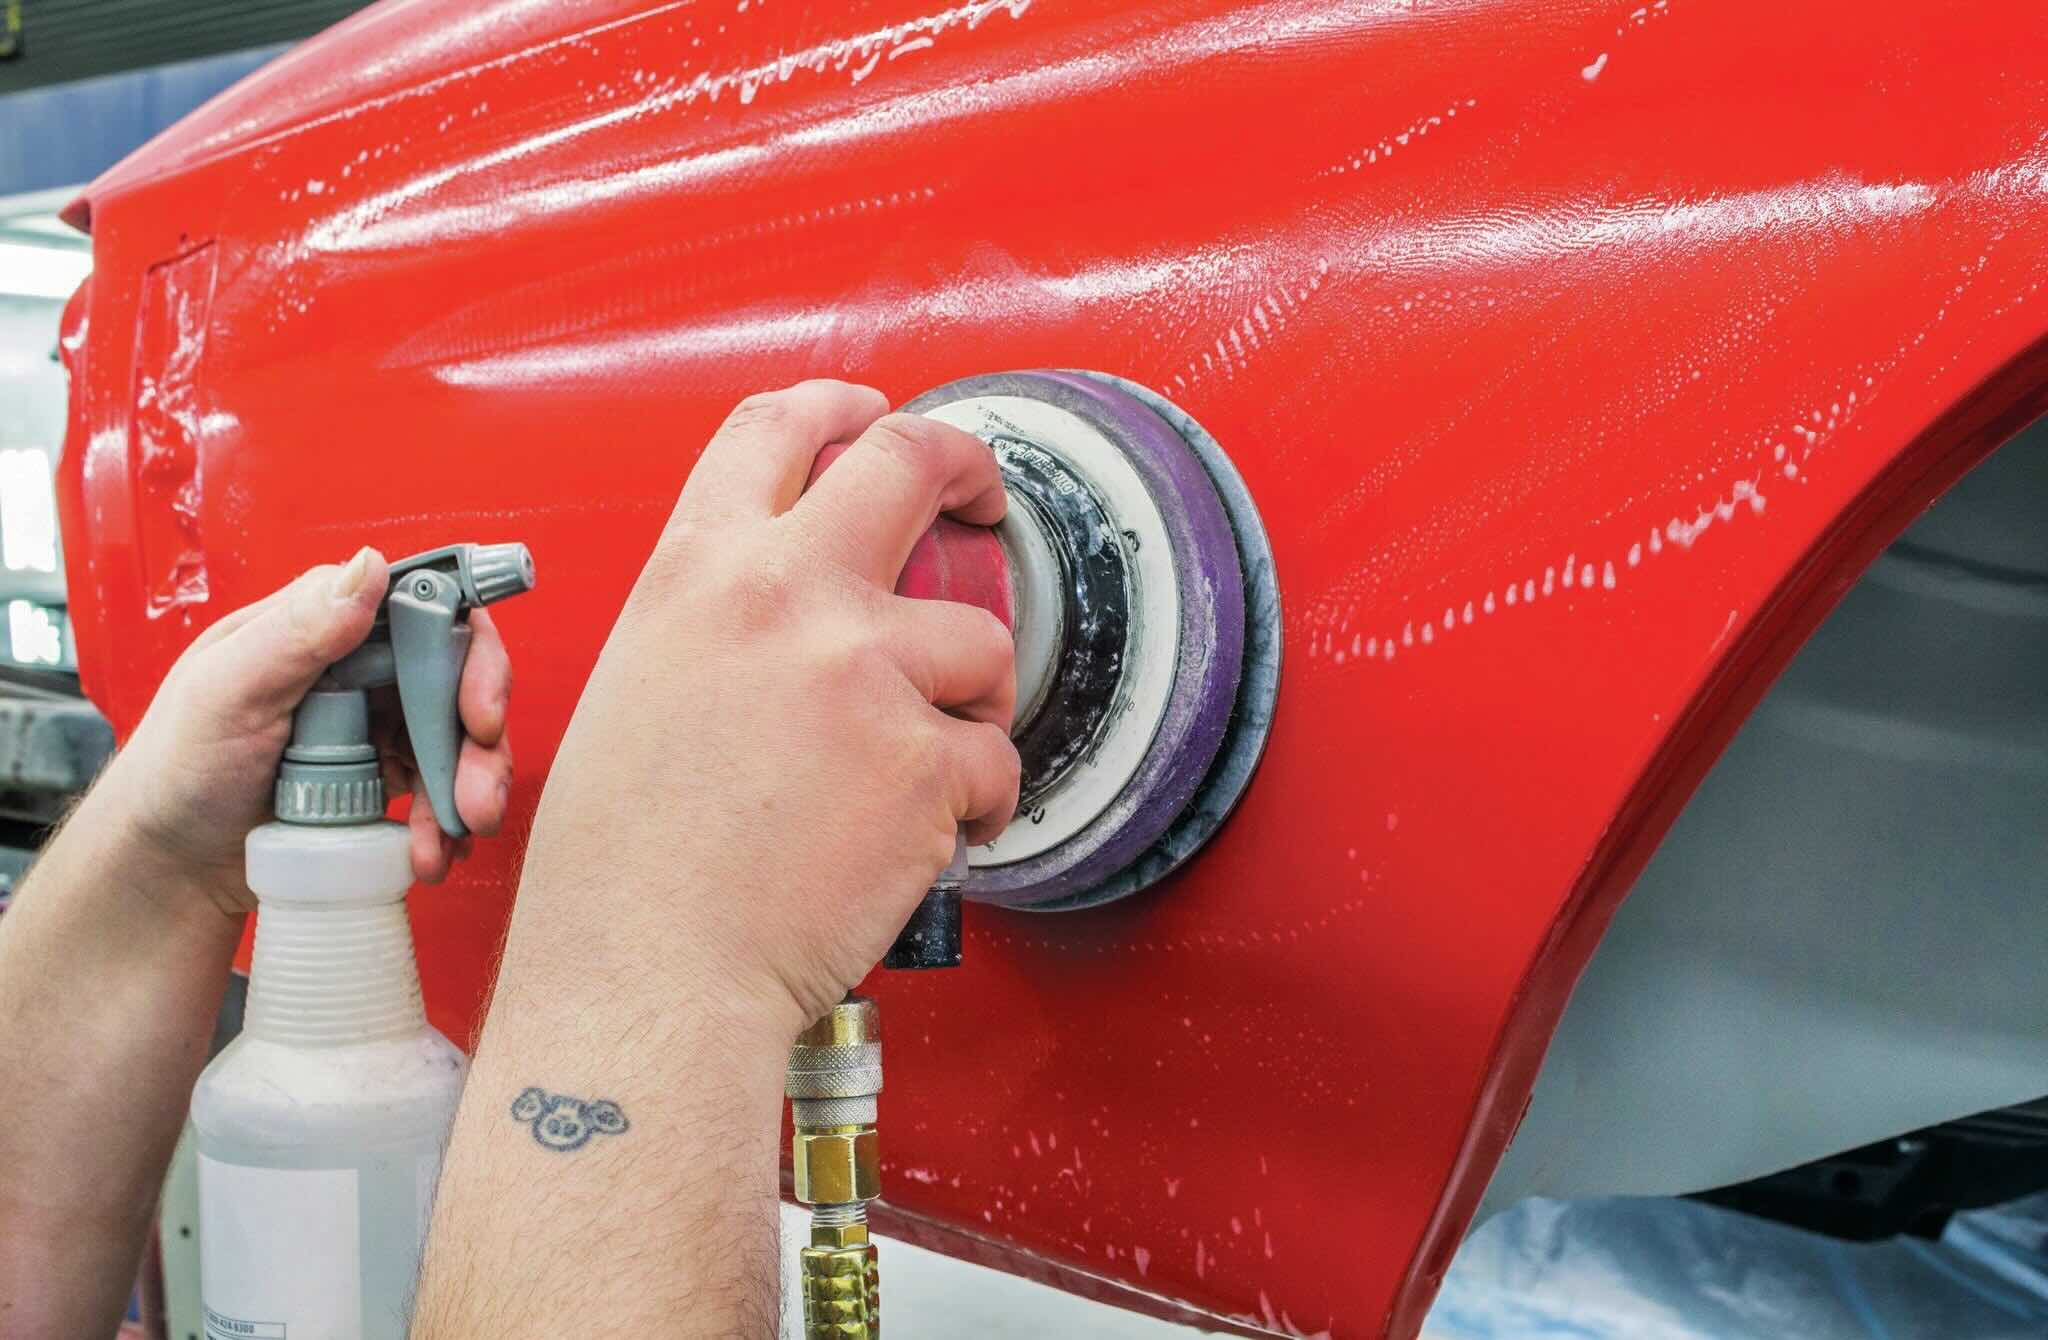
Final Sanding Before Painting
As you approach the final stages of the painting process, conducting a thorough and meticulous sanding is paramount to achieving a flawless and enduring finish. The final sanding before painting serves as the ultimate refinement step, ensuring that the surface is impeccably smooth and blemish-free, setting the stage for the application of the final paint coat.
For the final sanding before painting, opt for a very fine grit sandpaper within the range of 220-400. This ultra-fine grit level is designed to deliver a polished and pristine surface, free of imperfections and irregularities. It facilitates the removal of any remaining minor blemishes, dust particles, or surface irregularities, resulting in a surface that is impeccably smooth and ready for the final paint application.
Exercise precision and restraint during the final sanding, ensuring that the surface is uniformly refined without compromising the integrity of the underlying layers. Periodically inspect the sanded surface to verify that it meets the desired standard of smoothness and flawlessness. This meticulous approach sets the stage for a paint finish that exudes professionalism and durability.
By employing the appropriate very fine grit sandpaper for the final sanding before painting, you can elevate the quality and visual appeal of the paint finish. This meticulous refinement process contributes to the creation of a surface that serves as a pristine canvas for the final paint coat, culminating in a finish that is not only visually stunning but also resilient and enduring.
Conclusion
Embarking on a car restoration journey entails a series of meticulous steps, with sanding playing a pivotal role in achieving a flawless and enduring finish. The art of selecting the right grit sandpaper for each stage of the restoration process is a nuanced endeavor that demands precision and insight. By understanding the varying grit levels and their respective applications, you can elevate the quality of your car restoration projects and achieve professional-grade results.
From sanding bare metal to refining primer surfaces and meticulously sanding between coats, each stage requires a tailored approach to grit sandpaper selection. By matching the grit to the specific requirements of the task at hand, you can ensure that the surface is impeccably prepped for subsequent treatments, such as primer application and paint coats. This methodical approach not only enhances the aesthetic appeal of the car but also contributes to the longevity and durability of the finish.
As you approach the final stages of the restoration process, conducting a thorough and meticulous final sanding before painting is essential for creating a surface that serves as a pristine canvas for the final paint coat. Employing very fine grit sandpaper in this stage ensures that the surface is impeccably smooth and free of imperfections, setting the stage for a professional-grade finish that exudes sophistication and durability.
In essence, the art of selecting the right grit sandpaper for car restoration is a harmonious blend of precision, expertise, and artistry. By mastering this art, you can breathe new life into your car’s exterior, unveiling its true beauty and ensuring a finish that stands the test of time.
So, as you embark on your next car restoration endeavor, remember that the journey to a flawless finish begins with the meticulous selection of the right grit sandpaper, paving the way for a restoration that is both visually captivating and enduring.
Frequently Asked Questions about What Grit Sandpaper To Use On Car
Was this page helpful?
At Storables.com, we guarantee accurate and reliable information. Our content, validated by Expert Board Contributors, is crafted following stringent Editorial Policies. We're committed to providing you with well-researched, expert-backed insights for all your informational needs.


0 thoughts on “What Grit Sandpaper To Use On Car”